Step-by-step tutorial
Step 1
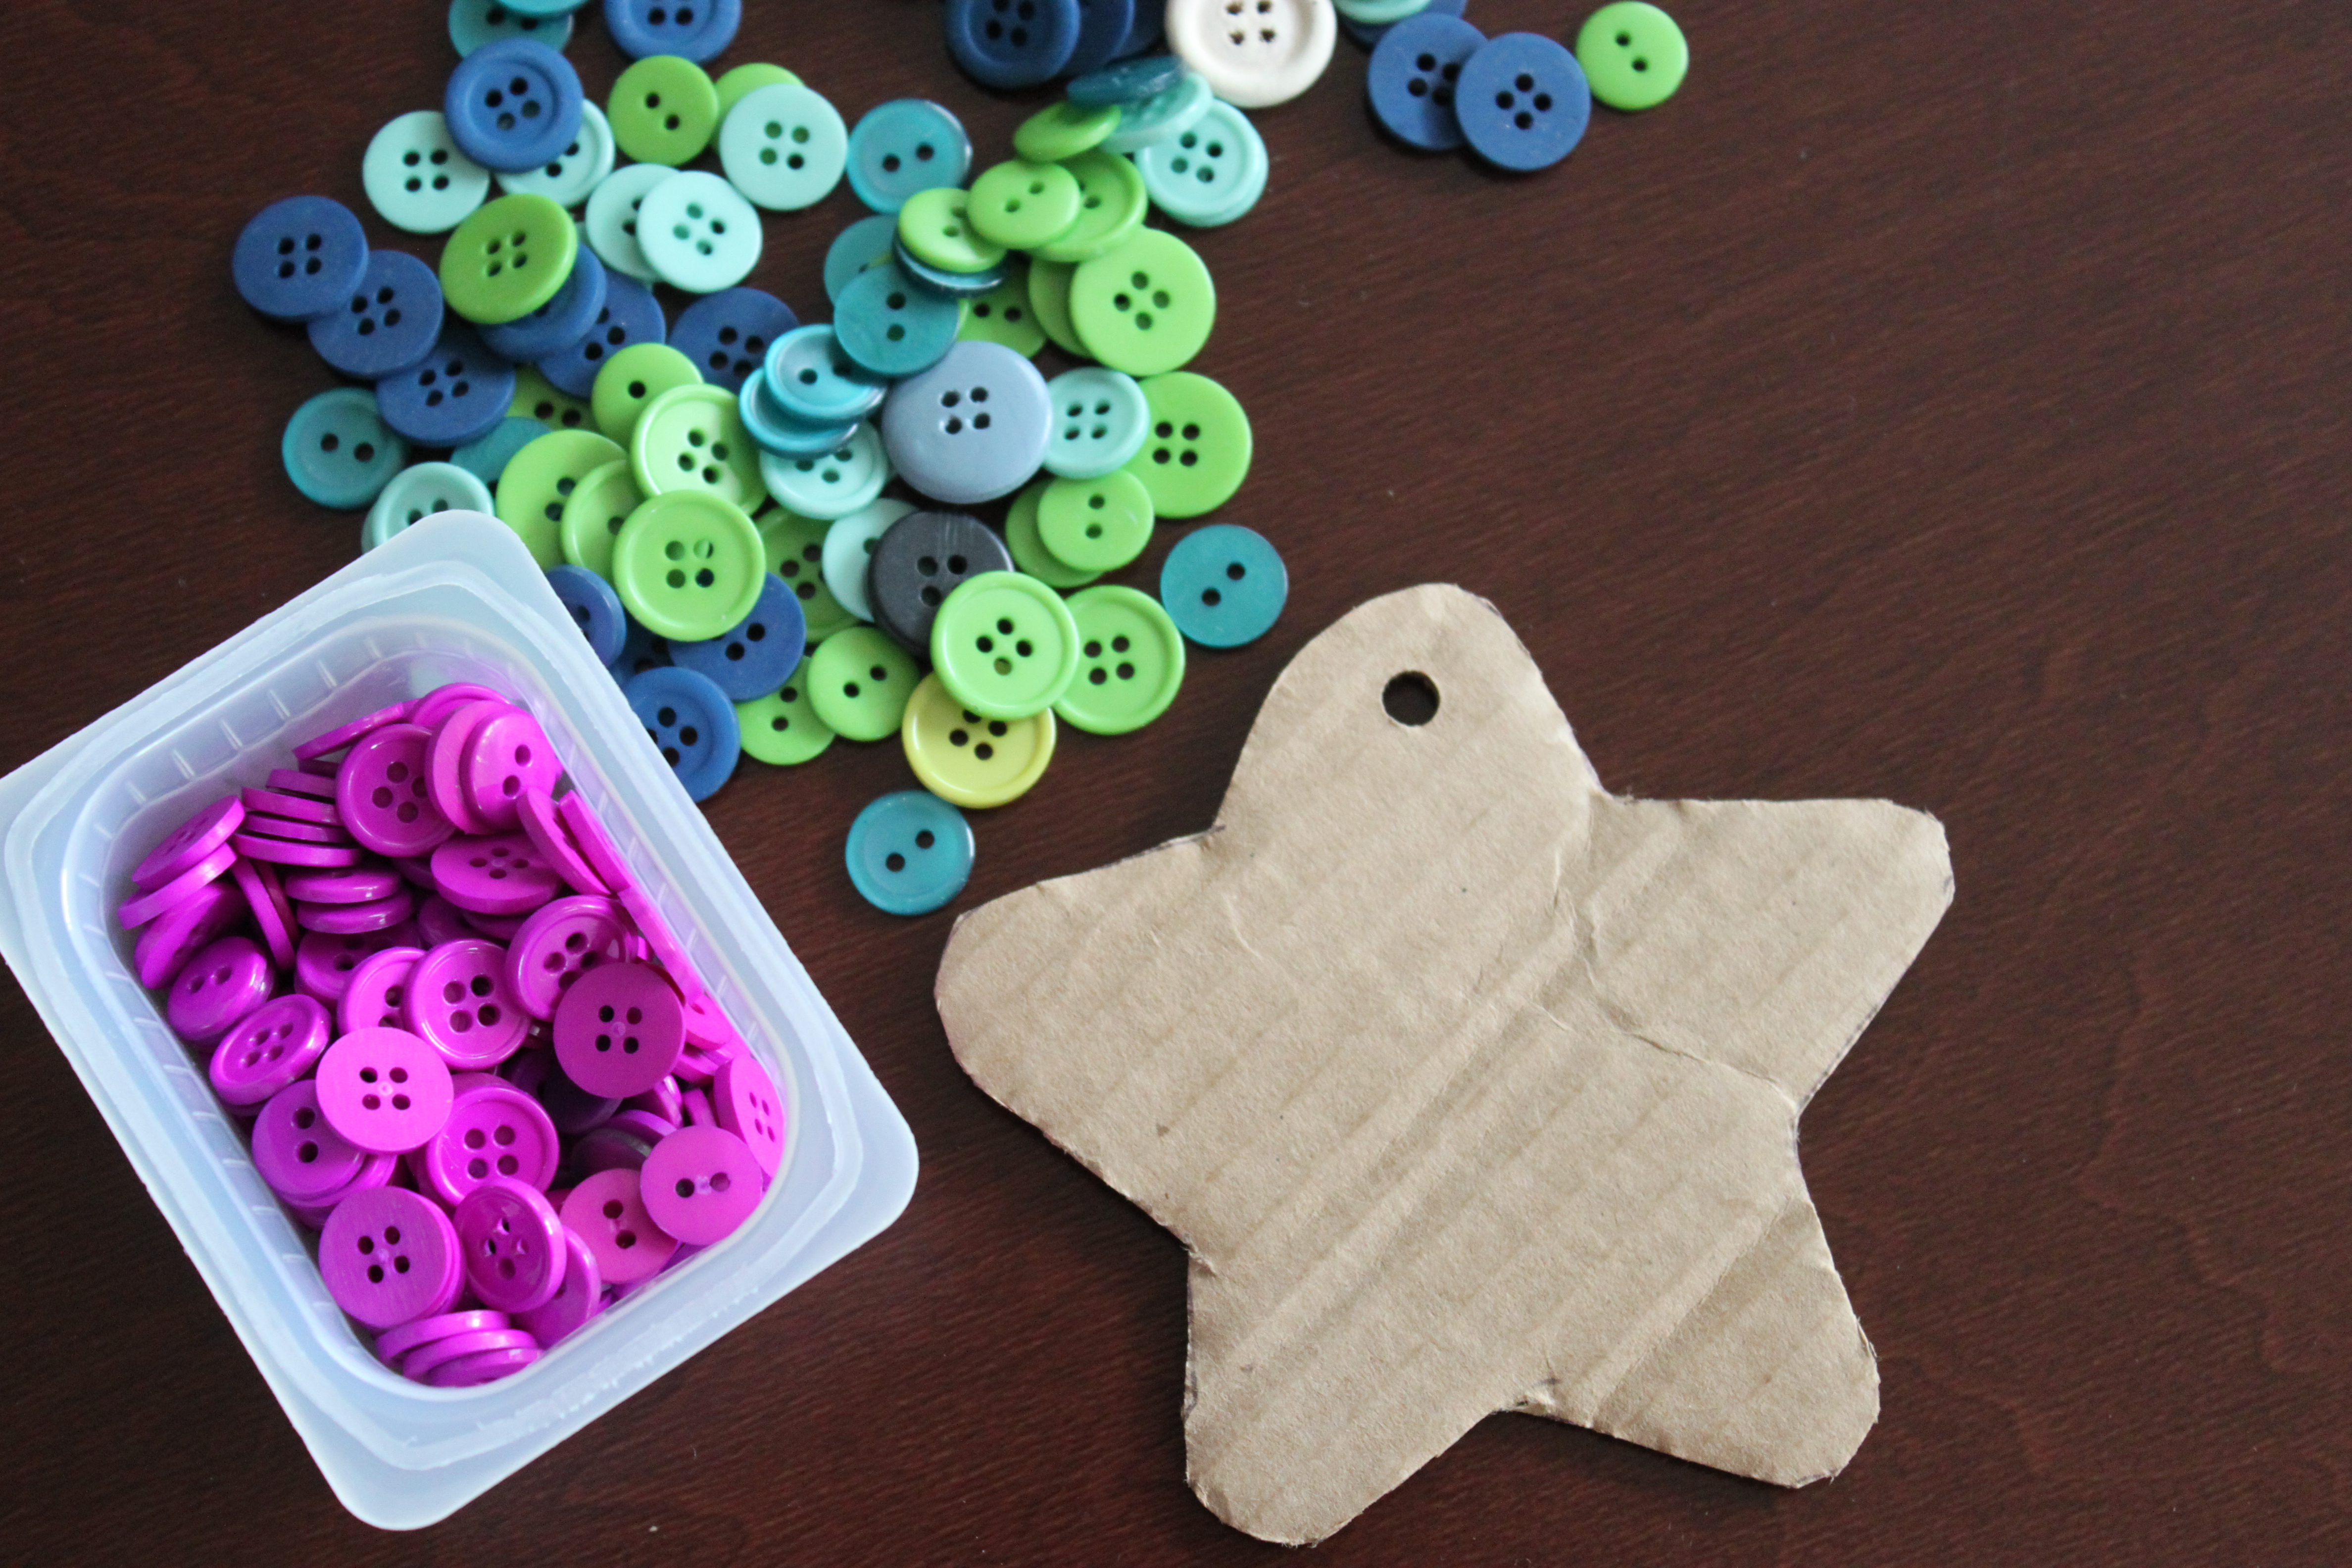
Gather extra buttons and cut a shape from a cardboard box. I chose a star, but I wish I would have kept it a square or a circle to leave us more room for the buttons. Punch a hole in the cardboard if you think you might want to hang your mosaic with a piece of ribbon.

Step 2
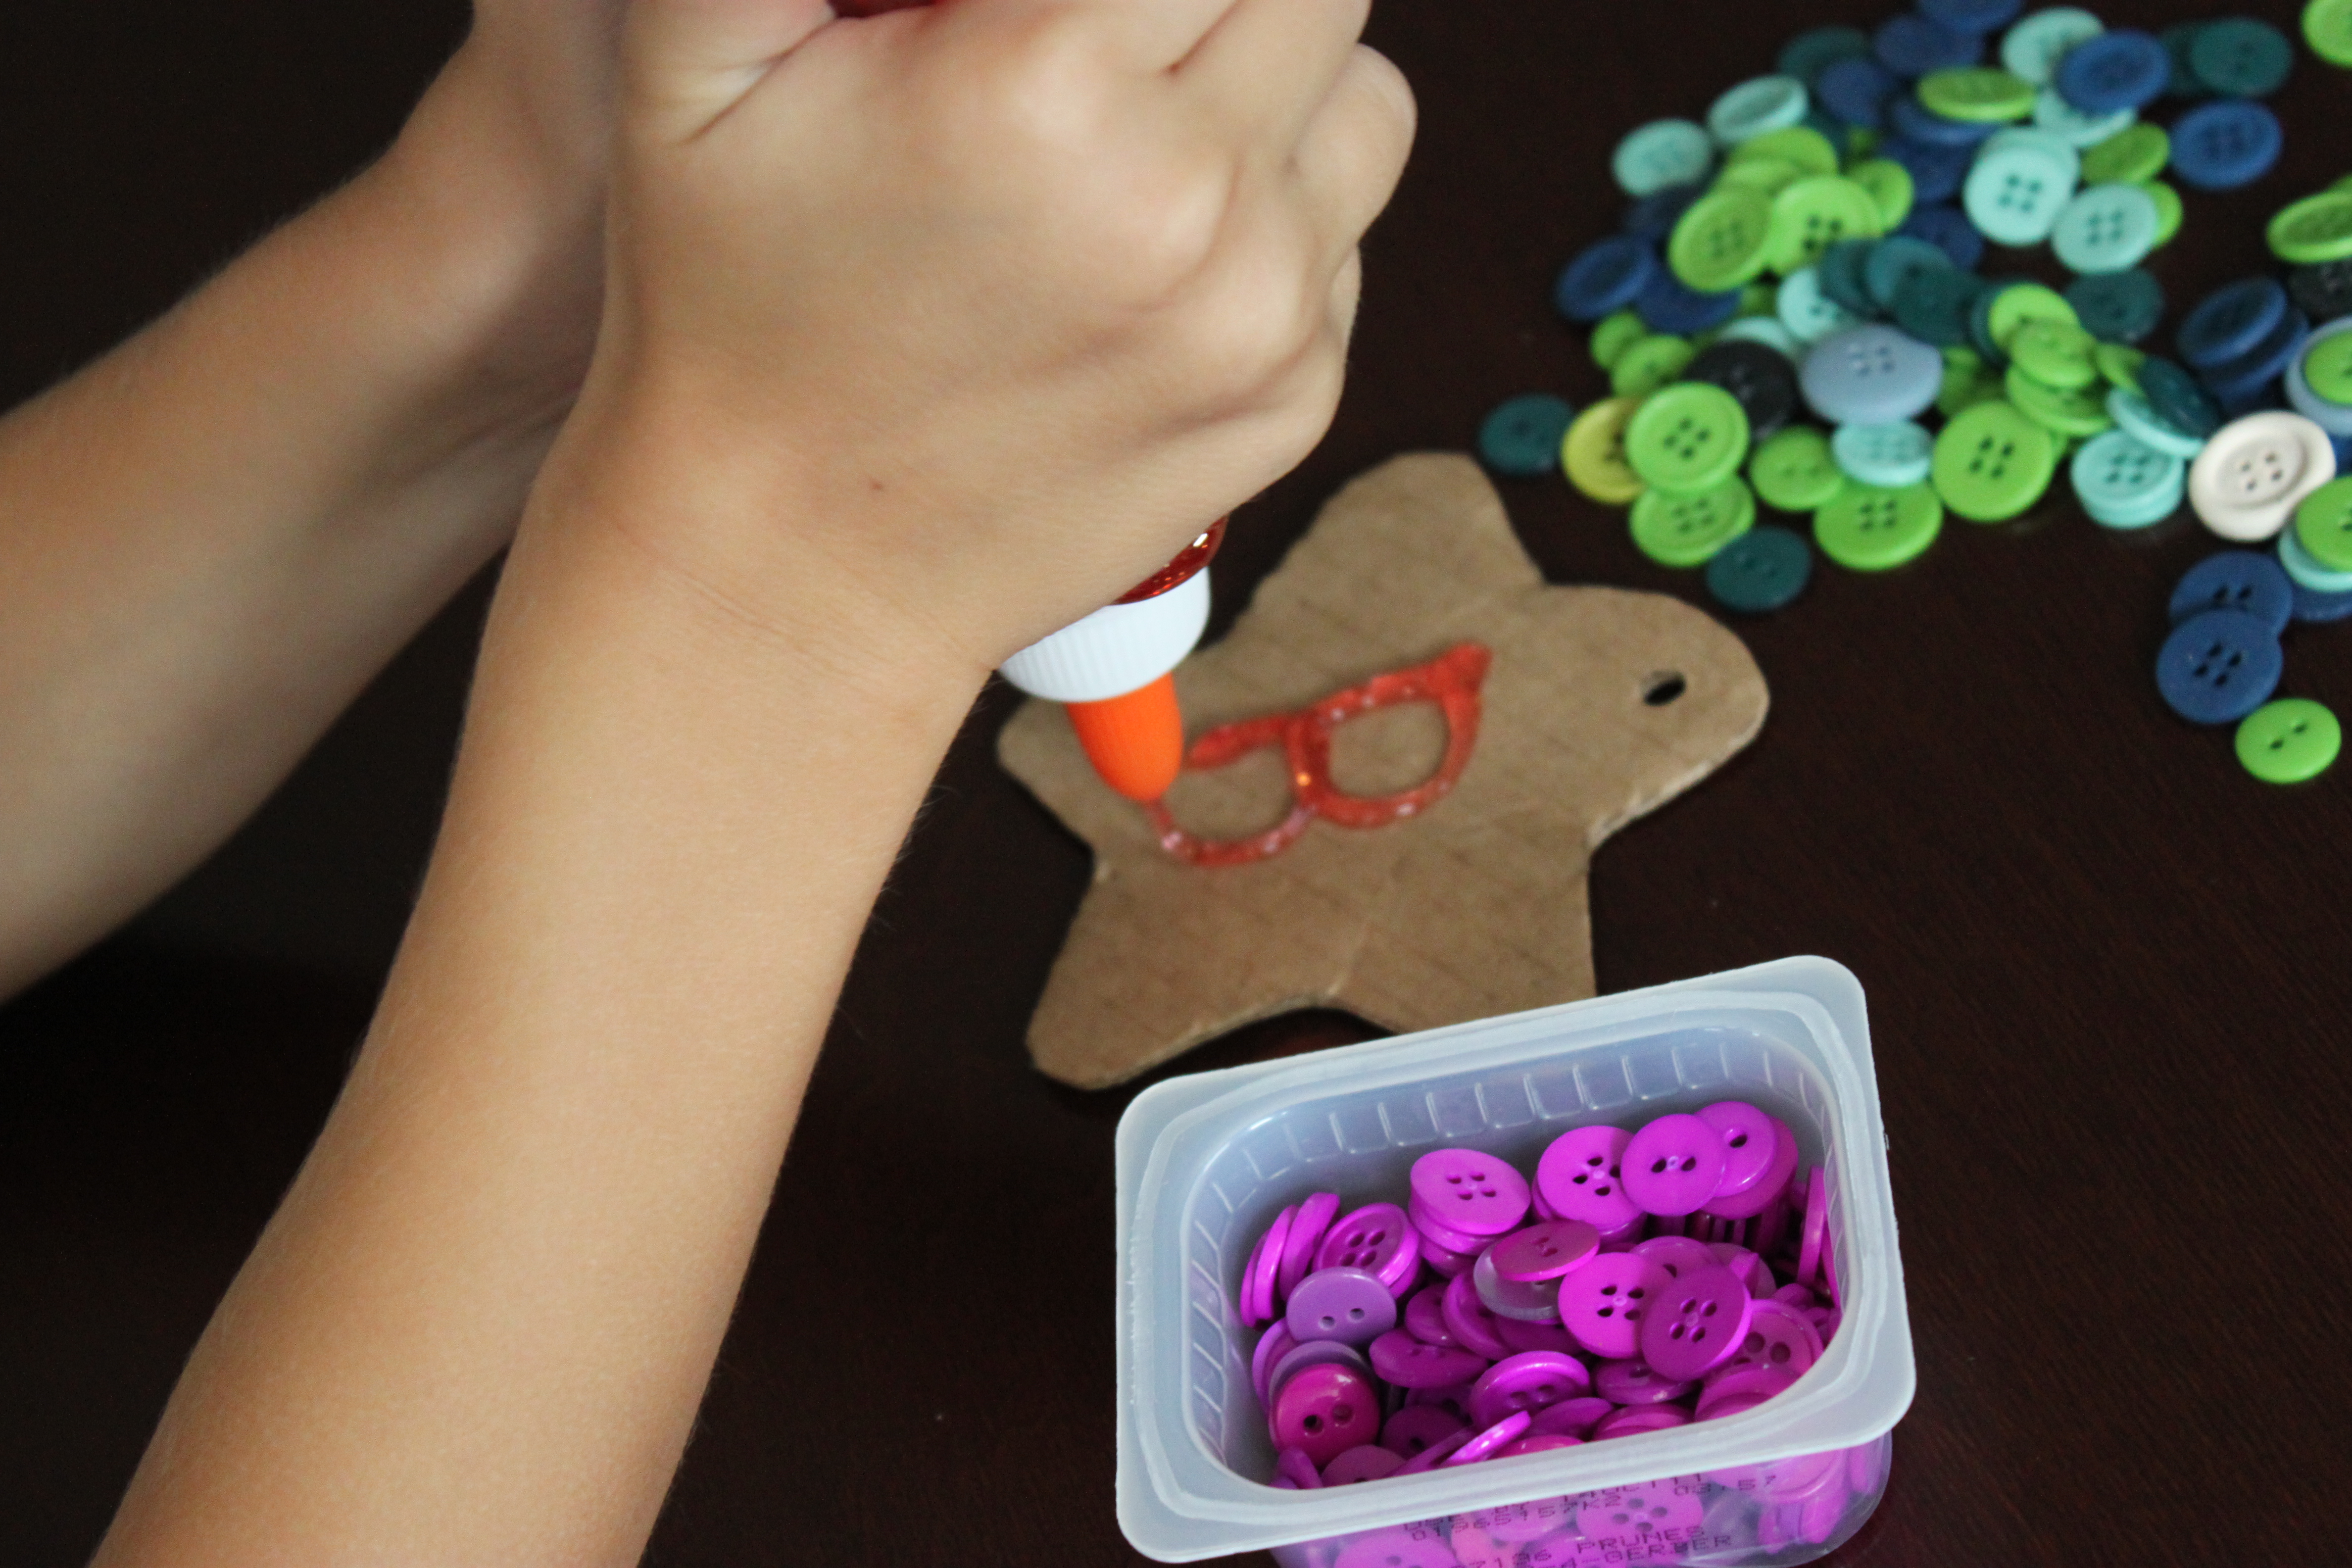
We talked about different designs we could make with the buttons. For example, a row of purple, a row of green, etc., or a border of one color and the inside a different color. He finally decided he wanted to include his initial so he drew the letter B in the middle with glue. He chose colored glitter glue, but regular white glue dries clear and works great too.
Step 3
He arranged the purple buttons on top of the glue to make the letter B. It was harder to arrange than we originally thought it would be.
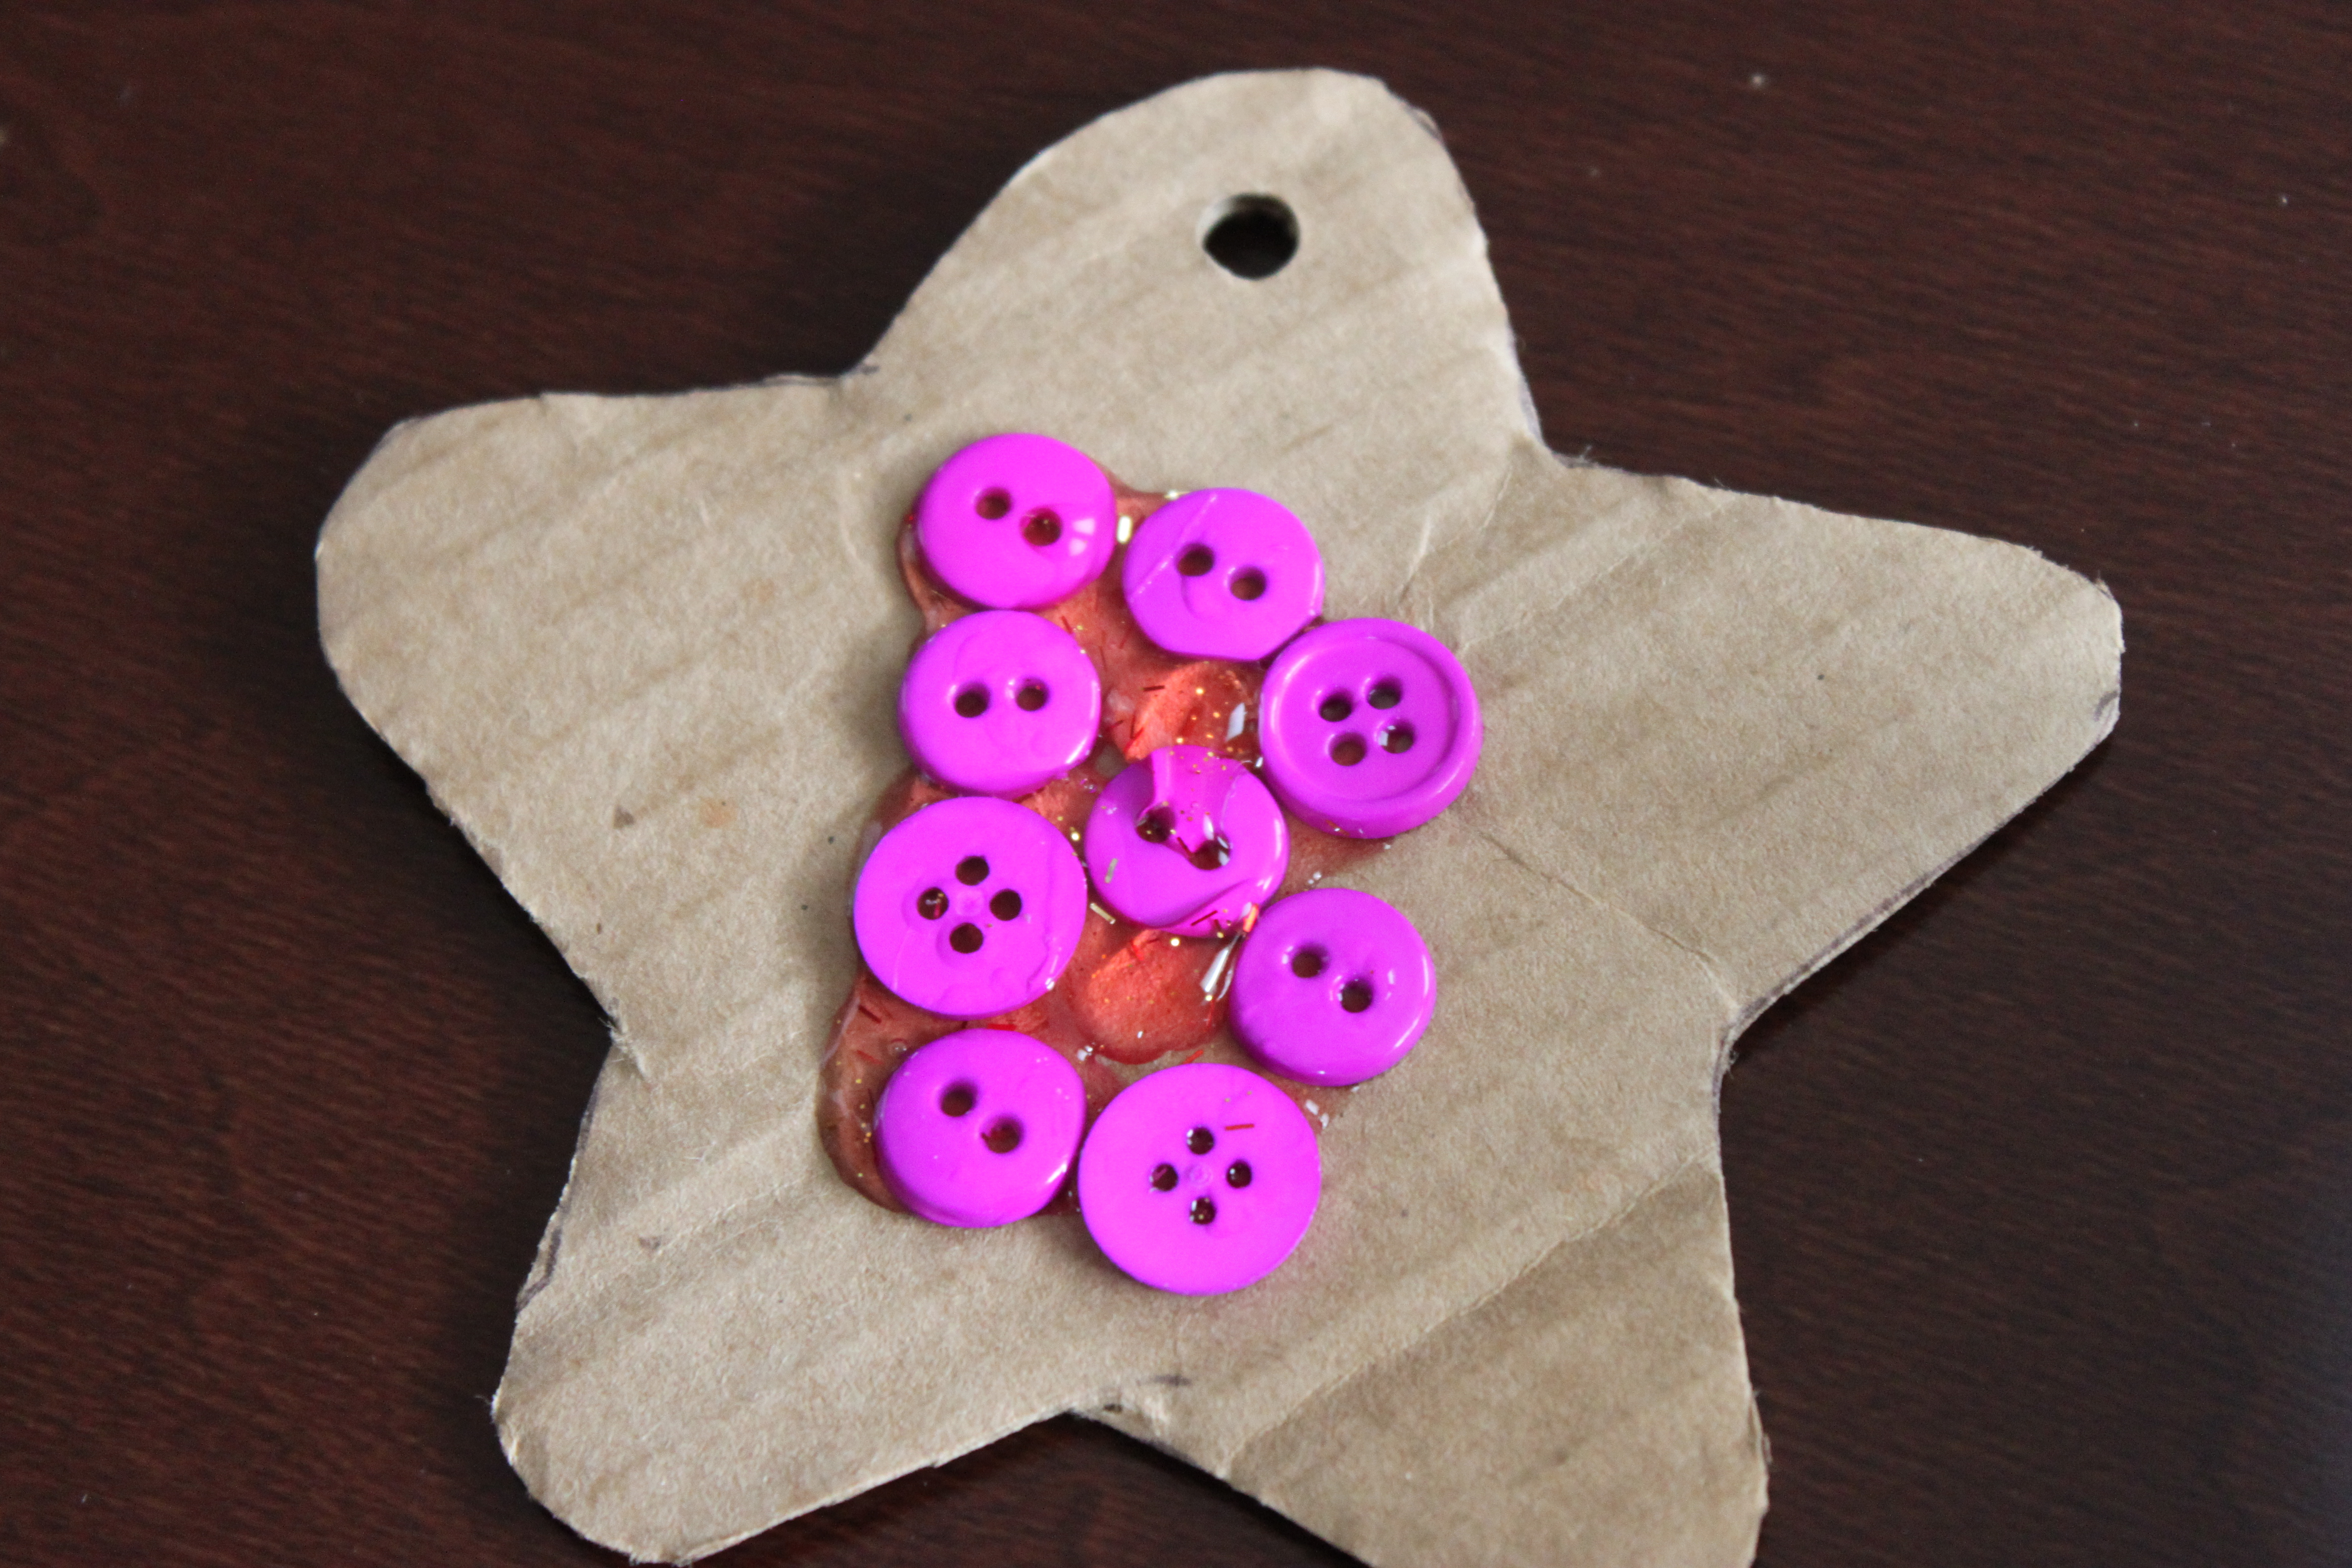
Step 4
Continue arranging the buttons with glue to complete your mosaic design. If you punched a hole in your cardboard, you can still put a button over it with the hole in the button aligning with the hole in the cardboard.

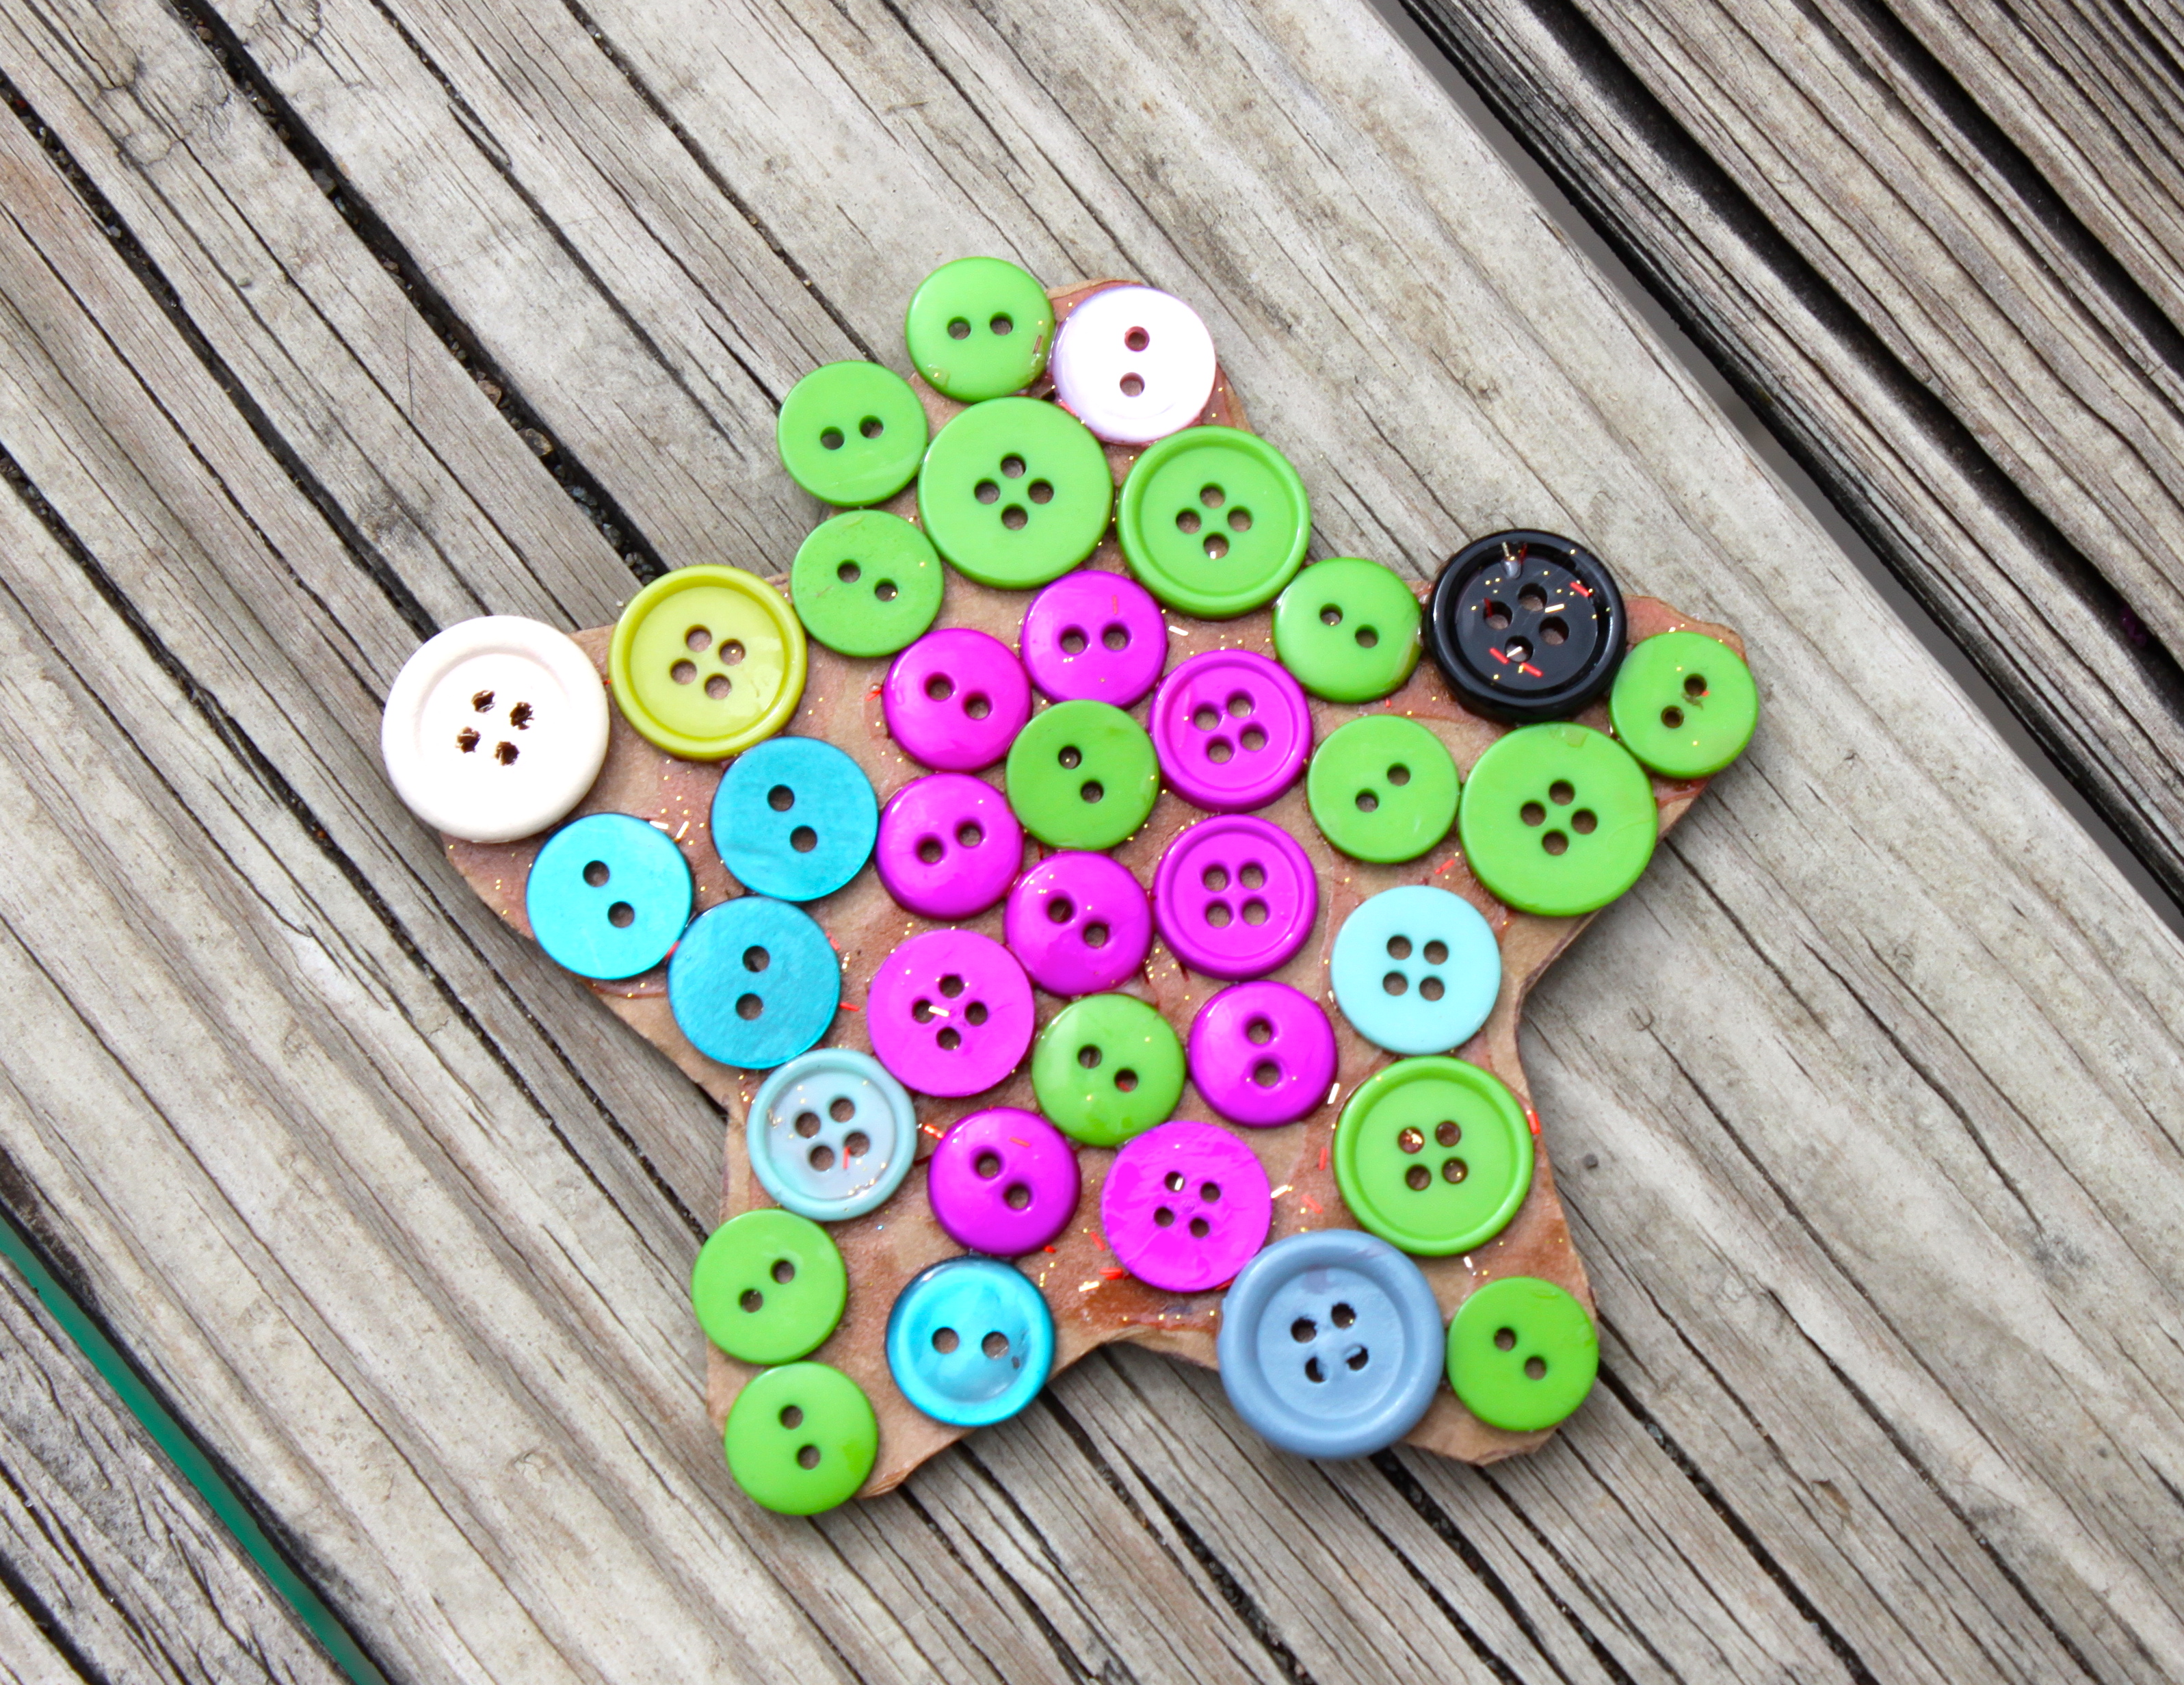
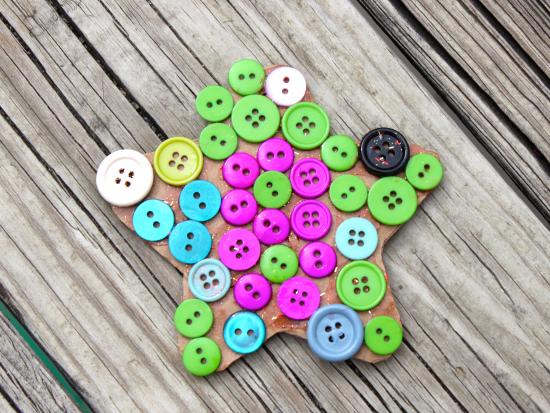
Done!
Let the glue dry and attach a magnet or use a string to hang it up. He loved that the first letter of his name was hidden in the middle of the design. We attached a magnet to ours and it helps display artwork, but I also think it will be cool to make one with Christmas colors and put it on the tree this Winter.