Step-by-step tutorial
Step 1
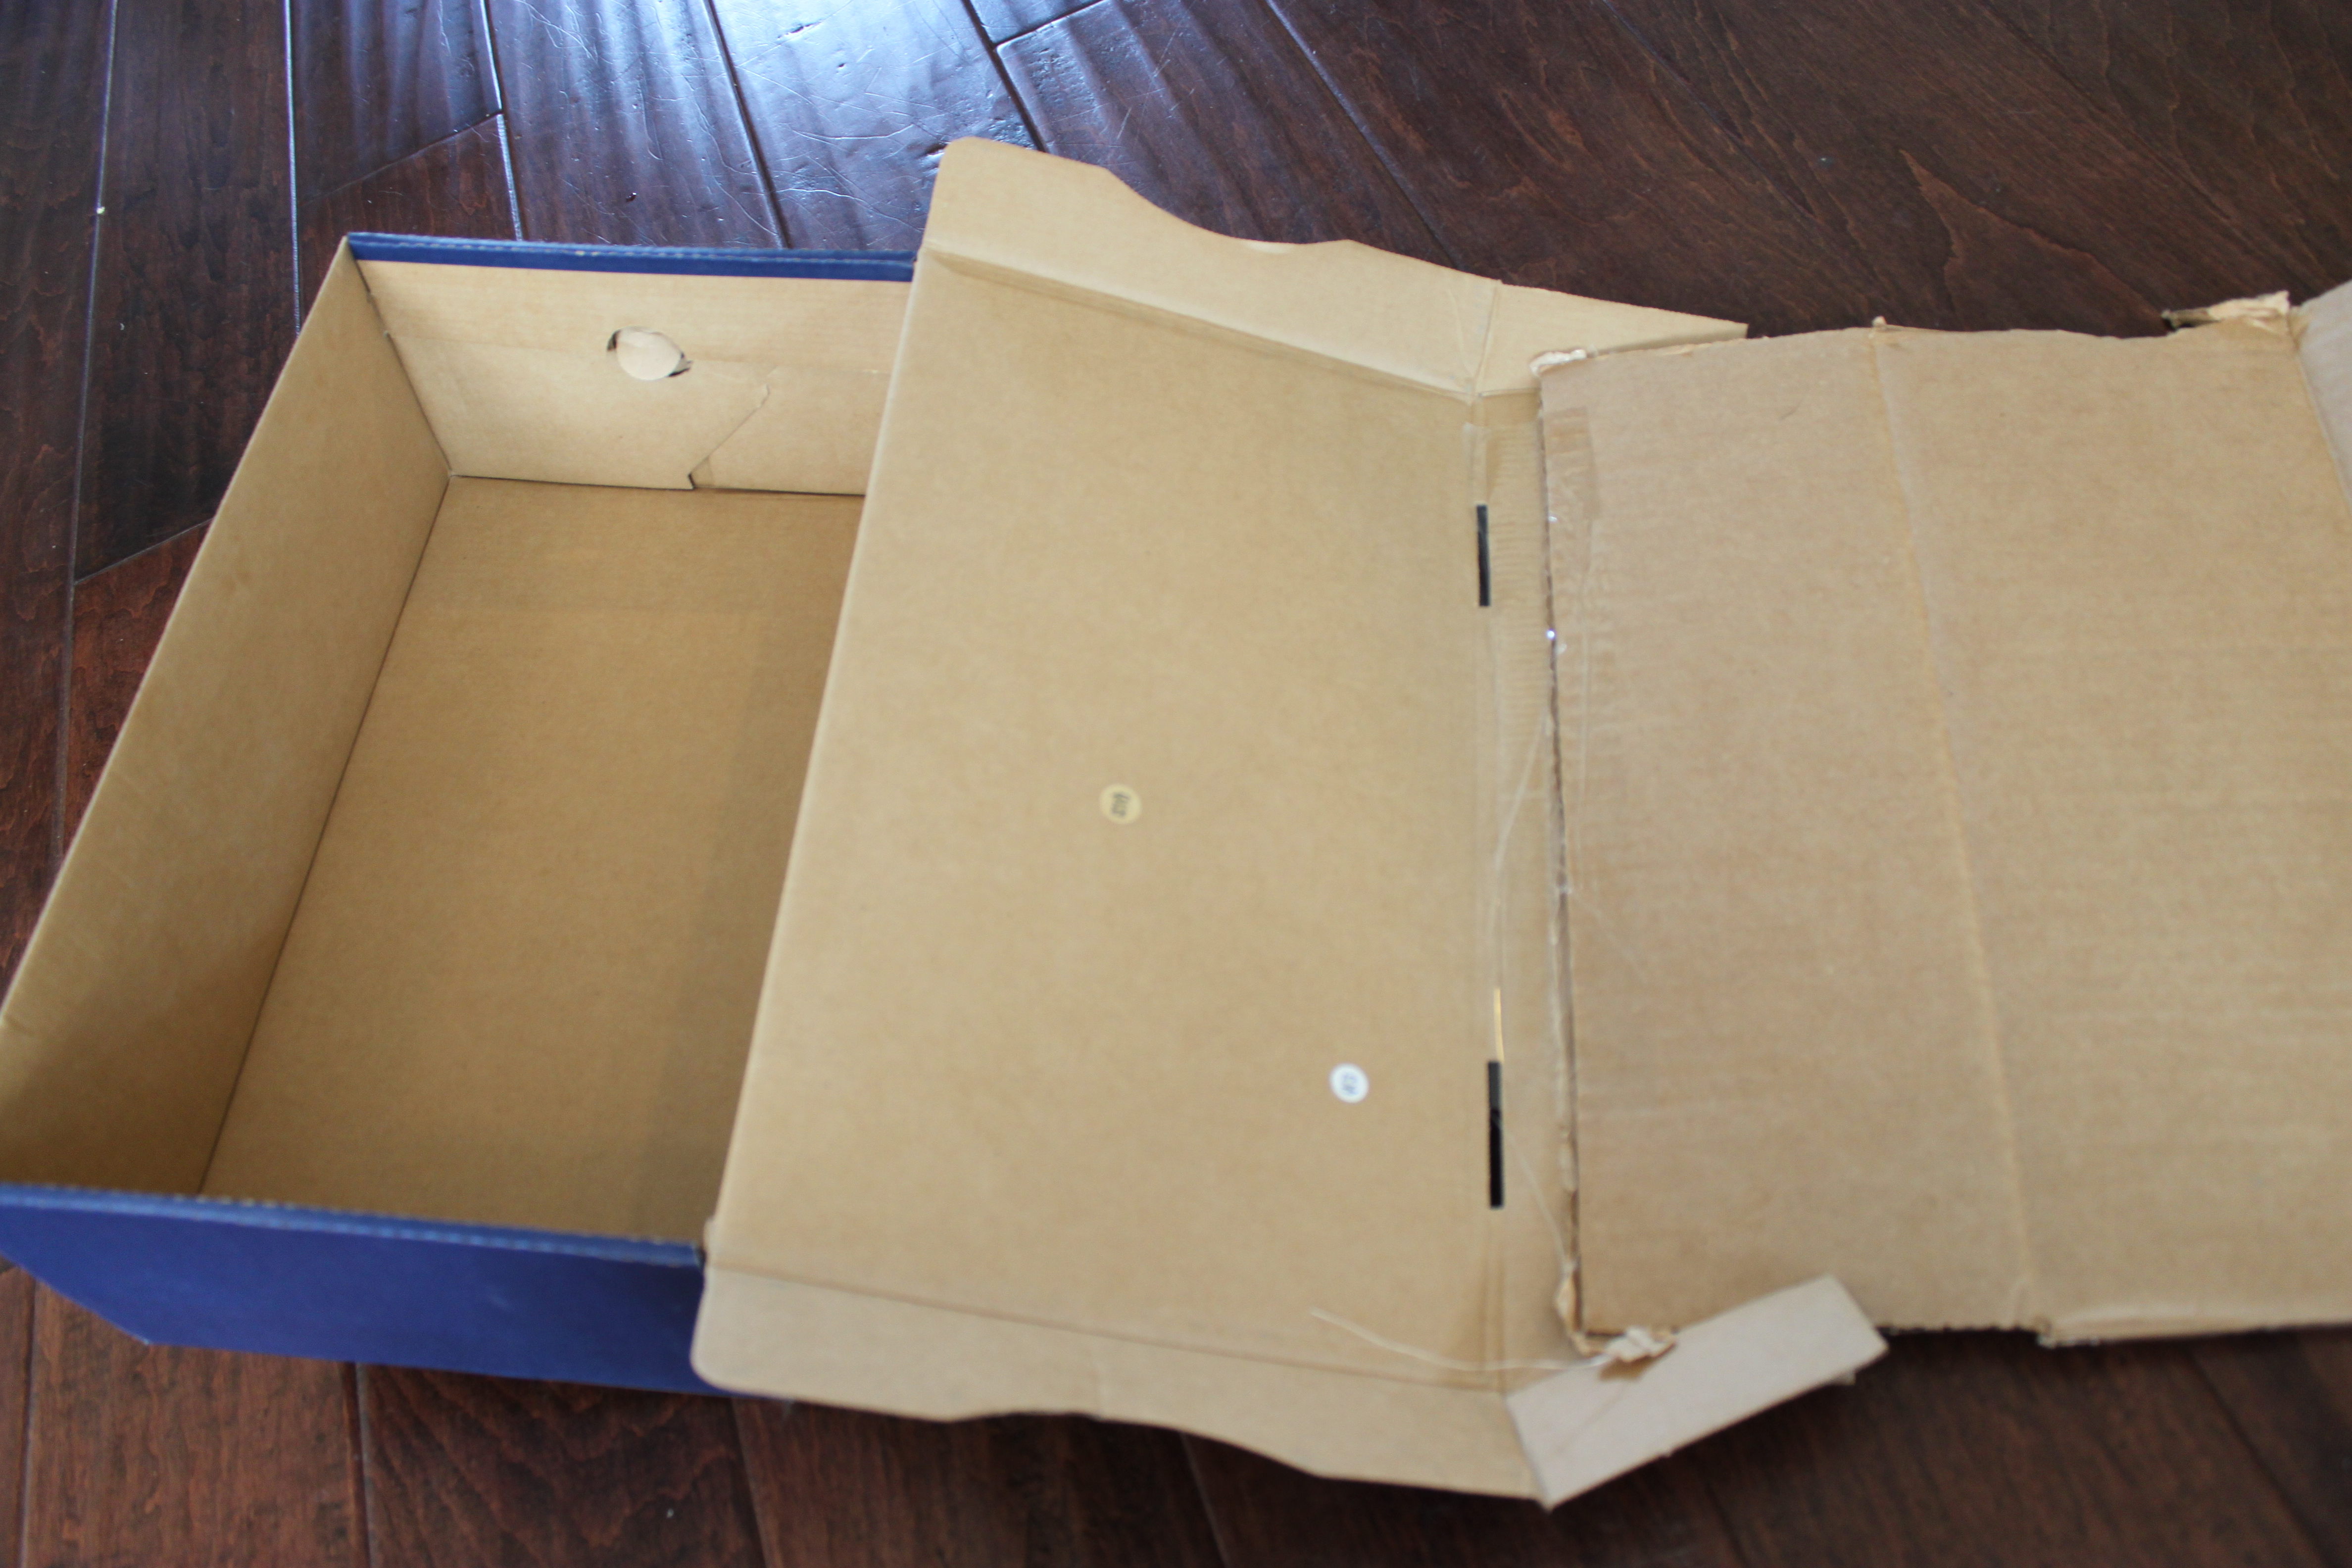
First, build a ramp with your children for their cars to drive down. Older children can get hands on and help with the design while younger ones may need you to do most of the construction. ***If you have a toddler slide, then skip the ramp building step and go right to the paper and painting steps.*** I taped one box to the top of another for the beginning of our ramp.

Step 2
Cut open the second box and tape it to the top box. This will be the part of the ramp that your cars drive down and paint on.
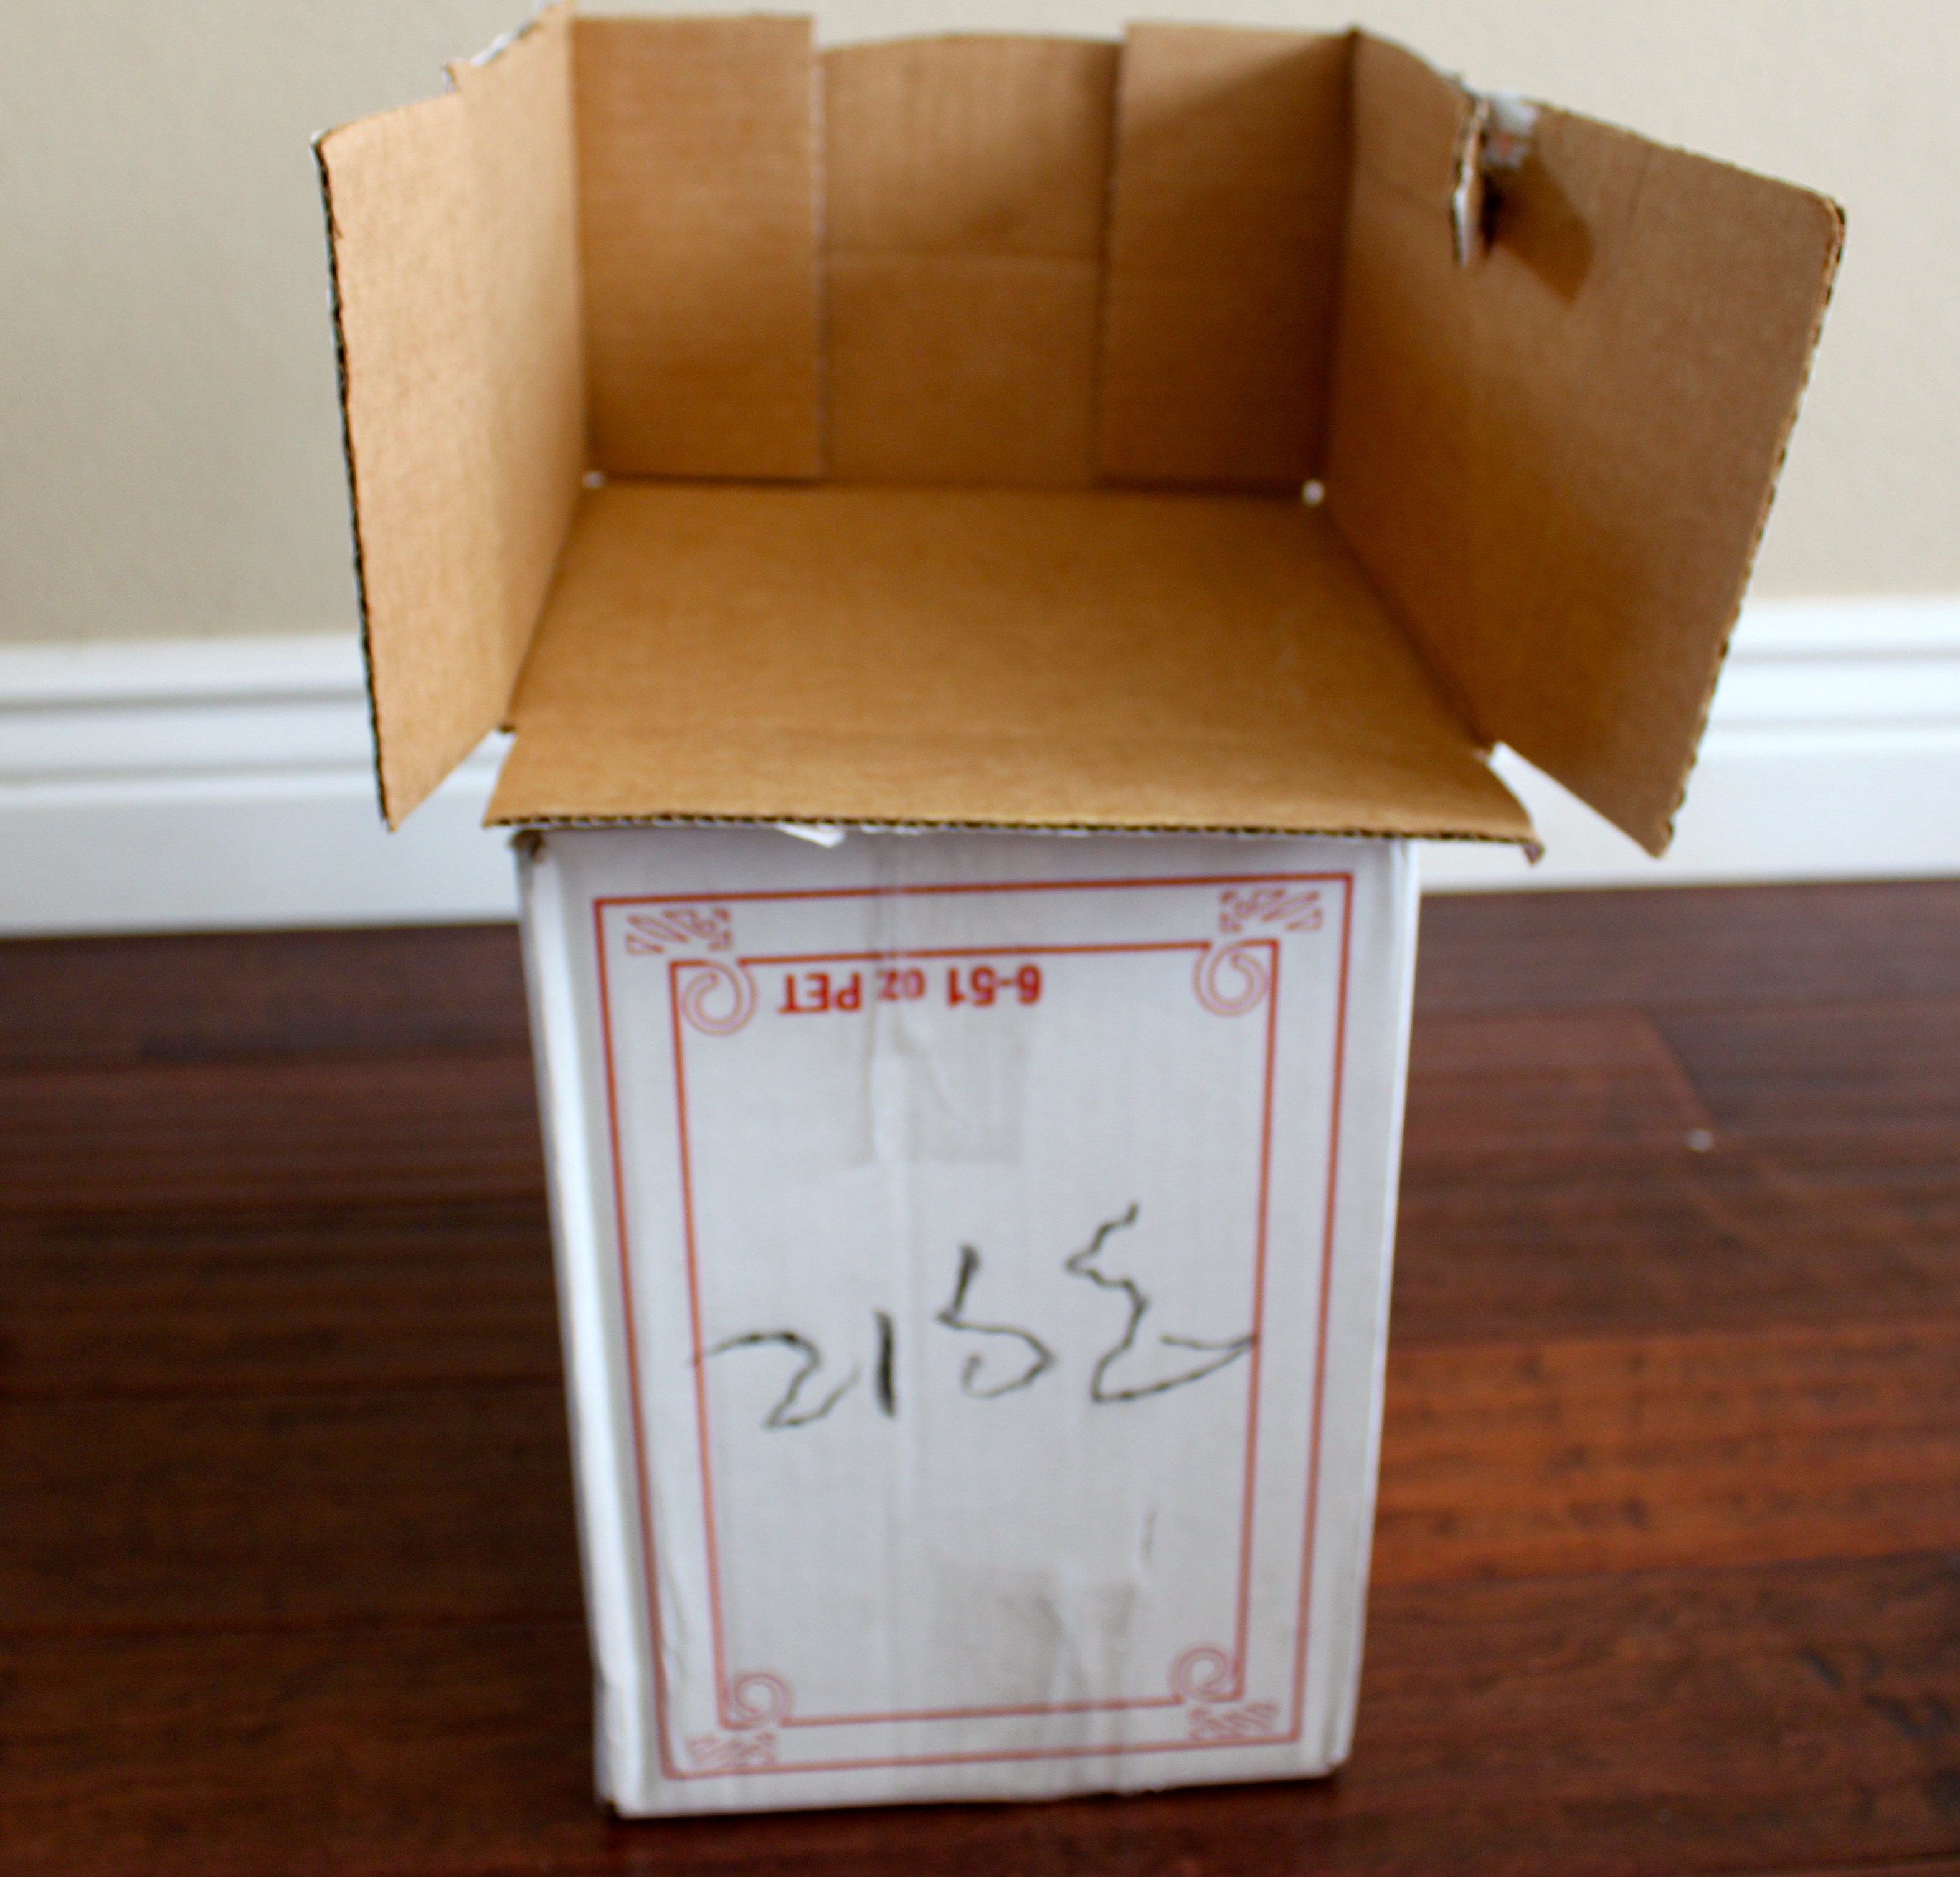
Step 3
Tape the other end of that open box onto another small box at the bottom of the ramp. The cars will hopefully drive into the box after painting down the ramp.
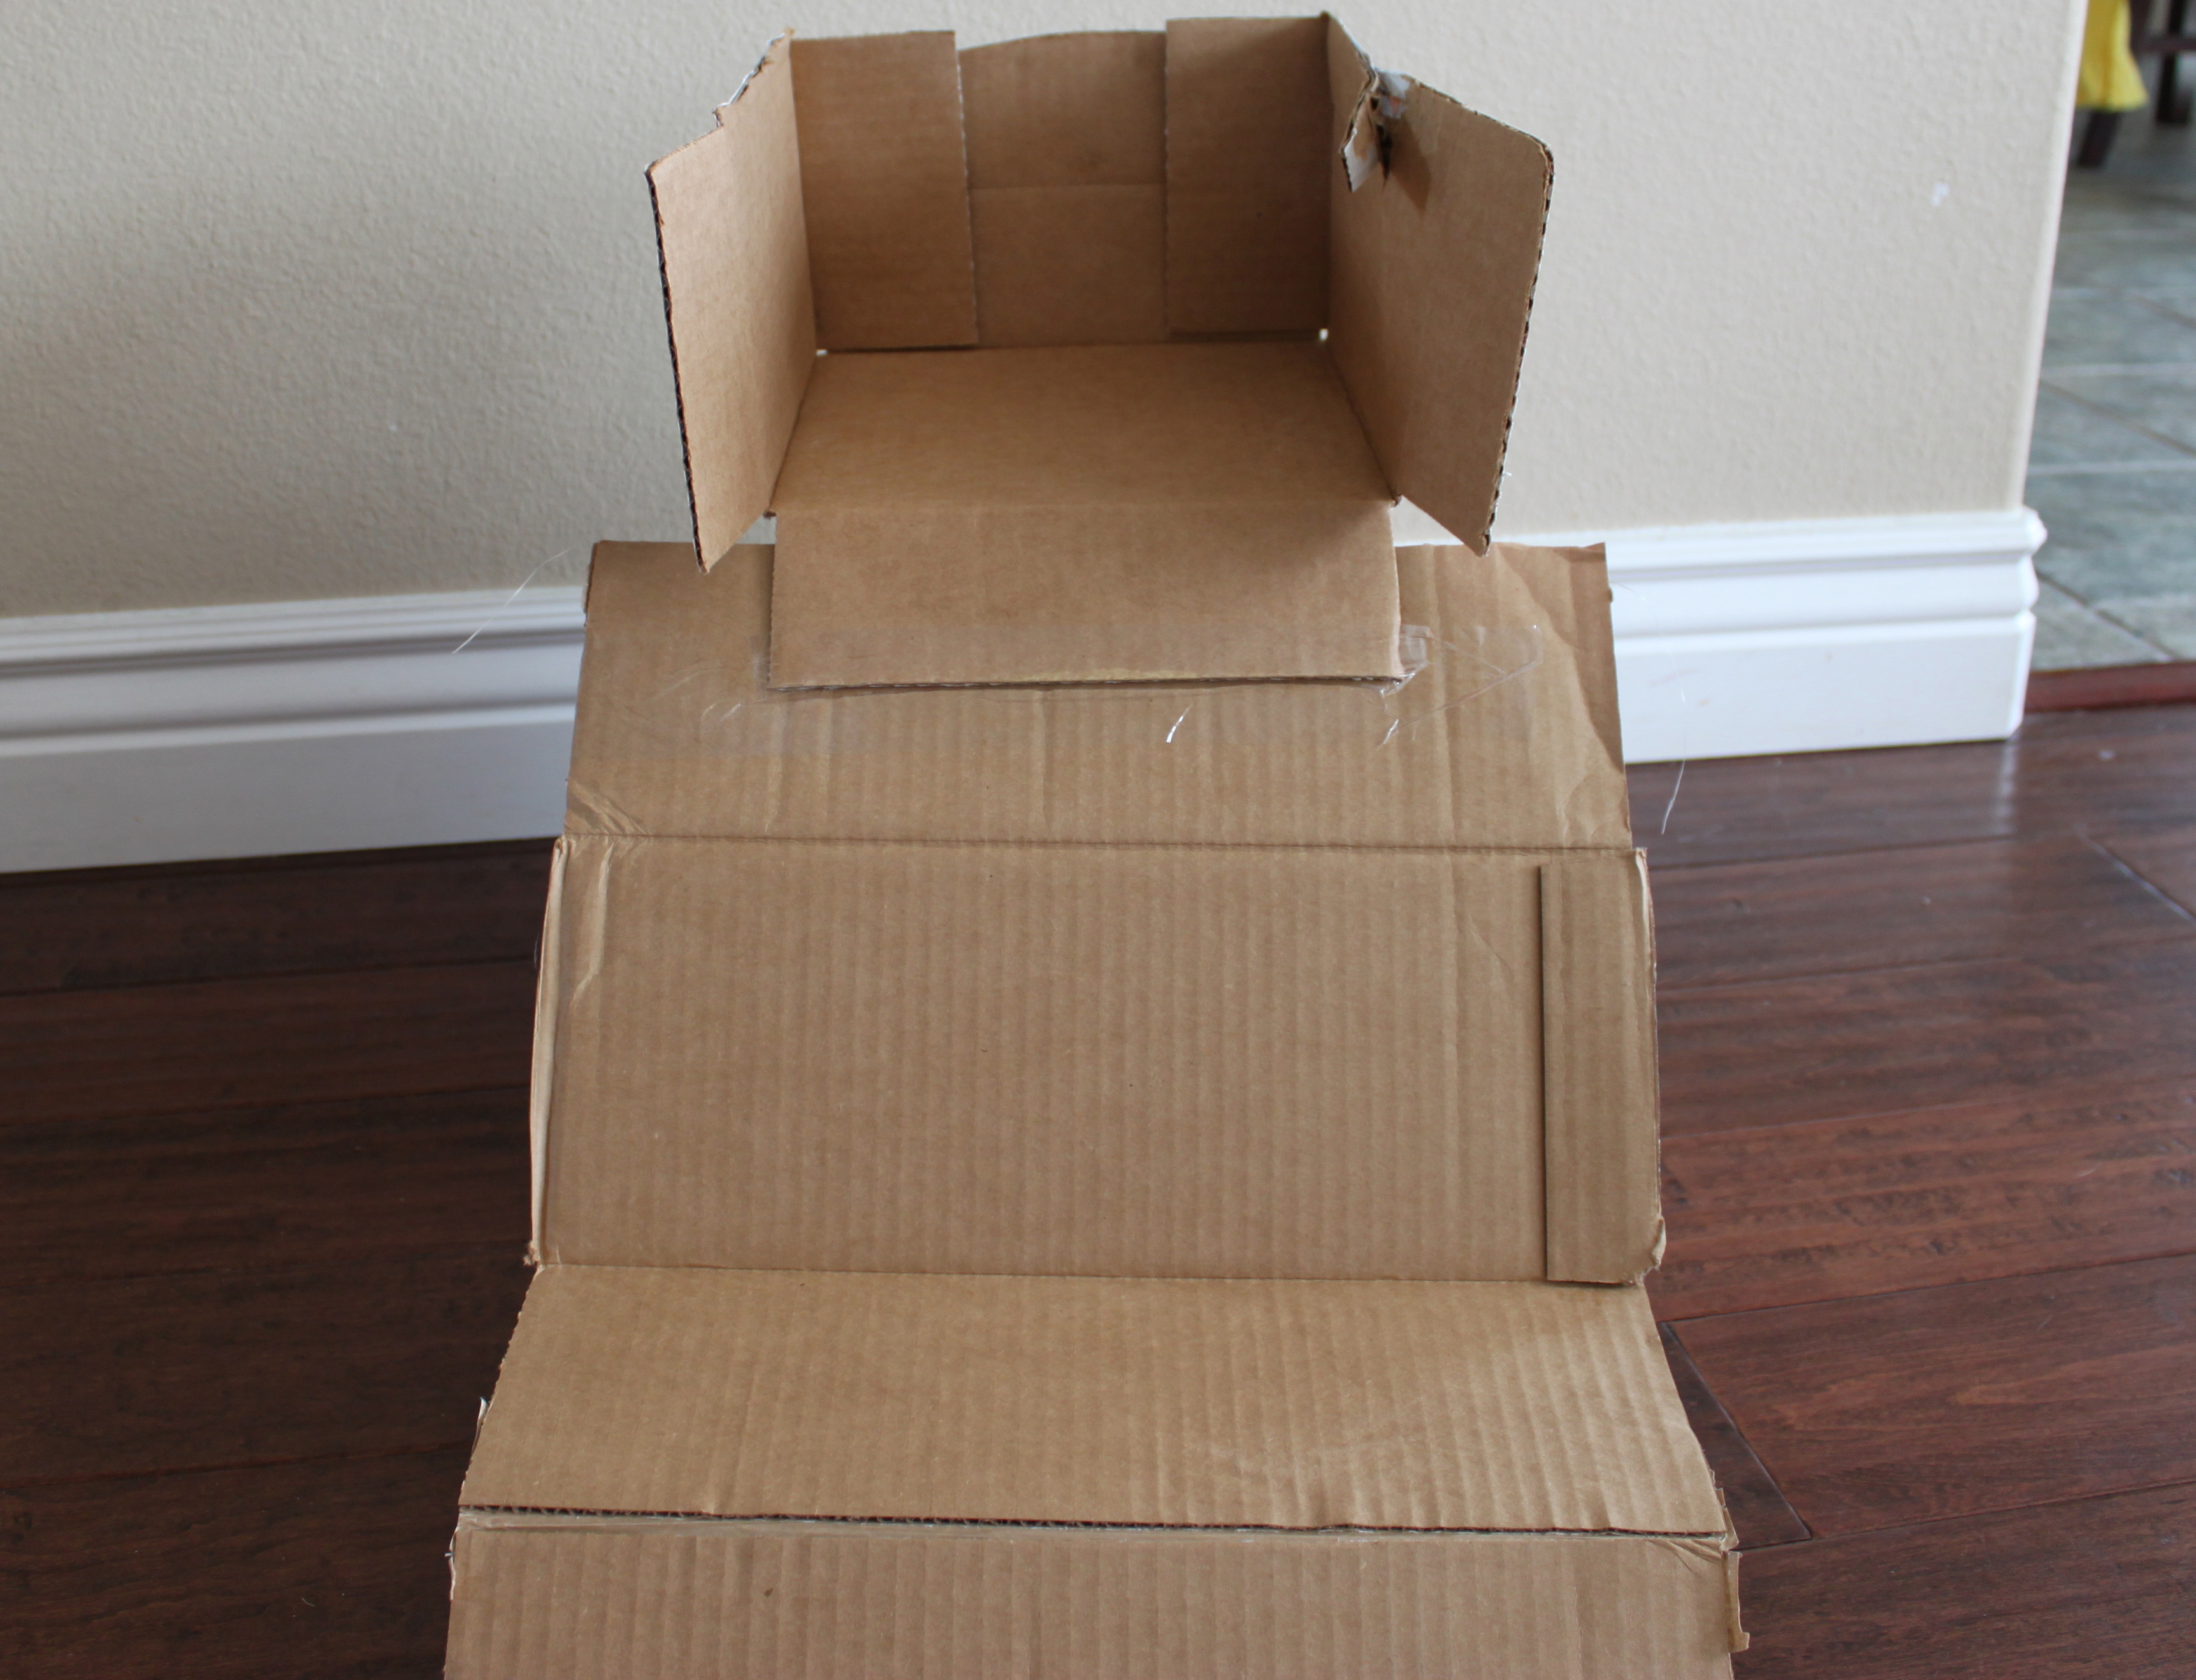
Step 4
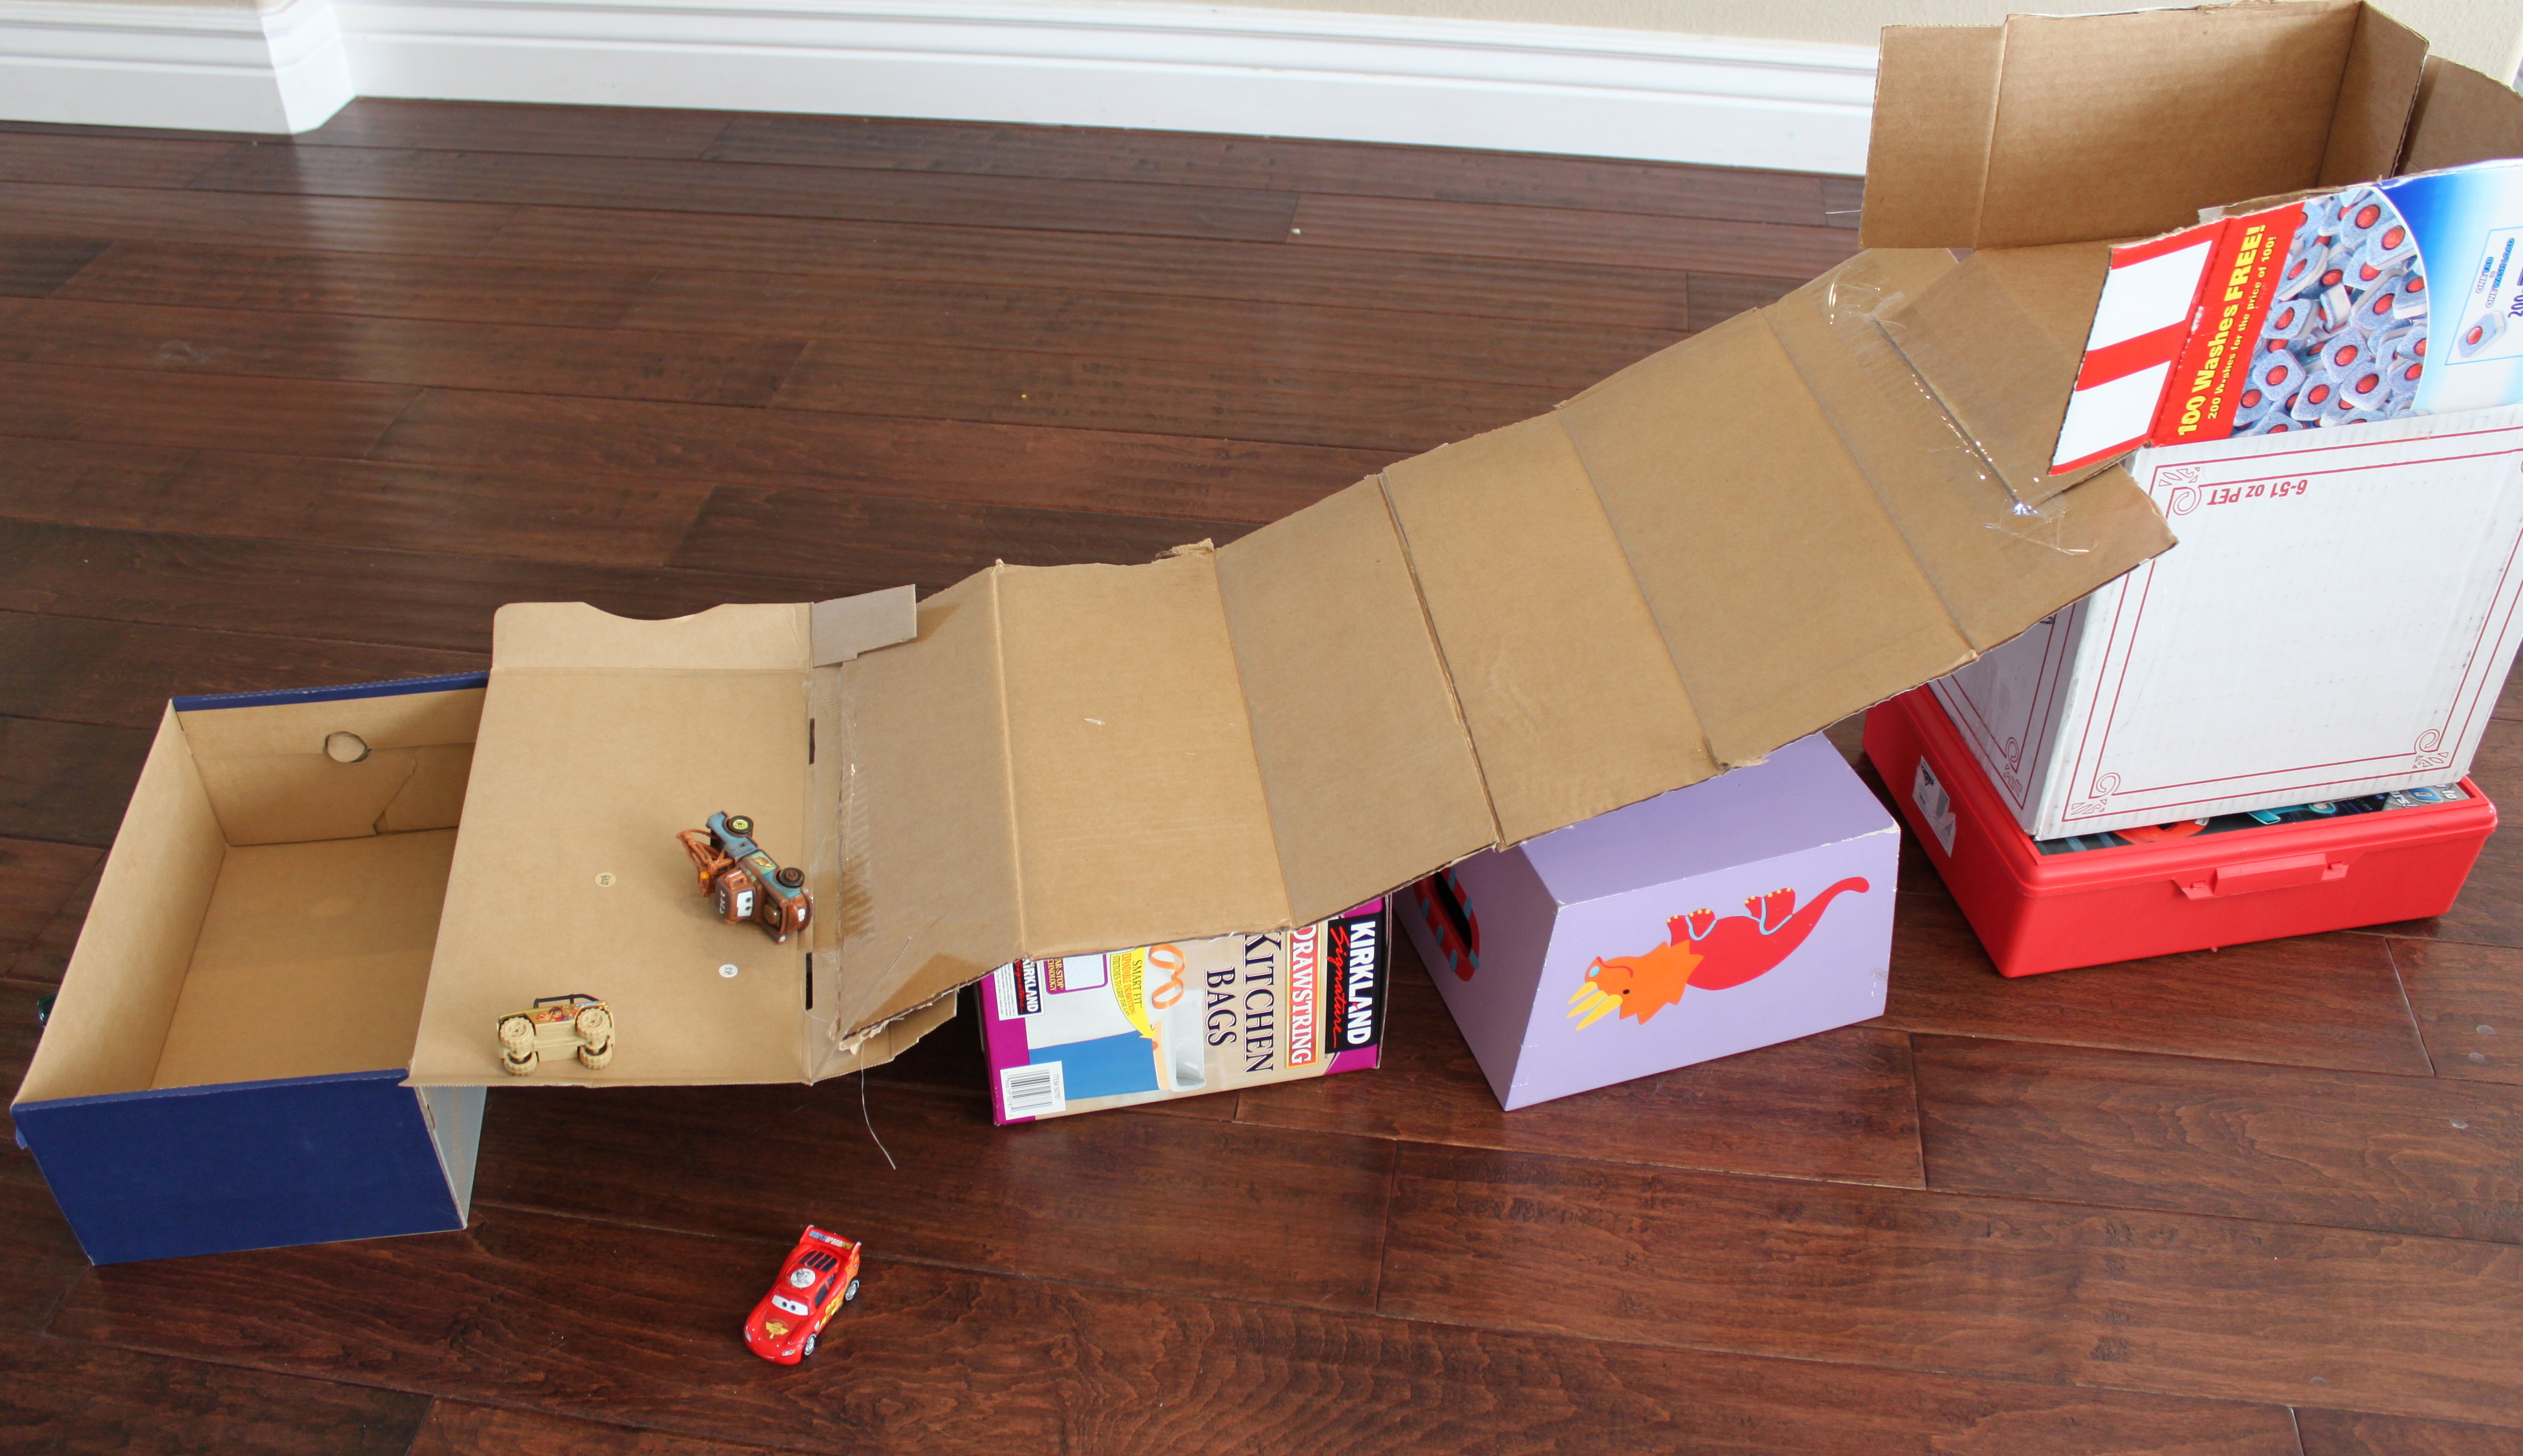
This is what our ramp looked like when it was finished. We had to prop the beginning of the ramp up onto another box to make it higher and we put other boxes underneath the middle of the ramp to keep it stable. Test drive the cars down the ramp to make sure they drive all the way down. Your kids will love experimenting with the ramp, but just wait and see the excitement when you add the paper and paint!
Step 5
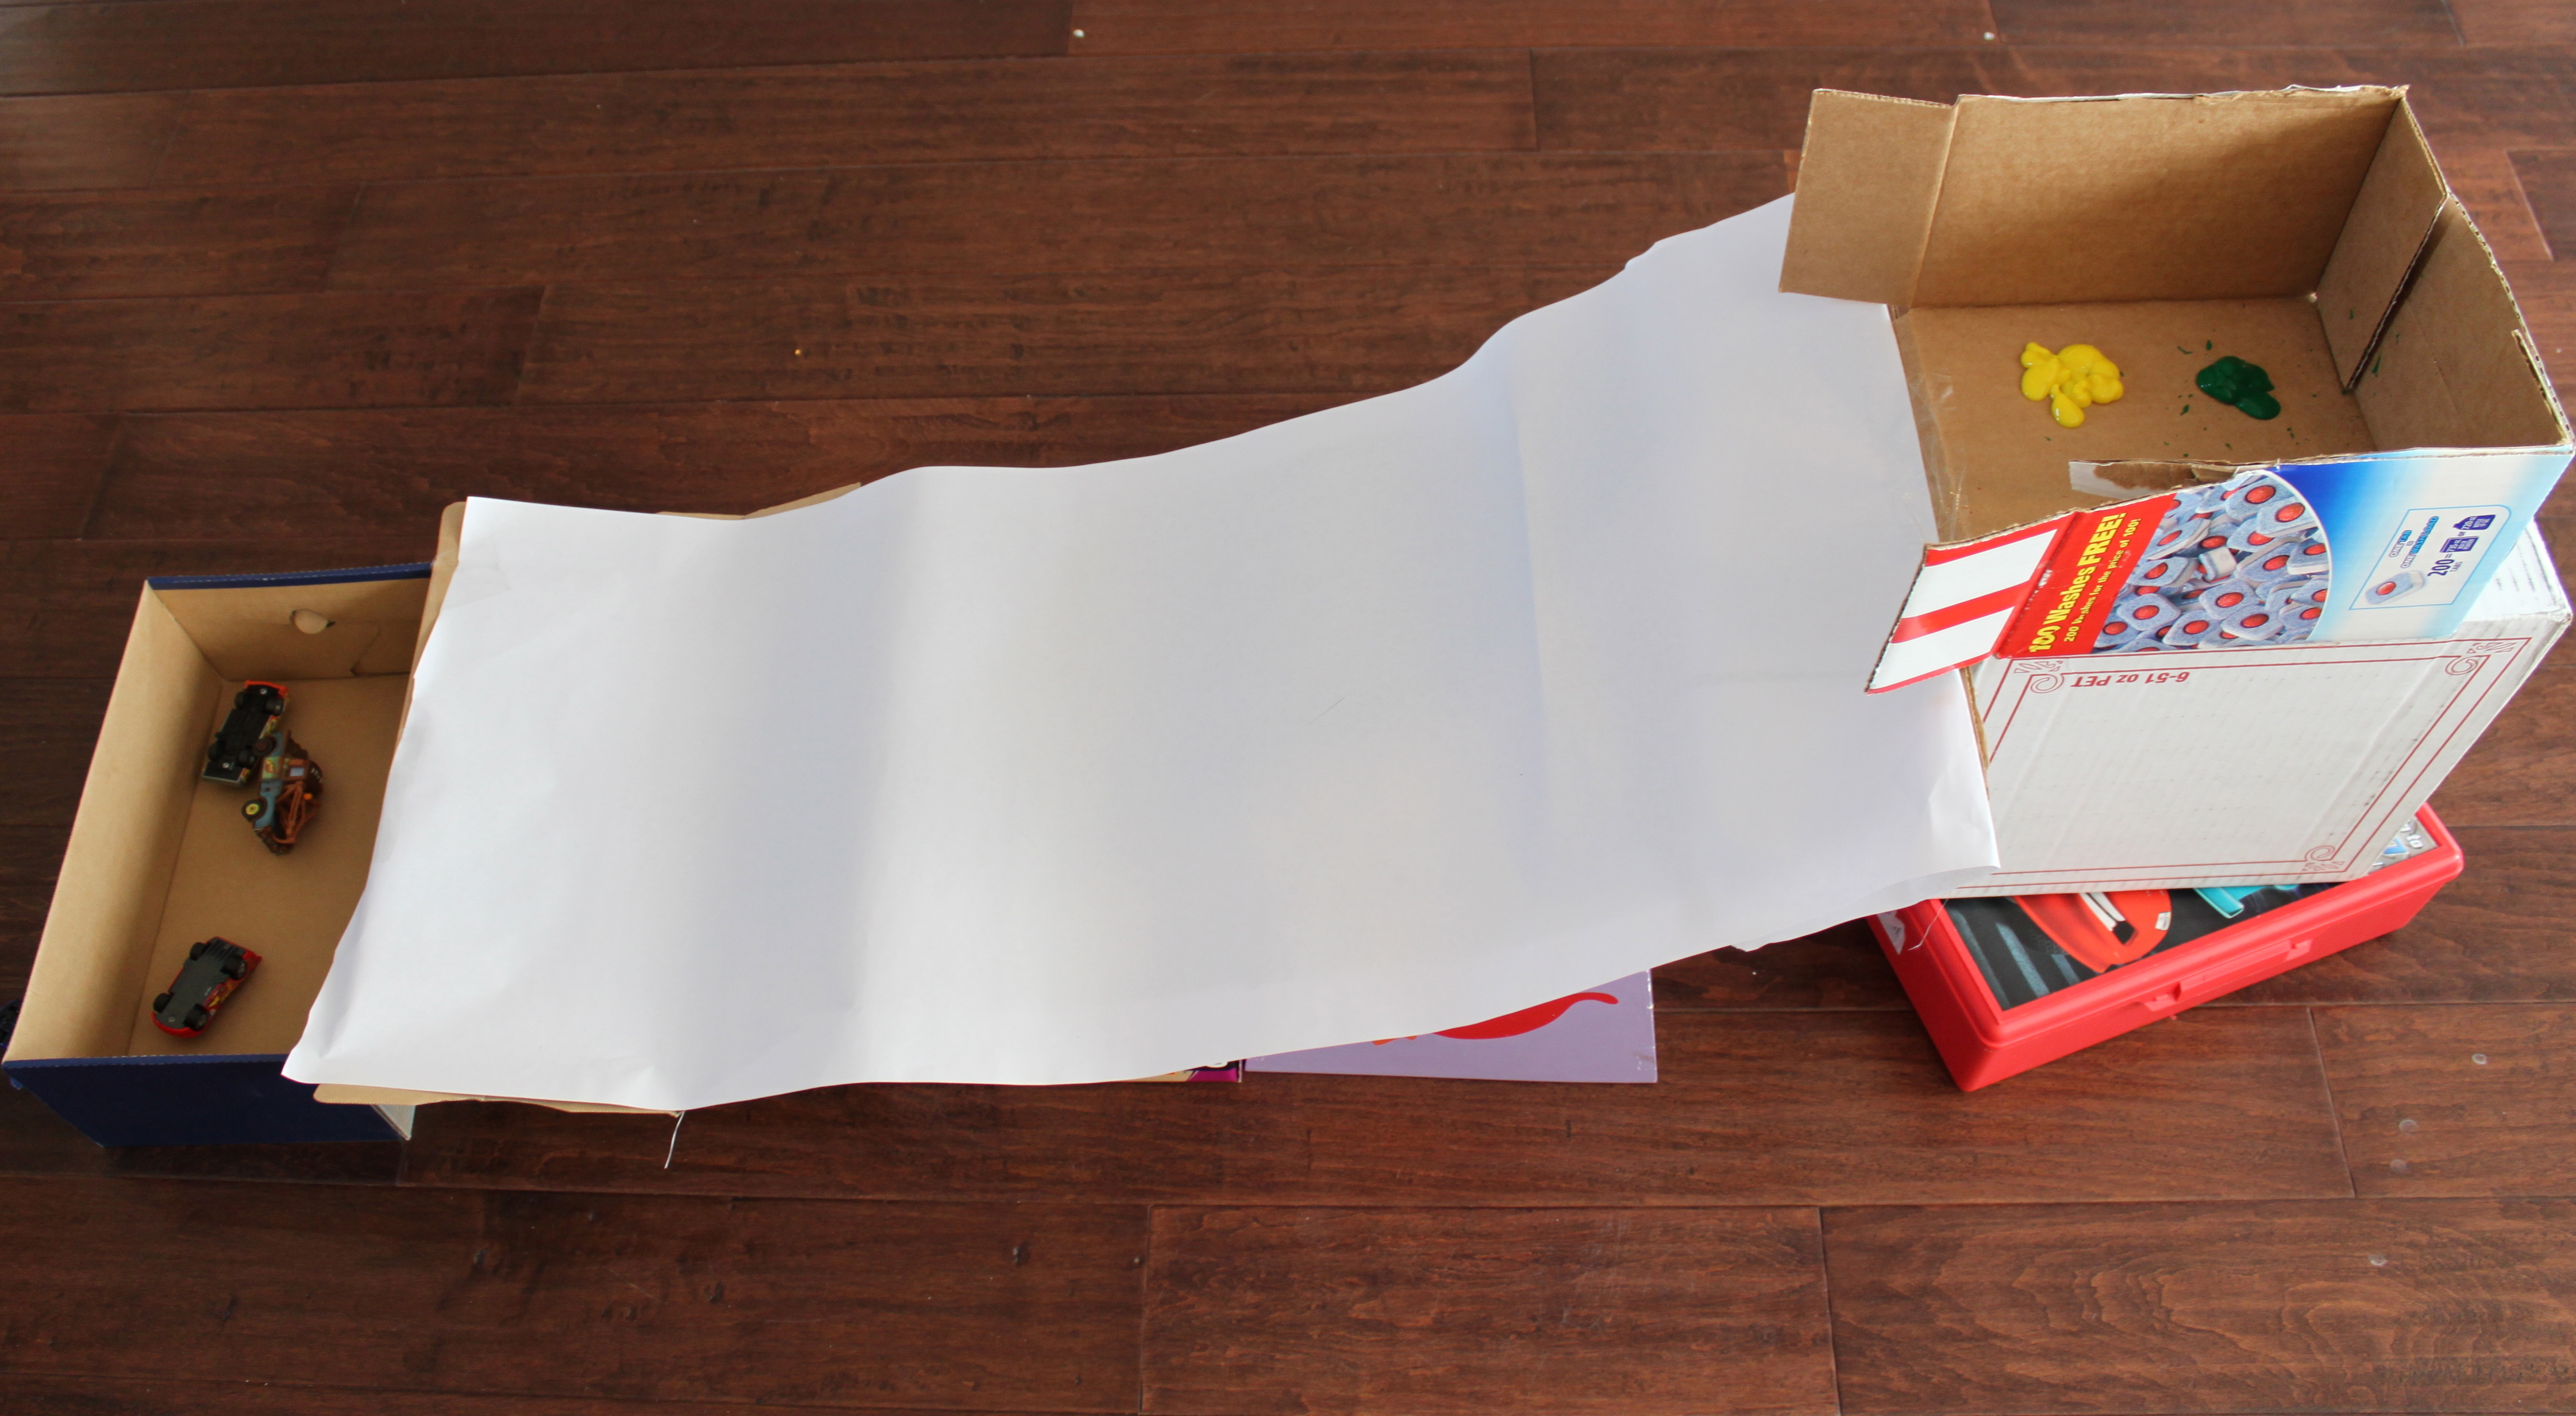
Tape a long piece of craft paper to the ramp. If you are using a slide, tape the paper to your slide and also tape a piece of cardboard at the top to hold your paint.
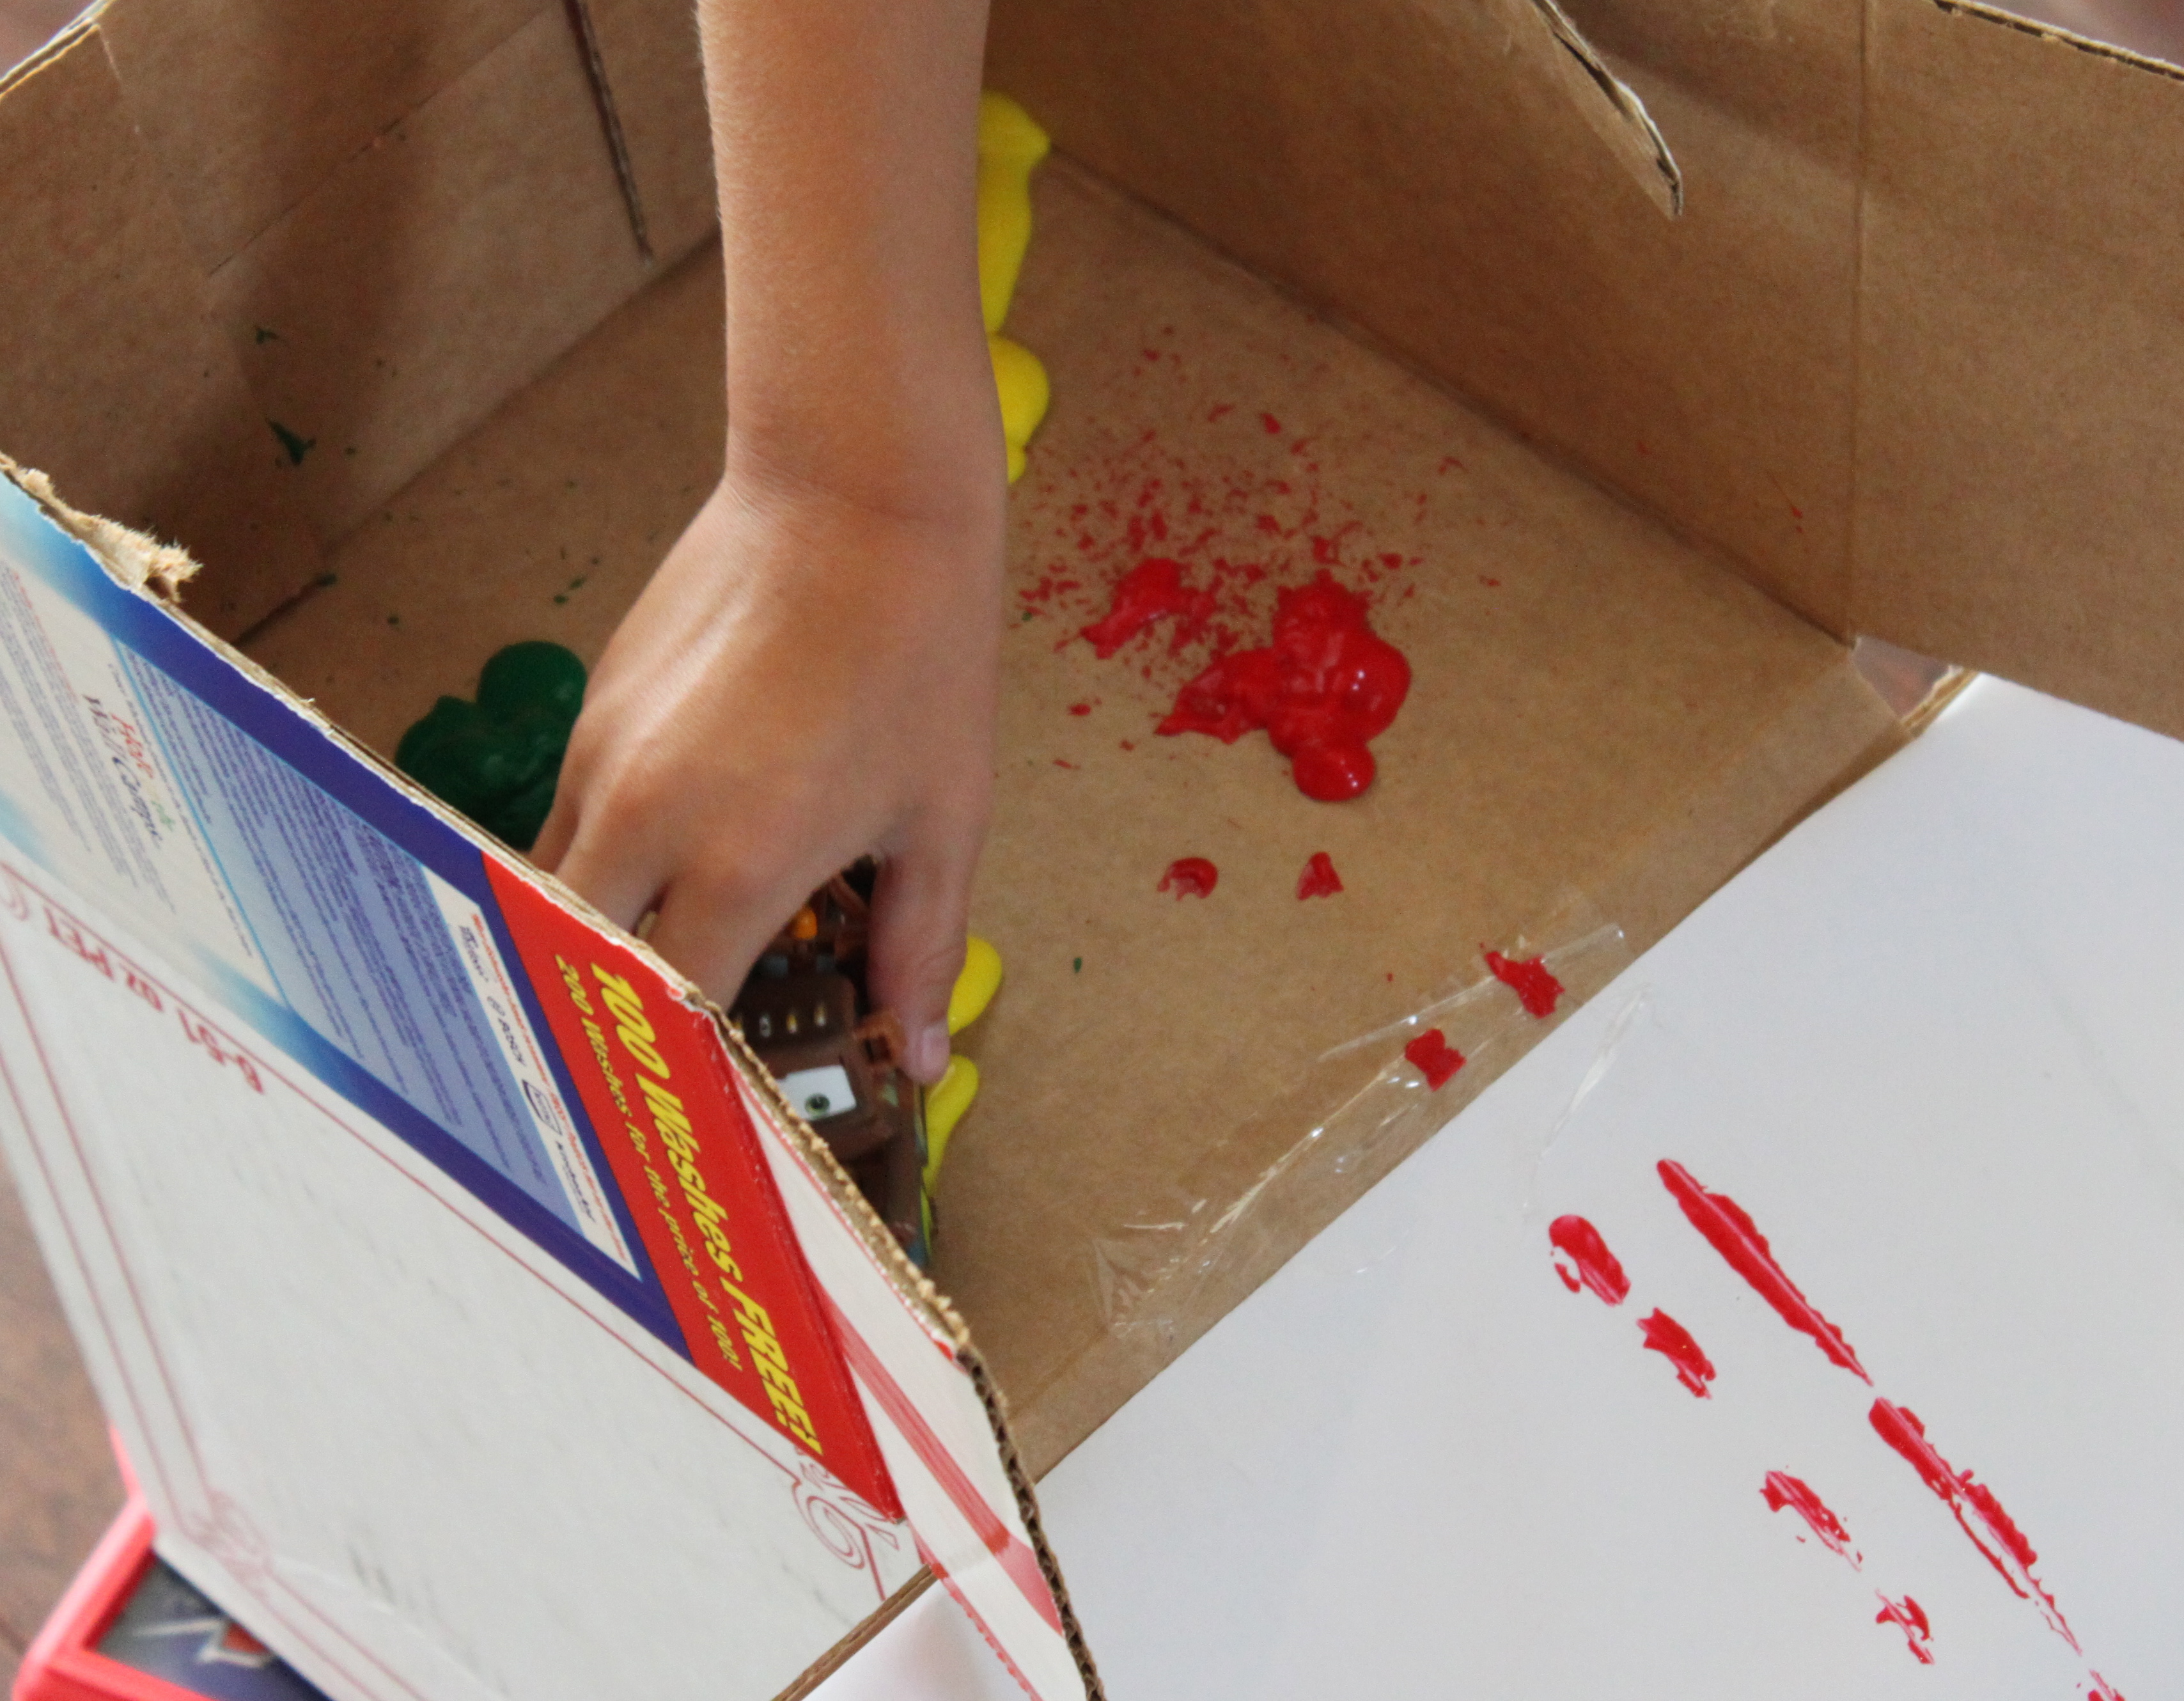
Step 6
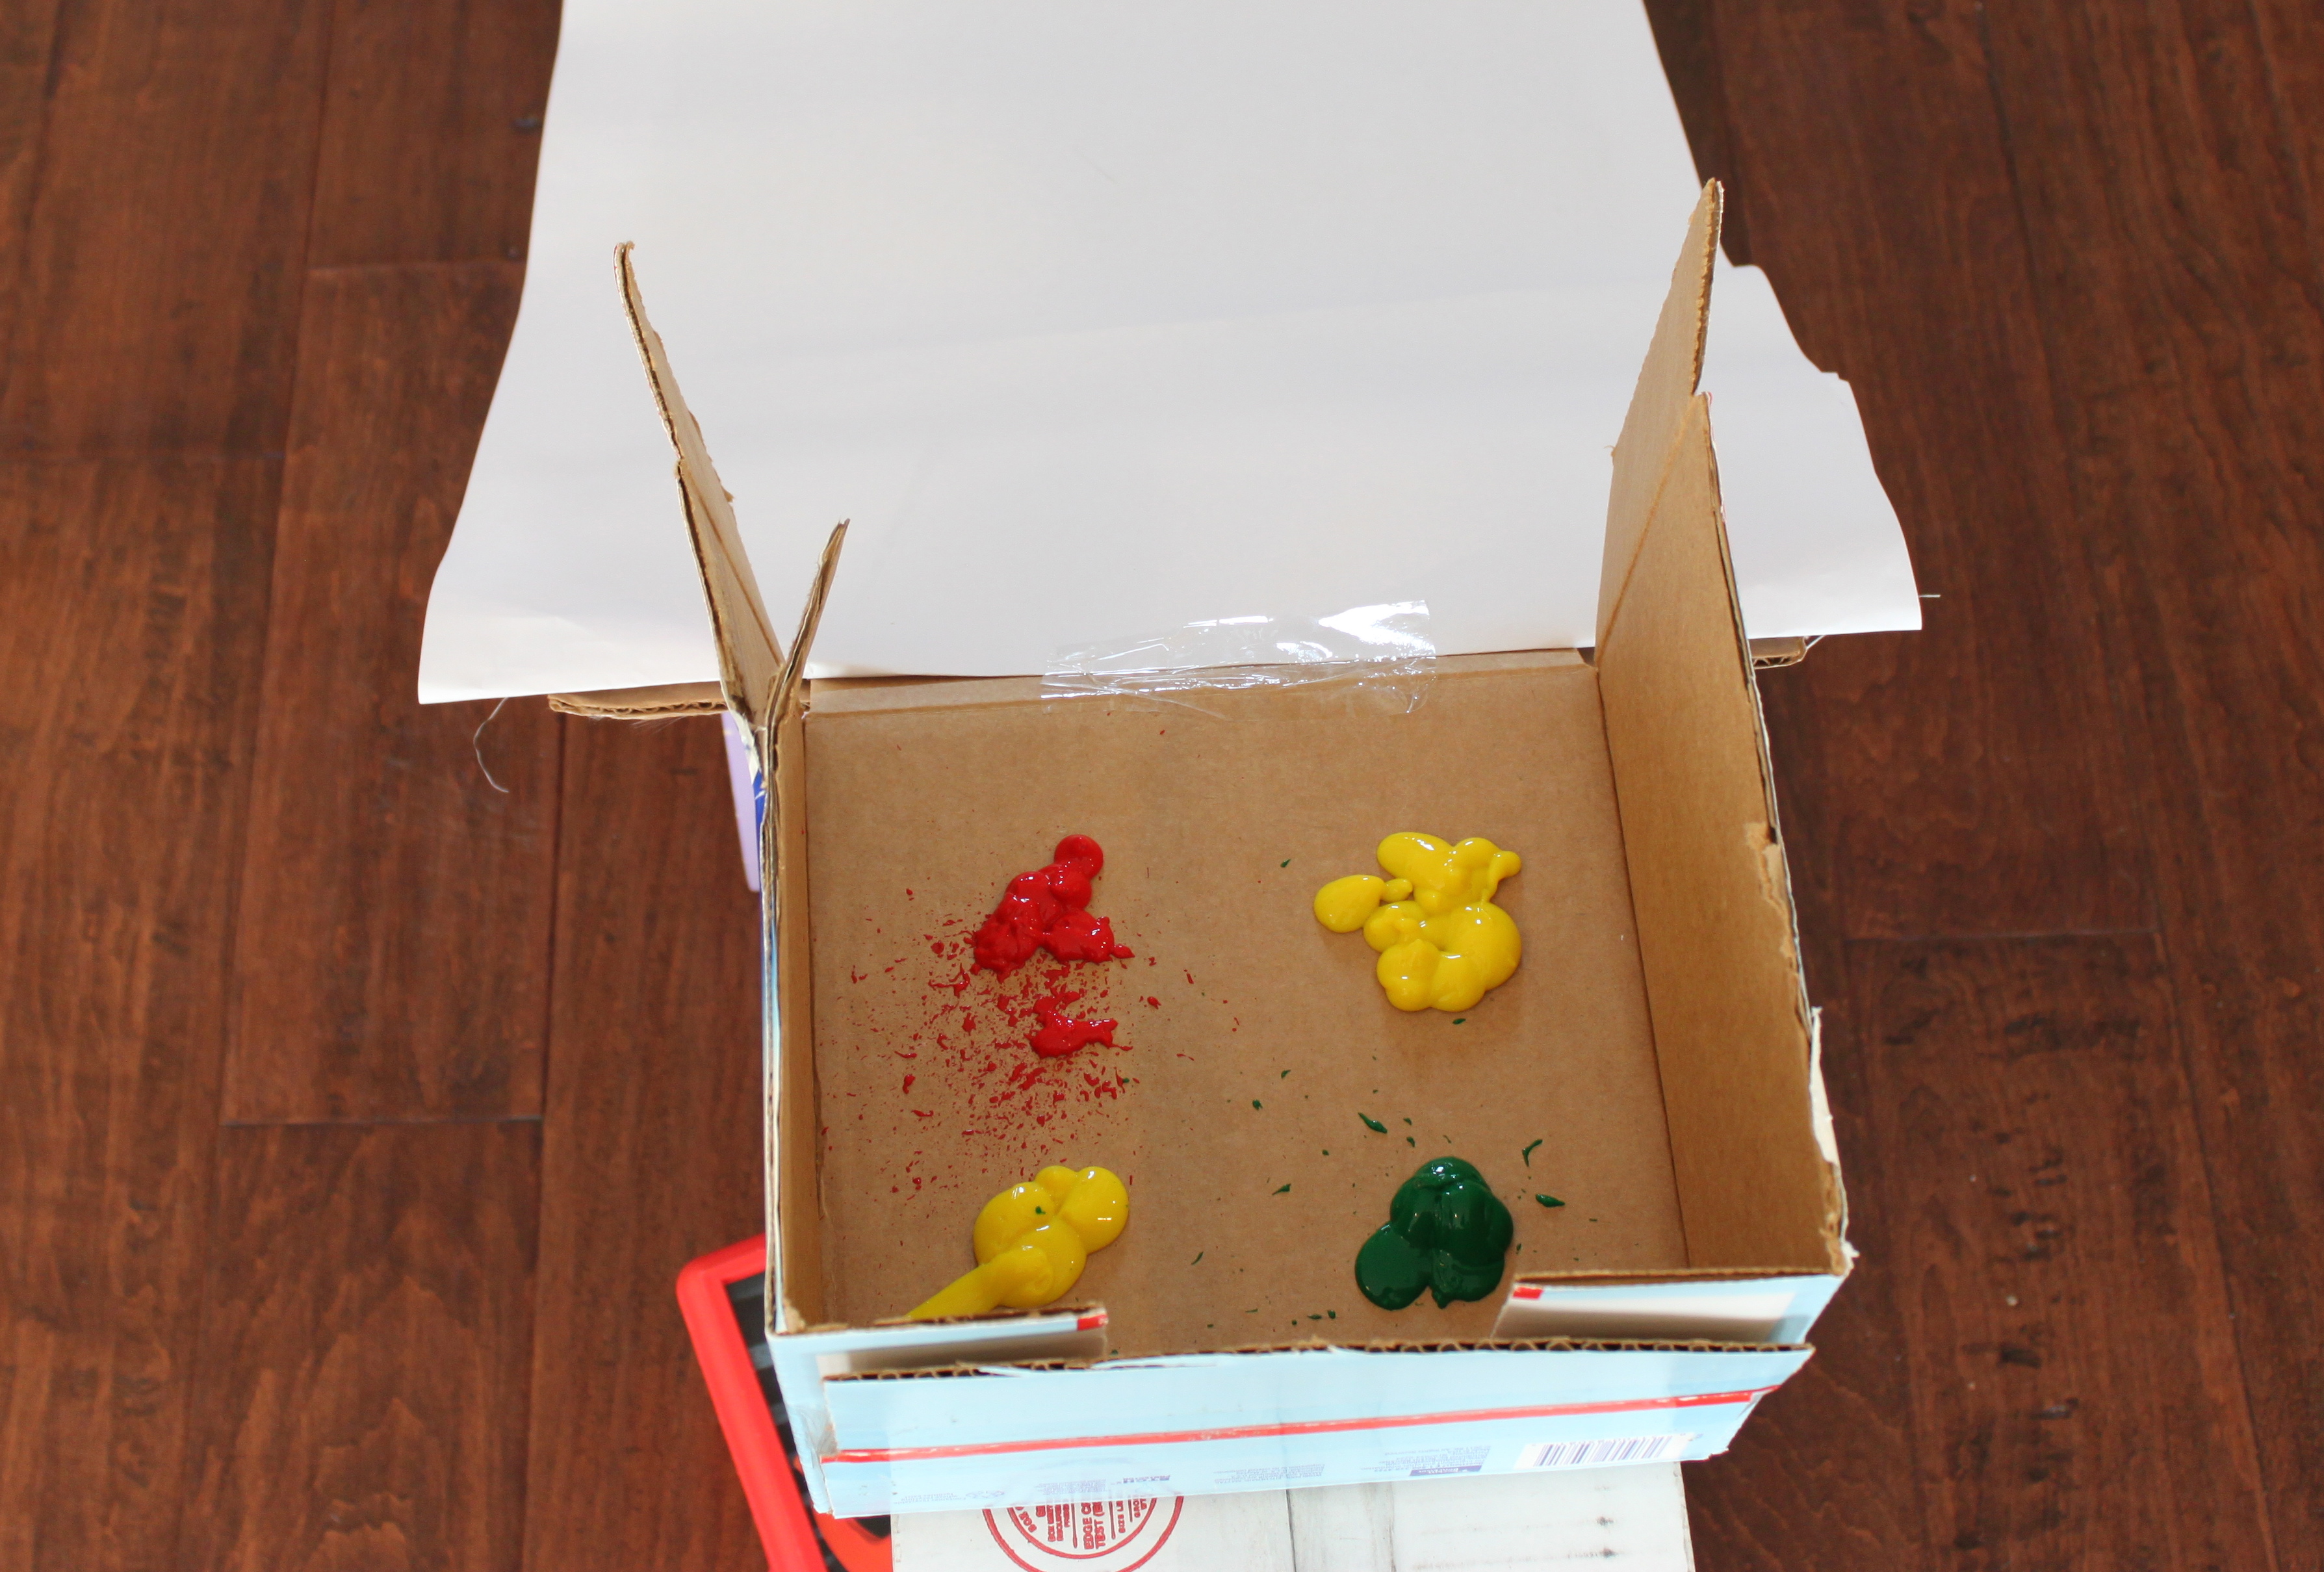
Add paint to the open box on top of the ramp.
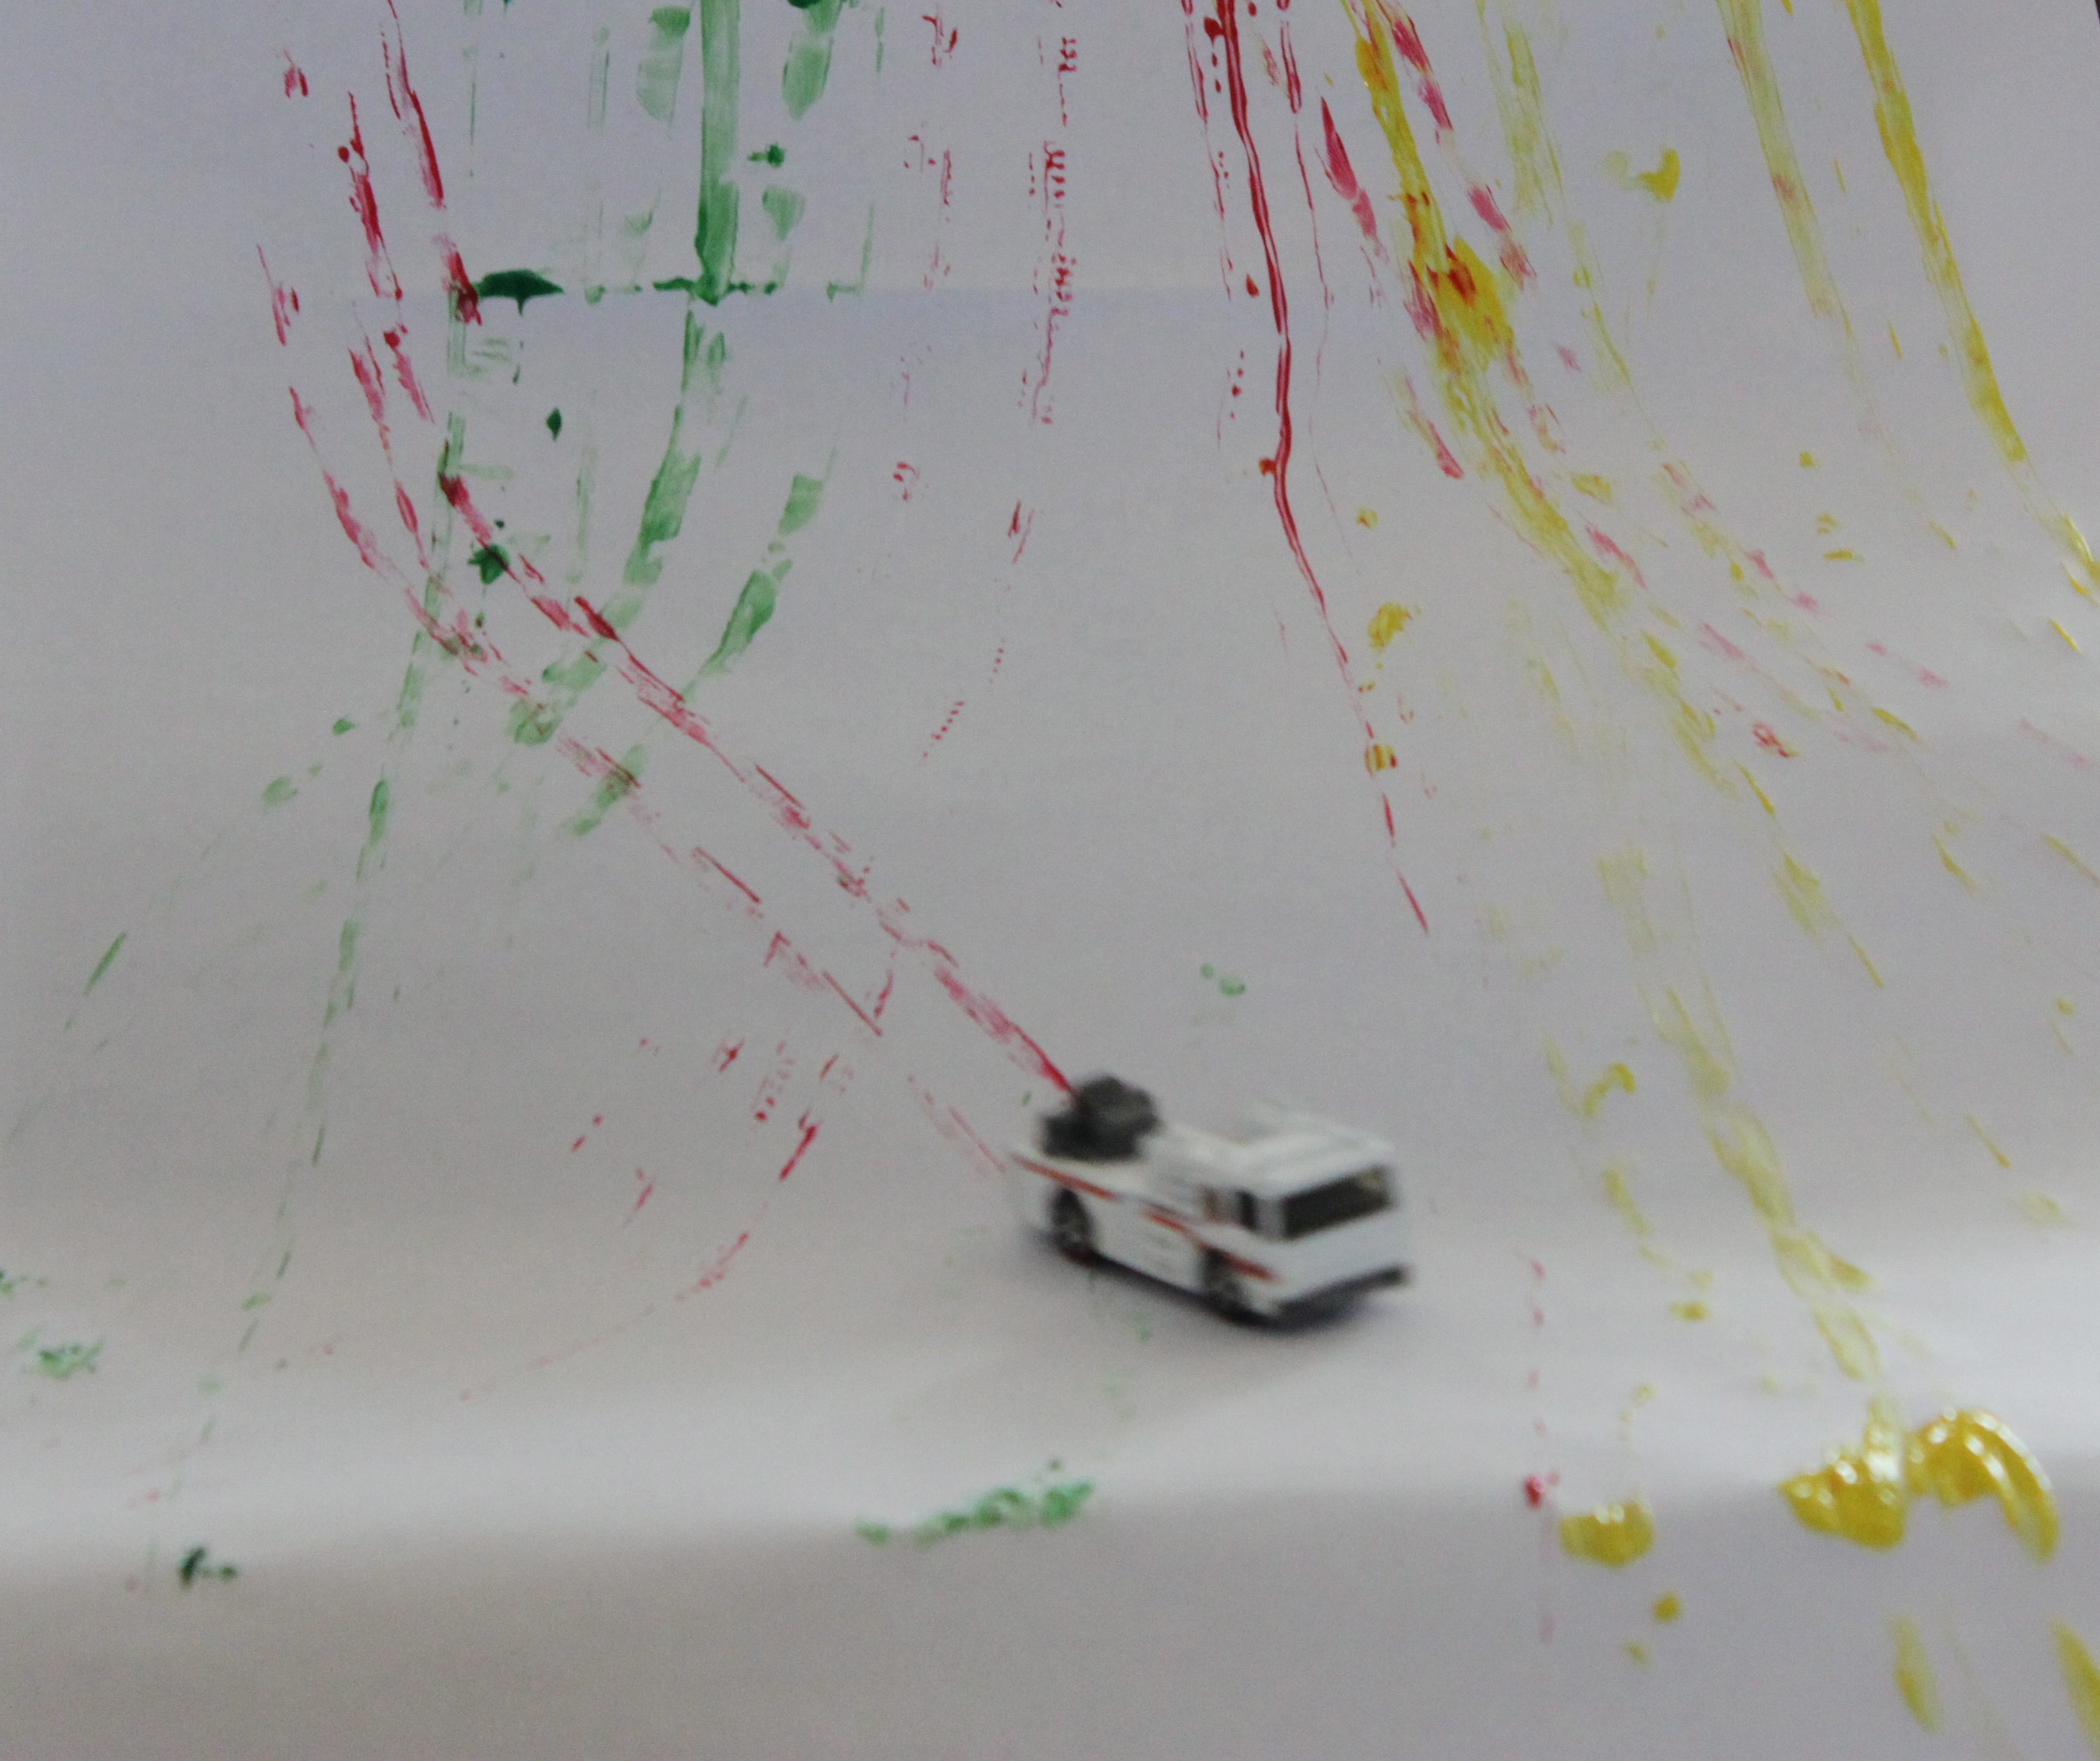
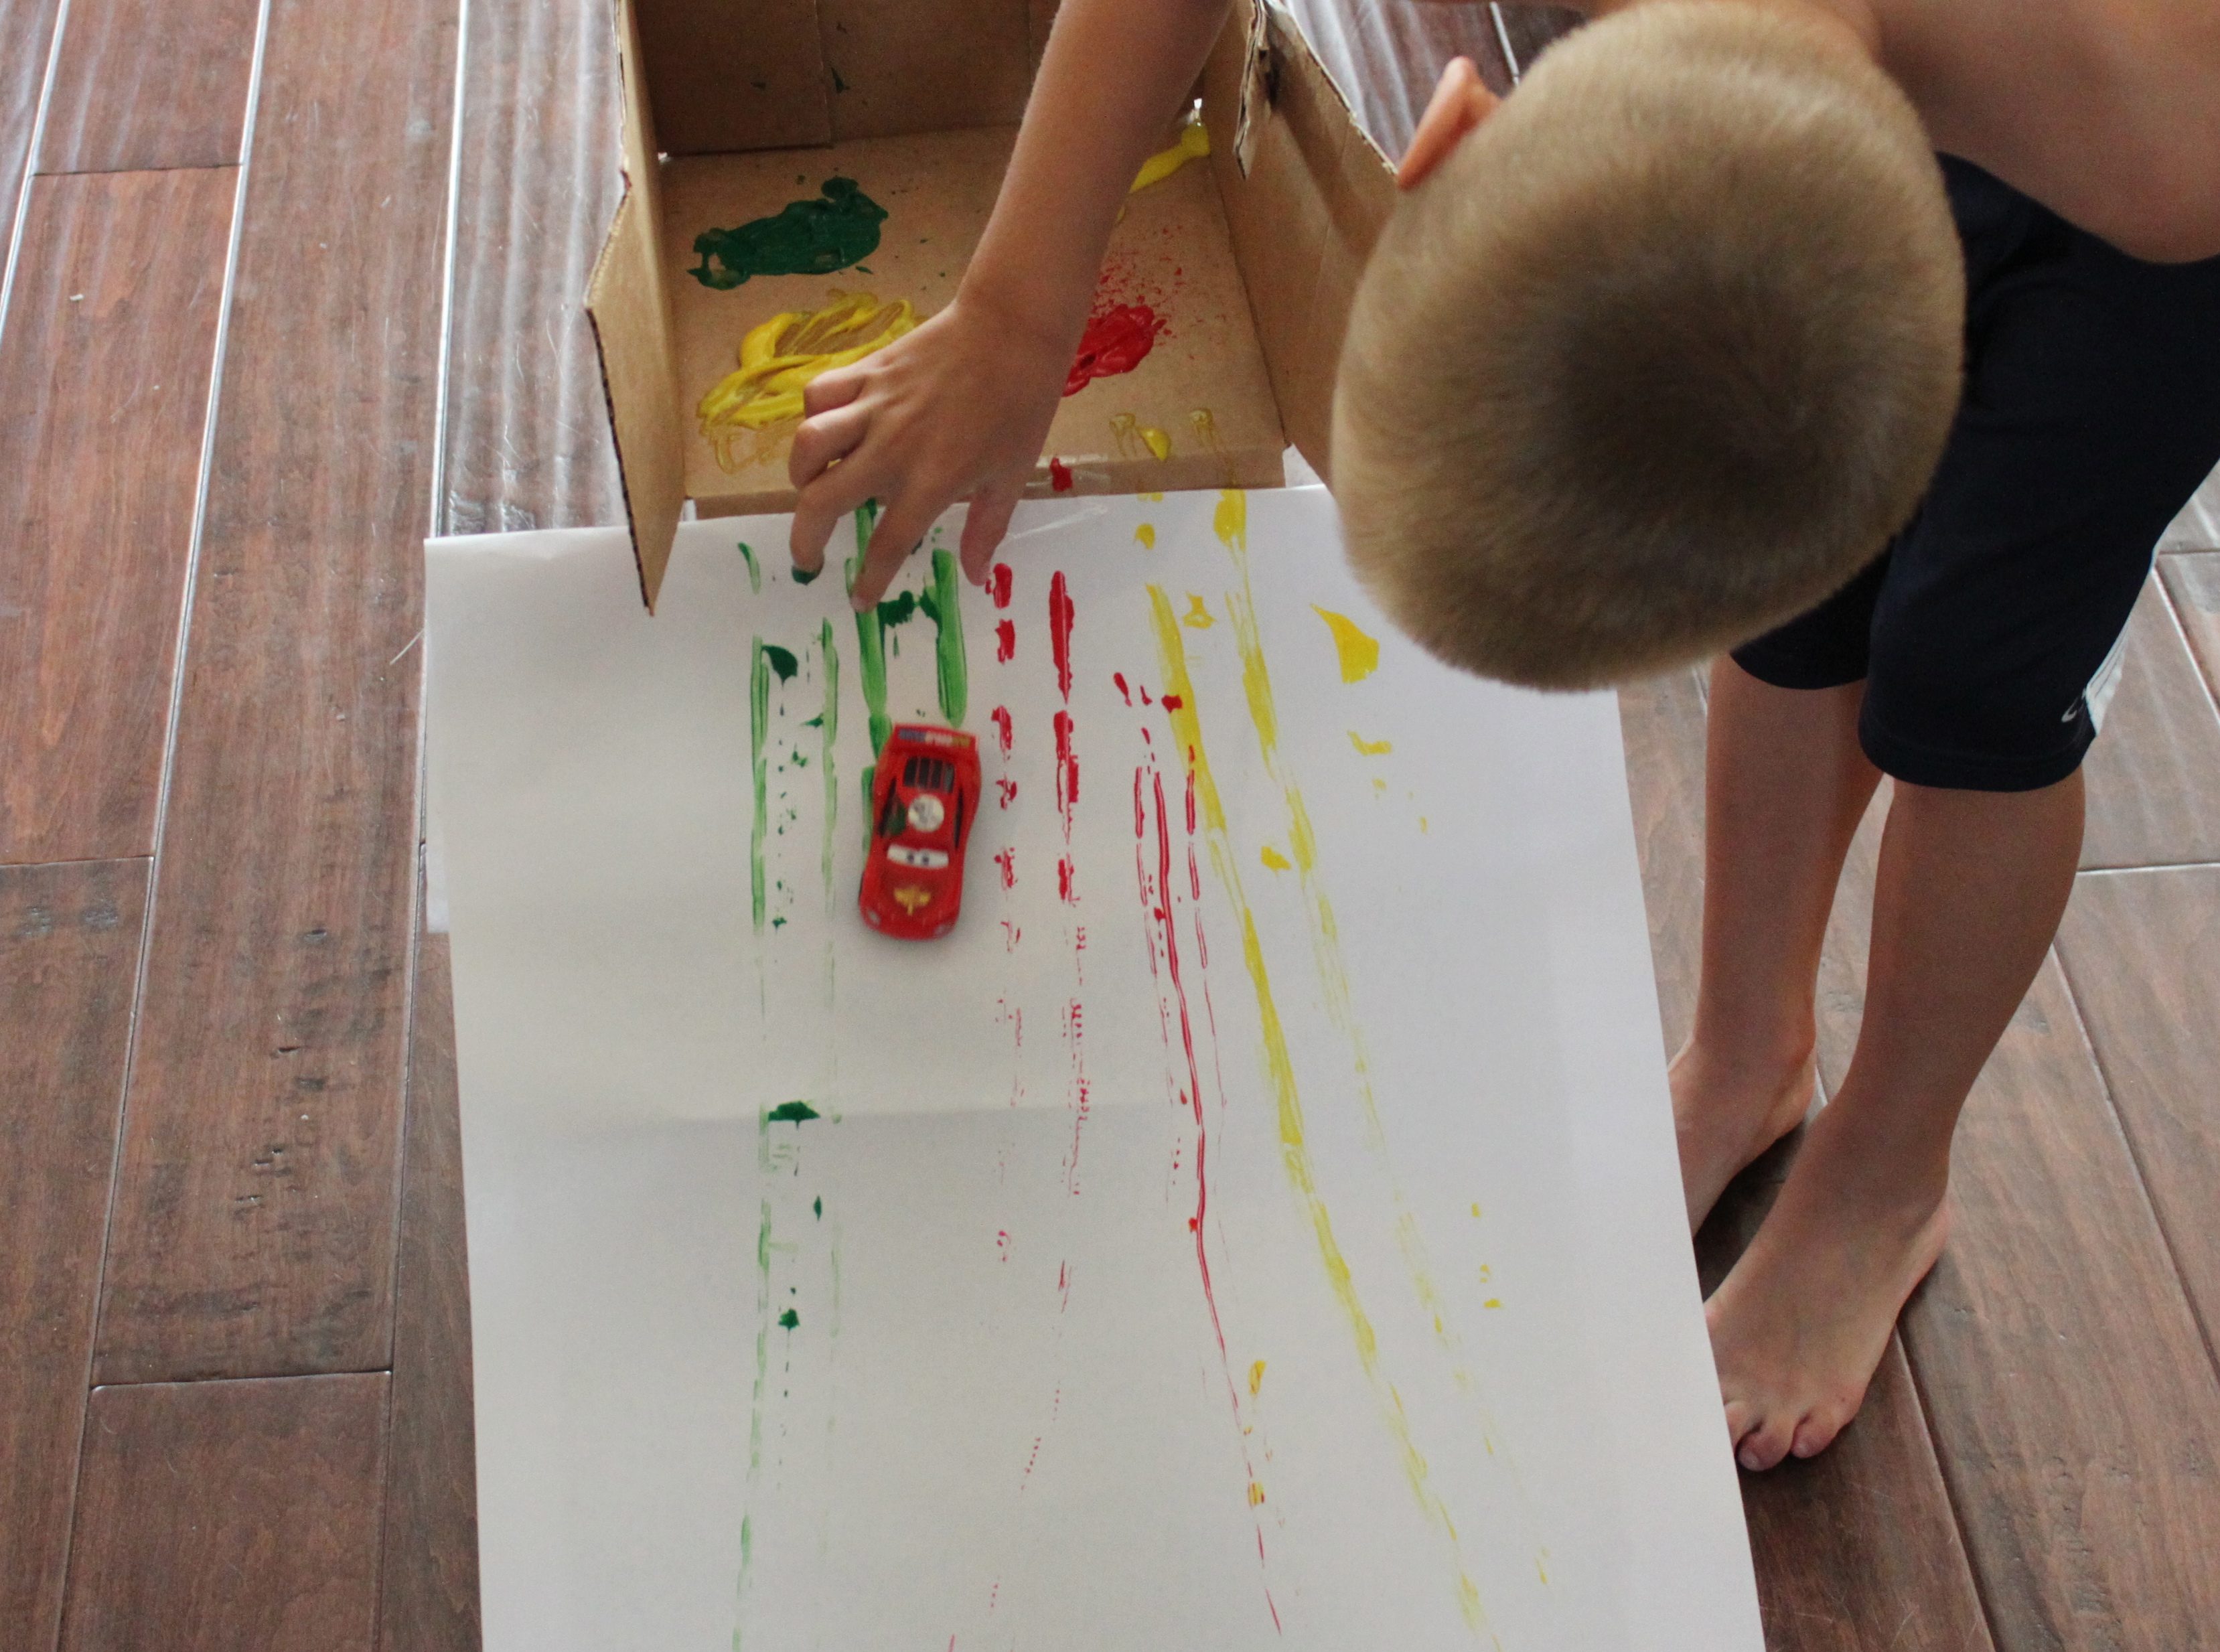
Step 7
Drive your cars through the paint.
Step 8
Let the cars paint down the ramp. You can let them go at the top and see what happens or you can drive them down to make a particular pattern or design. Your cars will stop at the bottom of the ramp or drive into the box at the bottom. Have a few wipes handy in case they fall off the side.
Step 9
Experiment with different cars and colors of paint. It was so cool! The kids had a blast and the car artwork turned out really neat!
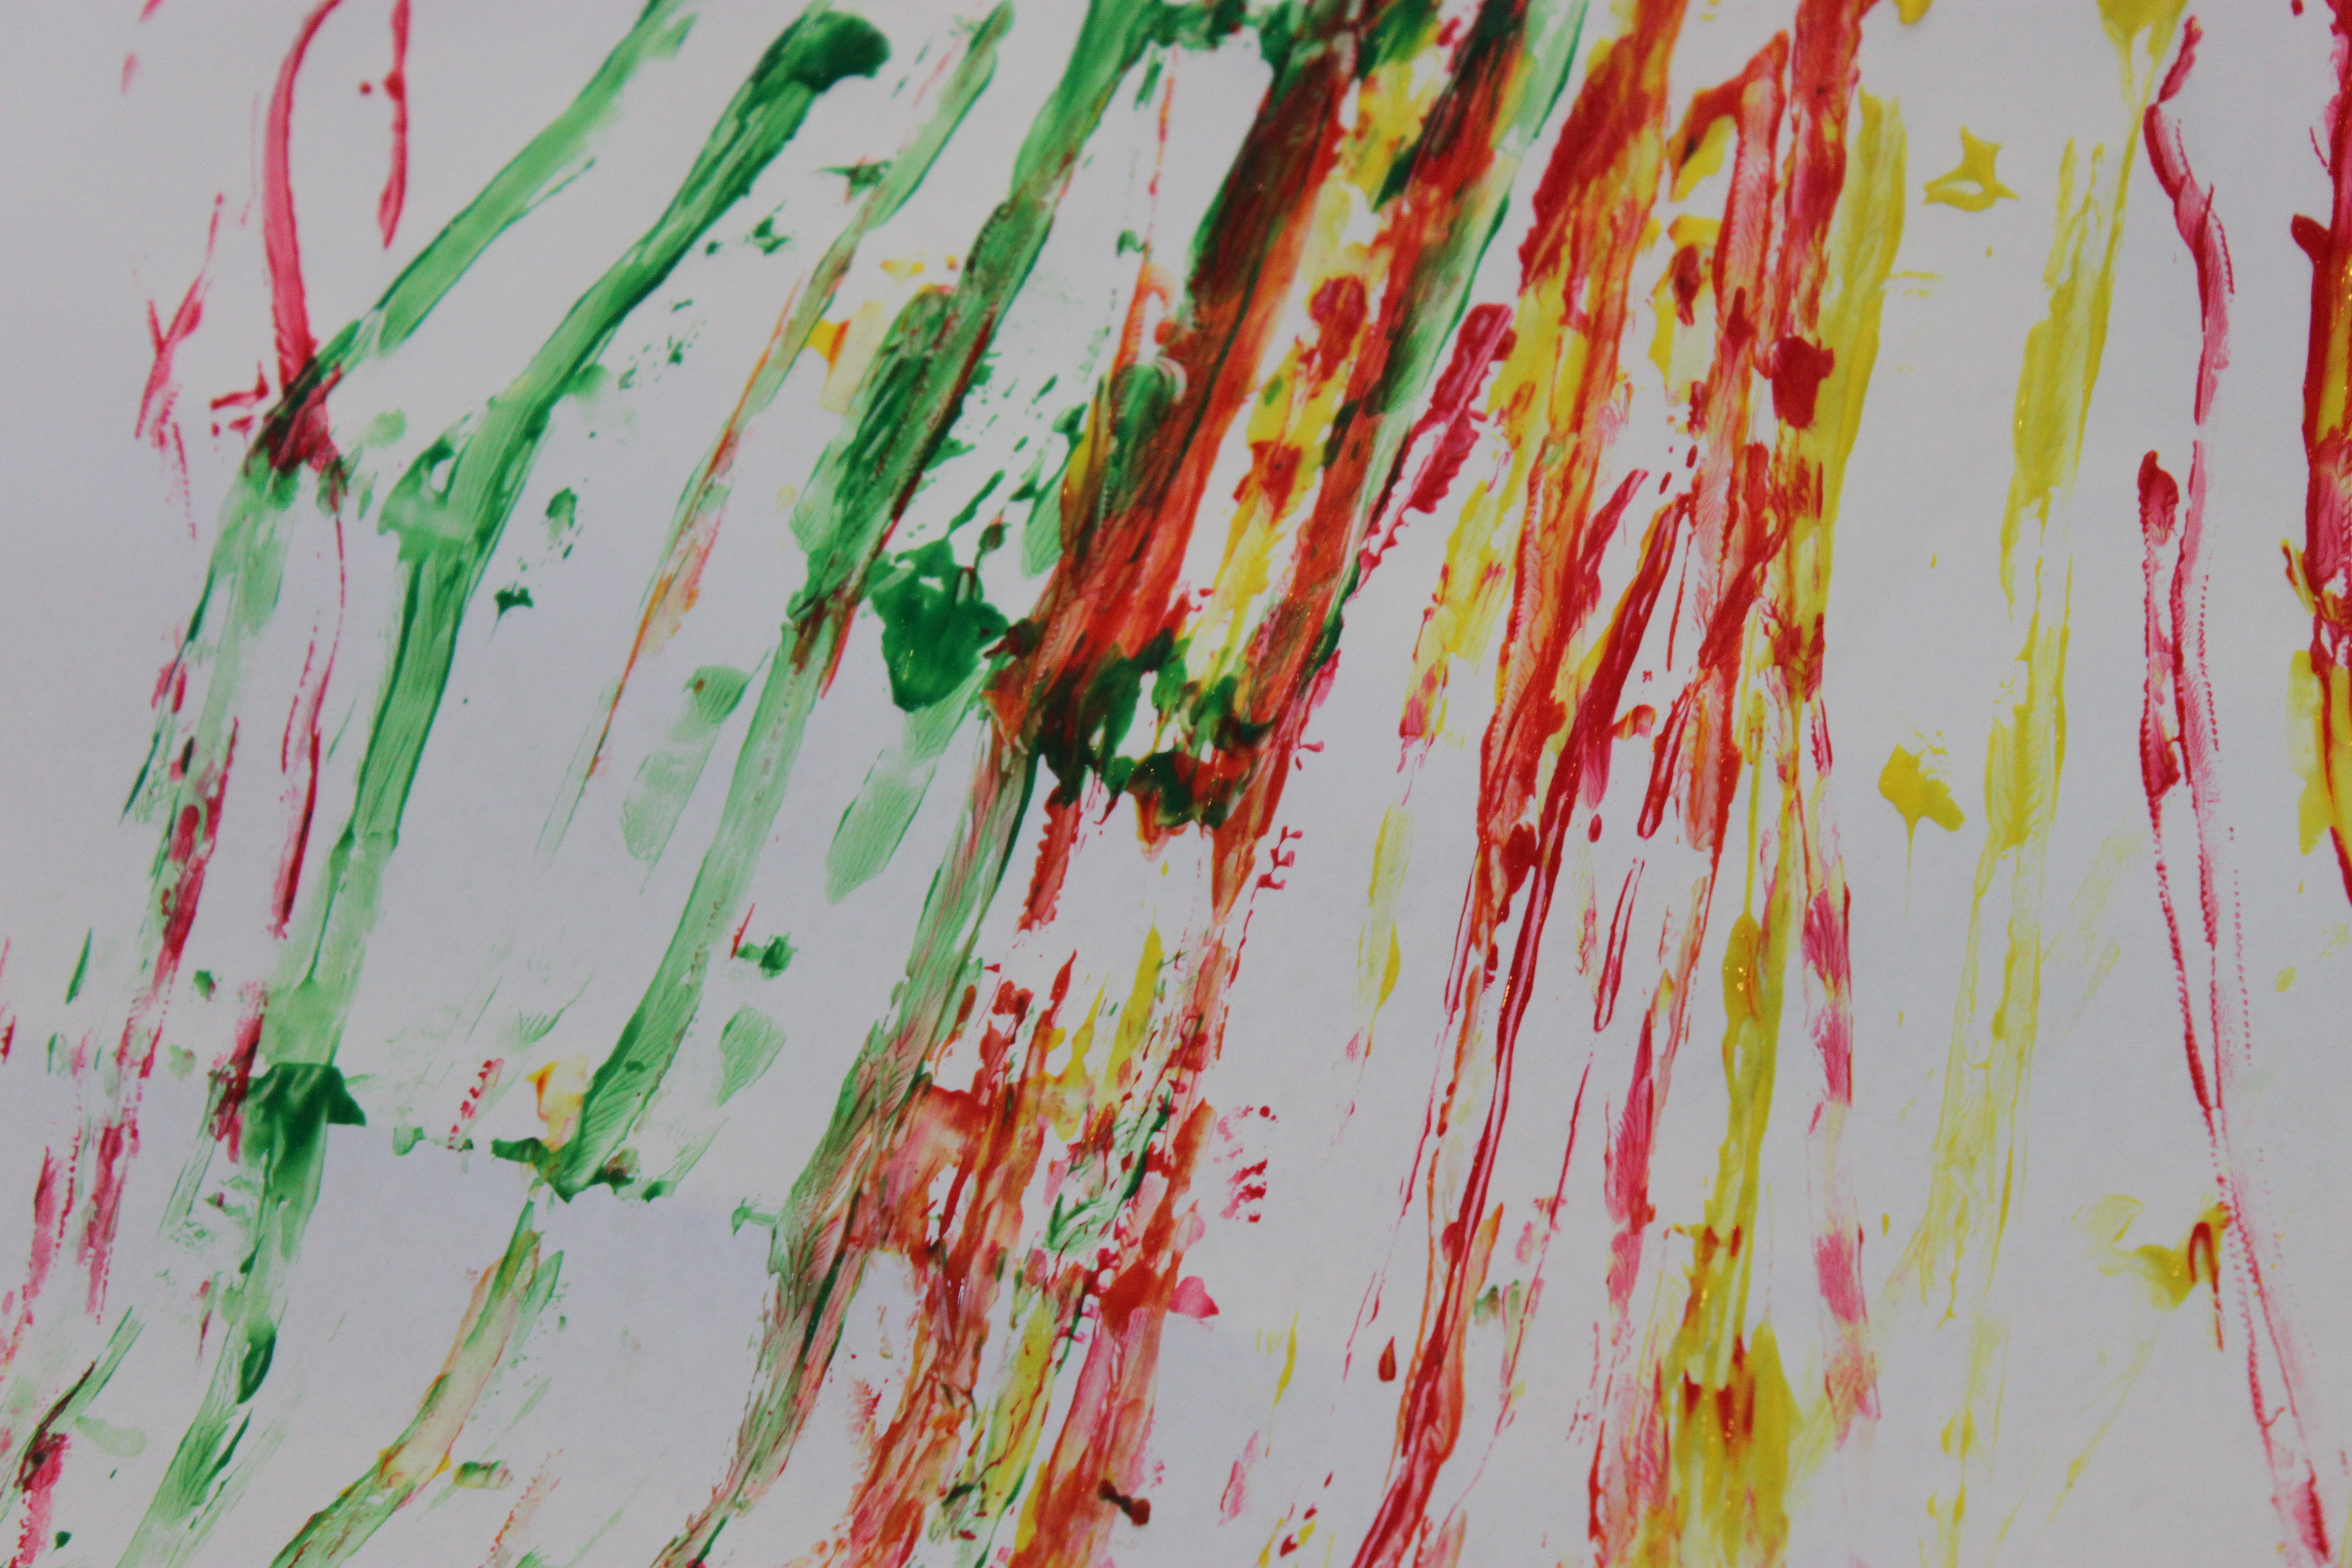
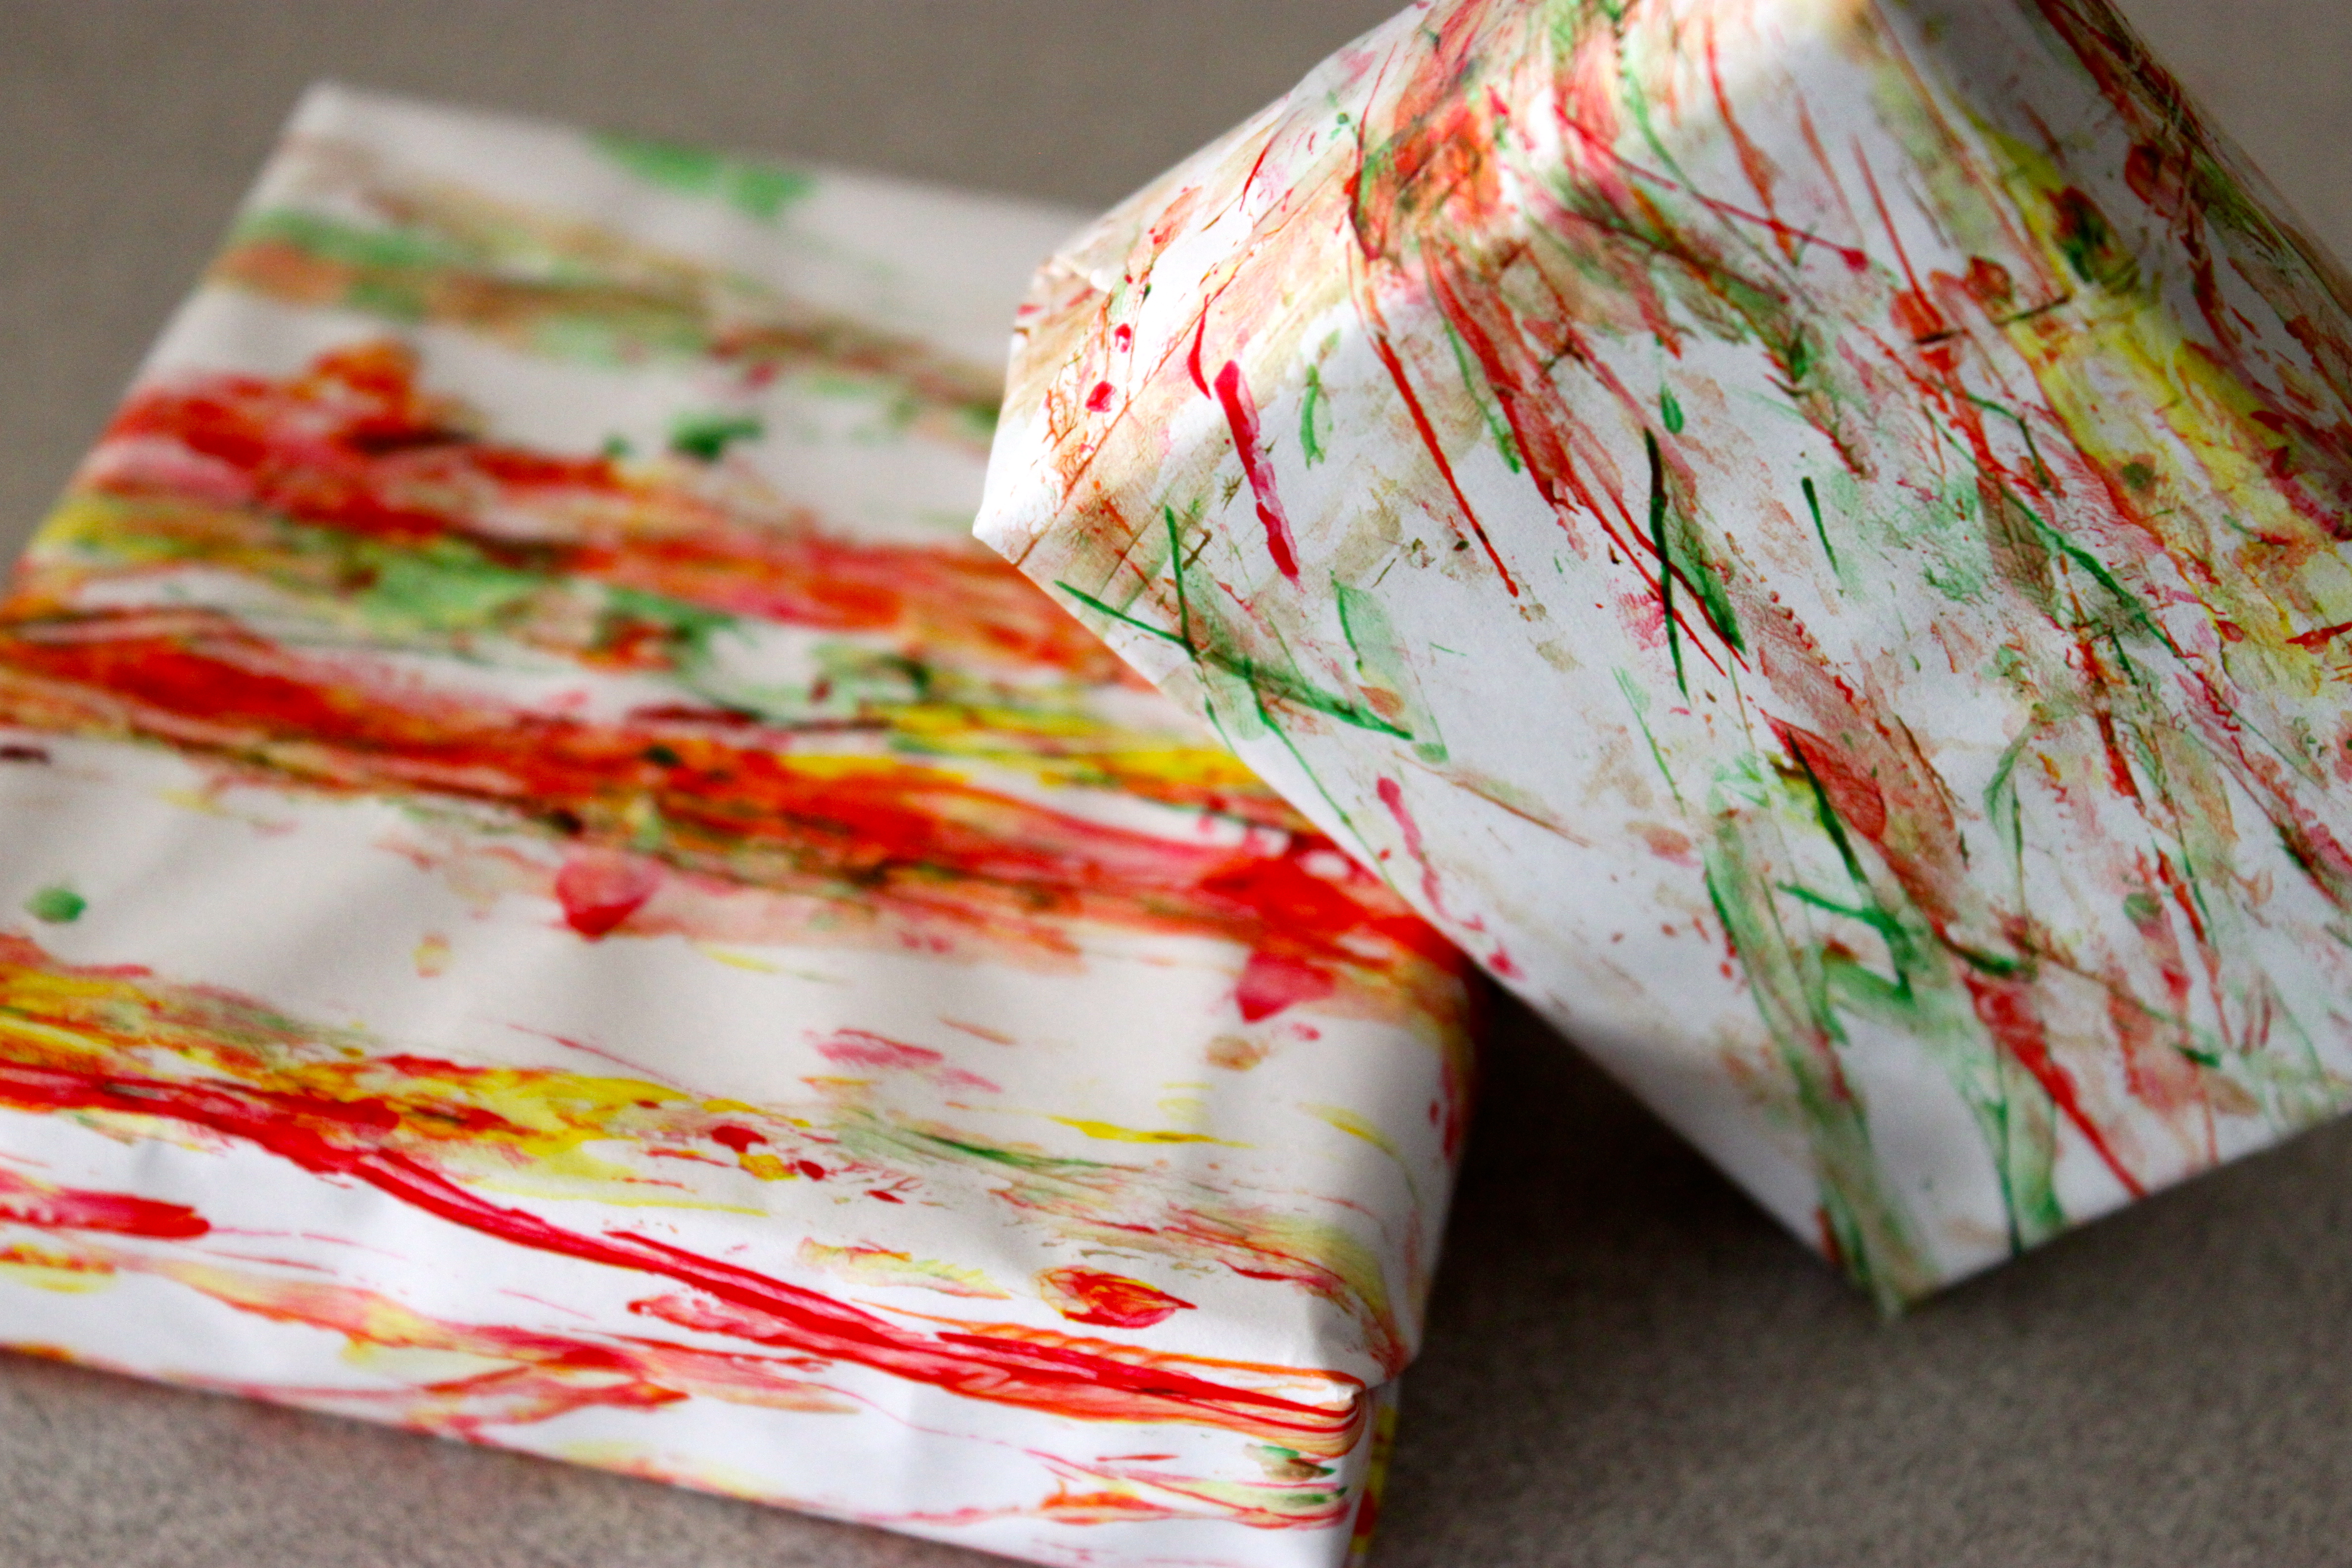
Final result!
We used our car artwork to wrap presents.