Step-by-step tutorial
Step 1
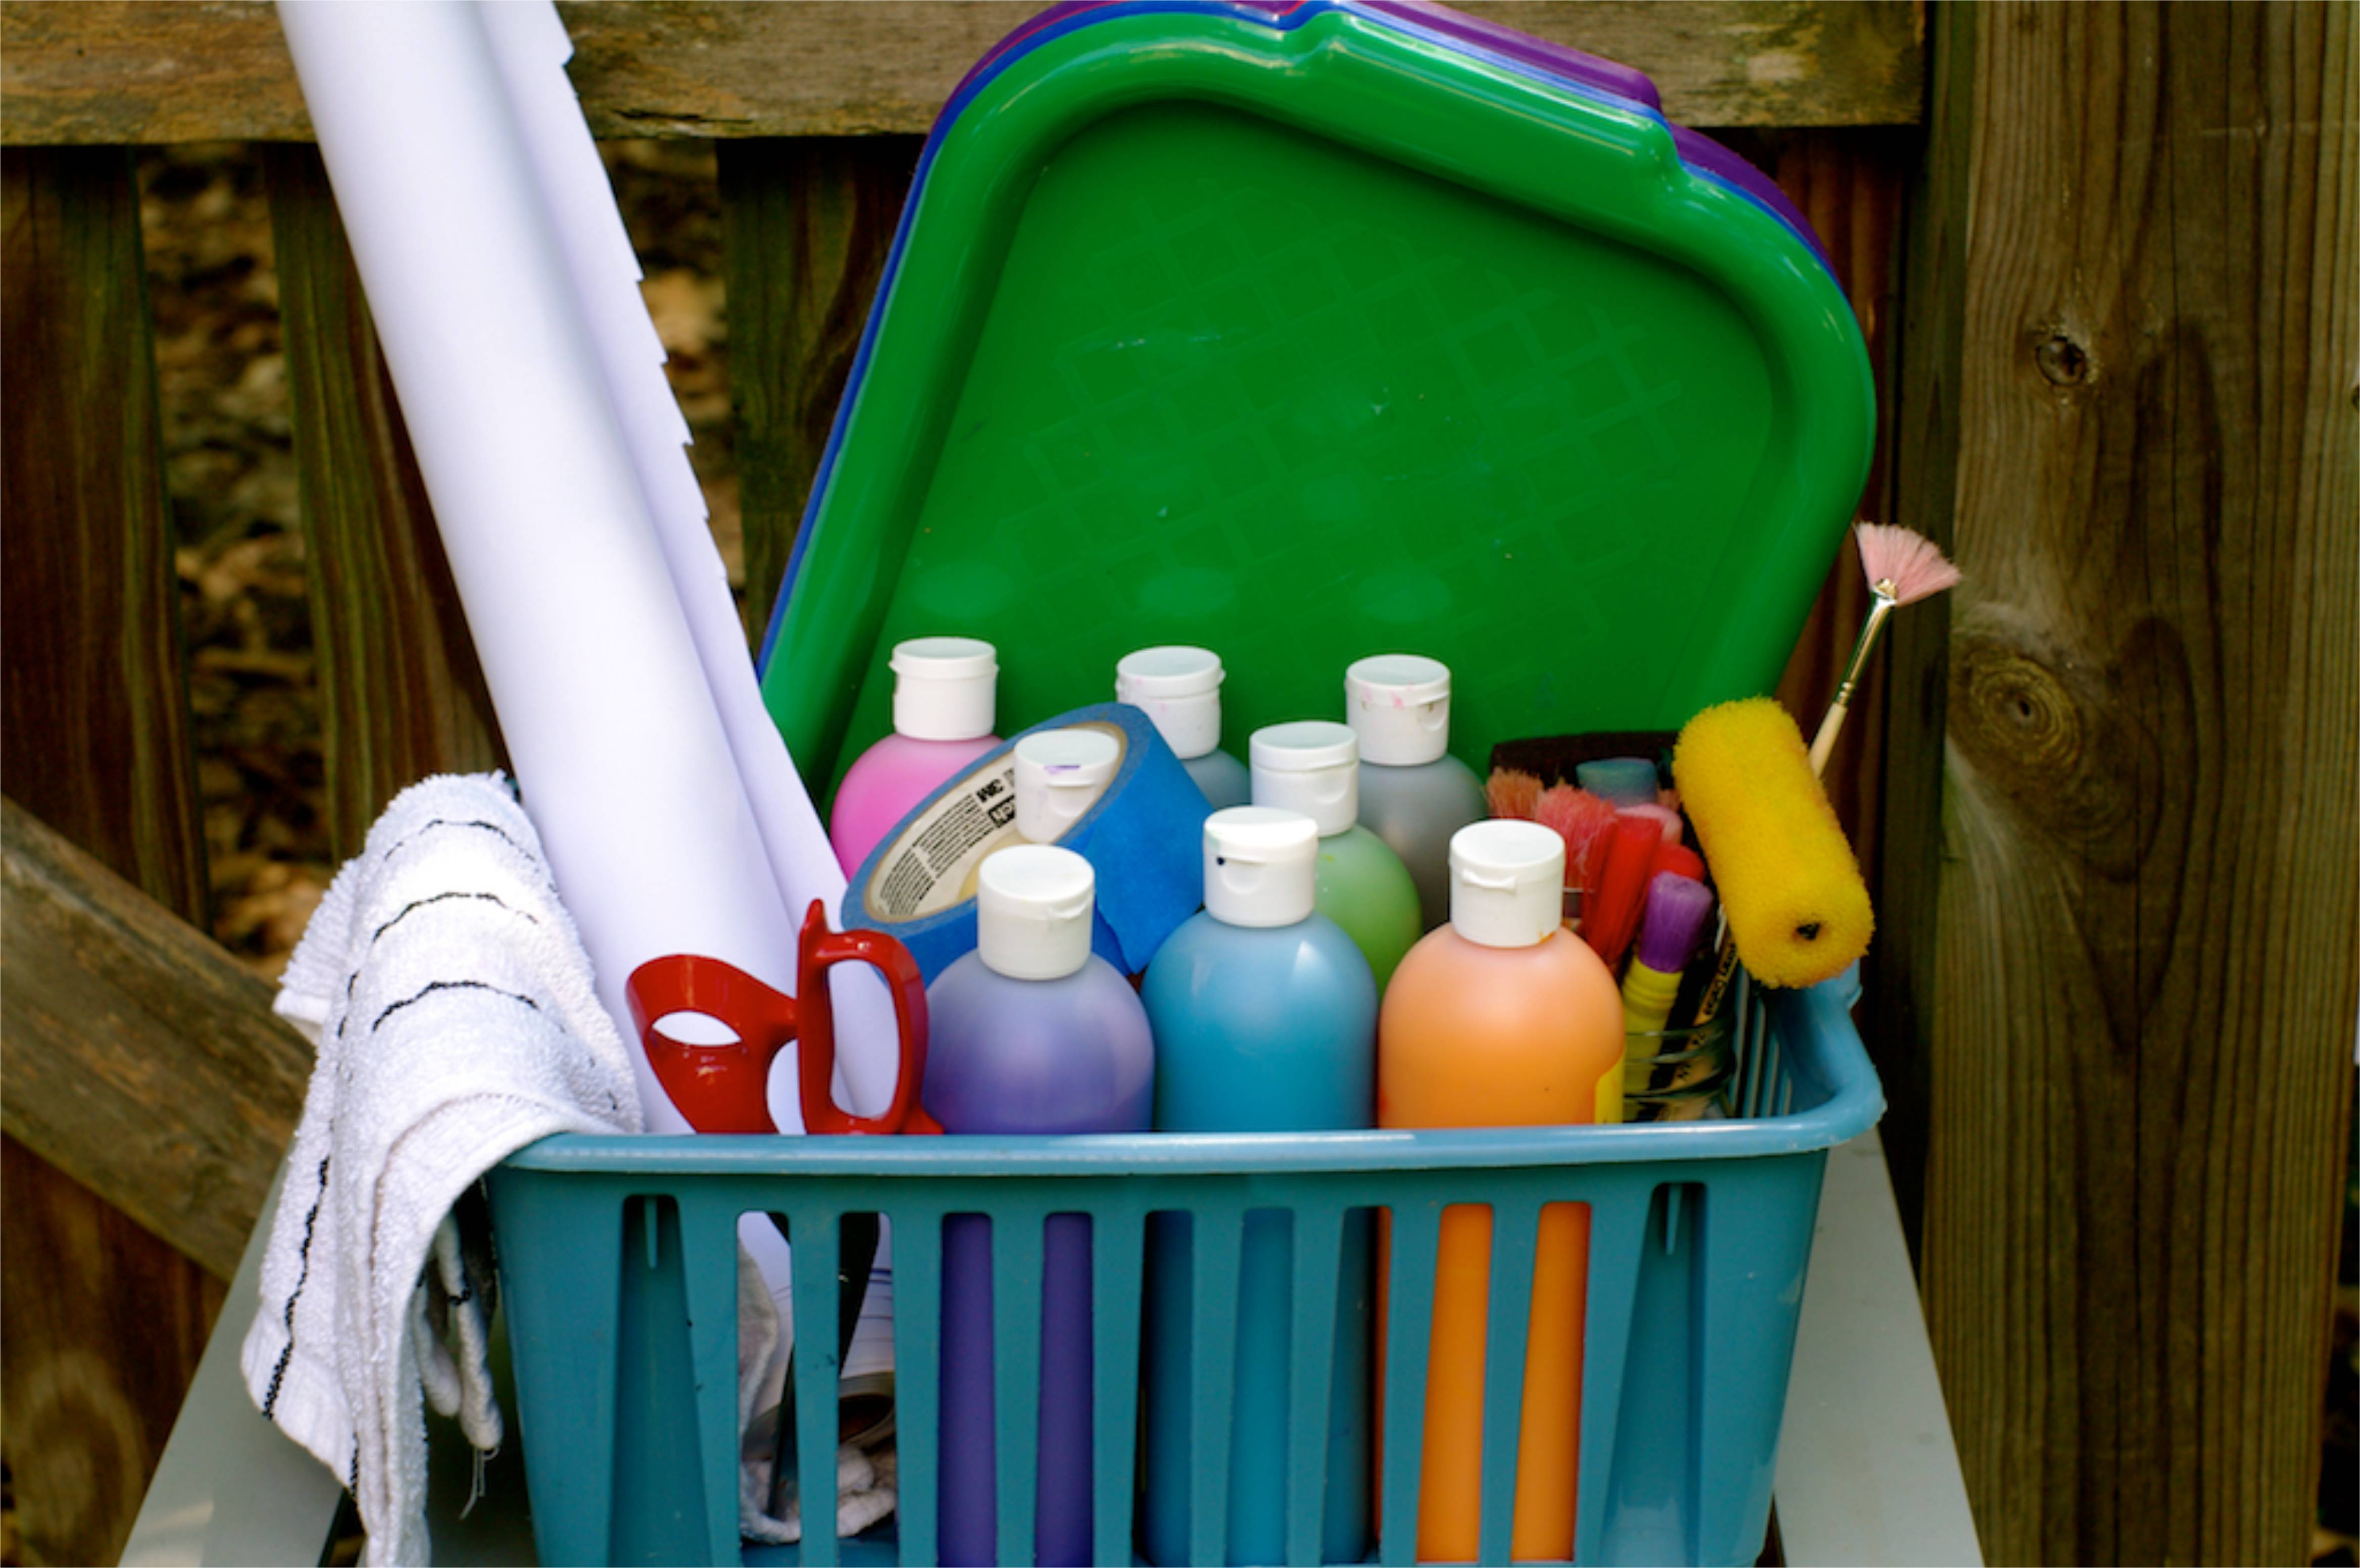
We carried our supplies outside in a big basket. We chose lots of colors for our paint, and as many different brushes as we could find.

Step 2
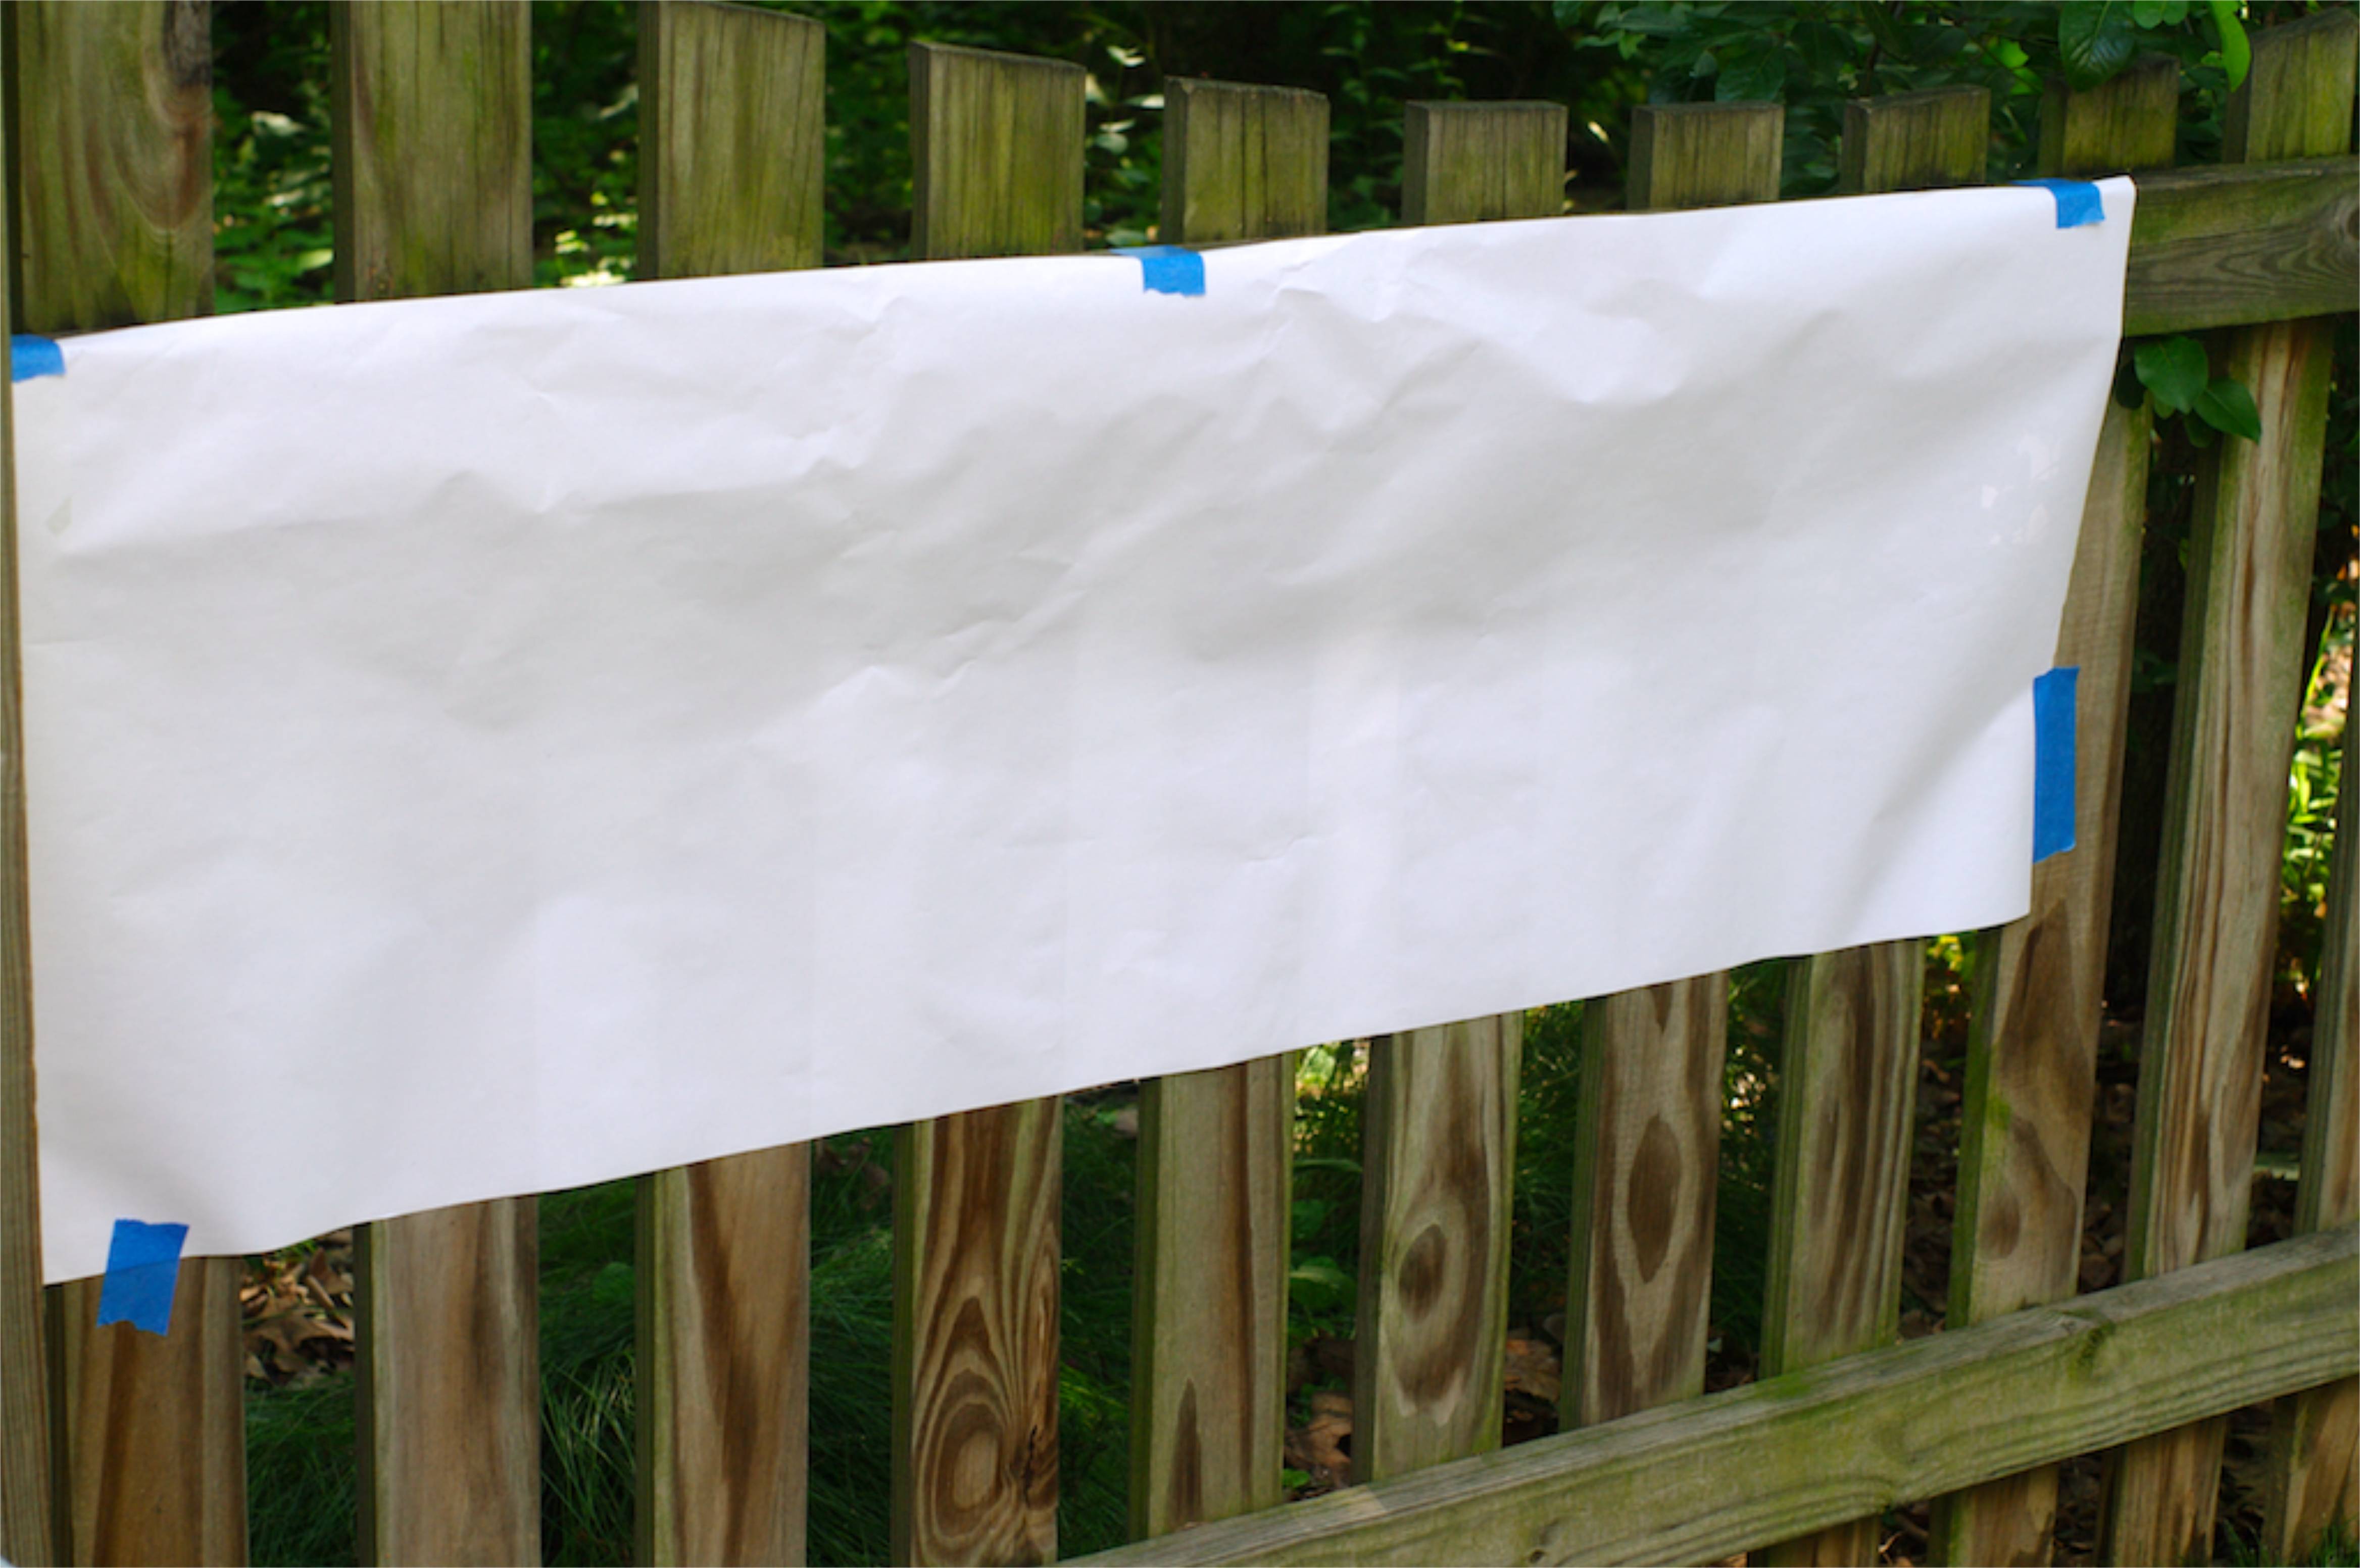
I cut a long piece of paper off my roll of easel paper and attached it to the fence with blue painter's tape. You could also use a heavy-duty staple gun on a wooden fence like this one.
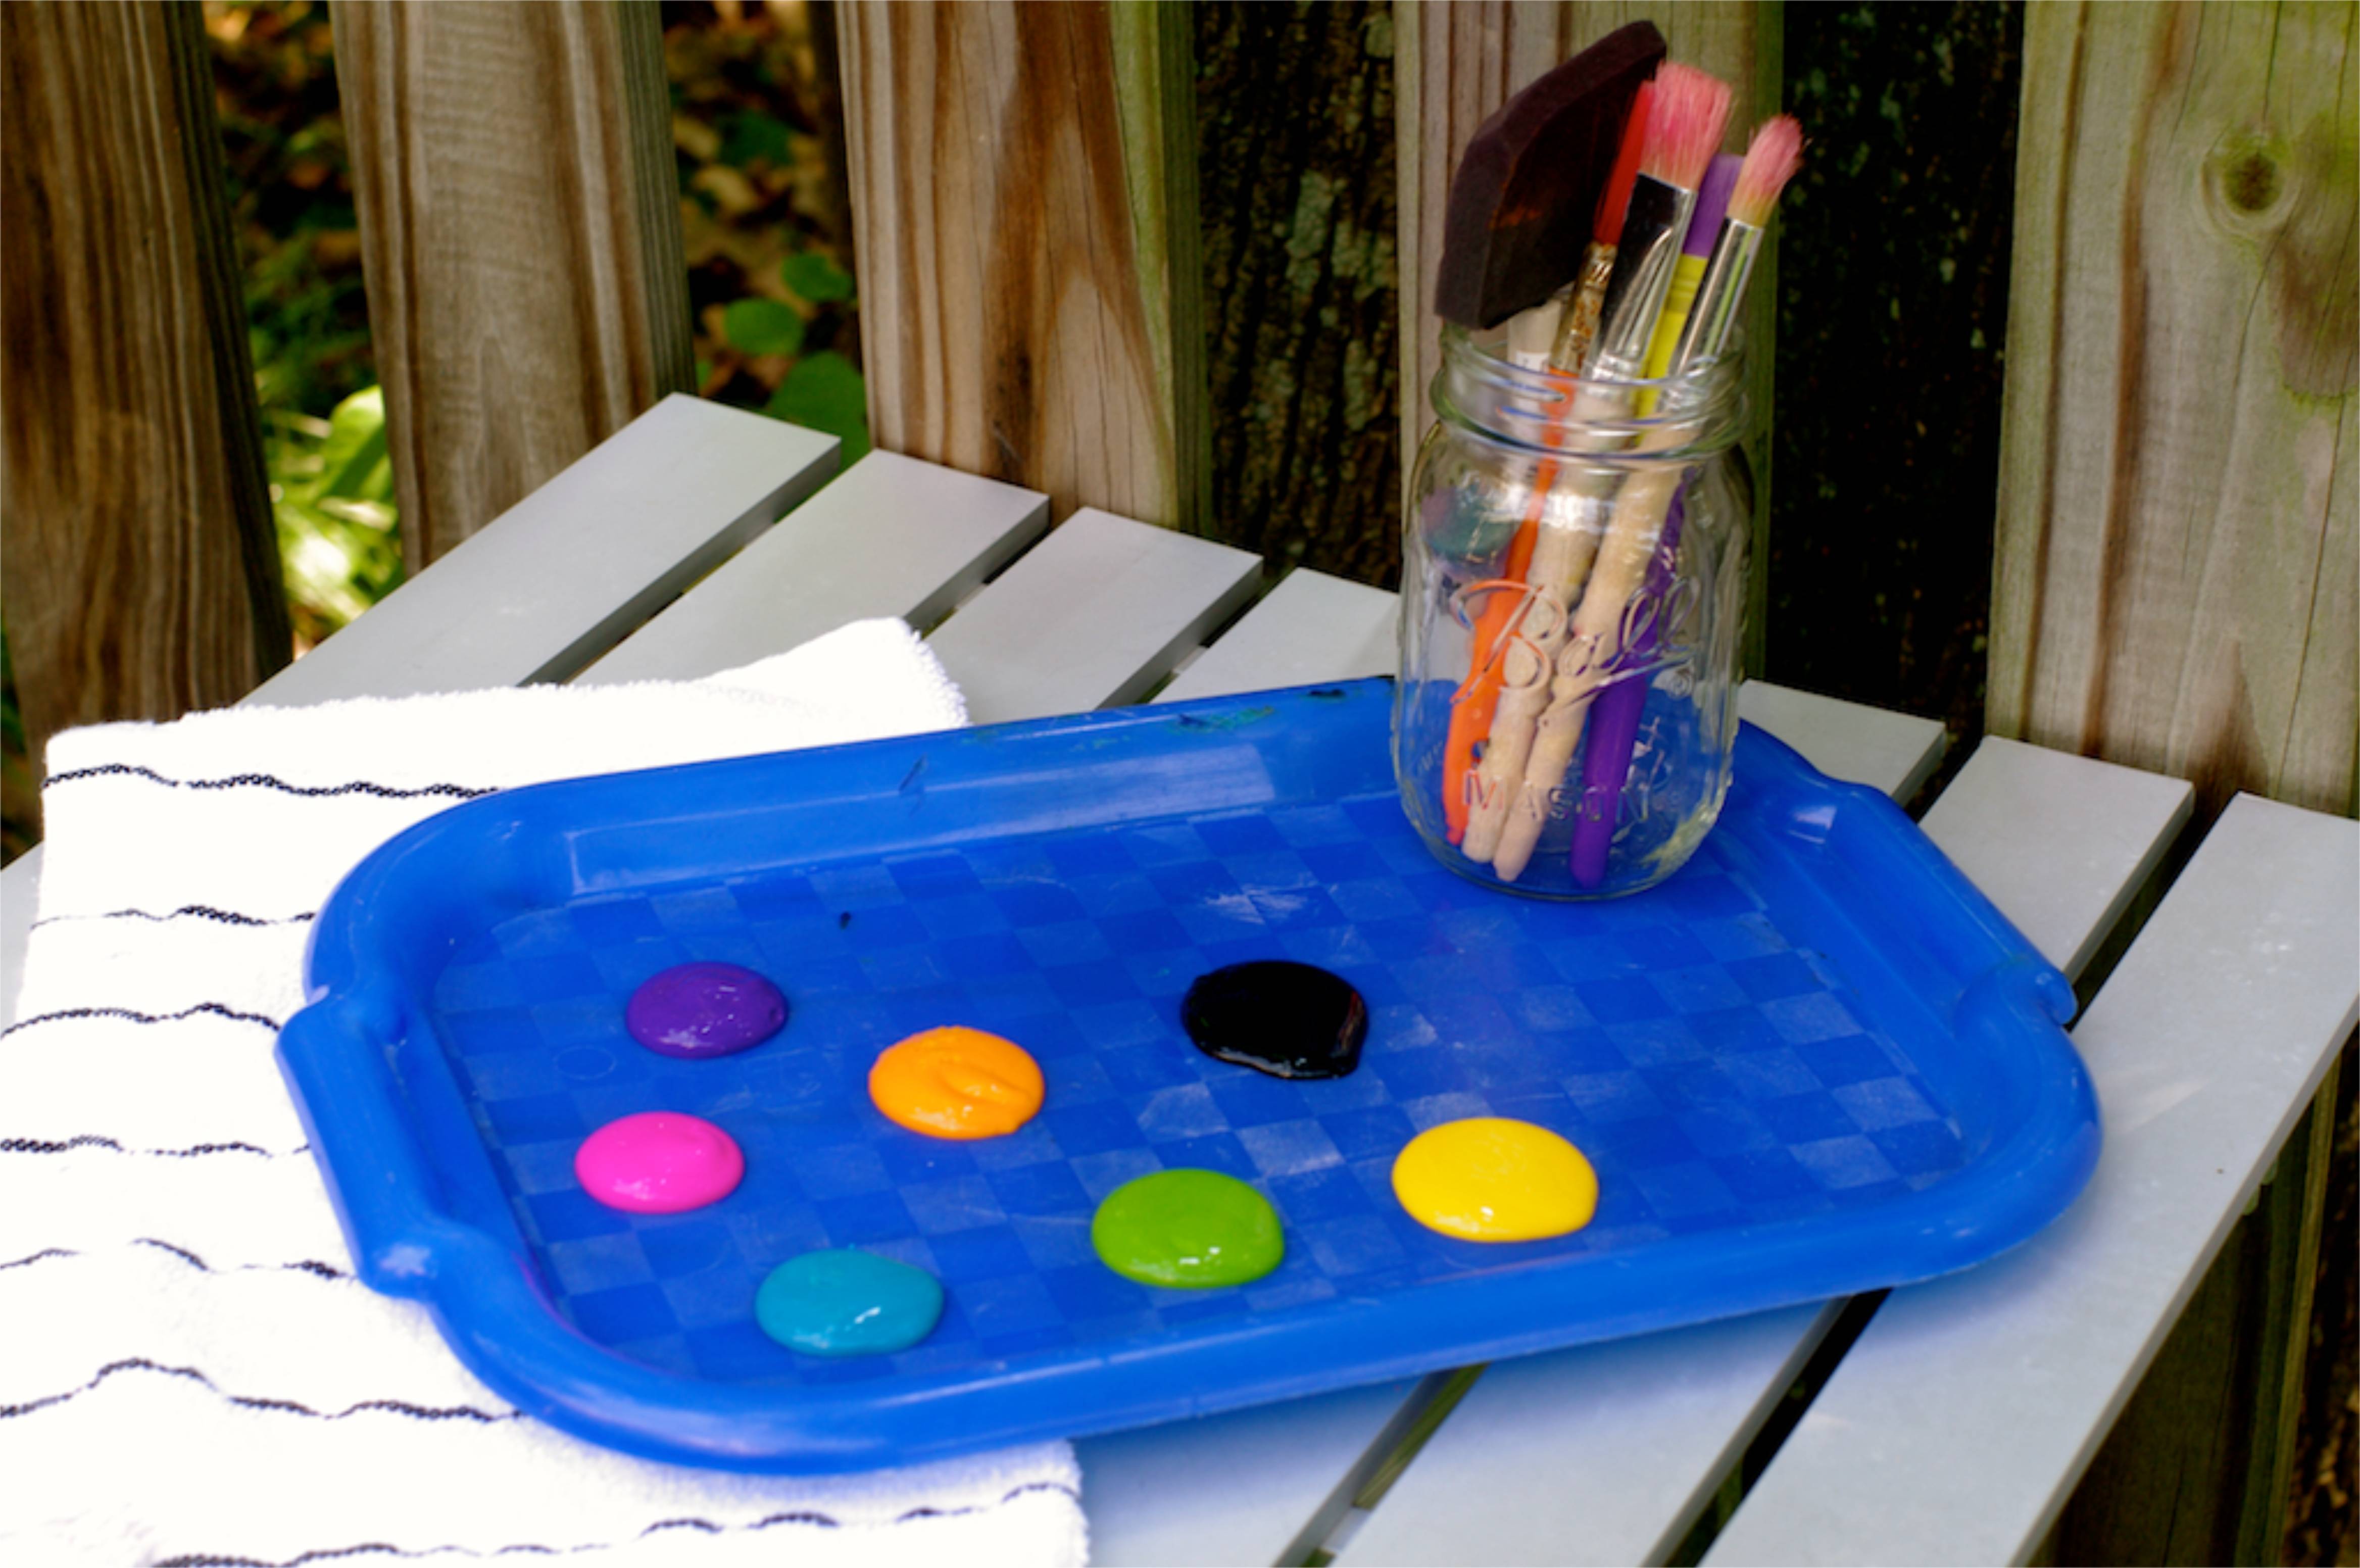
Step 3
I used a plastic tray to set up the paint for each child, and a jar full of brushes. I also placed a towel there for quick wiping of fingers if they felt they needed it.
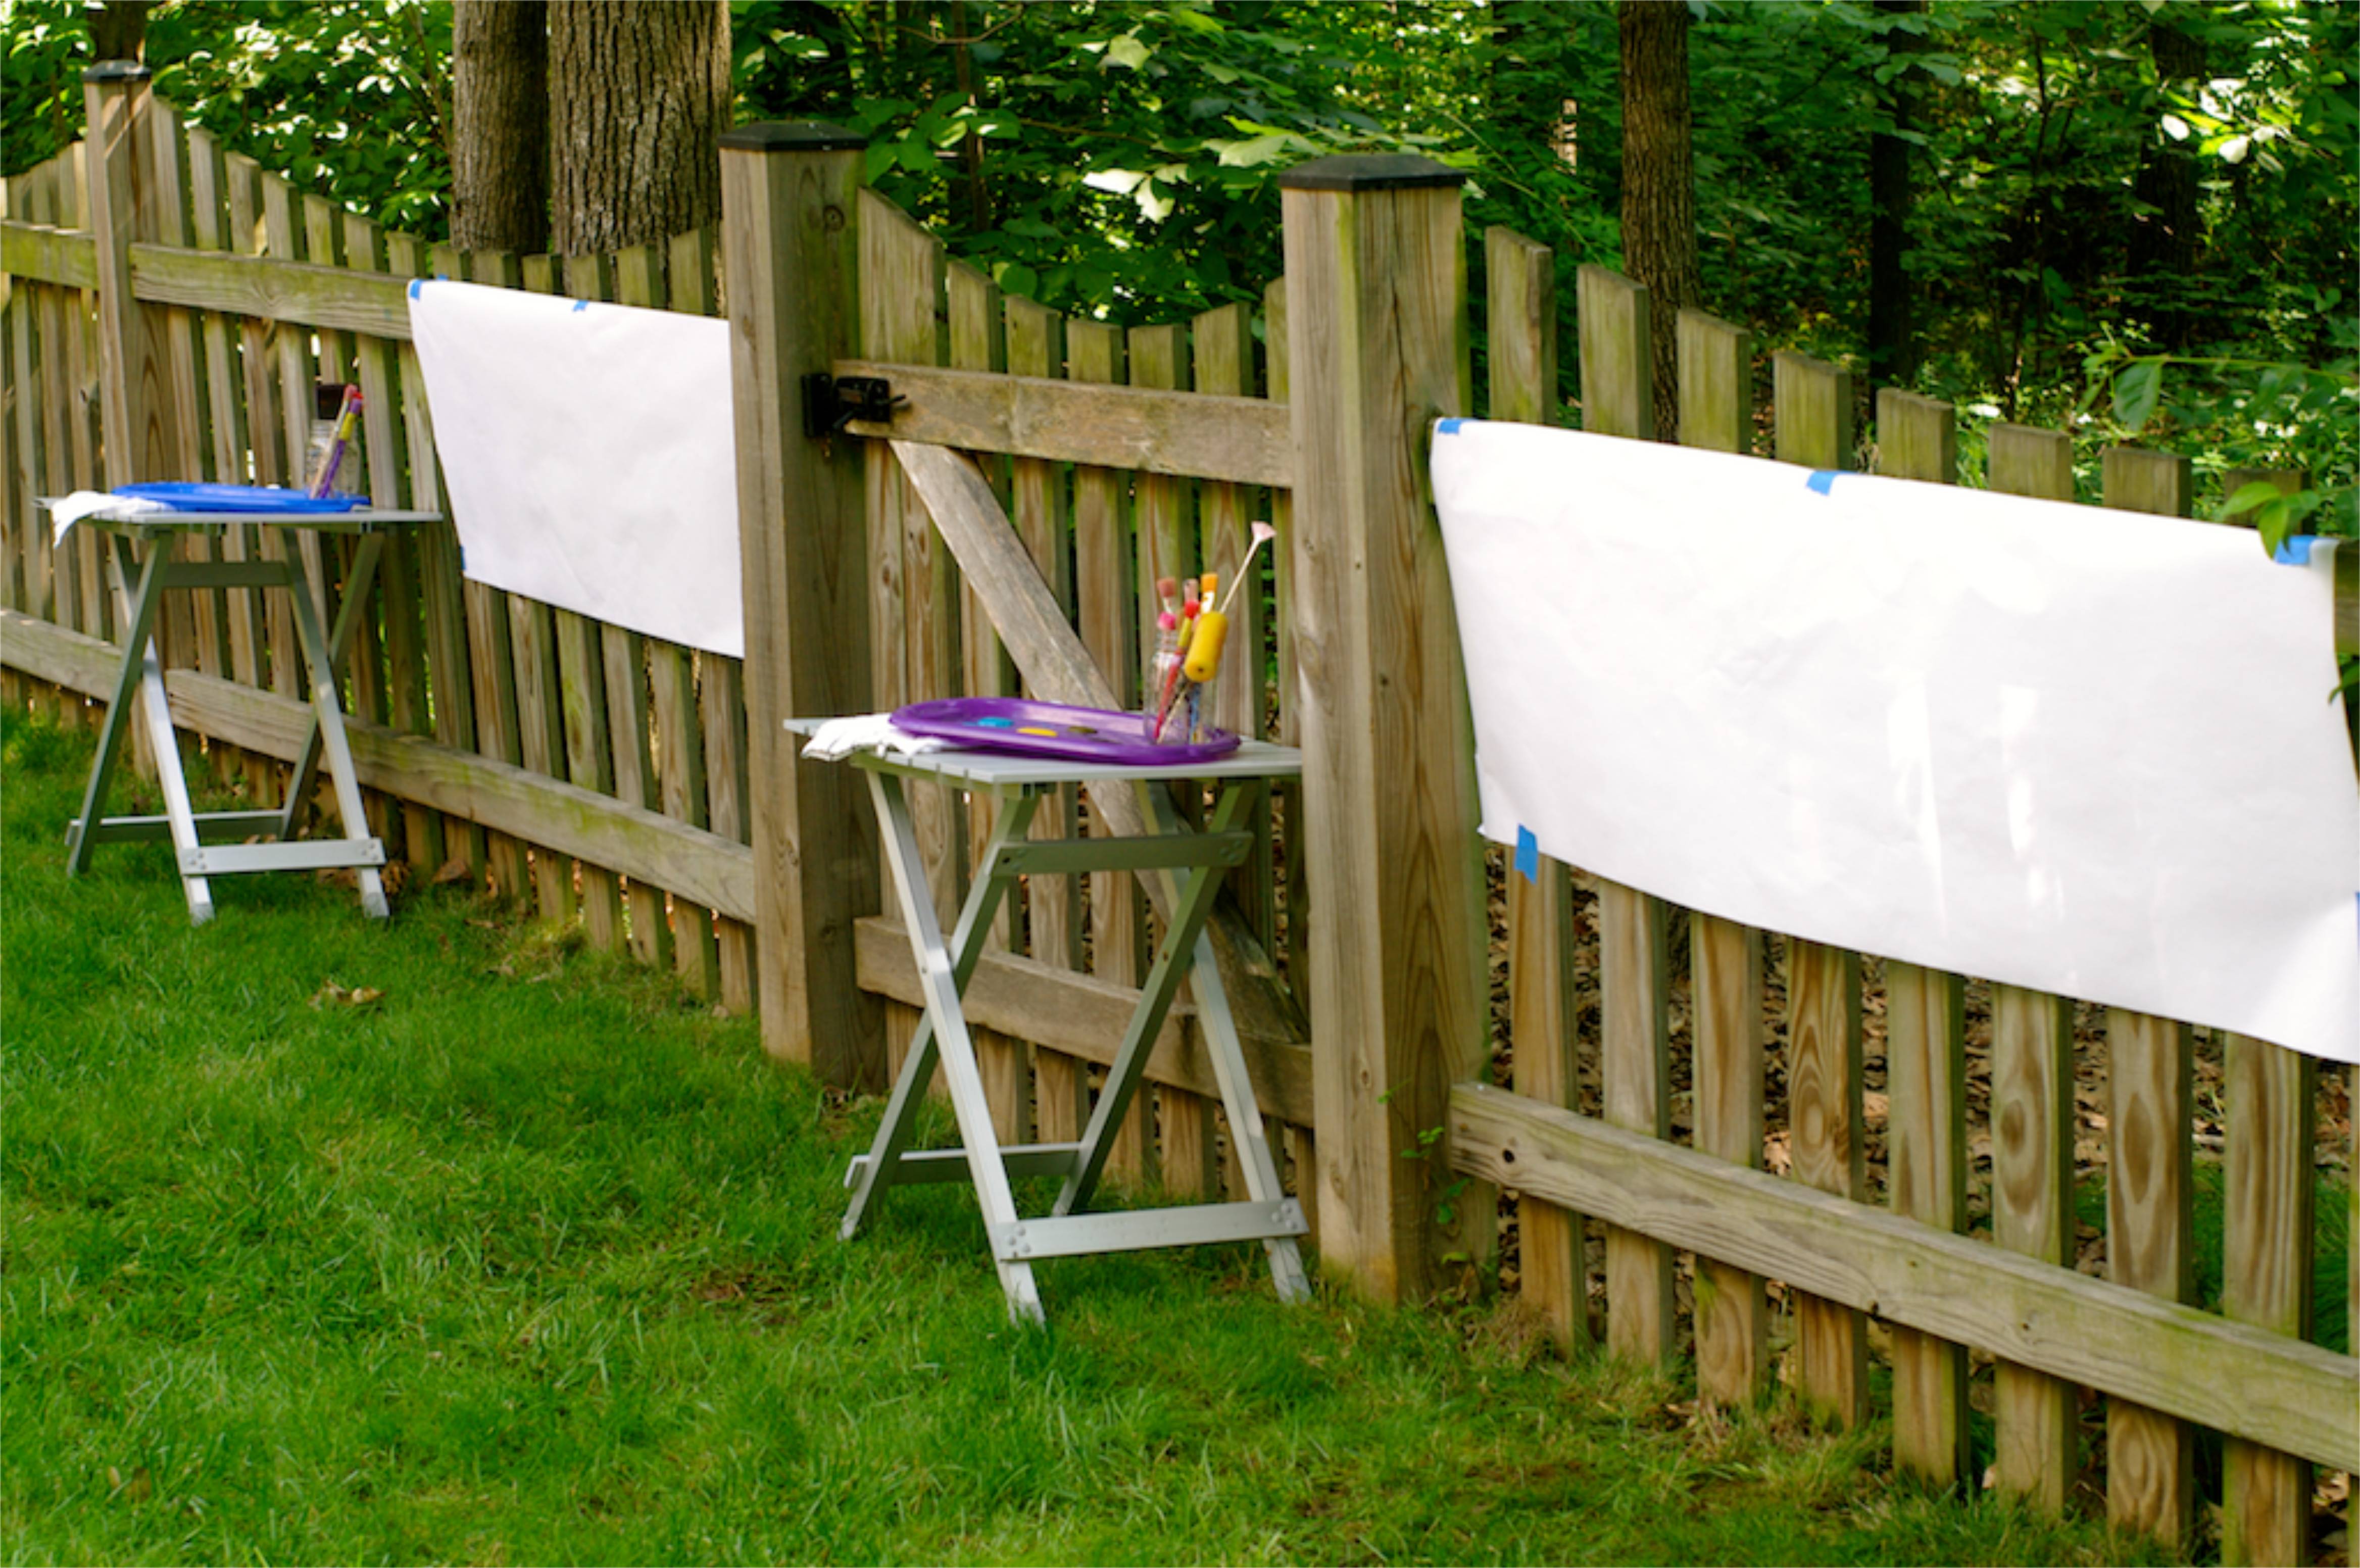
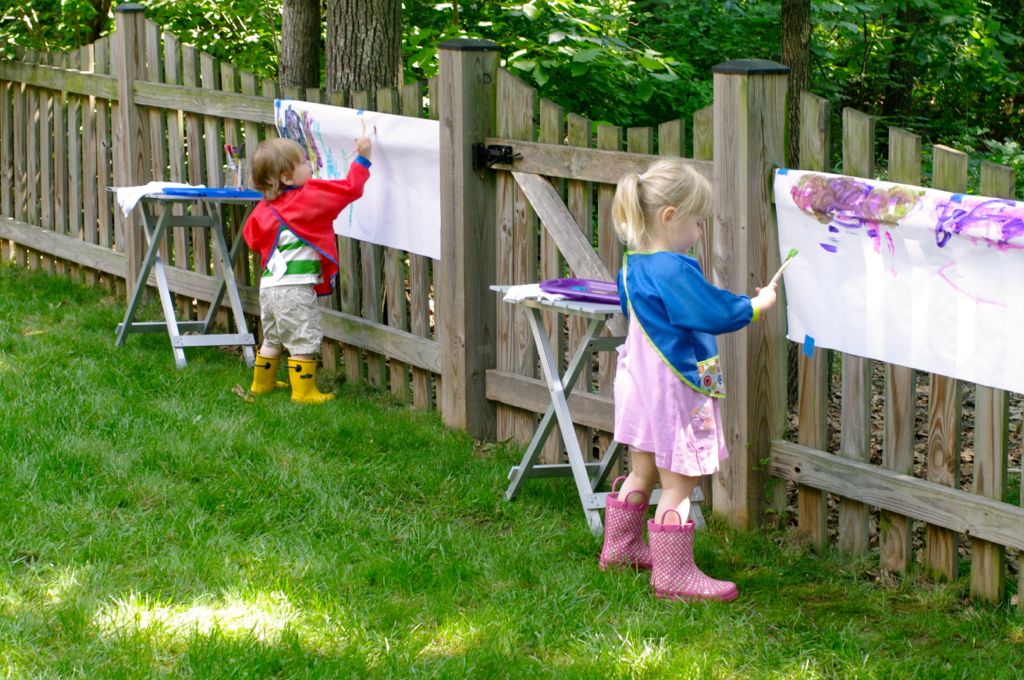
Step 4
Here's how our setup looked, with work areas to accommodate two children.
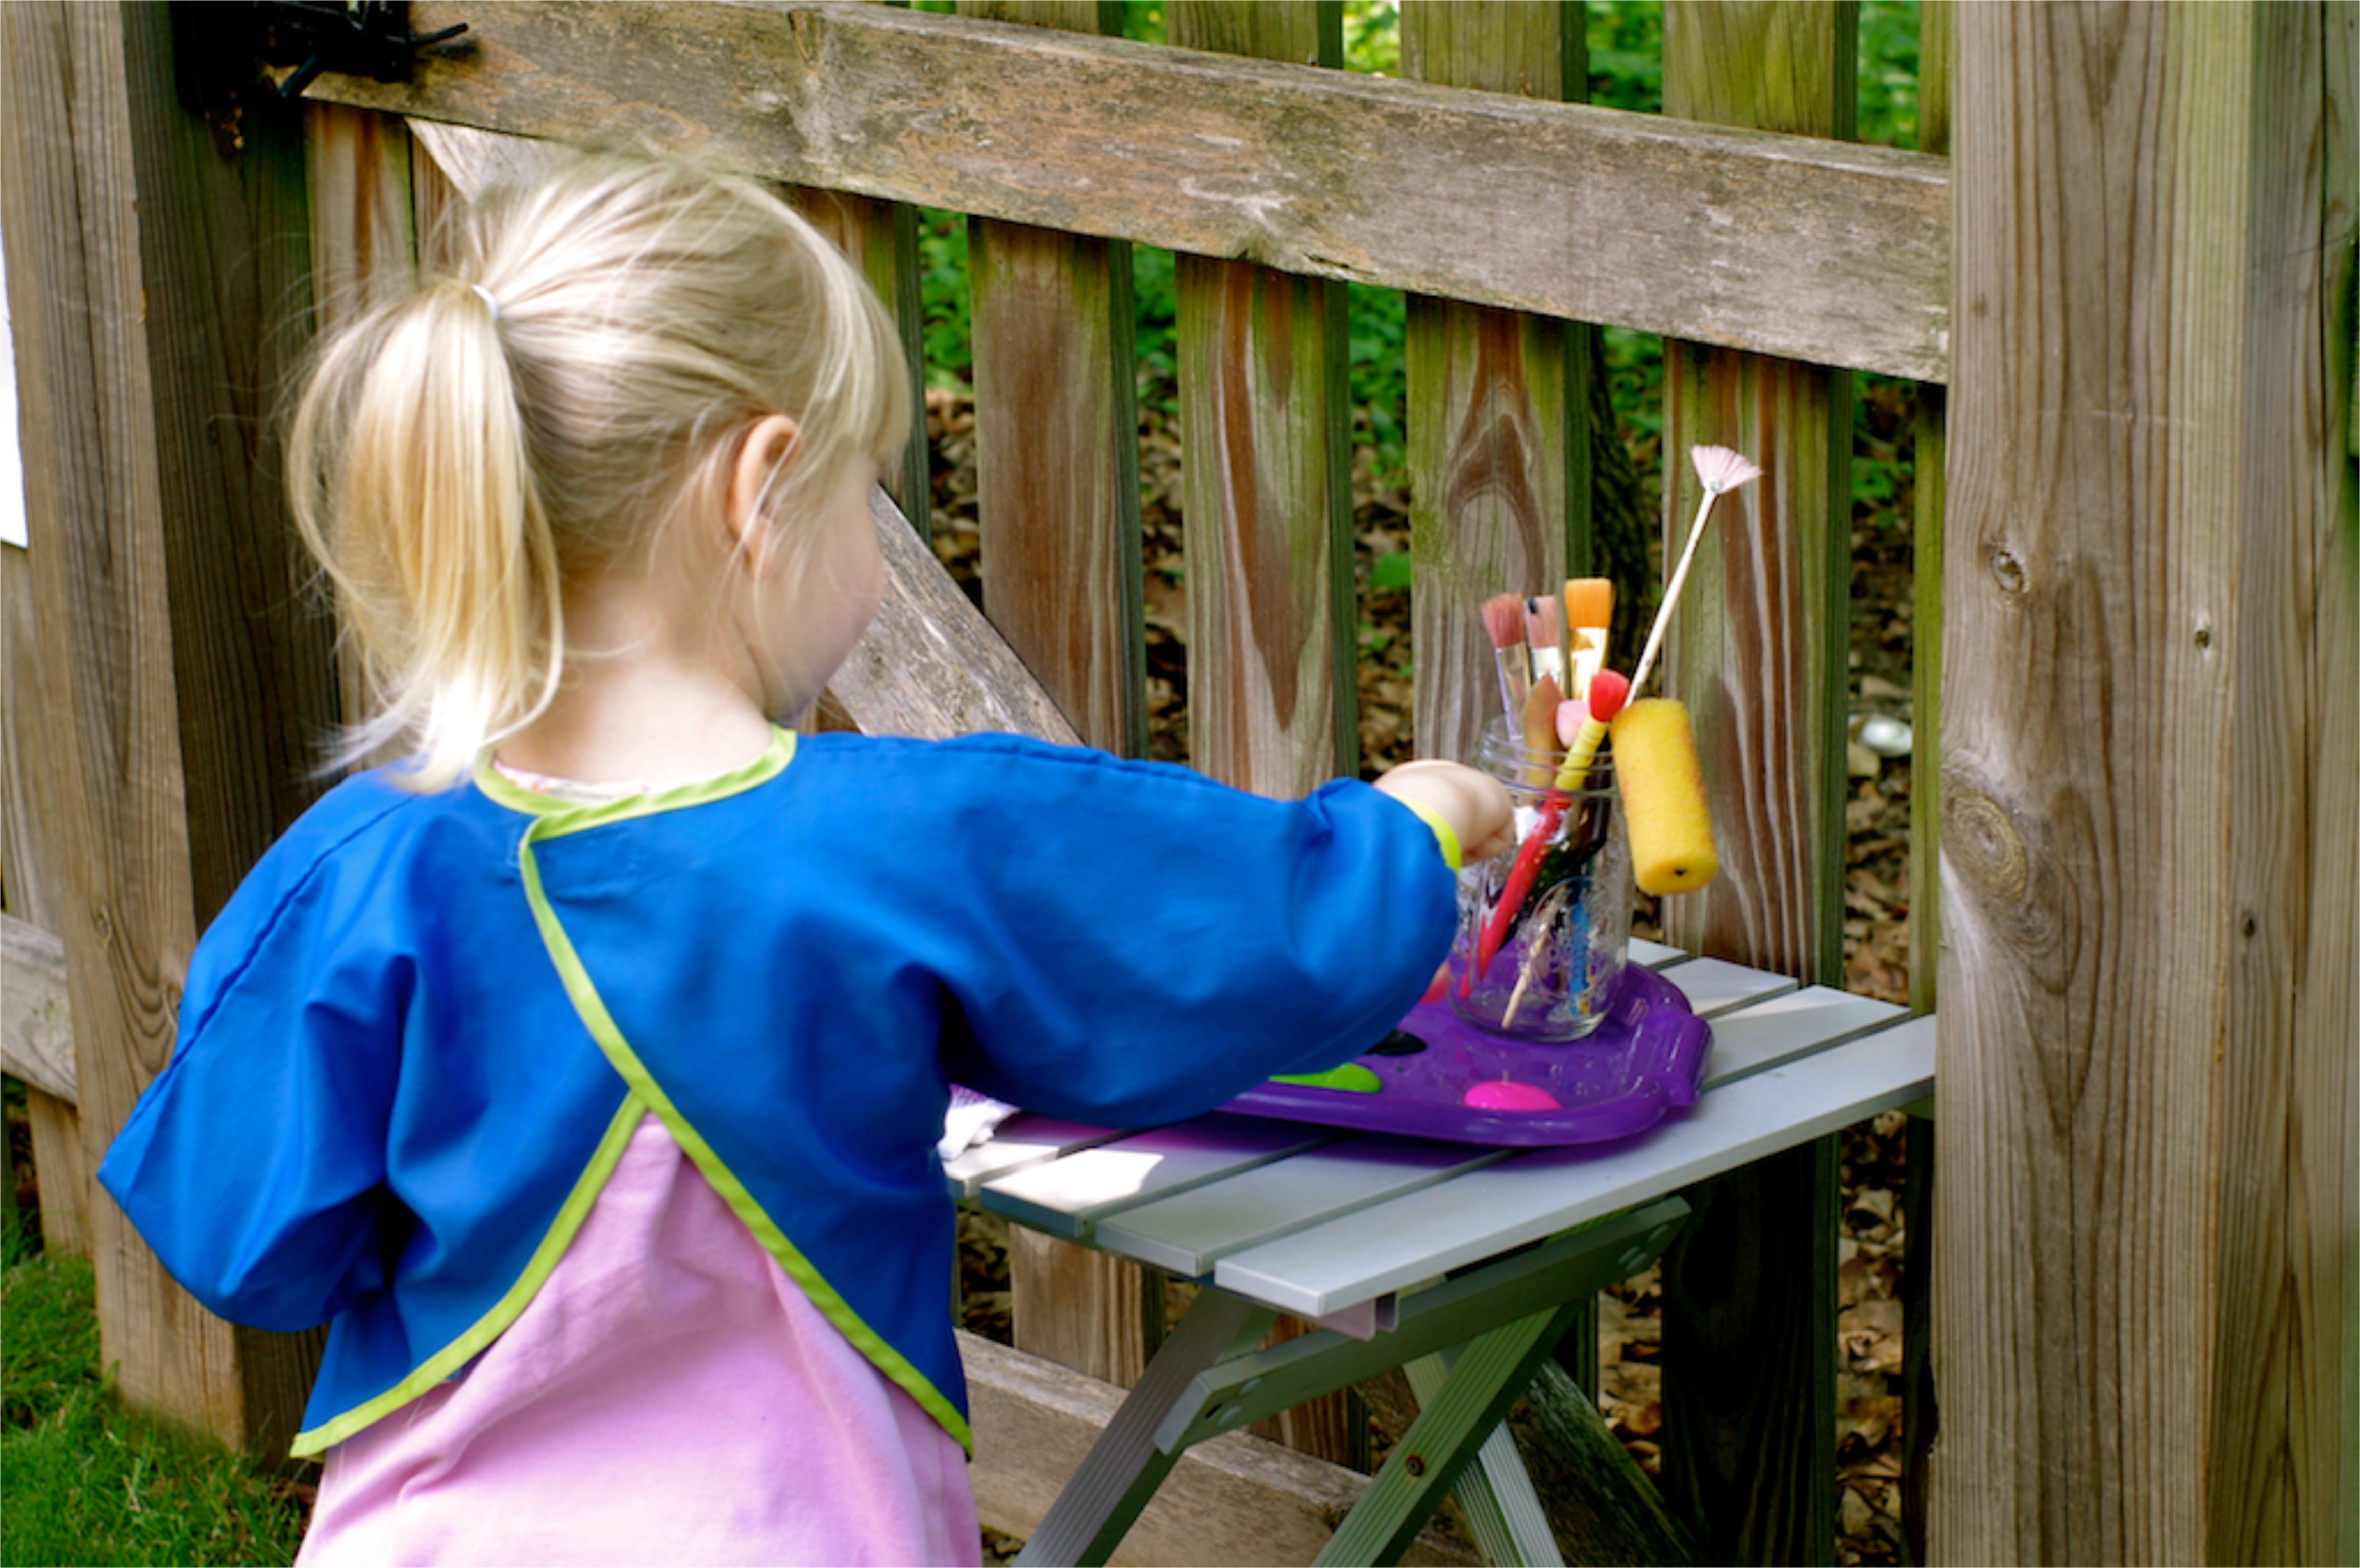
Step 5
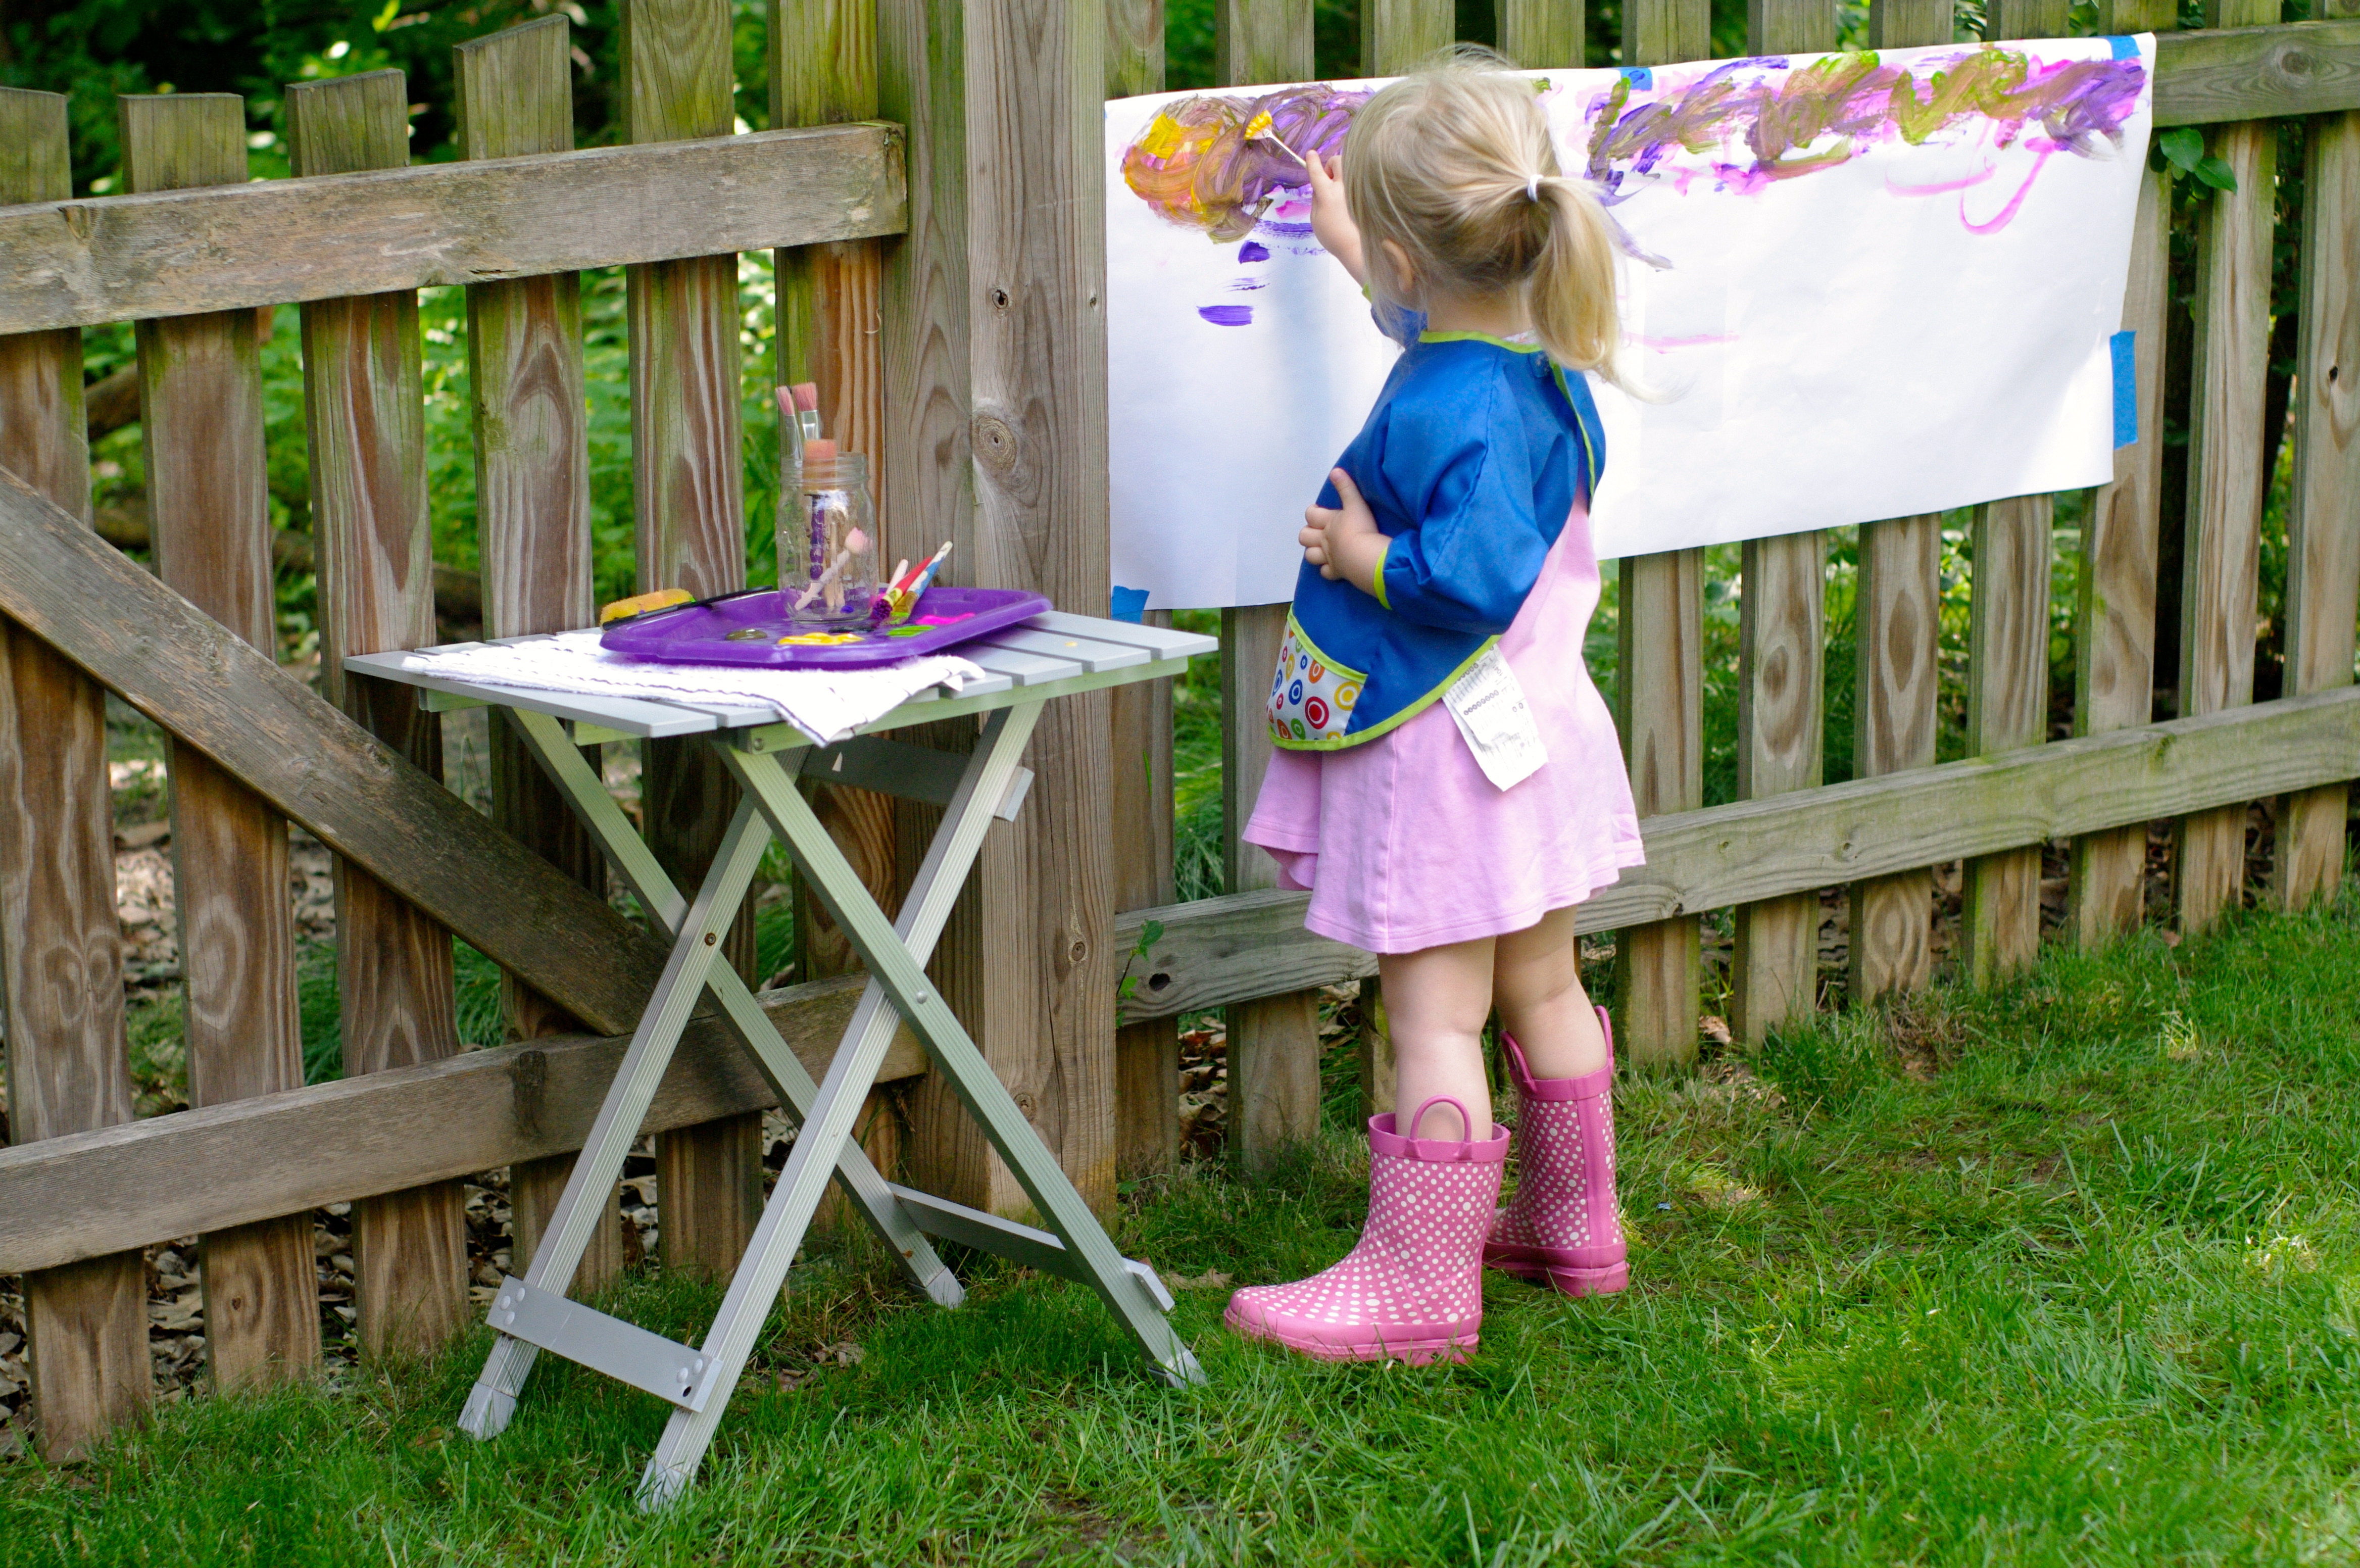
Here is our little friend, V, with her smock on, checking out the paint and ready to create a masterpiece.
Step 6
This sponge-dabber for paint is fun to work with.
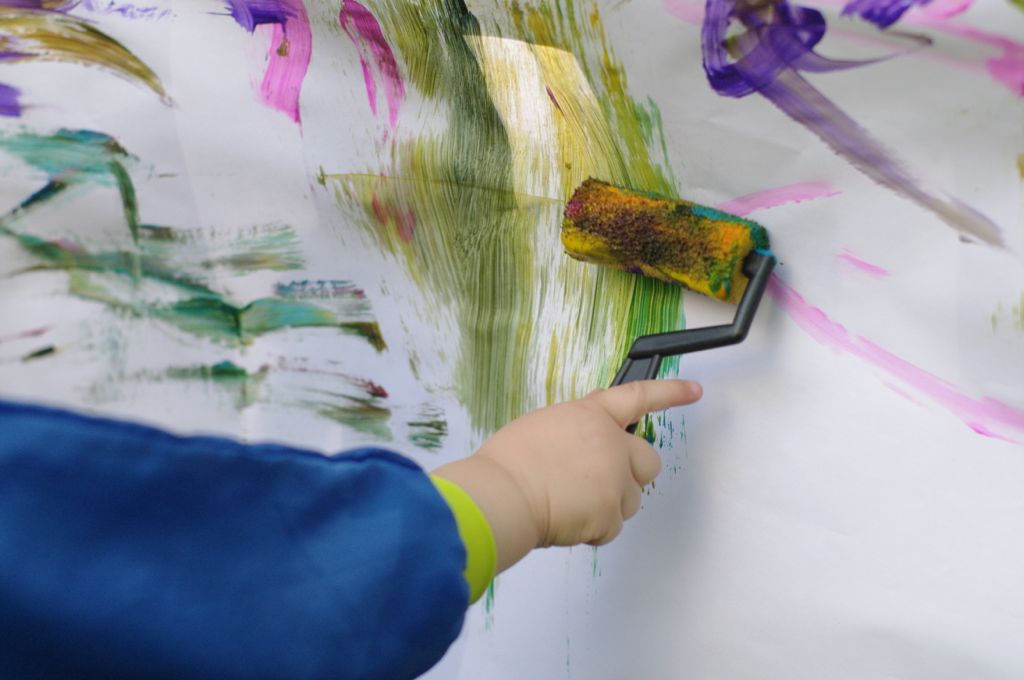
Step 7
Sponge rollers are great, too.
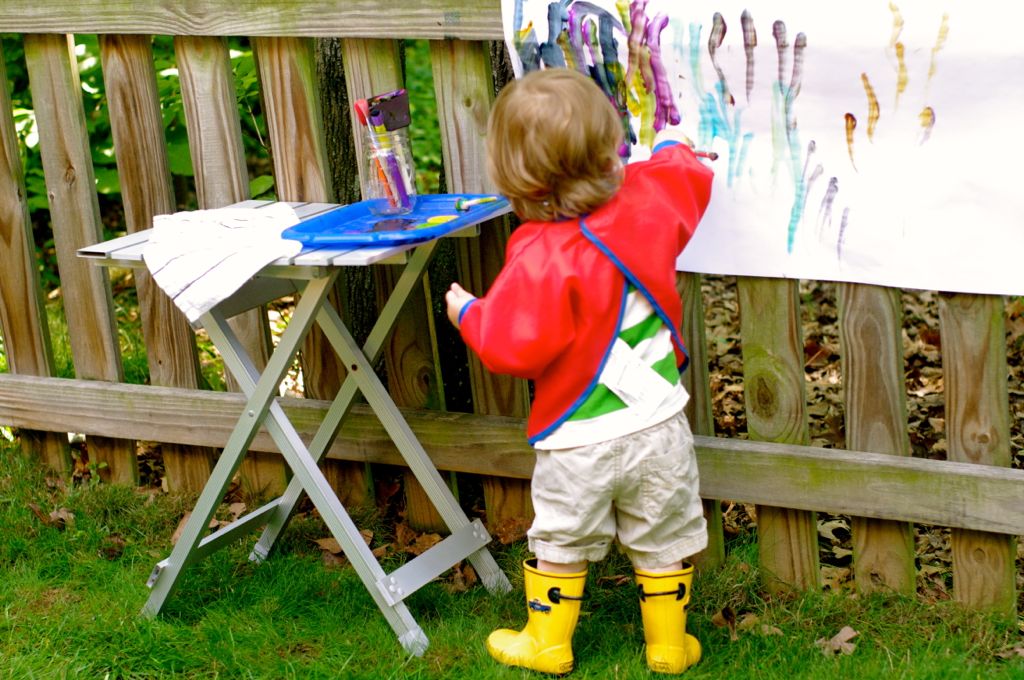
Step 8
Our little friend, T, knew just what to do. Look at him go!
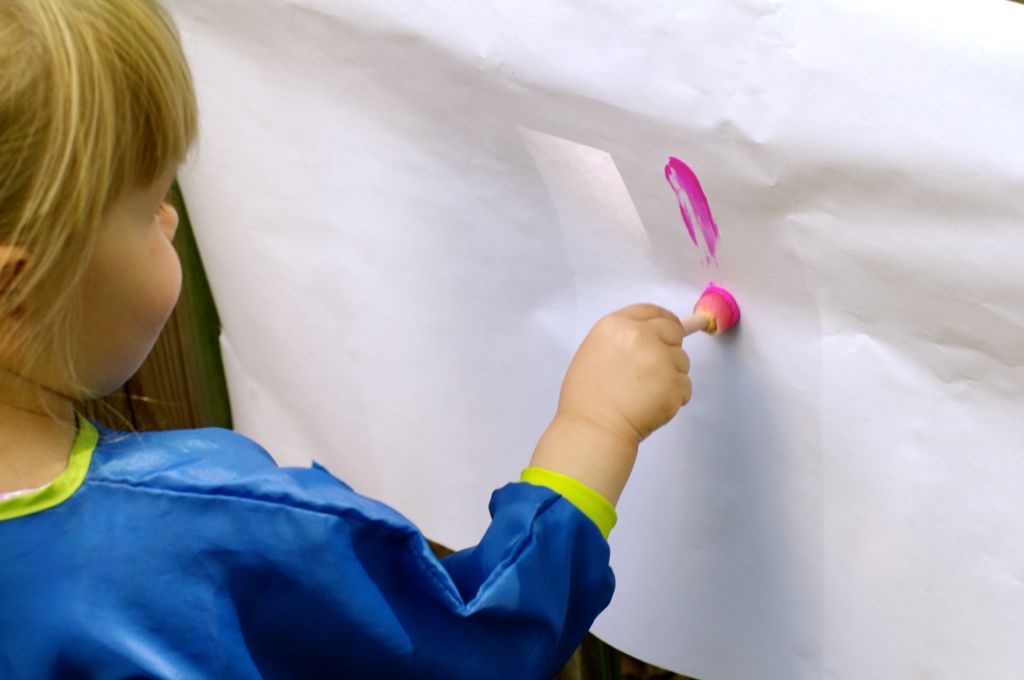
Step 9
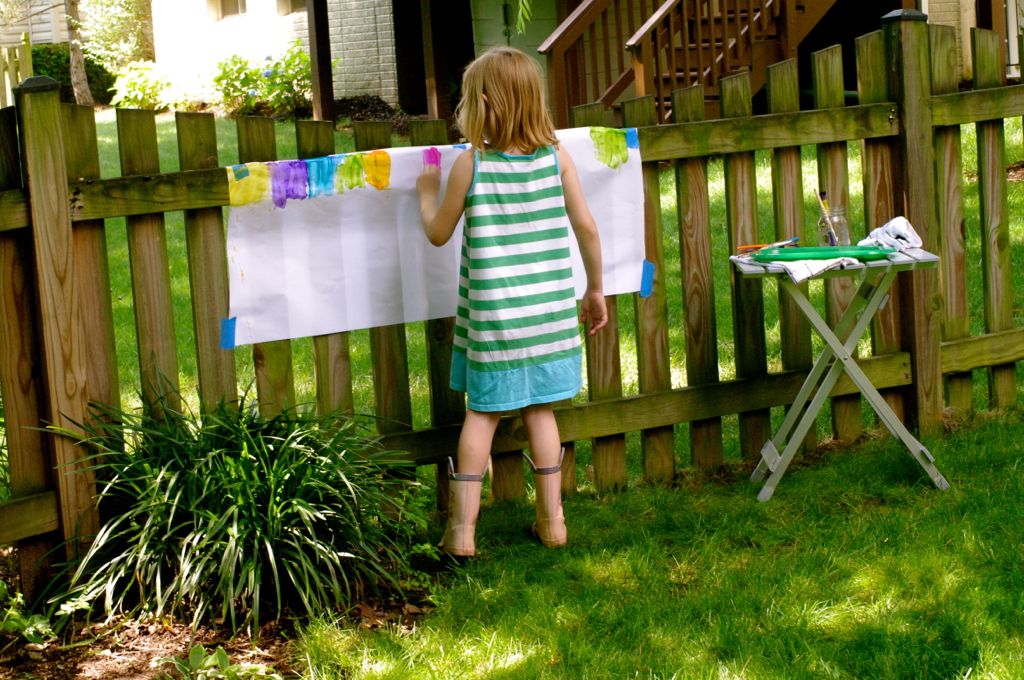
Both kids were very focused on their own work area and paintings.
Step 10
This project was more about process than product. The kids painted as long as they wanted, then moved on to playing in the back yard. There was very little paint on anything but the paper. Even the kids were mostly paint free. It was all washable, so even if they had painted the whole fence or themselves (hey, that would be fun!), it would have been an easy clean-up.

Done!
Our little friends were having so much fun that my 7-year-old asked to paint, too. It was easy to set up another sheet of paper and a tray of paints for her. She got down to the business of being creative right away. What a lovely way to spend the morning outdoors!