Step-by-step tutorial
Step 1
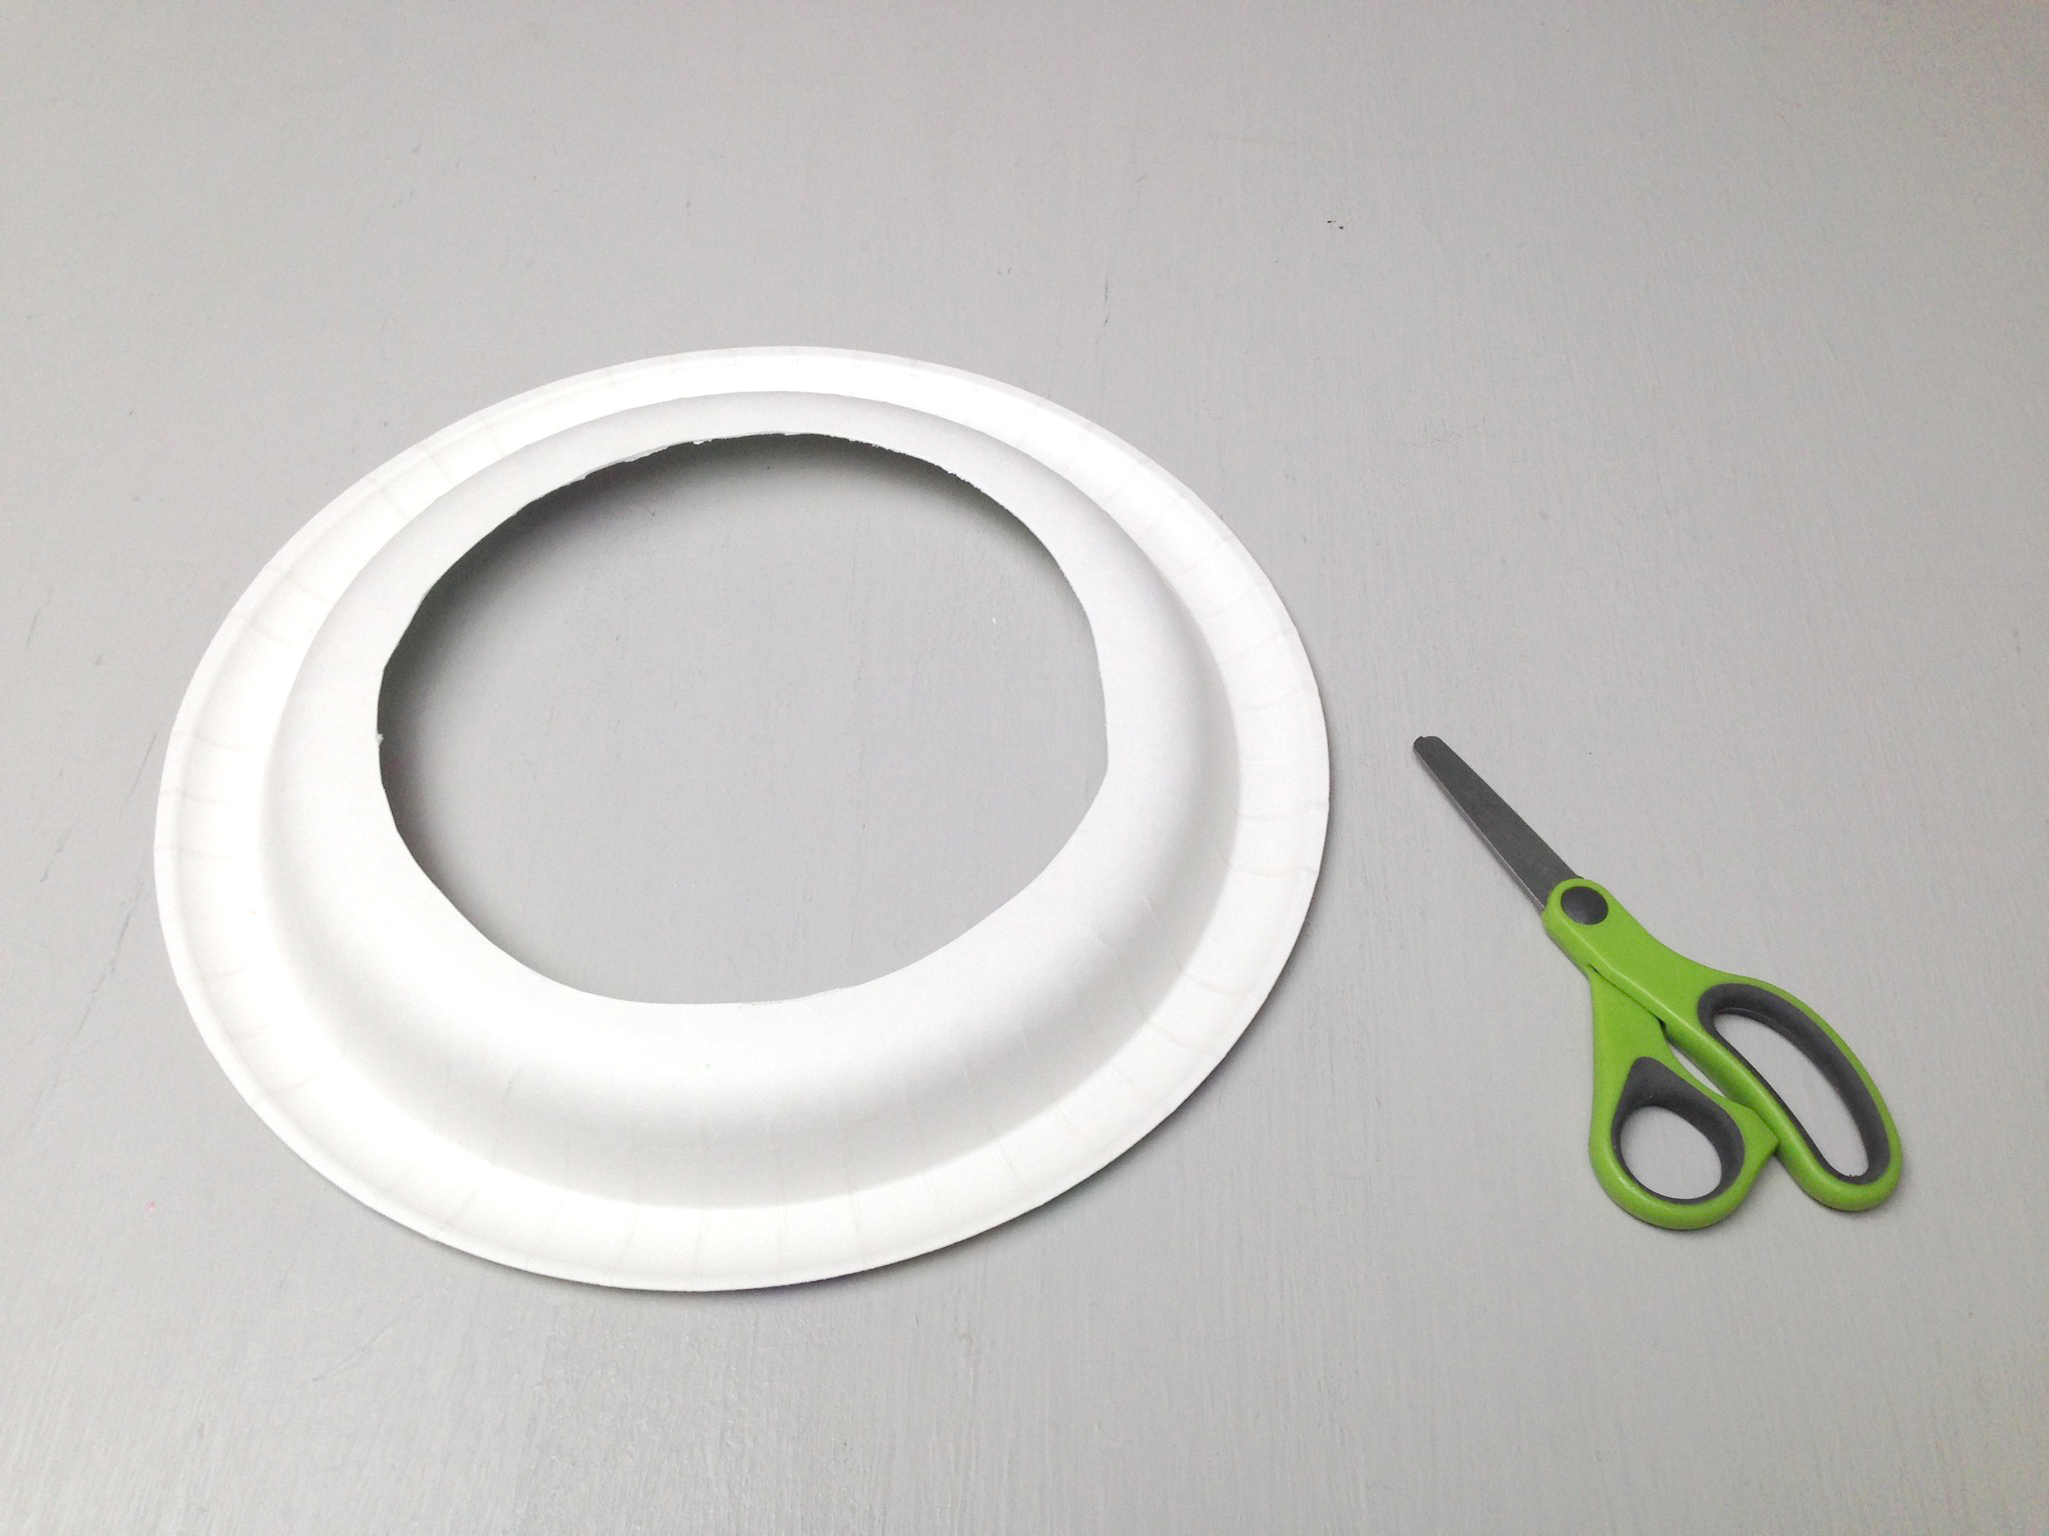
Gather your materials!


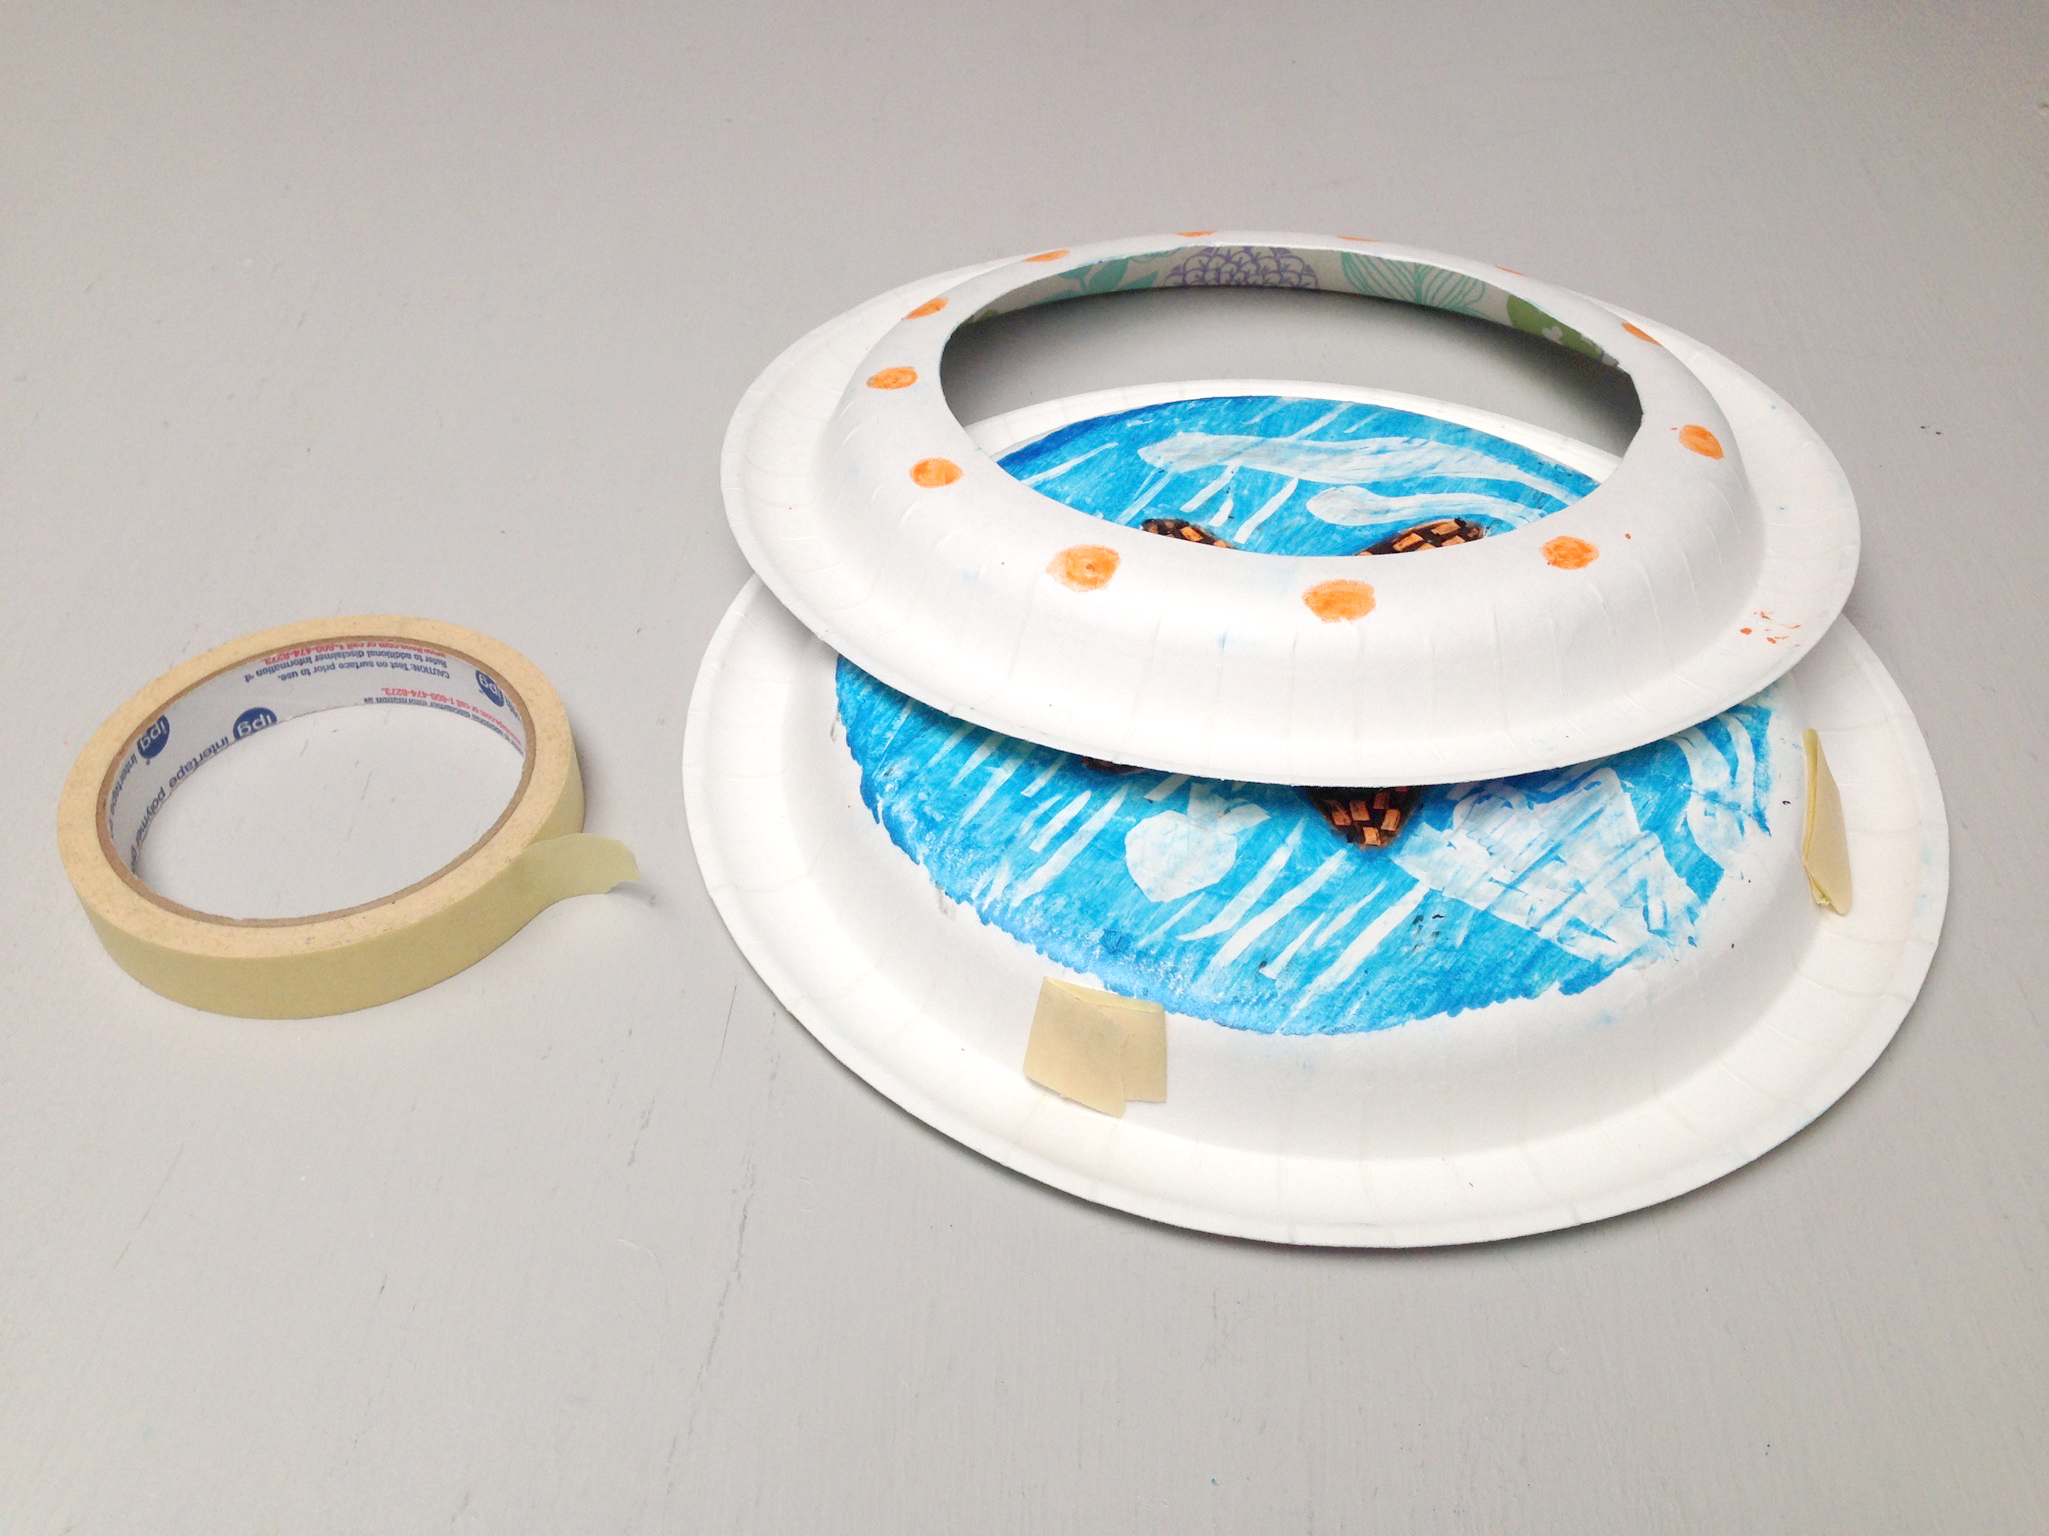
Step 2
Create your porthole frame by cutting out the center of one of your paper plates.
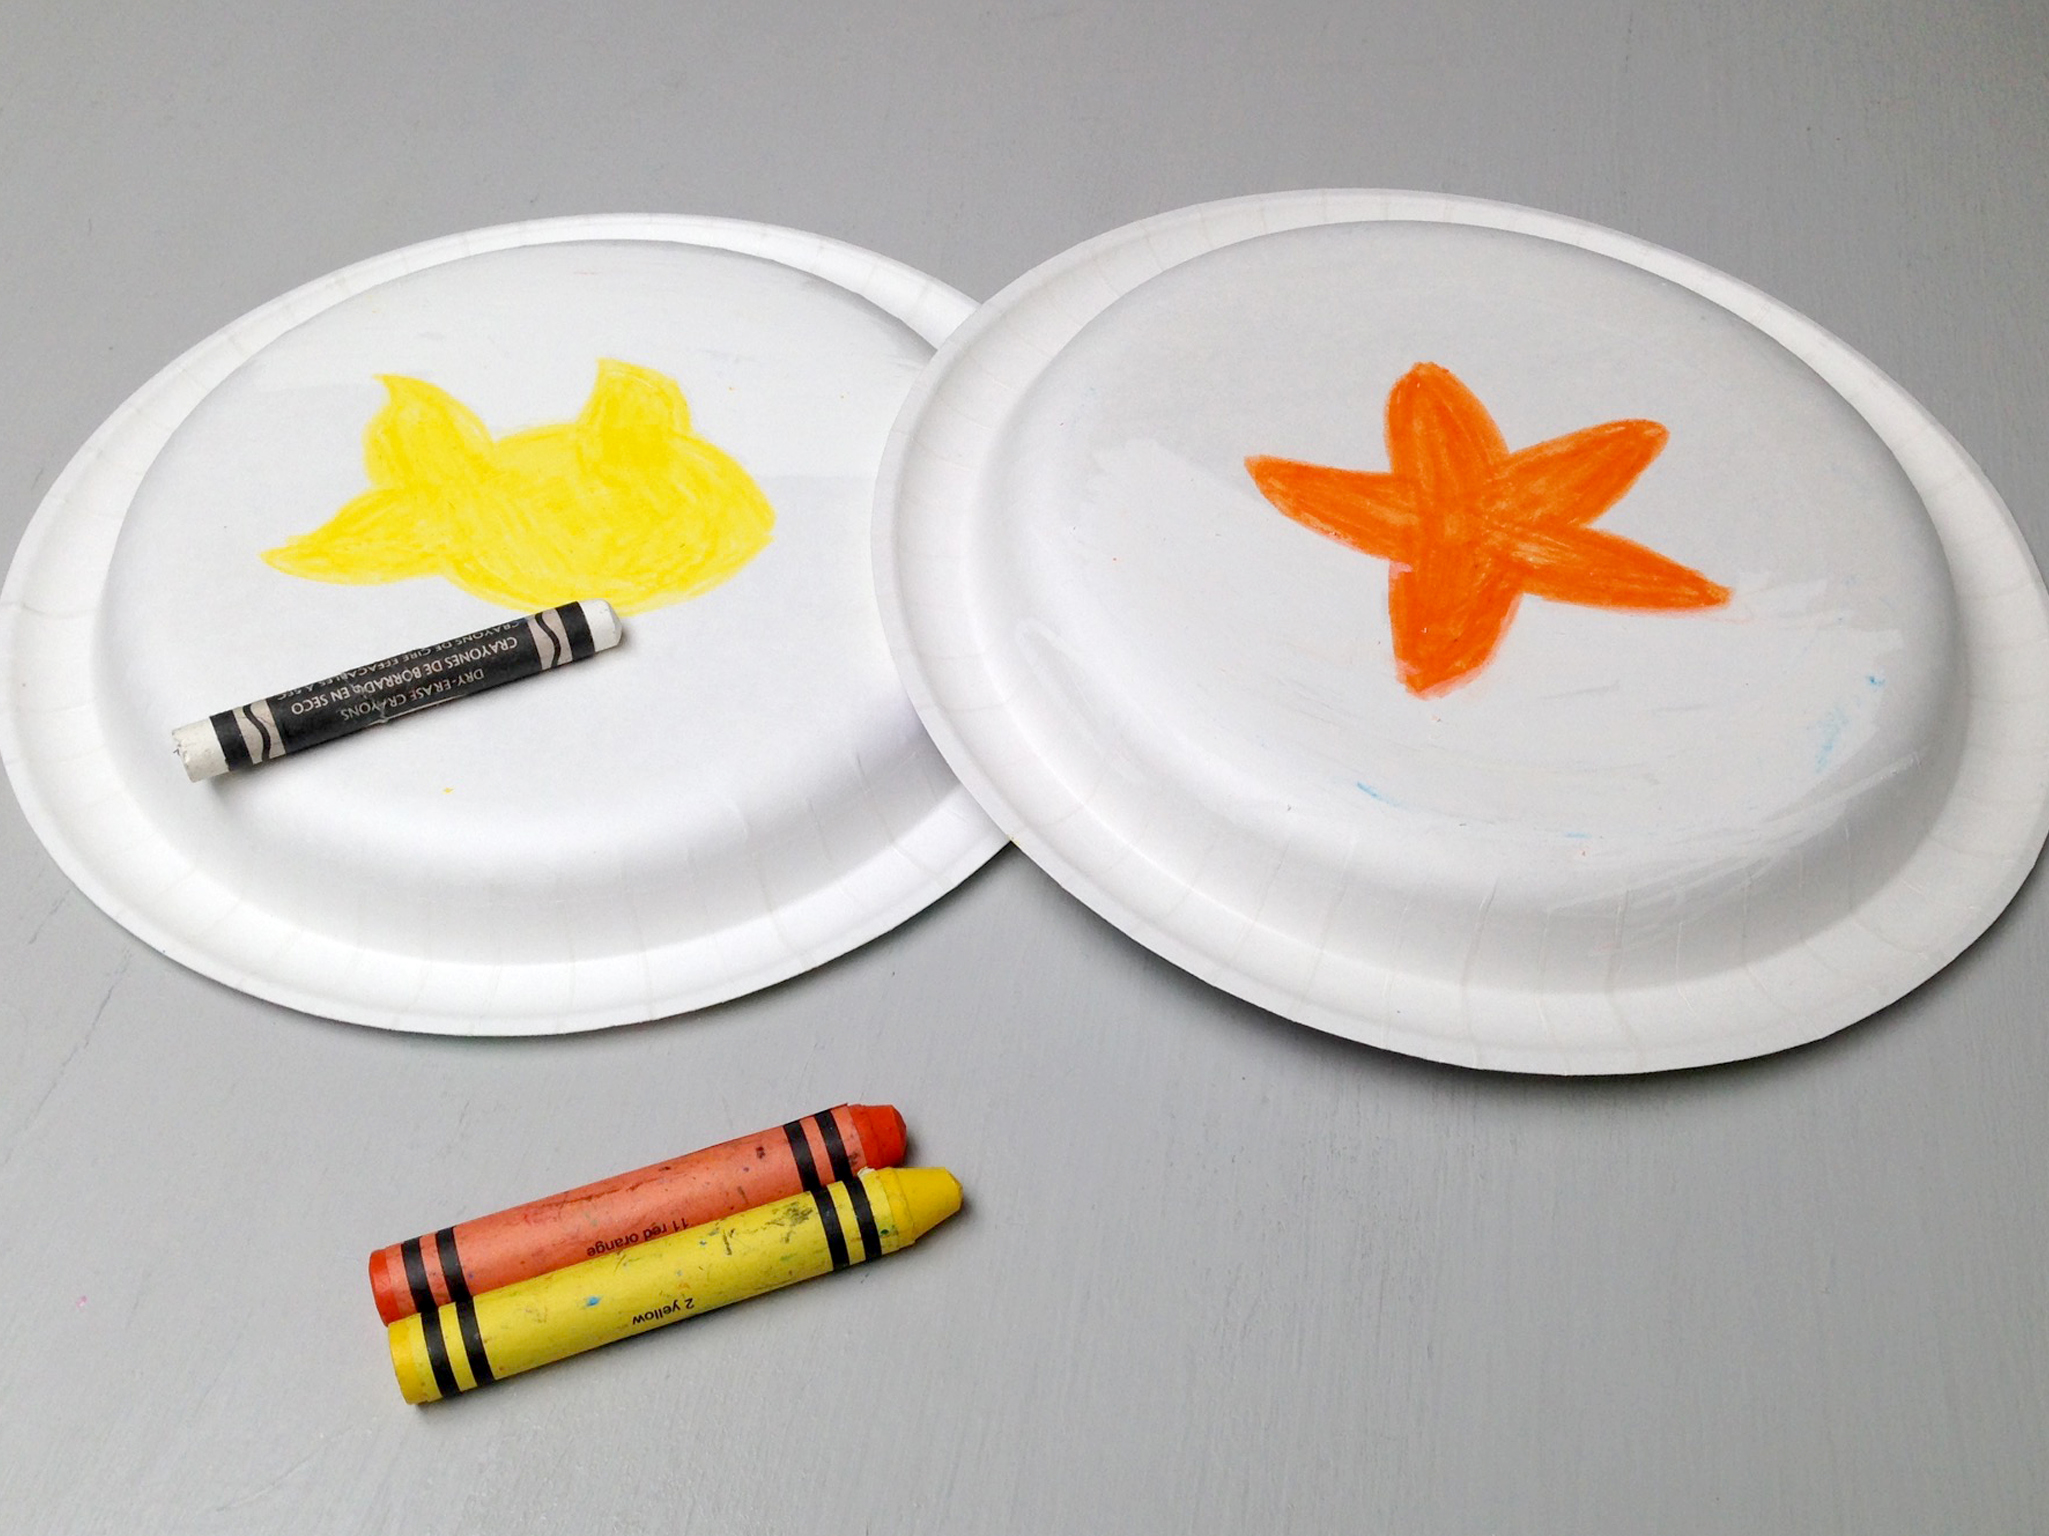
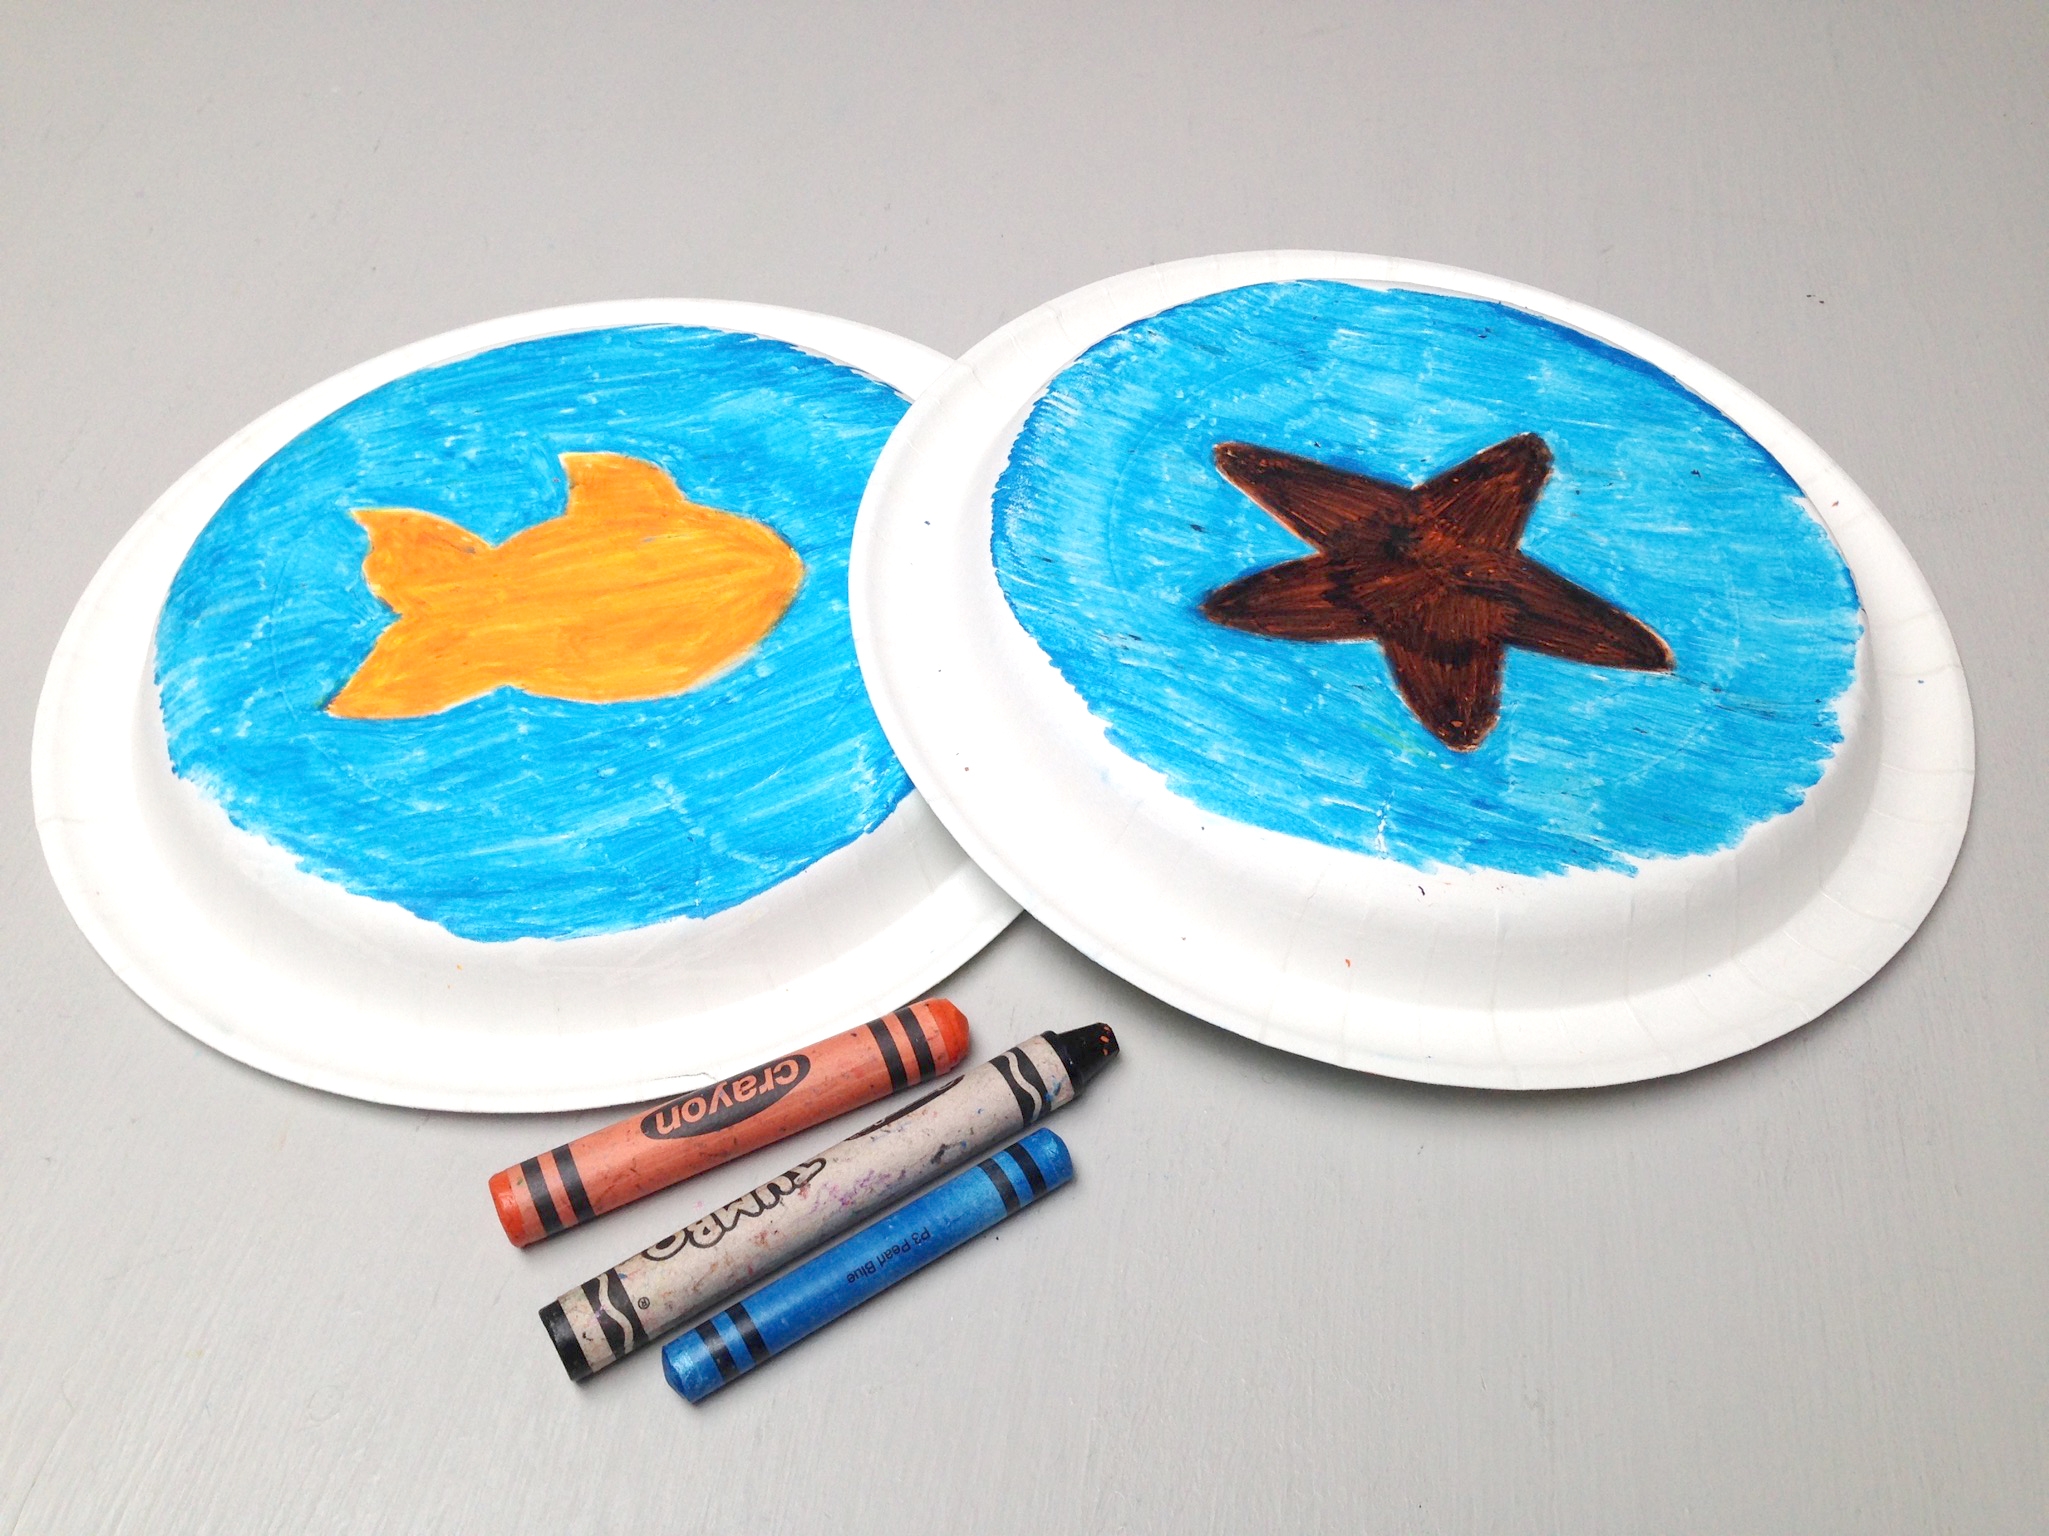
Step 3
On a plate without a hole, draw your favorite sea creatures in one solid color with a crayon. We chose a fish and a starfish! Color the rest of the space on the plate with a white crayon.Tip: Stack the plate with the hole on top of the plate you just colored to make sure you colored all the area you can see through the hole.
Step 4
Color a thick layer of color over the previous layer. For the best effect, use a different color from the previous step.We used black to cover the starfish, orange to cover the fish, and blue to cover the white background.Experiment with different colors layer on top of one another. The scratch art will work as long as there are two layers of color.
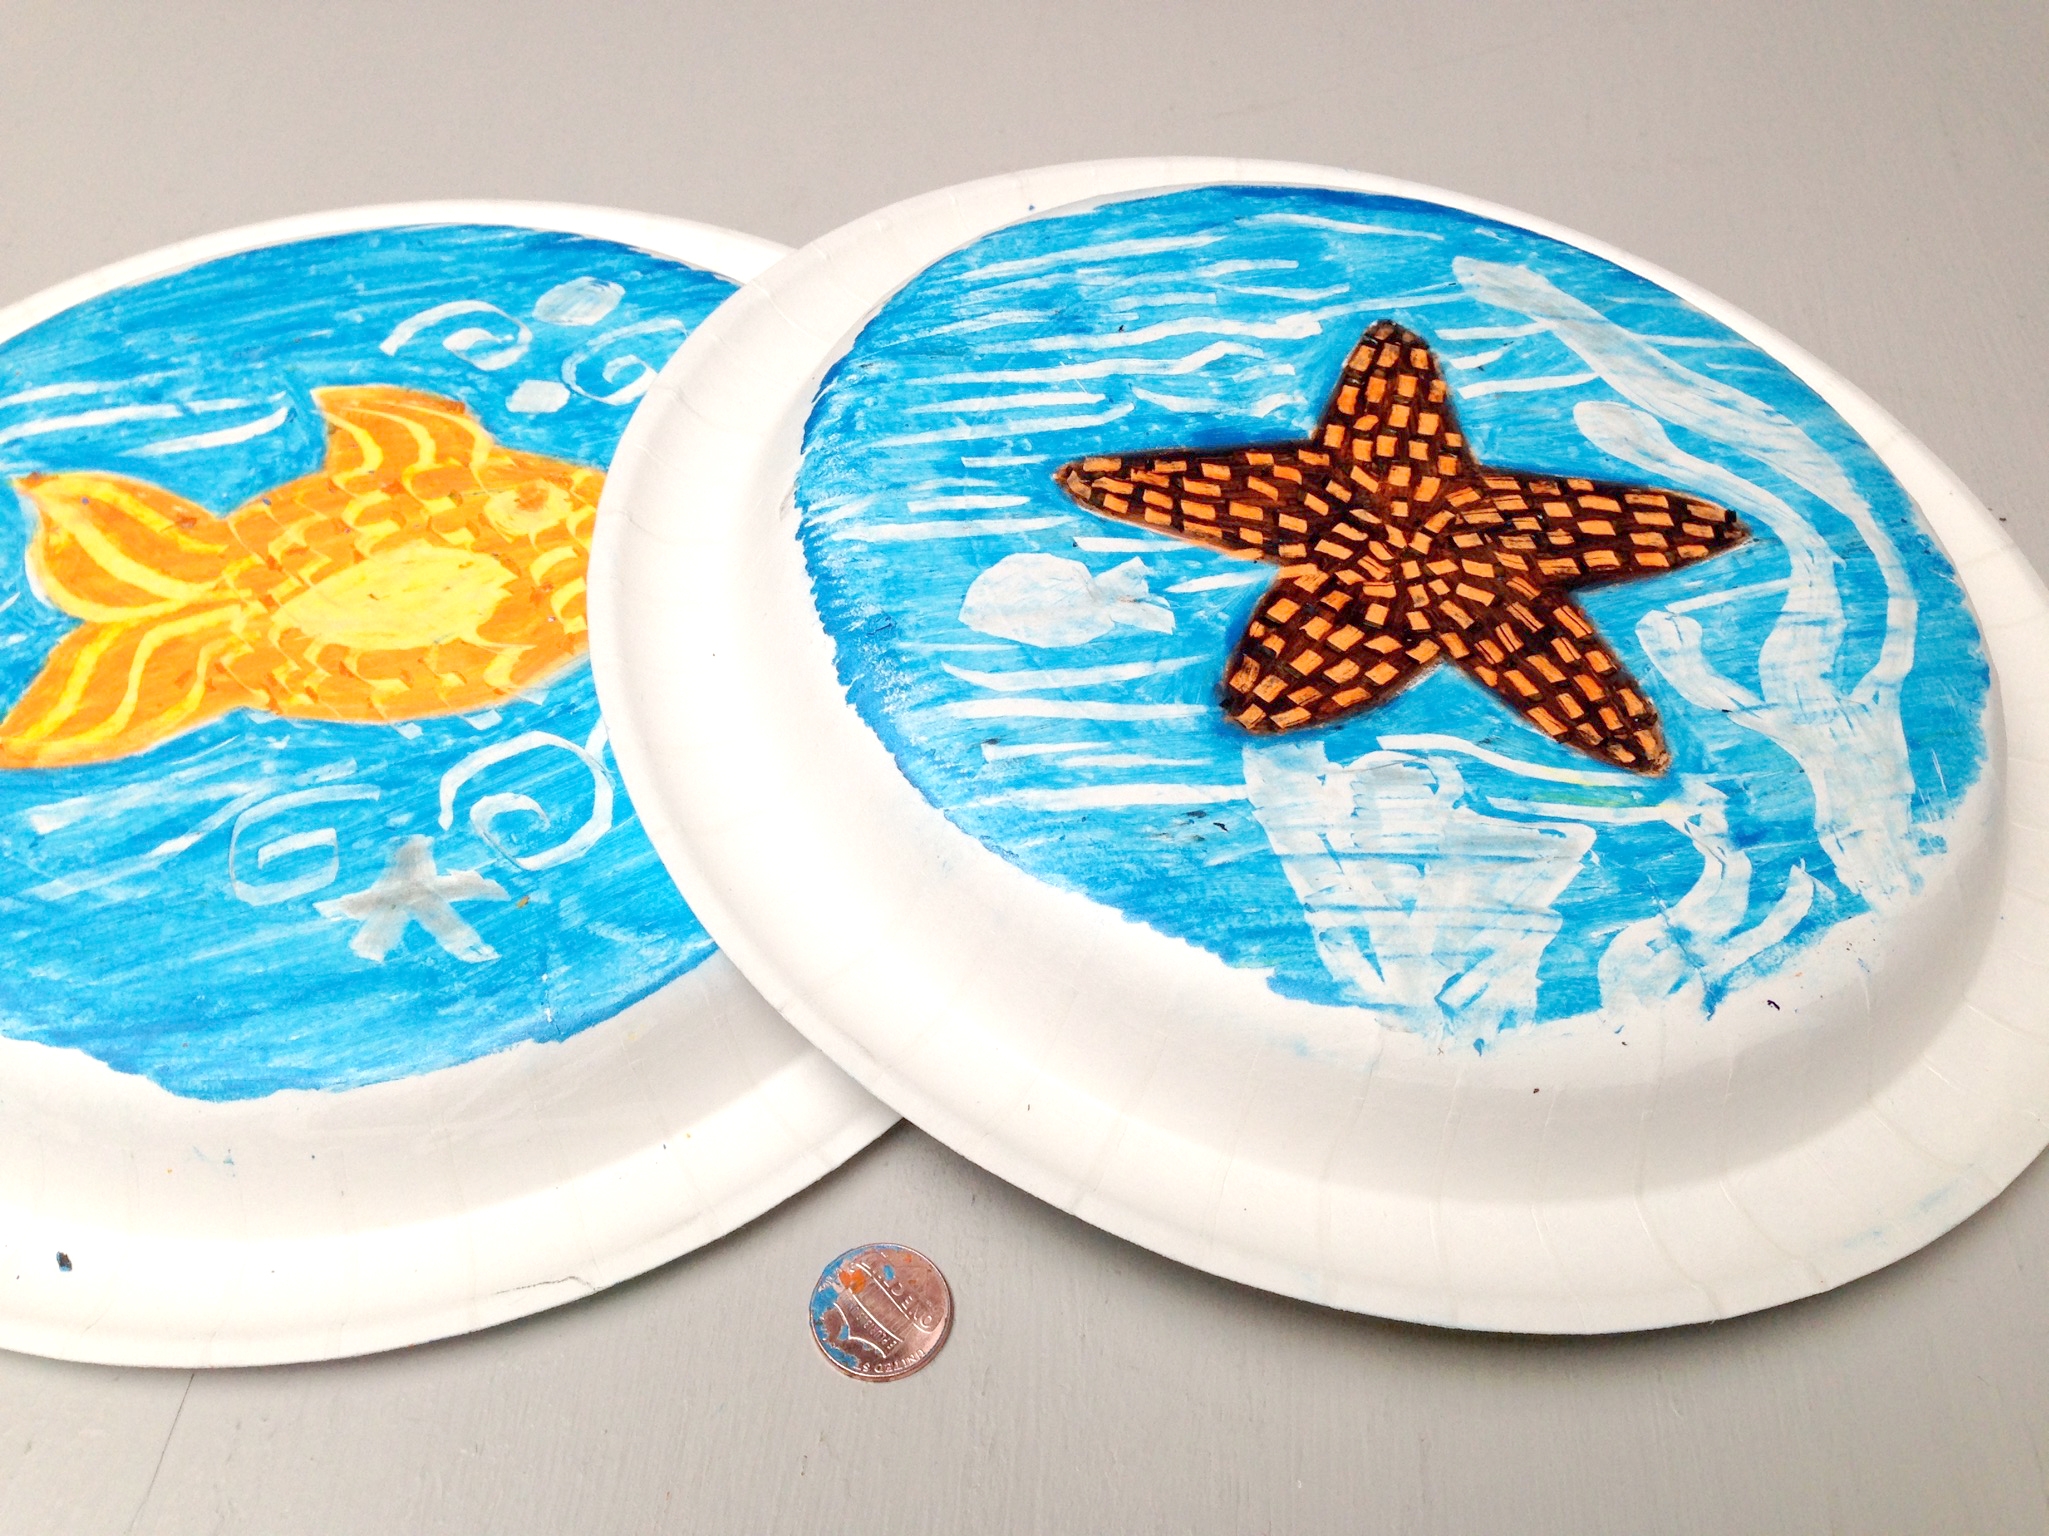
Step 5
You are ready to create your underwater scene. Use your penny to scratch designs such as fish, seaweeds, rocks, starfish, or whales! Use your imagination!Tip: Try using different materials, such as toothpicks, to scratch your designs.
Step 6
Once your art is complete, add your porthole frame with tape! Put the tape between the two plates along the edge so your porthole covers it. You can add bolts and other details to your porthole frame with your crayons.
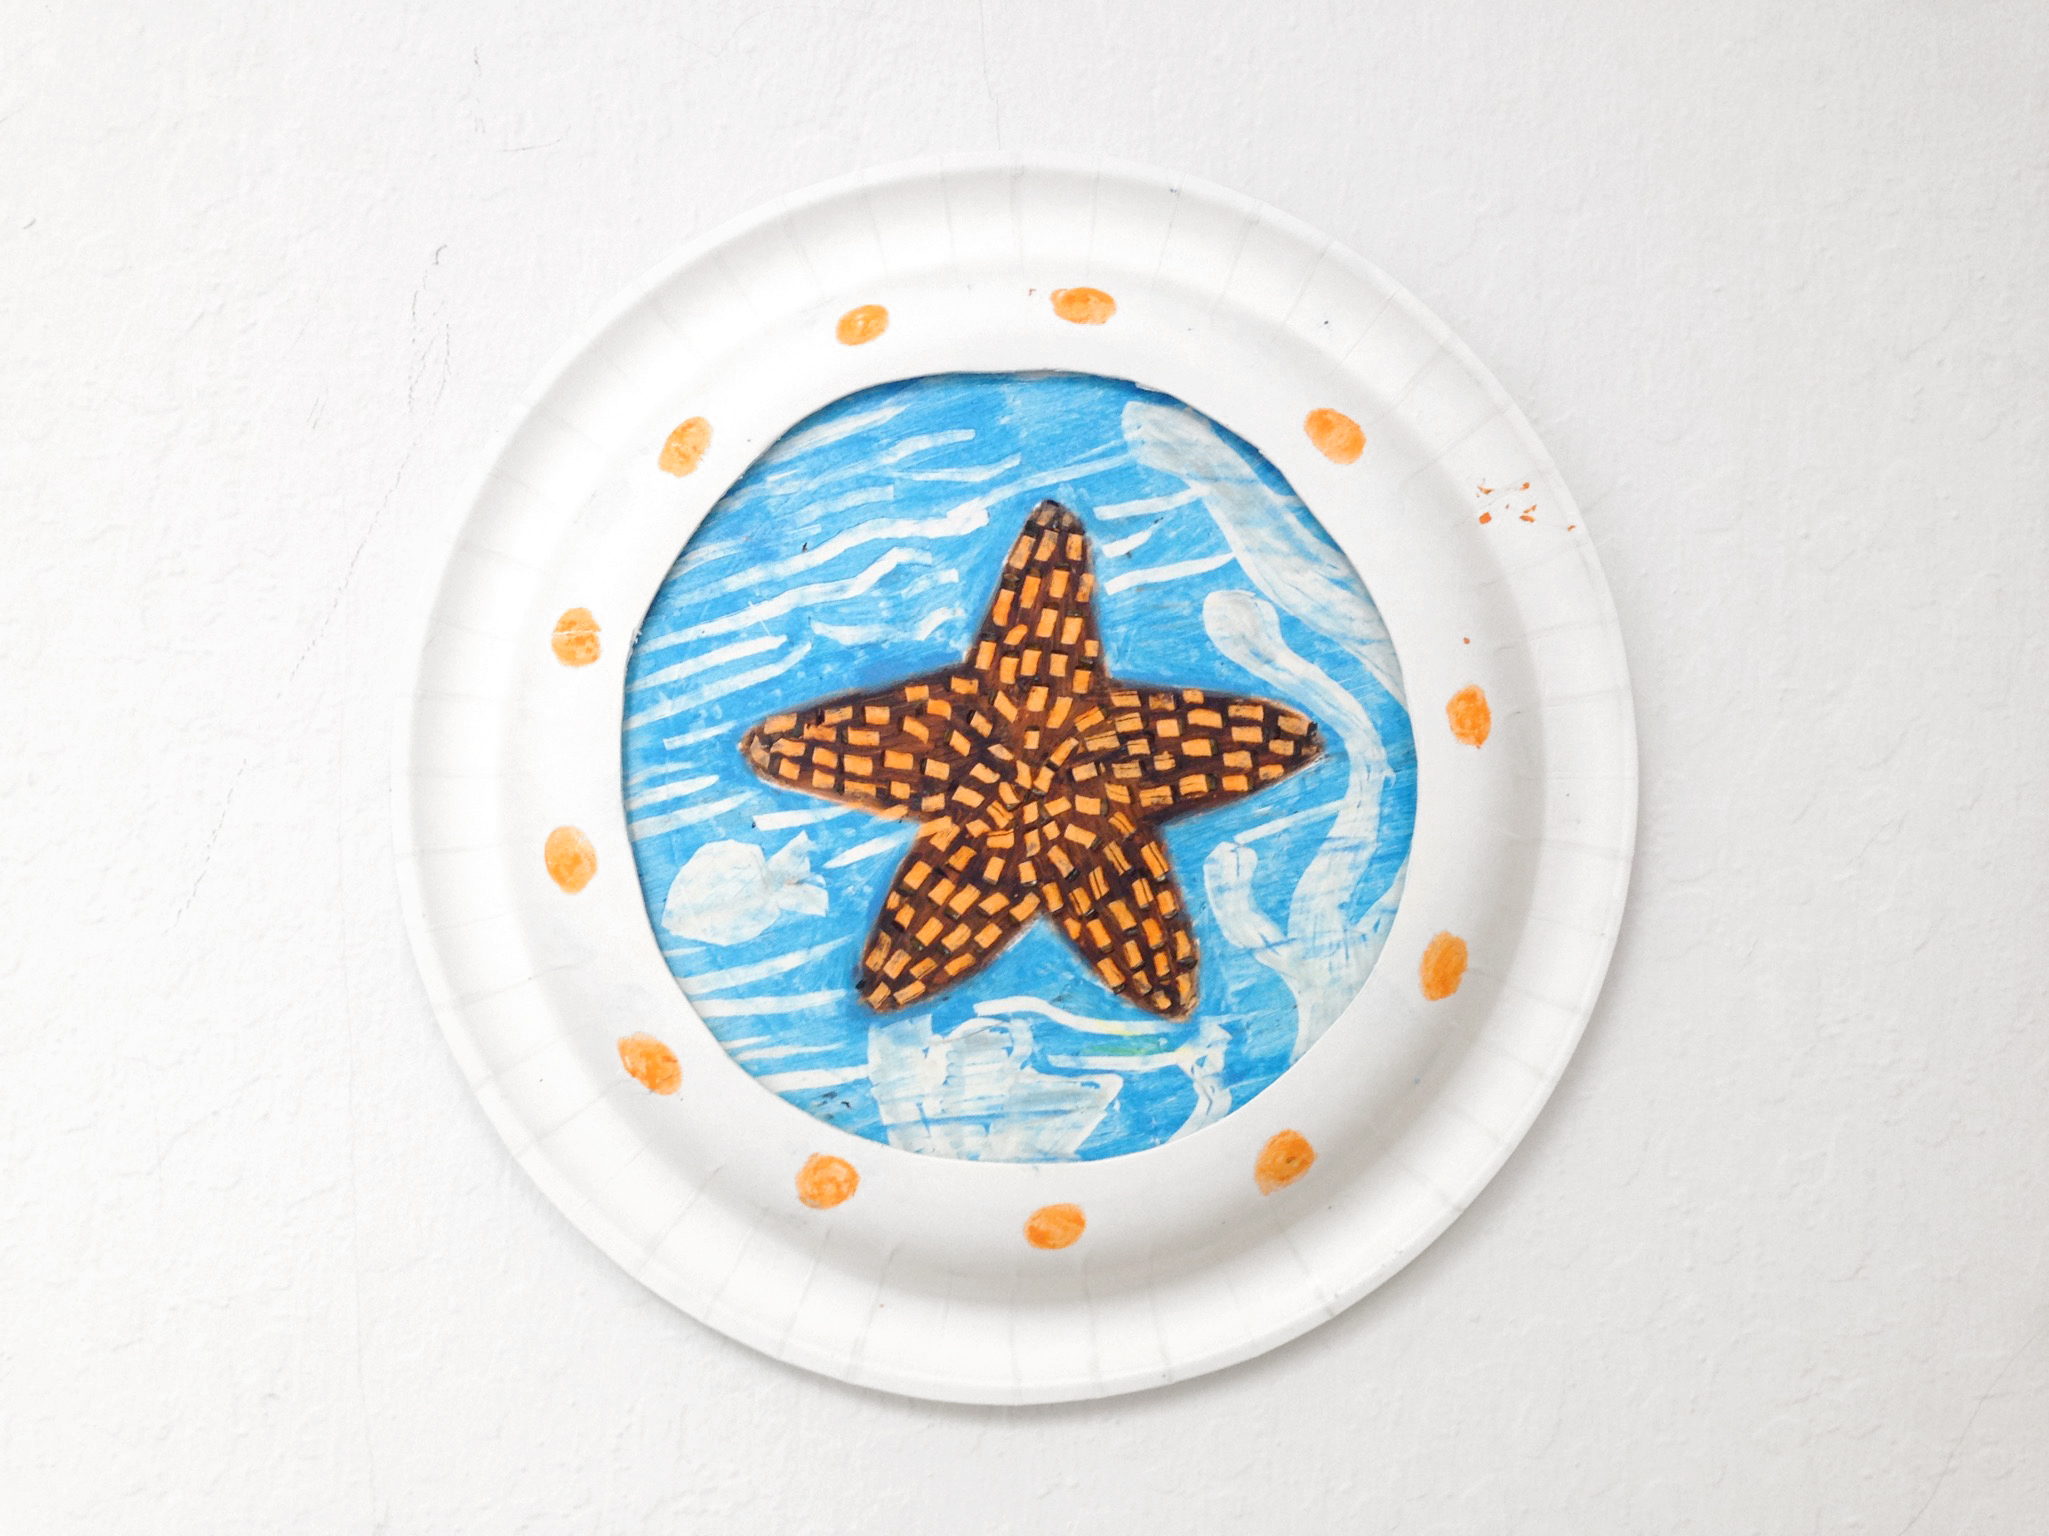
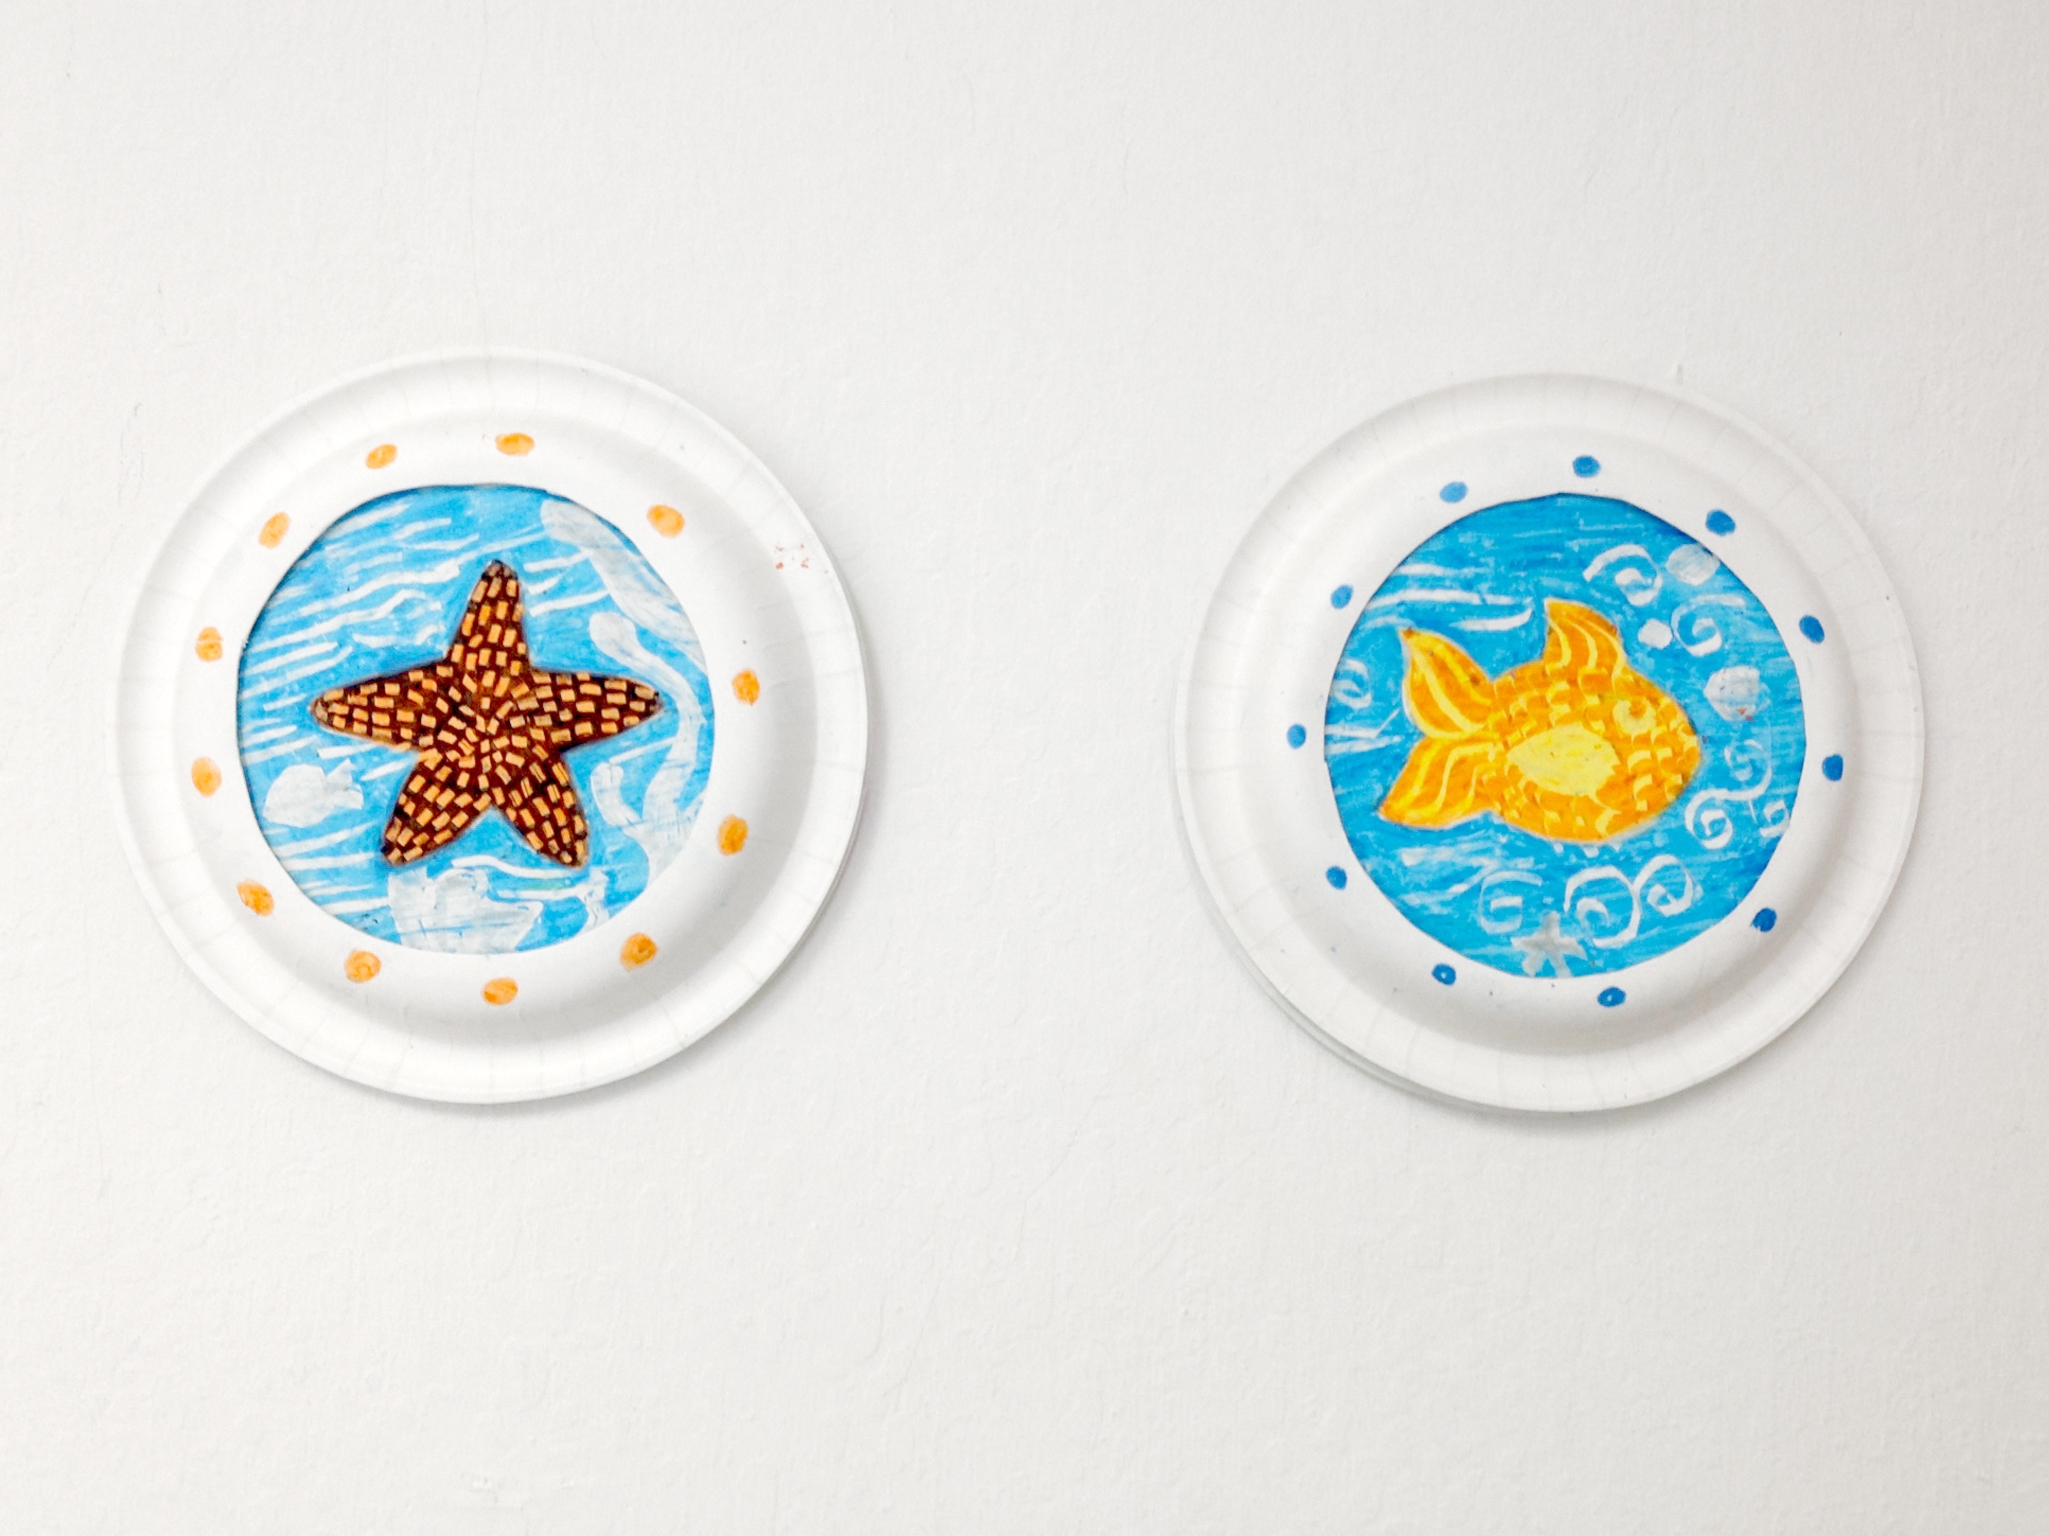
Done!
Add a few pieces of masking tape to the back of the art and attach it to the wall. Enjoy the view out of your porthole!