Step-by-step tutorial
Step 1
Gather your materials!

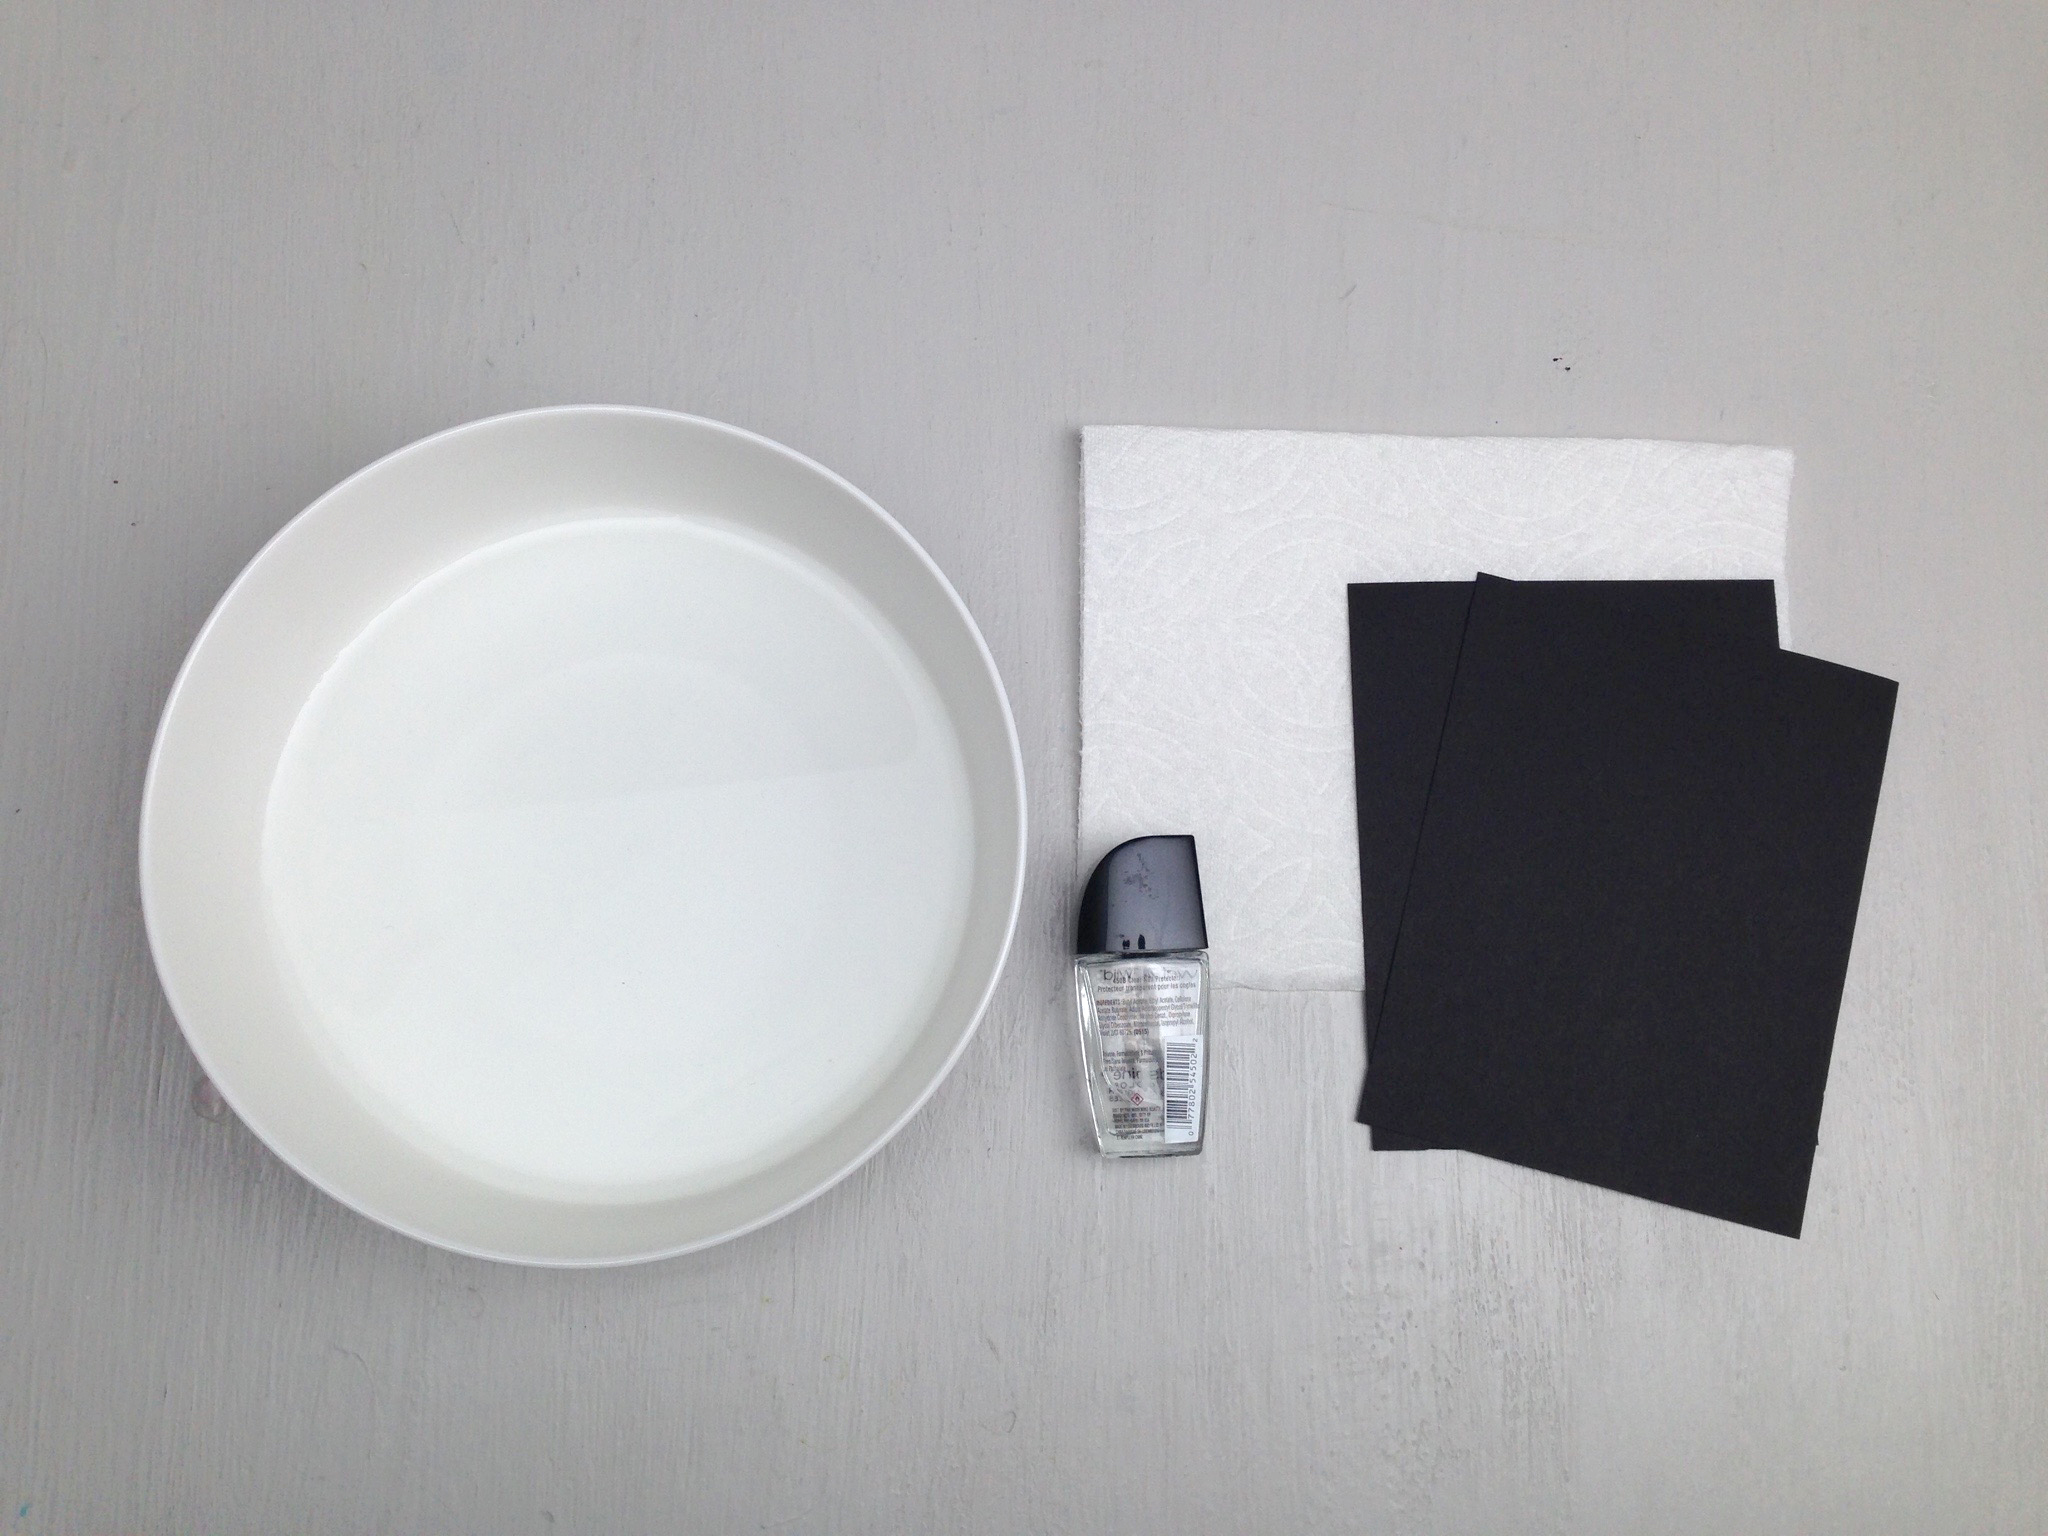
Step 2
Prepare your black paper for marbling by cutting it to fit in your bowl.
Fill a bowl with about 1 inch (2.5 cm) of water.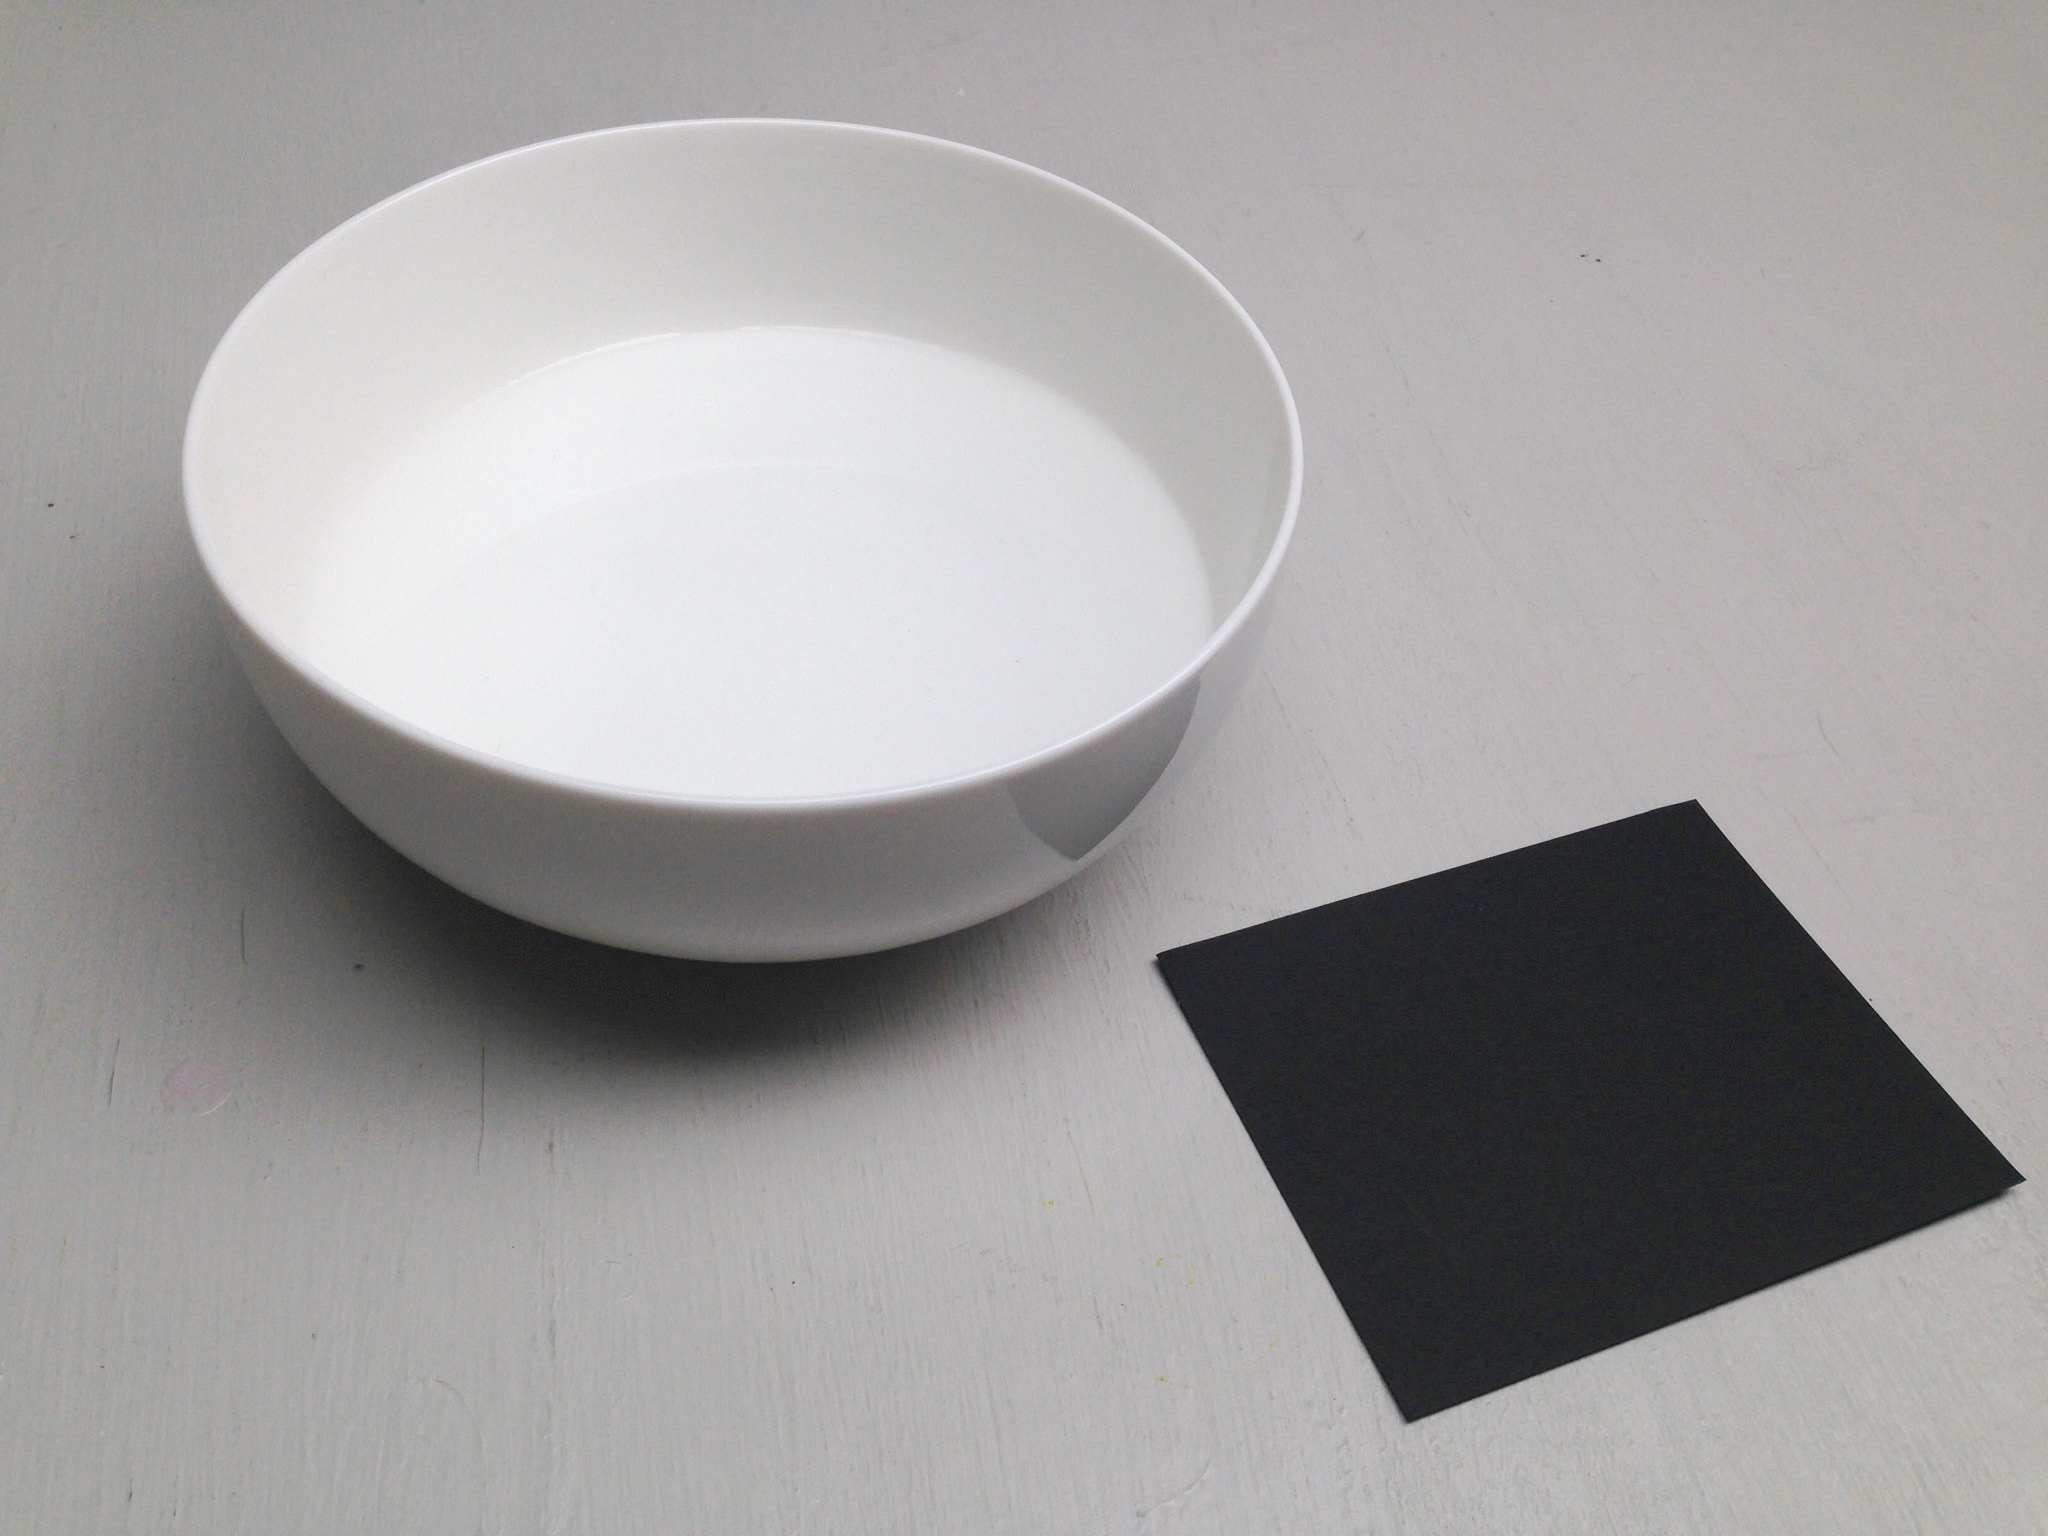
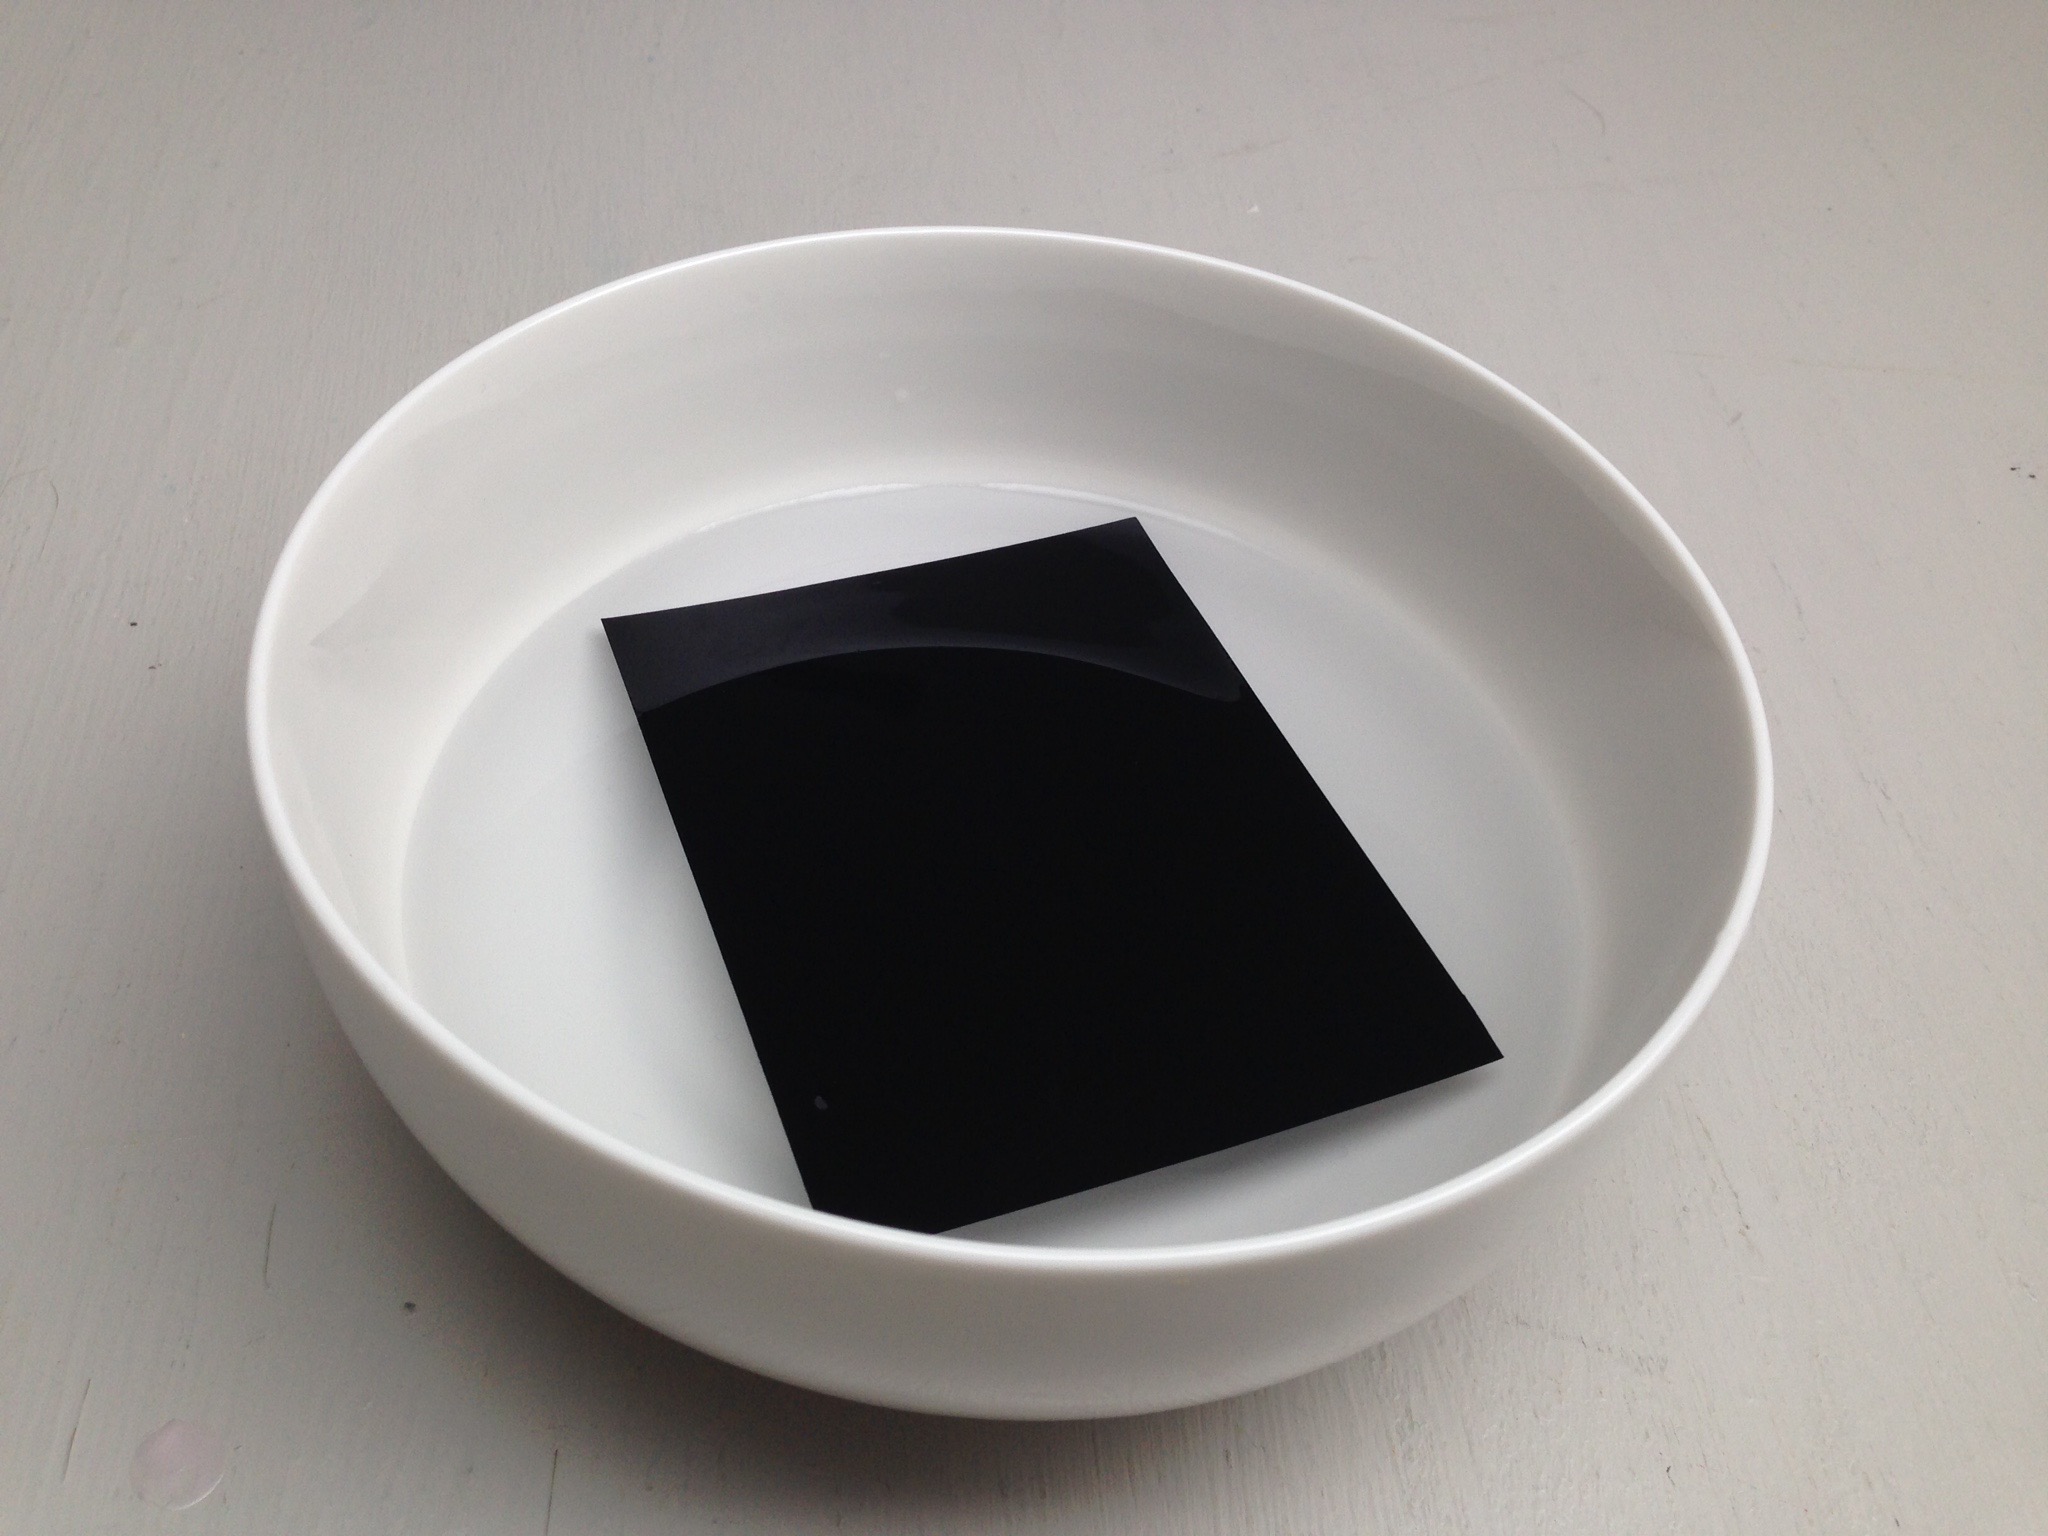
Step 3
Place your black paper into the bowl of water. Push the paper under water, and then let it float near the surface of the water.
Step 4
This step must be done quickly!
Pour 3-4 drops of clear nail polish above the black piece of paper, and then remove the black piece of paper within seconds.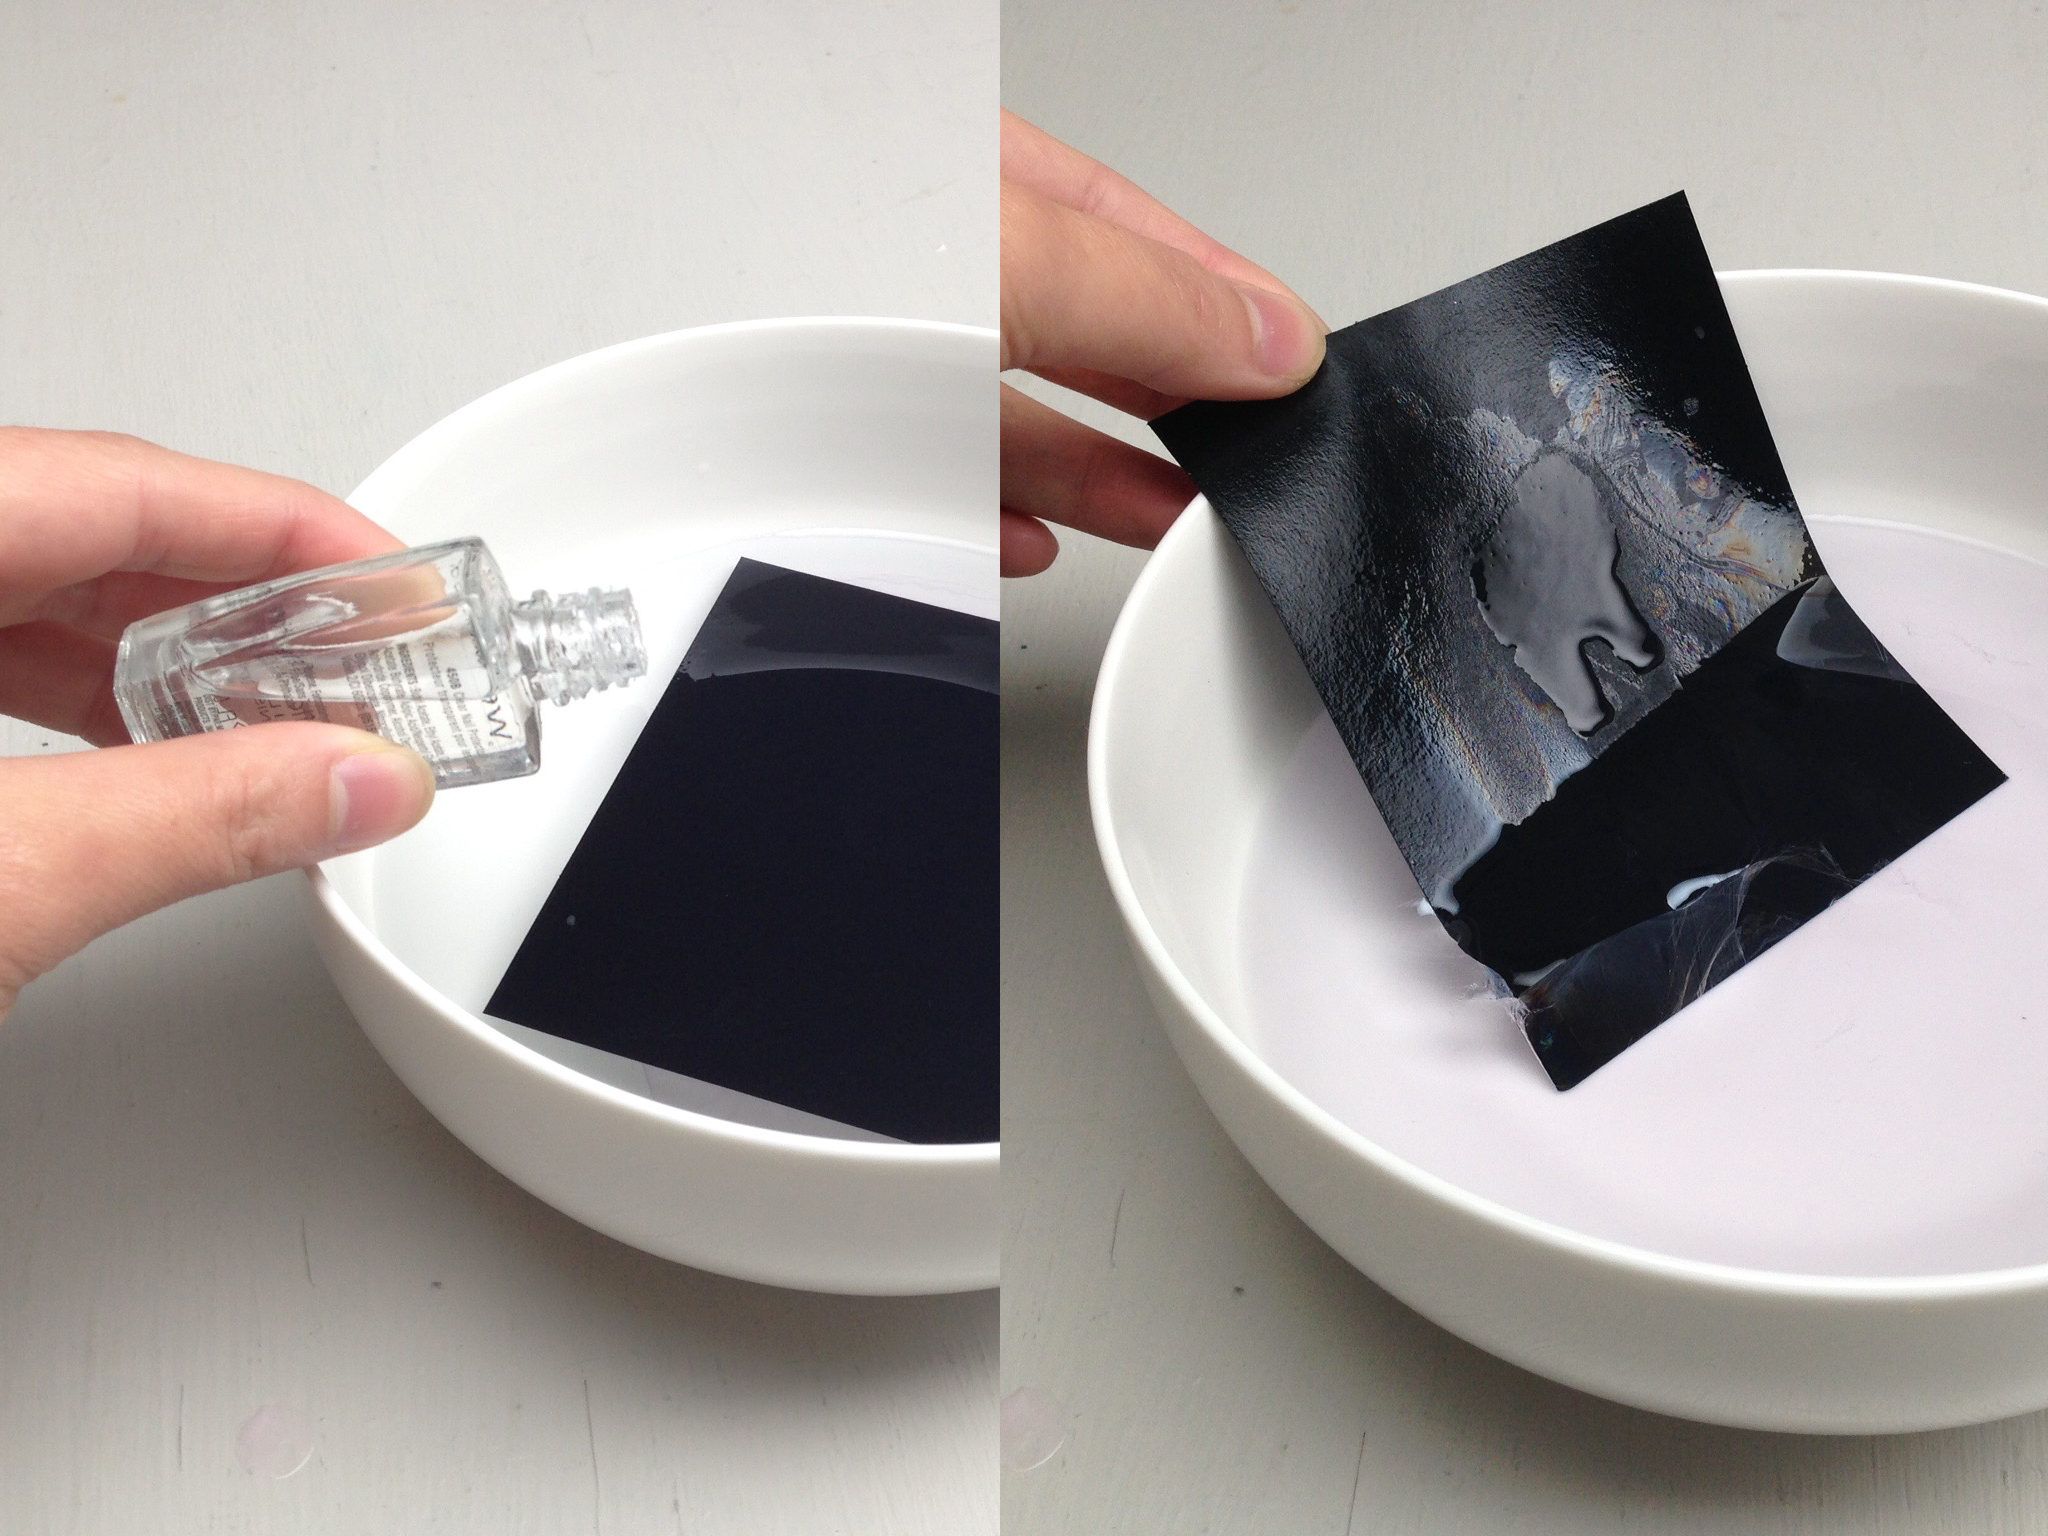
Tip
Pinch the edge of the paper to help you pull it out.
Step 5
Place the wet piece of paper onto a paper towel to dry. To speed up dry time, place it in the sun.
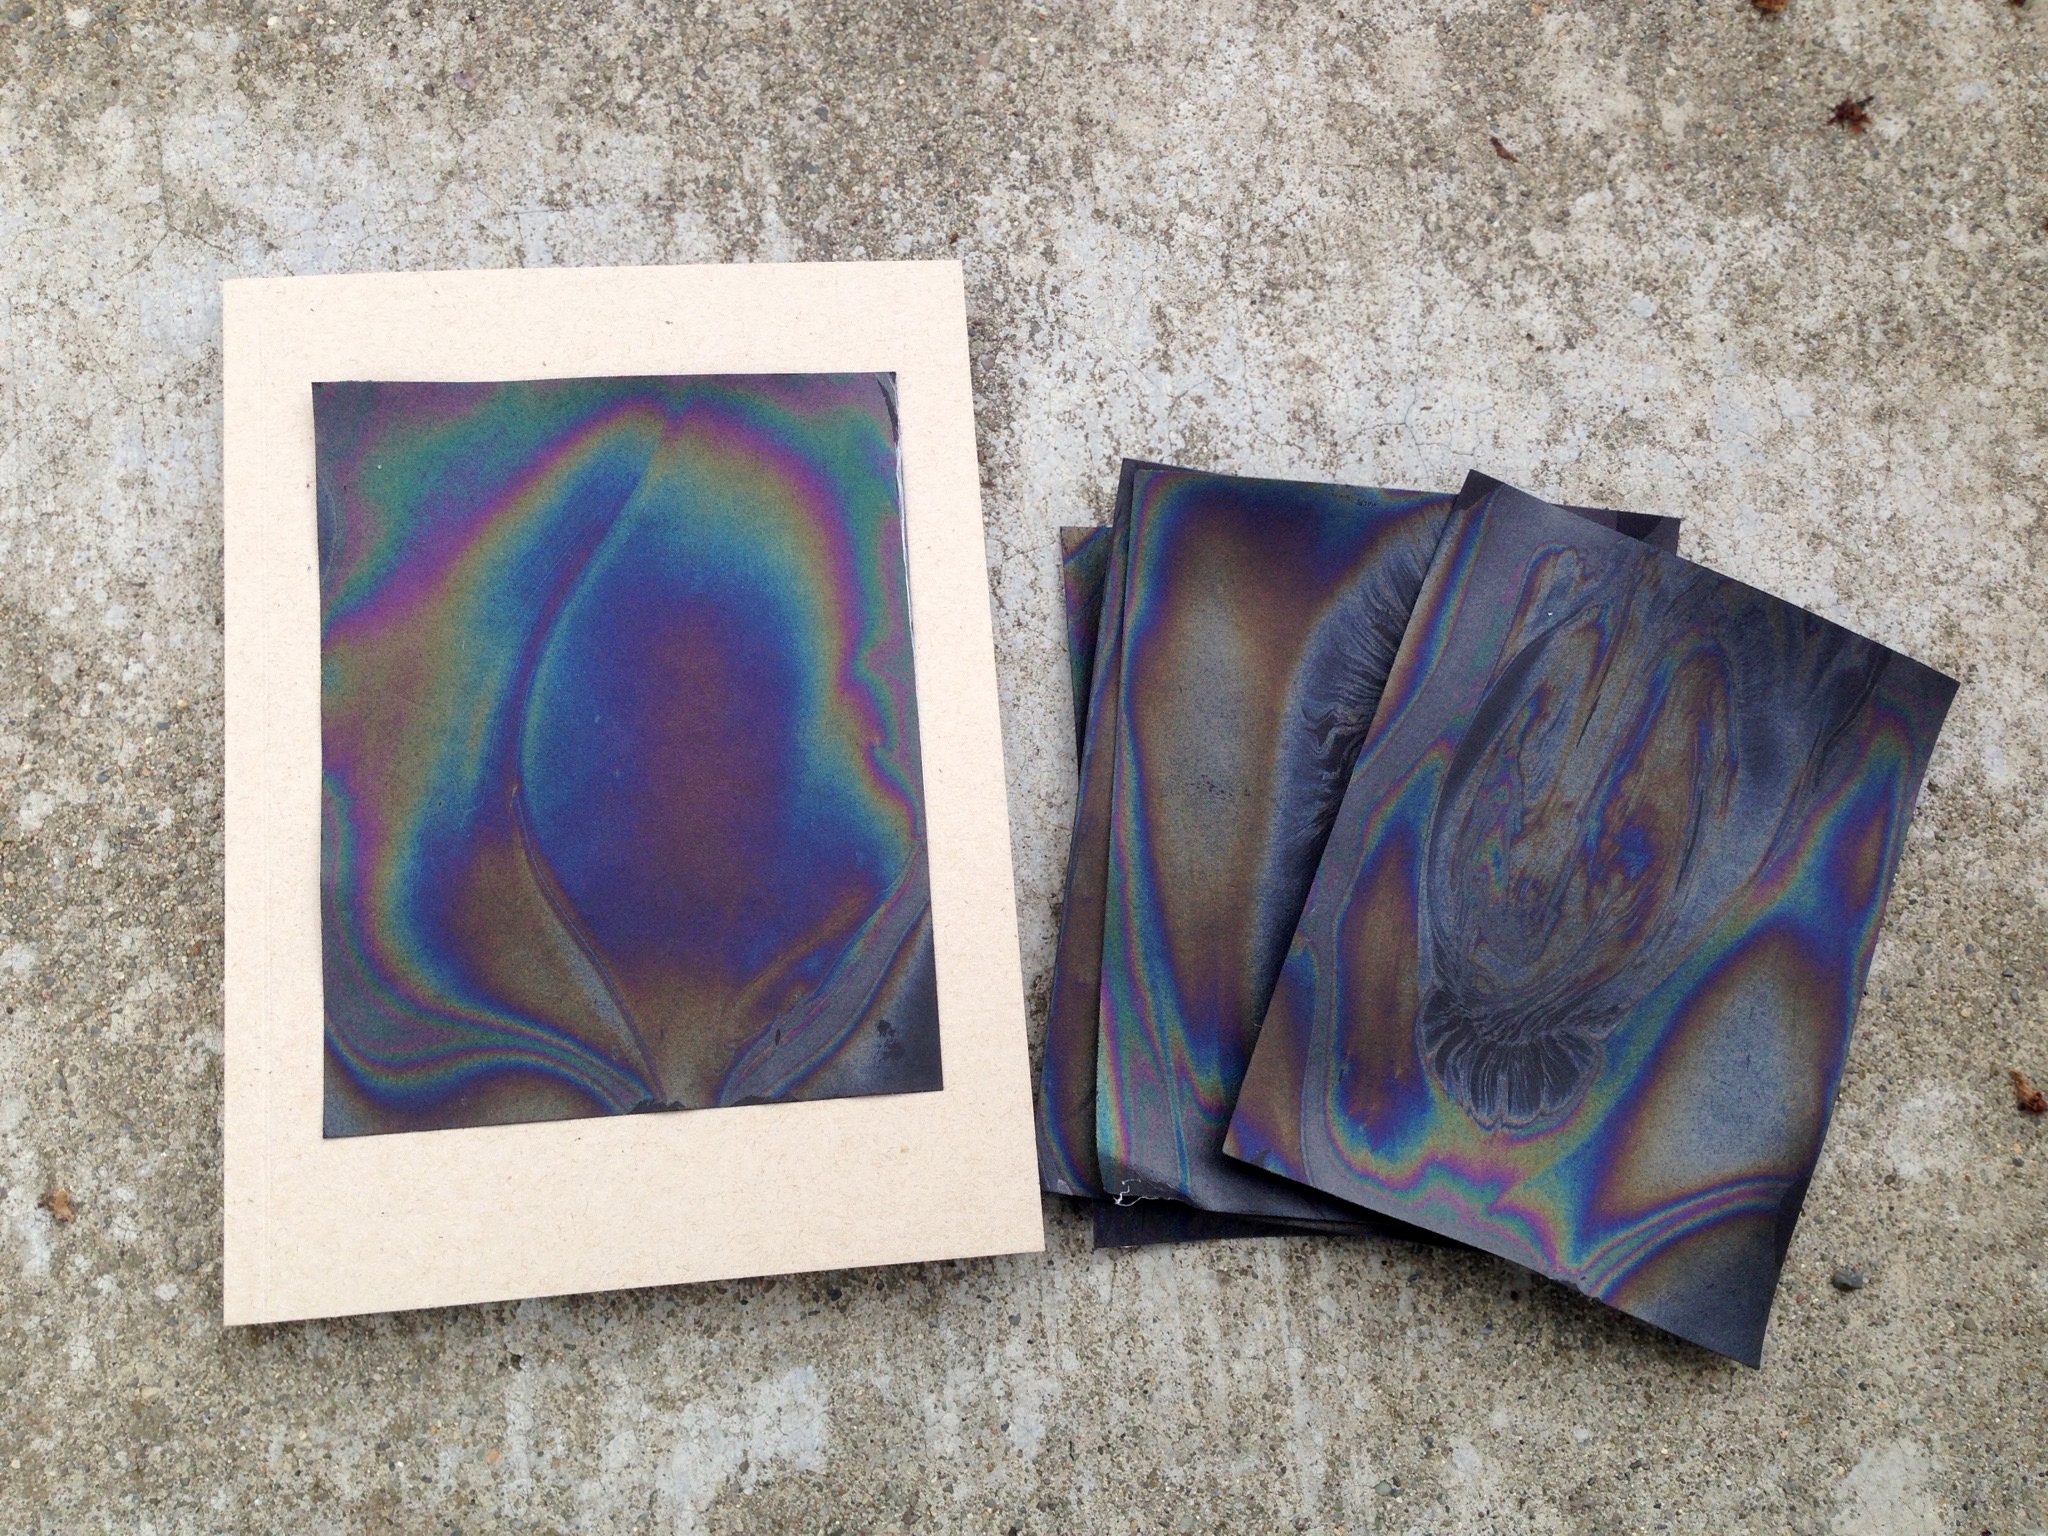
Look at all the rainbow colors that appear!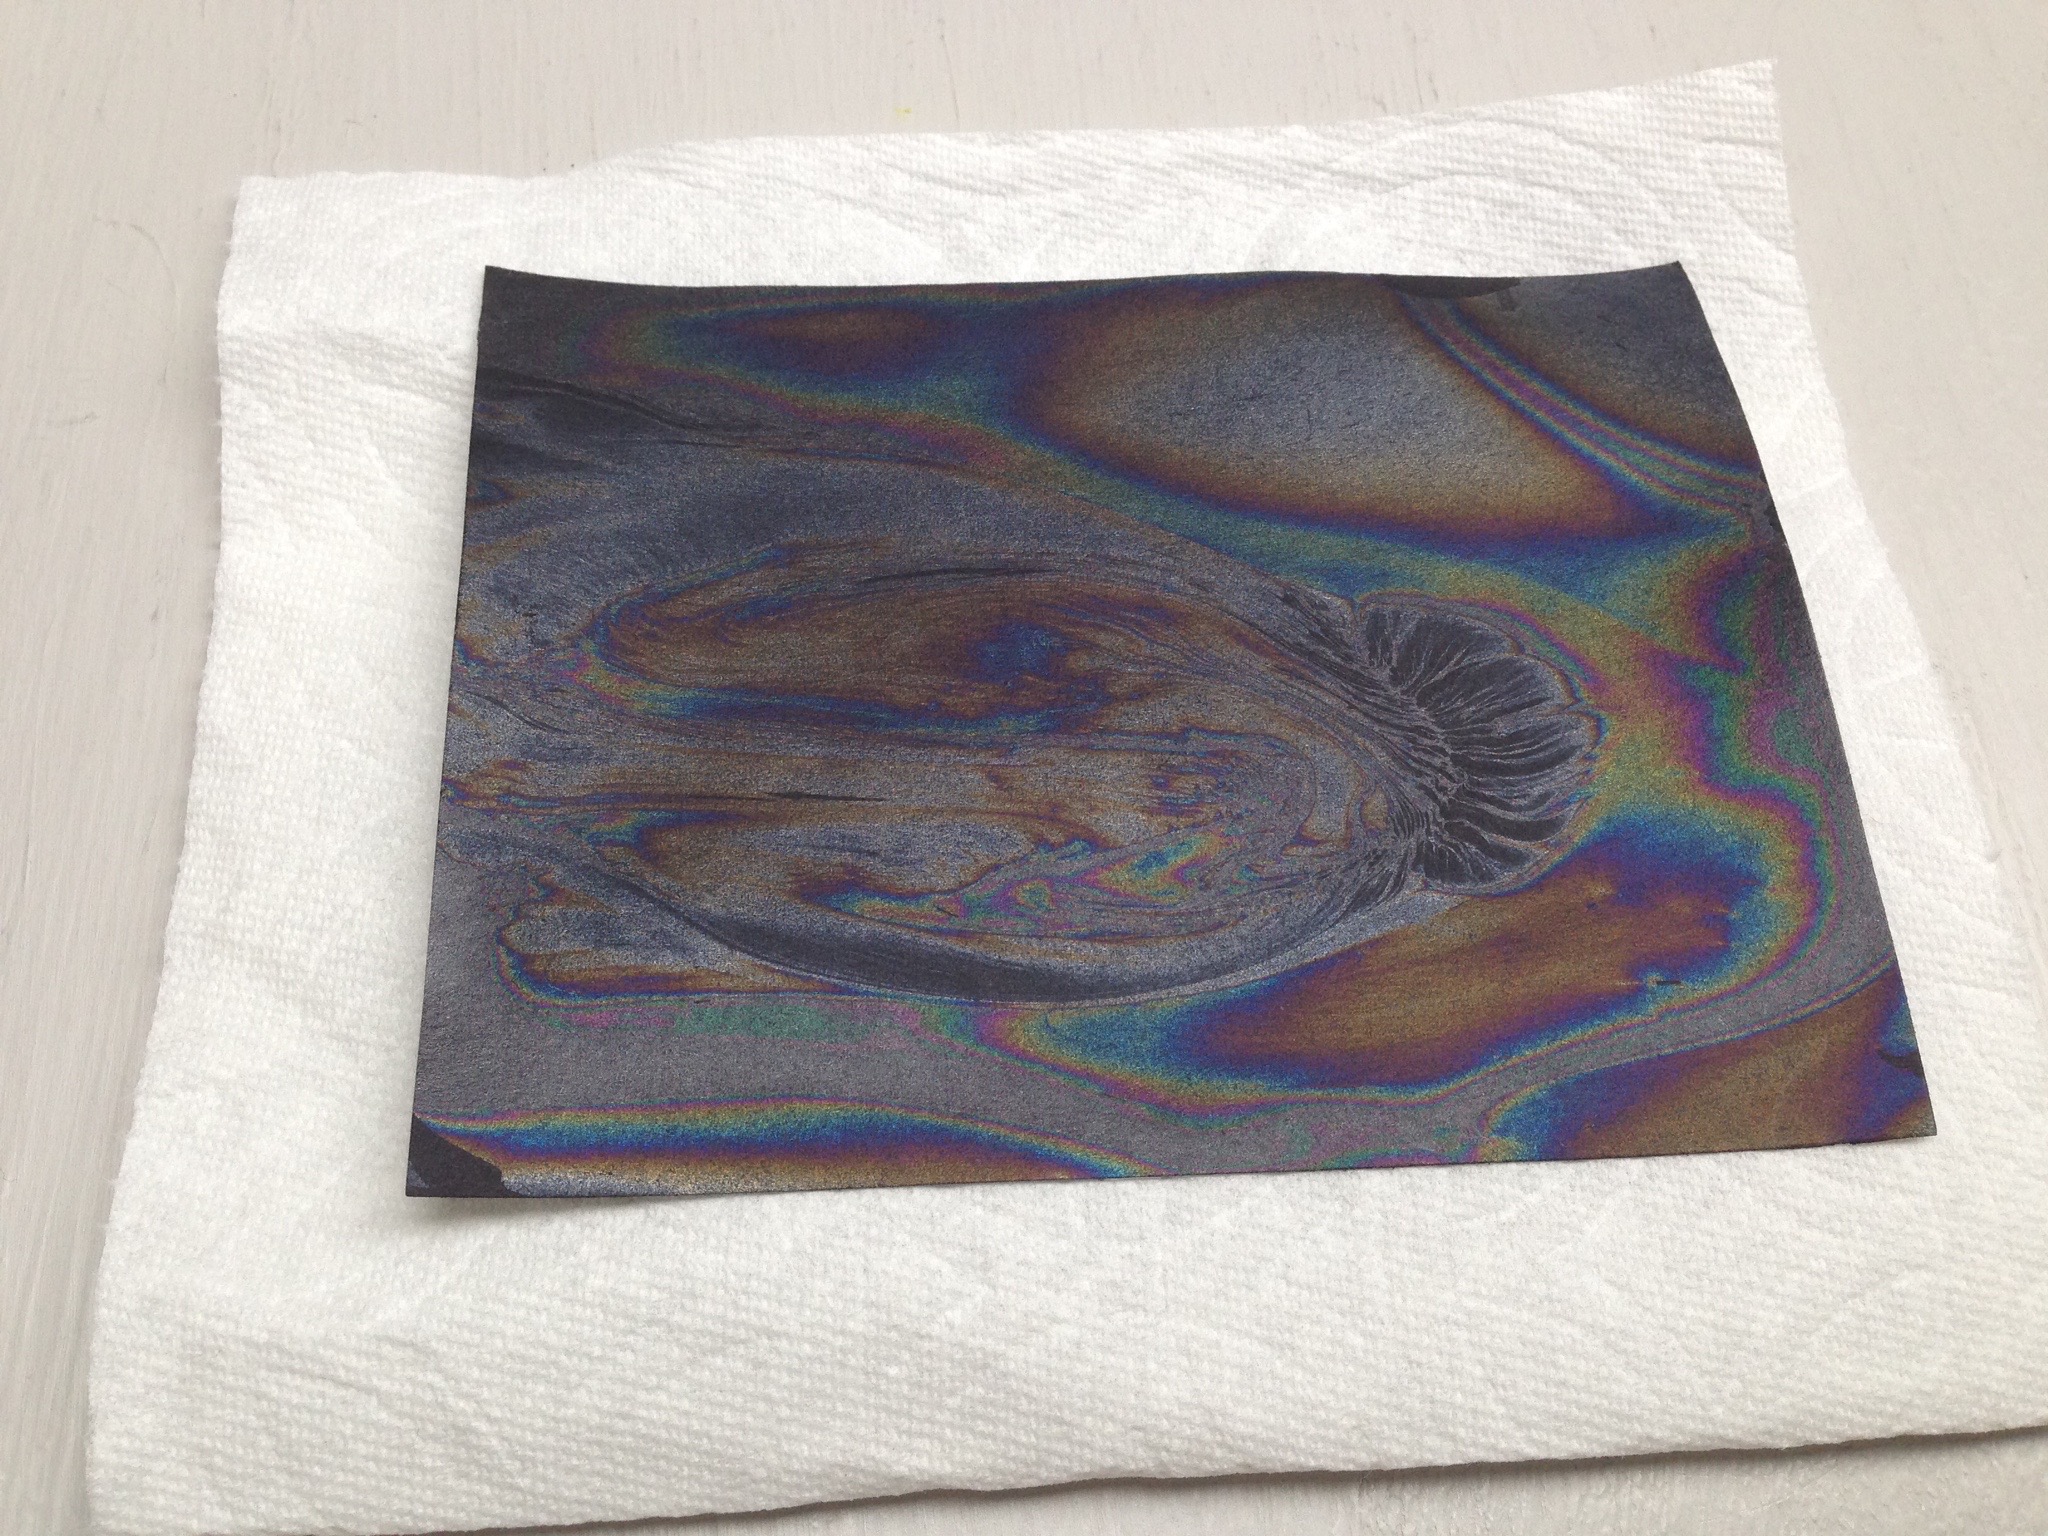
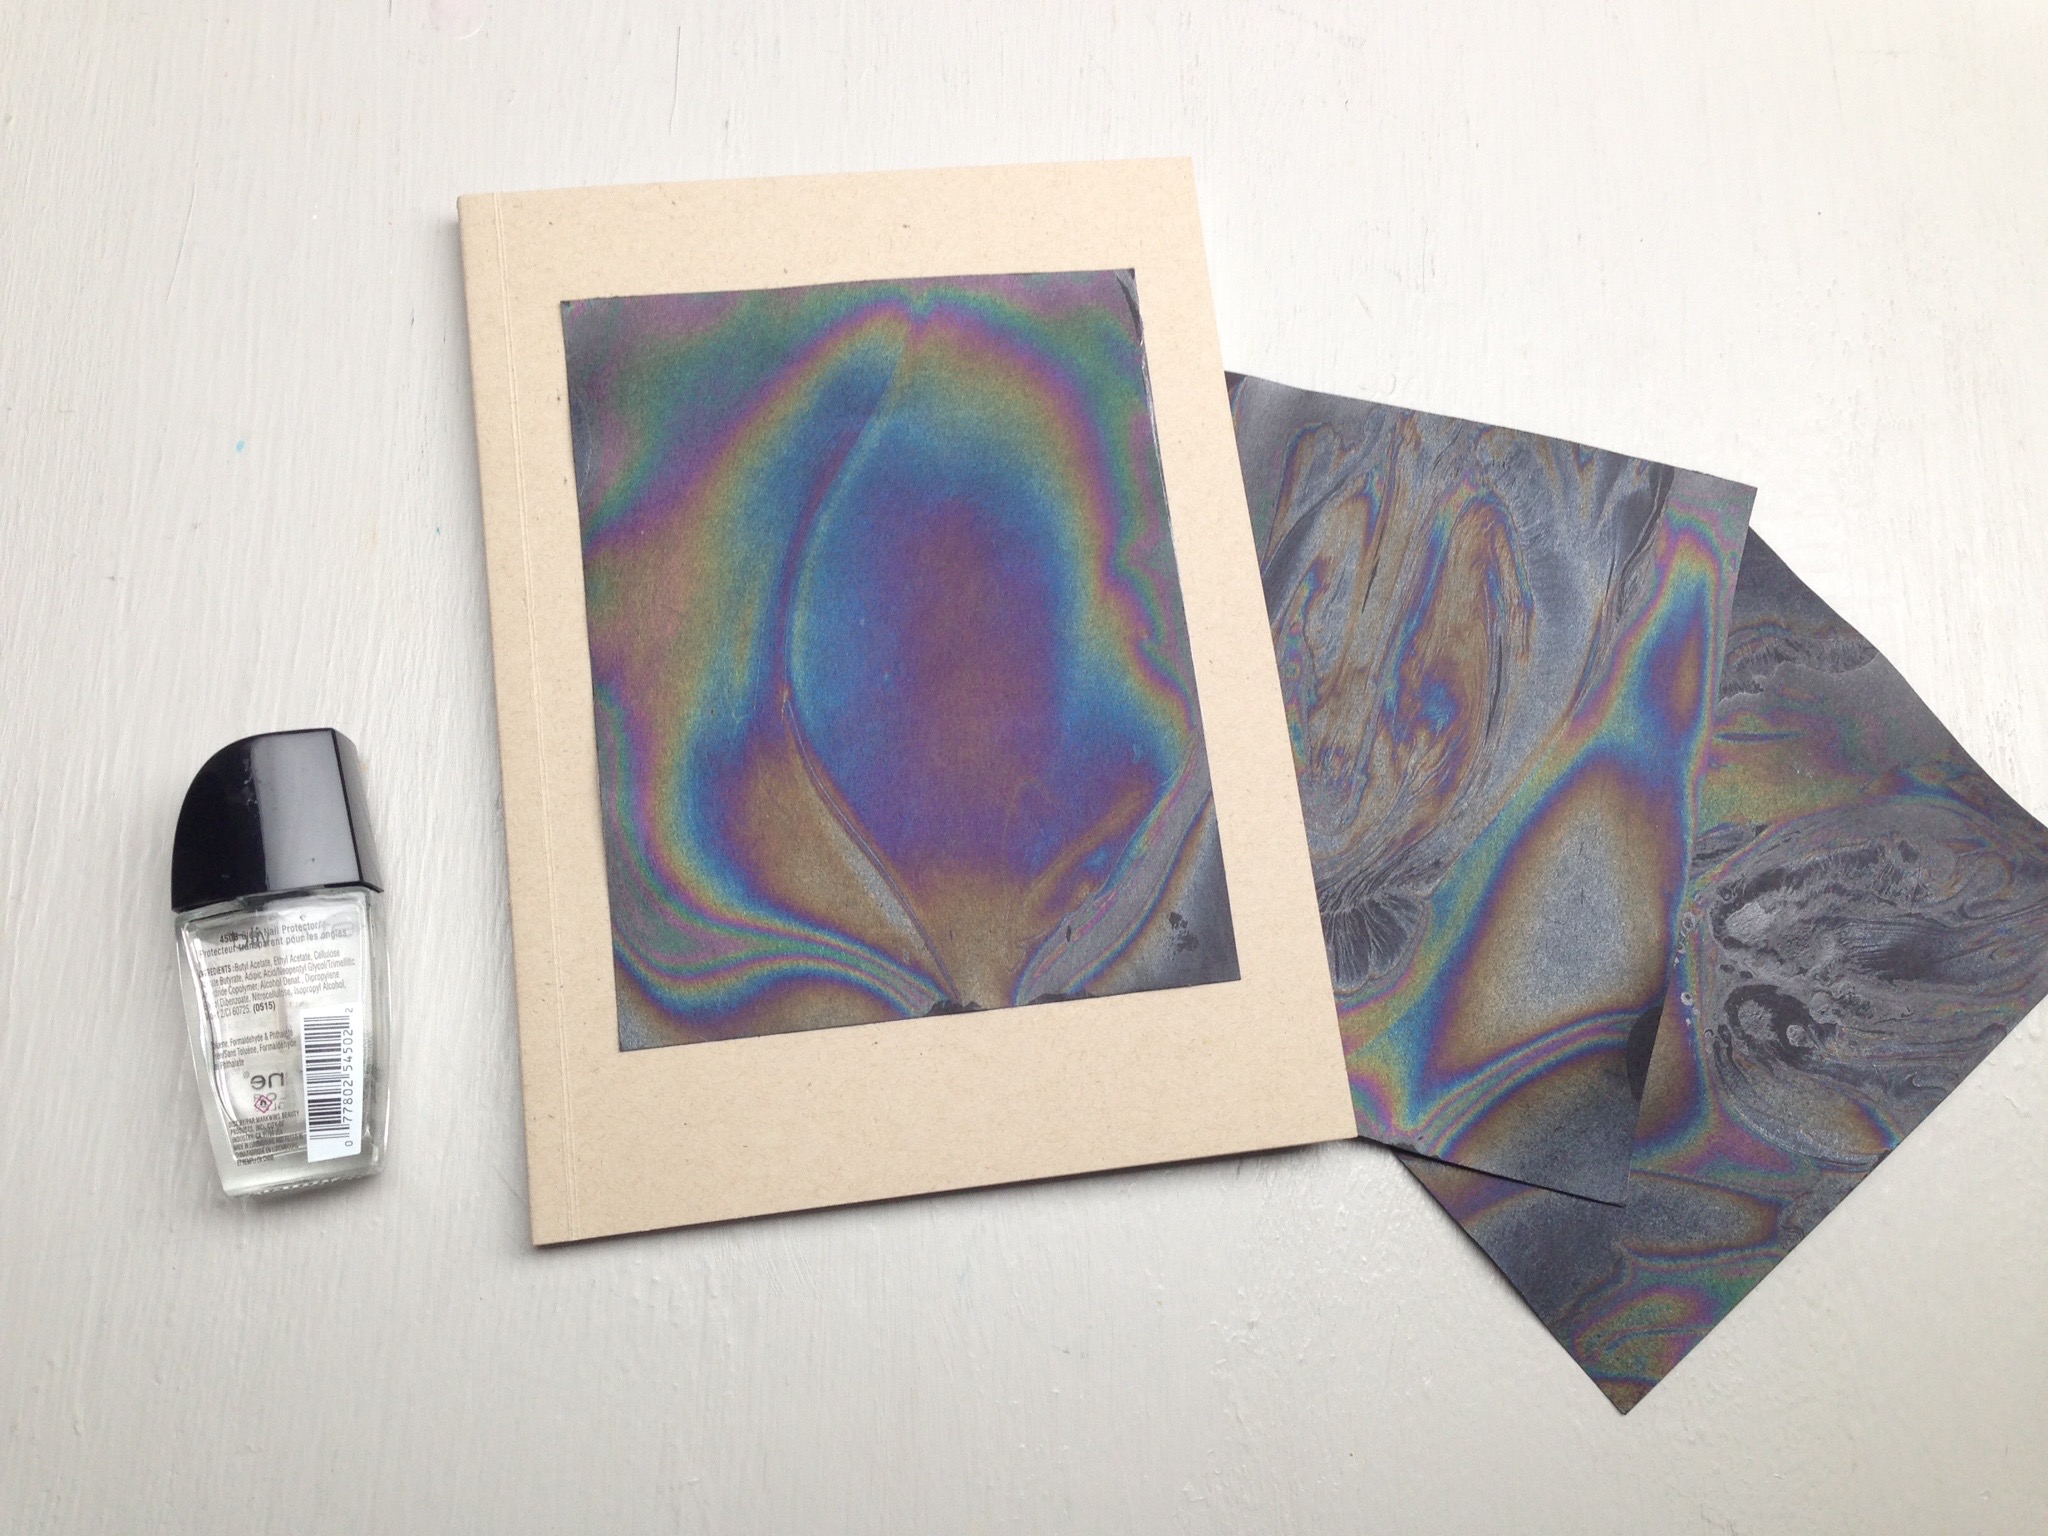
Step 6
We mounted our marble paper onto a notebook, but you can display the paper however you’d like. Or get creative and use it as an art material for other projects and see what you can make with your rainbow paper!
Learn more

So how does clear nail polish turn rainbow-y? The colors aren’t in the nail polish (or the paper) — they’re created by reflected light. When you dripped the nail polish into the bowl, it spread out into a very, very thin film floating on the surface of the water. That thinner-than-tissue film is what you picked up onto the paper. When light shines on the paper, some of it reflects off the front of the nail polish film (like a mirror). But since the nail polish is clear, some of the light passes through (like a window) and then reflects off the back of the nail polish film.
The rainbow-y effect comes from the combination of those two reflections. White light (like light from the Sun) is made up of all the colors of the rainbow. As the reflections combine, some of the colors are amplified and become more intense — those are the colors you see! And if you’re thinking this looks a little like the colors in soap bubbles, you’re right! A bubble’s “skin” is a thin film of soap and water that creates reflections, just like the nail polish. So break out the bubbles, and let your colors shine!


