Step-by-step tutorial
Step 1
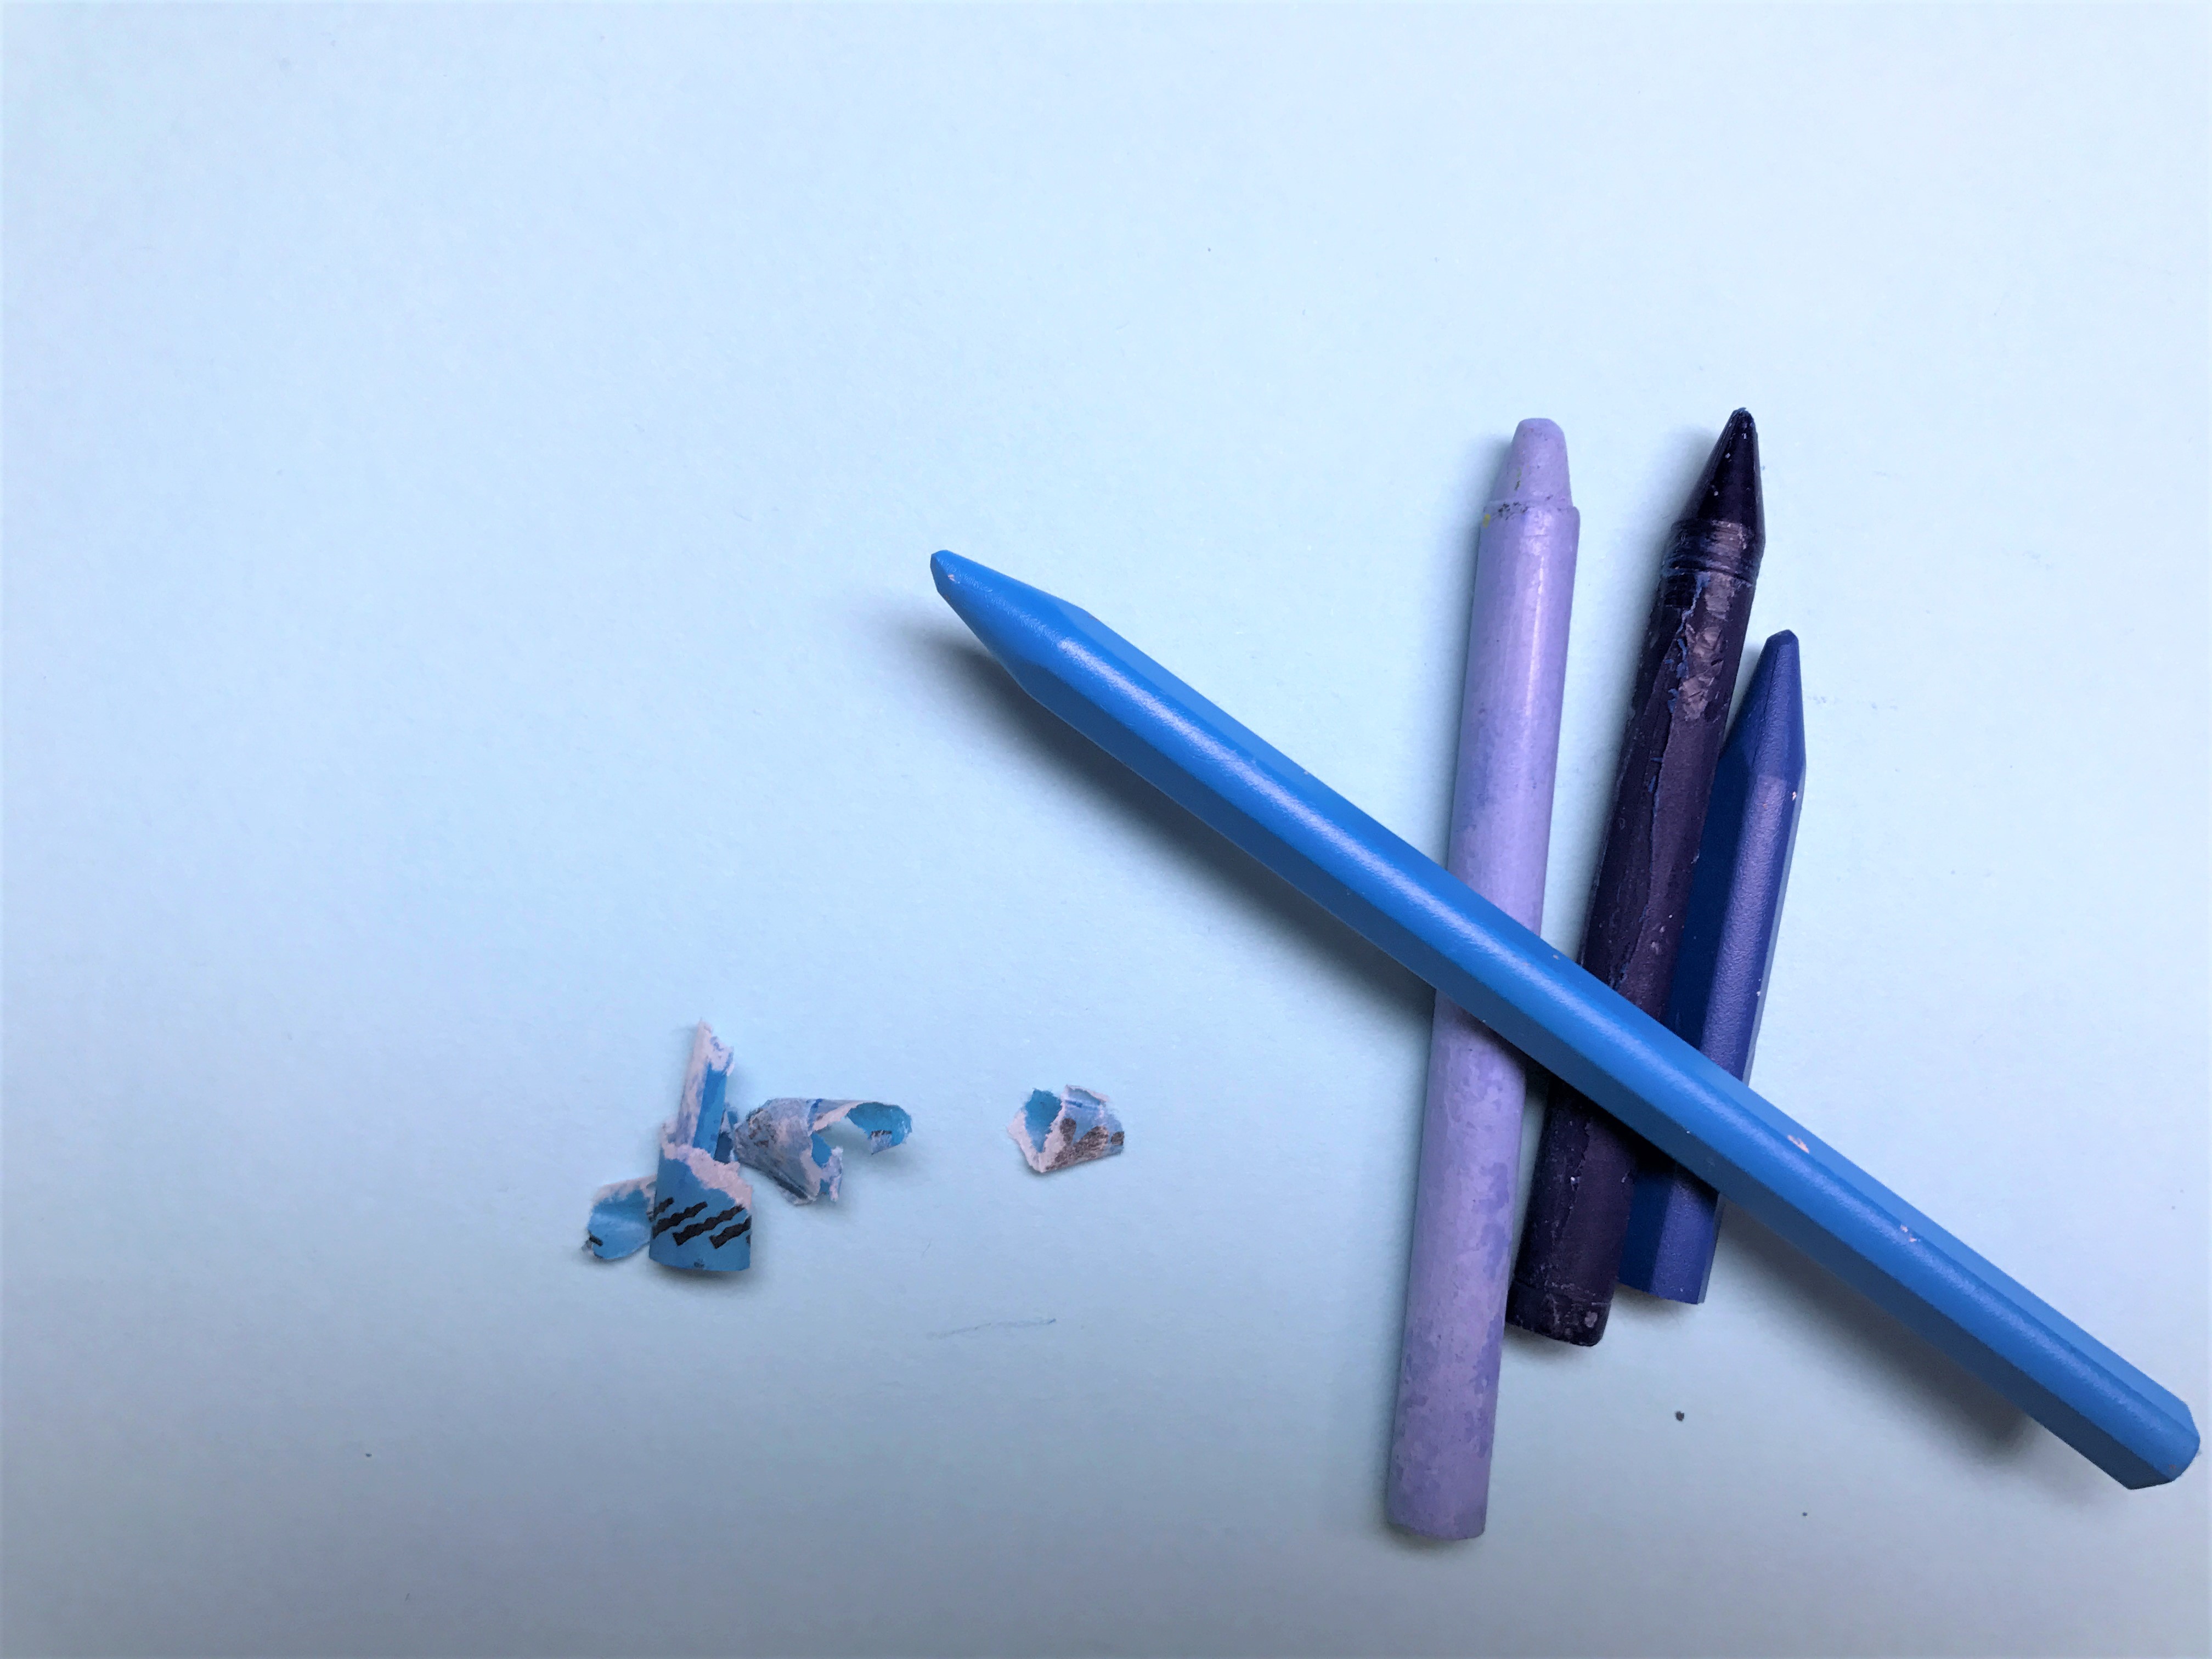
Start by peeling off the paper around your crayons. This project is also a great way to use any old or broken crayons.. We used different shades of blue for a monochromatic effect.

Step 2
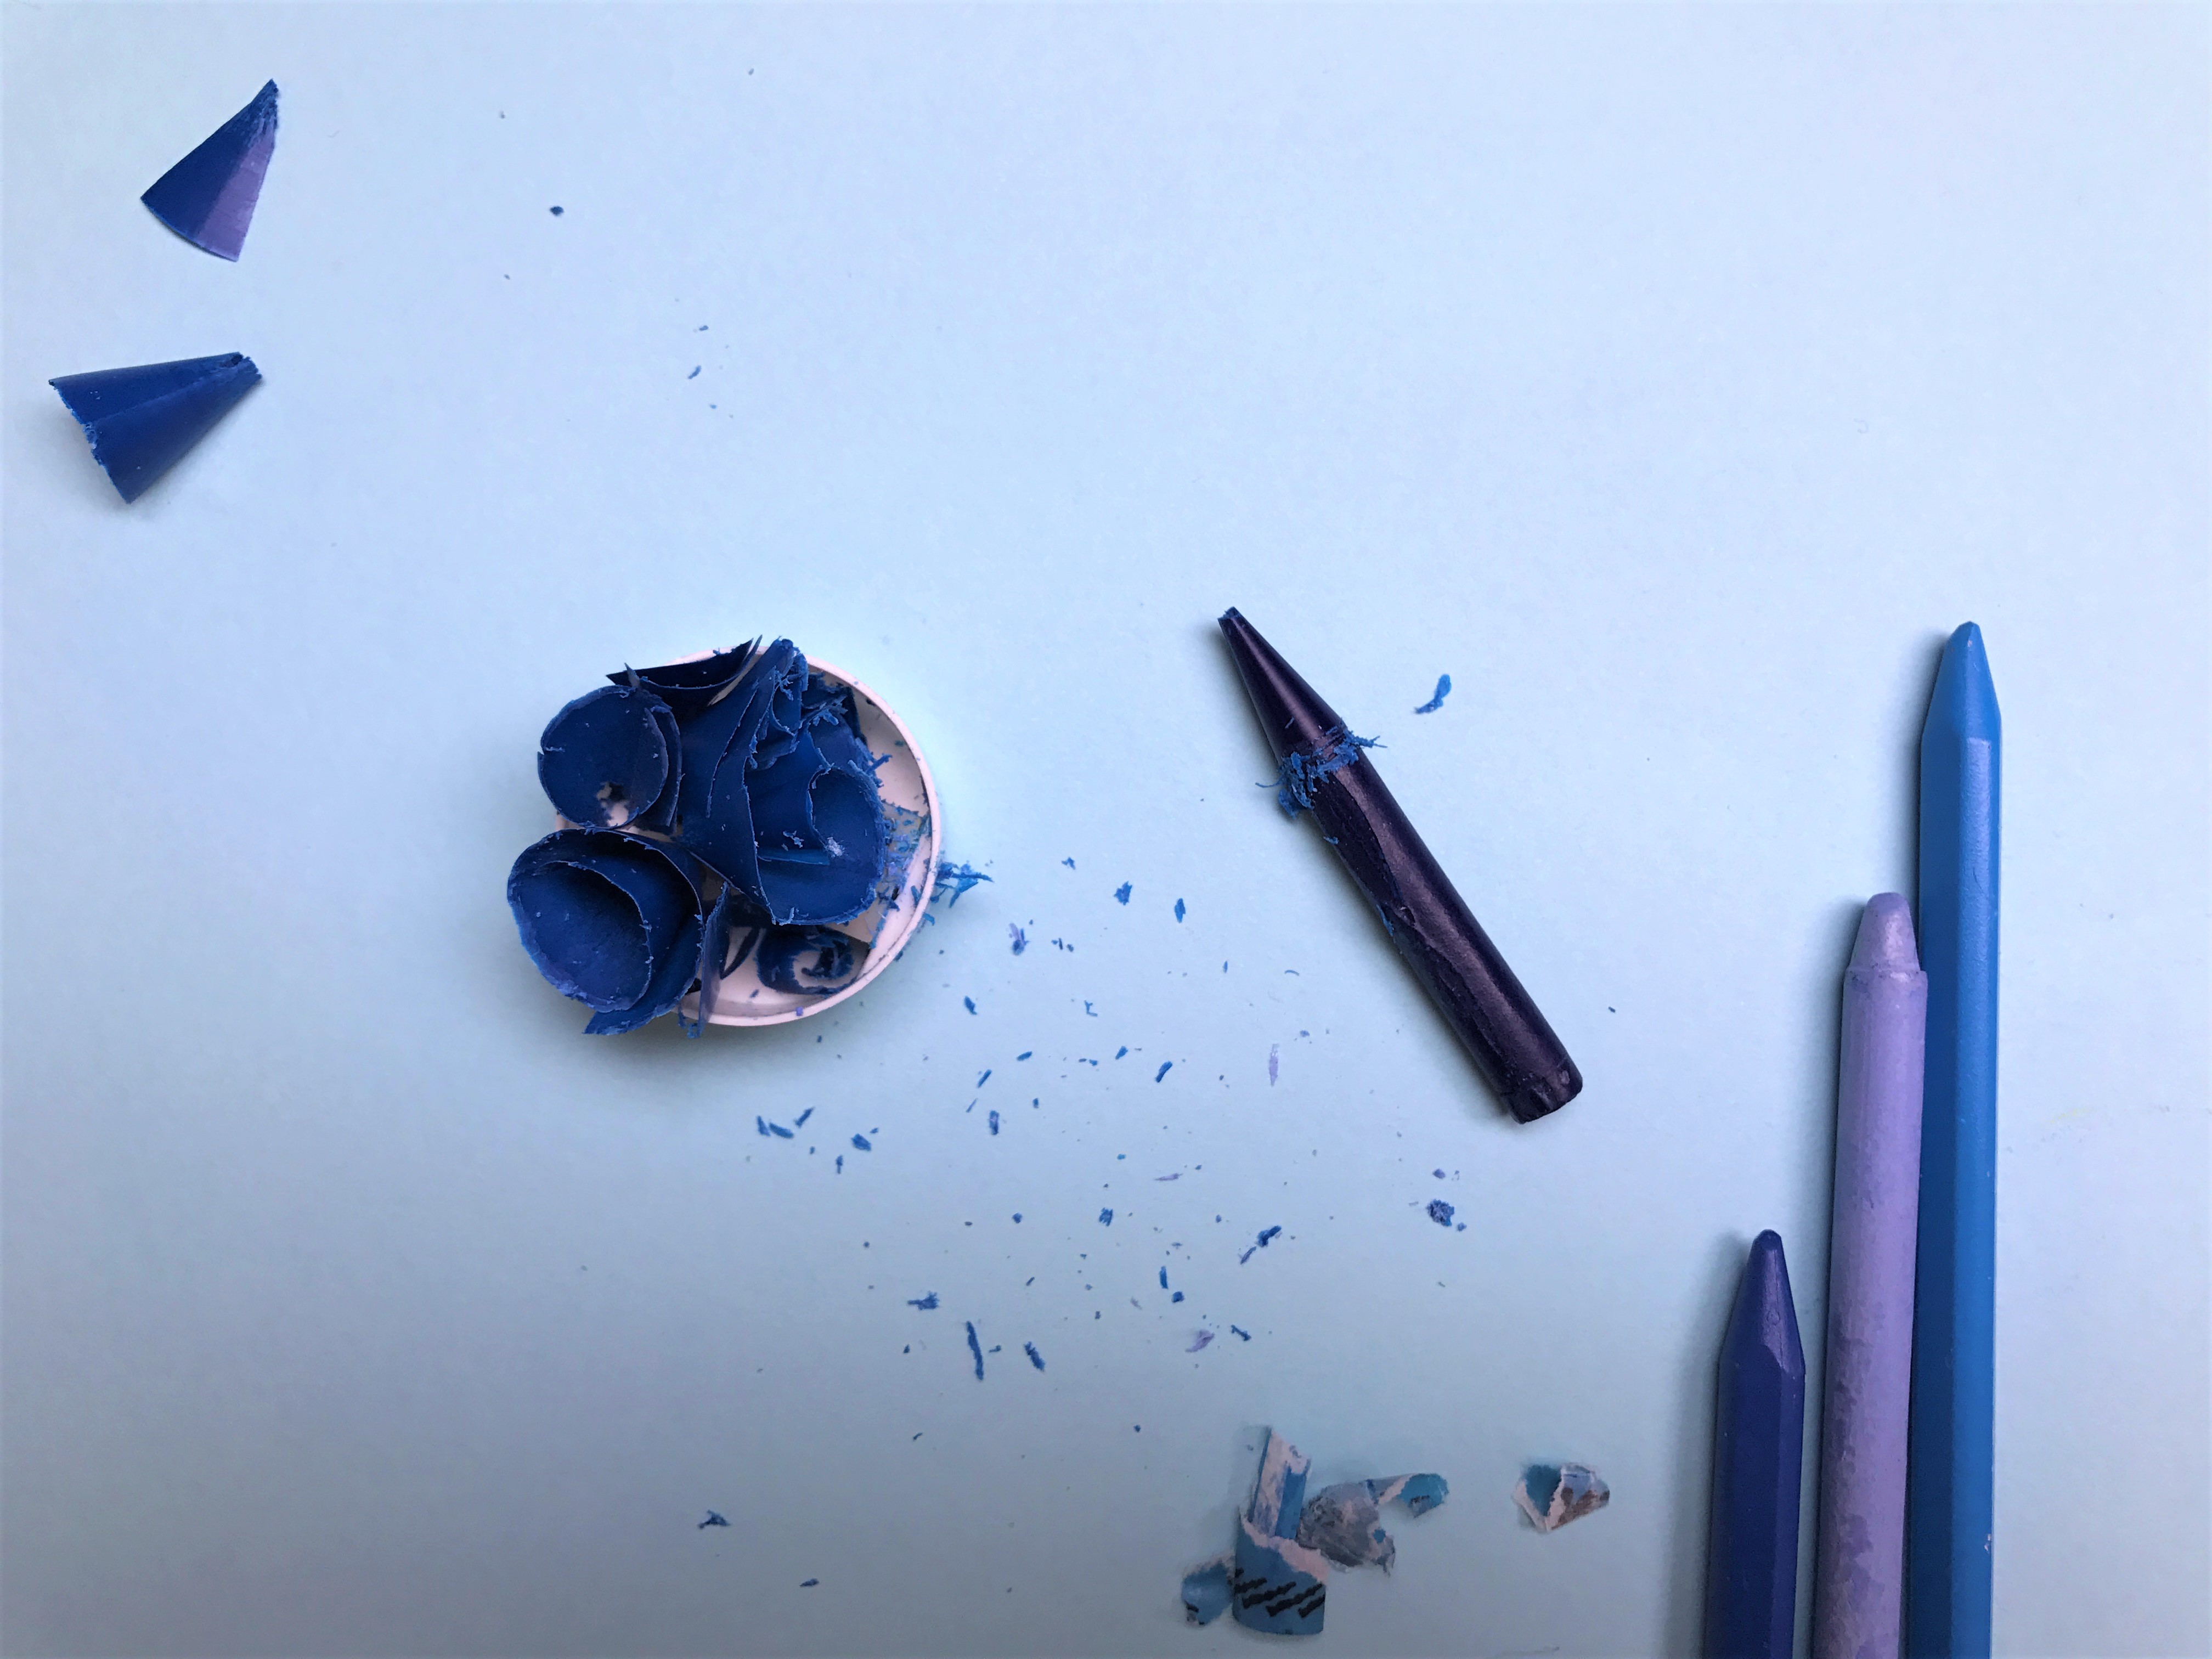
Use a pencil sharpener to sharpen your crayons and mix all of your shavings together.
Step 3
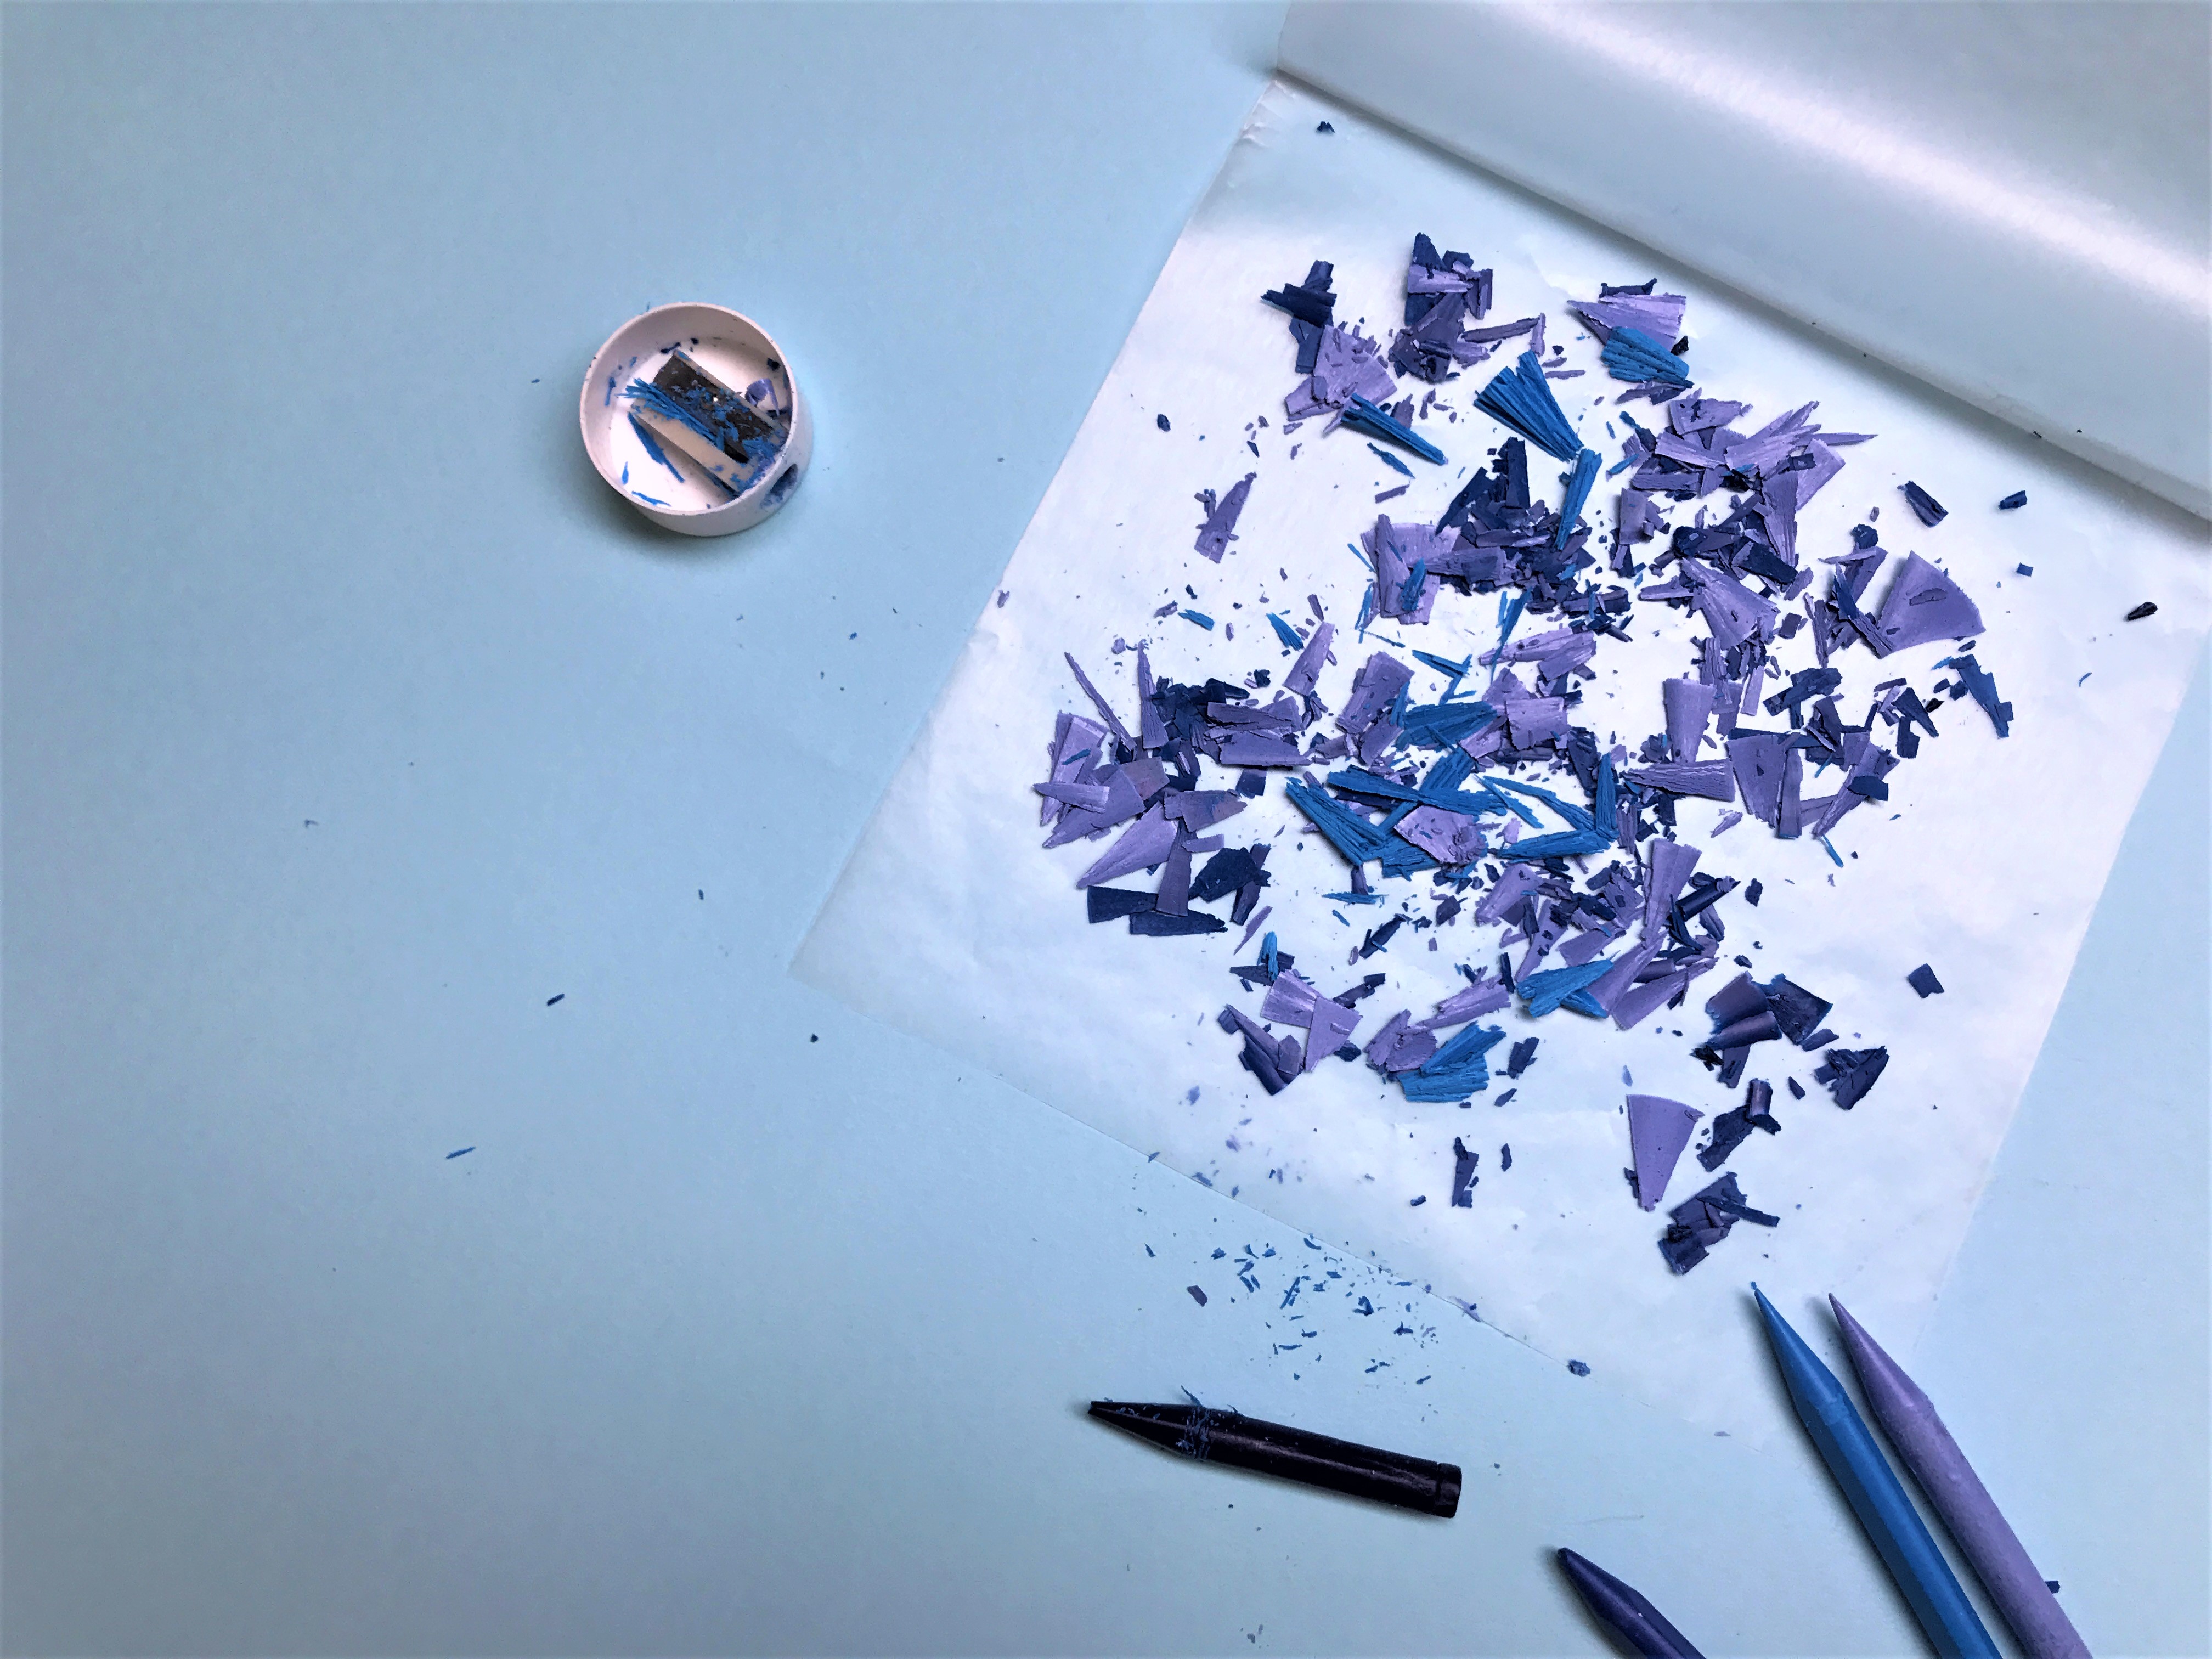
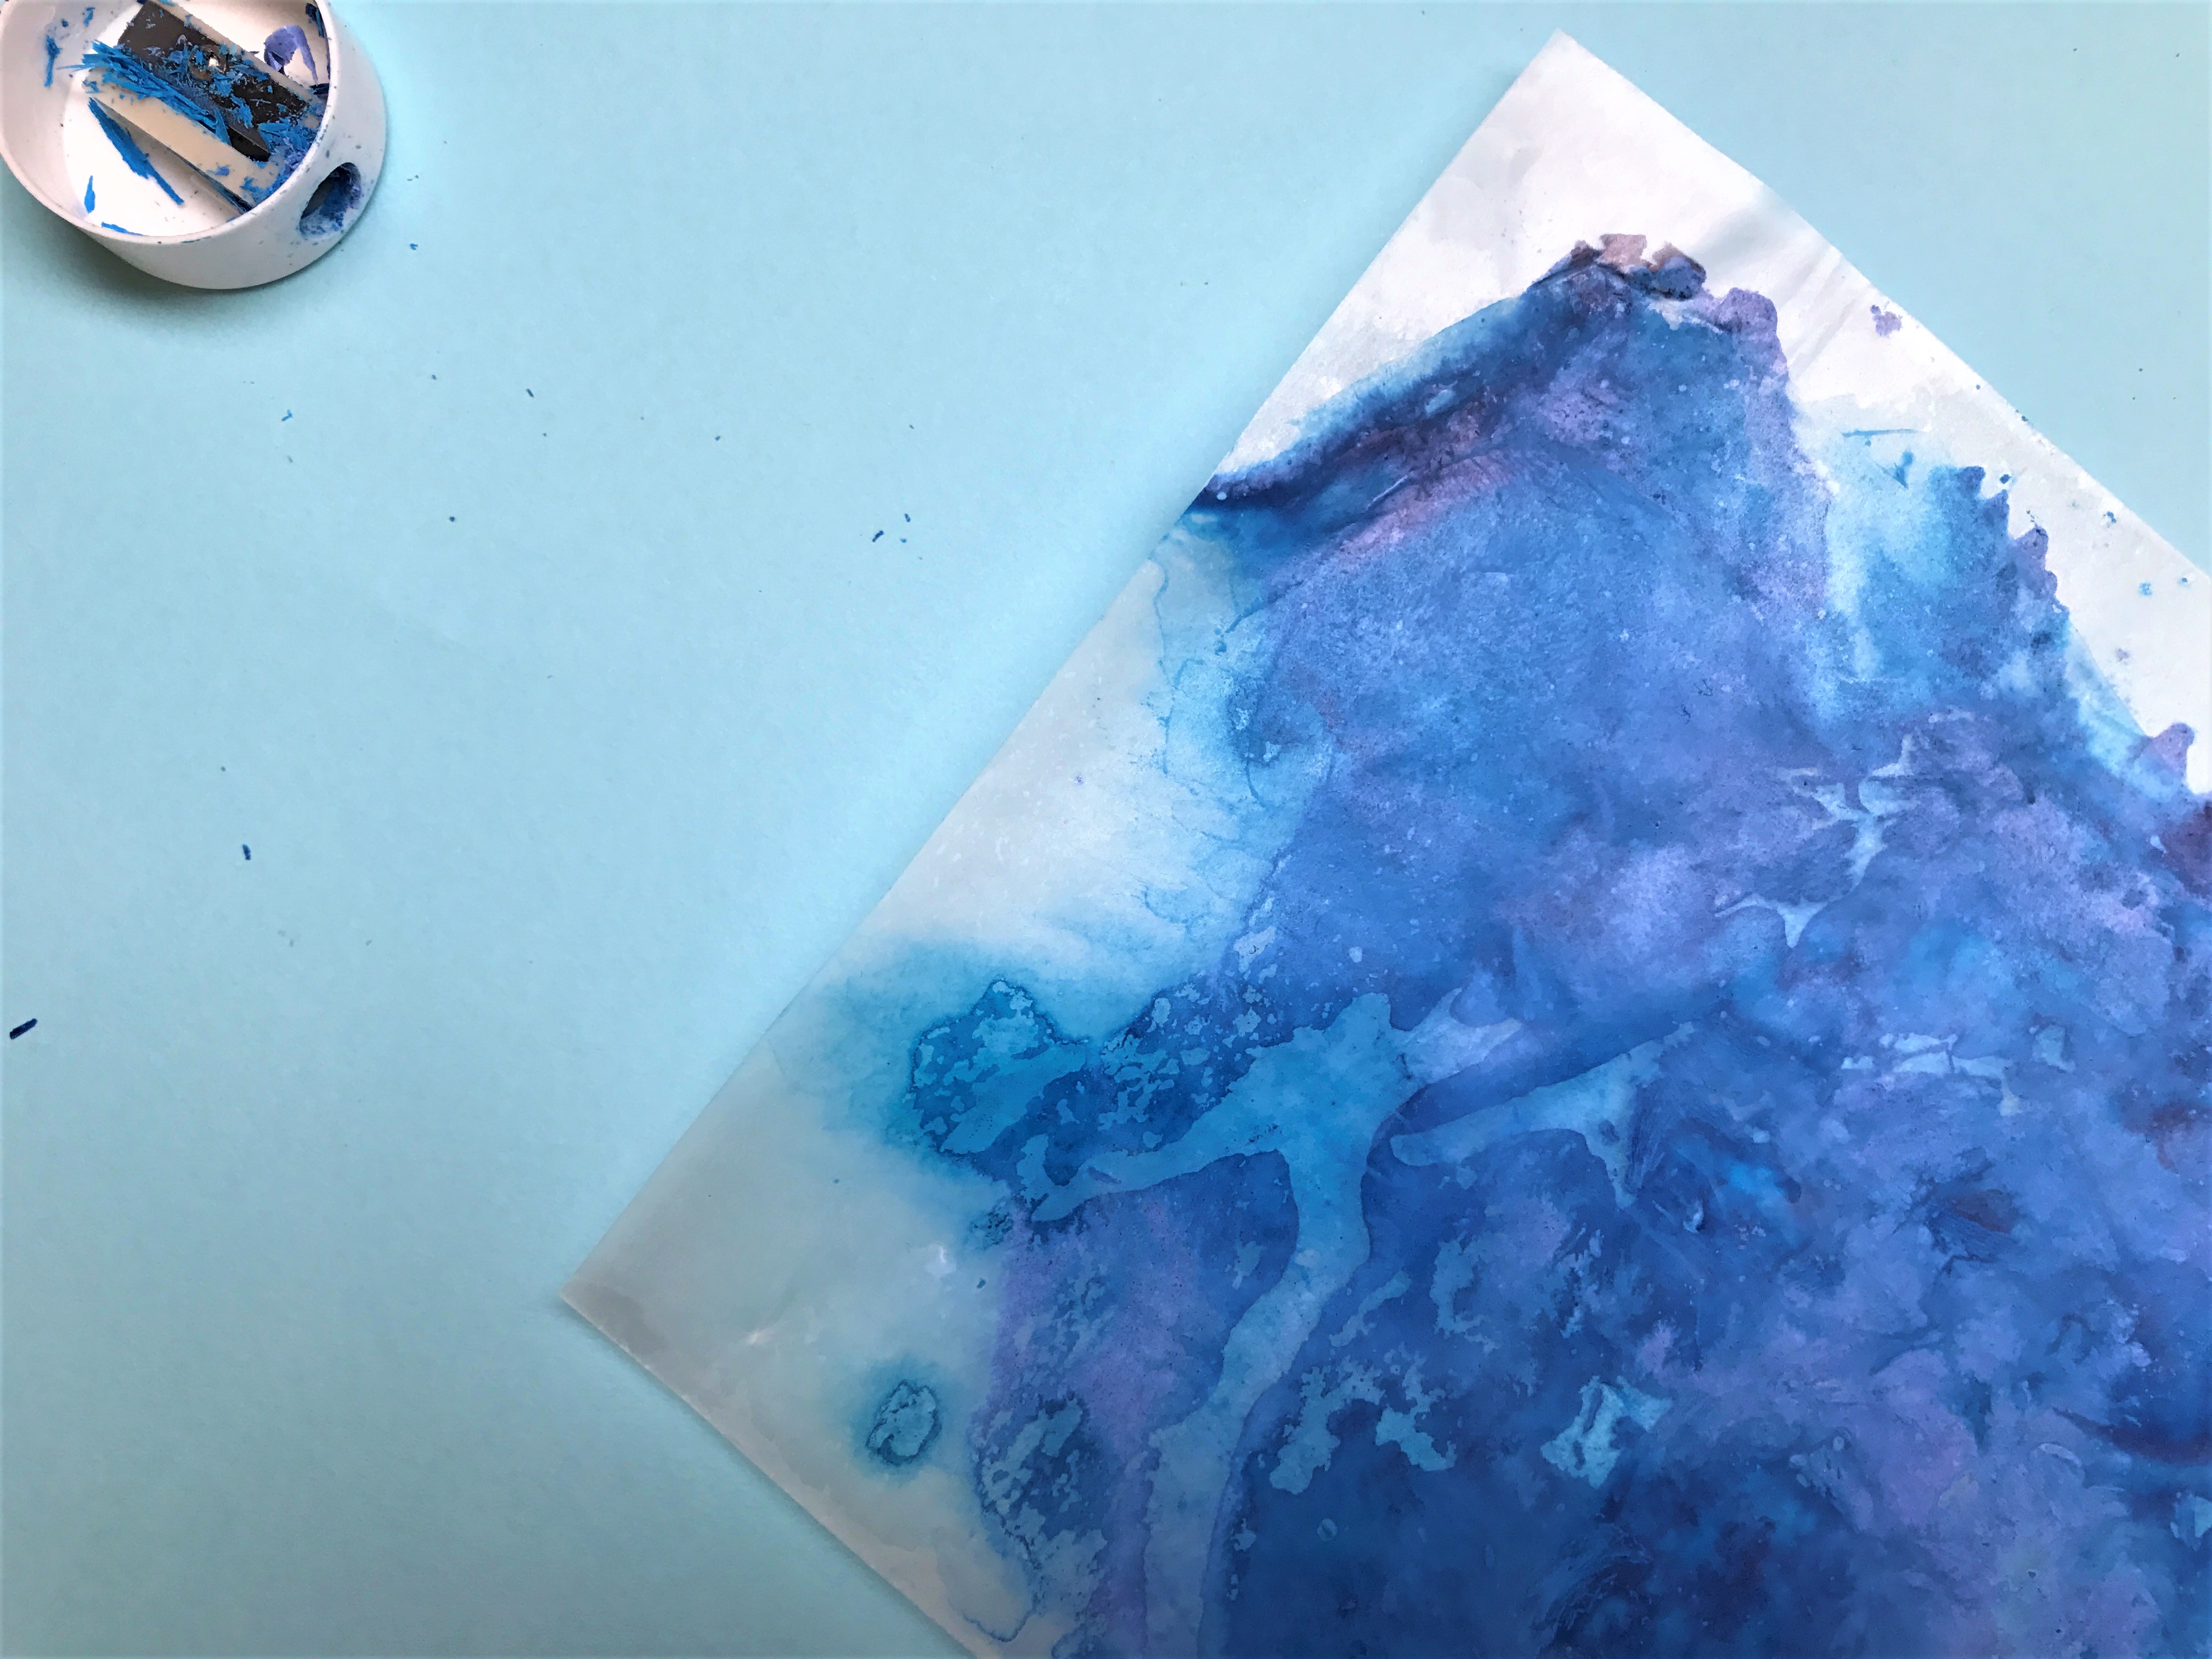
Fold and unfold a piece of wax paper in half, then empty your shavings on one half of the sheet. Spread the the shavings out evenly, then re-fold the wax paper, sandwiching the shavings in between. Then, apply heat! We microwaved our wax paper and shavings for a total of 60 seconds, pausing at 30 seconds to check on them.
Step 4
Place your wax paper on a covered surface. We used the back of a spoon to spread the melted crayon shavings out, creating a smoother surface. You can also use the spoon to create interesting patterns in the color. Let it cool.
Step 5
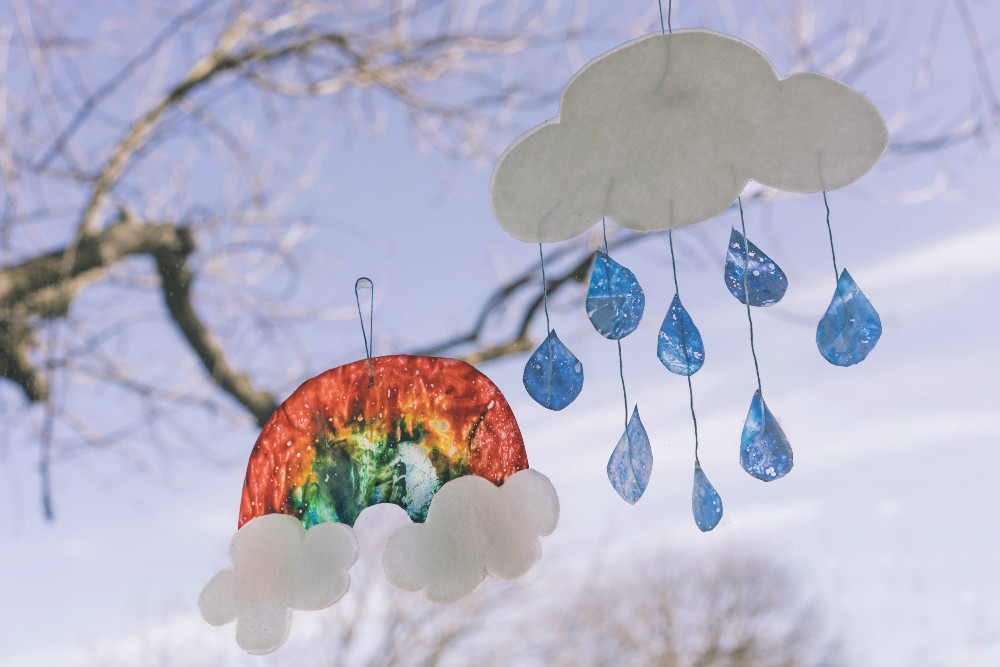
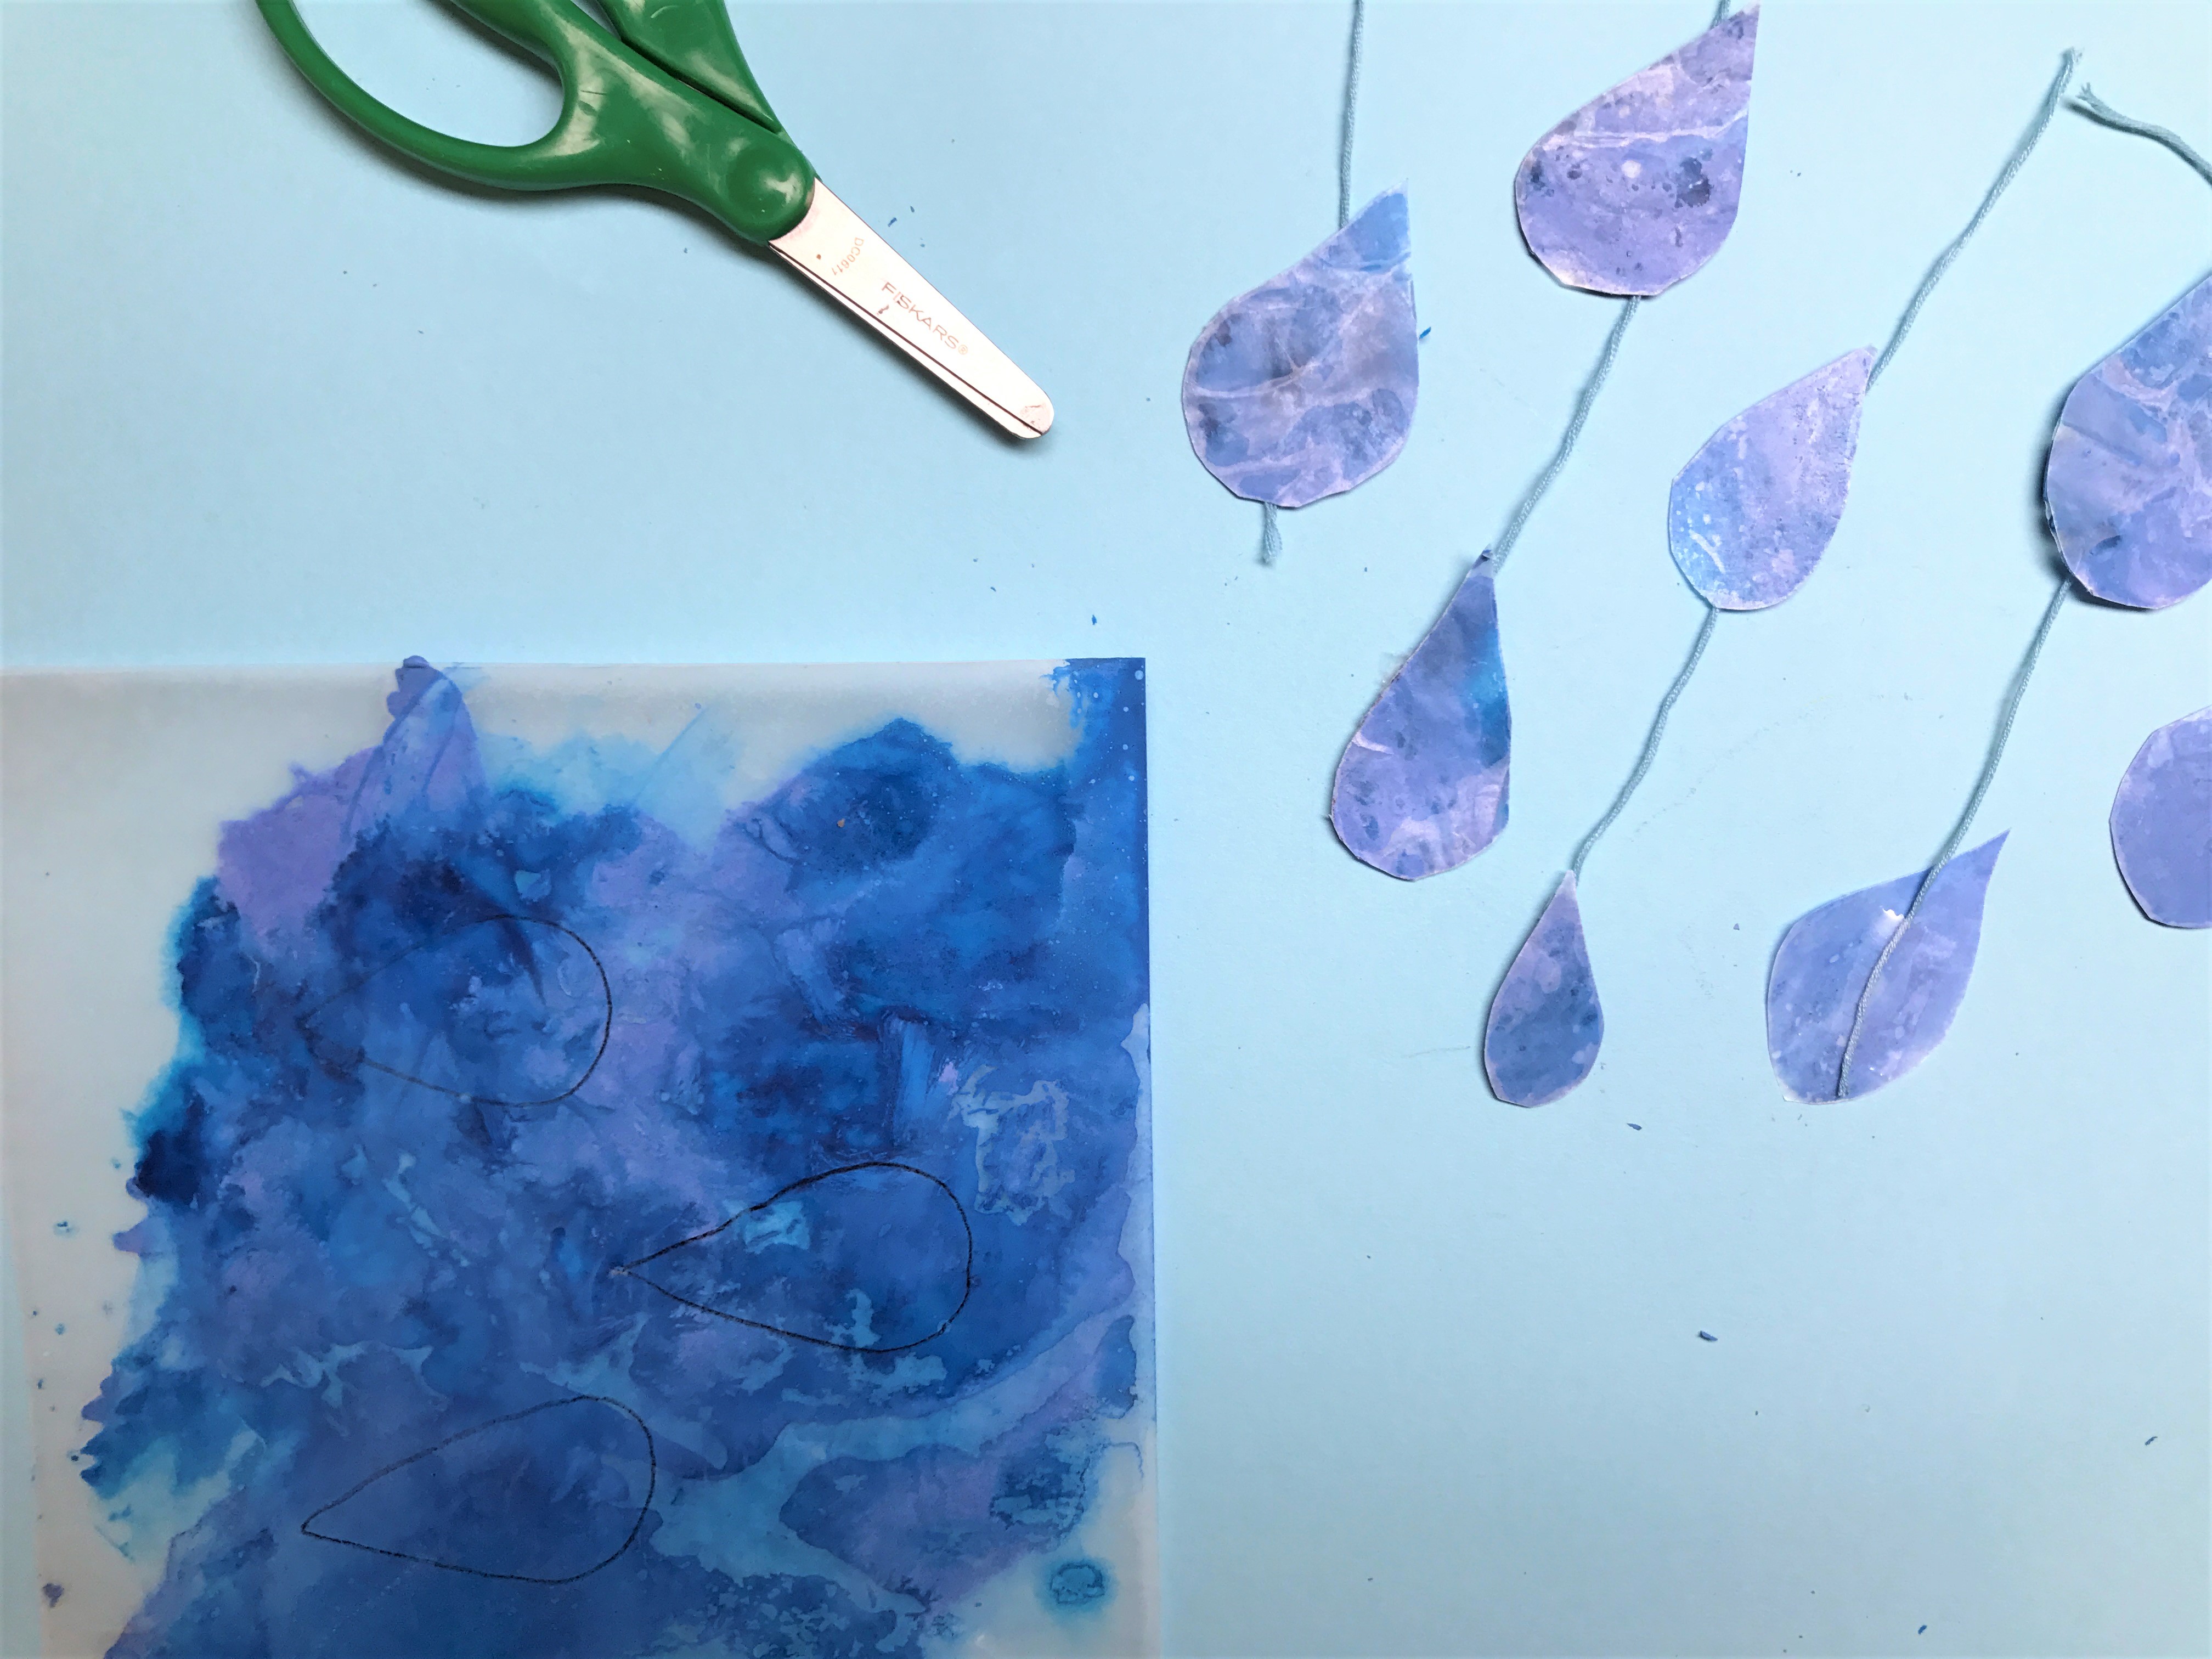
Next, cut out rain drops from the wax paper with scissors. Before we cut, we held the newly marbled wax paper up to the window first to map out the most interesting spots! We used tape and string to attach our raindrops to the cloud.We decided to create a suncatcher with our creations. To do that, cut out two clouds out from felt. Make sure they mirror one another.
Done!
Take another piece of string and tie it into a loop and attach it to the cloud as well. Use glue to stick the two clouds together and hold it up to the light! What kinds of patterns do you see in the raindrops? What other colorful creations can you create from melted crayons?


