Step-by-step tutorial
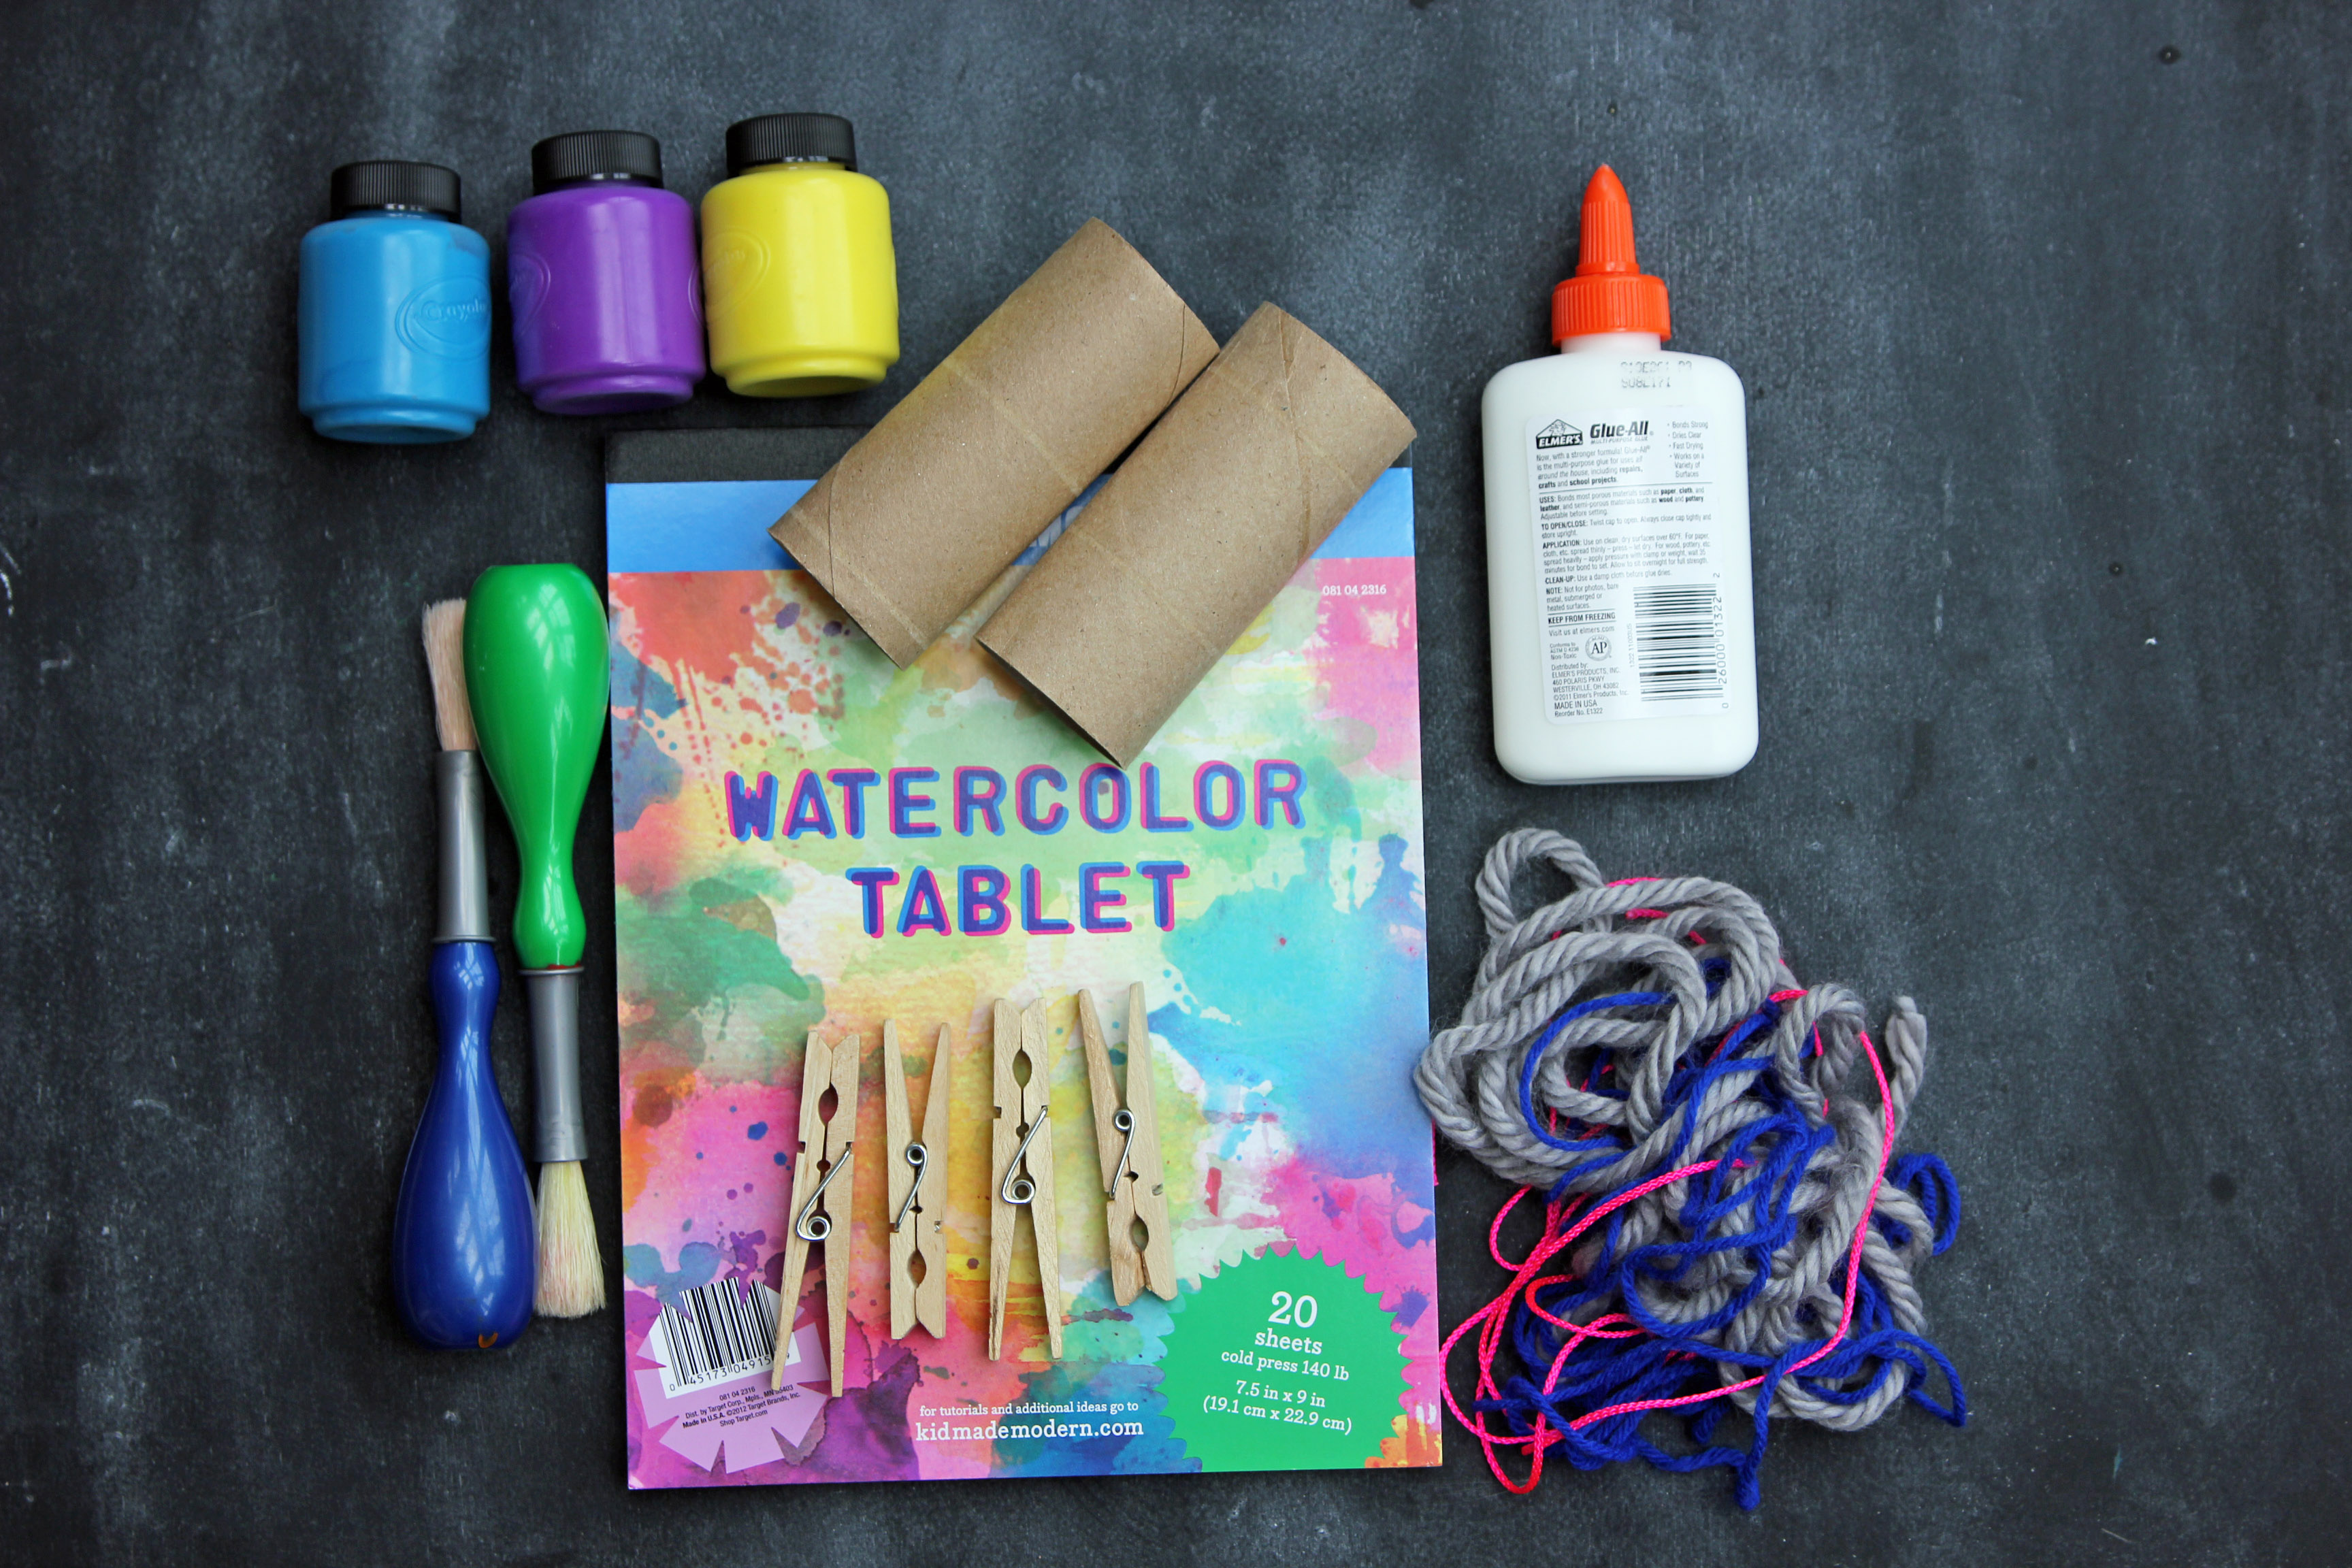
Step 1
Gather your supplies. Paper plates not shown.

Step 2
We started with squirting a large amount of white glue onto a paper plate. Next, V put the string pieces in the white glue, covering them completely.
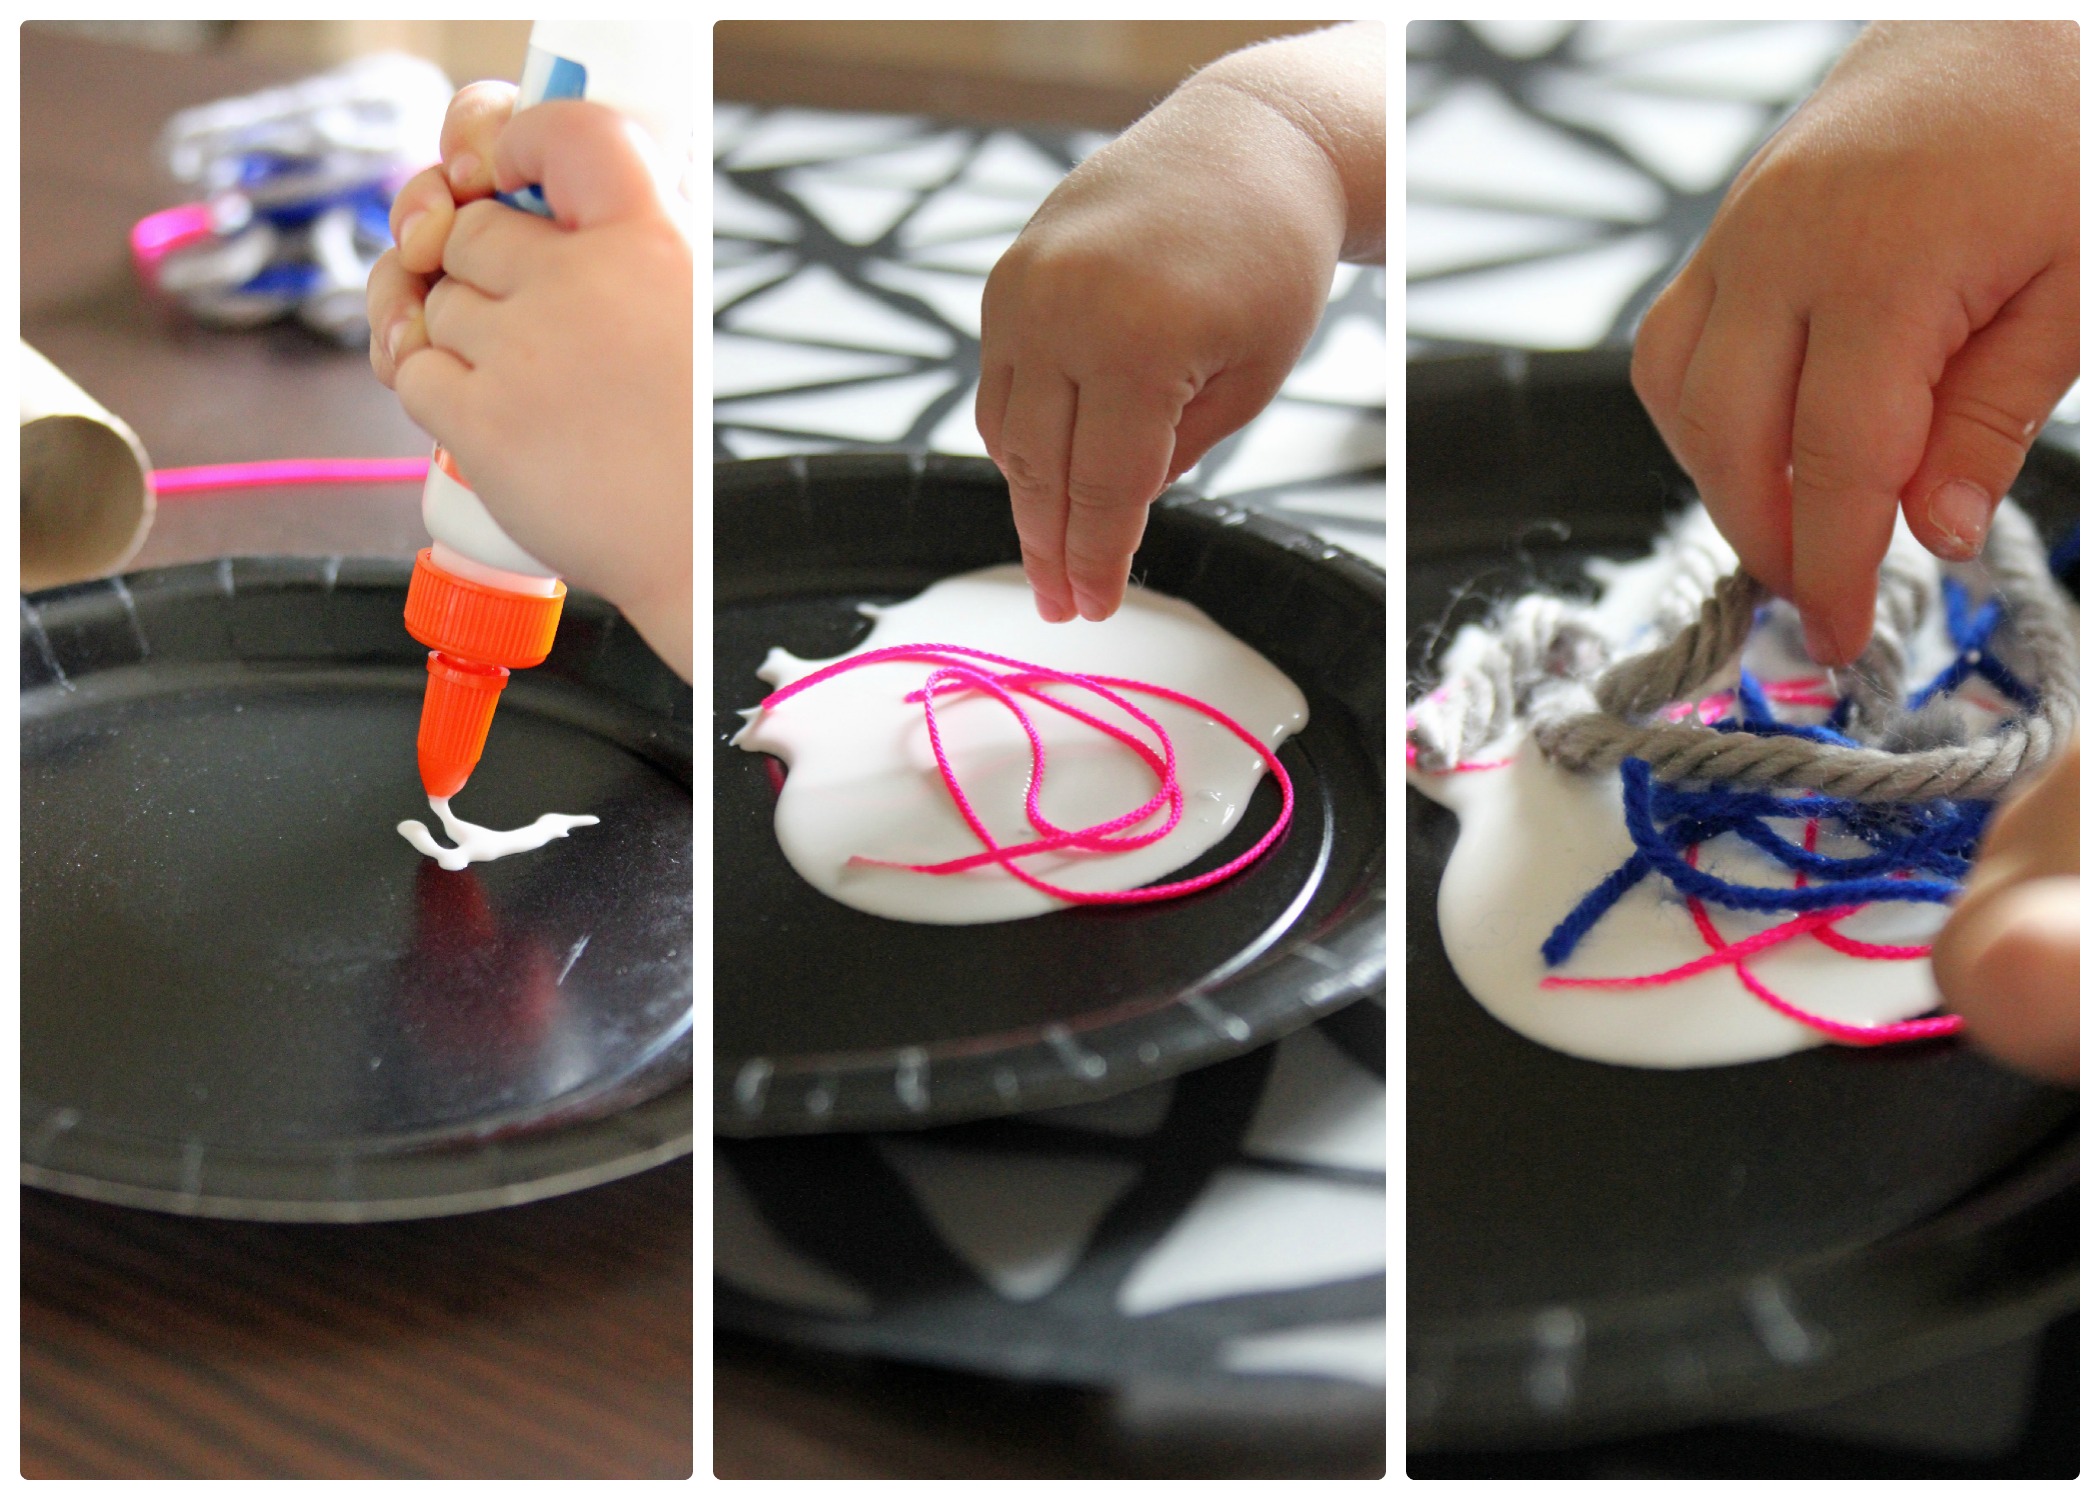
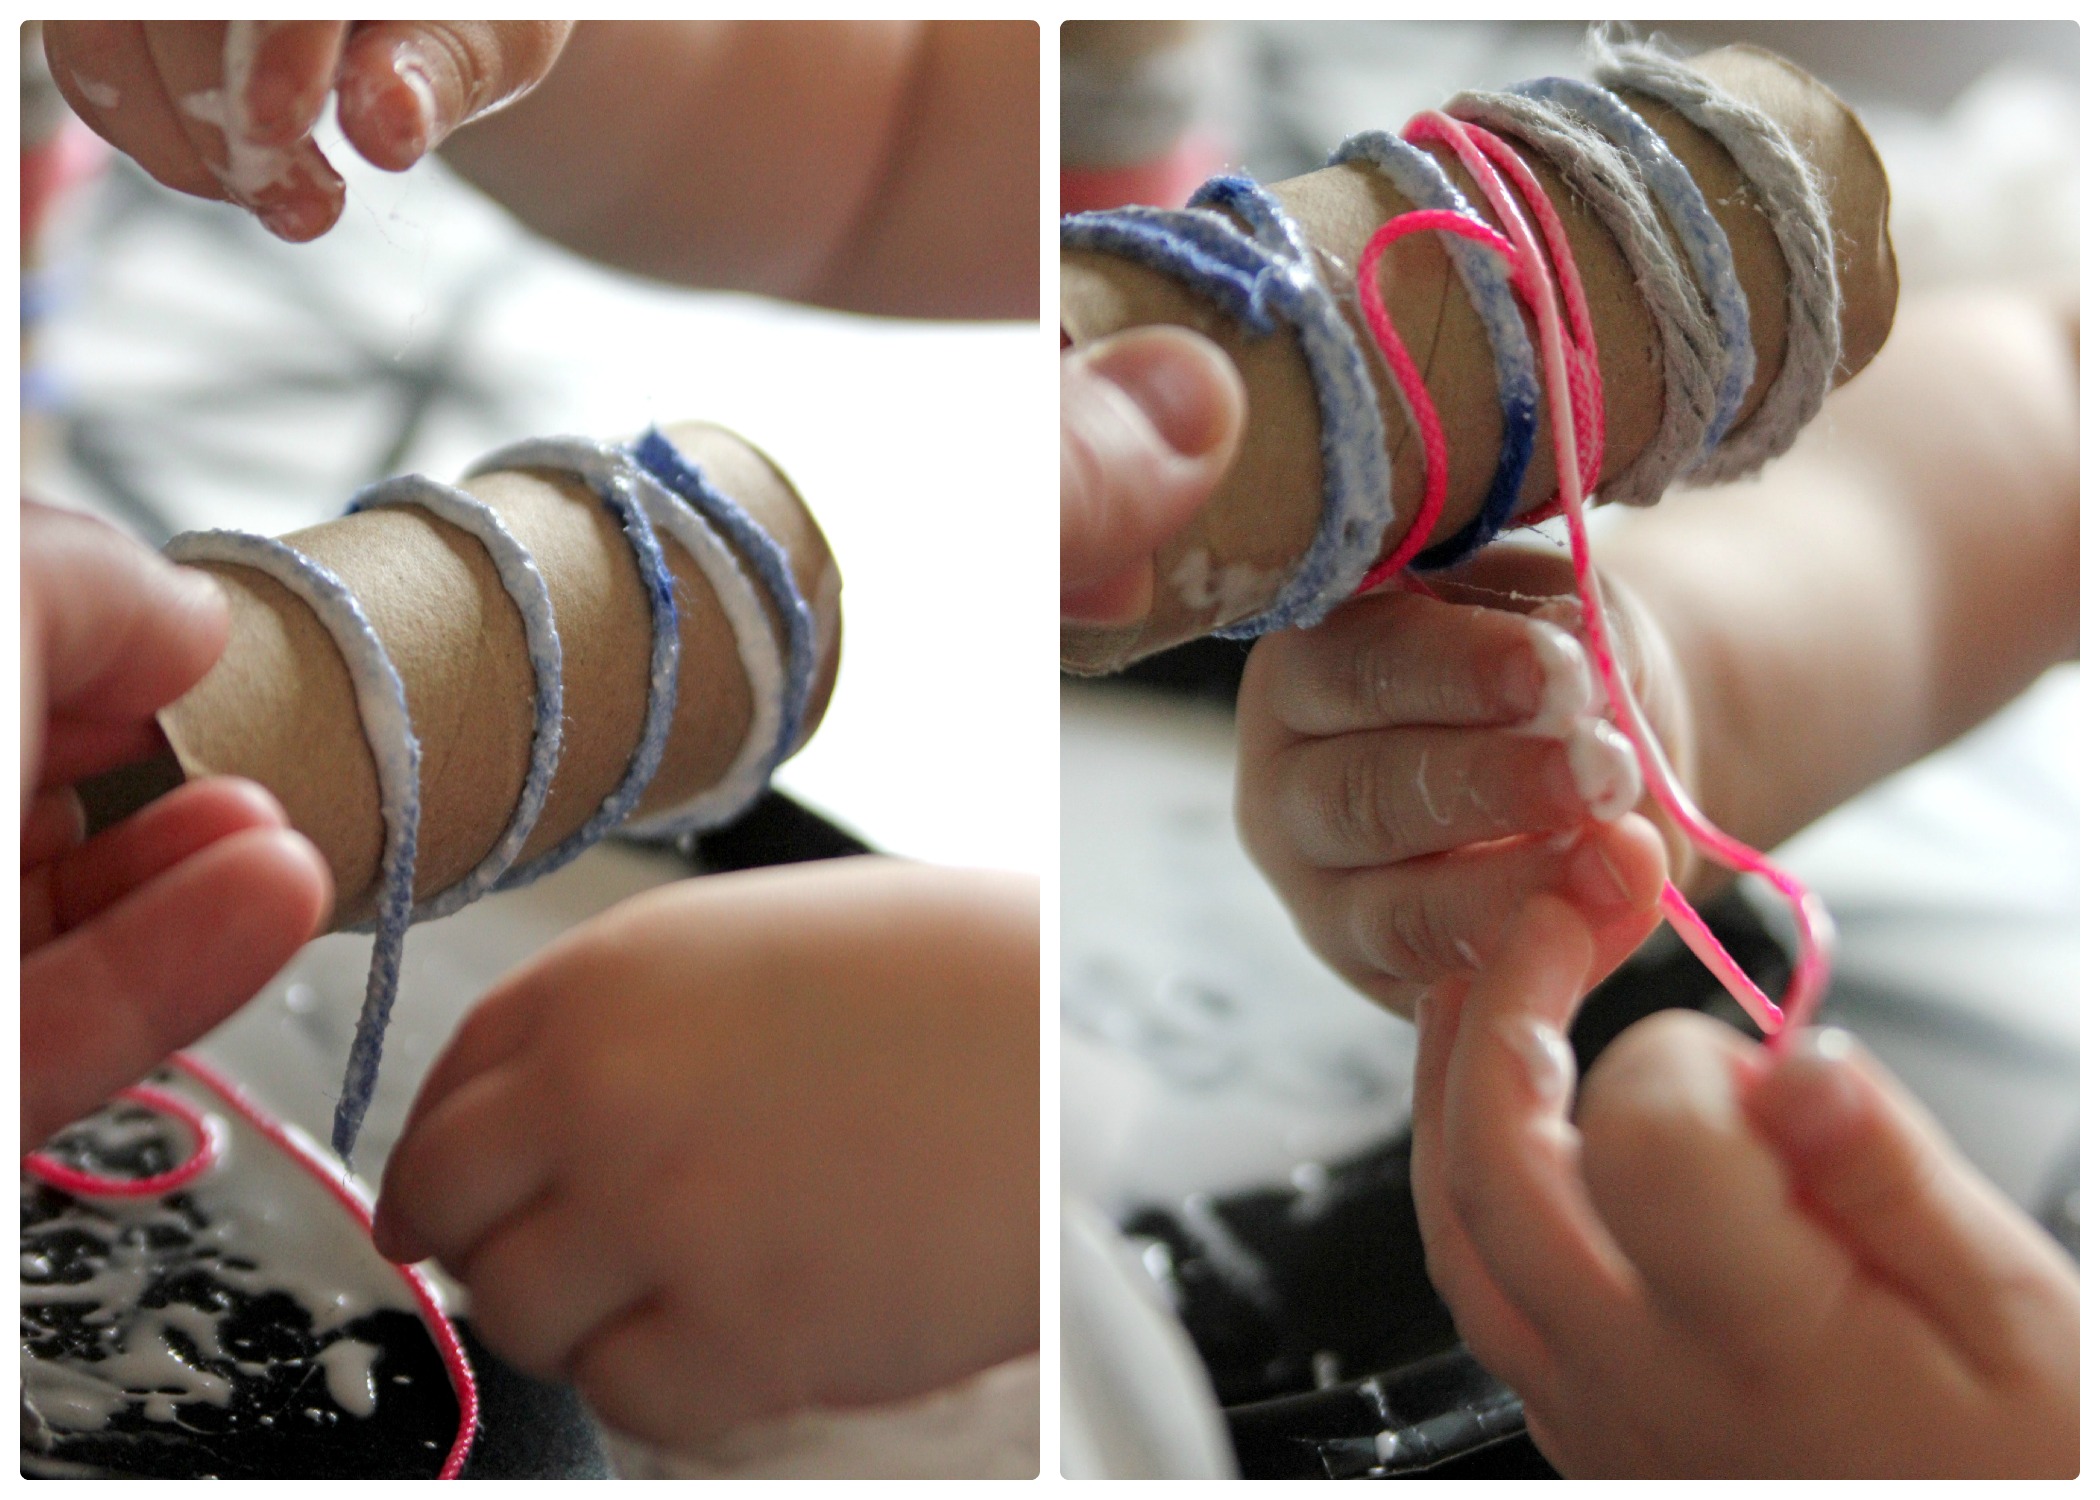
Step 3
I then held the roll while V wrapped the glue-covered string pieces around the toilet paper rolls. She wrapped all the string pieces around, overlapping some to make different patterns and layers.
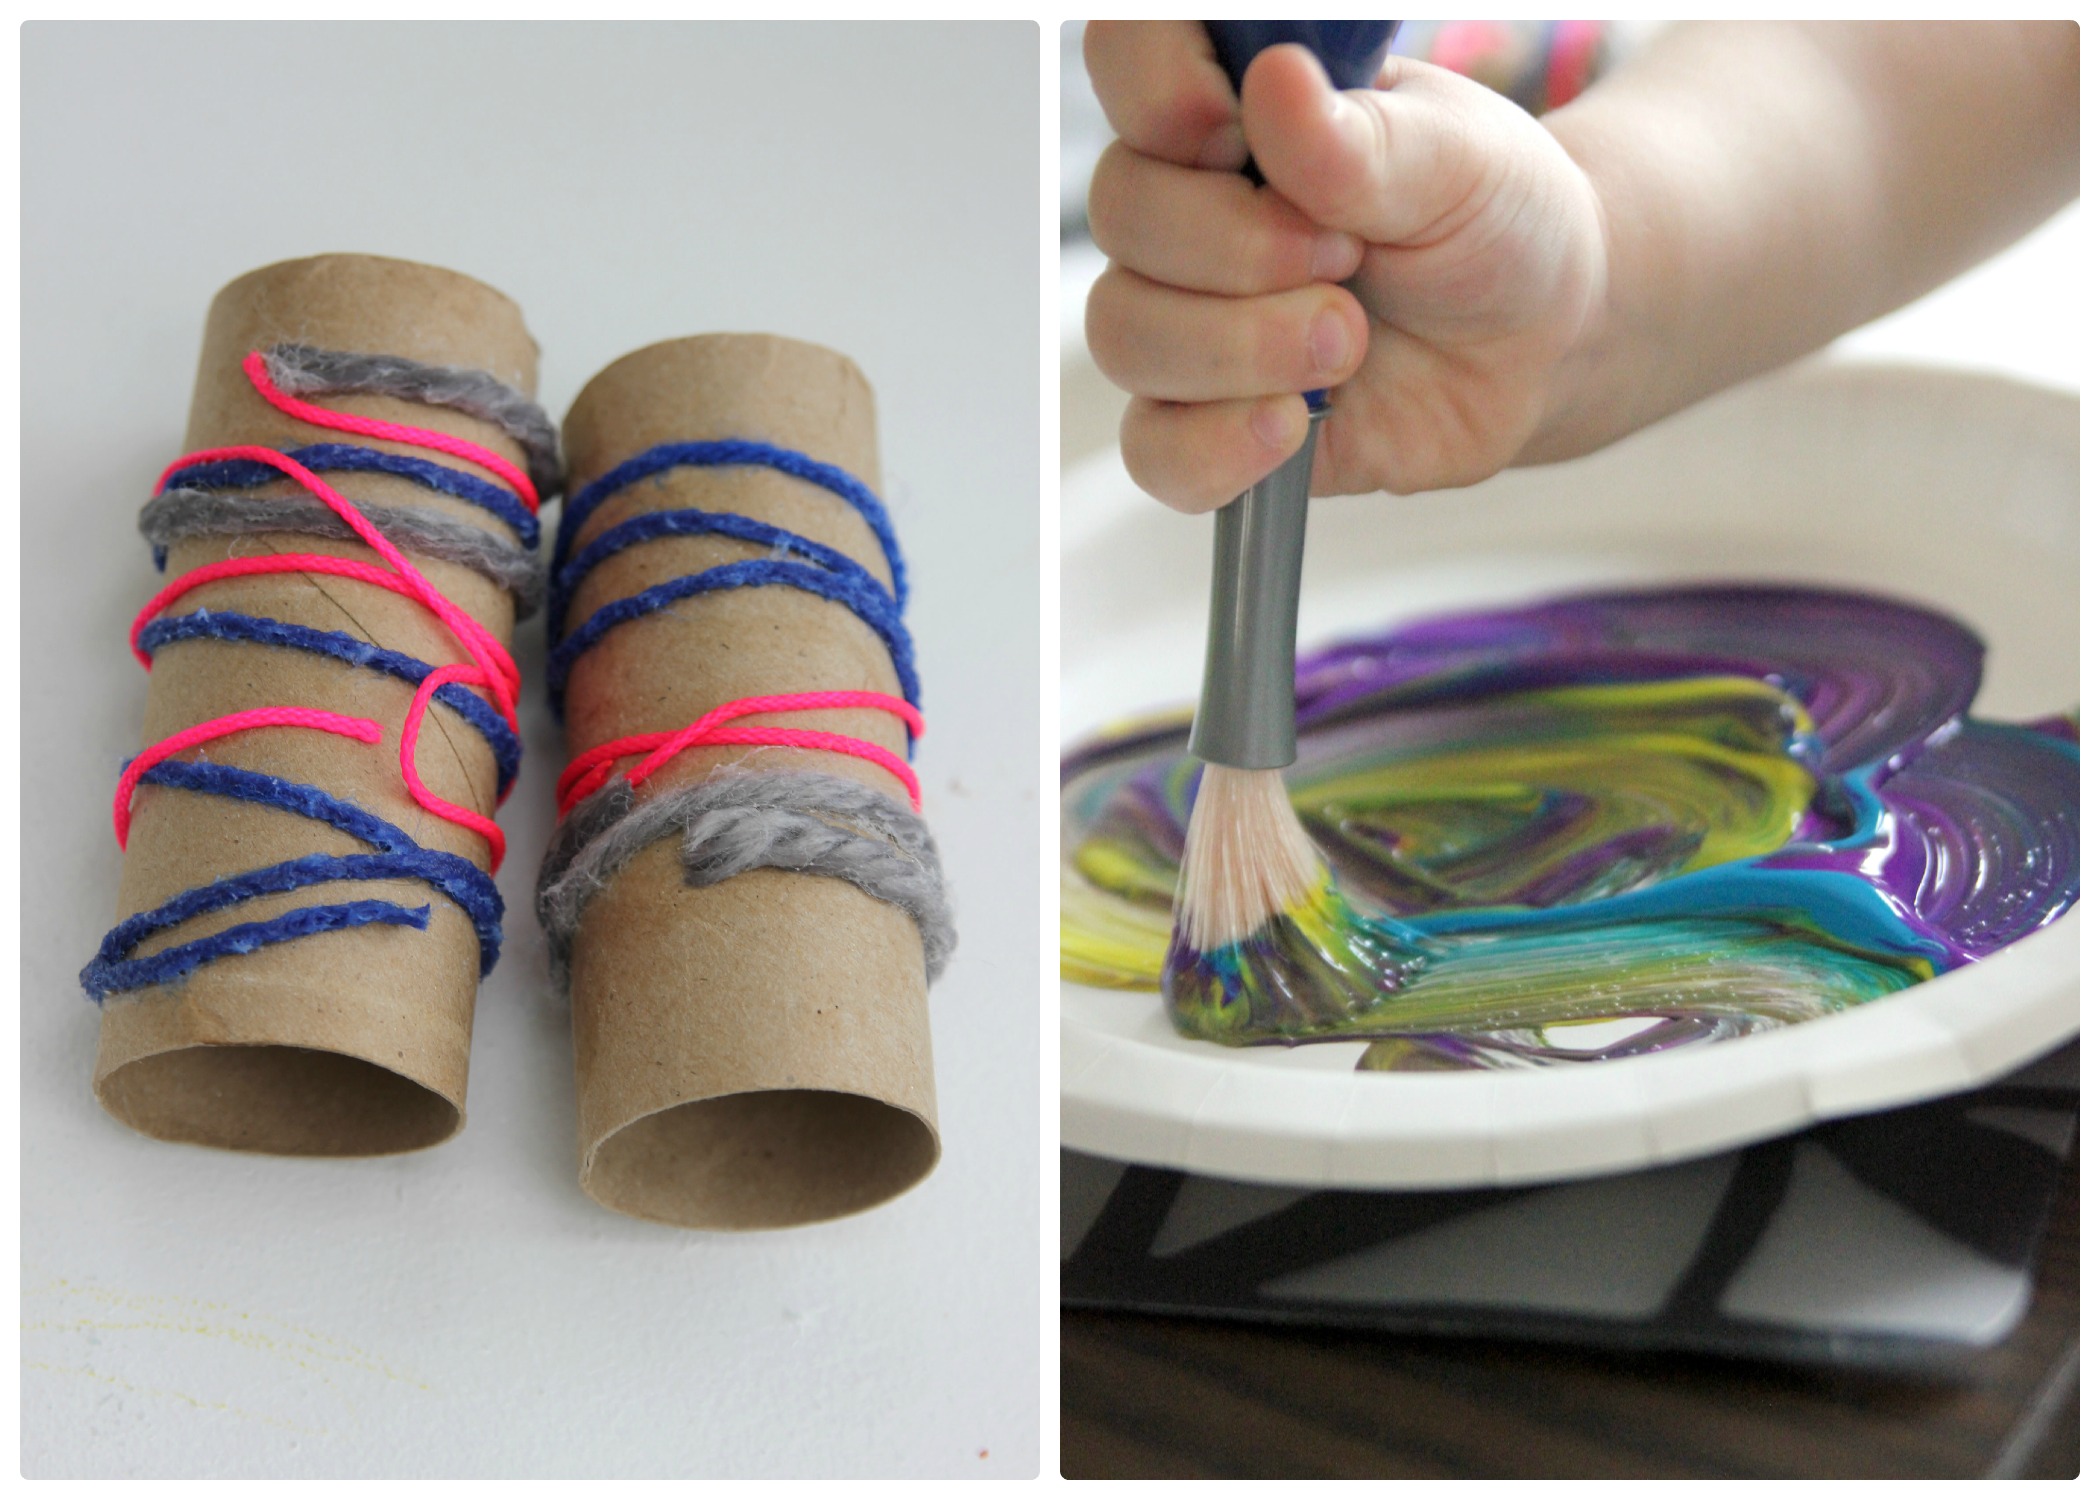
Step 4
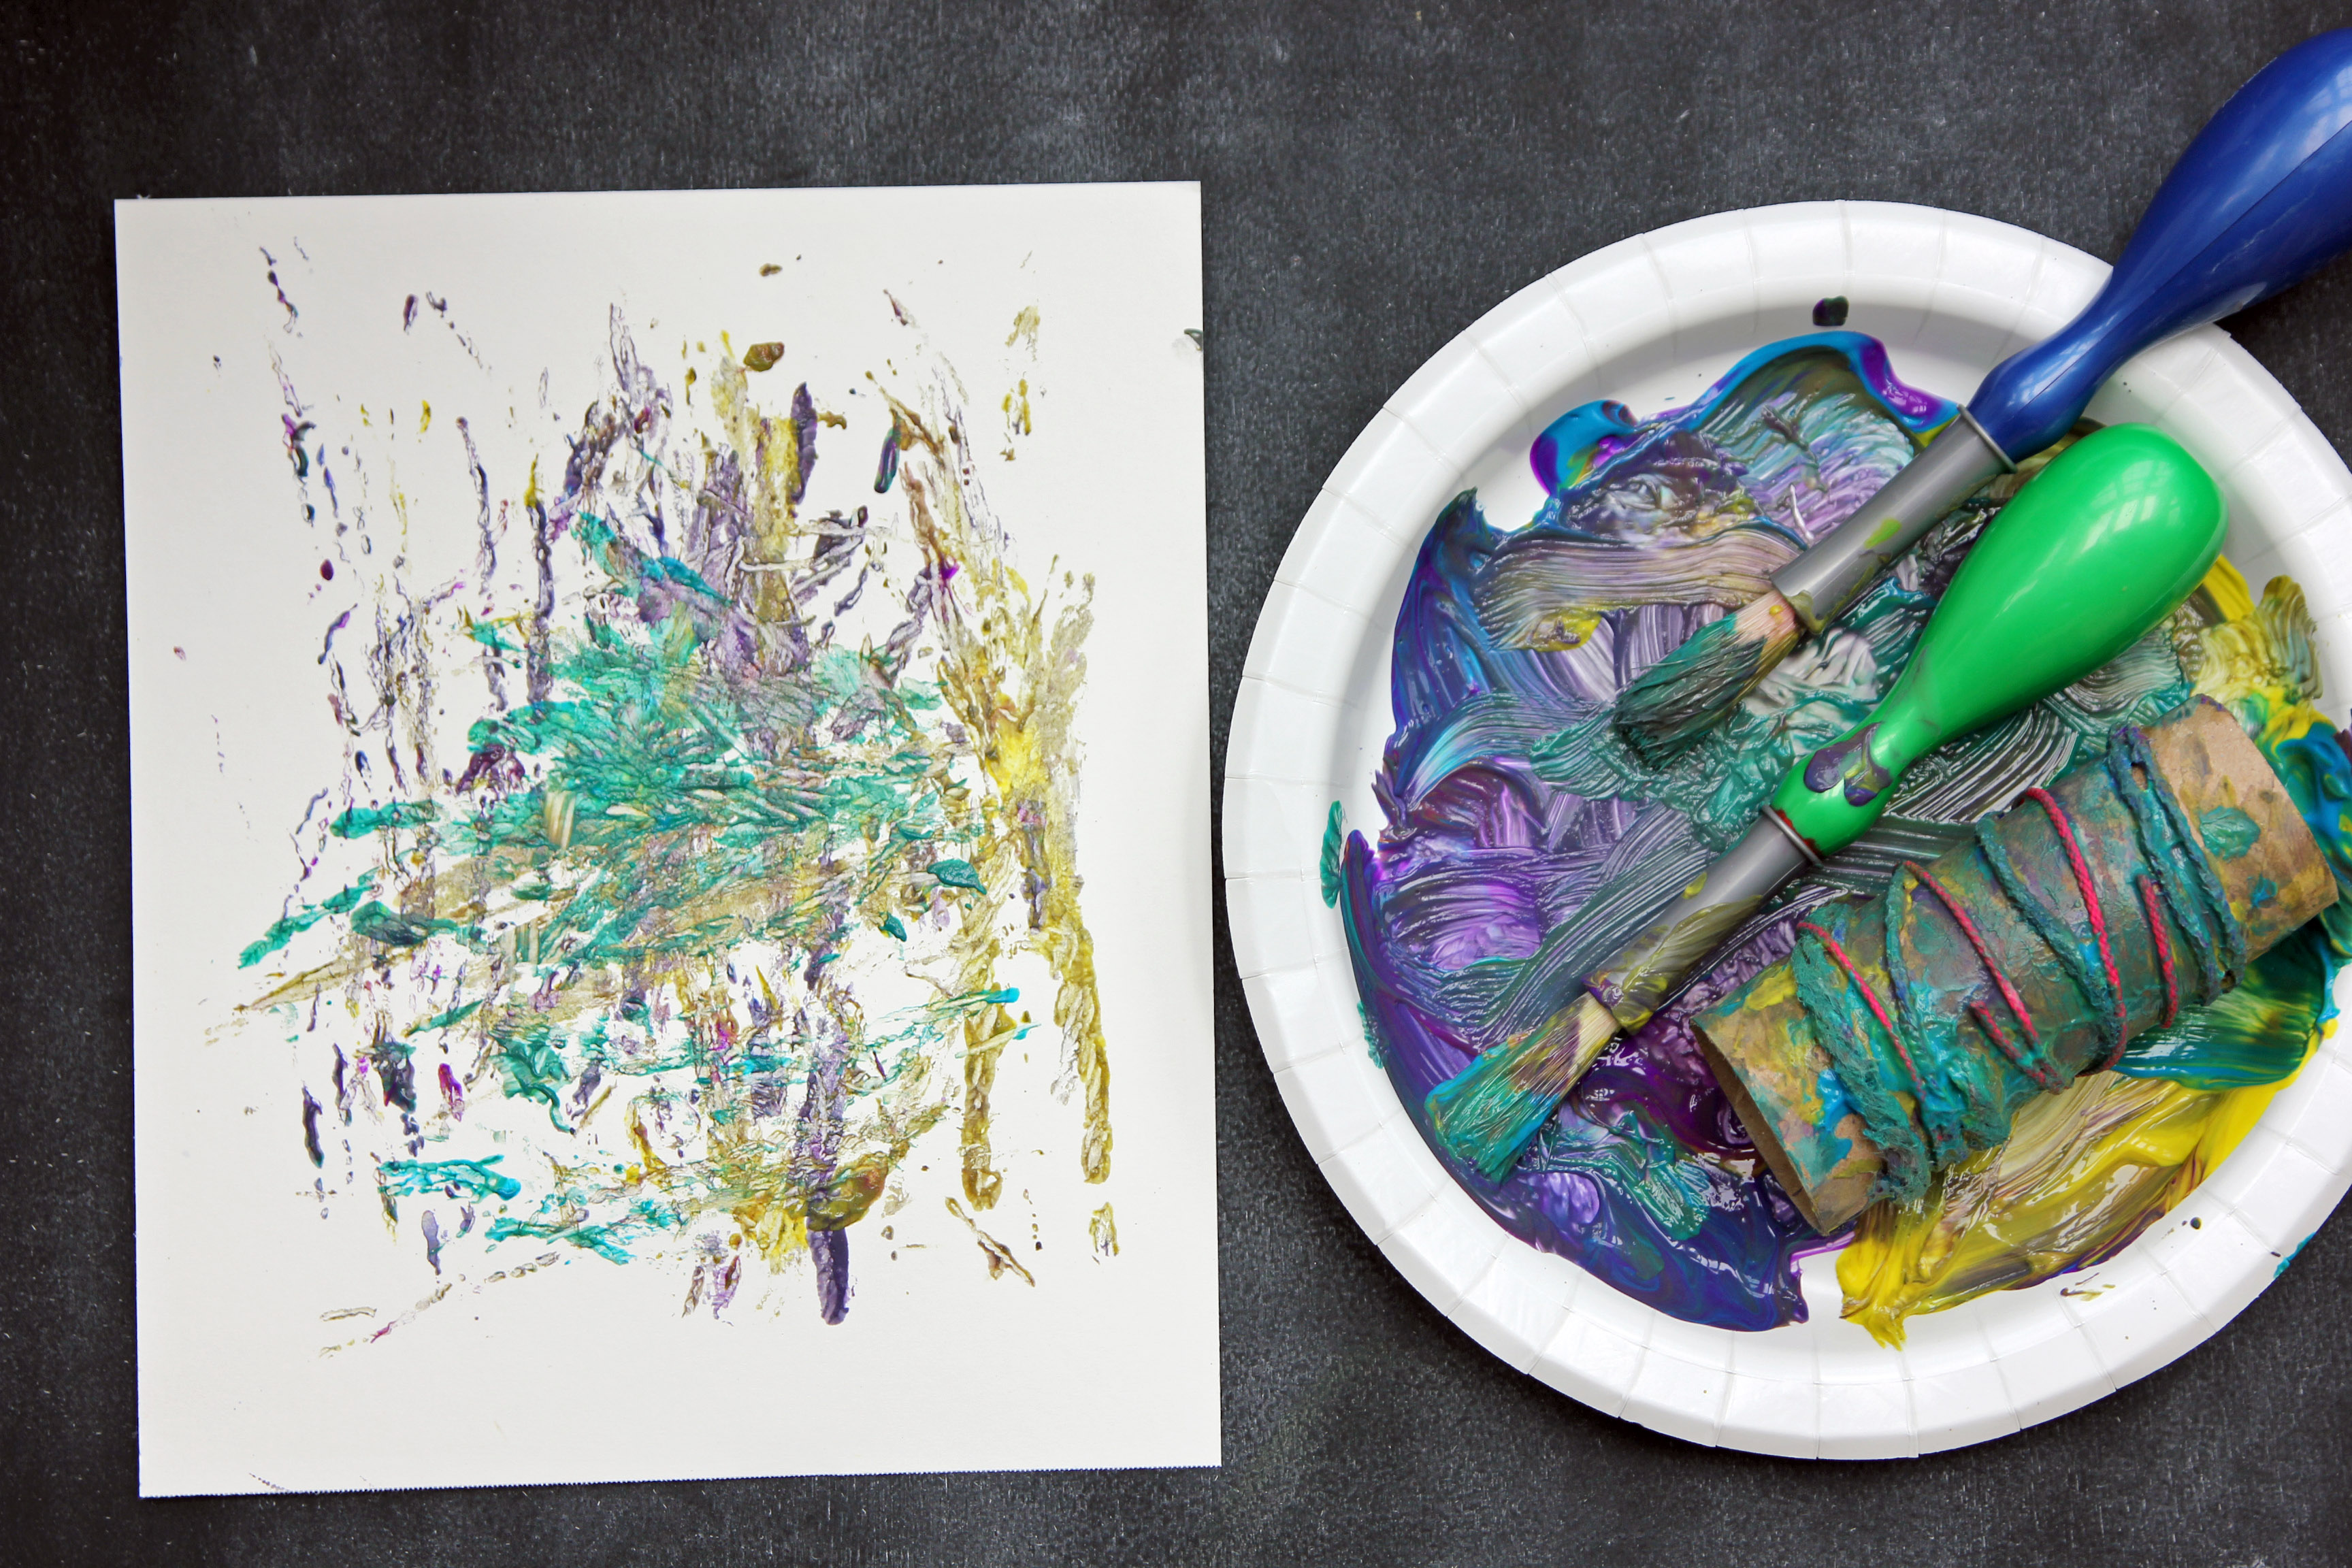
We allowed the rolls to dry overnight--but I think they would be dry enough after a couple of hours. V then poured the paint onto the other paper plate, mixing the paint to blend the colors.
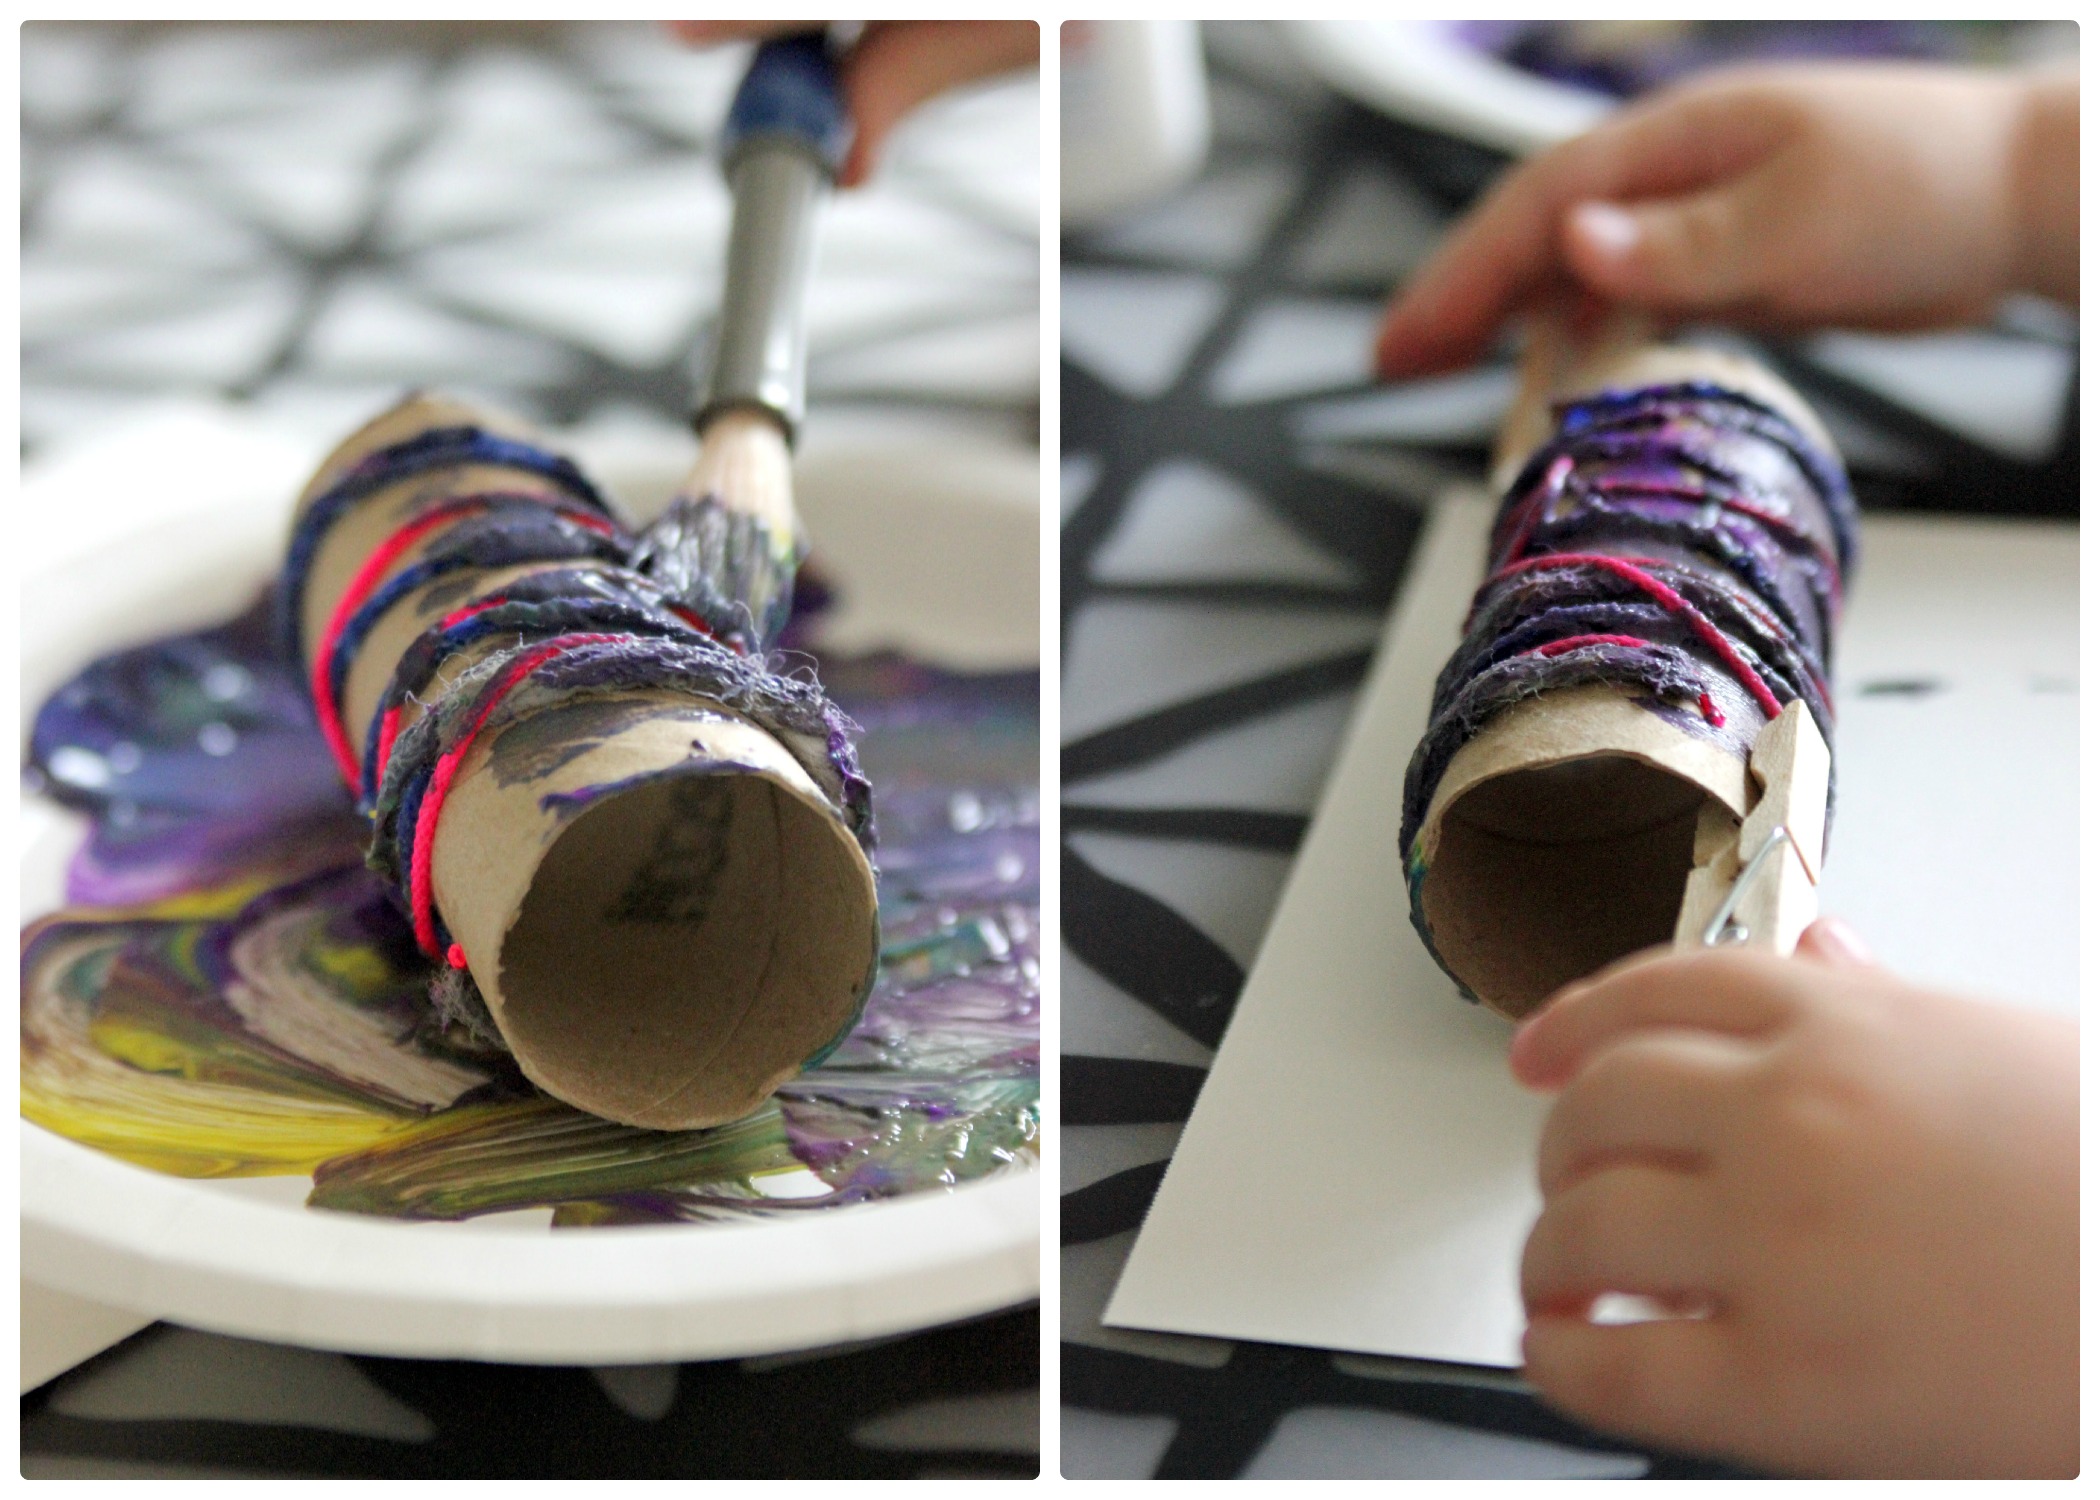
Step 5
We rolled the roll into the paint and used a paintbrush to further cover it with paint. We then rolled it onto the canvas. V is a little funny about messy hands so for our first attempt I attached clothespins to each side for her to use to roll on the canvas.
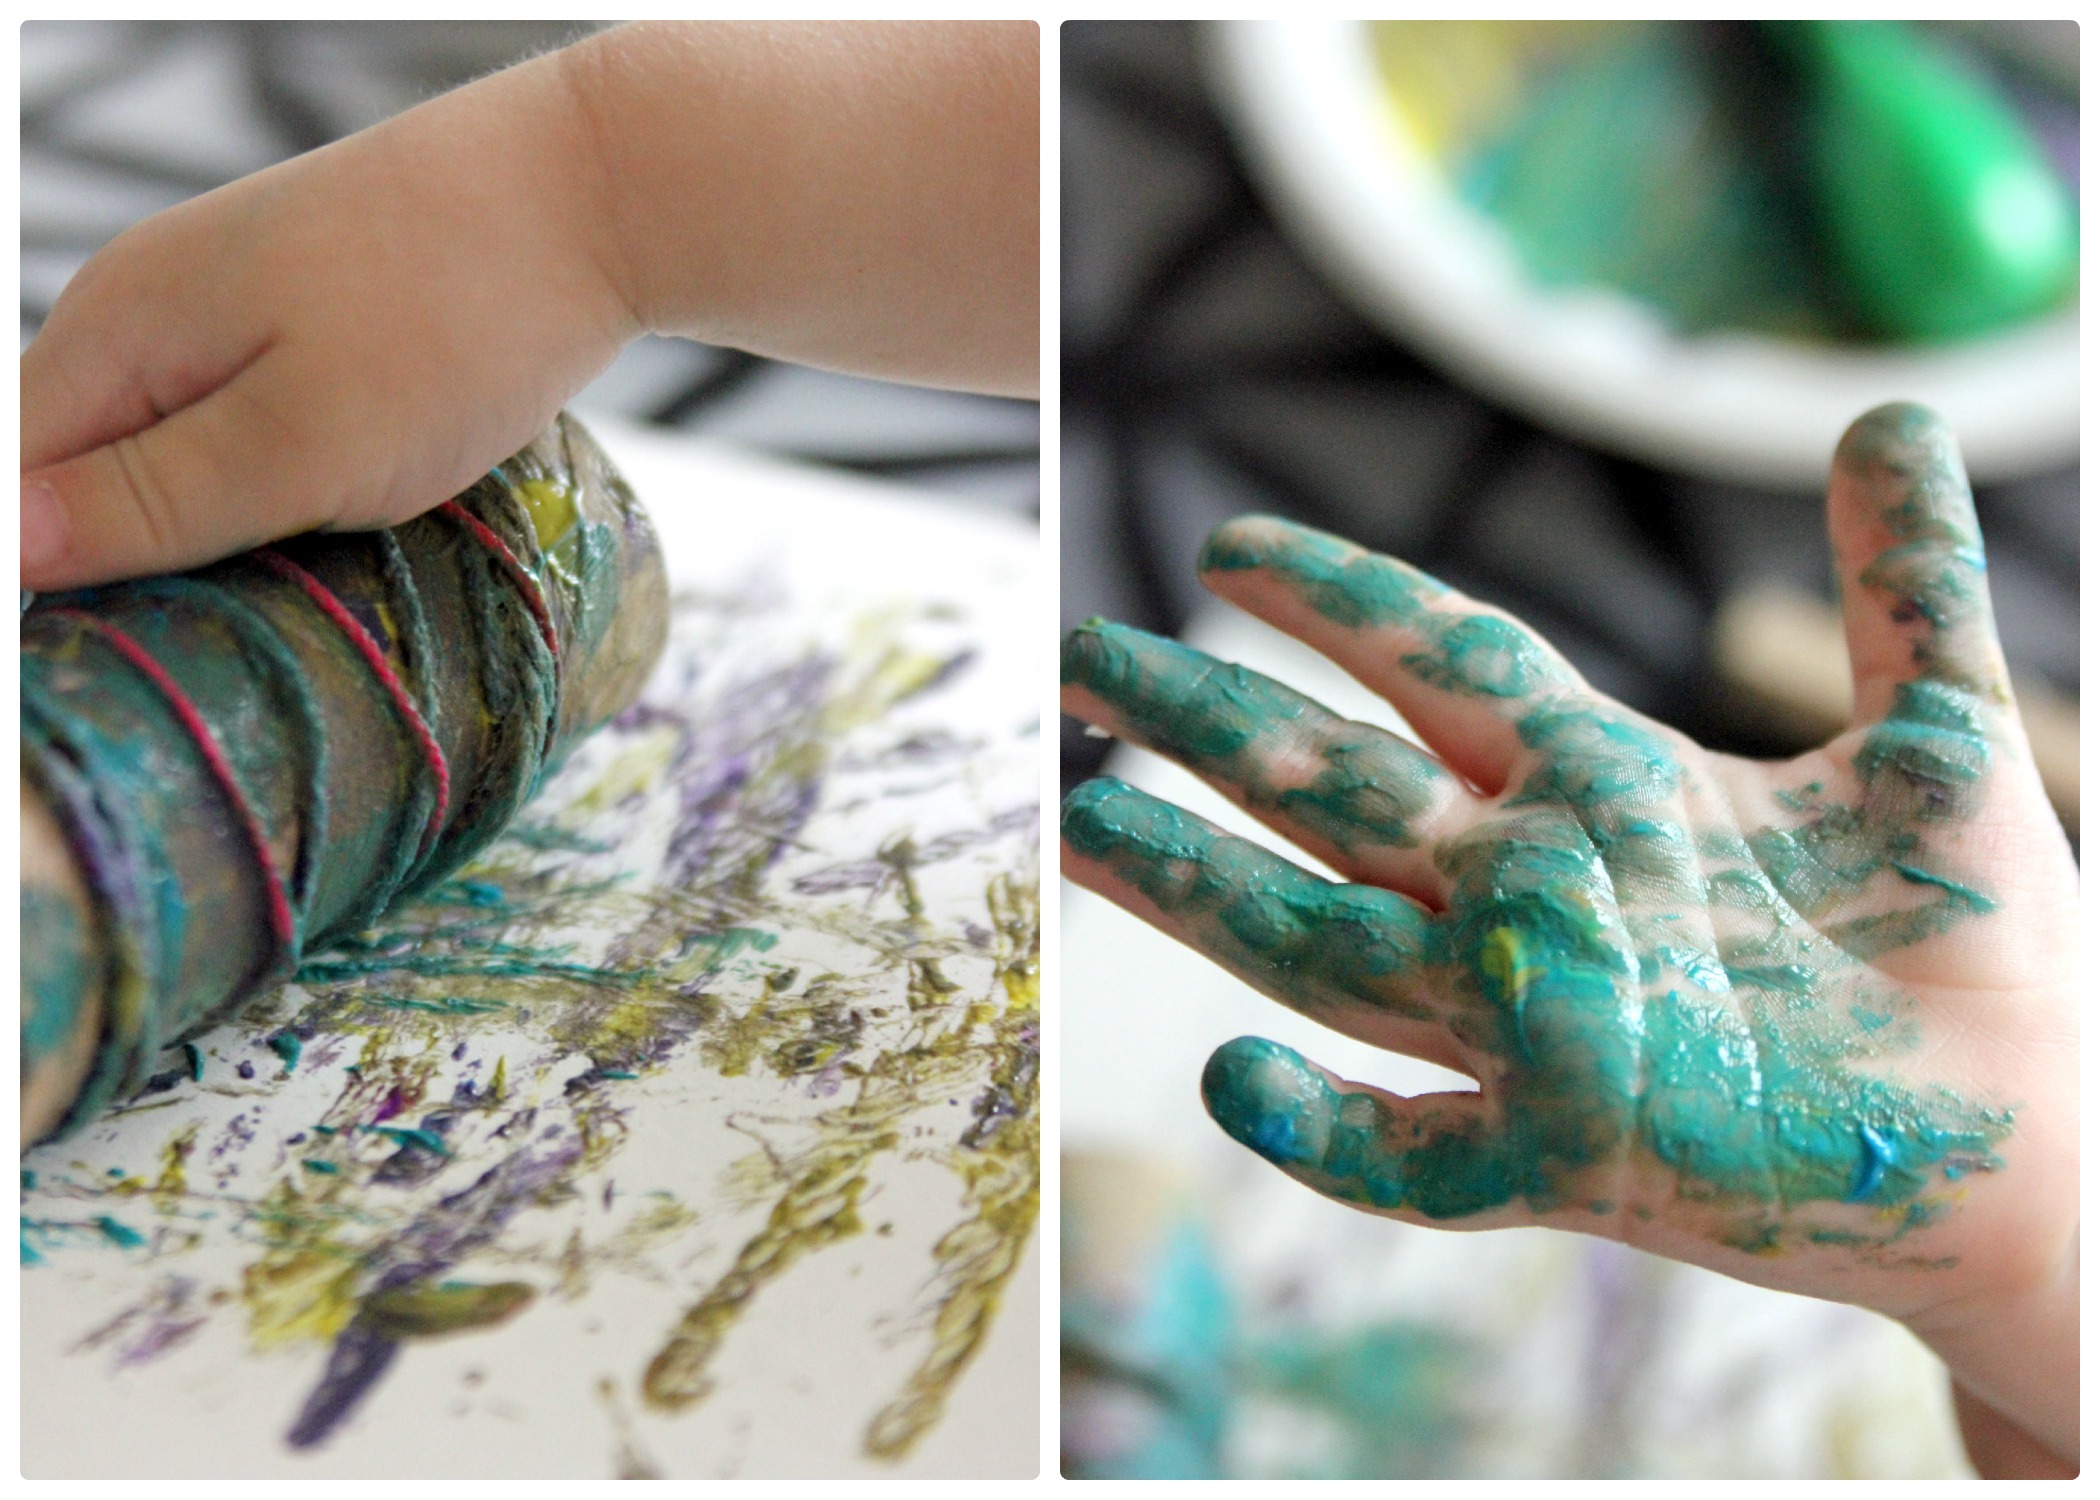
Step 6
The clothespins worked well enough, but, after I showed her how to roll with her hands, that became our way of transferring the paint to the canvas. And after a few rolls on the canvas, her messy hands didn't bother her that much.
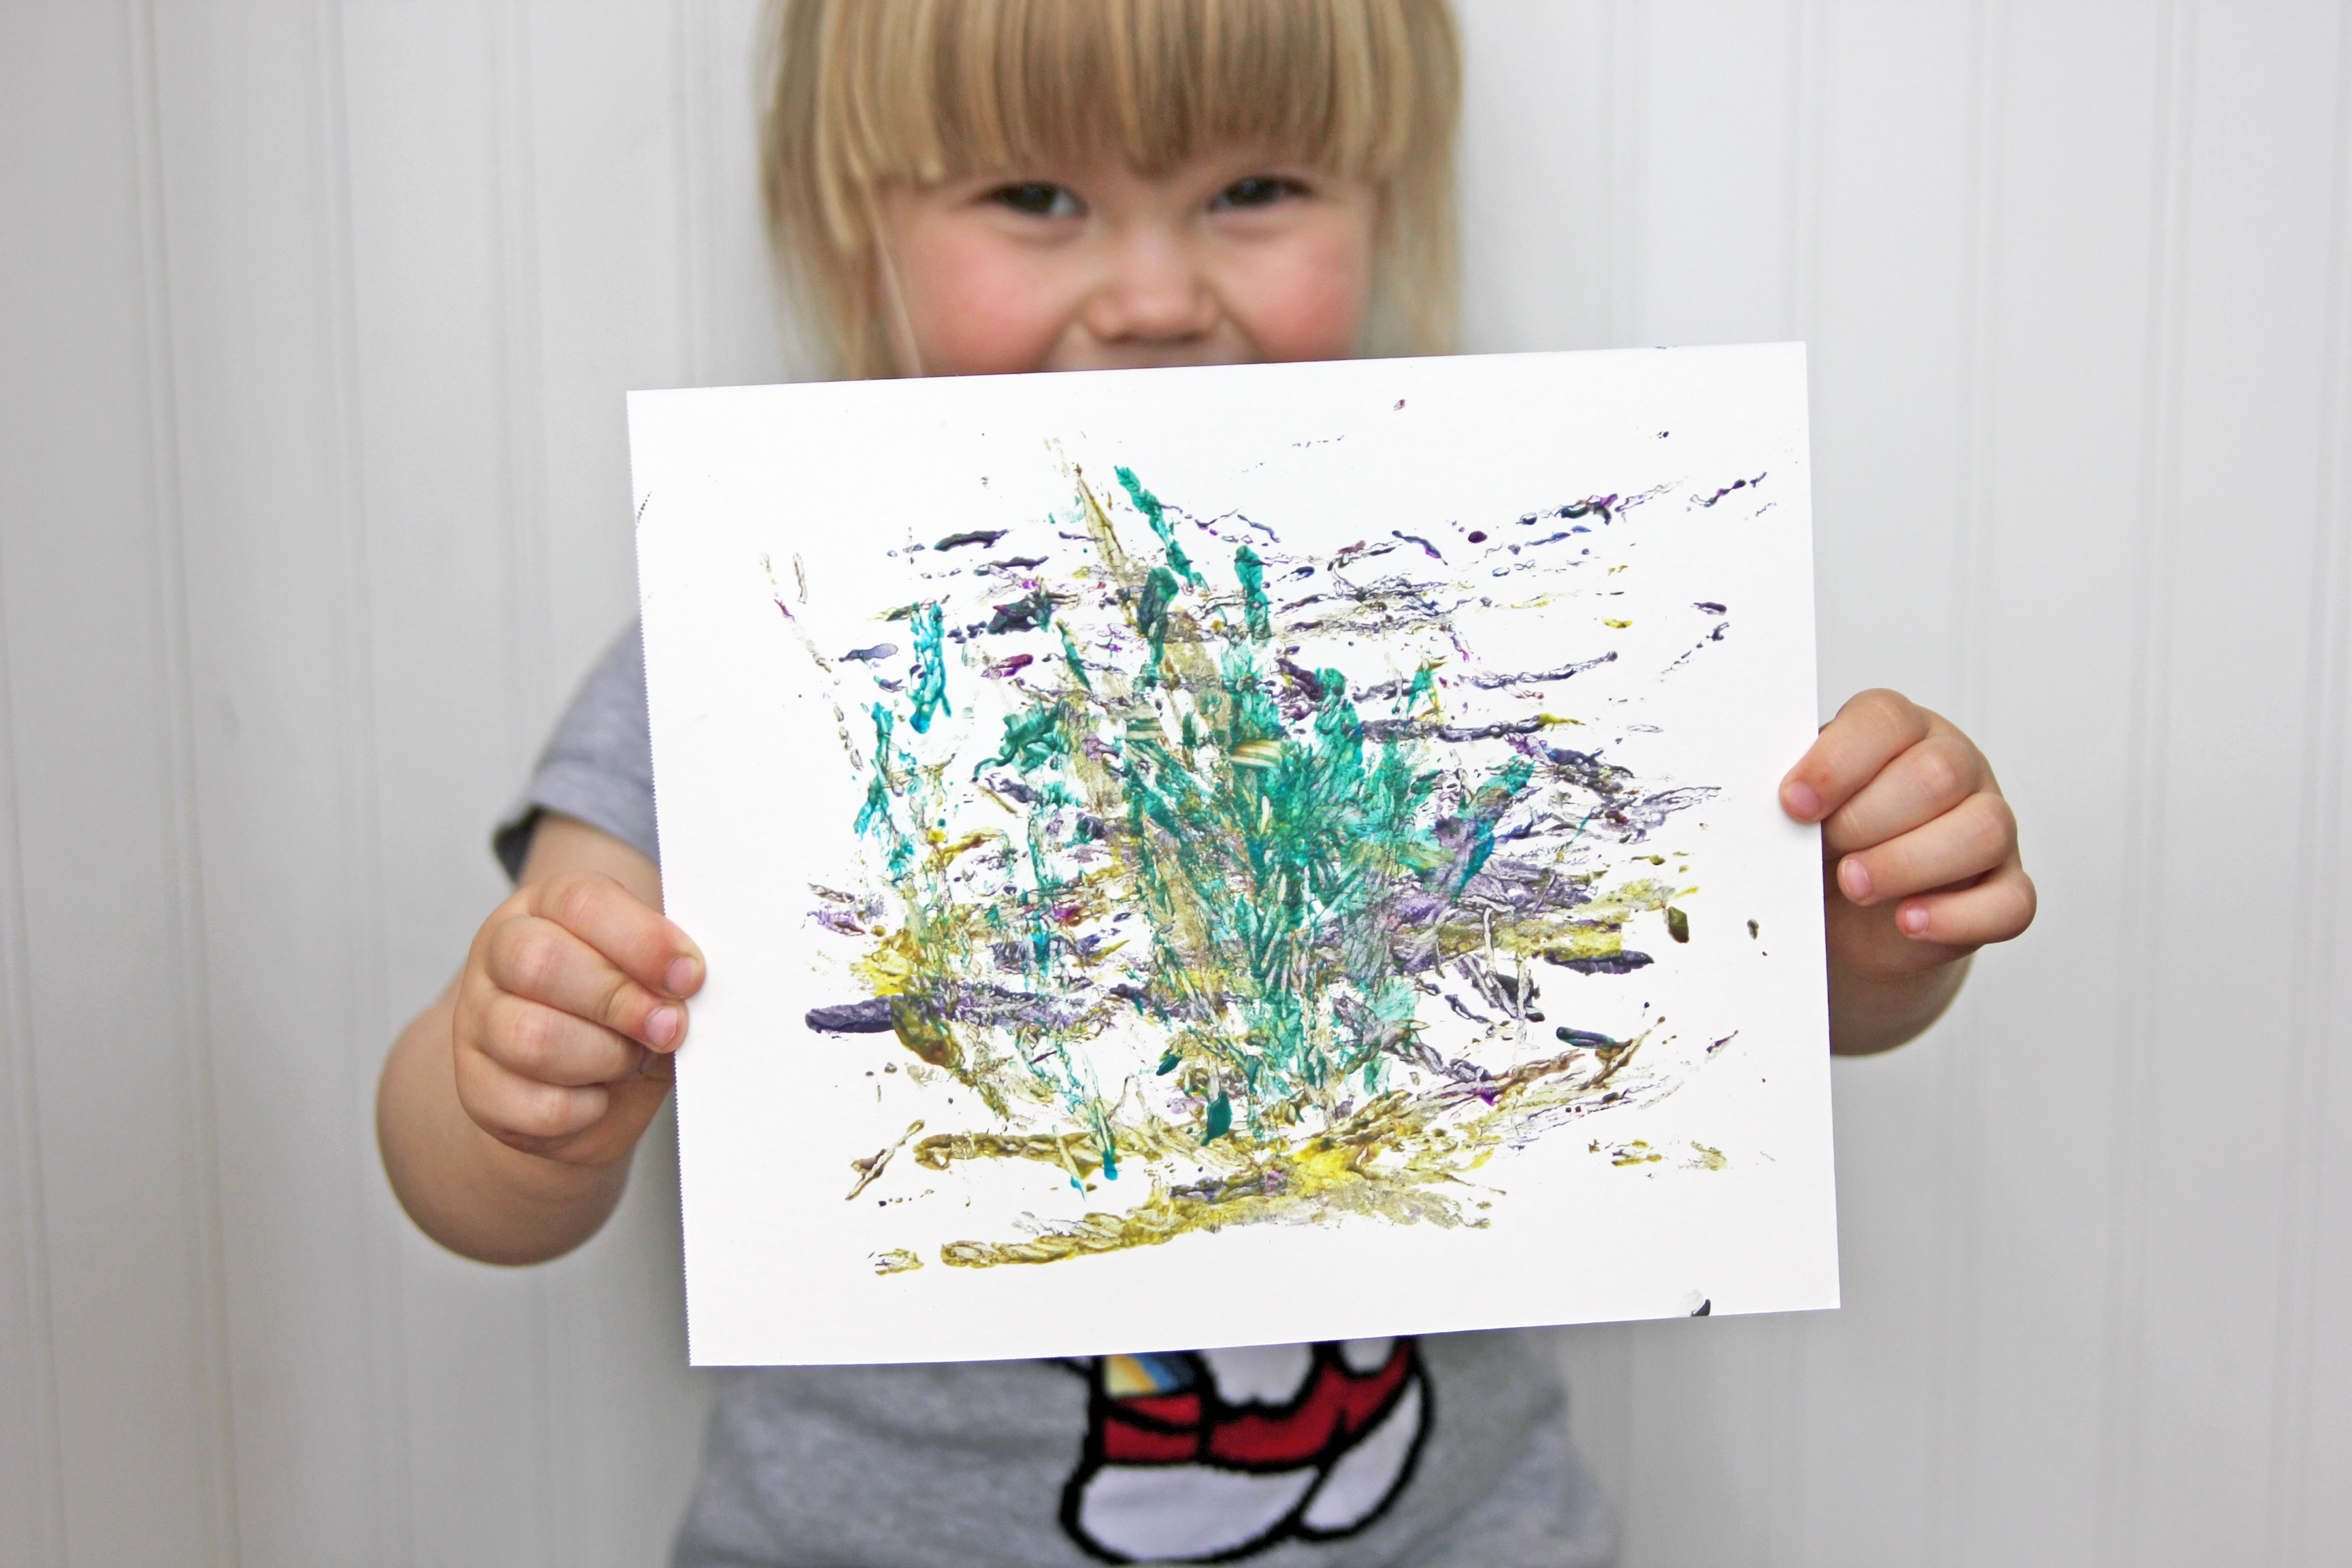
Done!
This was a messy painting activity, but very fun and worth the mess. It was also fantastic that the materials were up-cycled things we already had around the house.