Step-by-step tutorial
Step 1
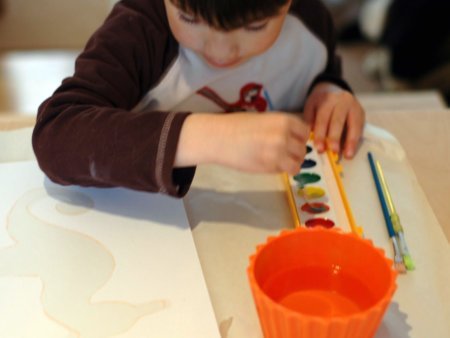
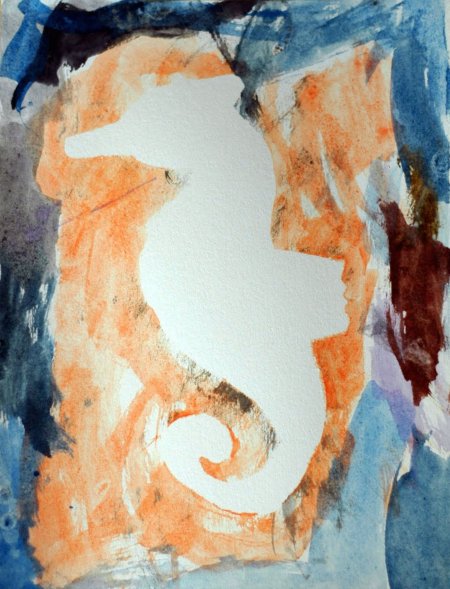
As the lull approaches, I'm ready to head it off with our sea creature resist art project. My son sits down and studies the faint outline of a seahorse on paper. Immediately curious, he's forgotten all about the TV he was asking to watch only moments ago.

Step 2
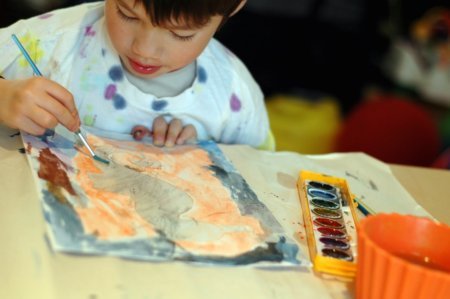
We slip on his art shirt, and he quickly paints directly on the contact paper seahorse. I can see him puzzling over why the paint isn't really sticking. He picks different colors, trying again to stain the seahorse. Eventually, he focuses on saturating the paper all around and out to the edges, though still comes back to the seahorse, just to check.
Step 3
Now he's done and ready to see what's next. Once the paint has mostly dried, we slowly peel off the contact paper. We take care not to pull up the paper underneath.
Step 4
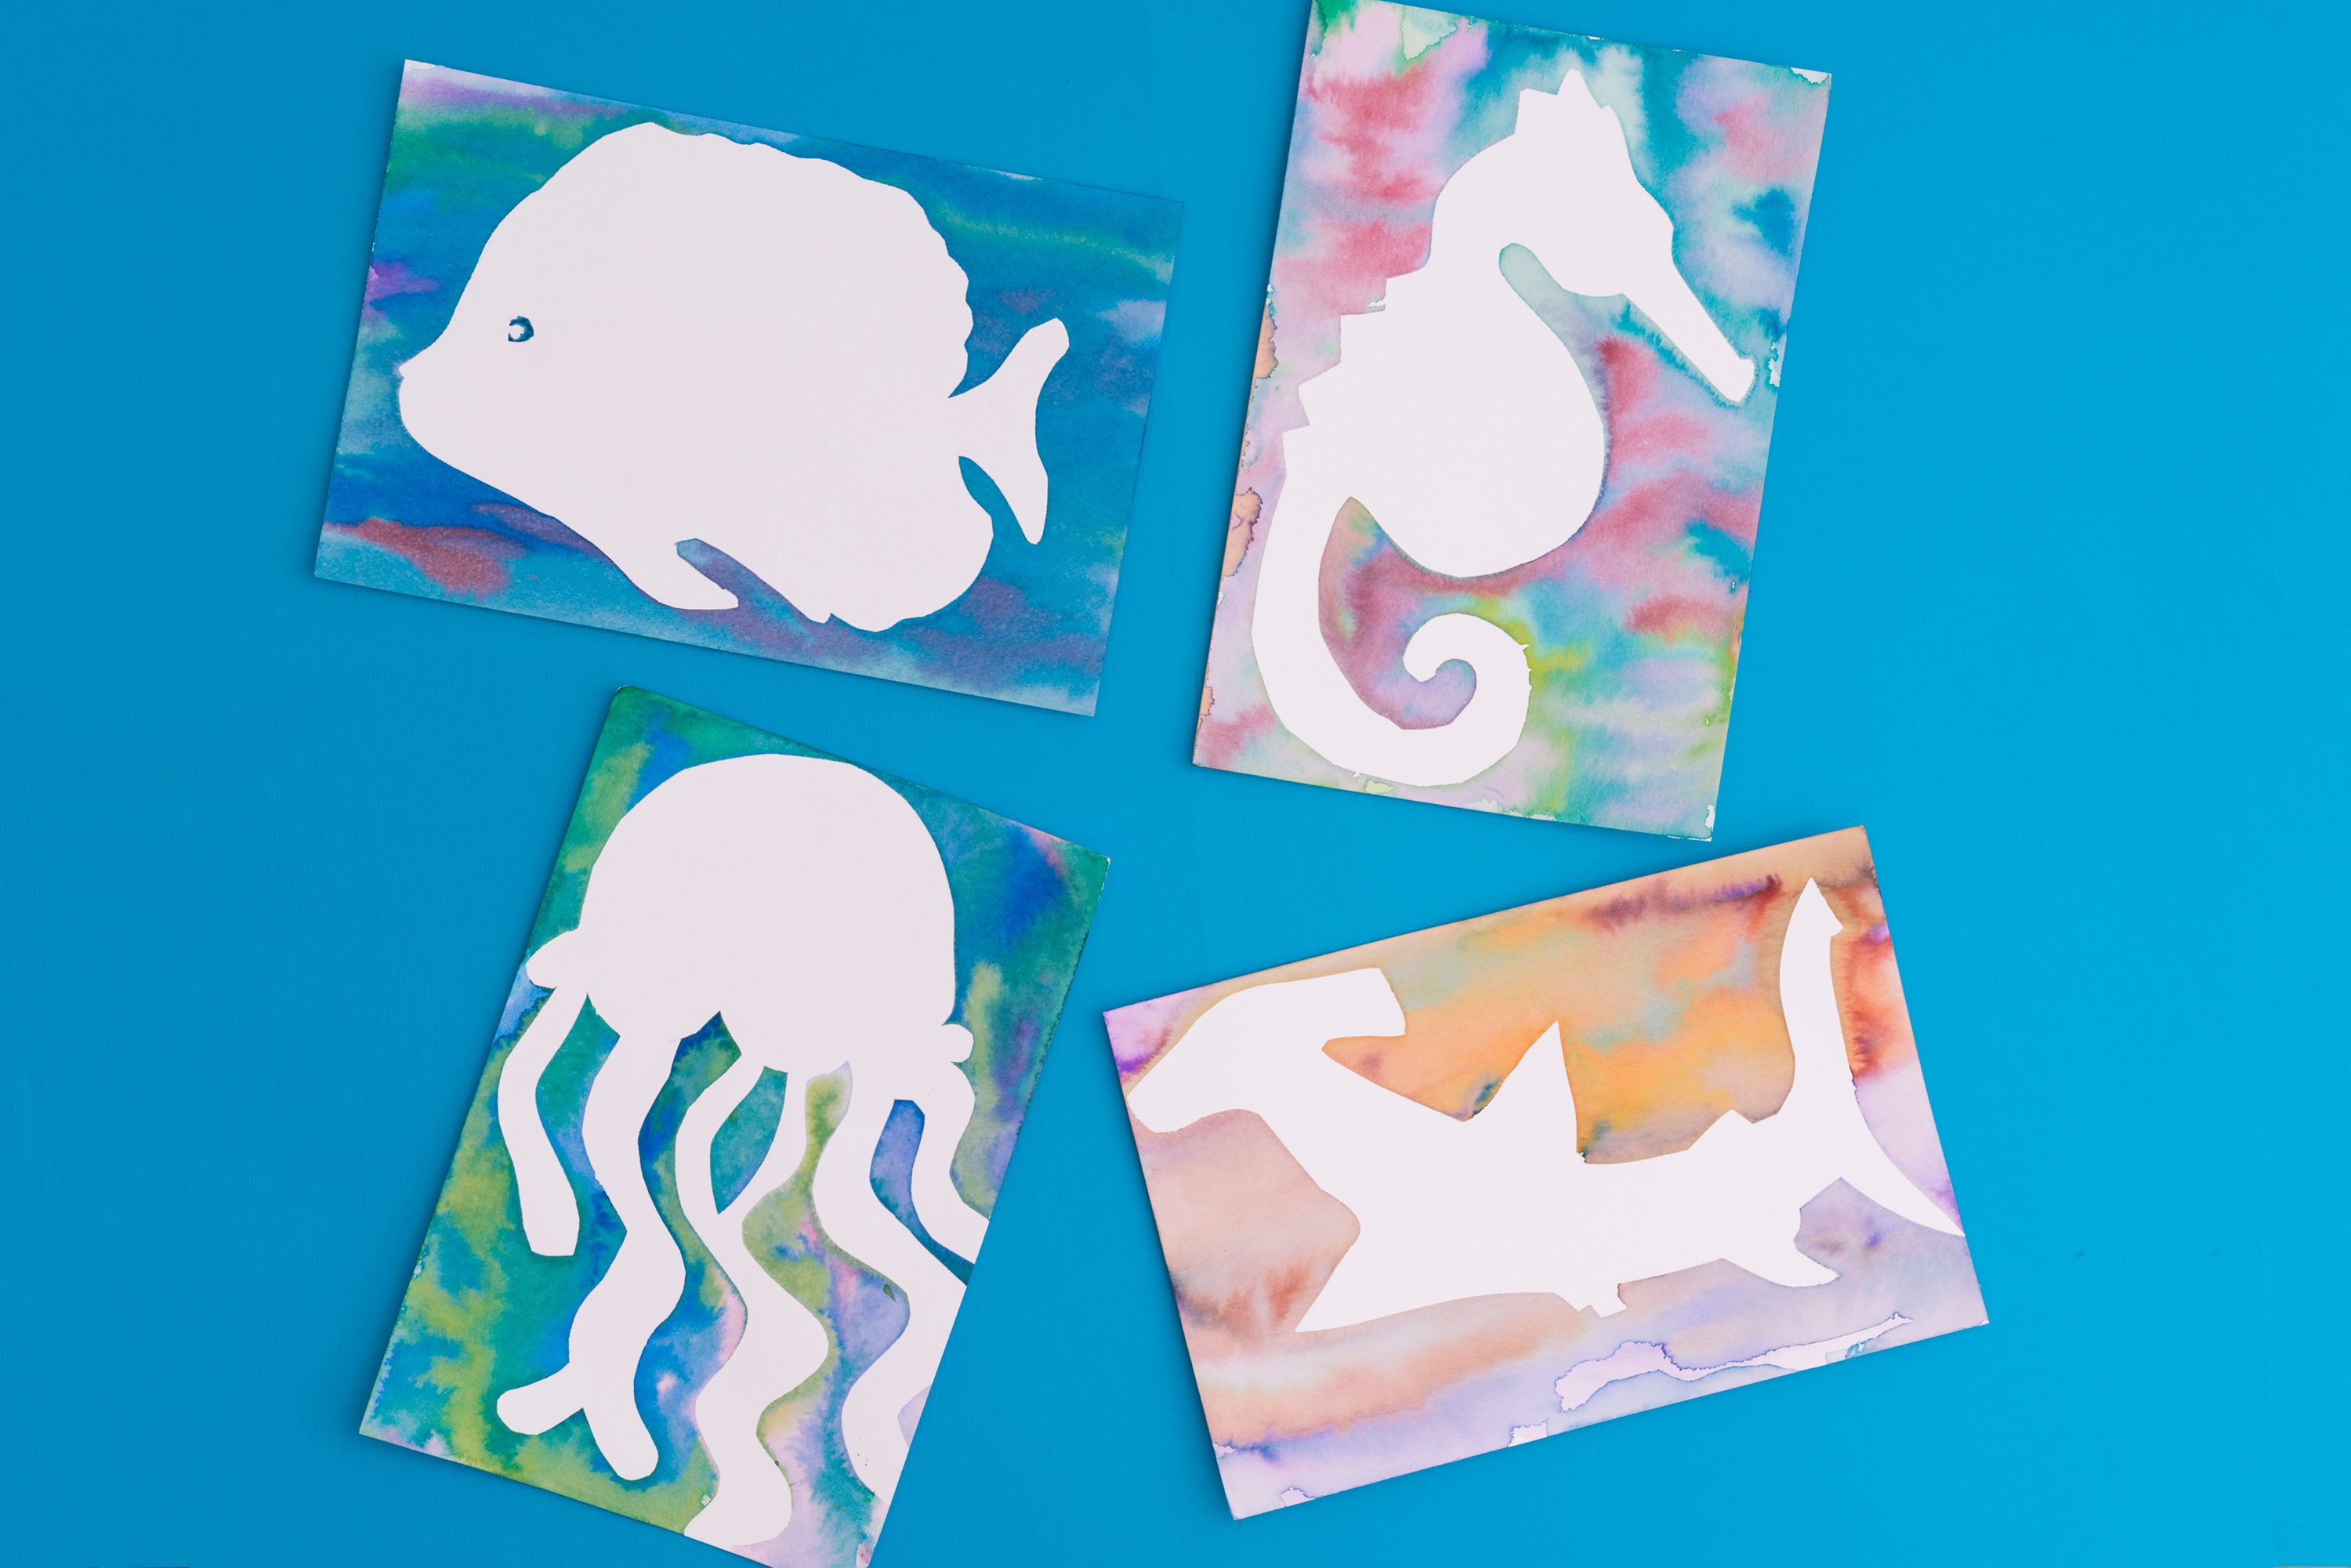
Surprise! The seahorse pops out of the watery colored background exactly as I'd hoped!
Step 5
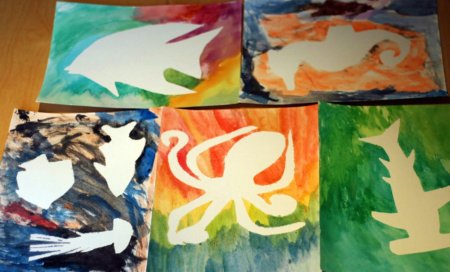
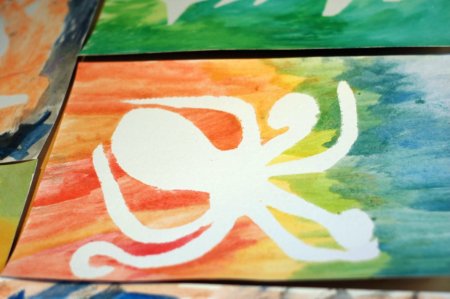
We create an octopus surrounded by the colors of the rainbow.
Step 6
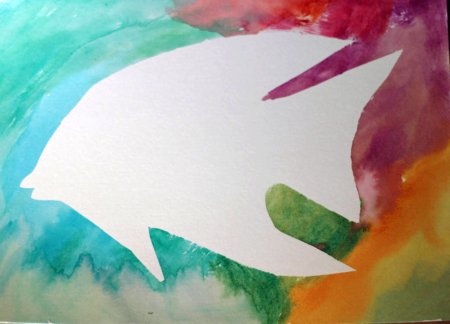
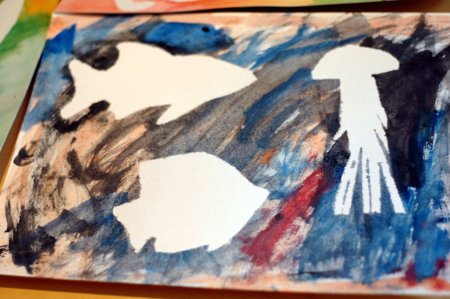
Fish swim and jellies float in a dark and scary ocean. H is drawn to black, saying the fish are entering a cave.
Step 7
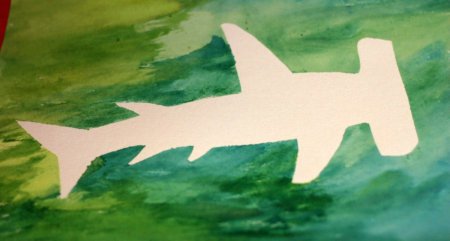
A hammerhead shark cuts through the sea water like a torpedo.
Done!
I can't wait to frame and hang them in my son's room. This was such a cool way to explore the shapes of sea creatures. I'm thinking watercolor resist paintings could make great homemade birthday gifts too. Or, this could be a magical way to learn the alphabet or numbers by having your child reveal the letters of their name when they paint, or the numbers 1-10. Oh, the possibilities!