Step-by-step tutorial
Step 1
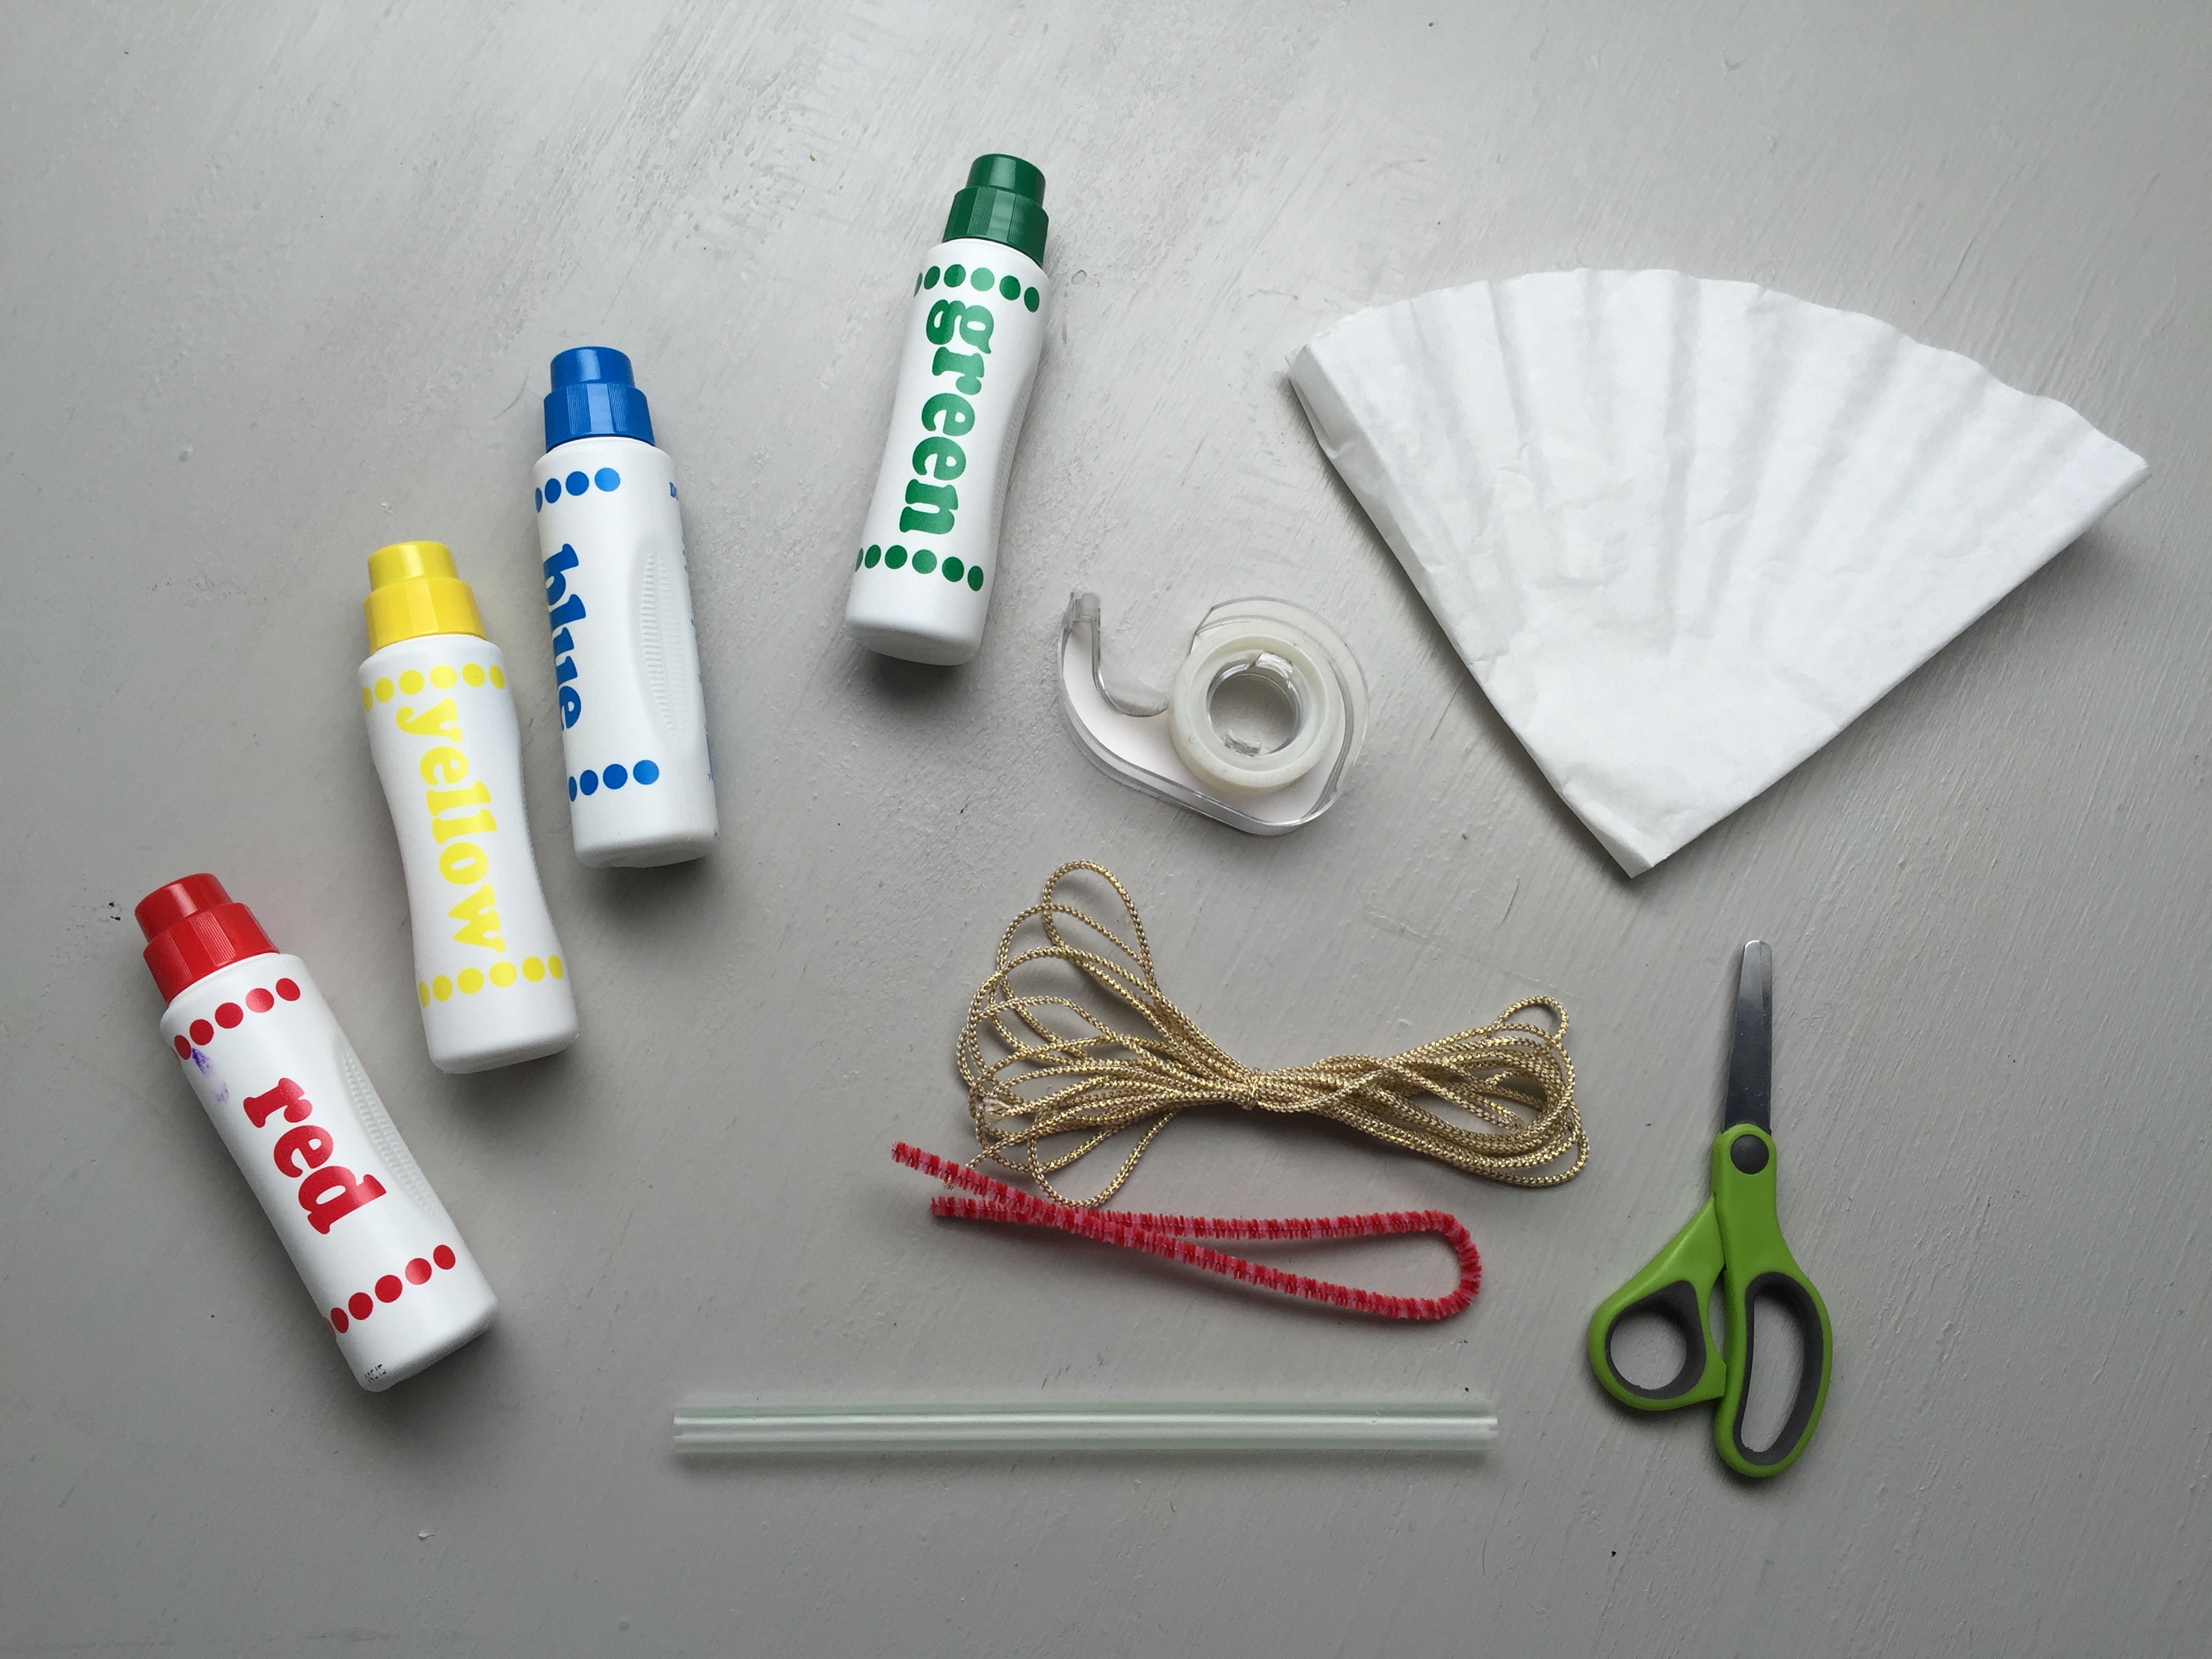
Gather your materials!

Step 2
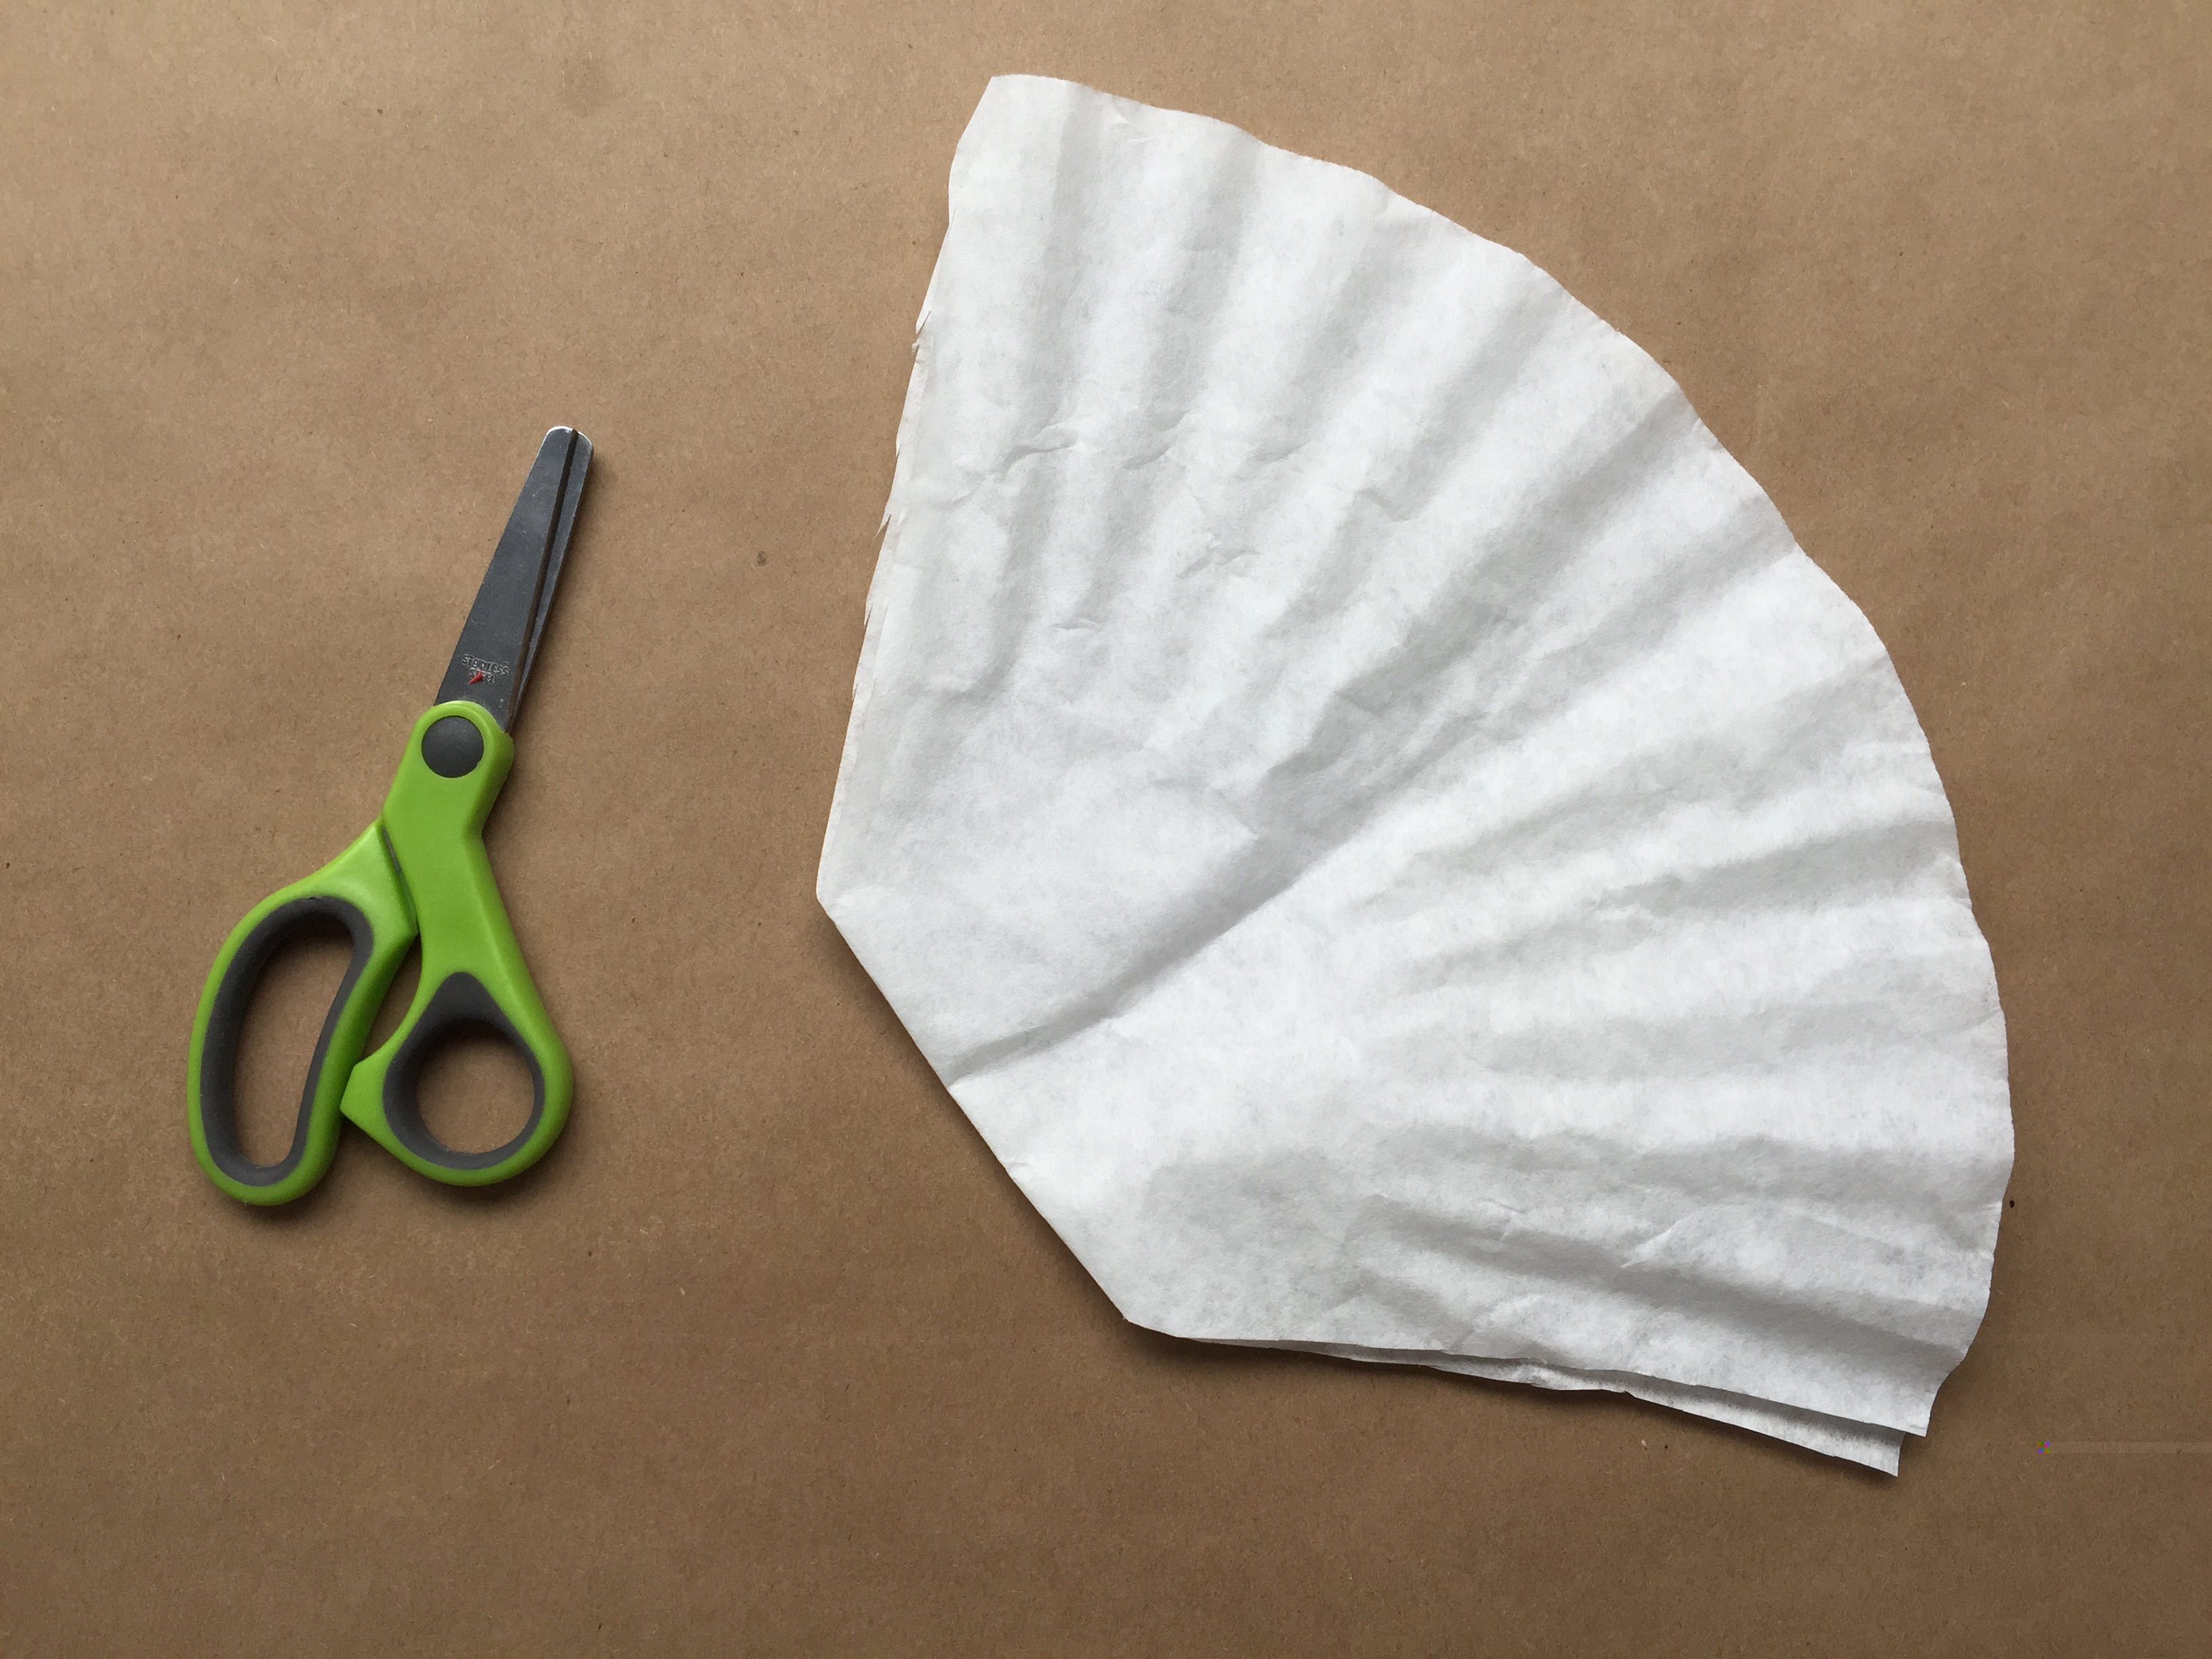
Cover your workspace. Fold the coffee filter in half and cut the top and bottom at an angle.
Step 3
Using dot markers, decorate the butterfly wings.
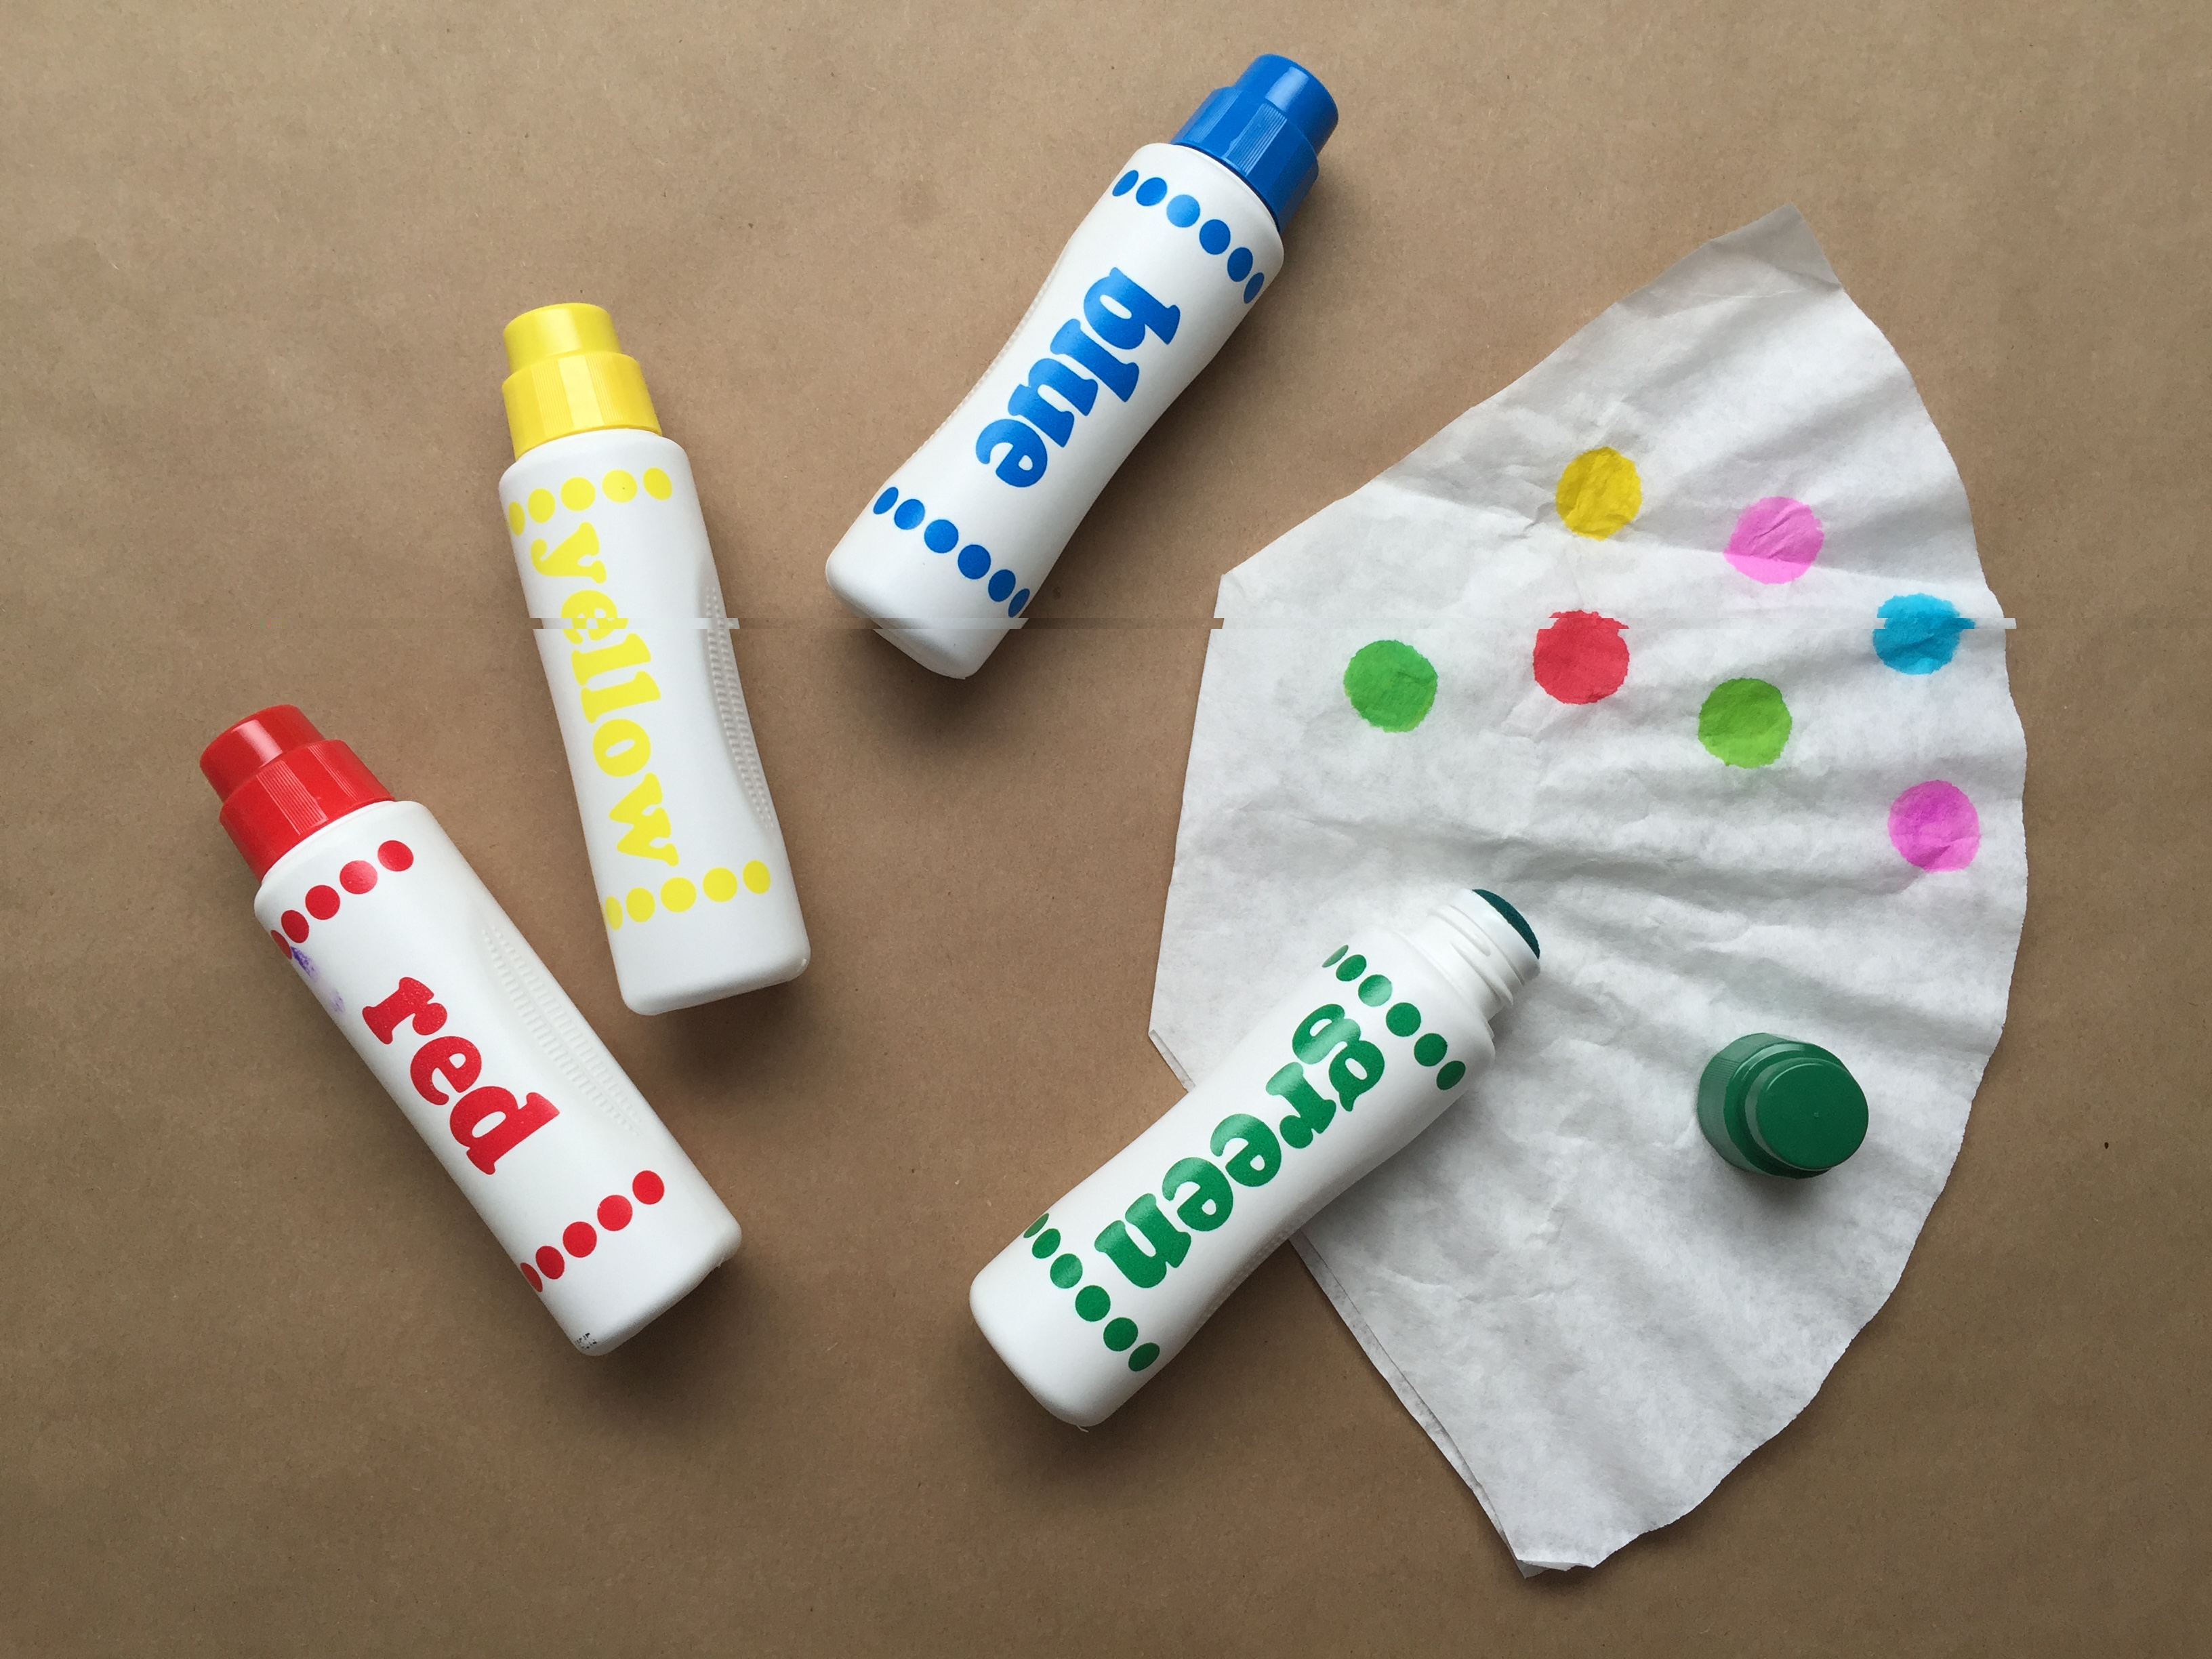
Tip
Hold the marker down on the coffee filter for a couple of seconds to let the color bleed to the other wing.
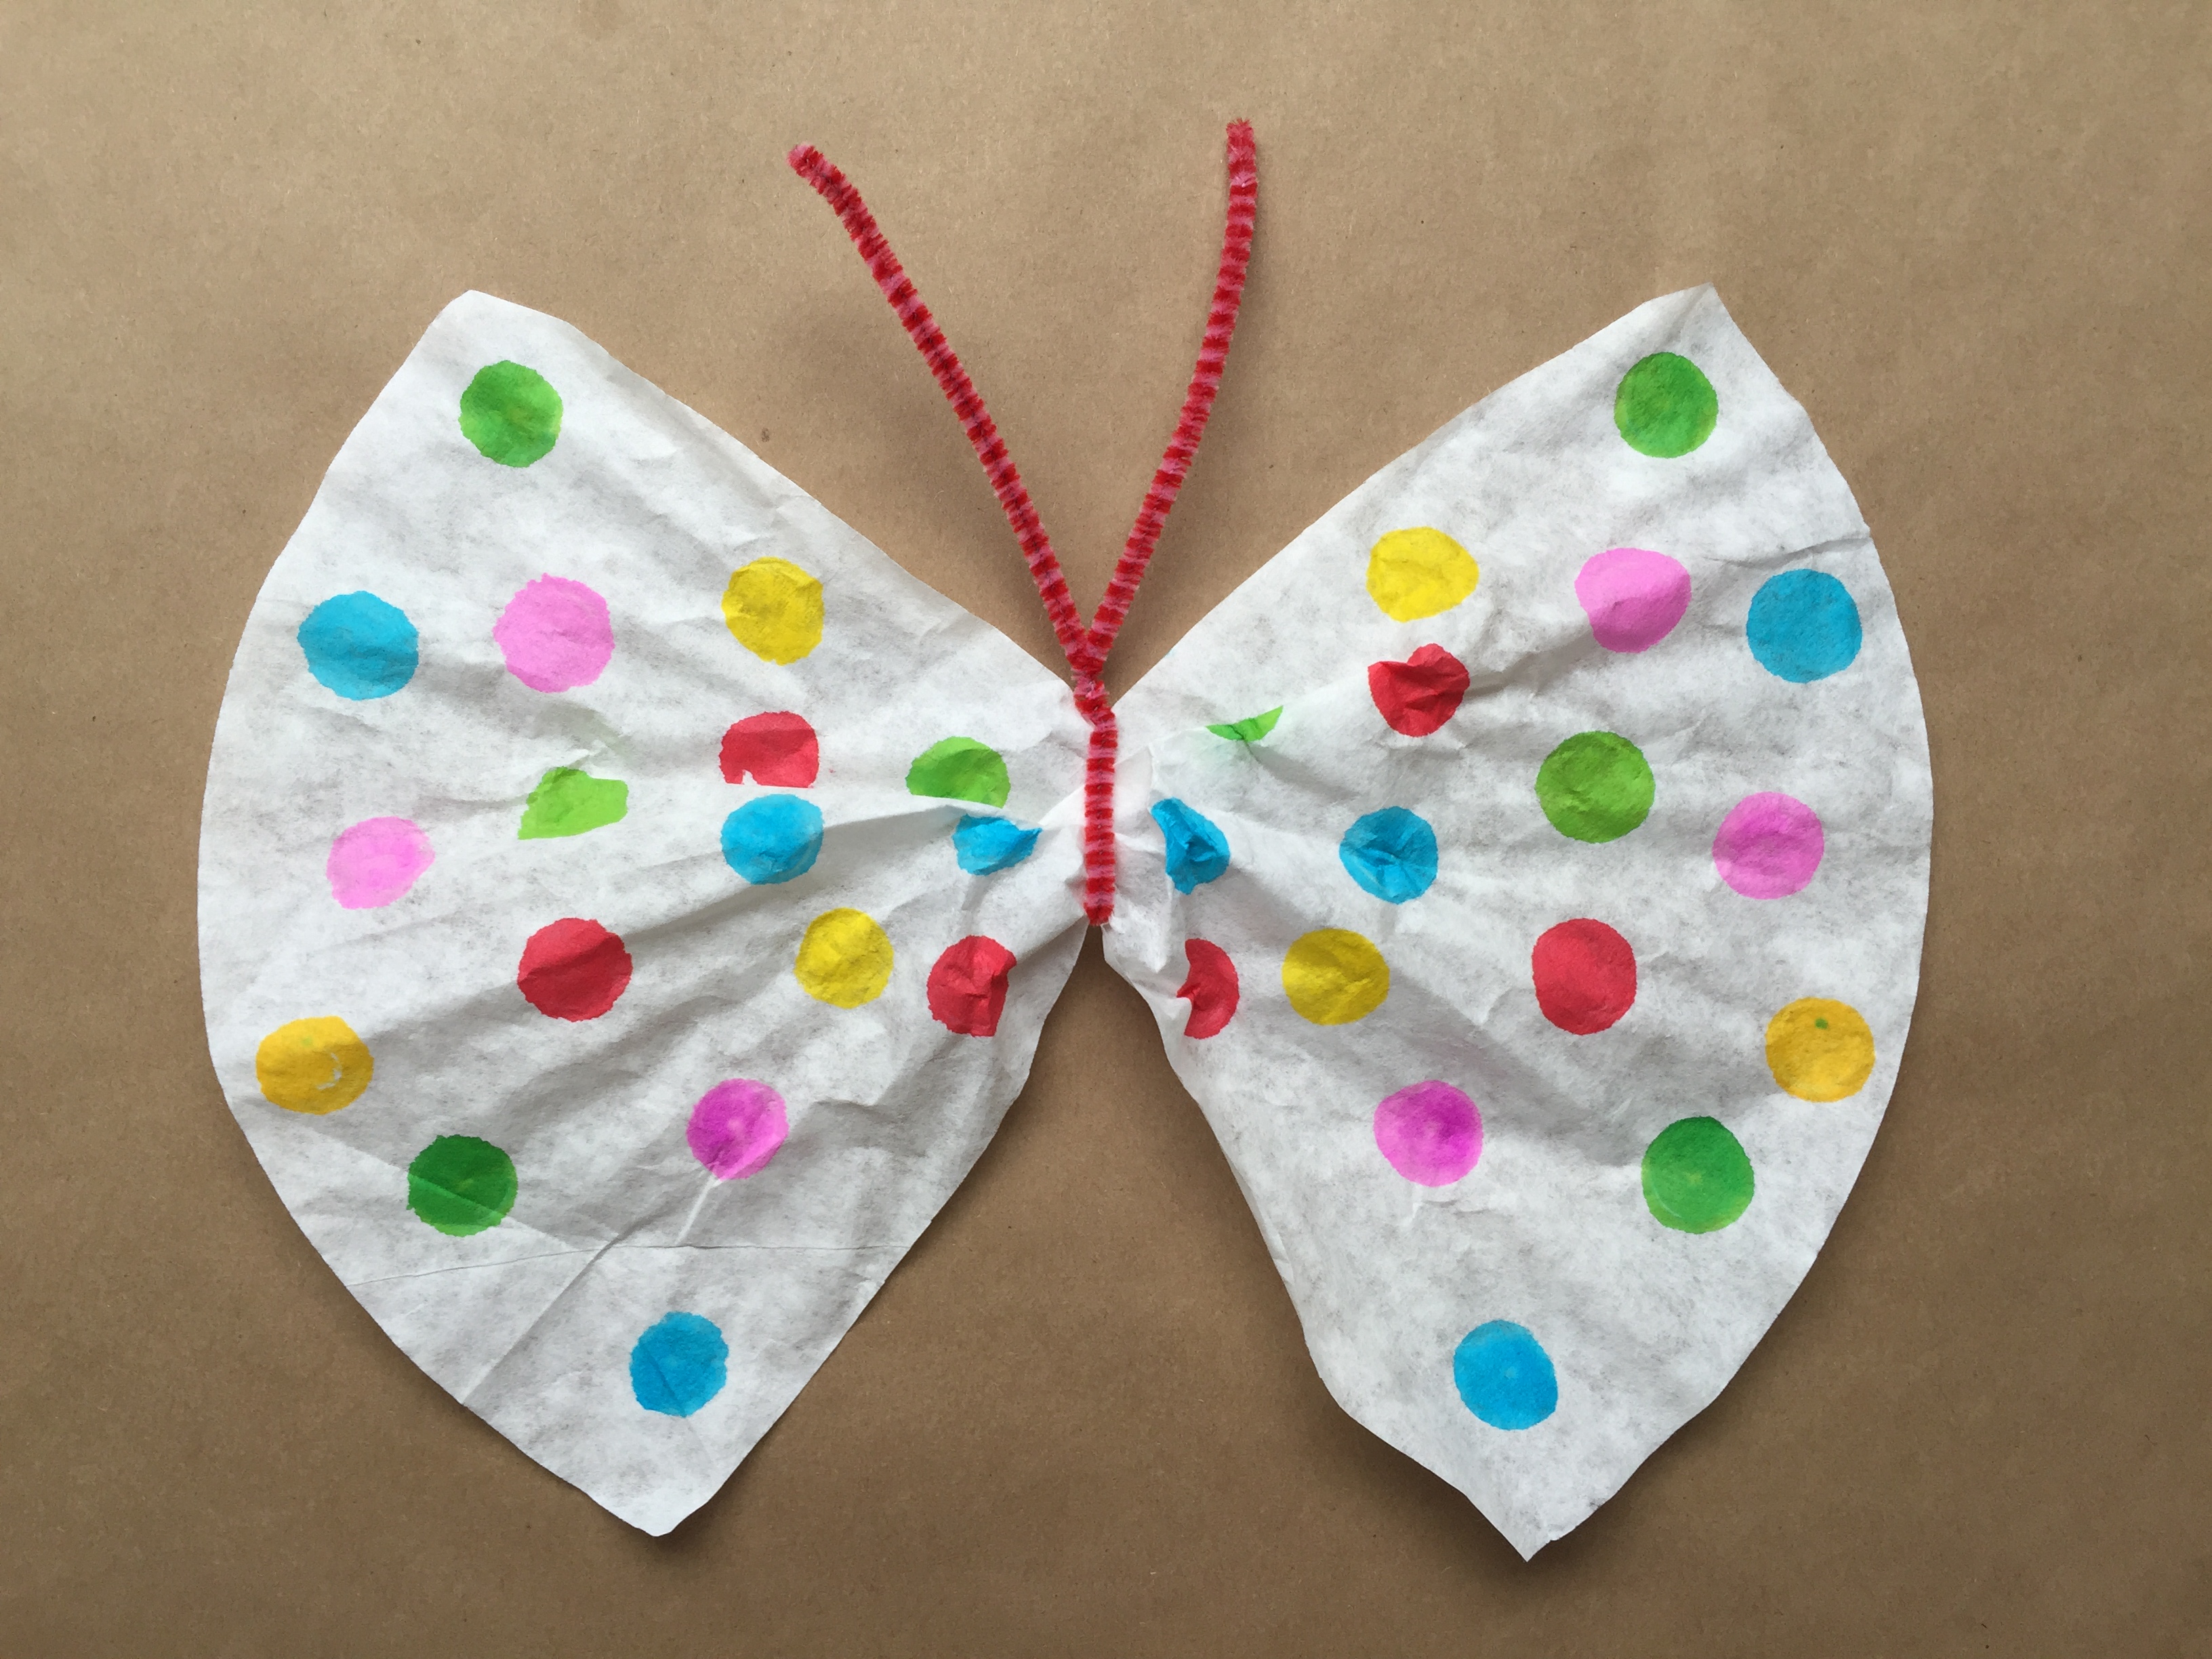
Step 4
Open up the butterfly to reveal a symmetrical design. Fold a pipe cleaner in half and twist it around the middle of the butterfly.
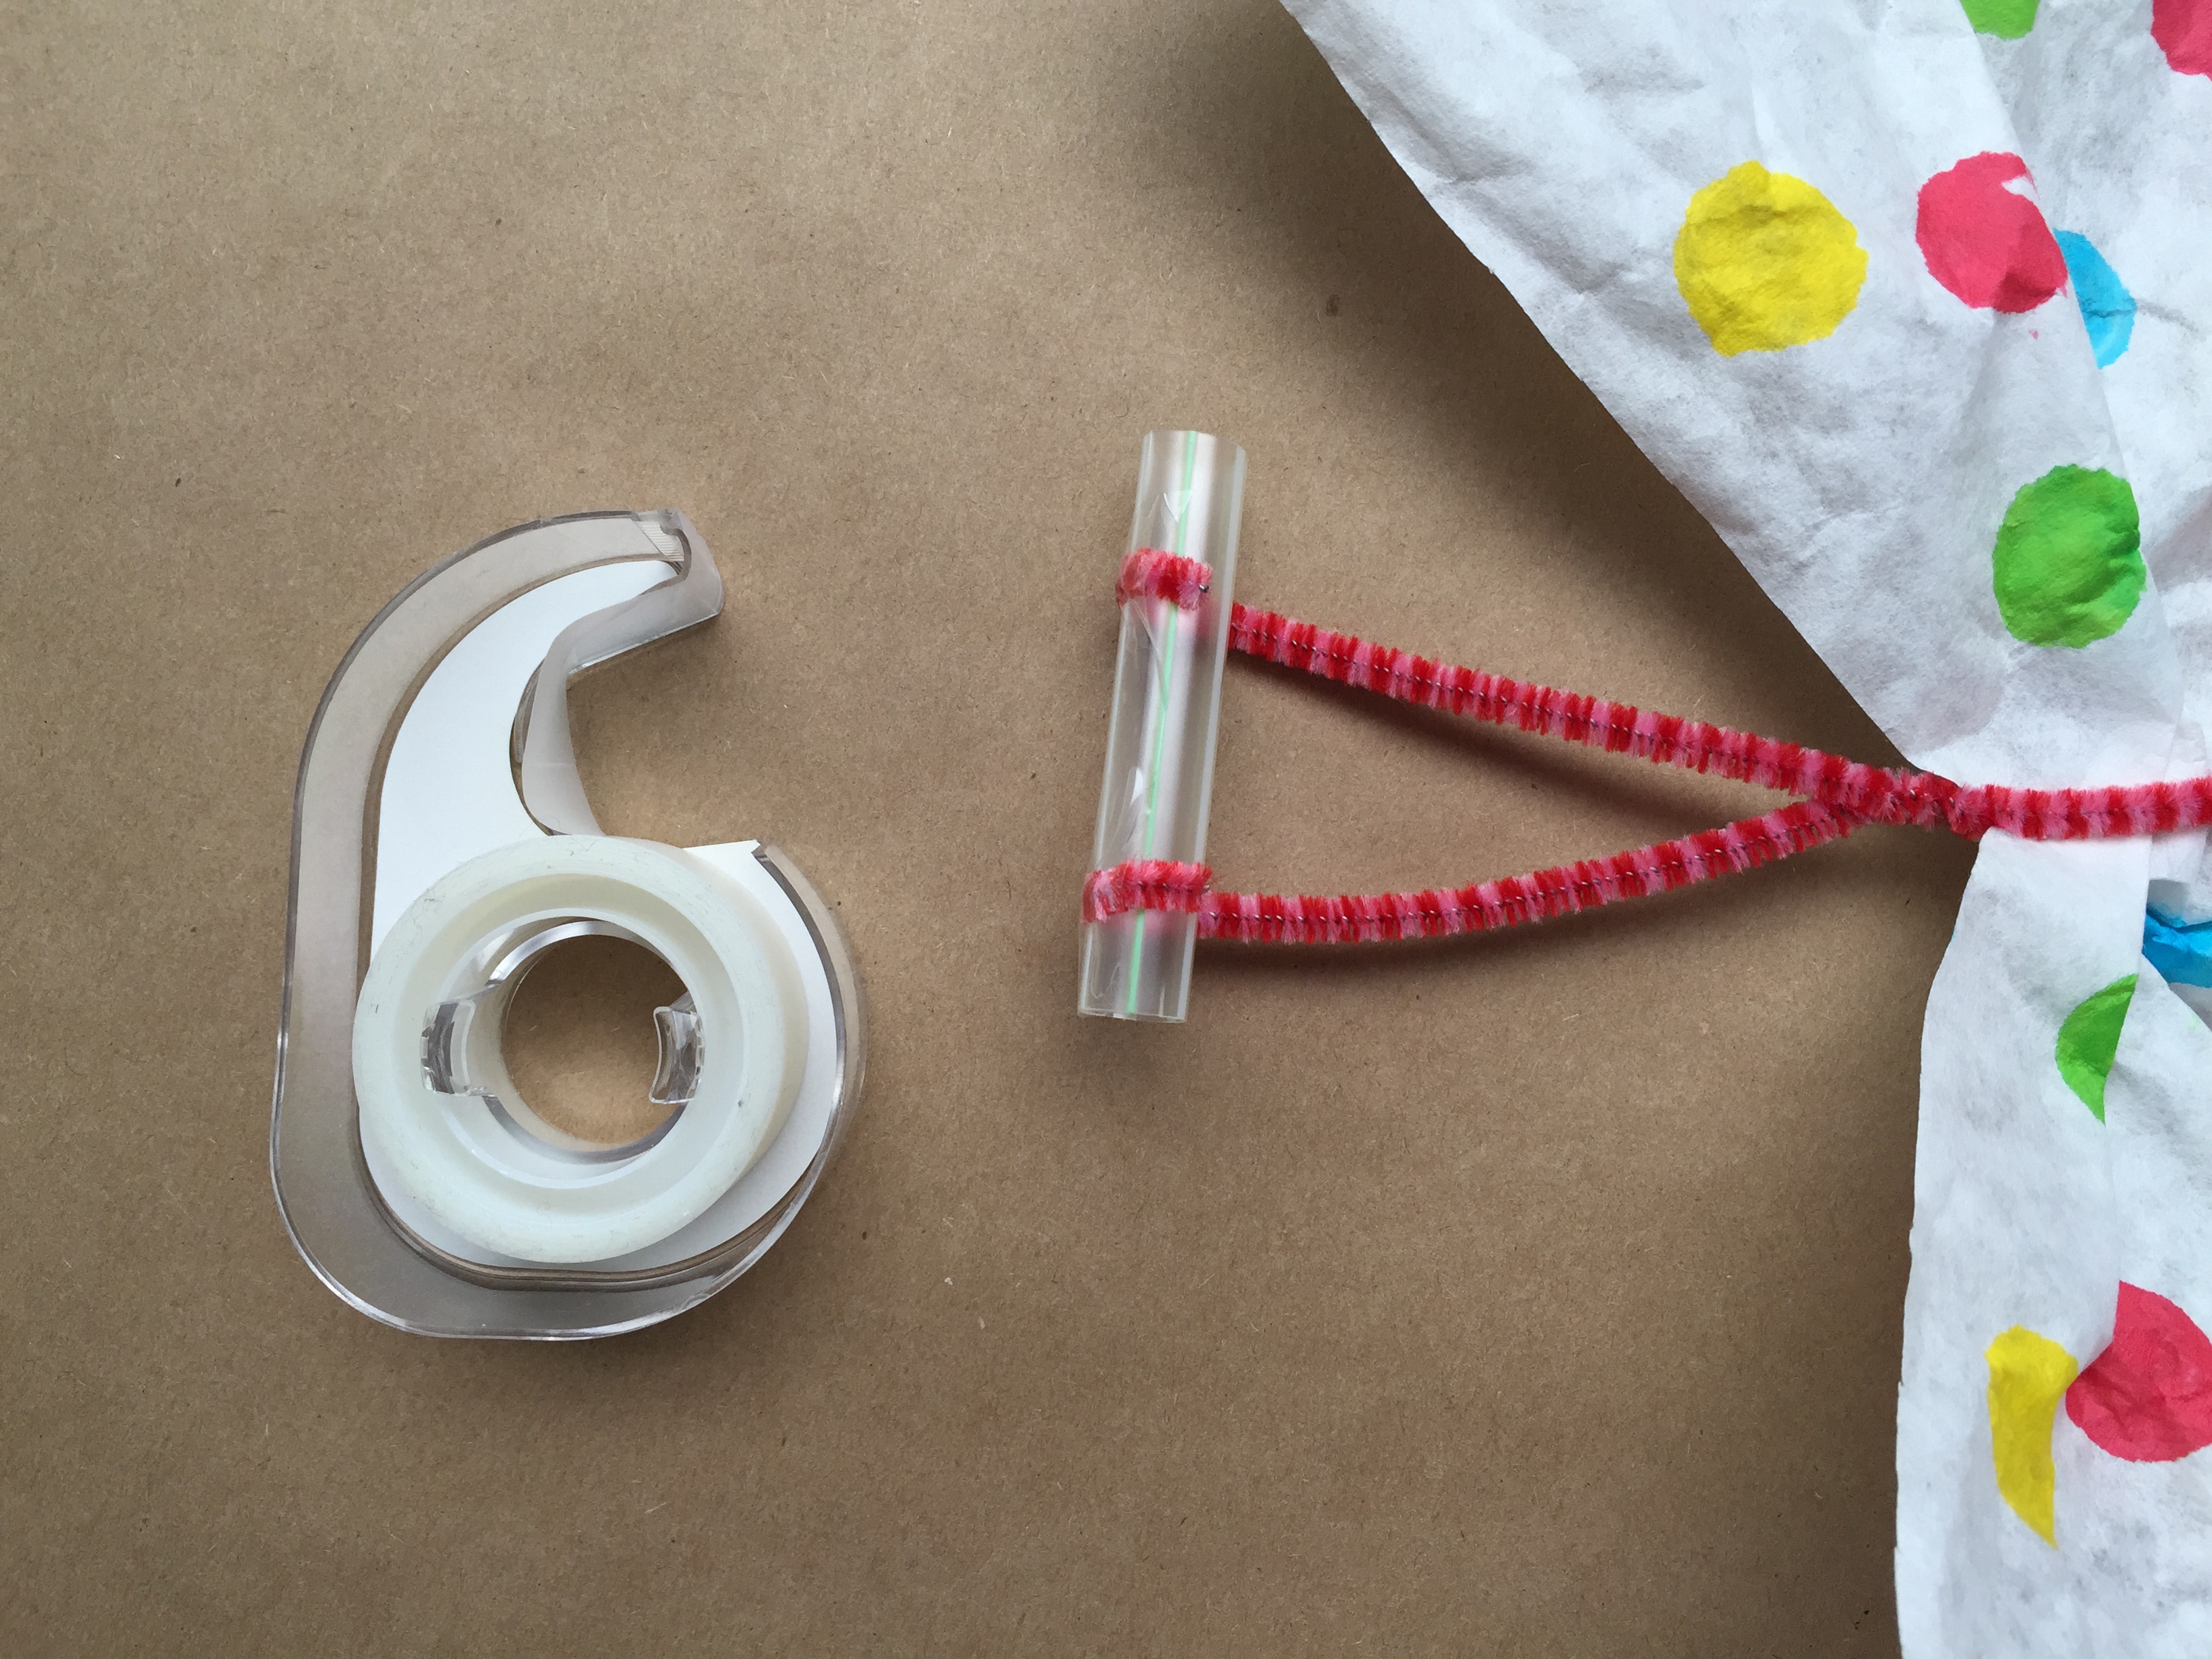
Step 5
Curl the ends of the pipe cleaner around a straw. Cut the straw to a length of about 3 inches (7.6 cm). Tape the pipe cleaner in place.
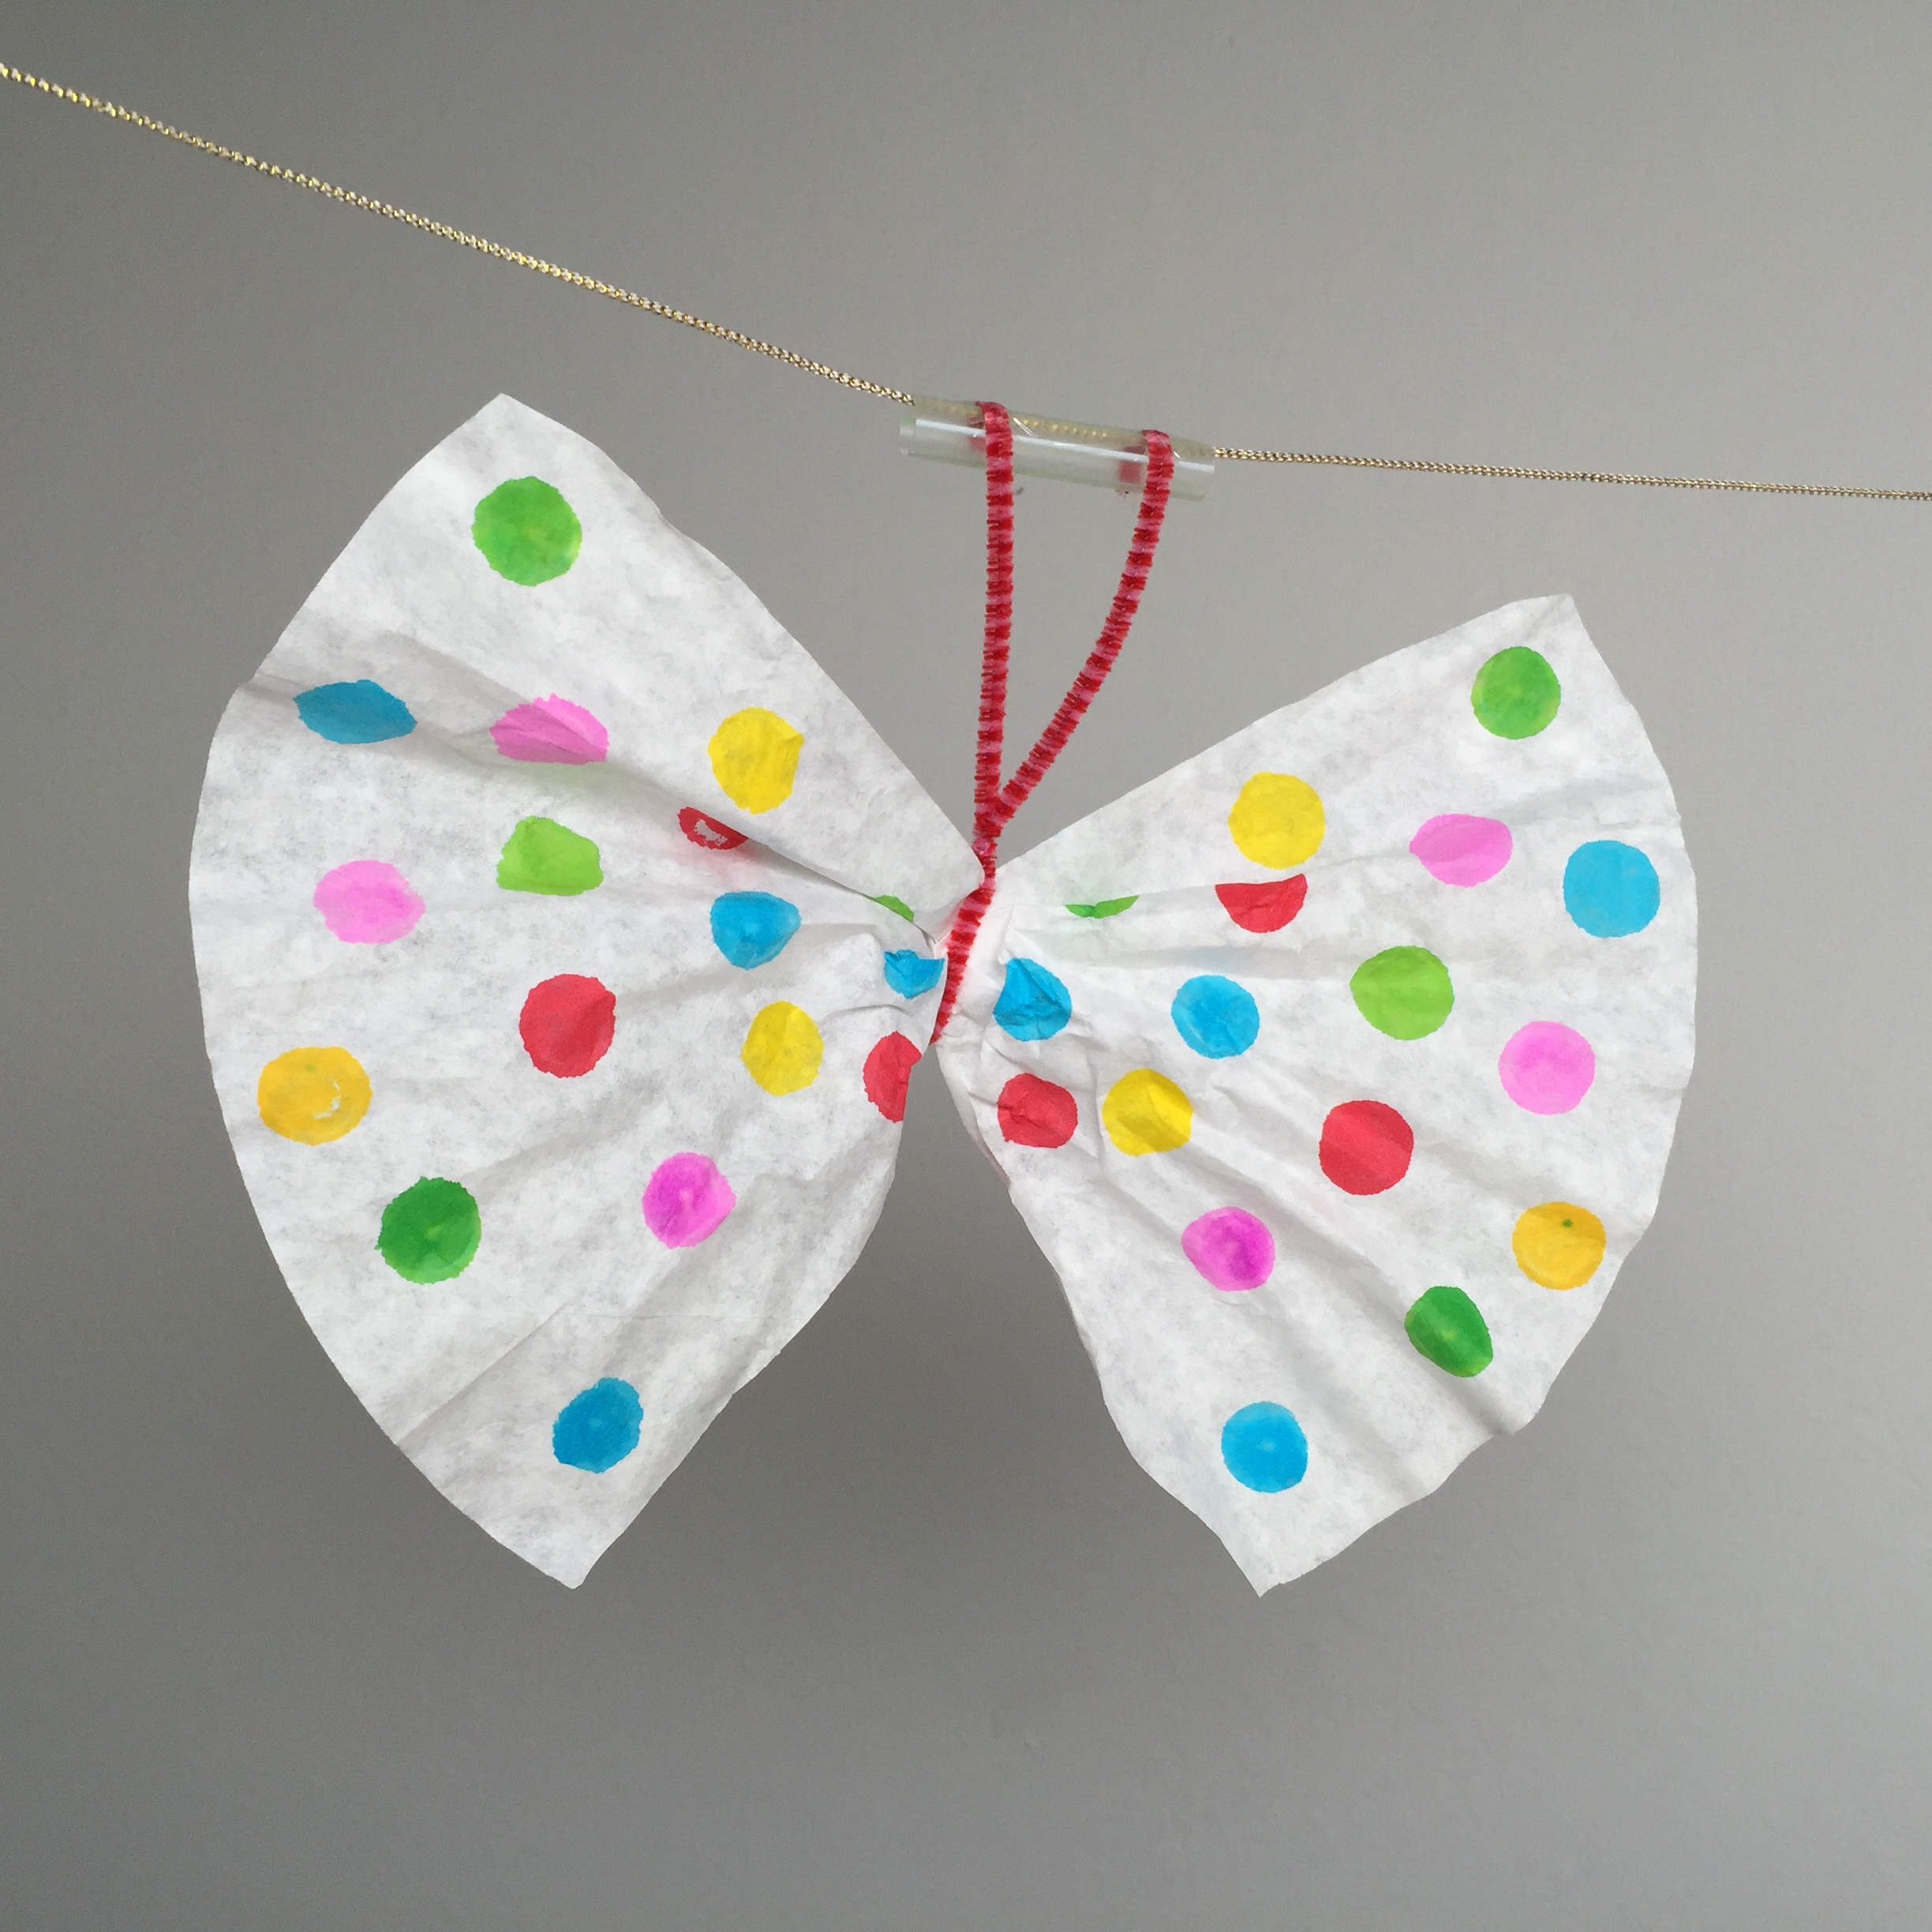
Step 6
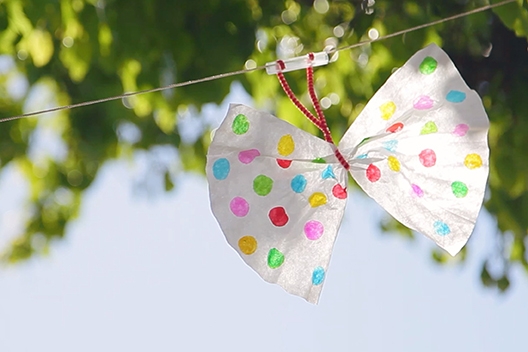
Thread the straw through a piece of string. Hold each end of the string and move each one to make your butterfly flutter!
Tip
To make your butterfly move even farther, cut a long piece of string and find a friend to play with. Each of you can hold an end and move it up or down to make the butterfly move.