Step-by-step tutorial
Step 1
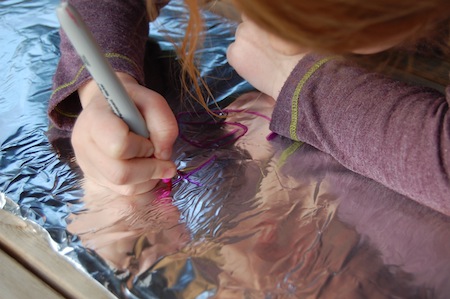
I covered a few pieces of cardboard with foil and brought out Sharpies and paint to see which one she liked best. We were both so enamored with the shiny surface of the foil! At first, she took the Sharpies to the surface. She doodled for a few minutes and was quite impressed with the result. But as always in our house, the paints beckoned, so we set the Sharpie board aside (for now) and moved on to the paints. Based on some suggestions I'd seen on Pinterest, I added a bit of dishwashing soap to the paints (apparently meant to help the paint stick to the foil and not flake after. Seemed to work well.)

Step 2
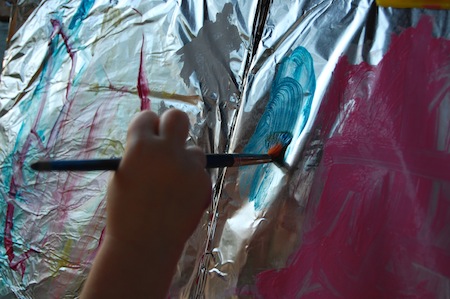
My daughter had a great time just swirling the paints around, mixing them in her palette and on the foil. The shiny surface was really fun for her to interact with, and it was neat to observe how the paint looked different on foil than it usually does on paper.
Done!
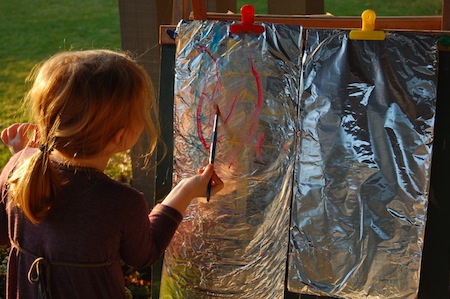
She really got into character, alternating between Claude Monet and Fancy Nancy (what a combo, that one!), singing and dancing as she painted. The new medium was a real delight - for her to experience and for me to watch!