Step-by-step tutorial
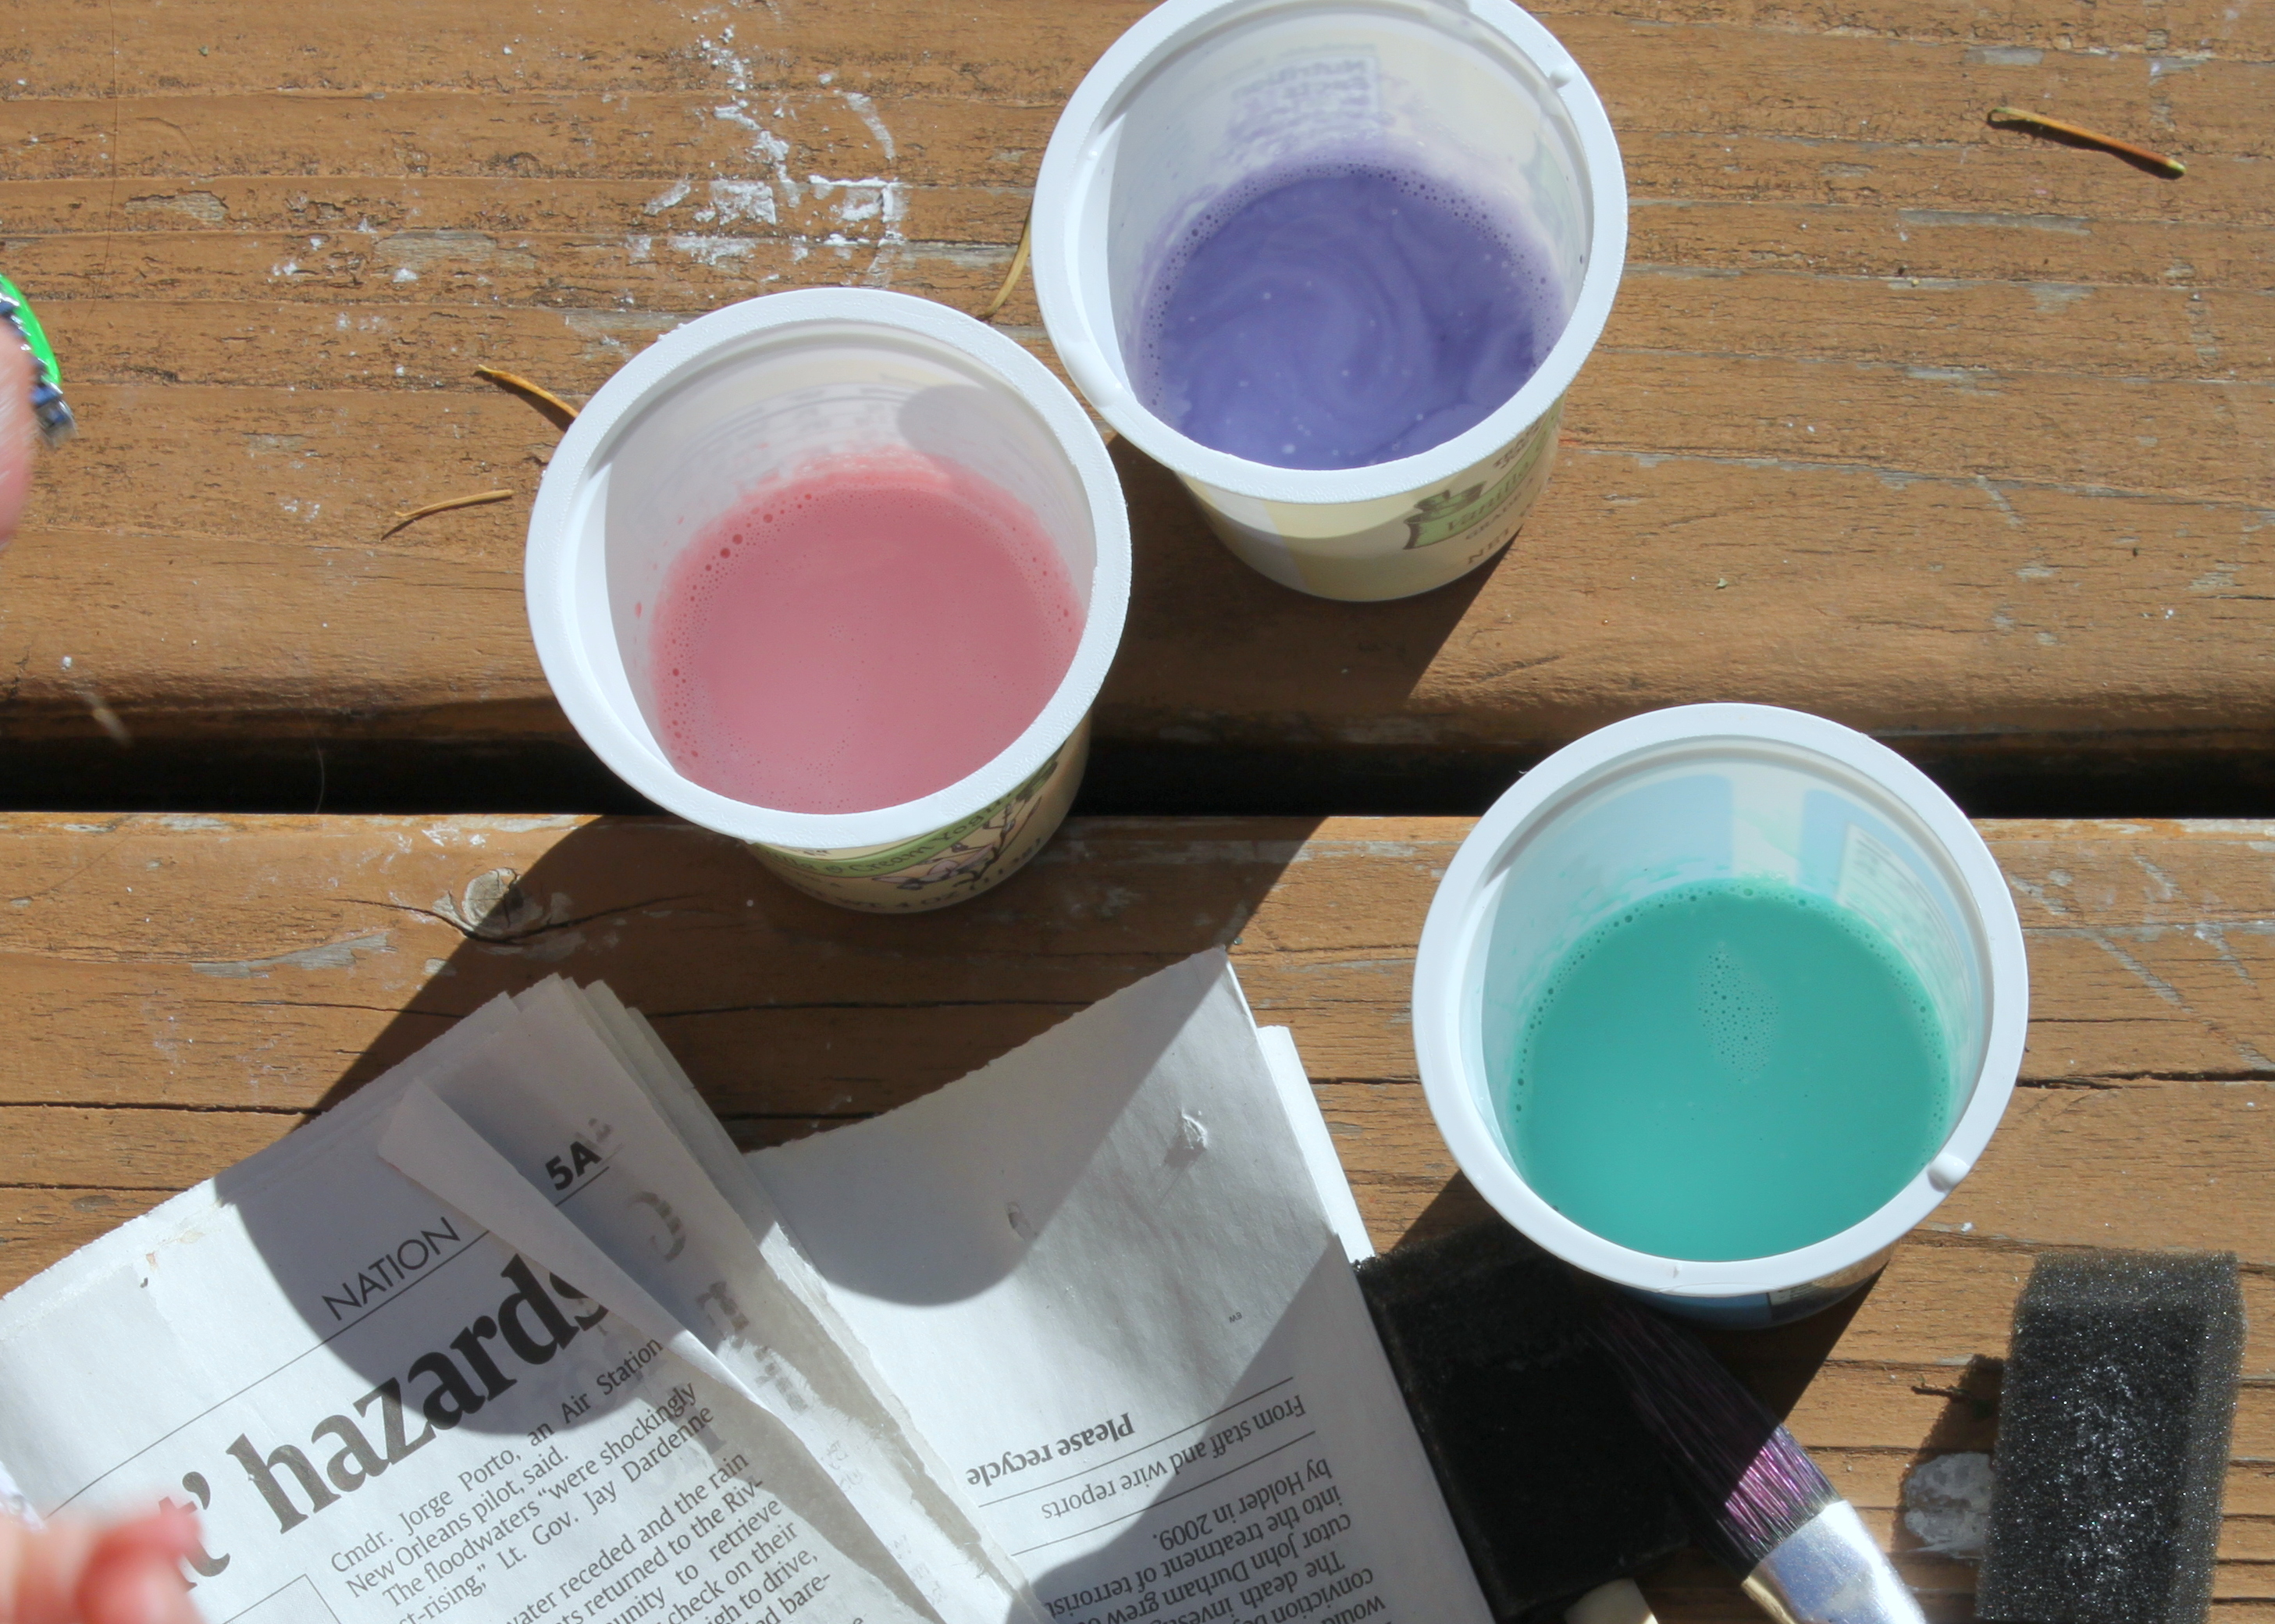
Step 1
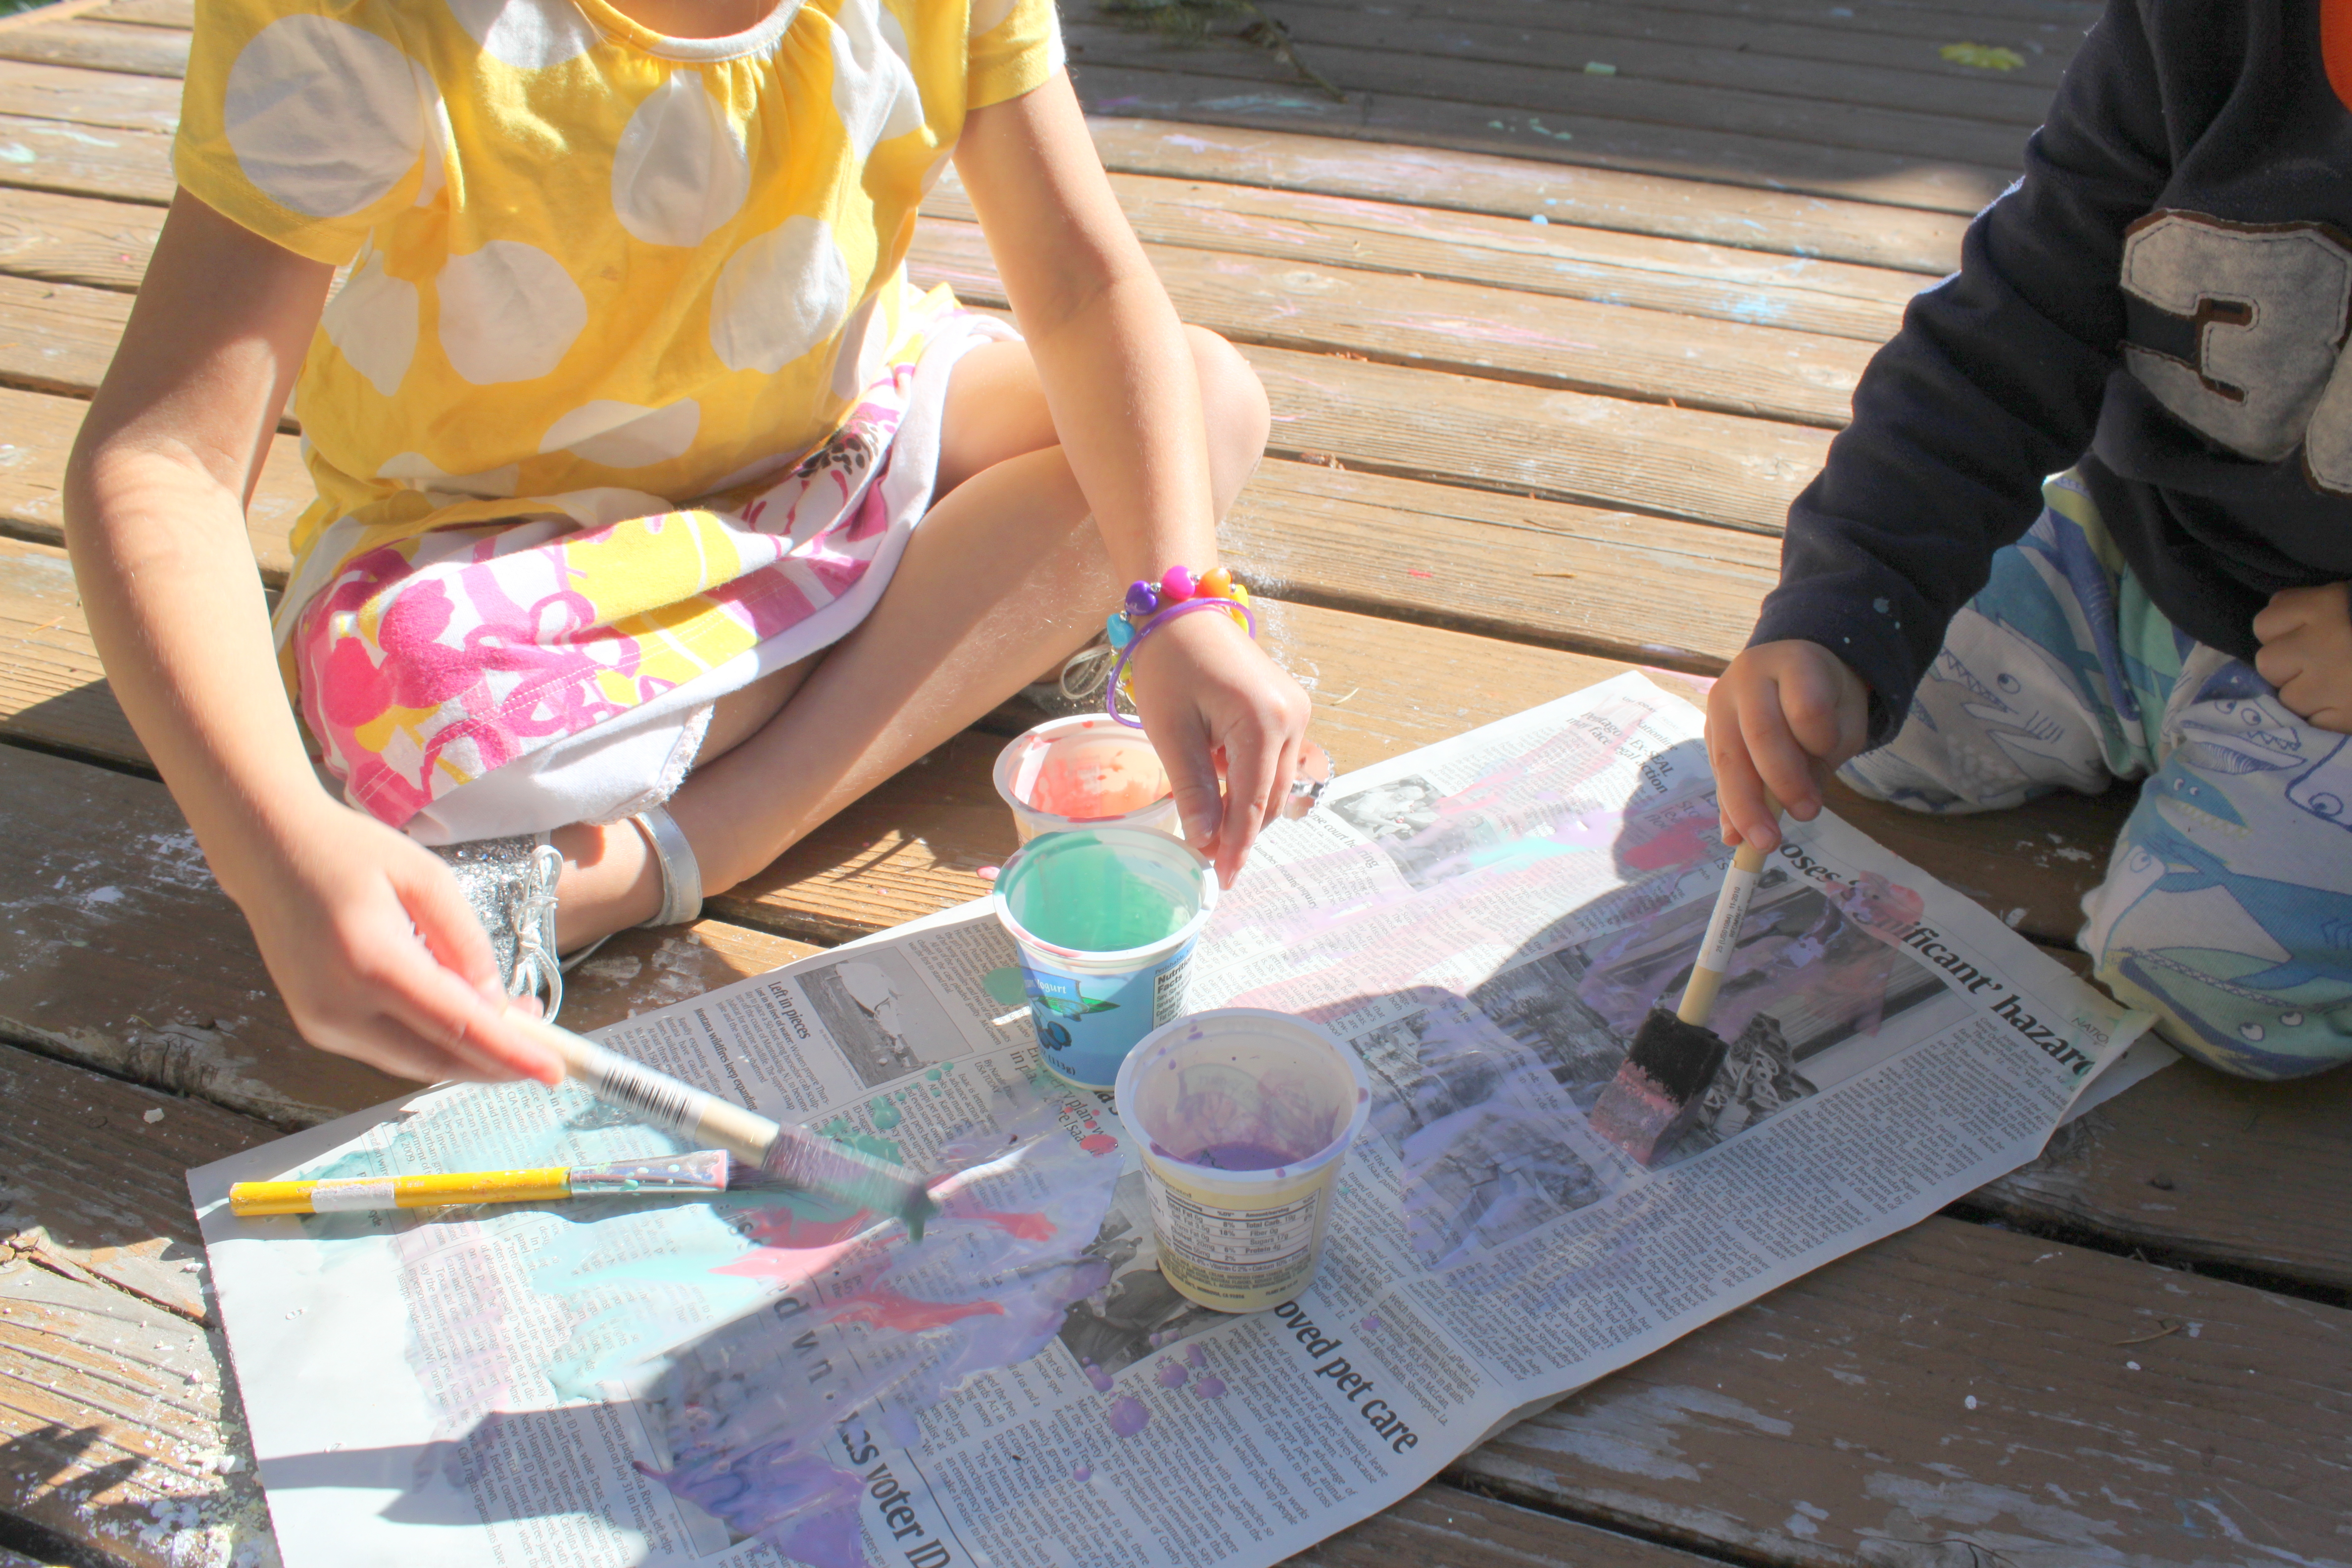
I mixed equal parts of glue and water and colored it with liquid water colors (food coloring works great too.)

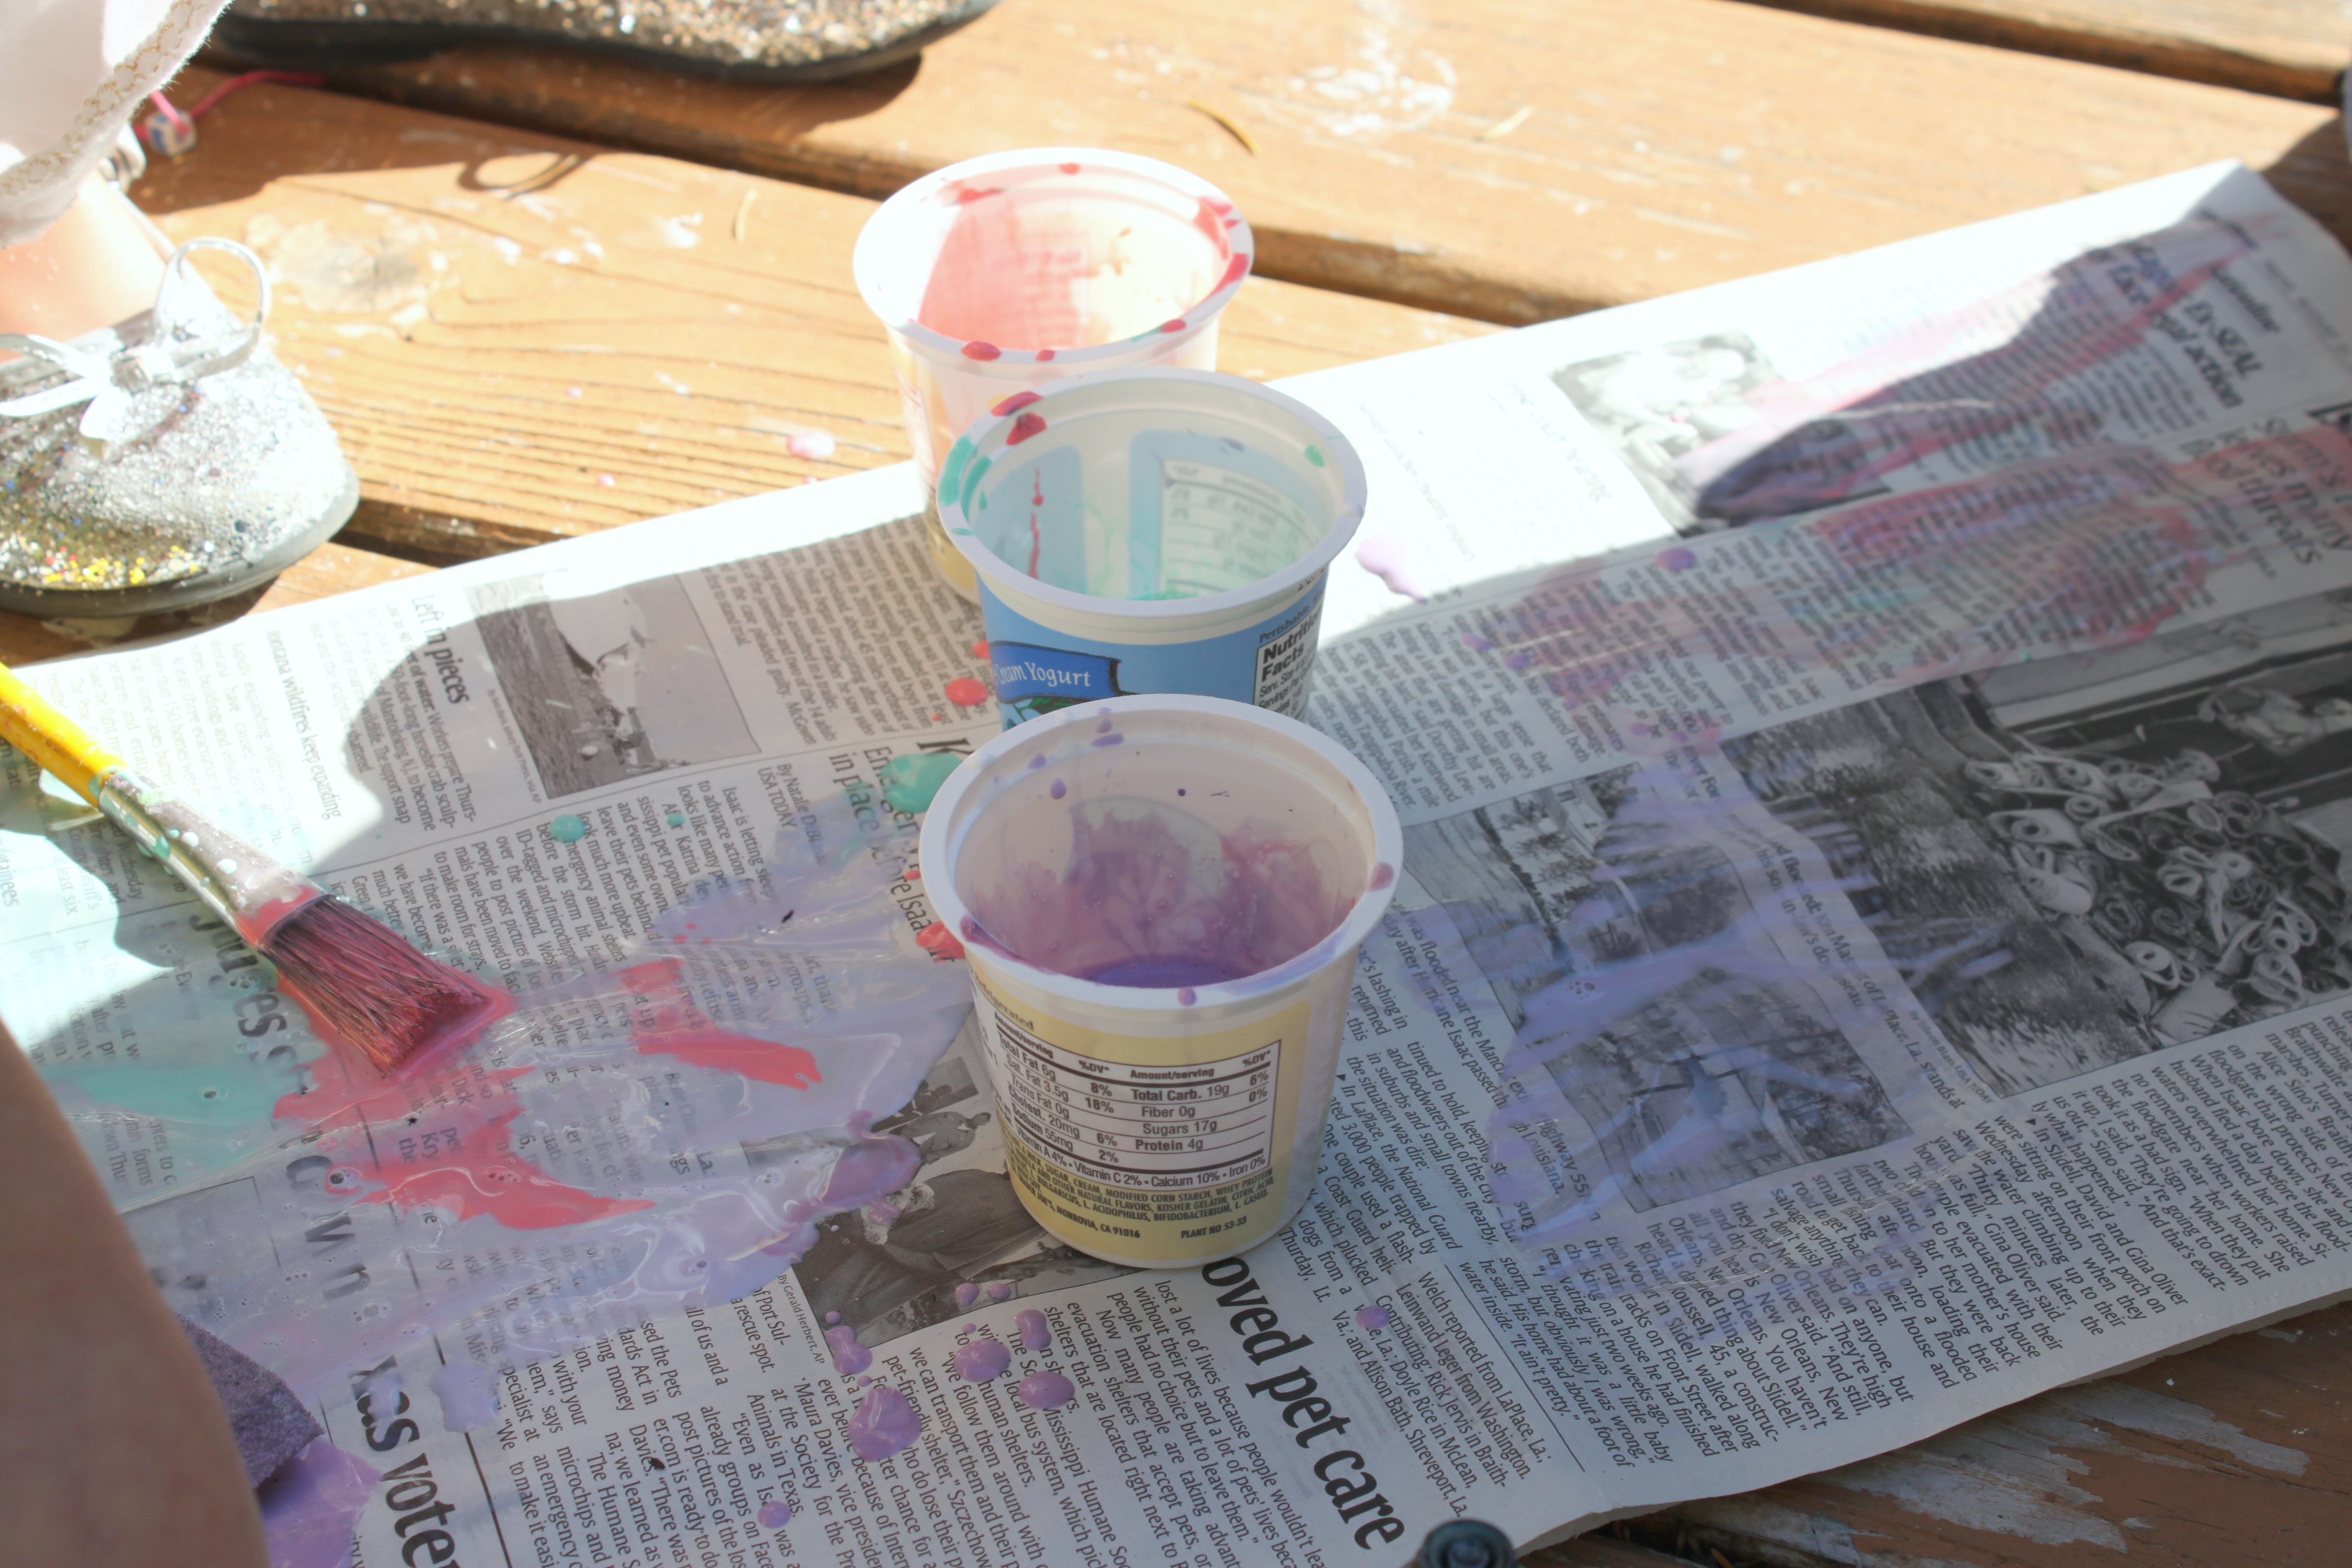
Step 2
Using foam brushes, the kids got to work painting the newspaper. I kept the newspaper two sheets thick since my two-year-old loved getting the paper completely soaked with our glue mixture. It worked out perfectly to make a nice sturdy flower. After they were done (or the glue was gone) we laid the paper in the sun to dry.
Step 3
Using foam brushes, the kids got to work painting the newspaper. I kept the newspaper two sheets thick since my two-year-old loved getting the paper completely soaked with our glue mixture. It worked out perfectly to make a nice sturdy flower. After they were done (or the glue was gone) we laid the paper in the sun to dry.
Step 4
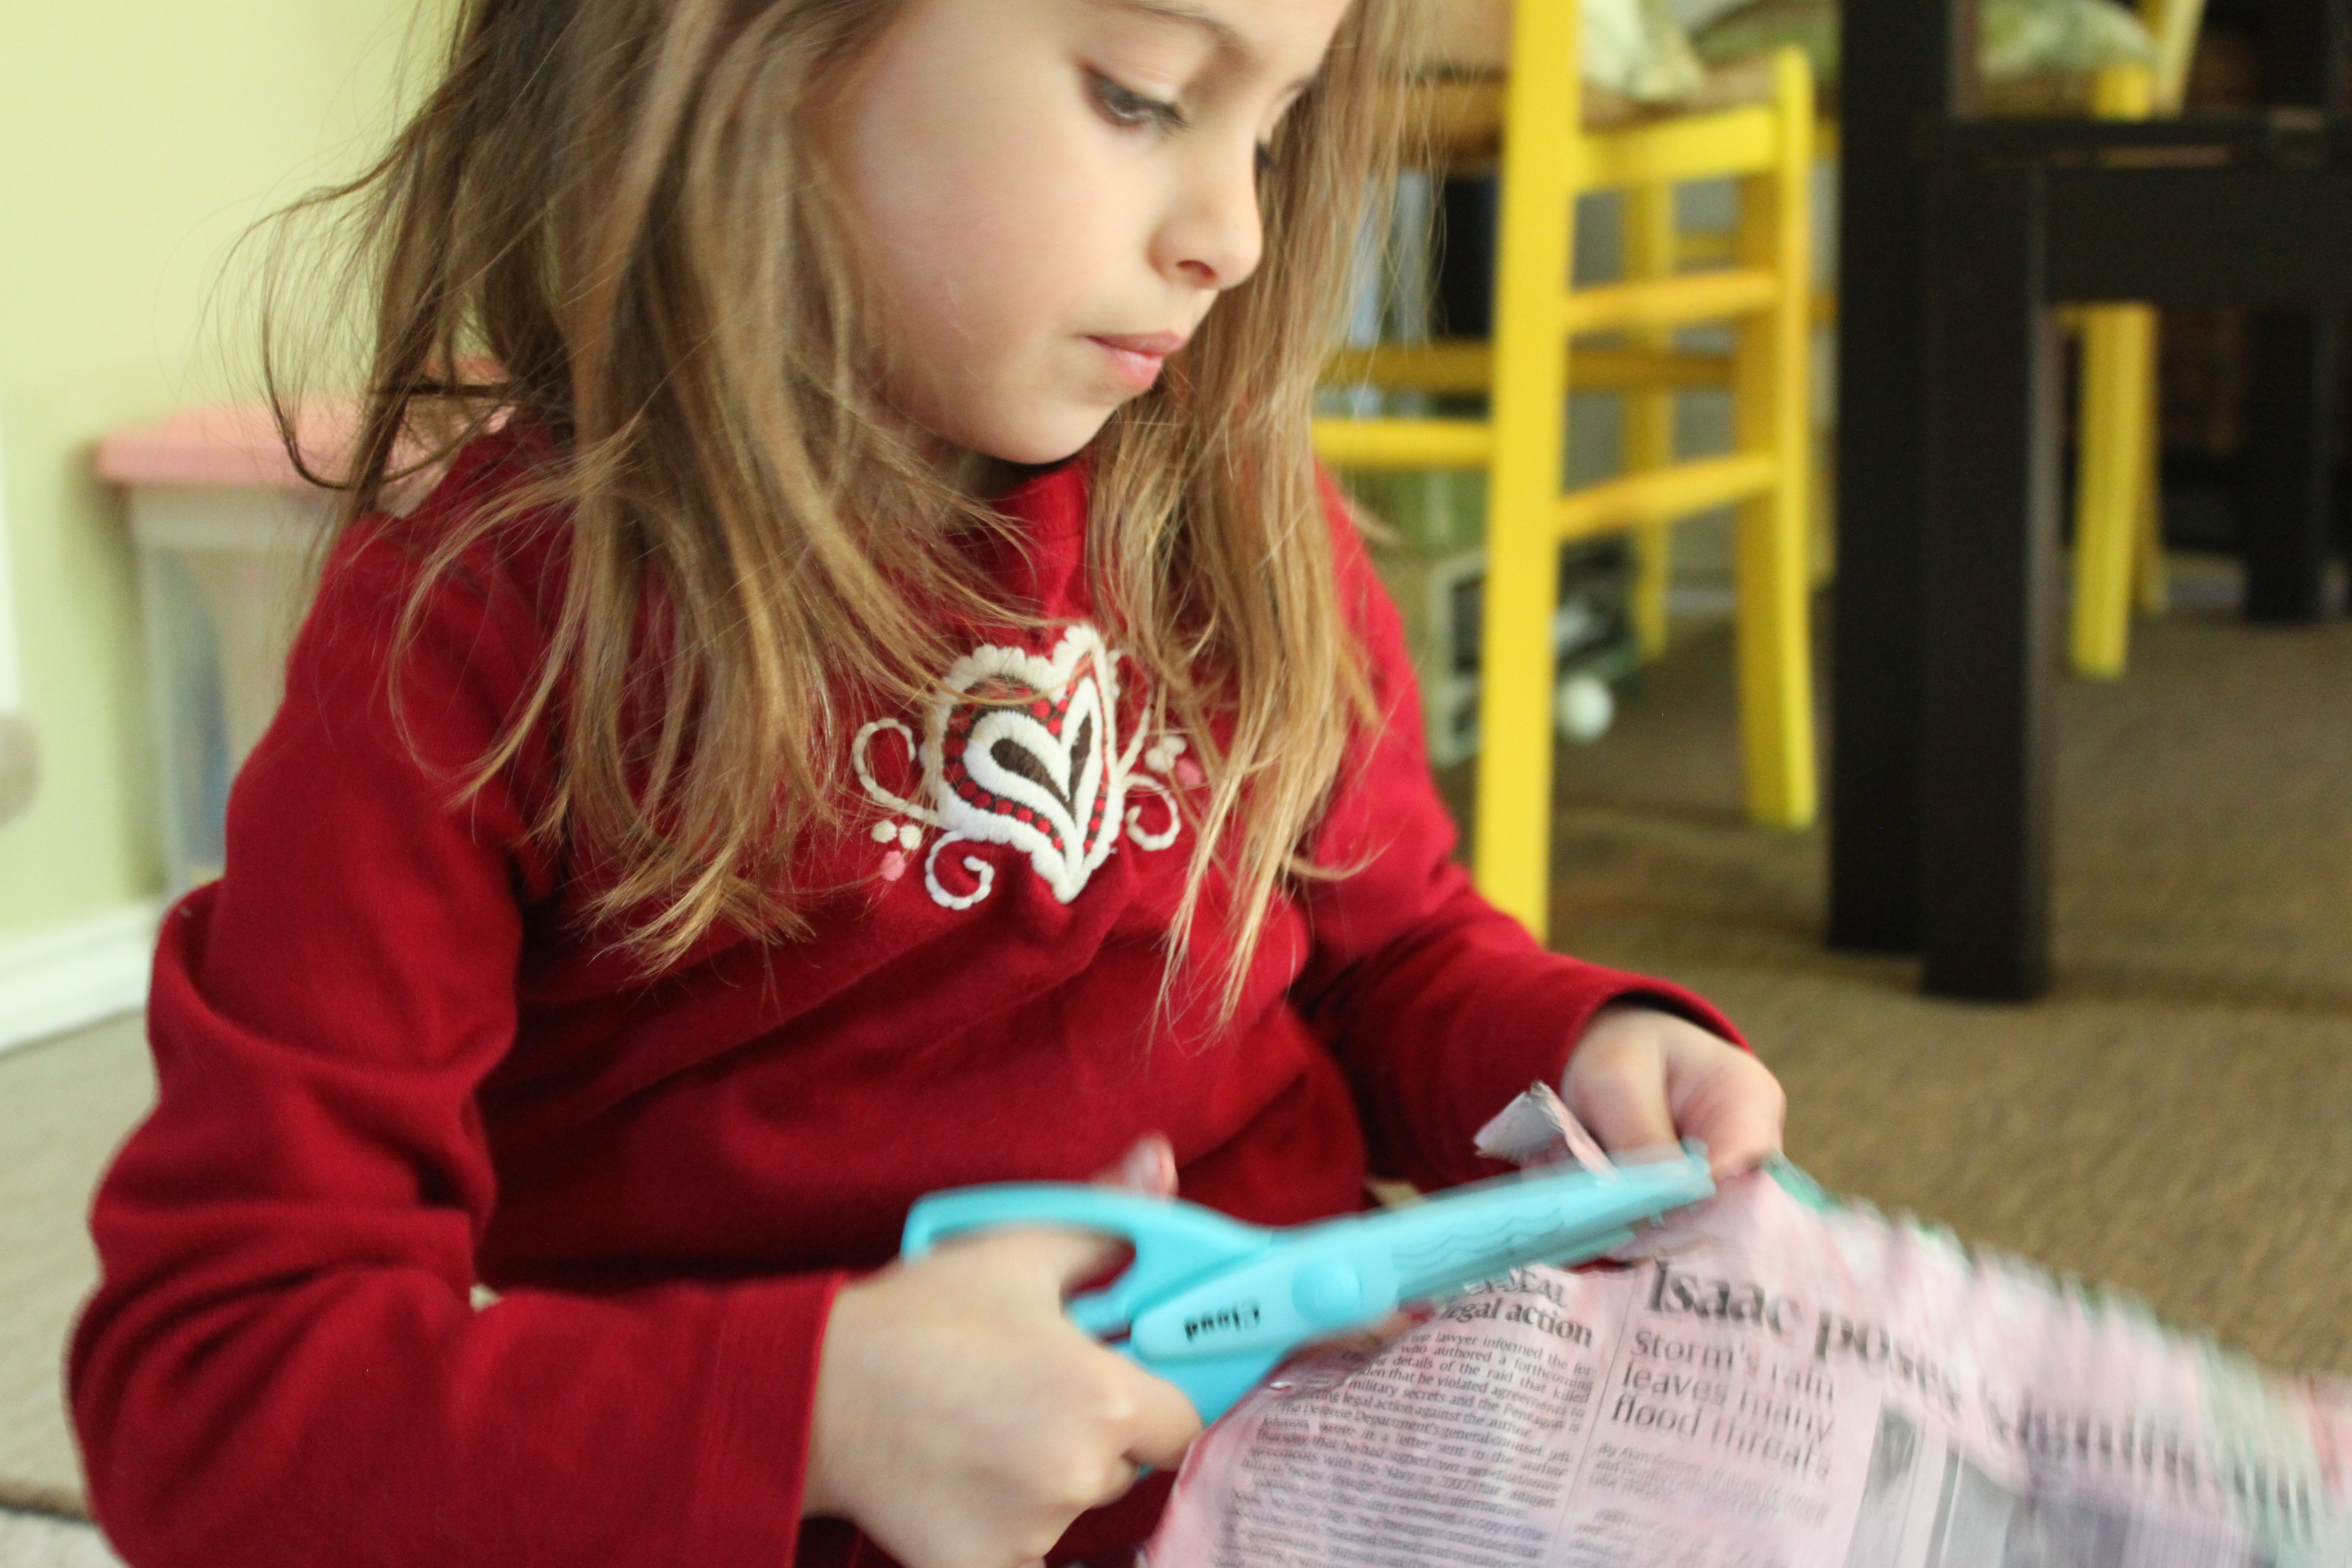
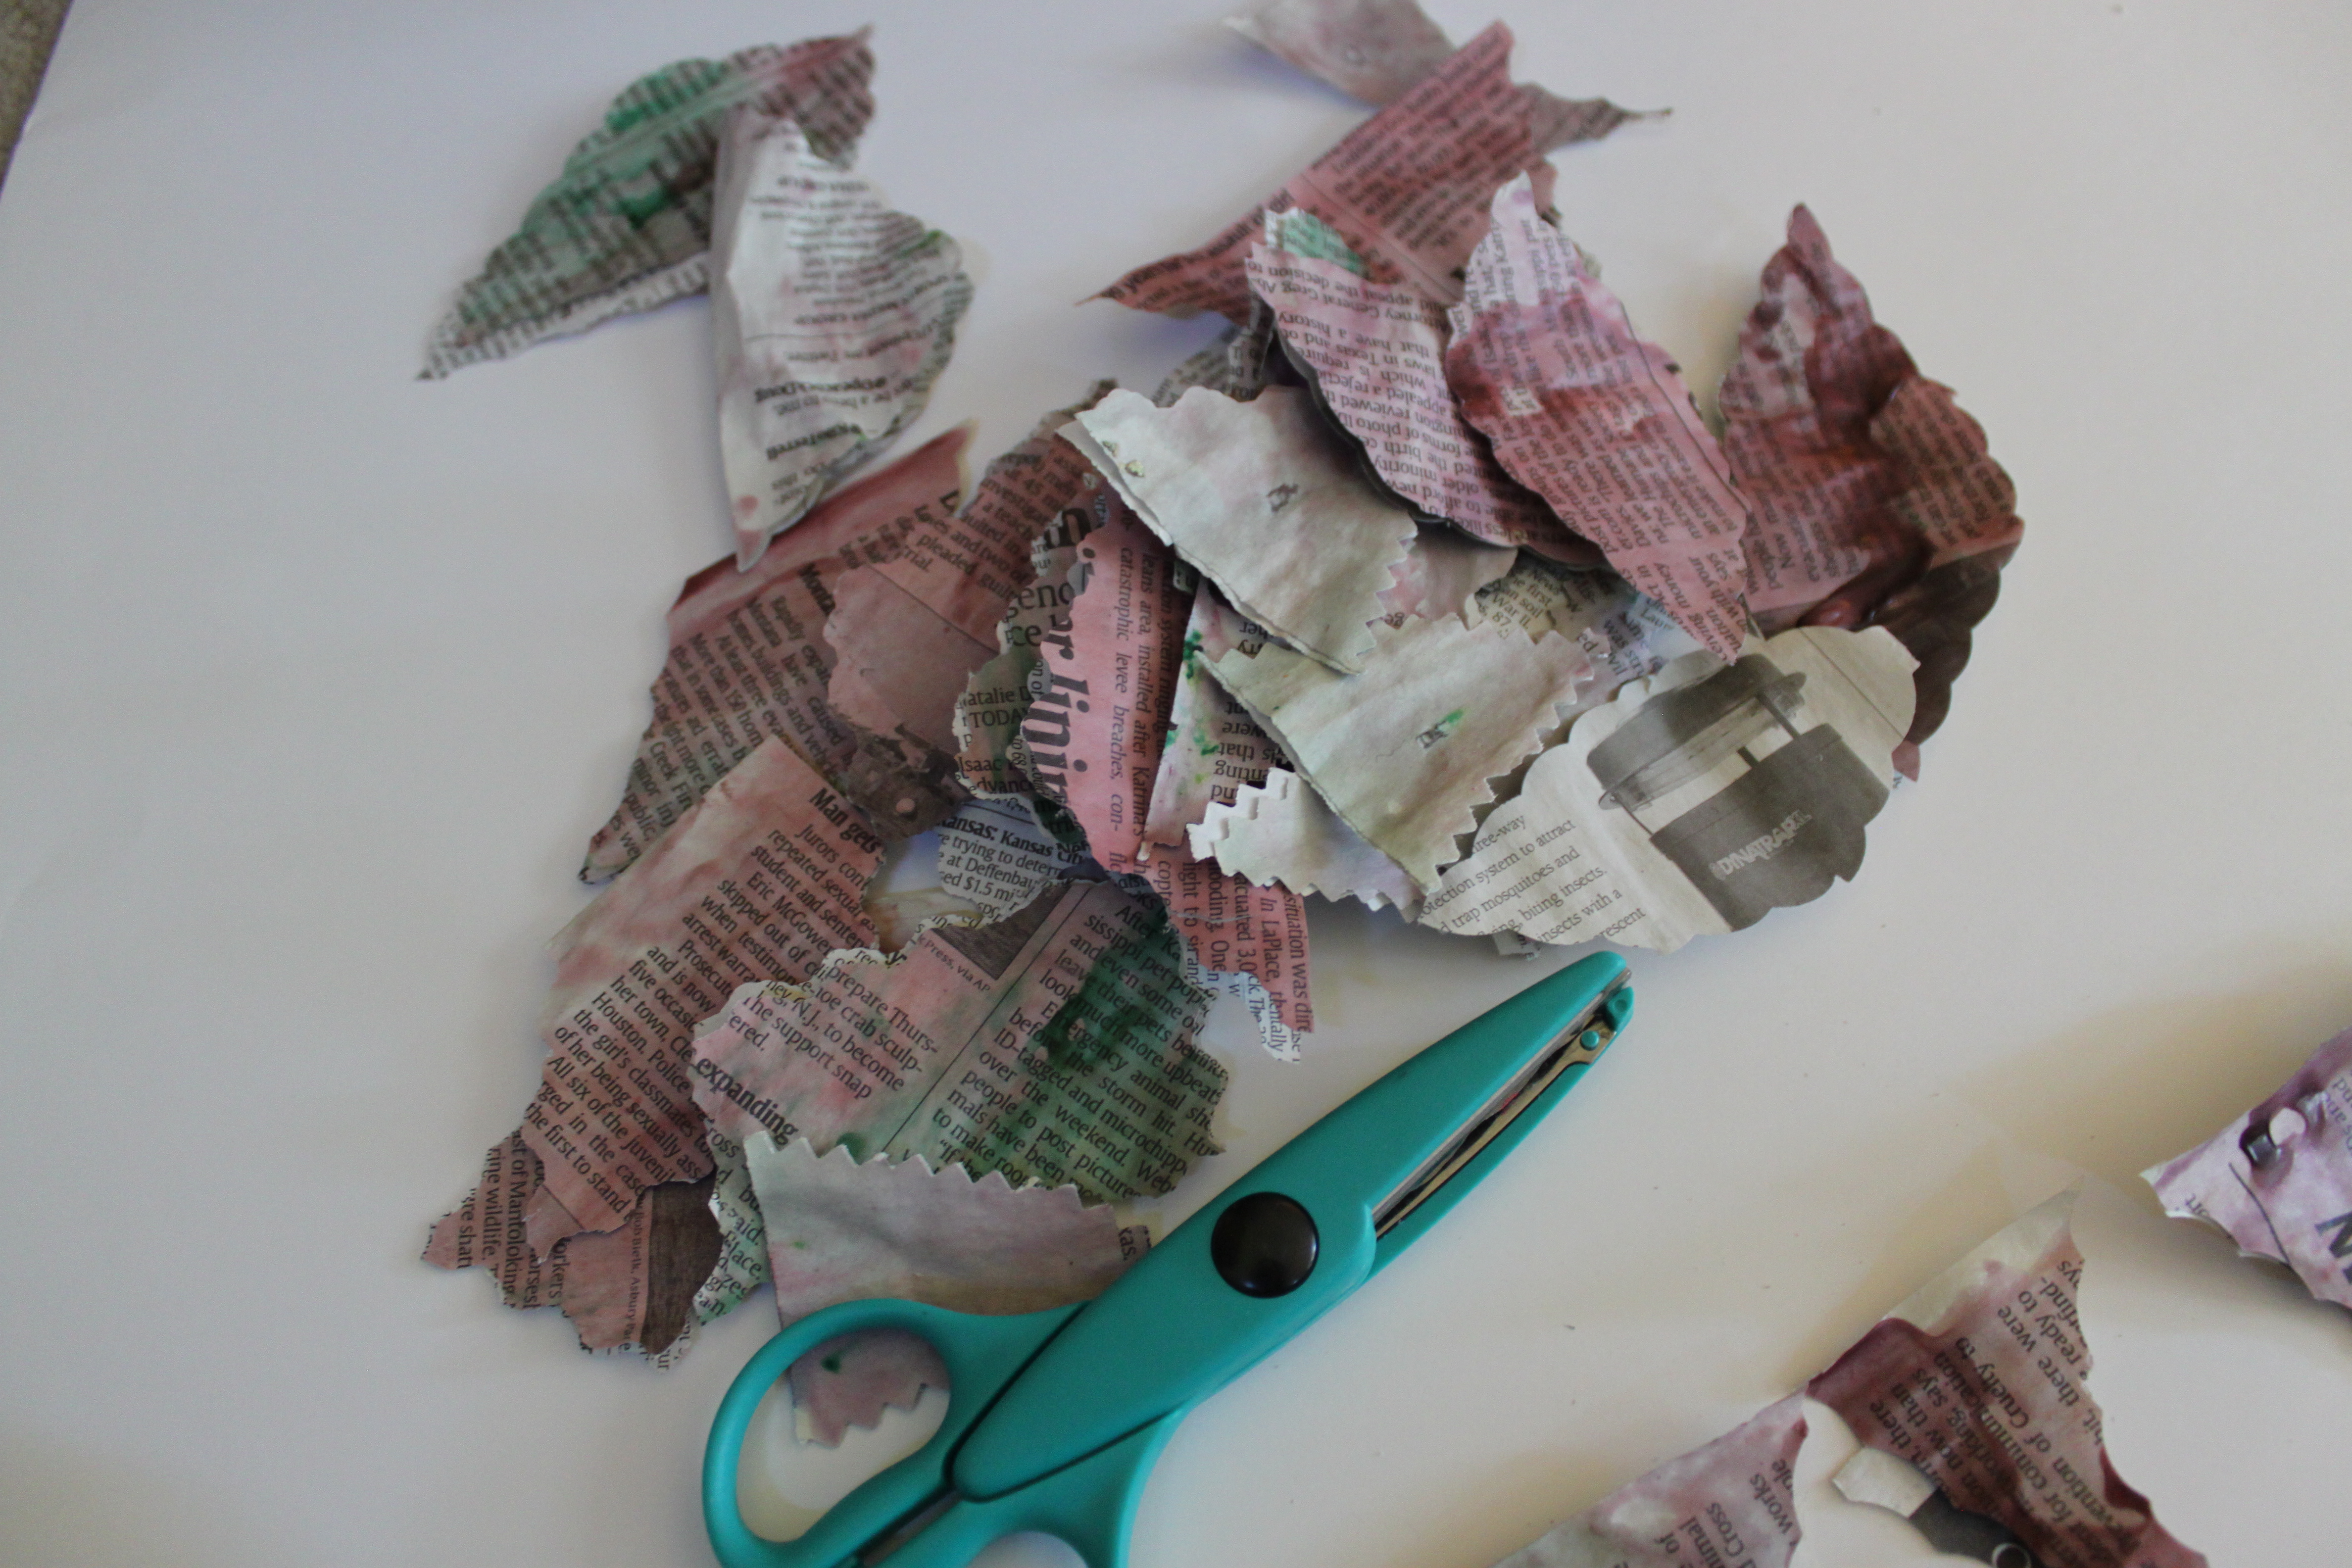
Once totally dry, we started cutting different shapes for flower petals. My daughter loves using fancy scissors and this was a perfect opportunity to do so.
Step 5
Our pretty petals were all ready to become a flower. The kids picked out their favorite petals to use, also known as the most colorful ones.
Step 6
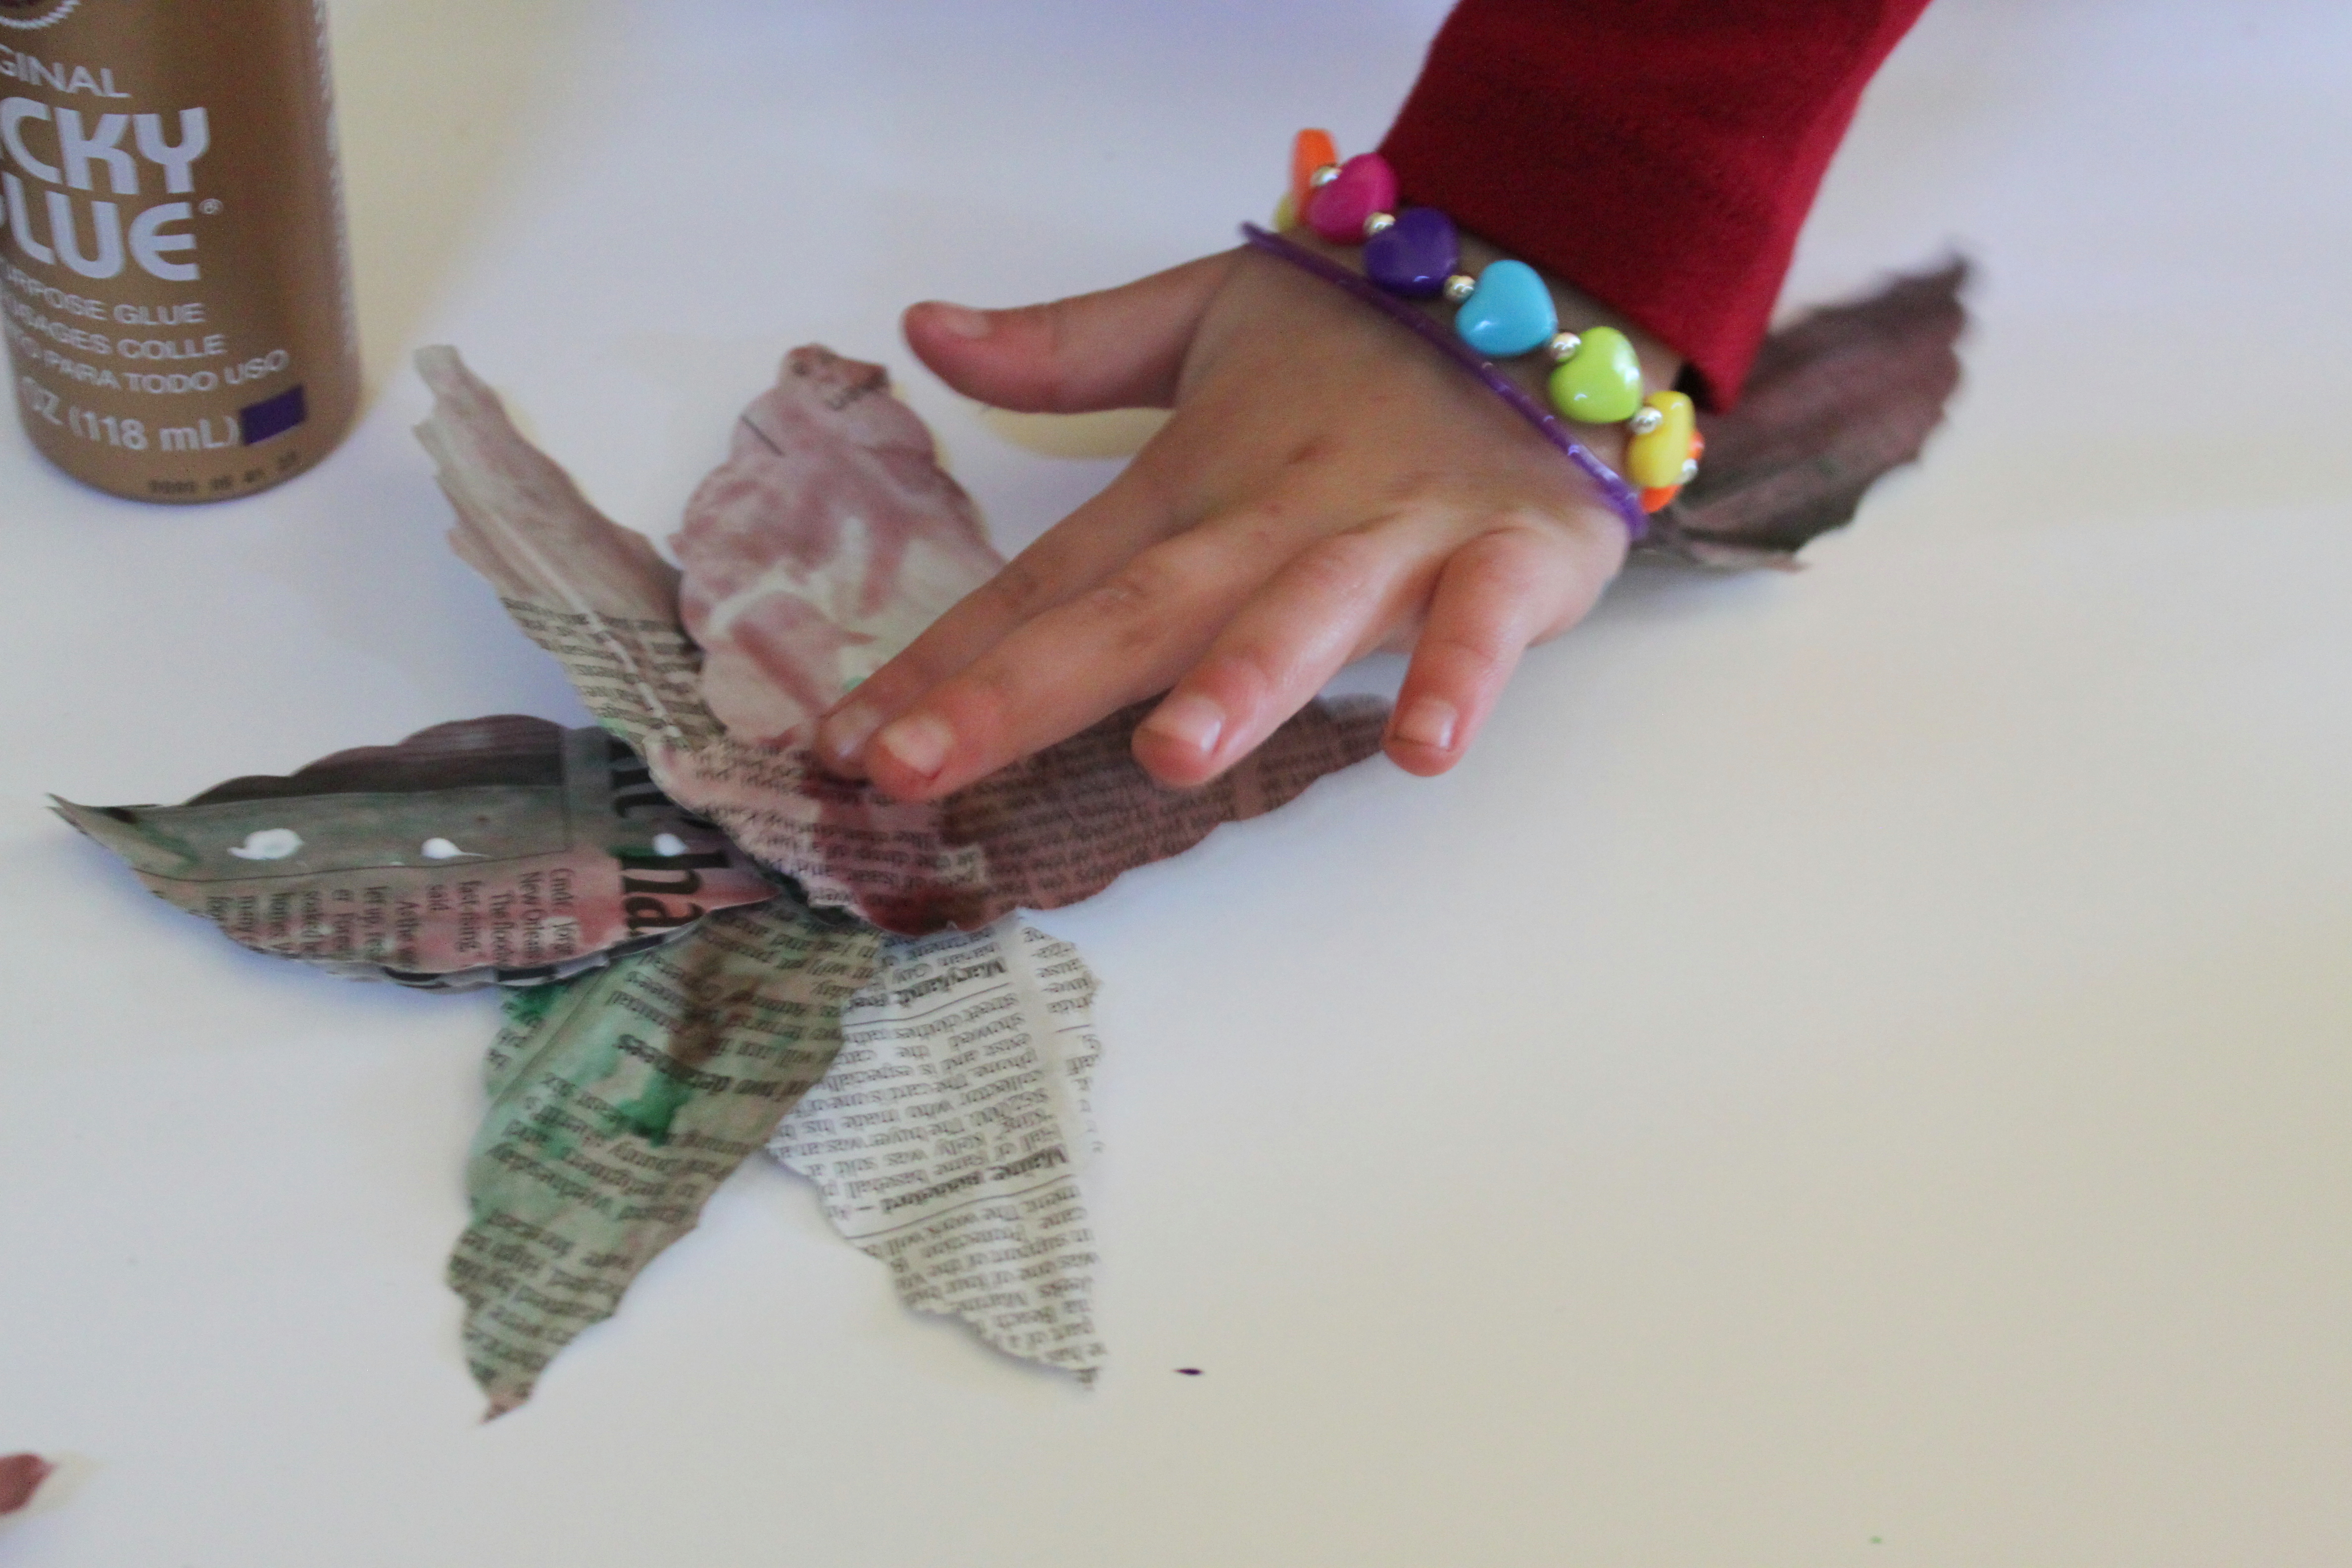
They started layering the petals, adding a drop of glue each time they added a new petal.
Step 7
Once we had a completed flower, we attached pipe cleaners to the back with a piece of masking tape.

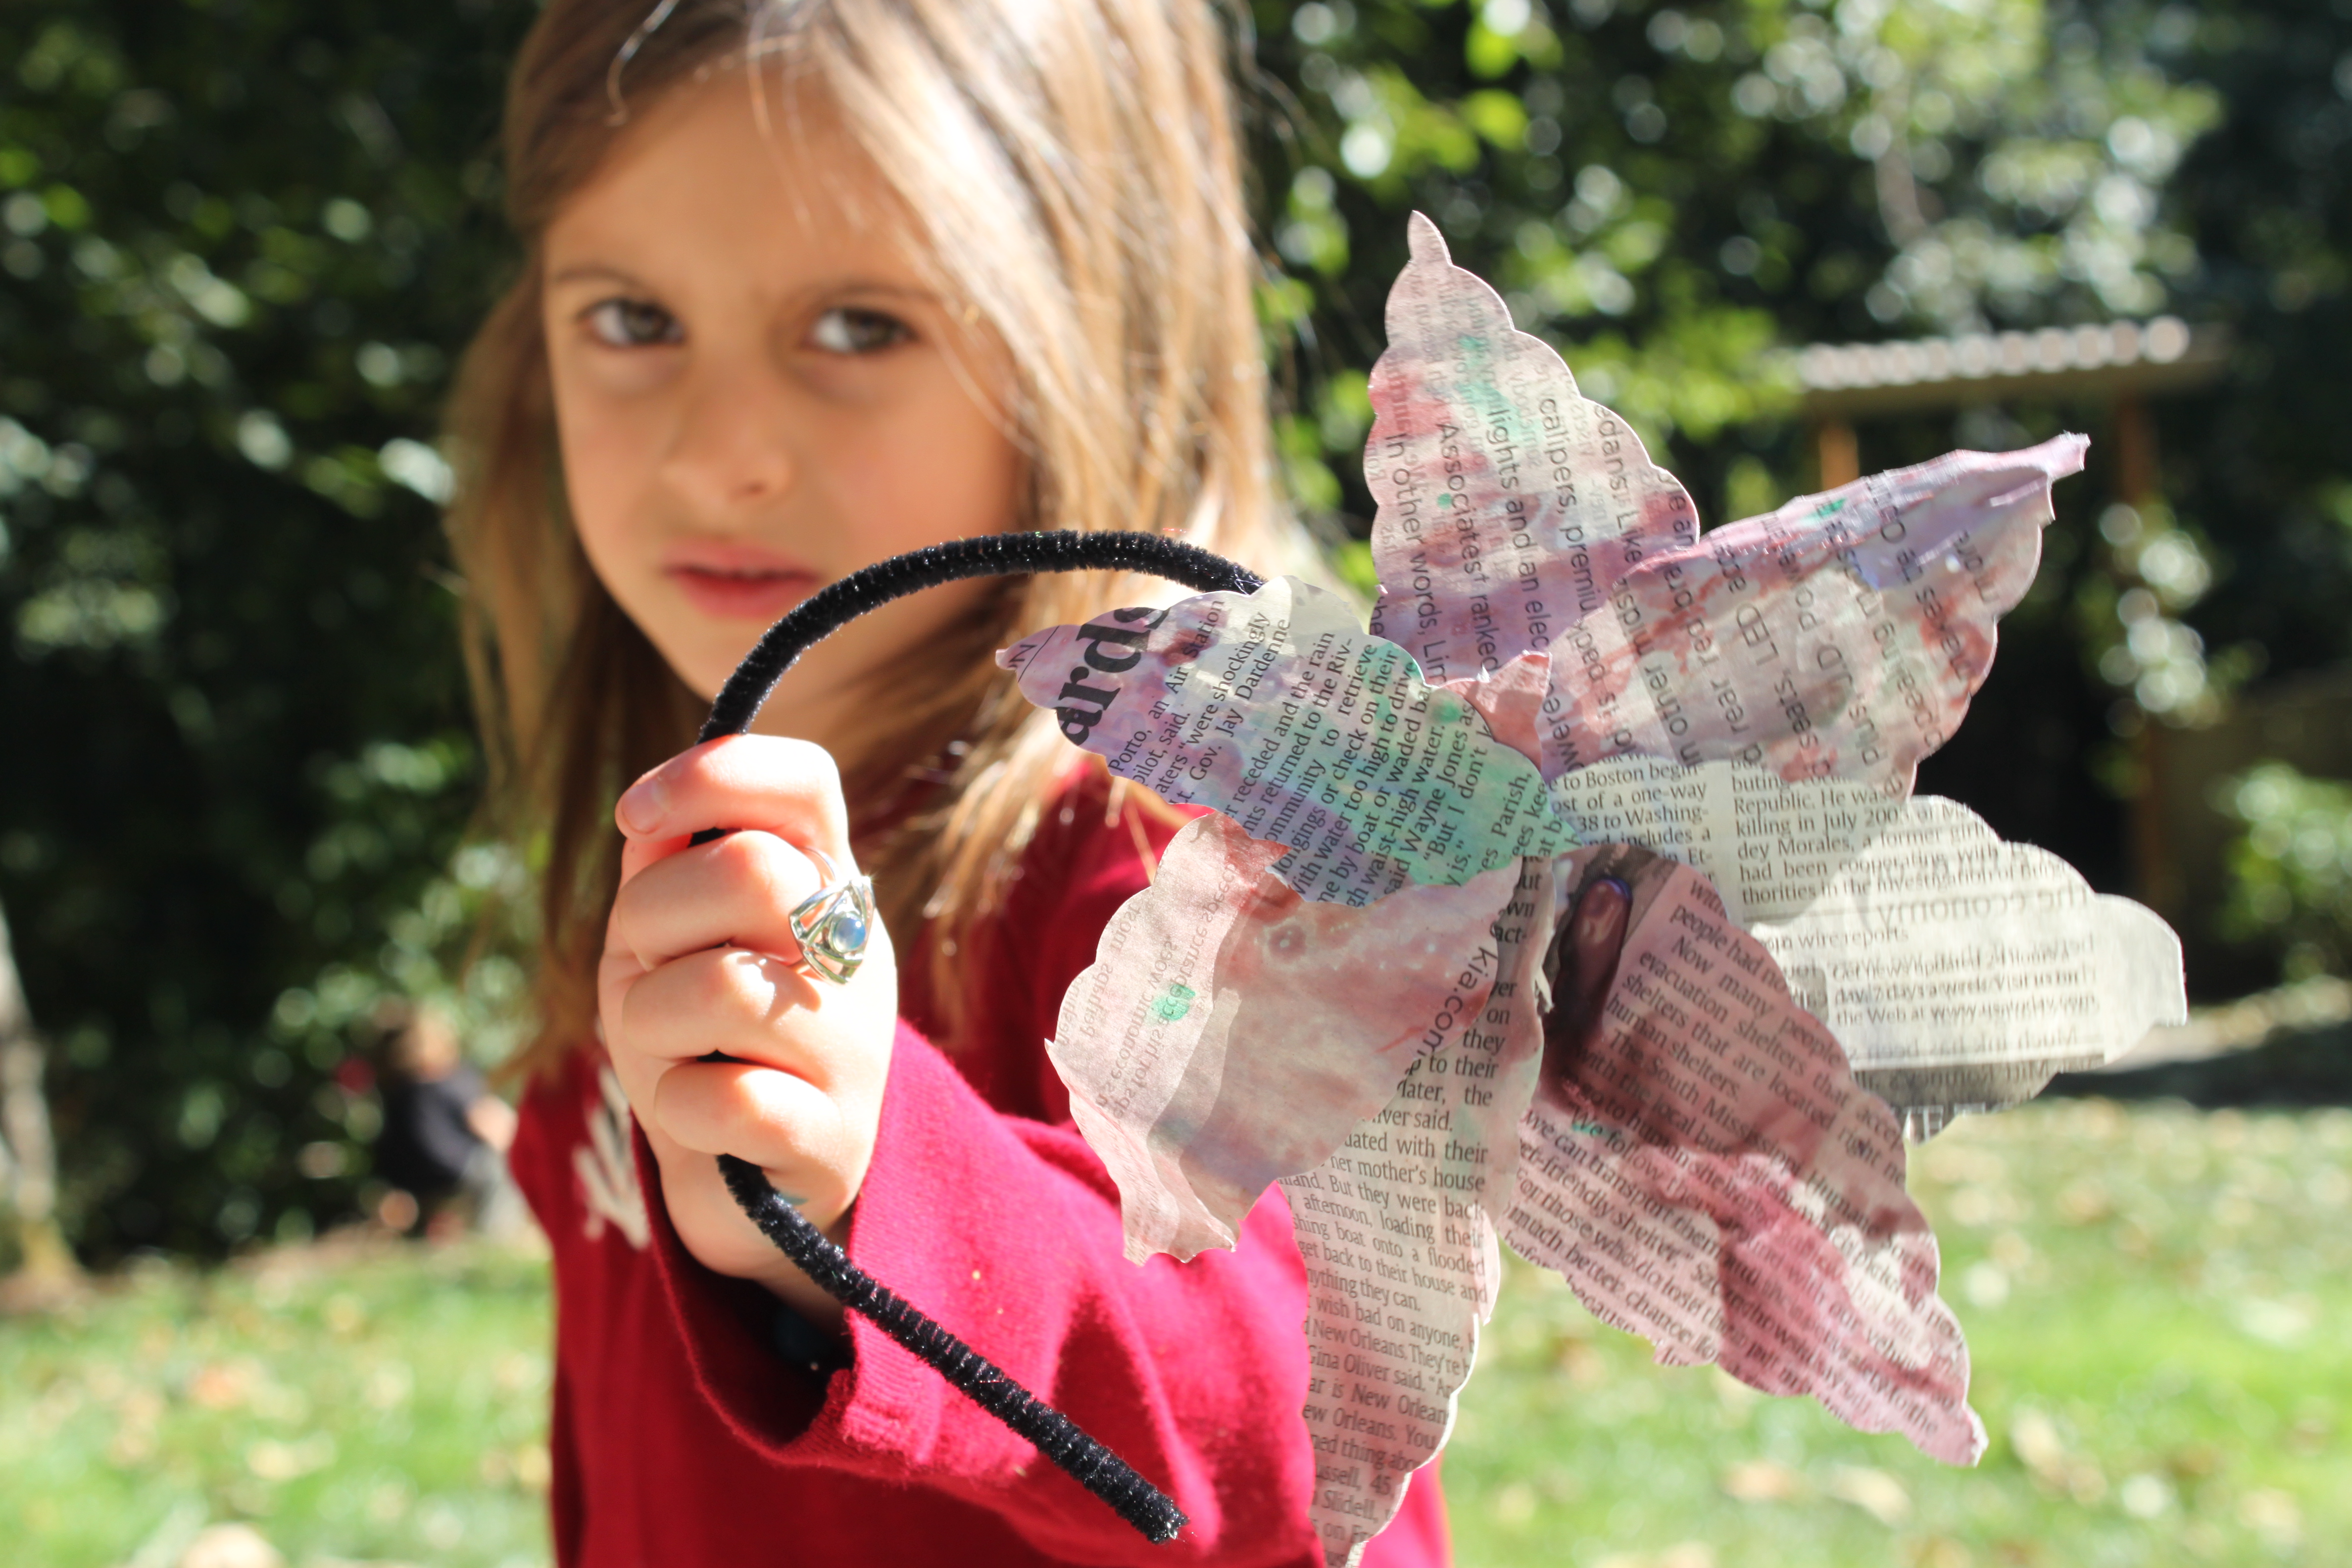
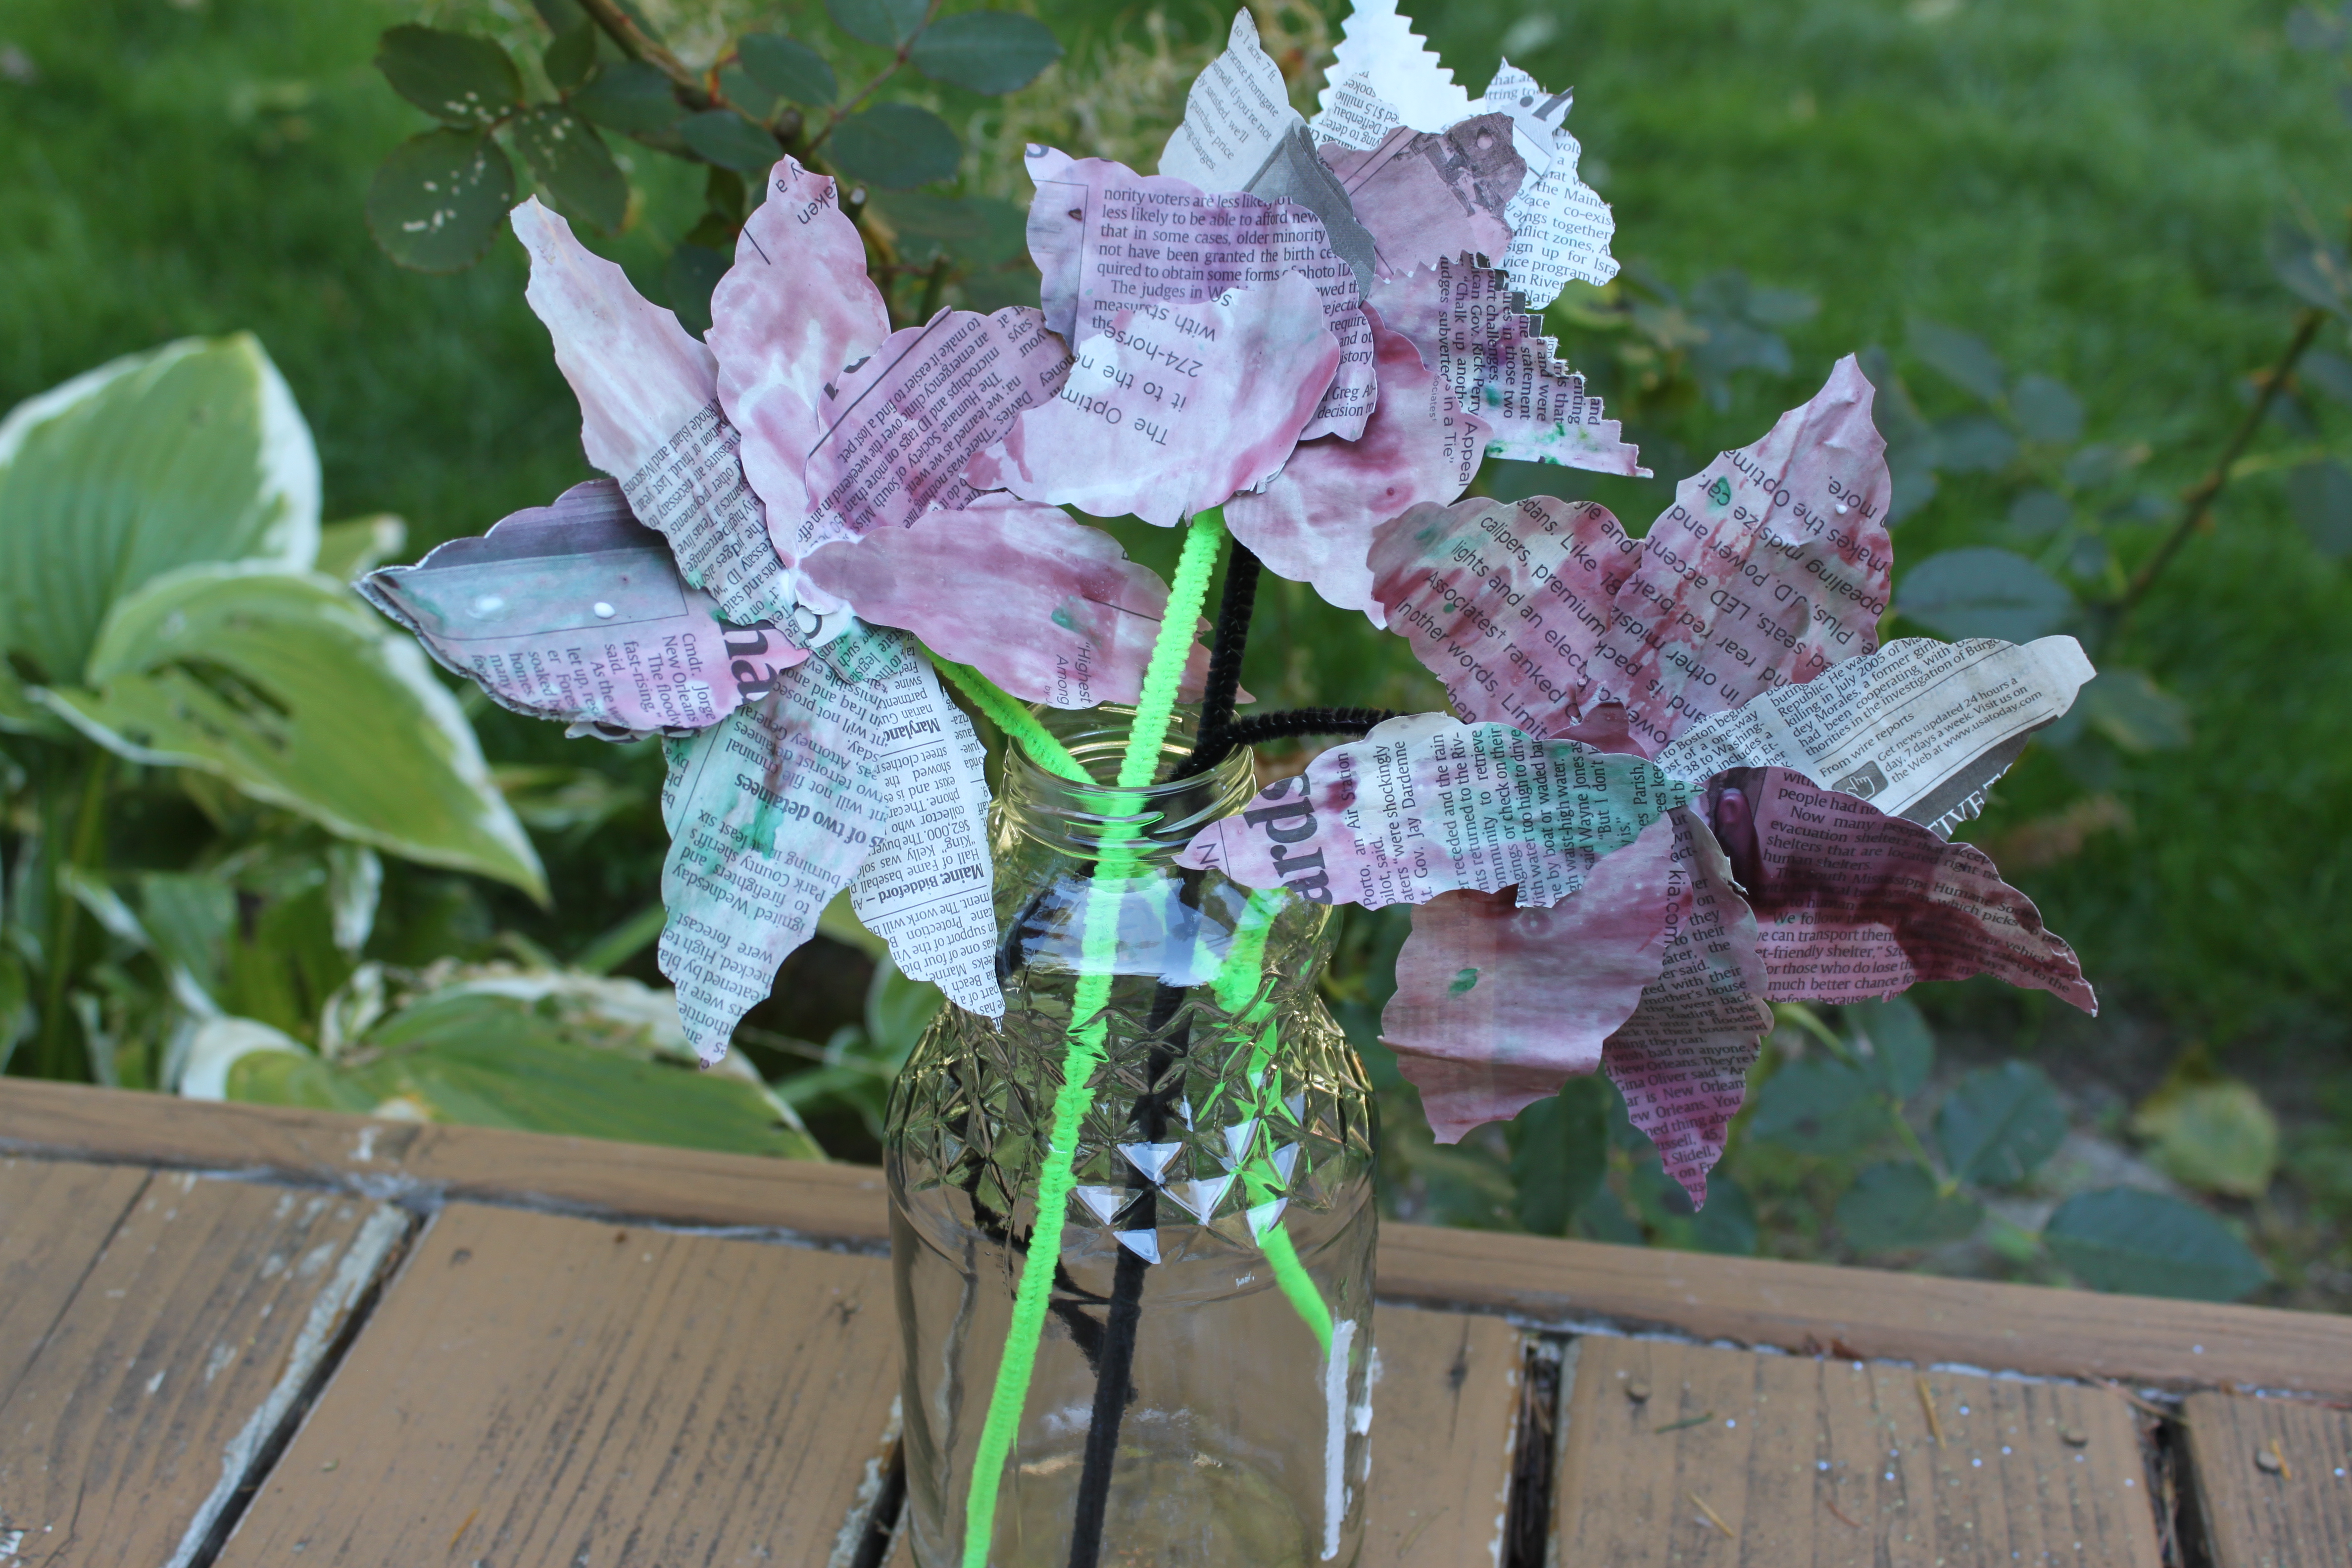
Final result!
And there you have it, one of the prettiest artificial flowers I have ever seen. Plus, my two-year-old got to get his hands messy. A successful afternoon, I'd say!