Step-by-step tutorial
Step 1
Break your chocolate bar into pieces and put them a bowl. If you have different kinds of chocolate, break them into separate bowls.


Tip
Save some of the chocolate pieces for later to temper the chocolate - it will prevent a dull grayish color and waxy texture that happens when cocoa fat separates.
Step 2
Microwave the chocolate for 1 minute, then take it out and stir with your stirring utensil. If not fully melted, repeat microwaving for another 15 seconds and then take it out and stir until the chocolate is smooth.
After you take it out, add in the chocolate pieces you saved from step 1 to temper the chocolate. The heat of the chocolate will melt these pieces and cool it to a temperature better for decorating.
Step 3
Dip a wooden spoon into the melted chocolate. Swirl it around to cover the entire head of the spoon! Let any excess chocolate drip off your spoon, then place the spoon face up onto a sheet of wax paper.
Repeat for the rest of your spoons.
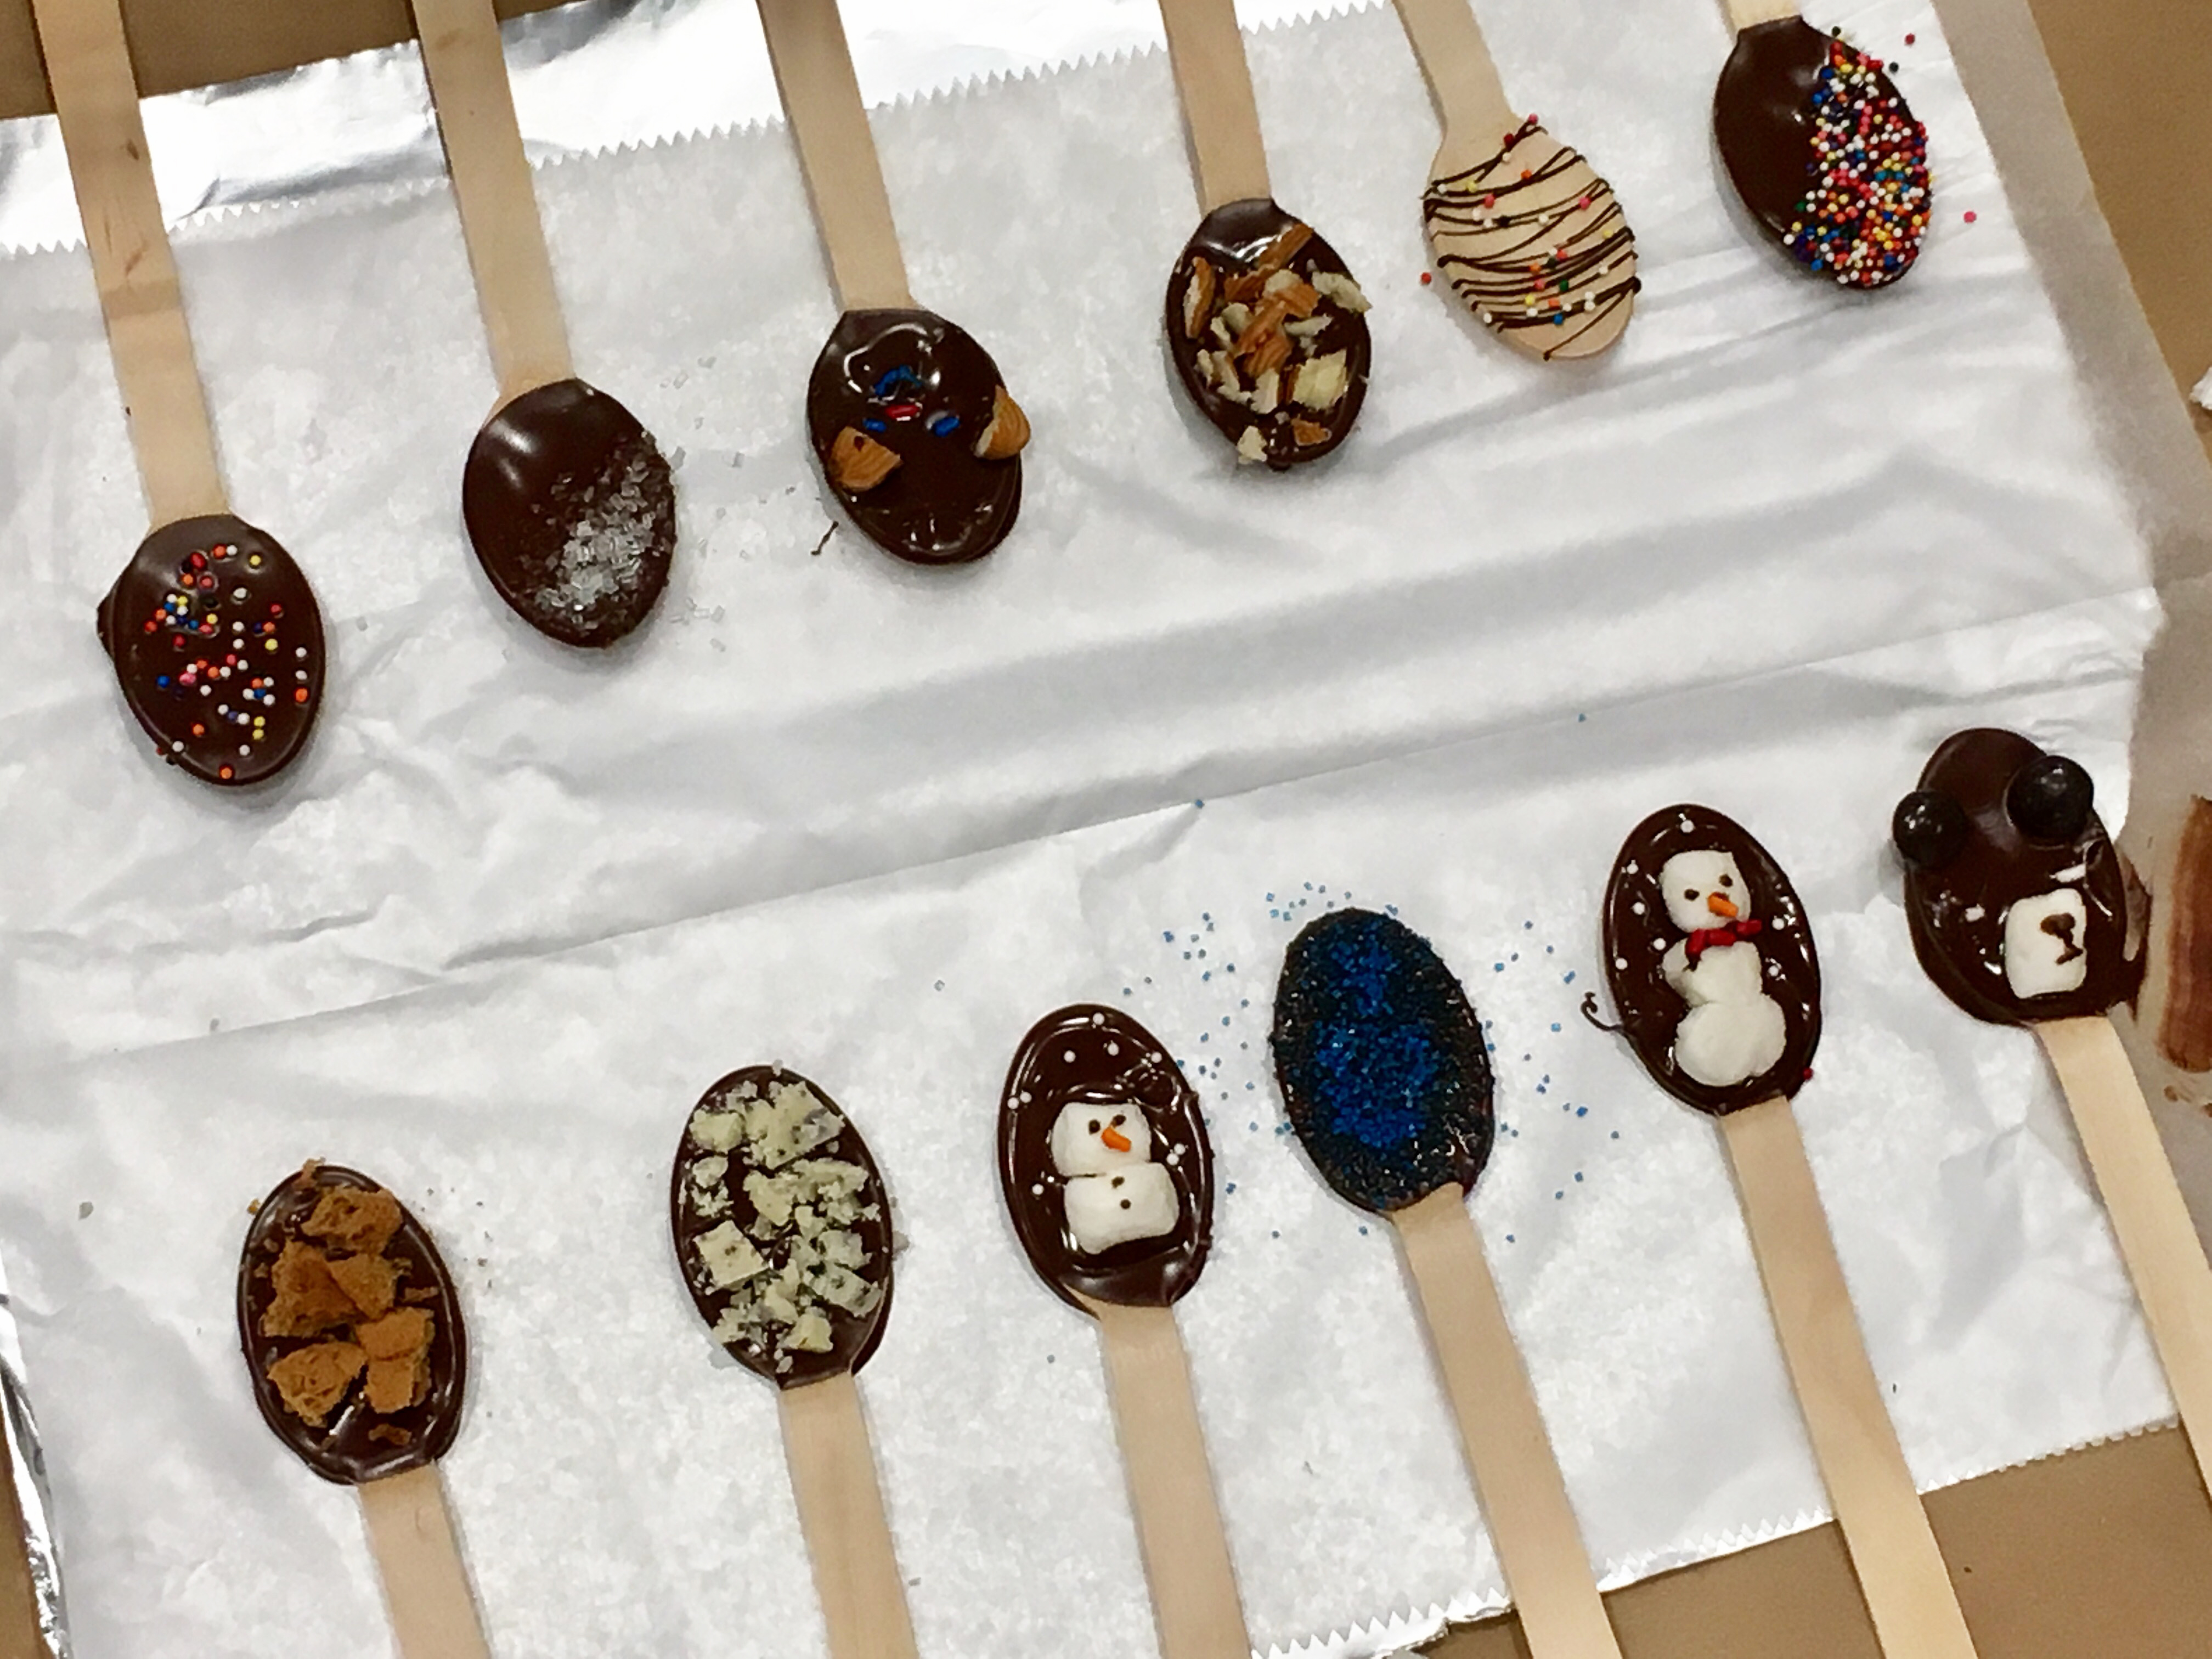
Step 4
Before the chocolate dries out, decorate the spoons with some toppings! Get creative! Try making a snowman with mini marshmallows, create a bear with milk chocolate, or make abstract designs with crushed nuts and chocolate drizzle.
Step 5
Let them dry for 3 hours. As they dry, we cut out handmade gift tags to attach to our chocolate spoons.
Use a hole punch to punch out holes for the ribbon/twist tie. Address each tag with the gift recipient's name, or the flavor of the spoon.
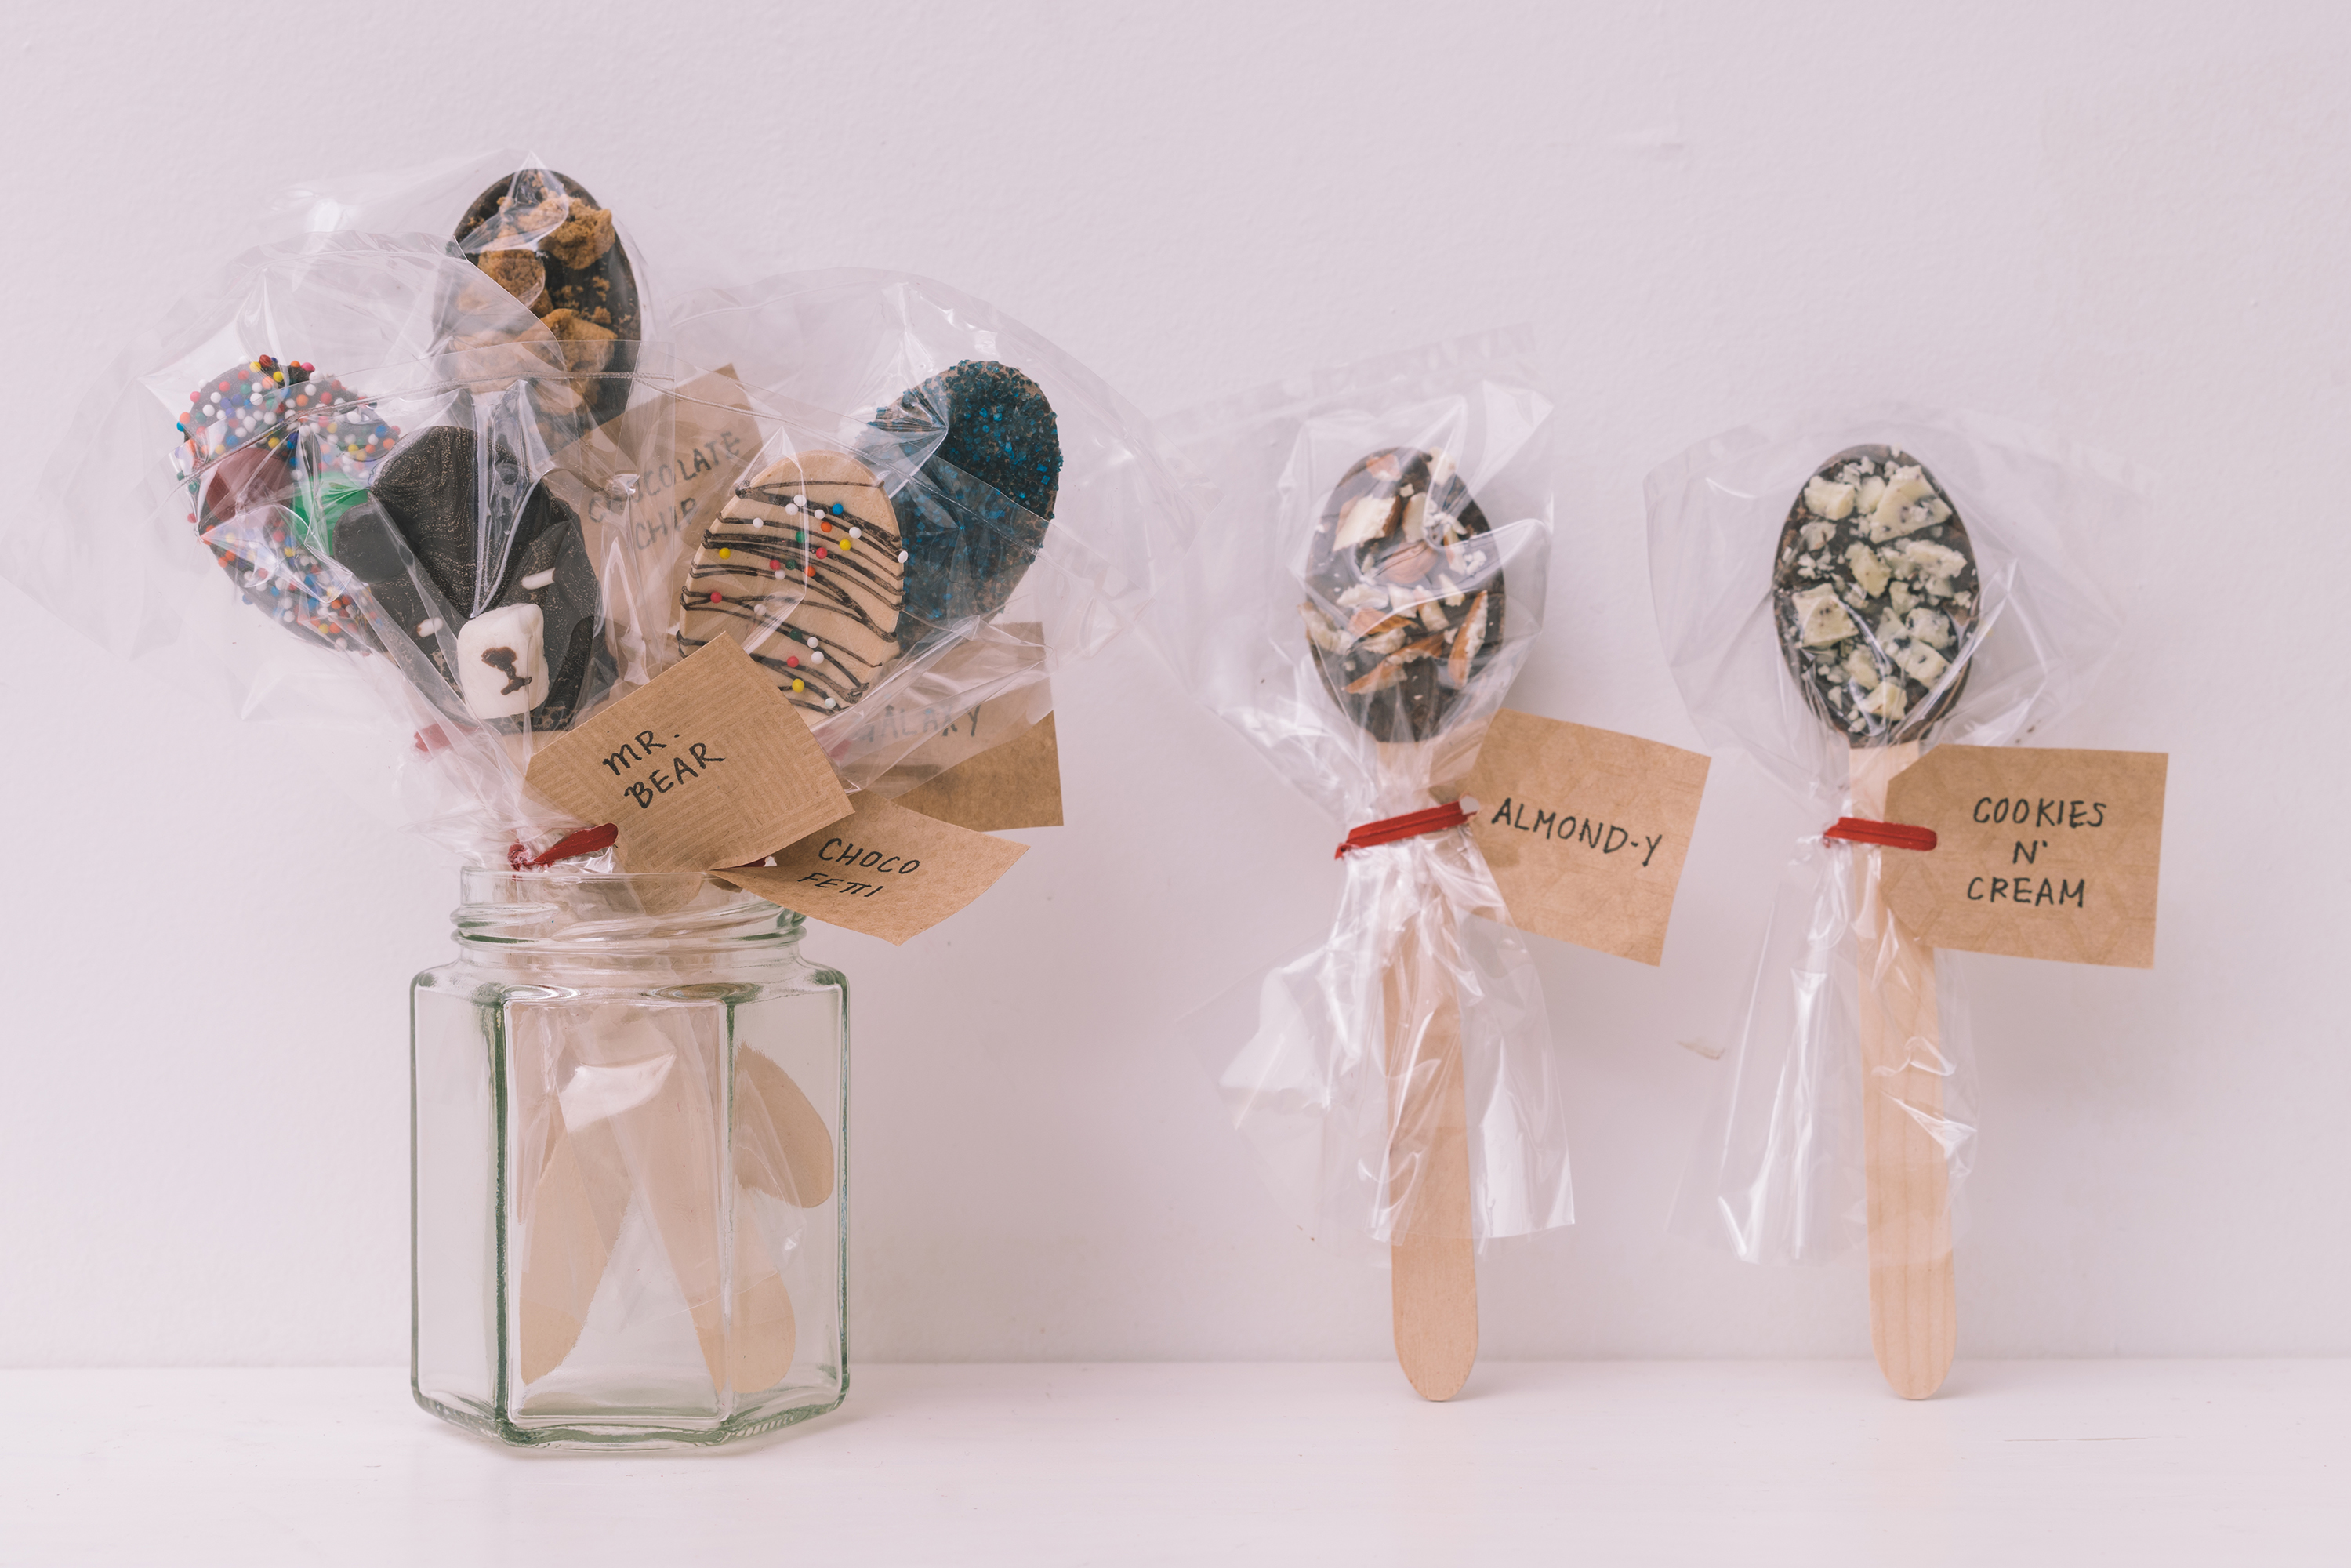
Done!
When the spoons are completely dry, take them off the wax paper and wrap them in a clear plastic bag. Thread the tag onto a ribbon or twist tie and secure it with a knot or bow.


