Step-by-step tutorial
Step 1
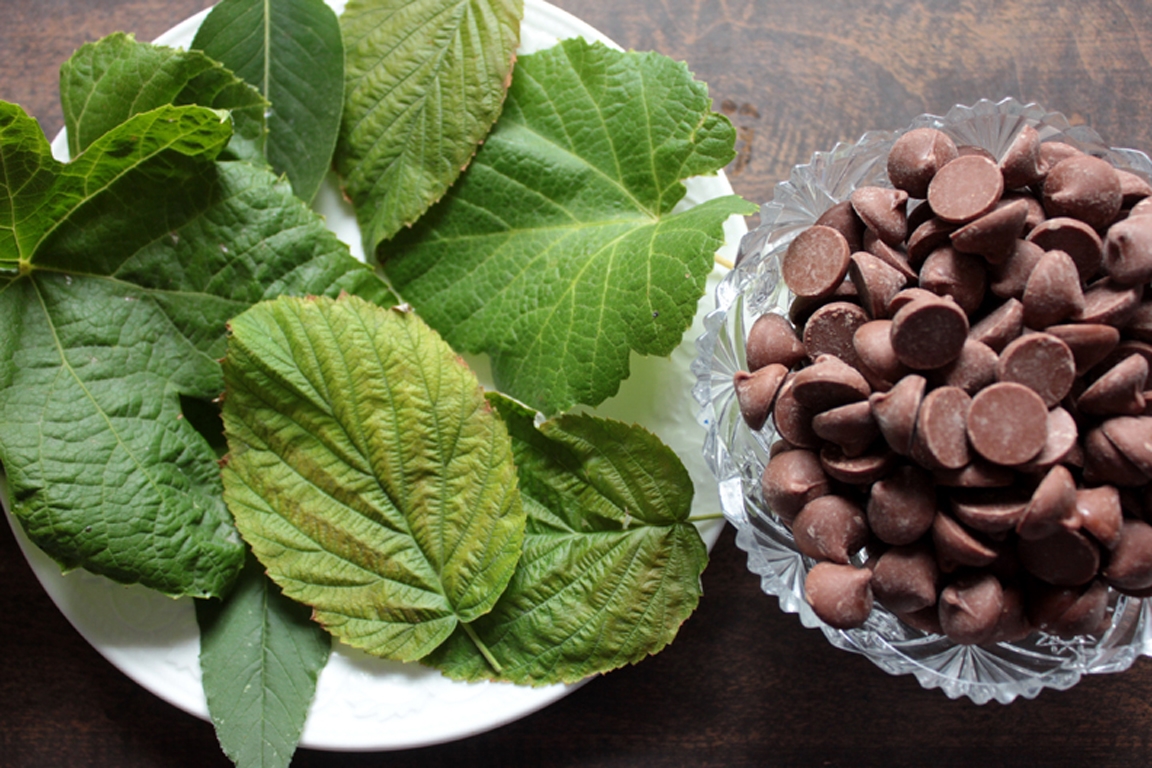
First, we gathered supplies.

Step 2
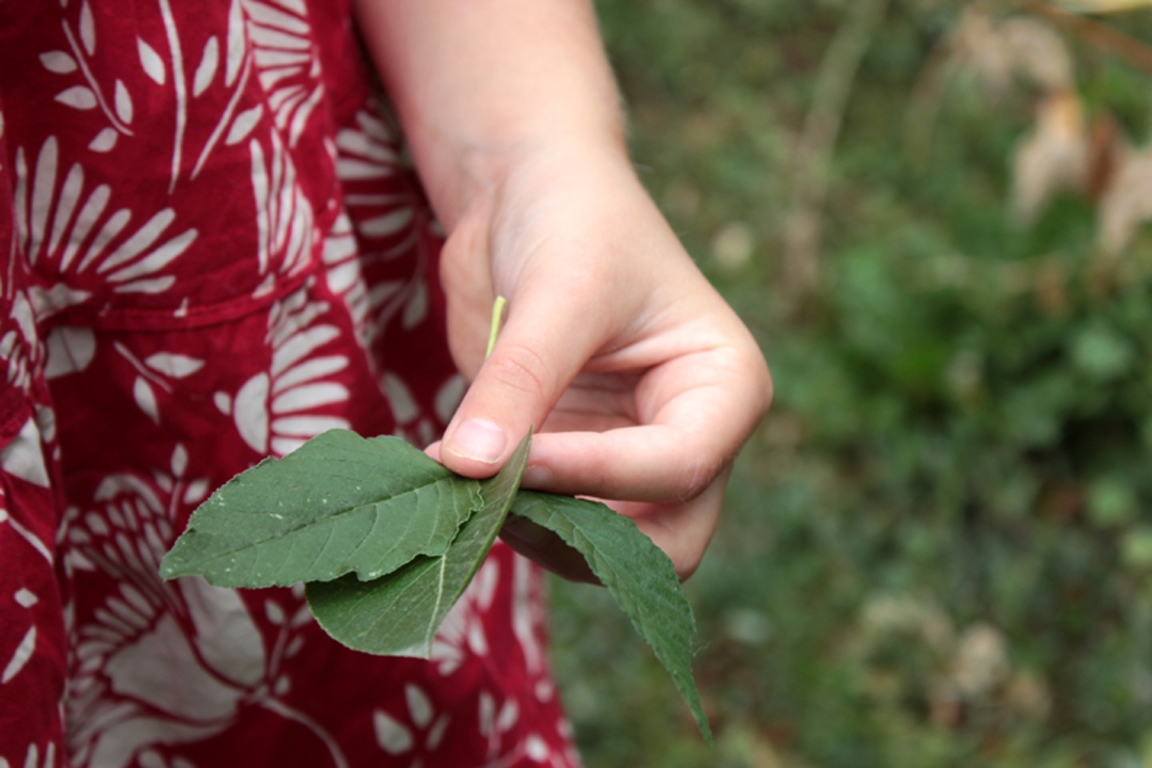
My kids' favorite part of this project is getting outside and choosing some beautiful leaves. The children and I roam the garden, looking for the very finest leaves in all the land. The leaves don't necessarily need to be edible, but make sure that they haven't been sprayed with anything and are not toxic (tomato and potato leaves are a no-no). Rose leaves work very, very well, because they are sturdy and leathery. We also picked grape leaves, raspberry leaves, and hollyhock leaves. They're much more fragile, and often tear when peeling them off of the chocolate, but they're edible, so it's not too much of a worry.
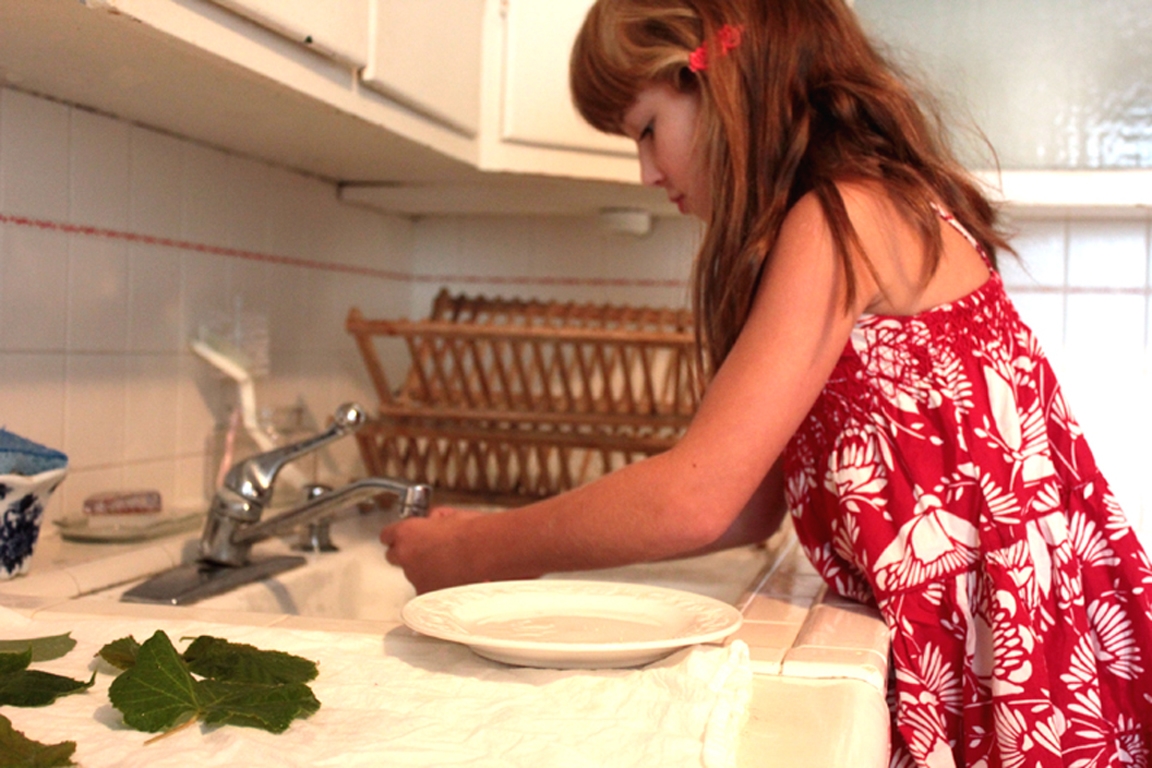
Step 3
Bring your leaves inside to wash them.
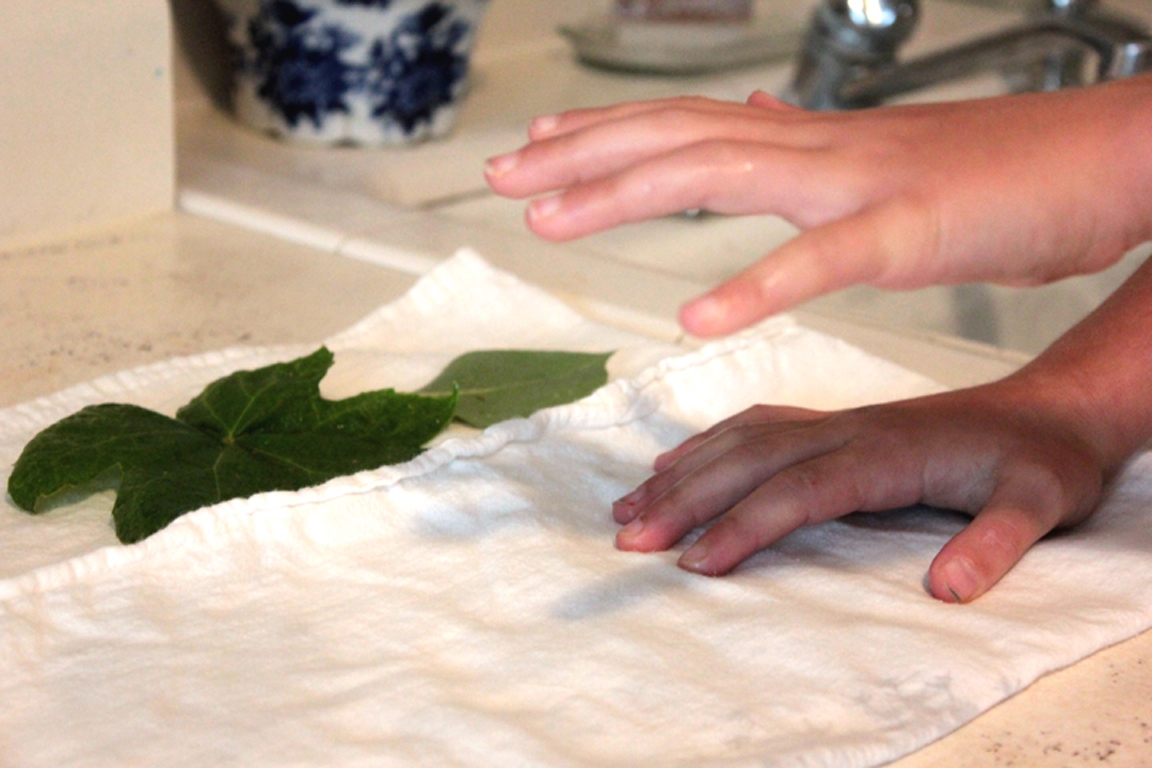
Step 4
Pat the leaves dry.
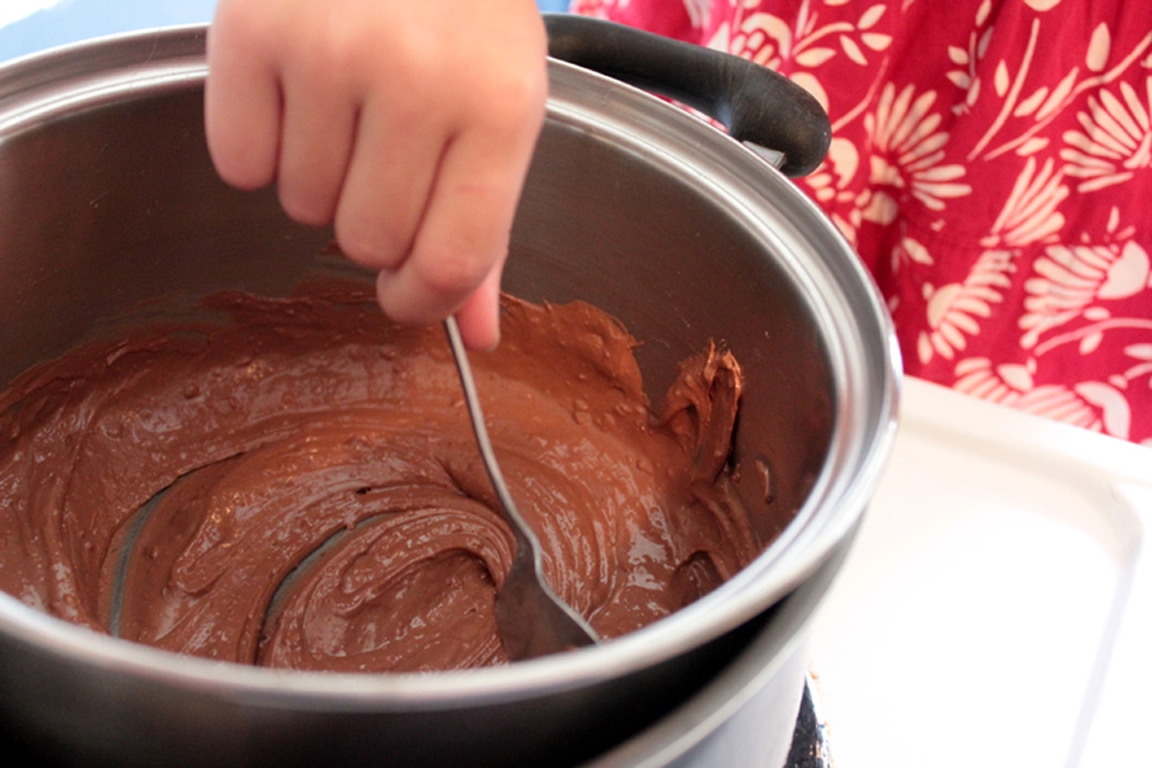
Step 5
Put your favorite chocolate on the double-boiler over low heat and melt it. You could opt to use a microwave for a few seconds, but the chocolate will stay workable and creamy if it's on very low over the stove.
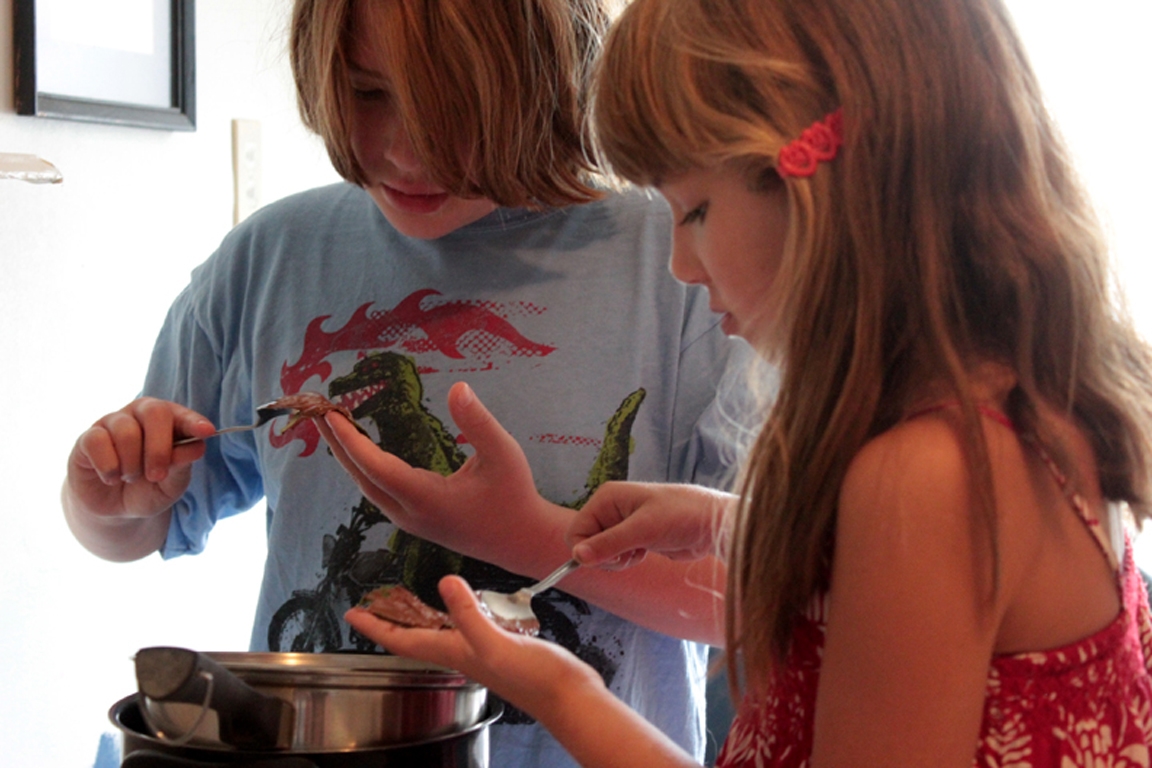
Step 6
Line a cutting board or cookie sheet (any sort of tray) with waxed paper. Now the yummy part... after making sure the chocolate isn't too warm for the children to handle easily, spread the chocolate over the side of the leaves with the most detail--usually it's the underside. But clearly it won't matter to the tasters much if the wrong side has been covered!
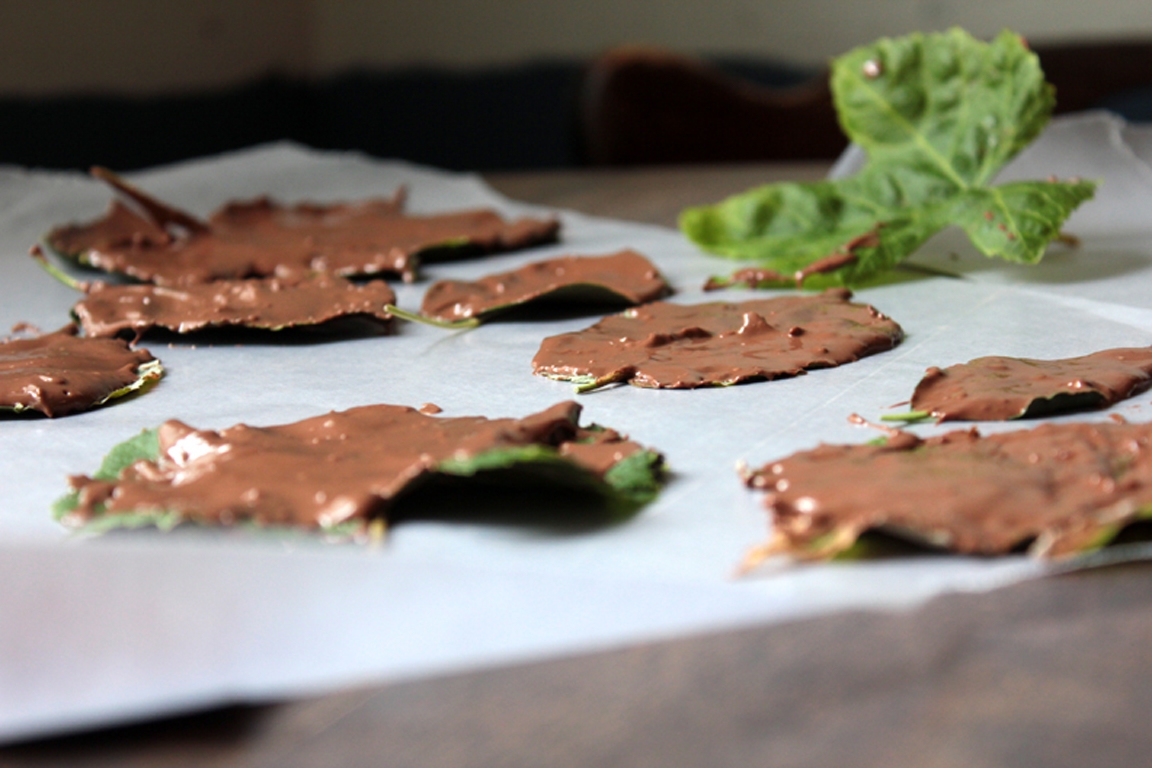
Step 7
Put your leaves chocolate-side-up on your lined tray. Some might find it critical to lick their fingers in between the decorating of each leaf. When all of your leaves are done, put your tray somewhere cool and out of the sun. We put our leaves in the freezer so the chocolate would harden faster!
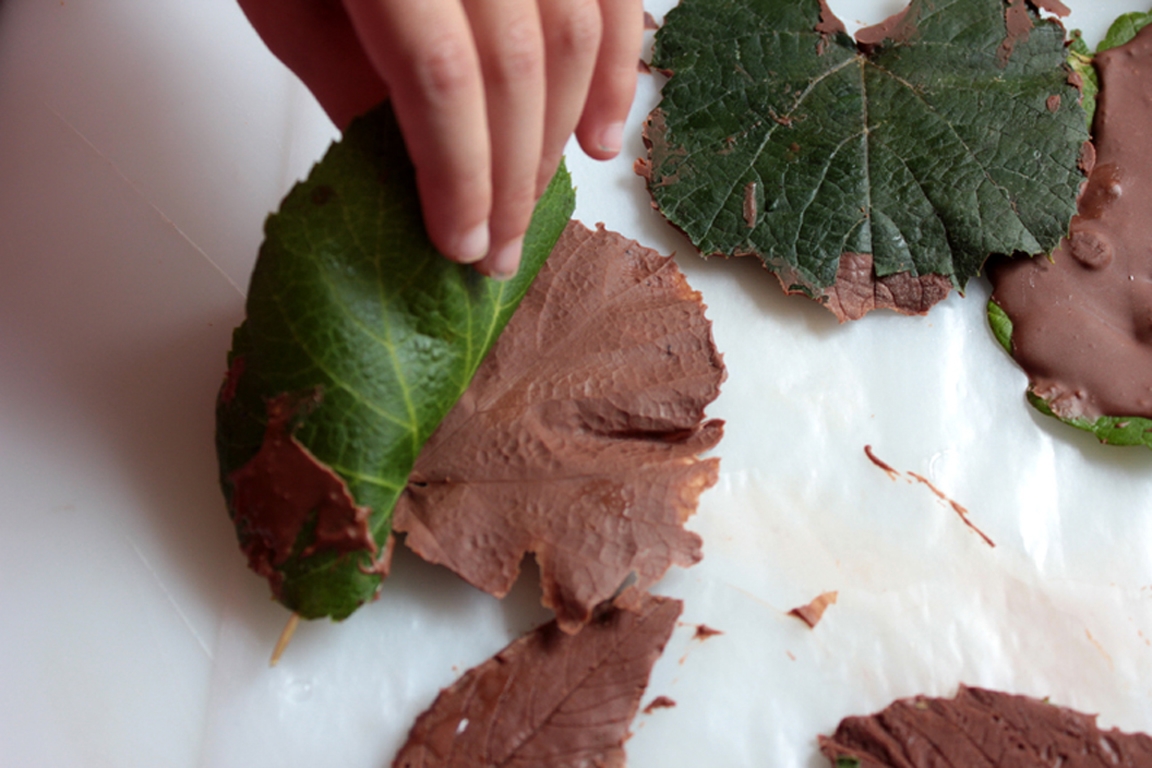
Step 8
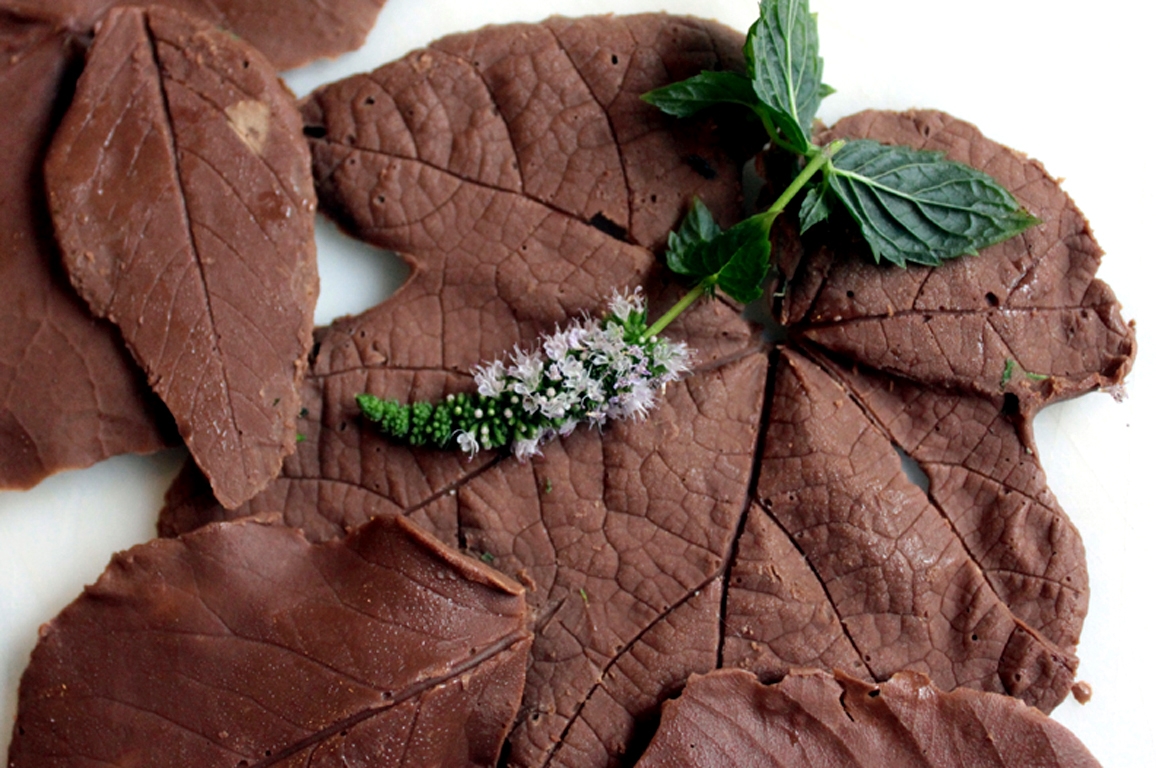
Take the leaves out when they've hardened, turn them over, and carefully peel the leaf off of the chocolate. If fragile leaves were used, little ones might need lots of help with this step. Sturdy leaves are much easier to peel off without tearing.
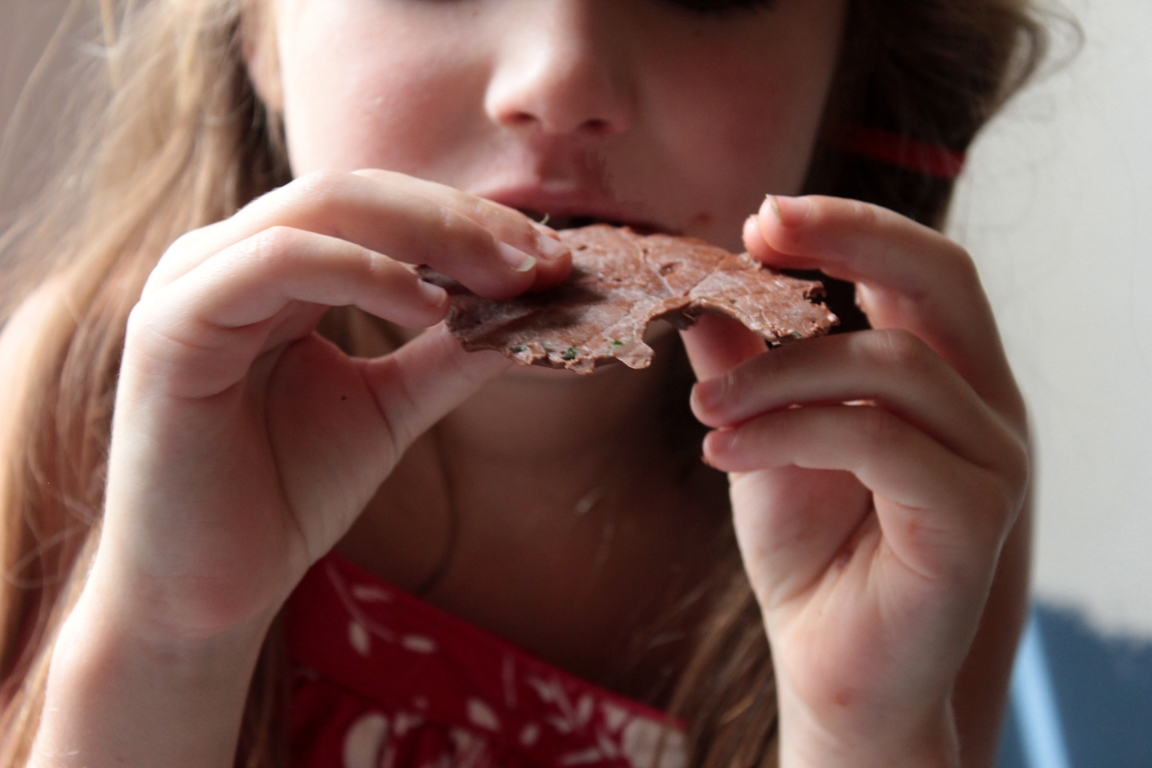
Done!
There now. Isn't that delicious? And it was so pretty, too.