Step-by-step tutorial
Step 1
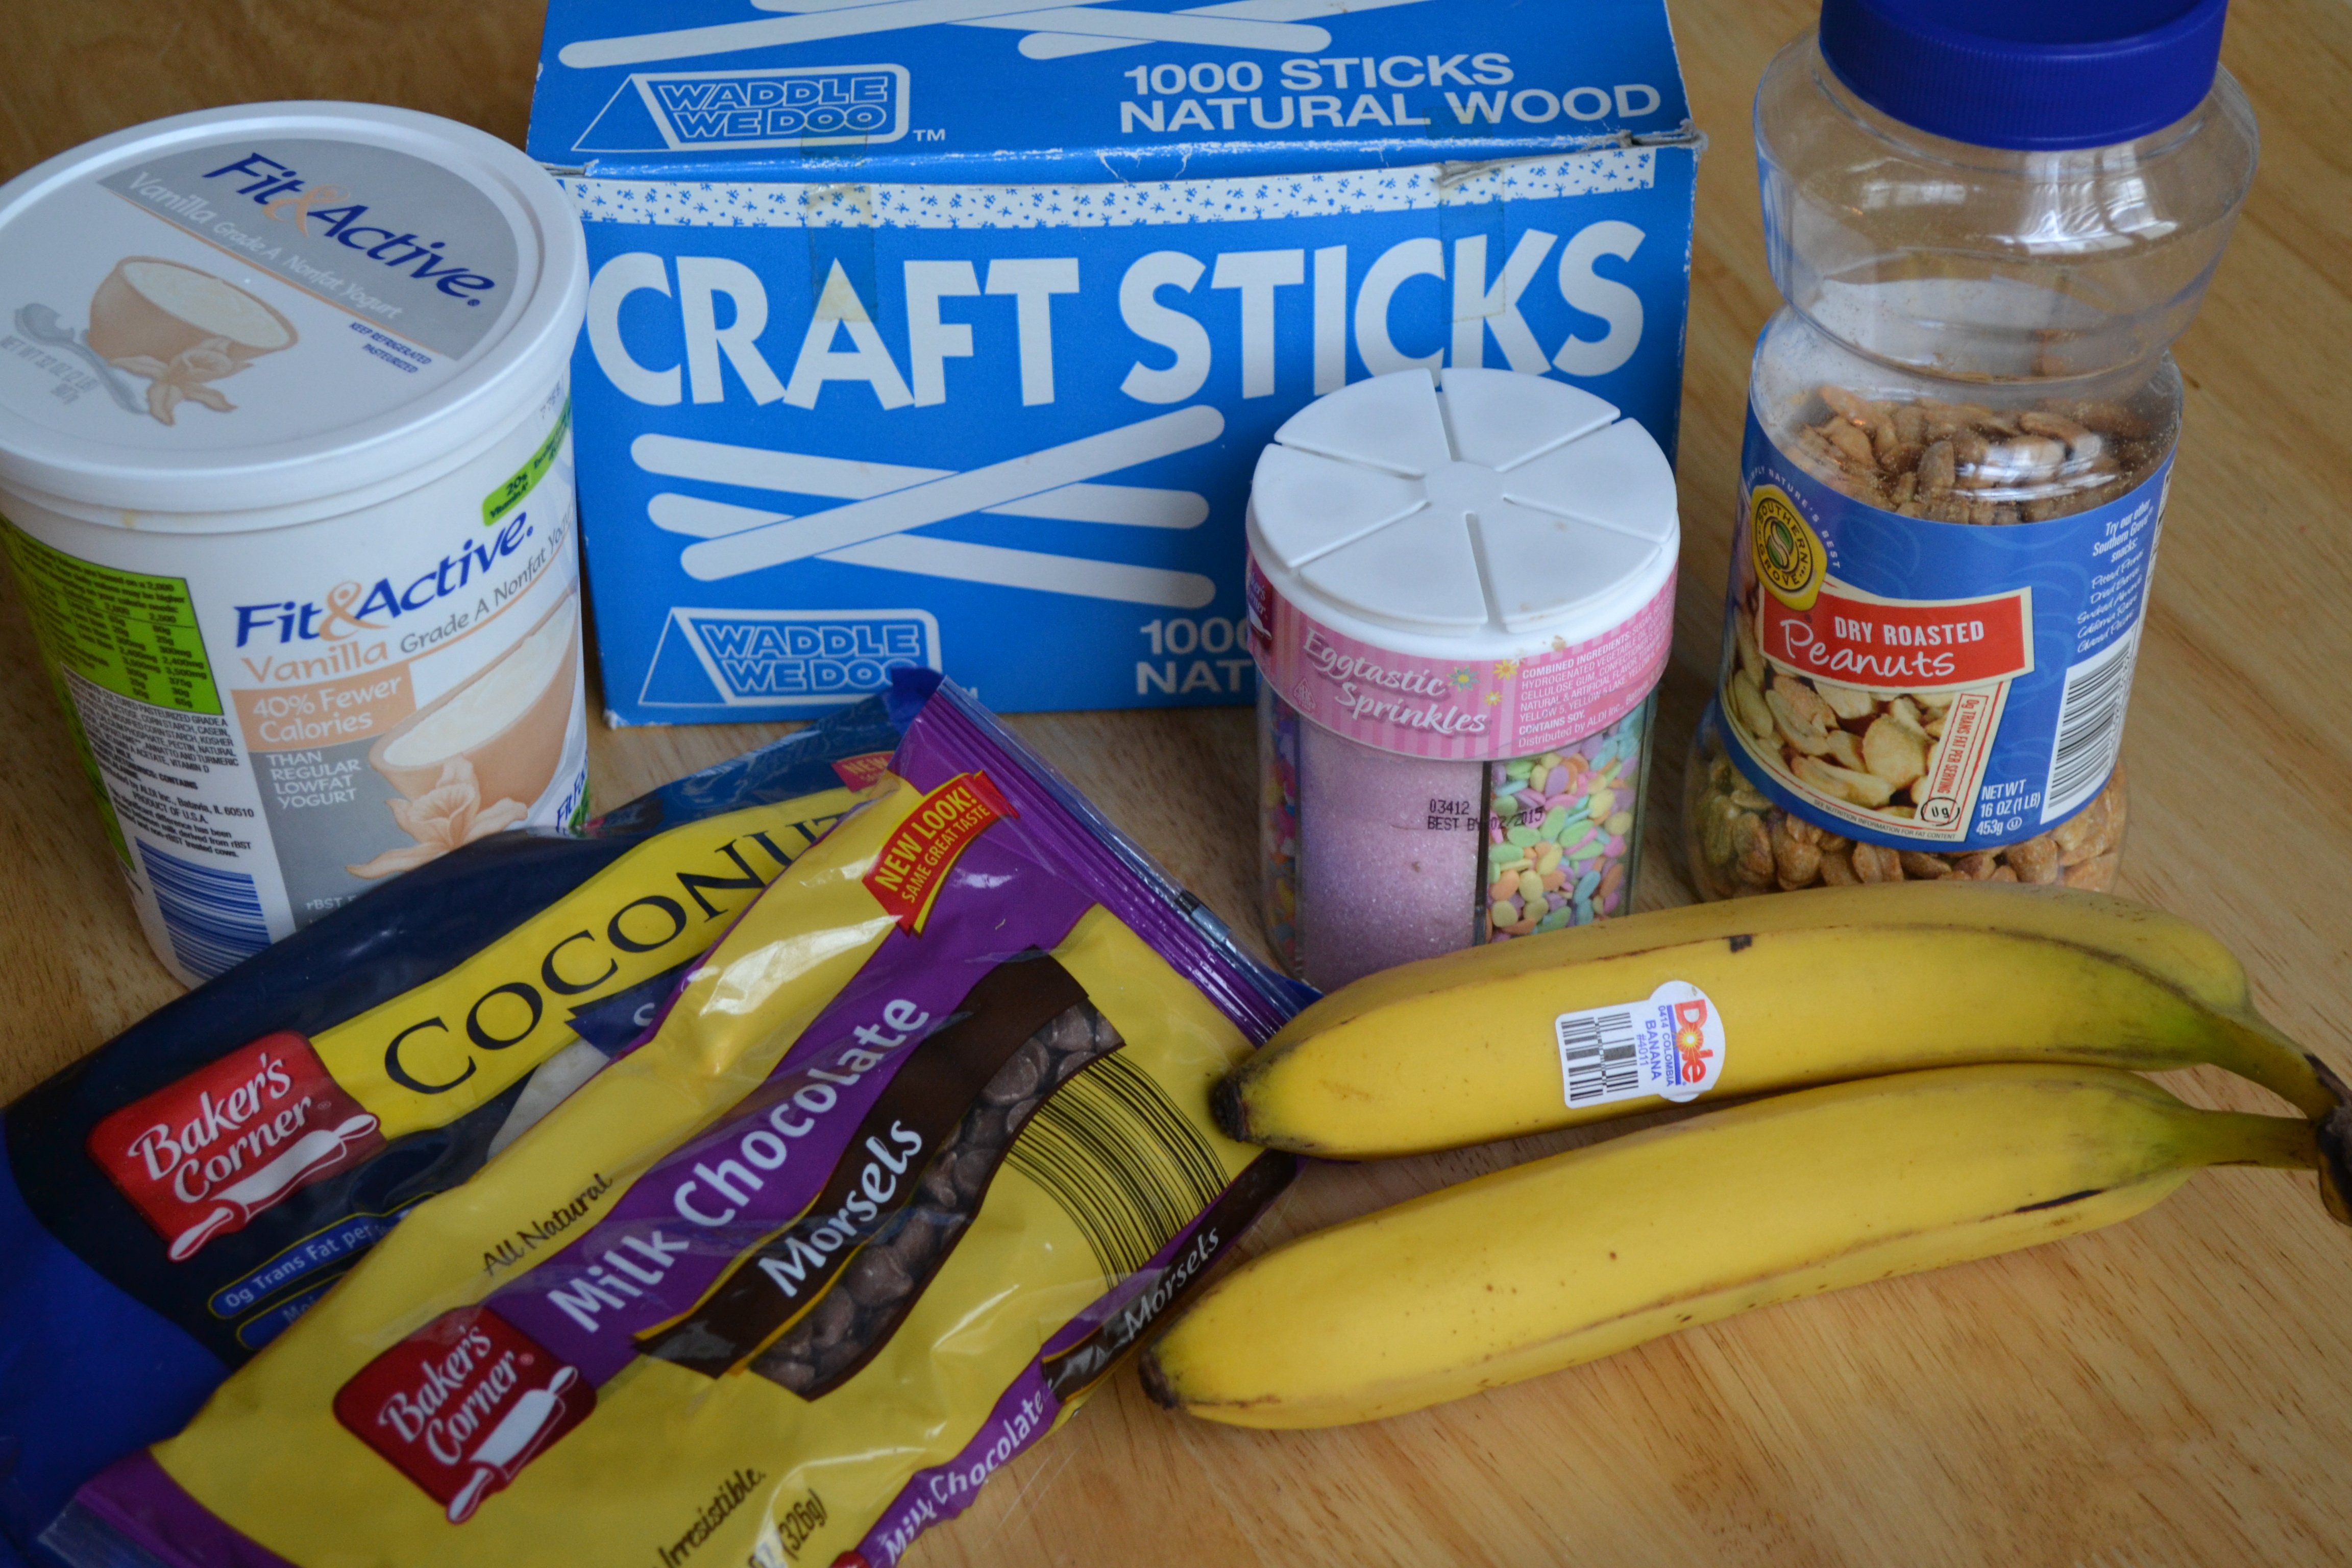
Gather all materials. We used peanuts, shredded coconut, chocolate chips, and sprinkles to top our pops. I also used paper plates to help contain some of the mess while the kids dipped and topped their pops.

Step 2
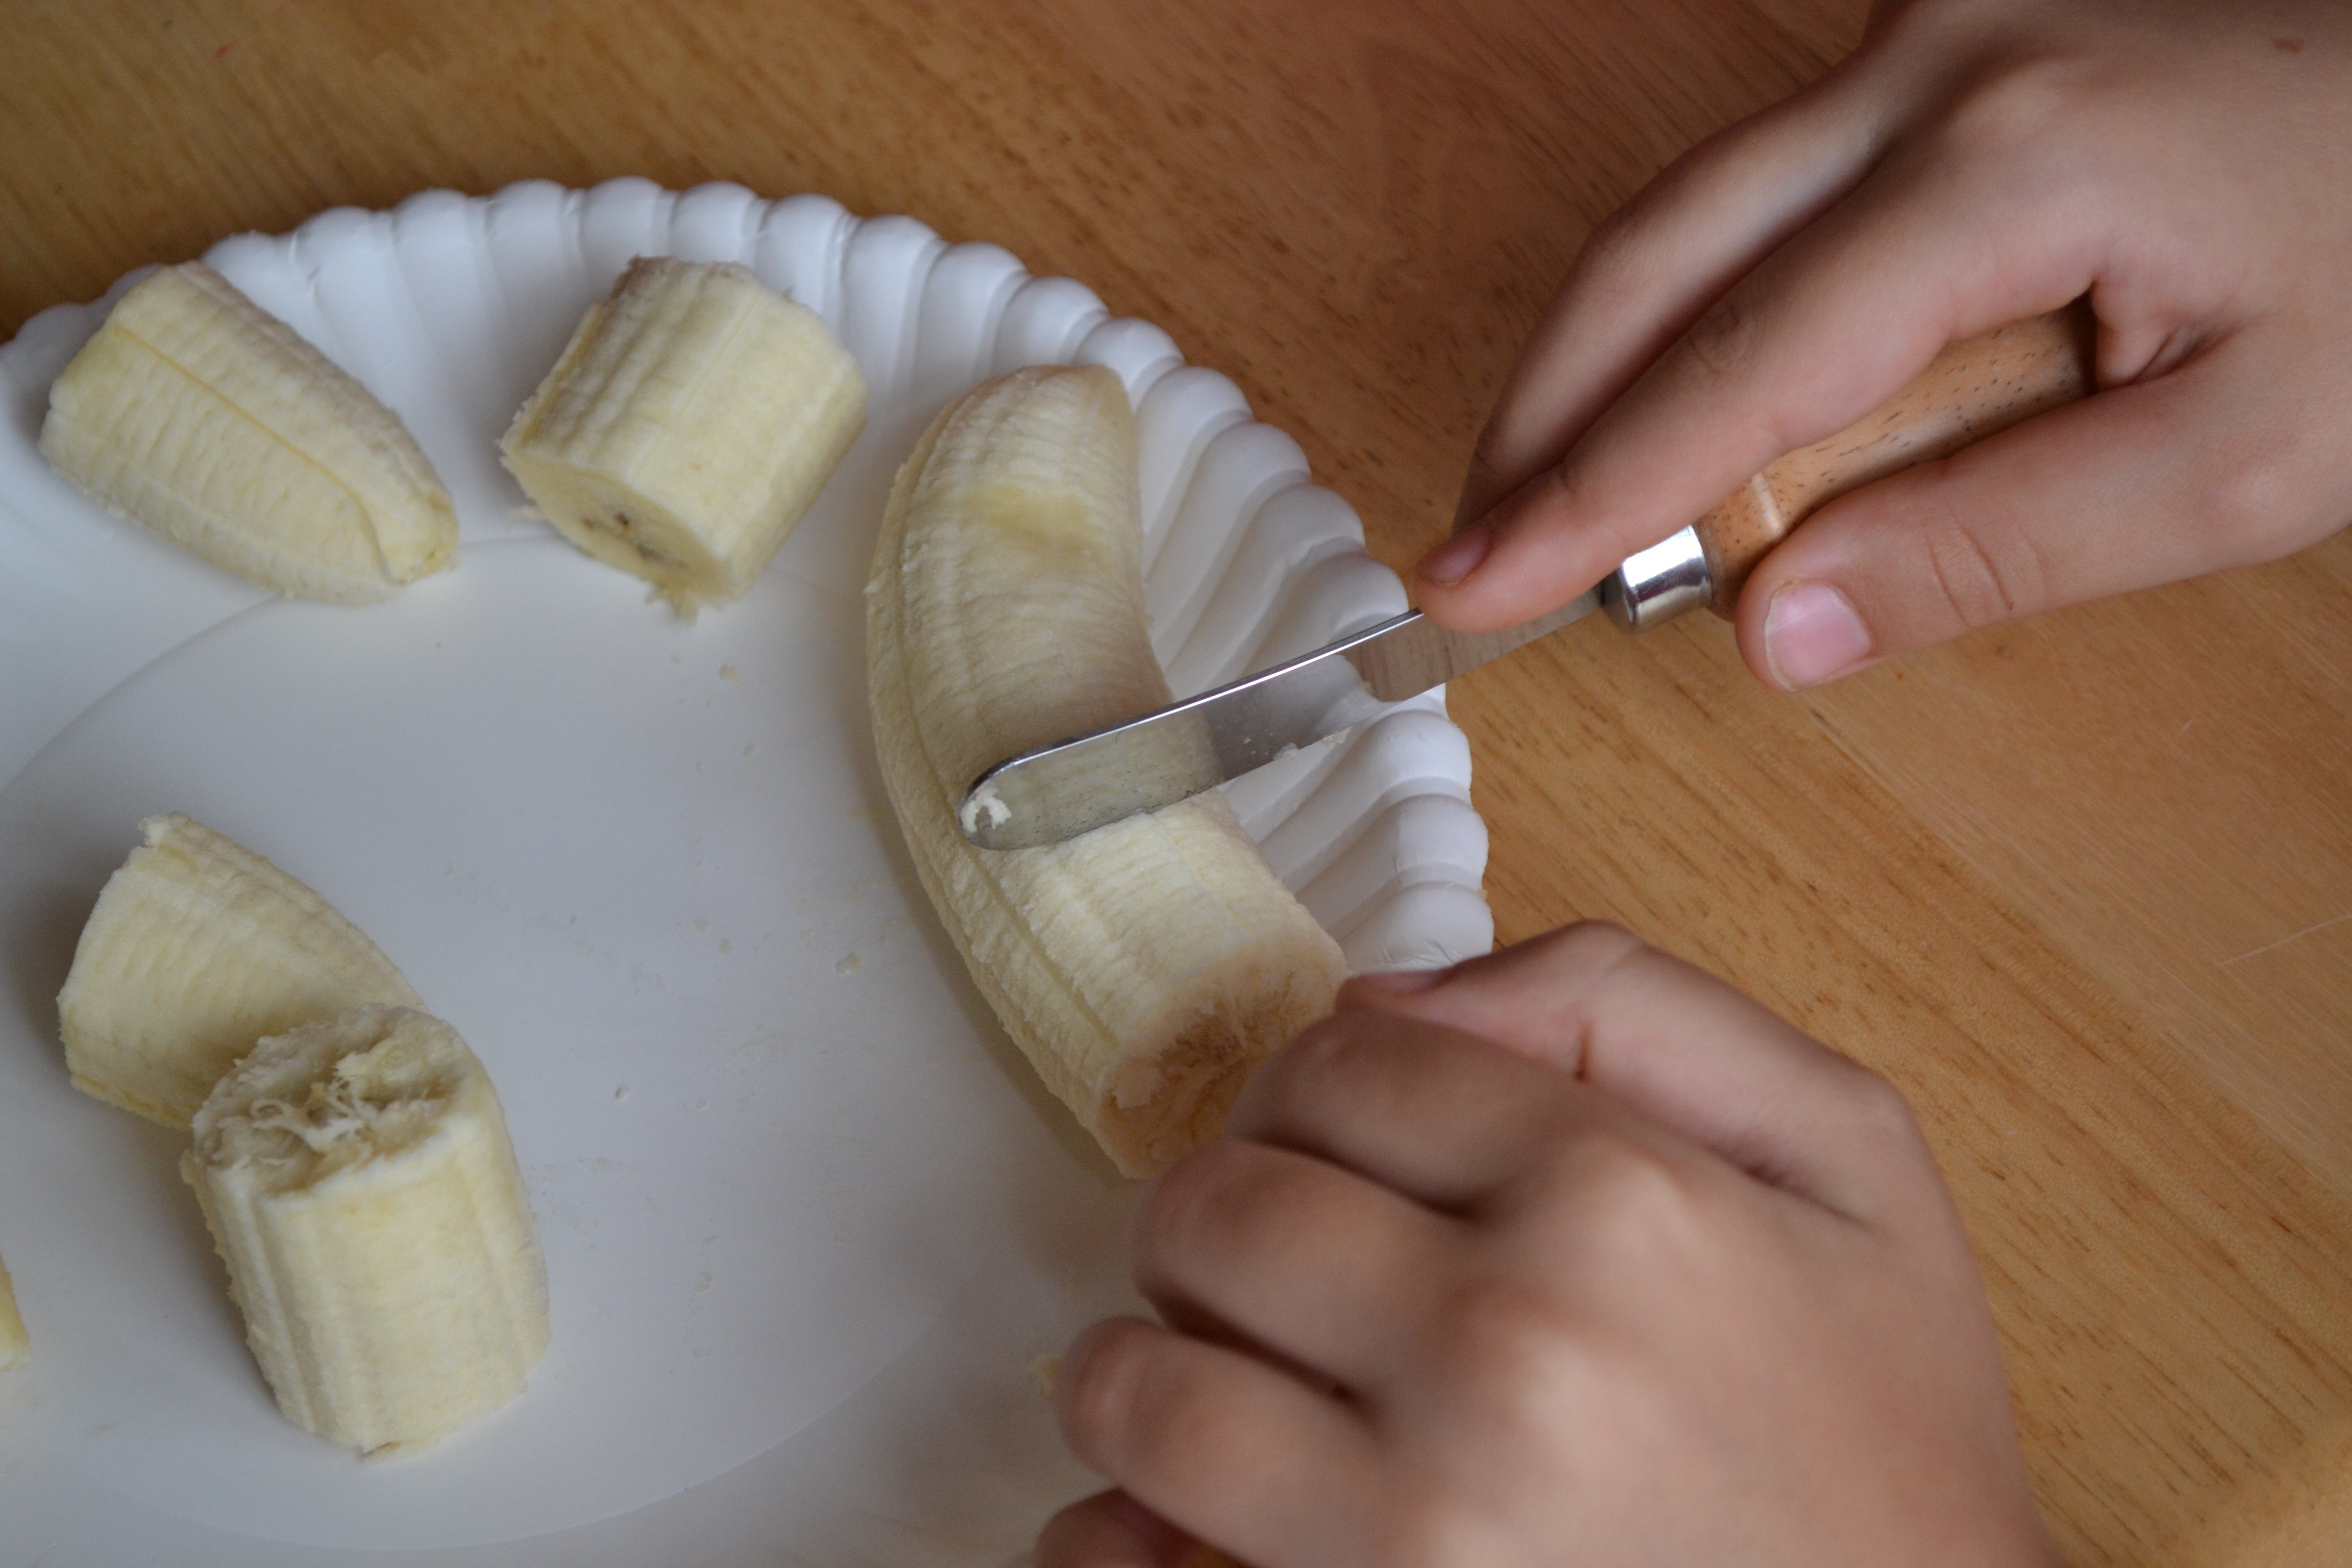
First, we peeled and cut the bananas into 1-2 inch (2.5-5.1 cm) pieces. My 4-year-old had a little trouble peeling the banana, but was able to cut it all by himself with a spreader.
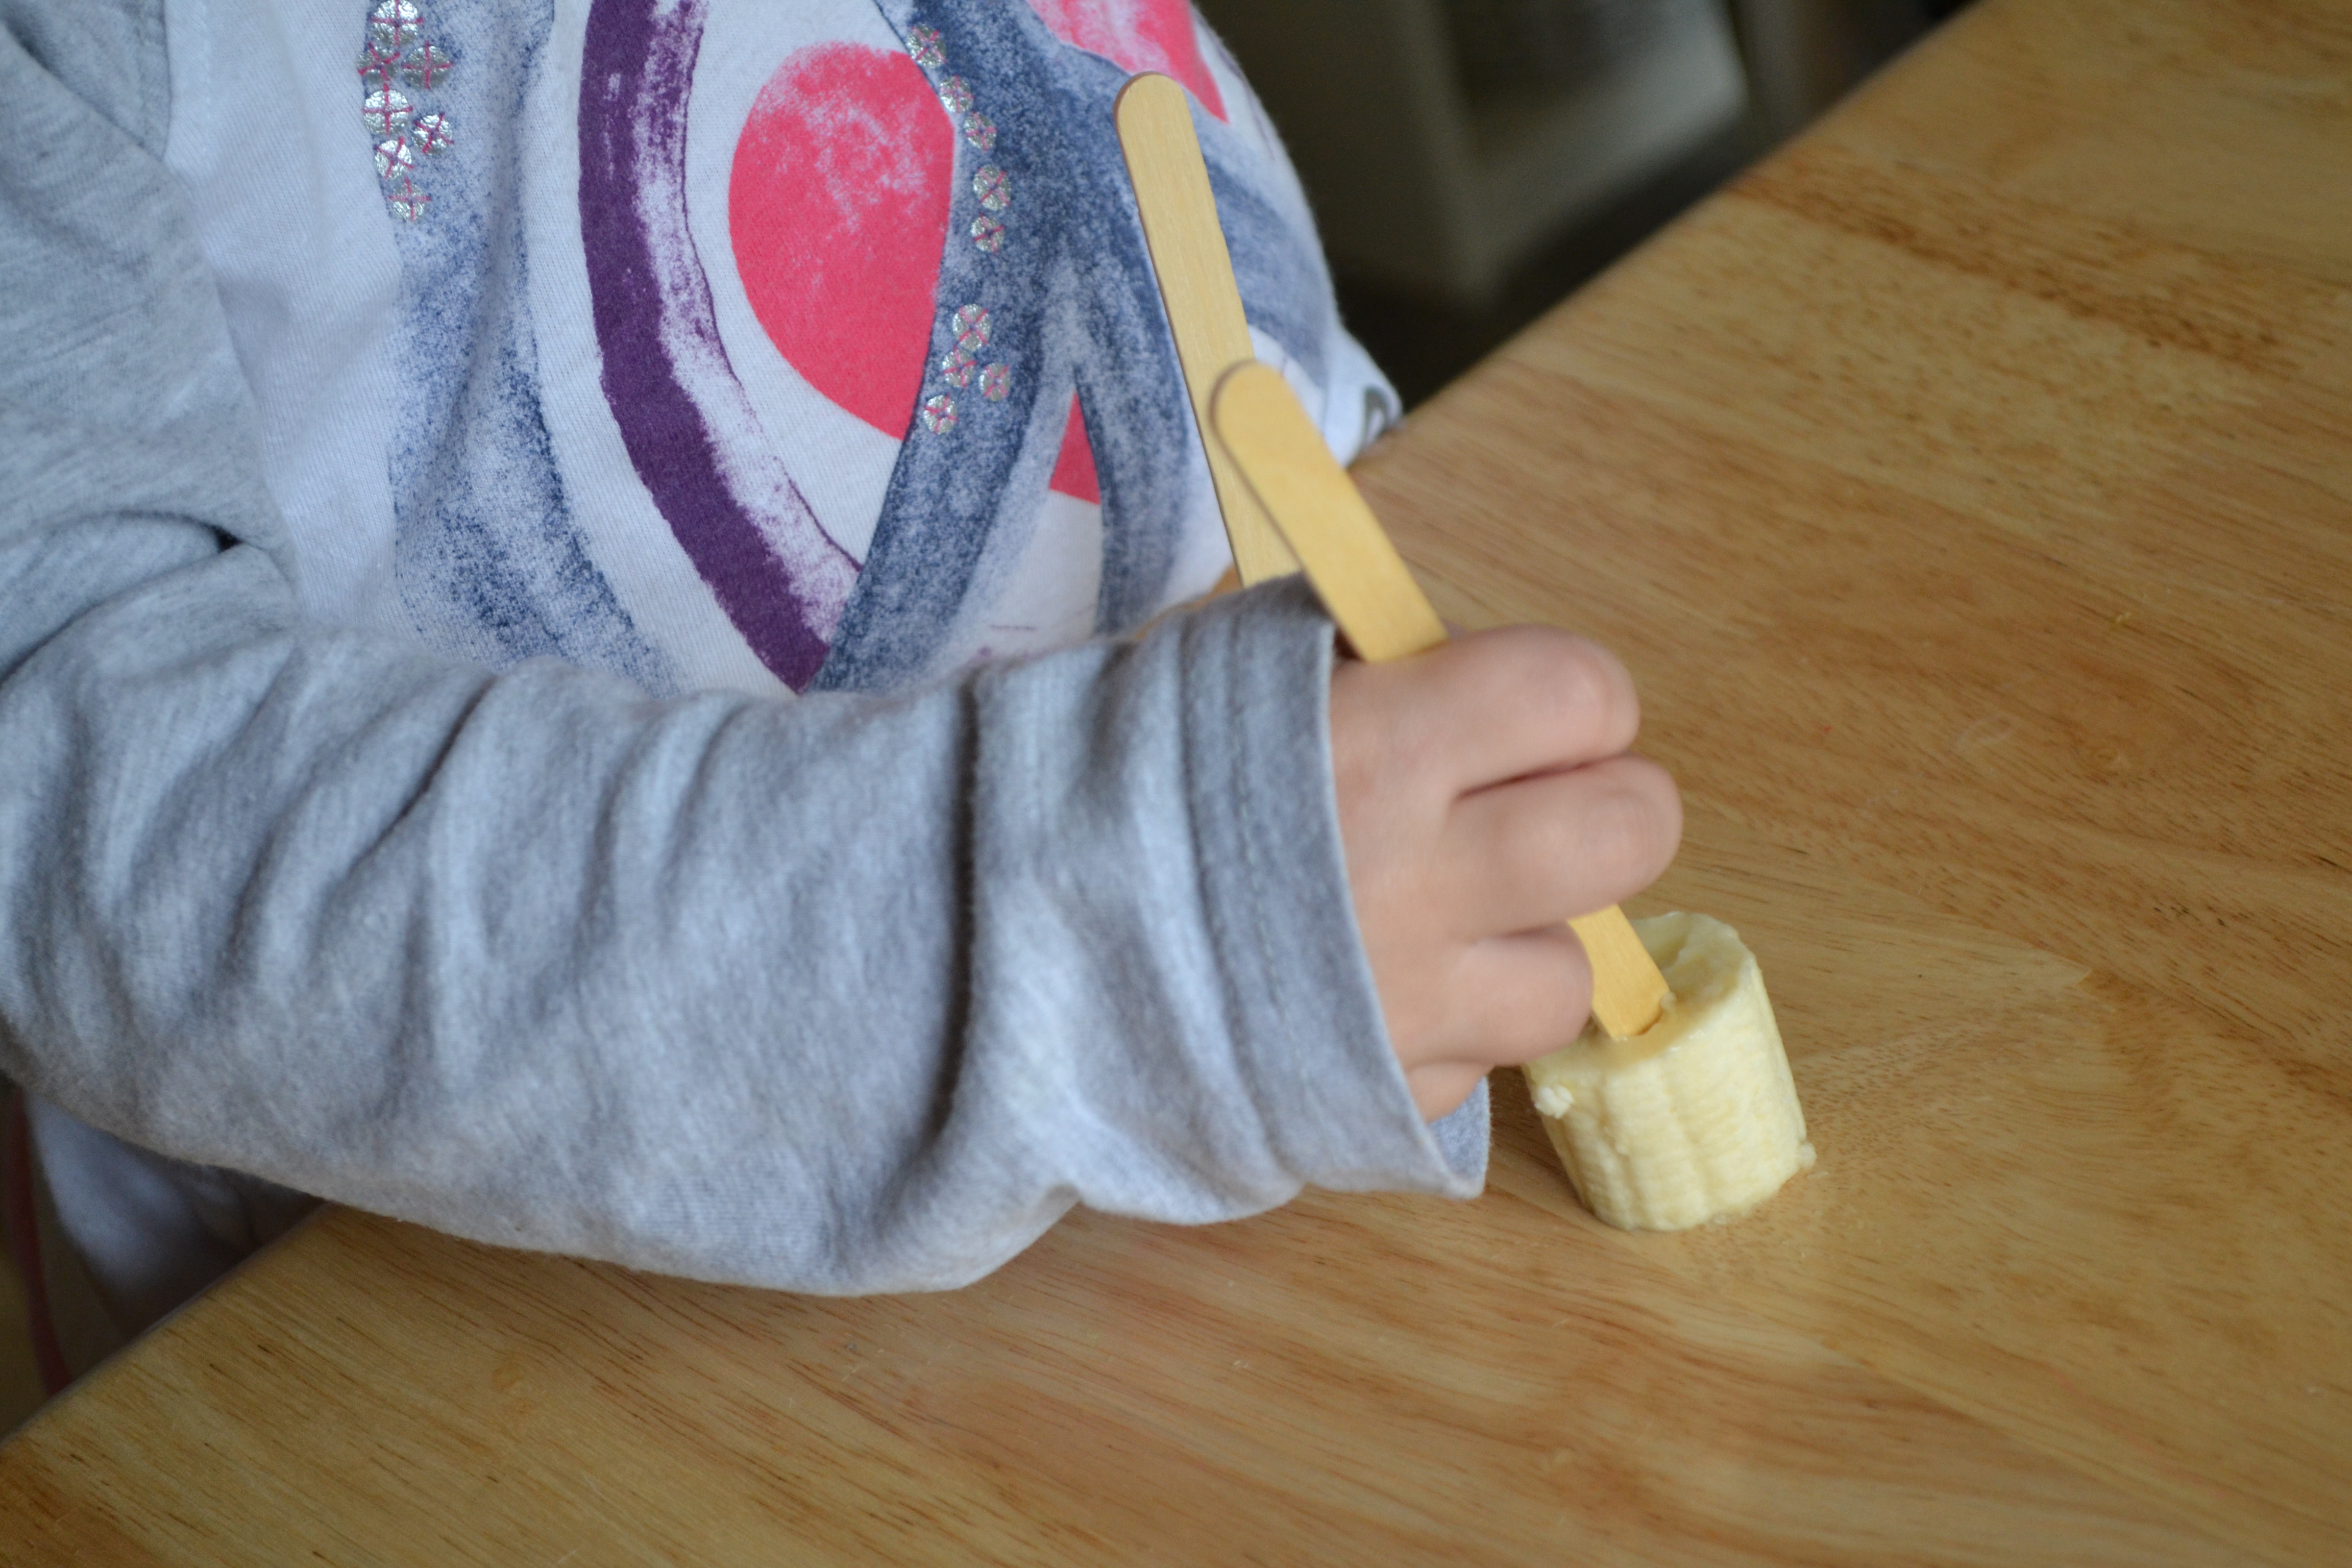
Step 3
Then, we put a Popsicle stick into each piece of banana. We found it was easier to do this with bananas that weren't overly ripe. The sticks went right through the really ripe bananas and we had more trouble dipping them, but they worked out fine once we got them into the freezer.
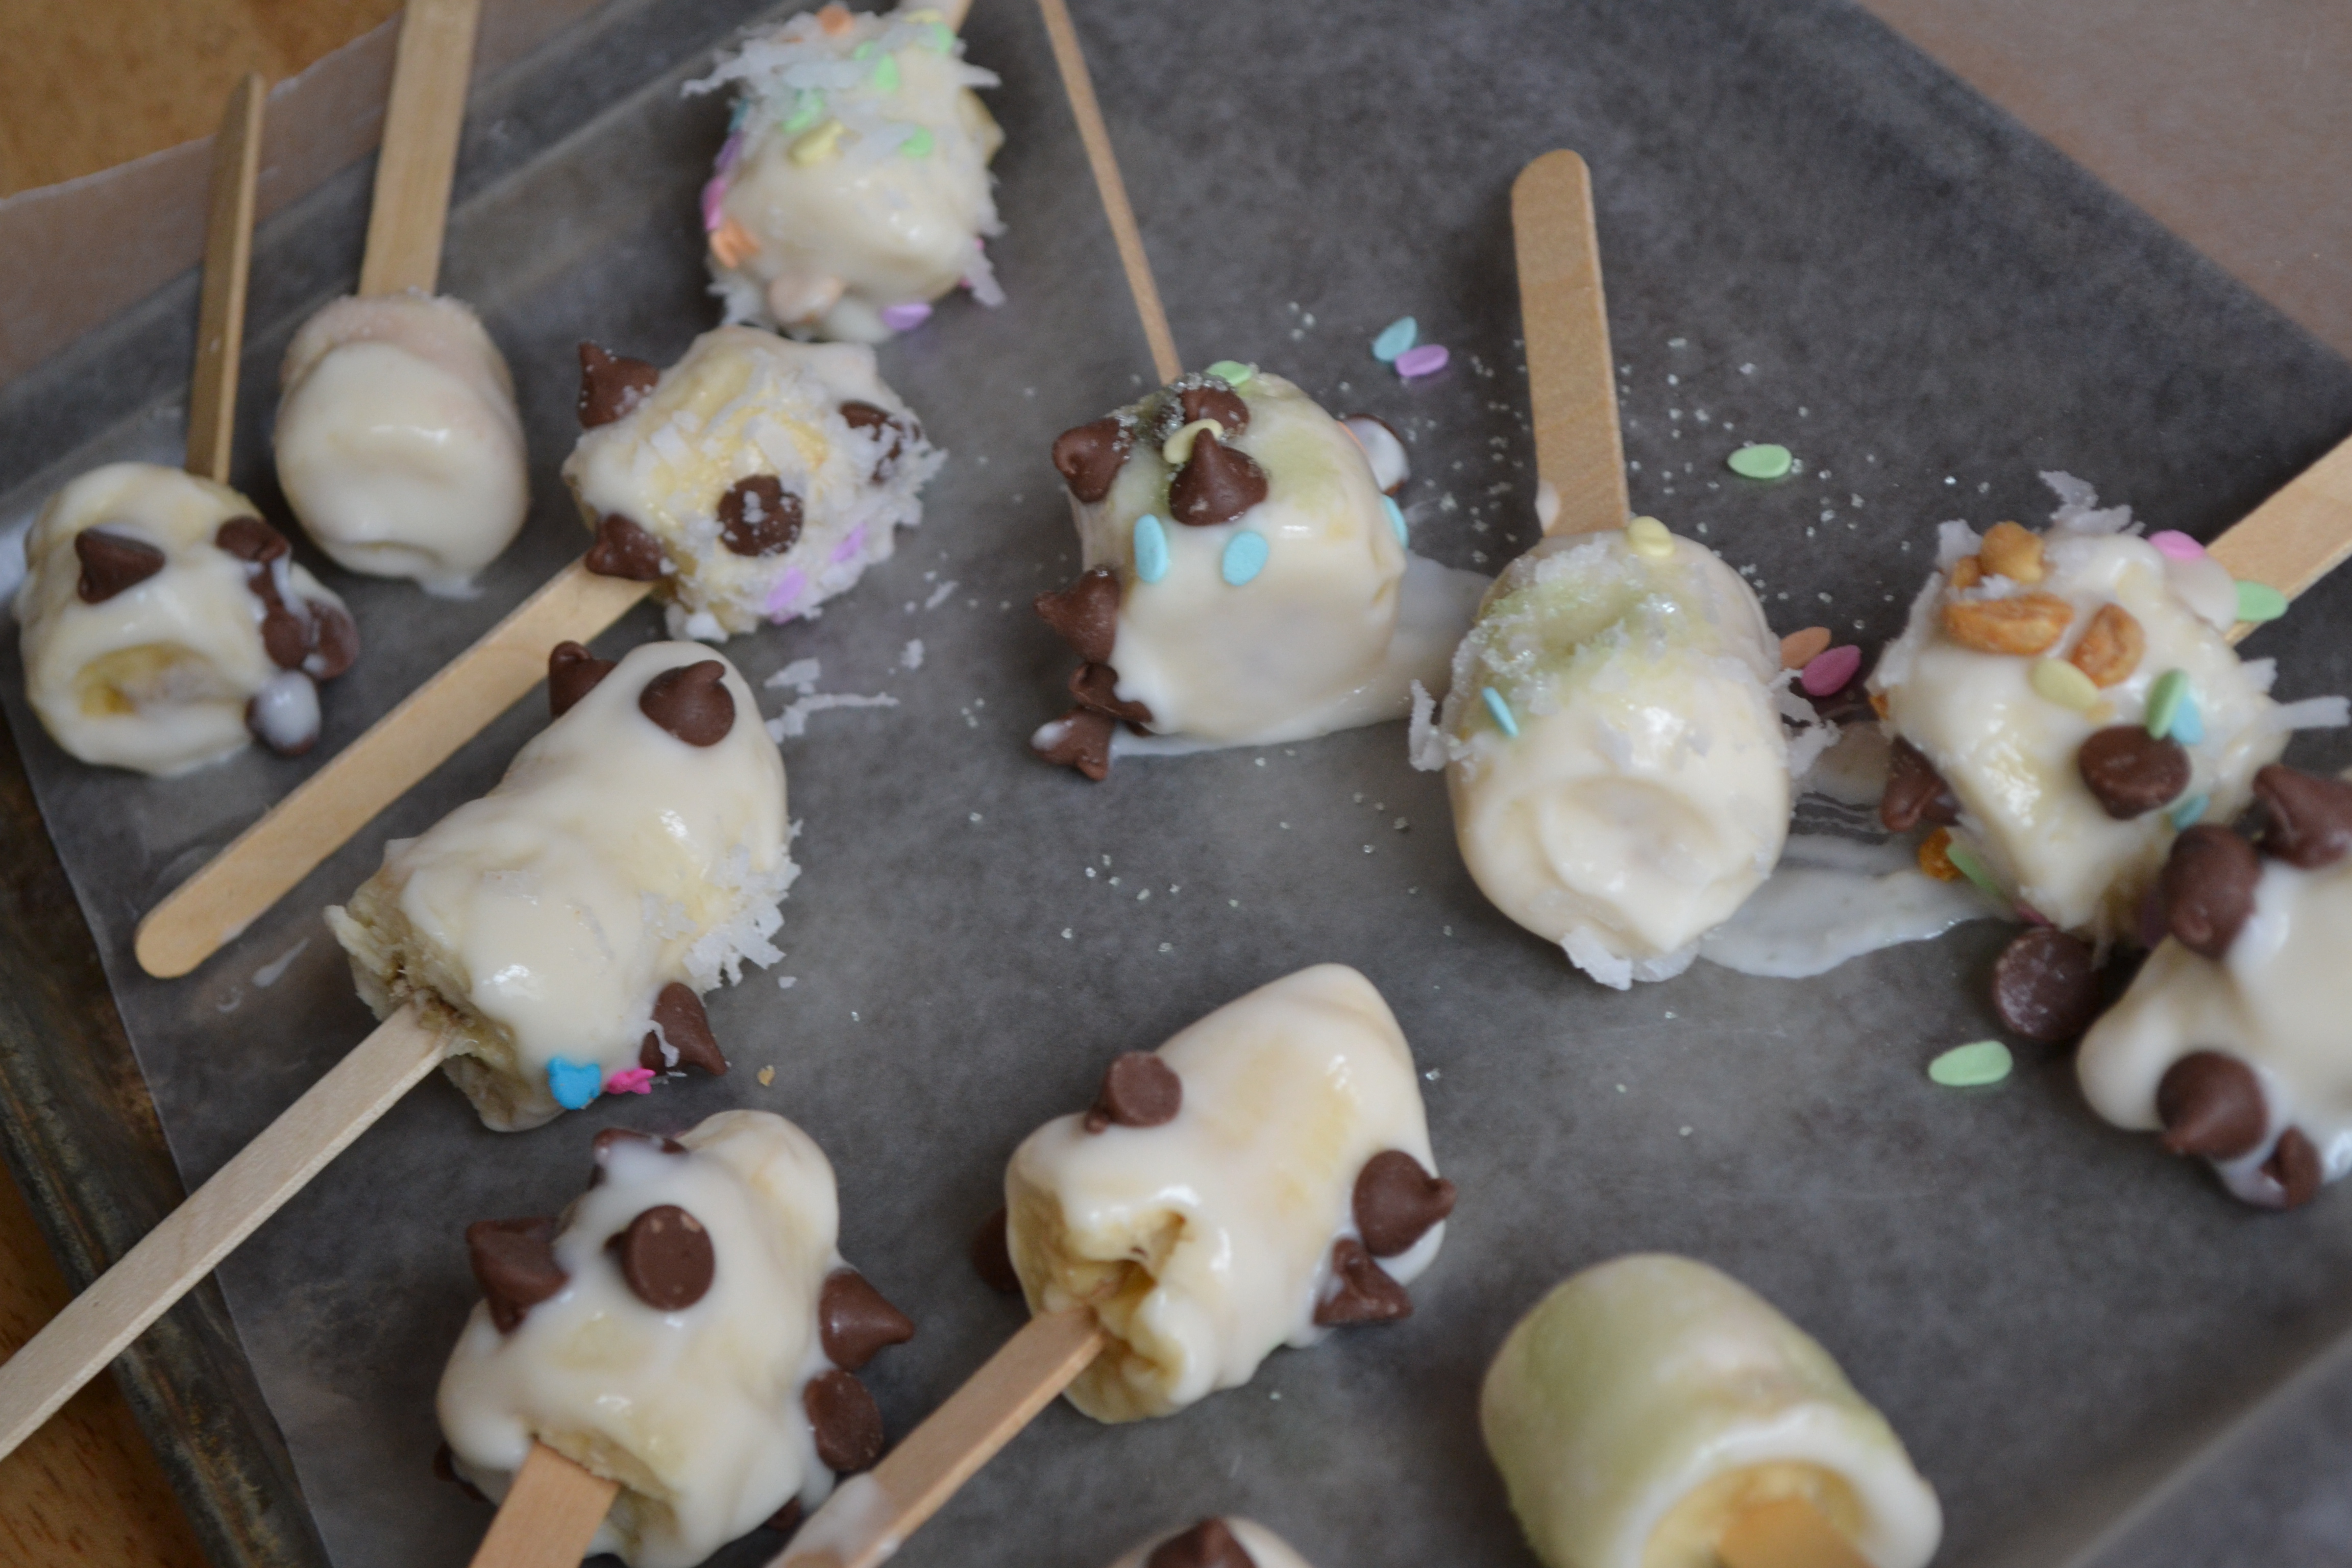
Step 4
I put some vanilla yogurt in a bowl and the kids dipped and swirled their bananas into the yogurt. I showed them how to swirl their pops to get the yogurt even and cover the hole thing. My two-year-old mainly played with his banana and yogurt and smashed it up, but he had a great time and got a healthy snack out of the activity!

Step 5
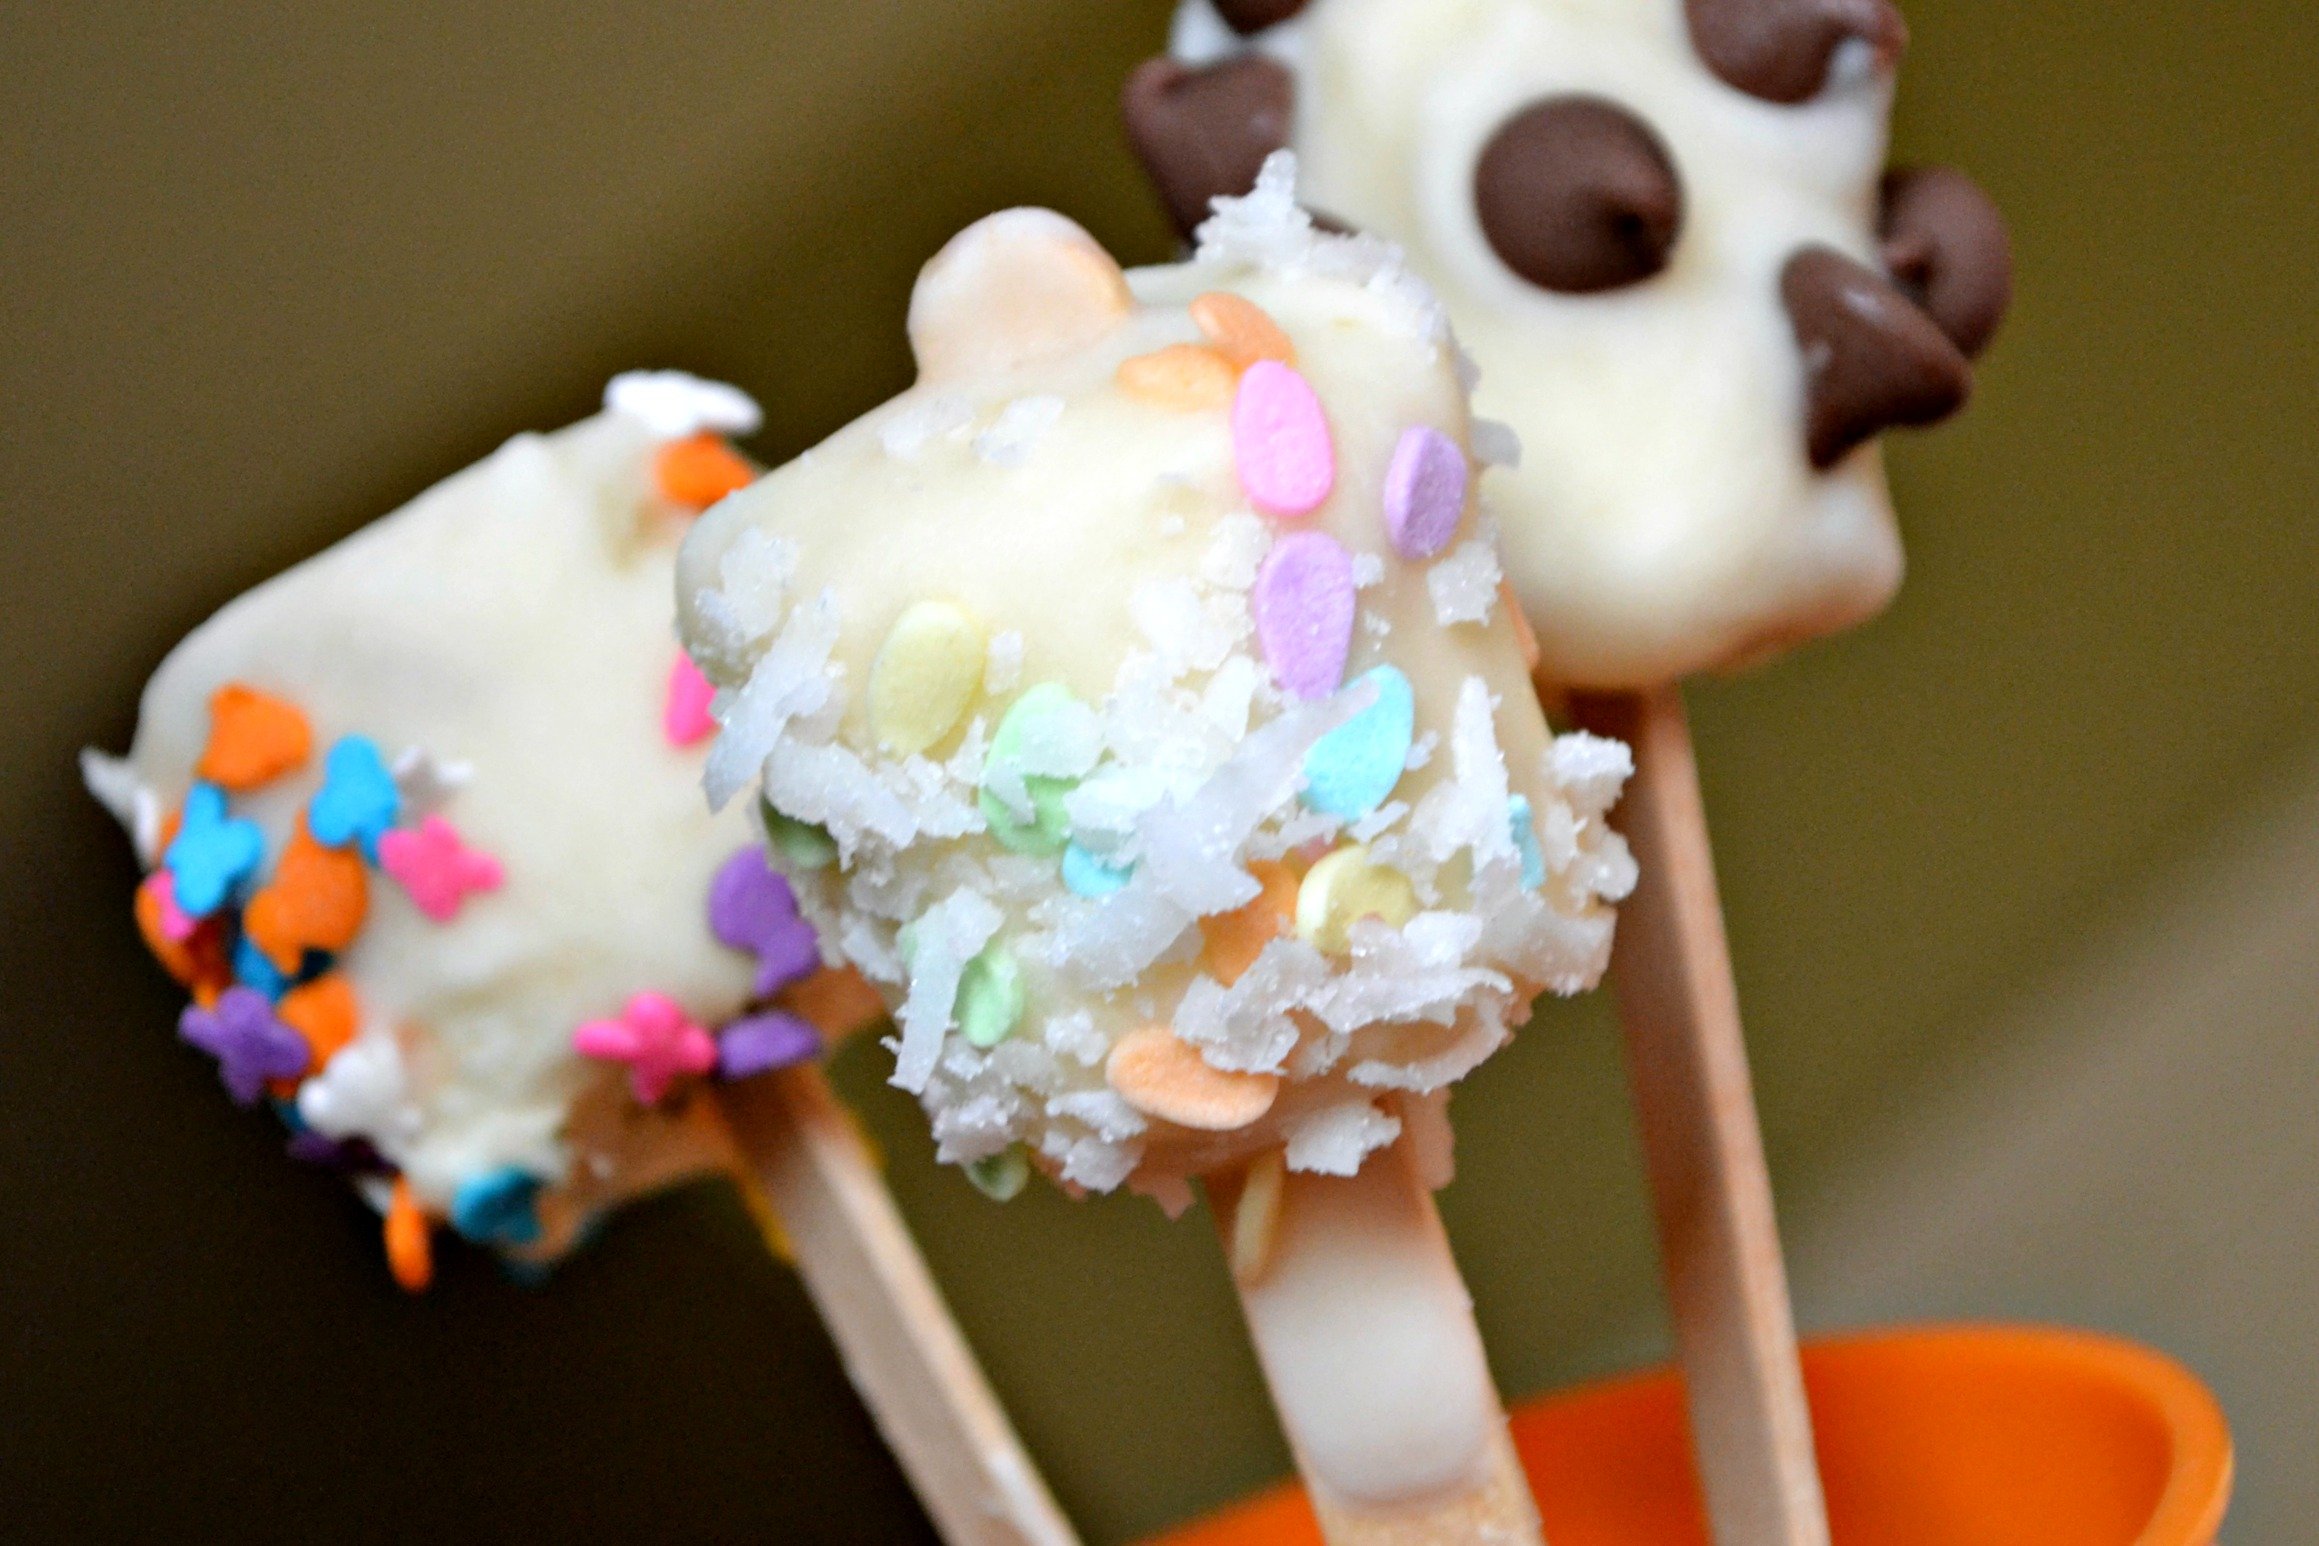
After they were dipped in yogurt, my kids sprinkled their chosen toppings on their banana pops. I put them into individual bowls to keep little hands out of the bags and to make it easier for them to get the ones they wanted.

Step 6
When they were finished with their masterpieces, the kids put their pops on a cookie sheet covered in wax paper and we put them in the freezer for about 4 hours. We used the leftover yogurt and toppings to make a yummy morning snack.
Done!
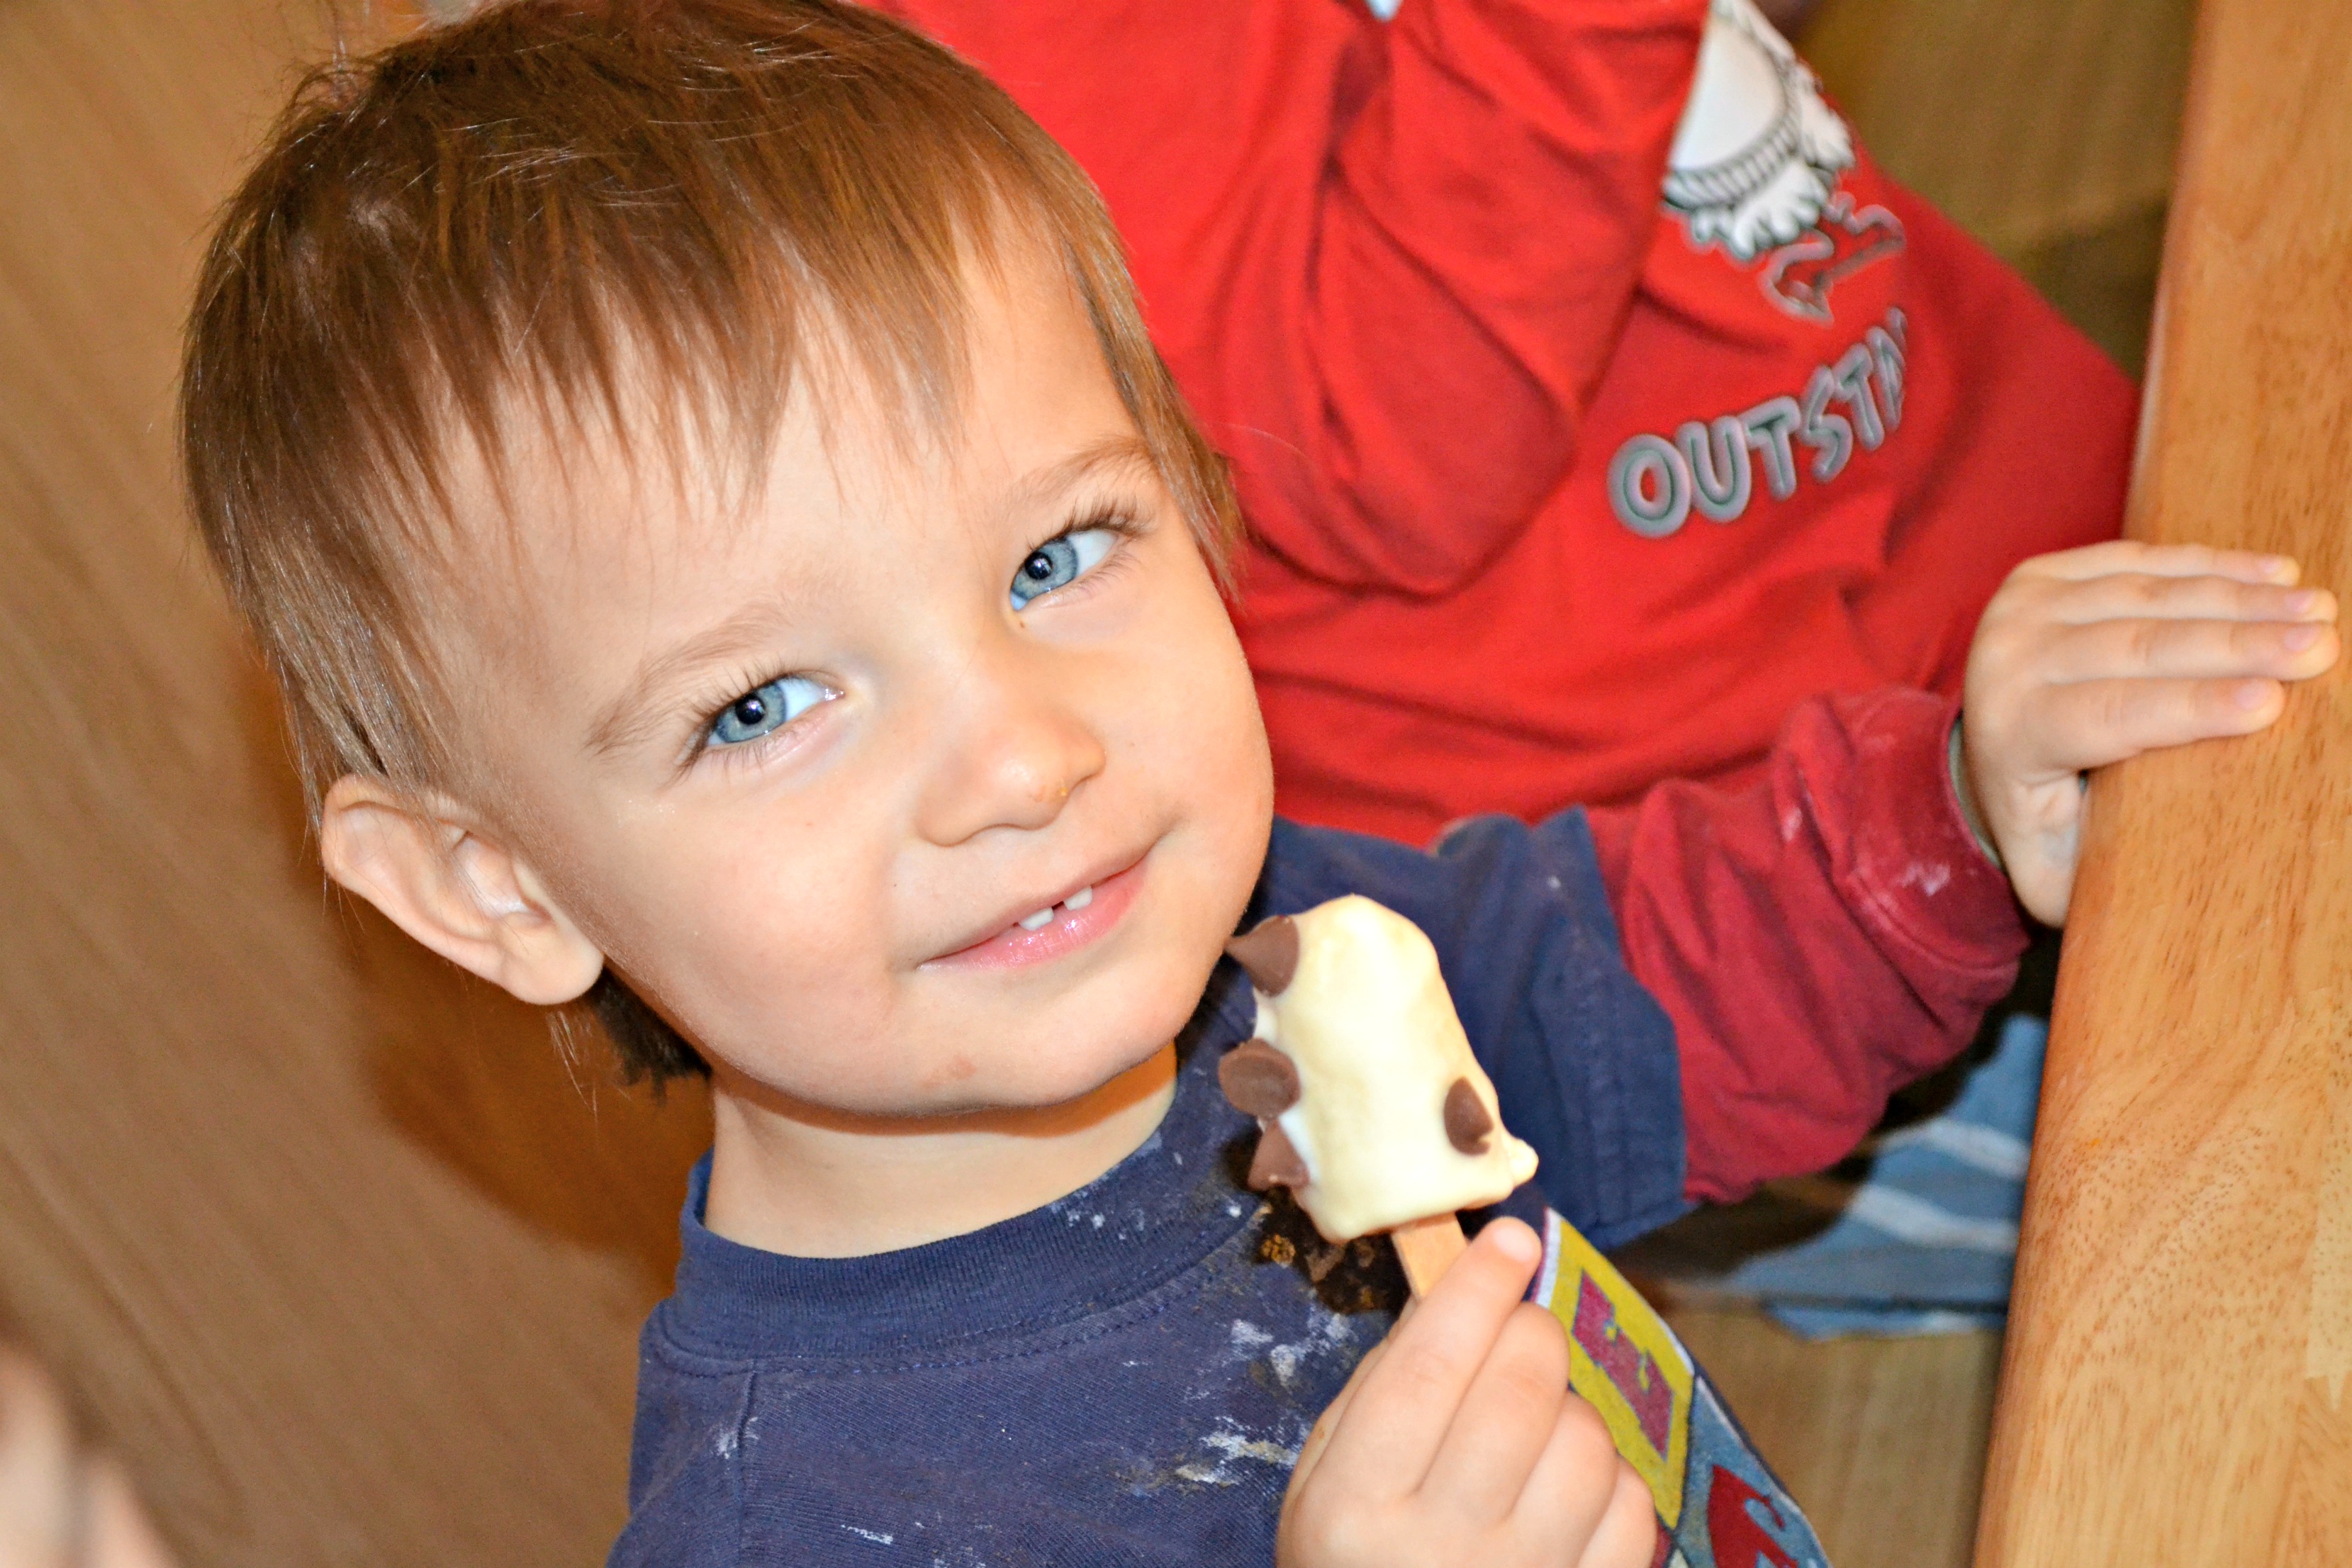
The kids had their pops that afternoon and thought they were getting dessert before dinner! I love when the kids really enjoy eating healthy. These made a yummy and nutritious snack that we are sure to make again and again!