Step-by-step tutorial
Step 1
Pour 1 cup of water into your pot and bring it to a boil. Gradually add 2 cups of sugar to your pot, stirring continuously. Keep the mixture at a boil.


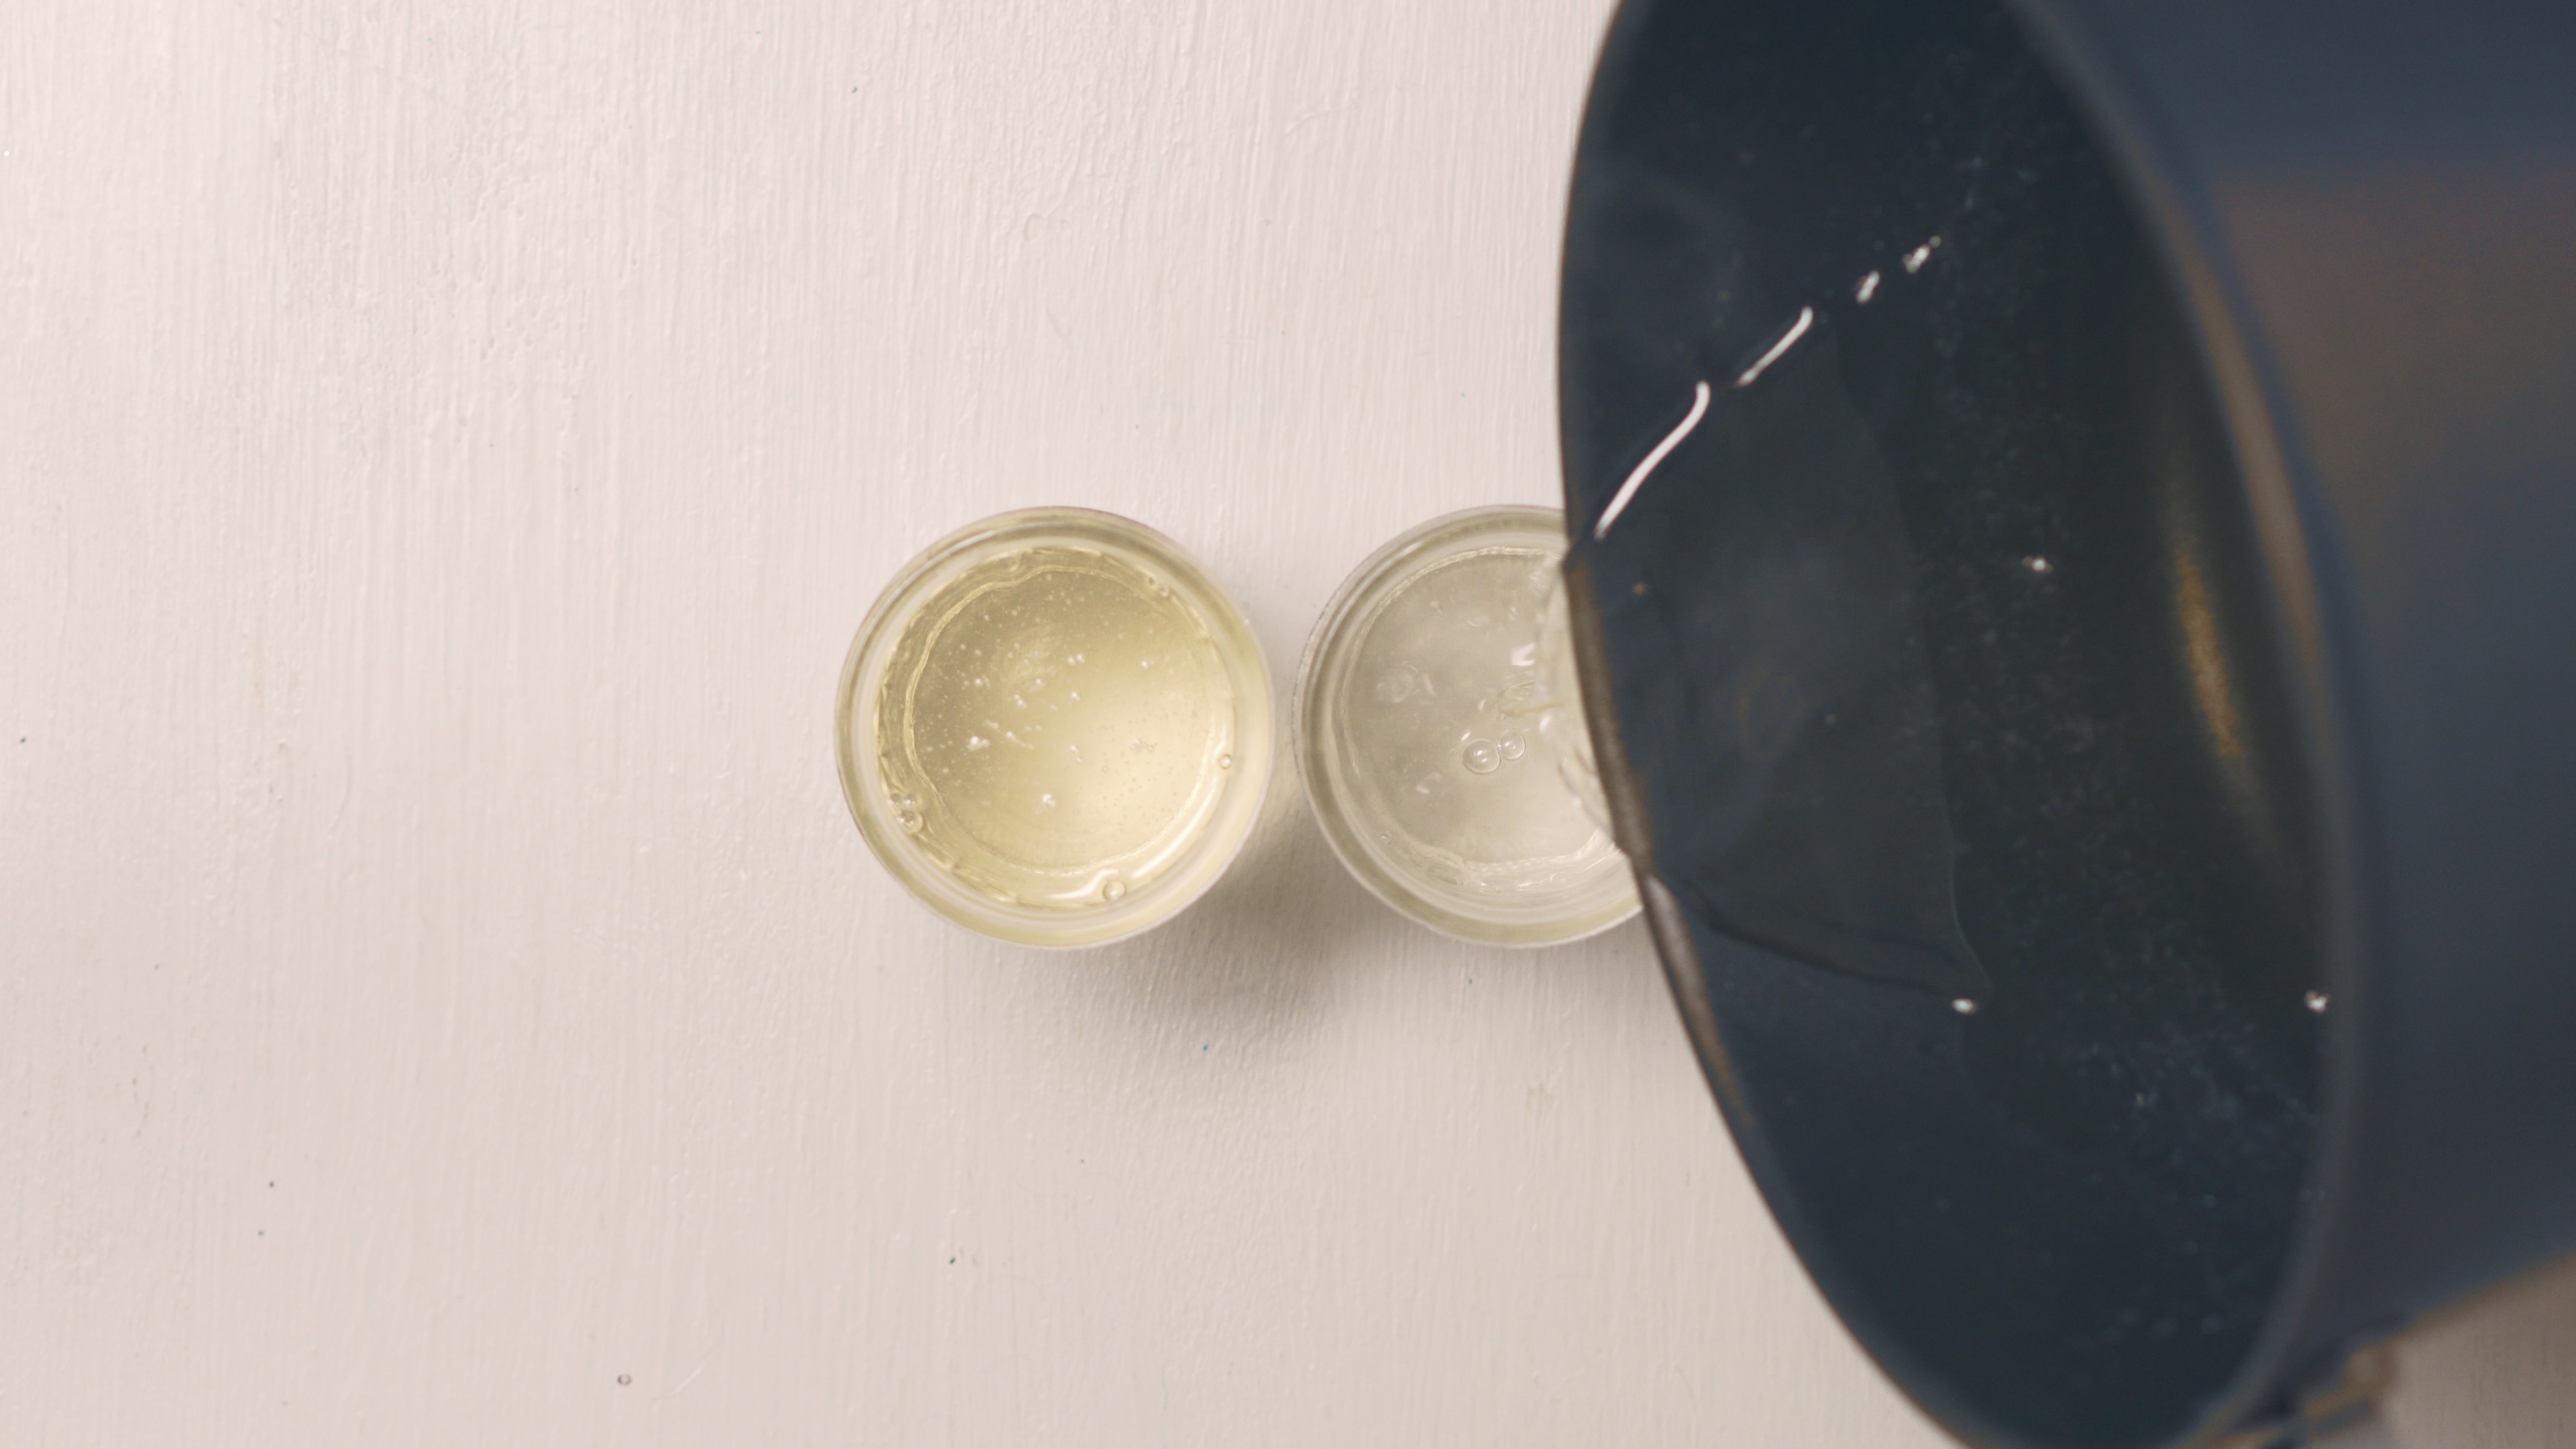
Step 2
Once all the sugar is dissolved, take your mixture off the heat and allow it to cool for a few minutes. Then pour the mixture into your mason jars.
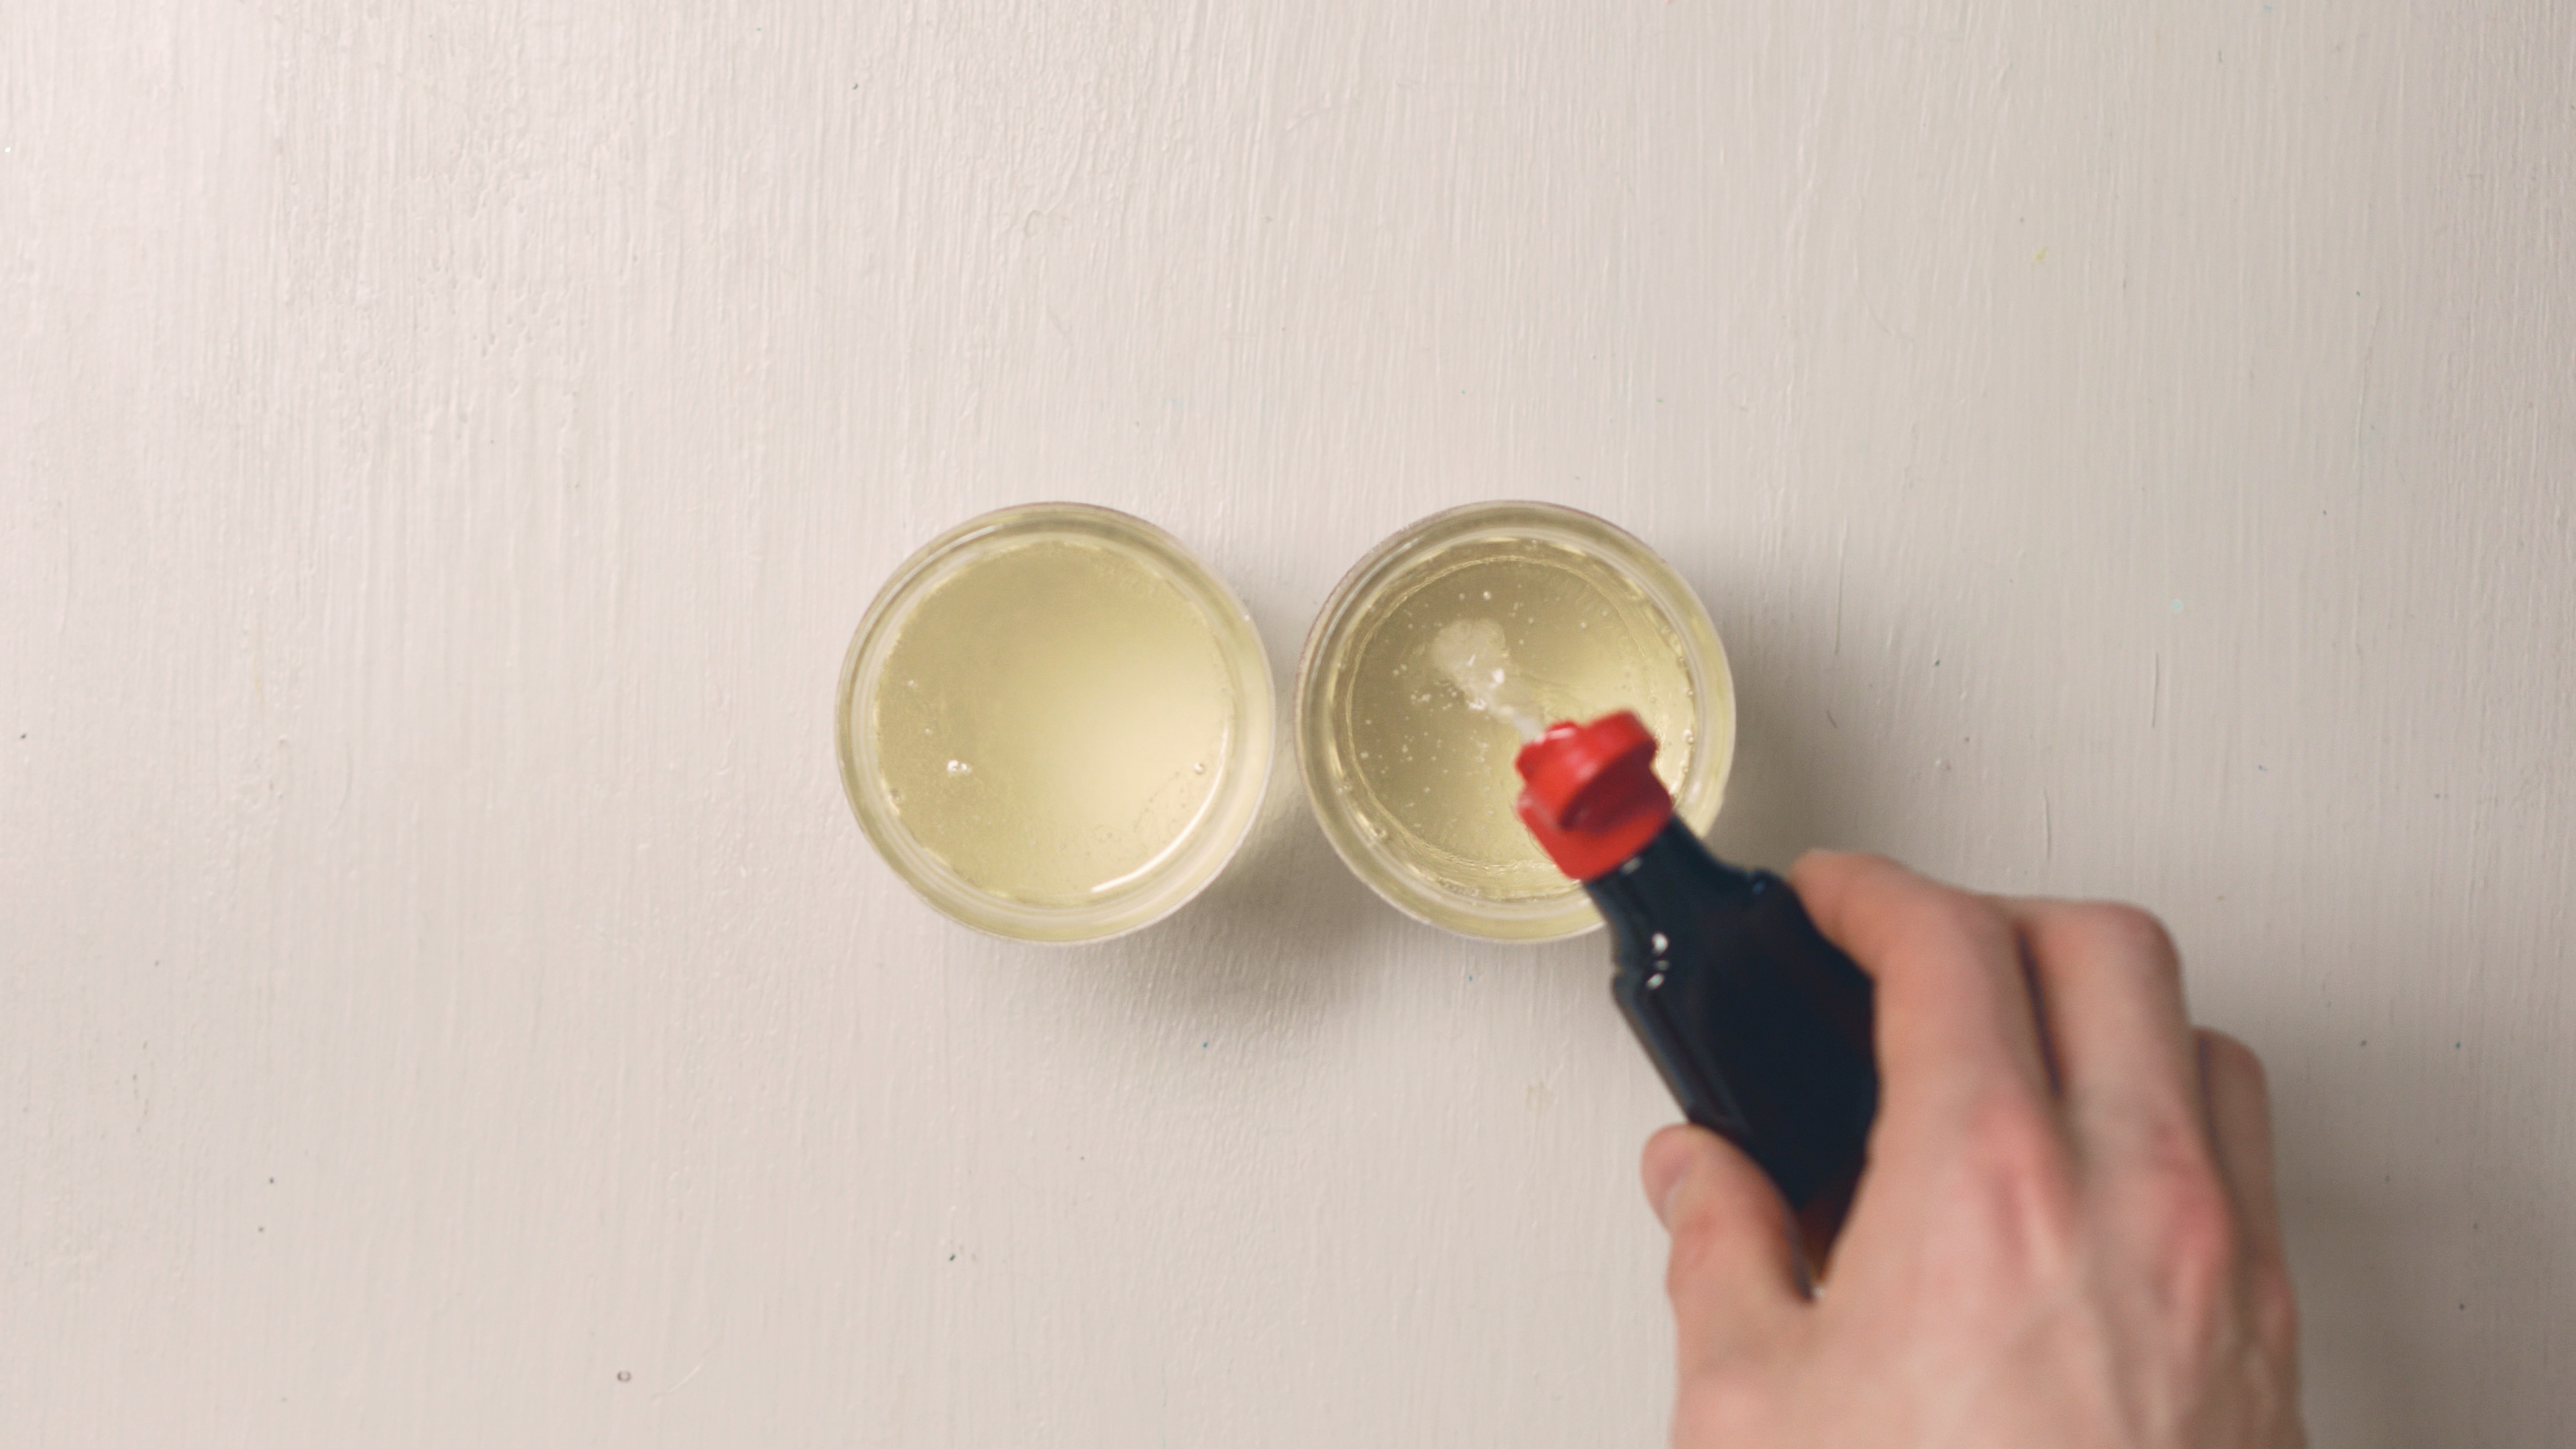
Step 3
Add a small splash of peppermint extract to each of the jars.
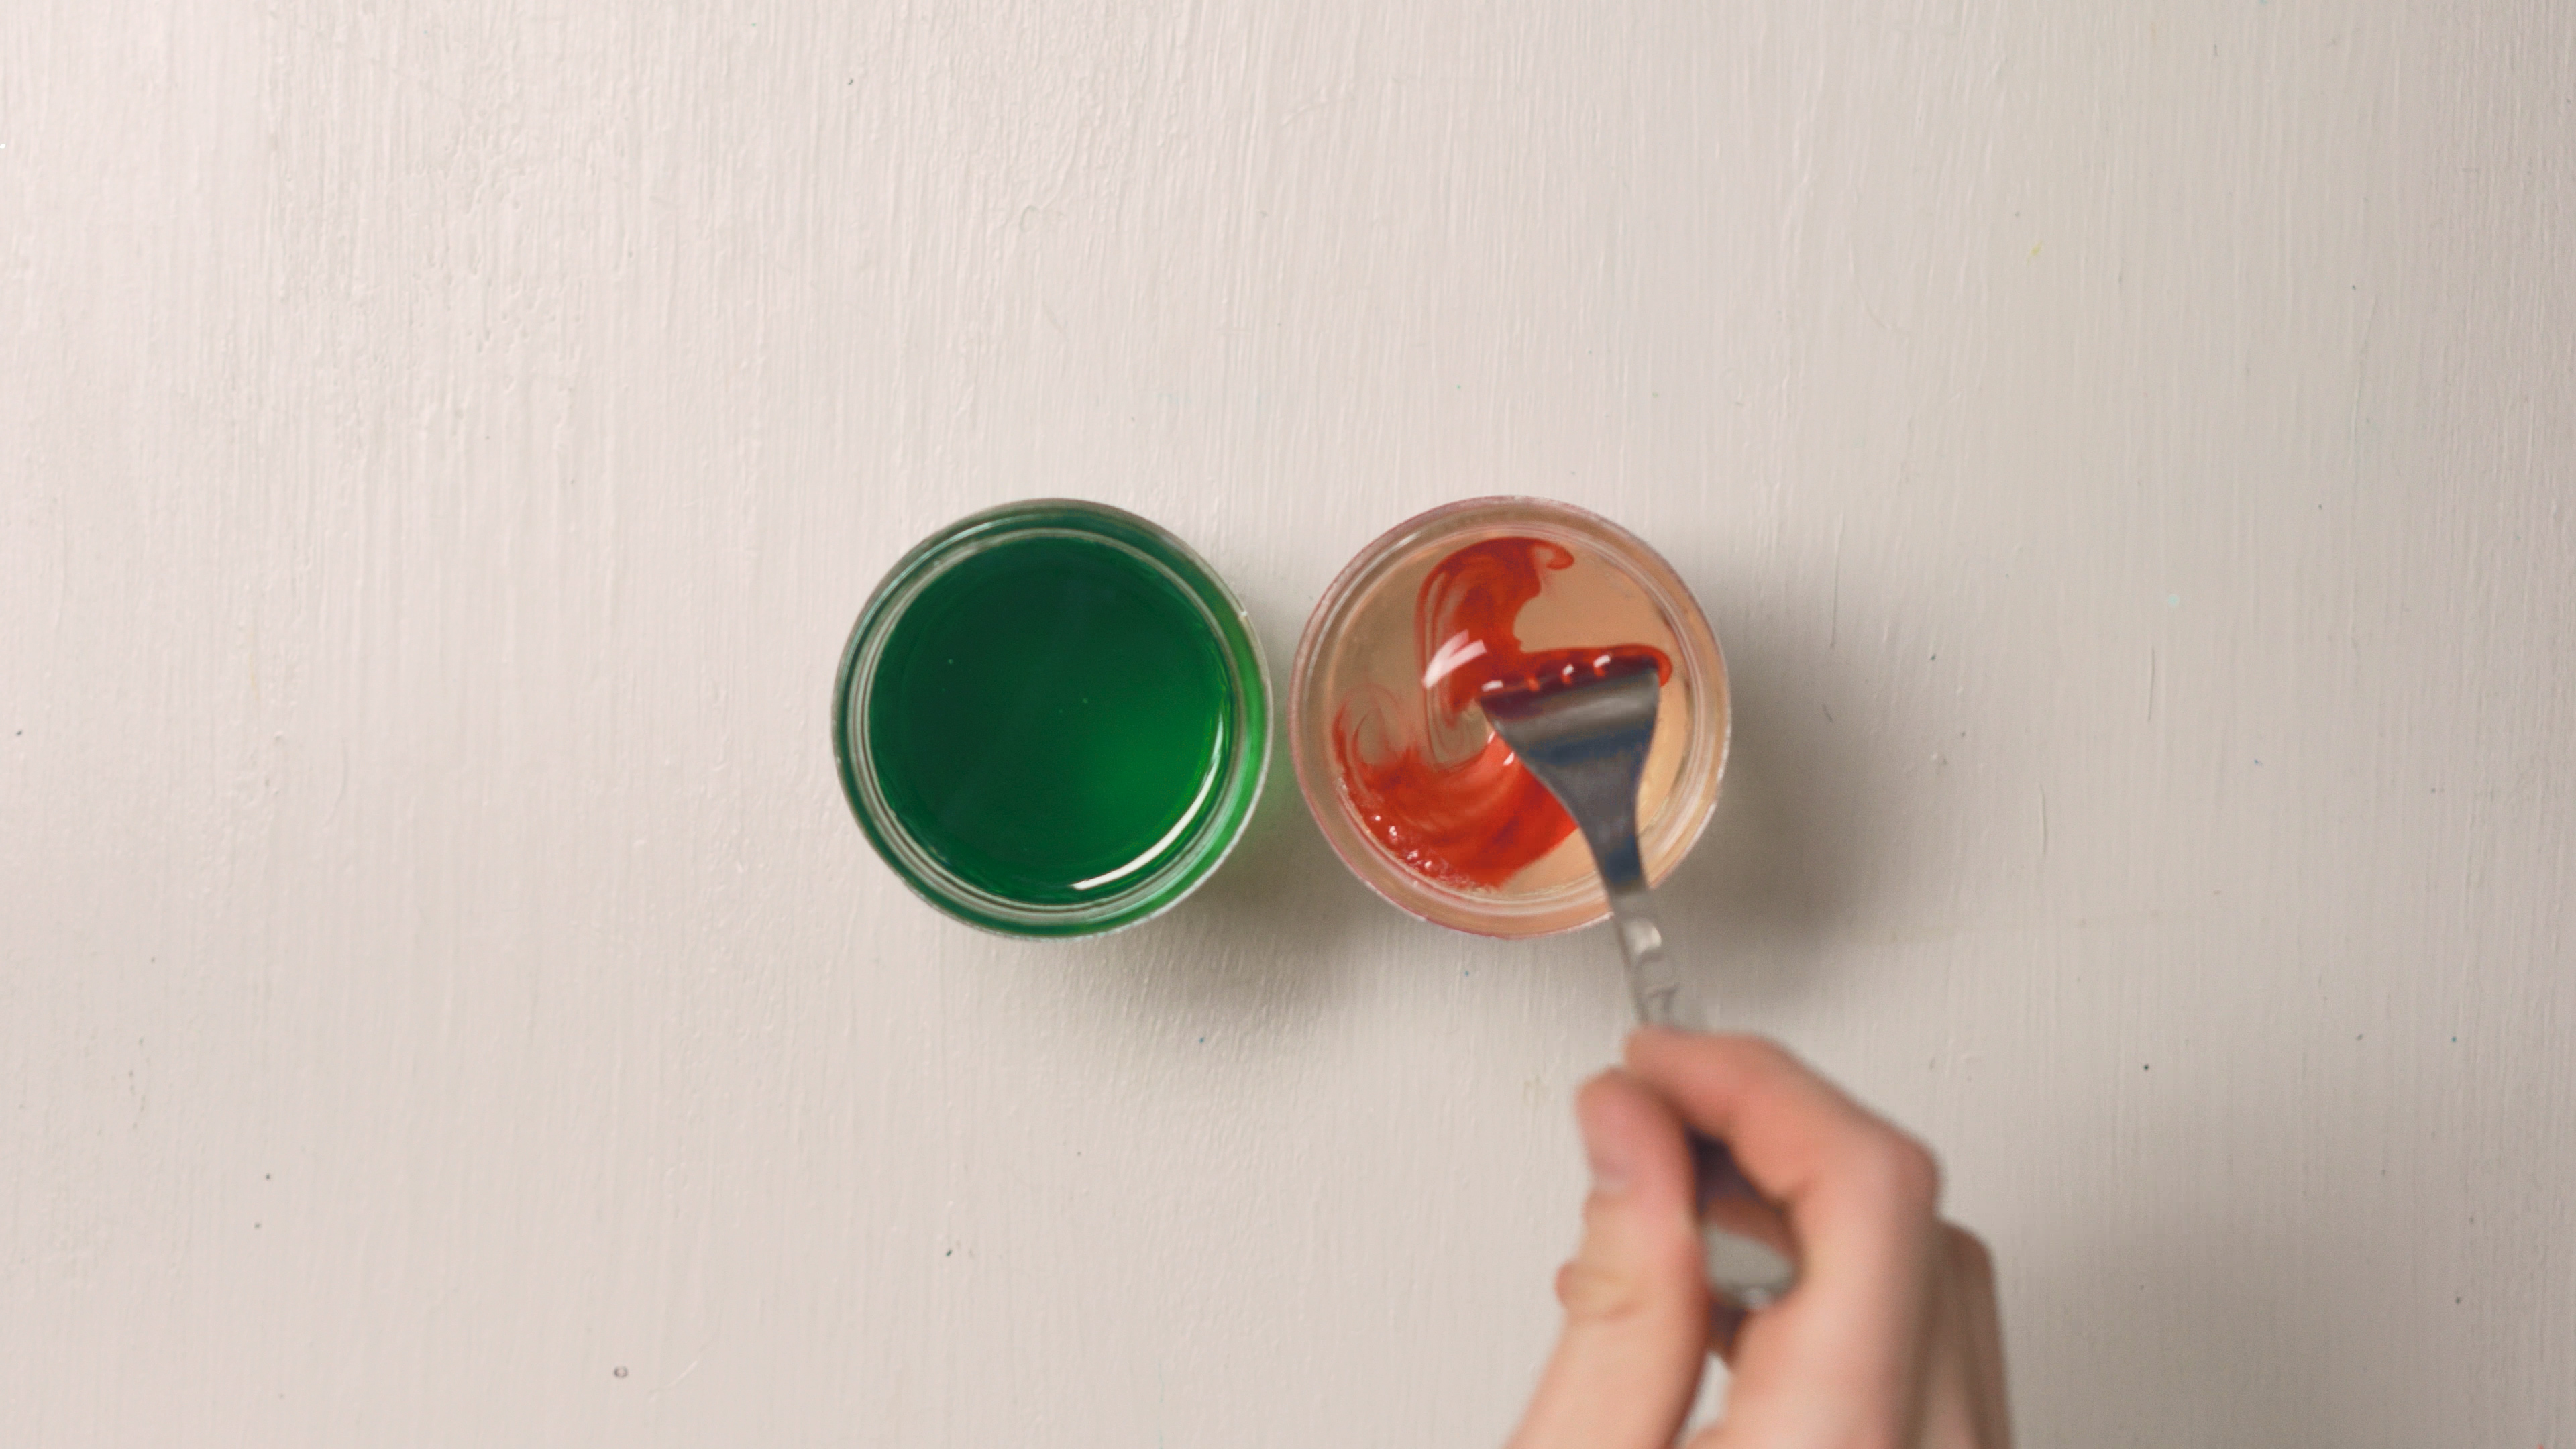
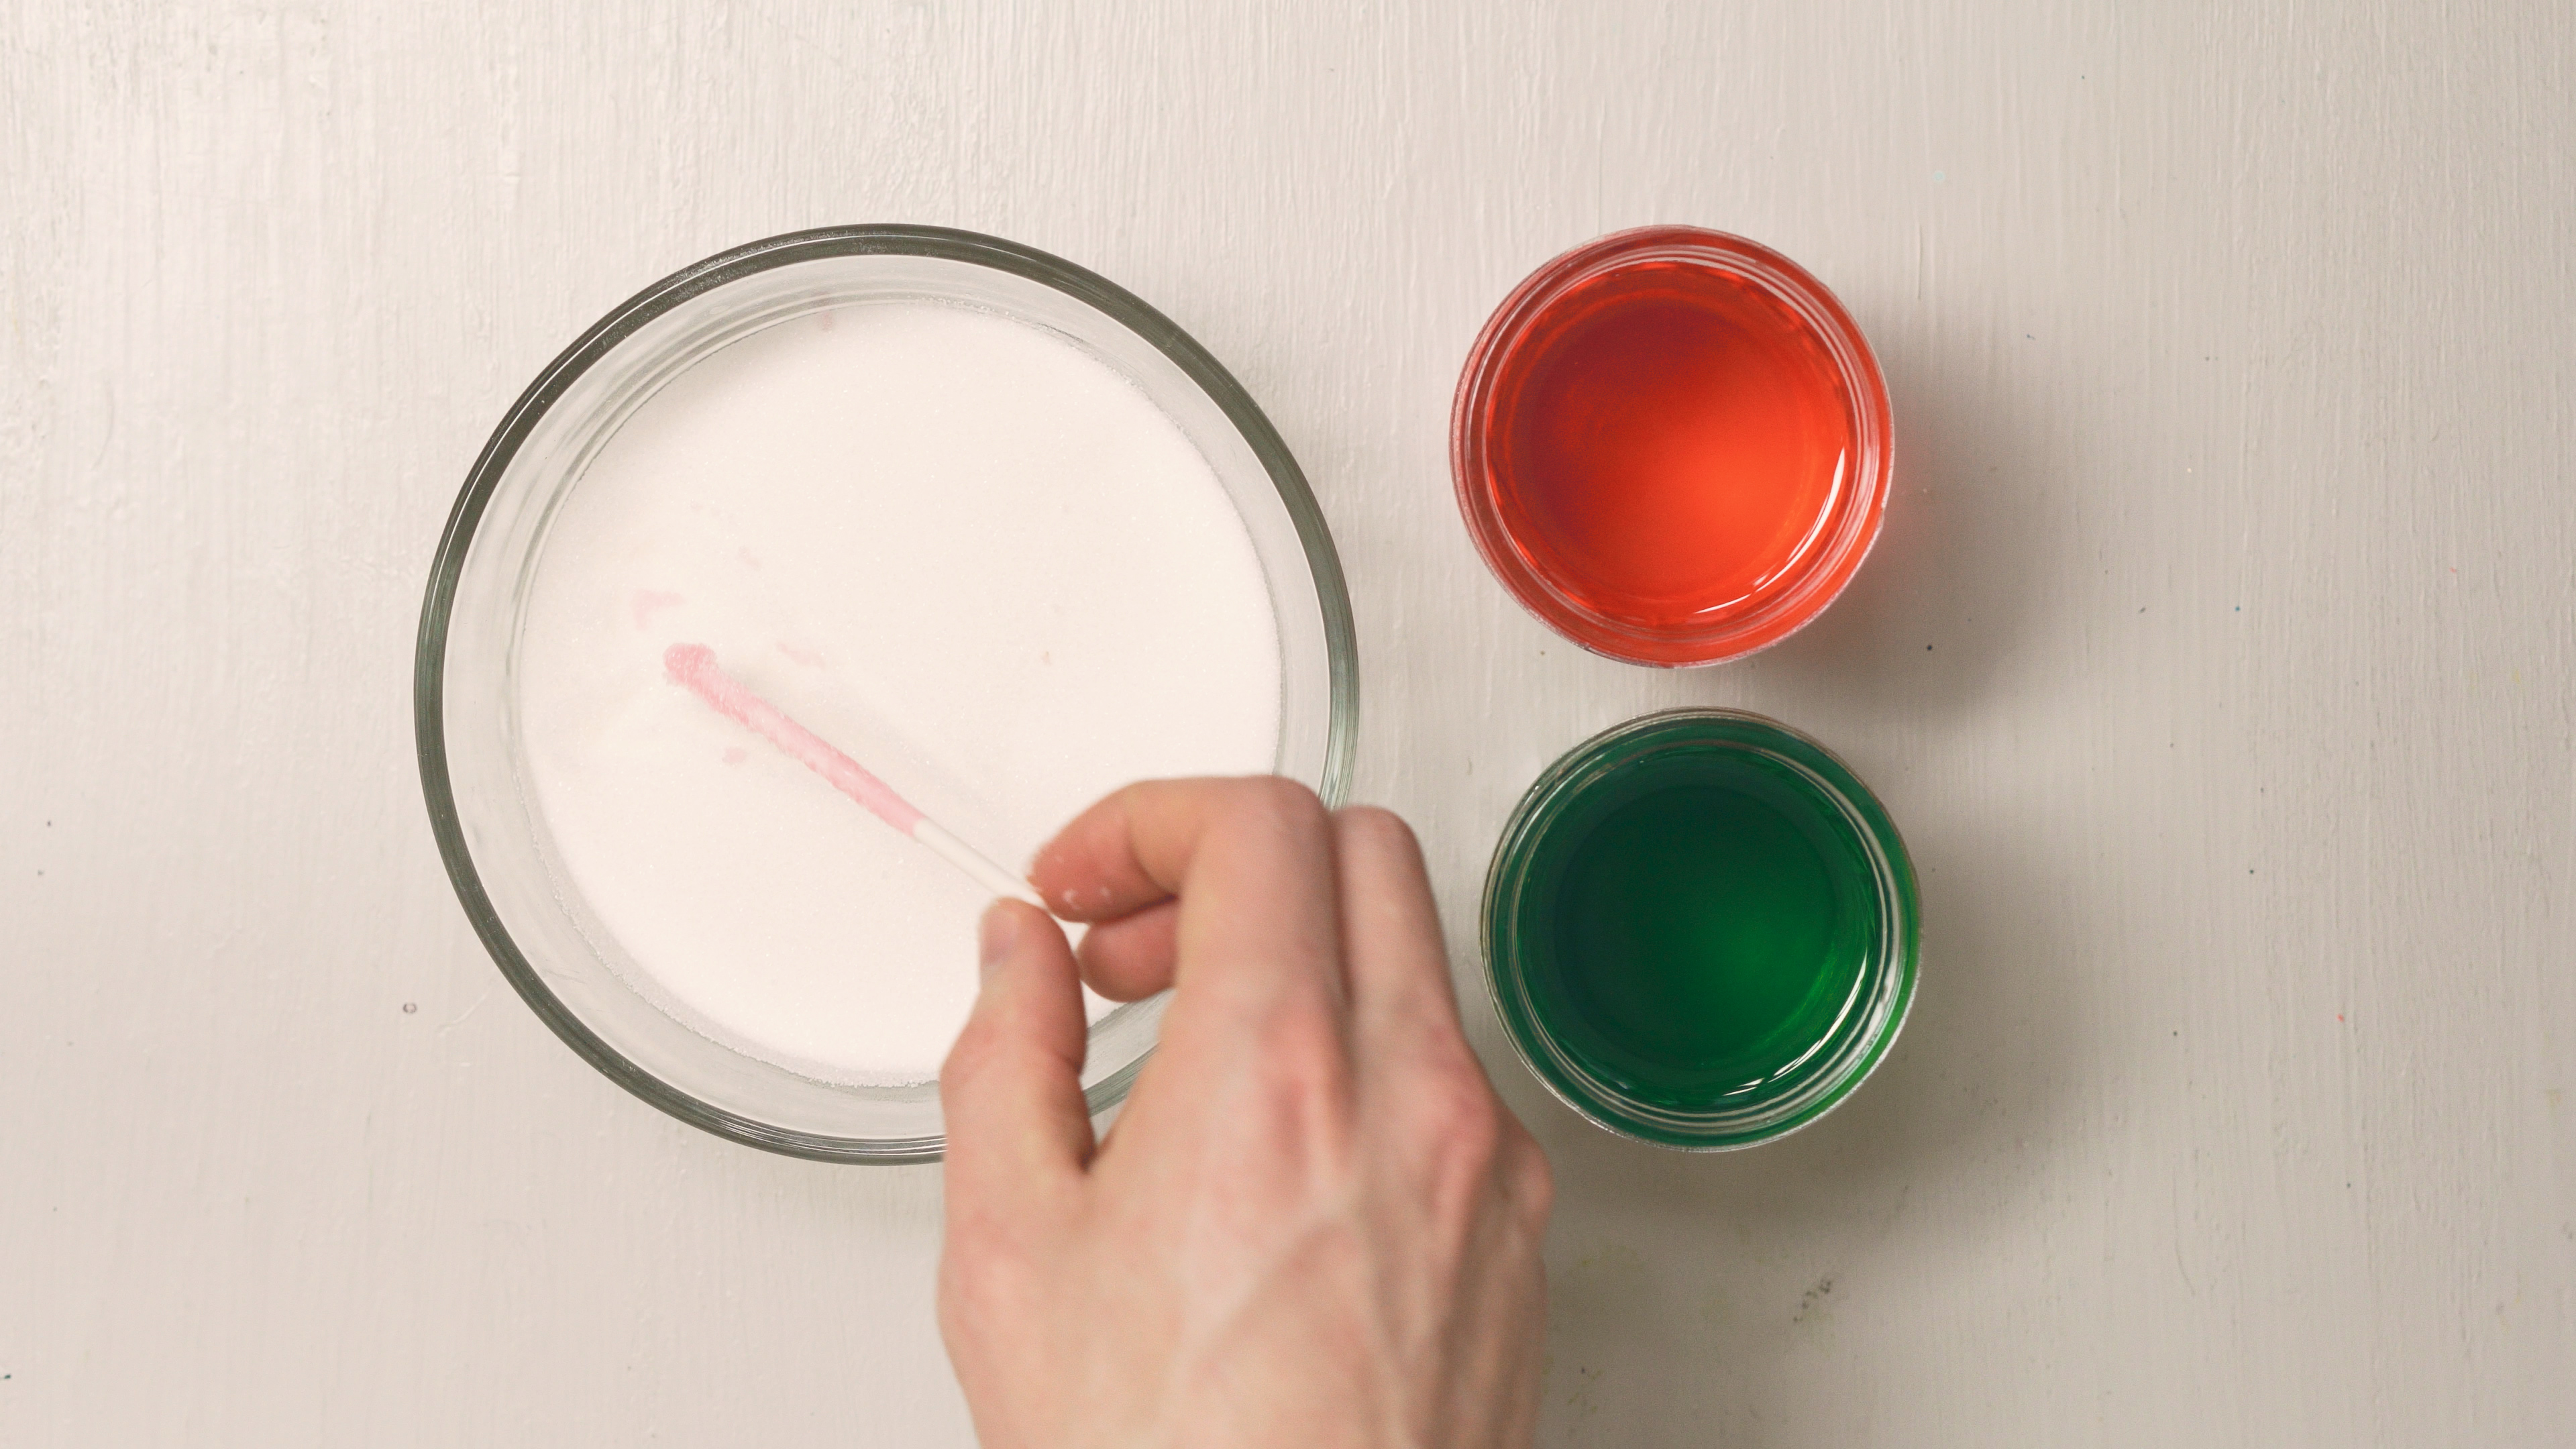
Step 4
Add a few drops of food coloring to each jar and stir.
Step 5
Dip a lollipop or cake pop stick into each of the jars and then roll each one in sugar.
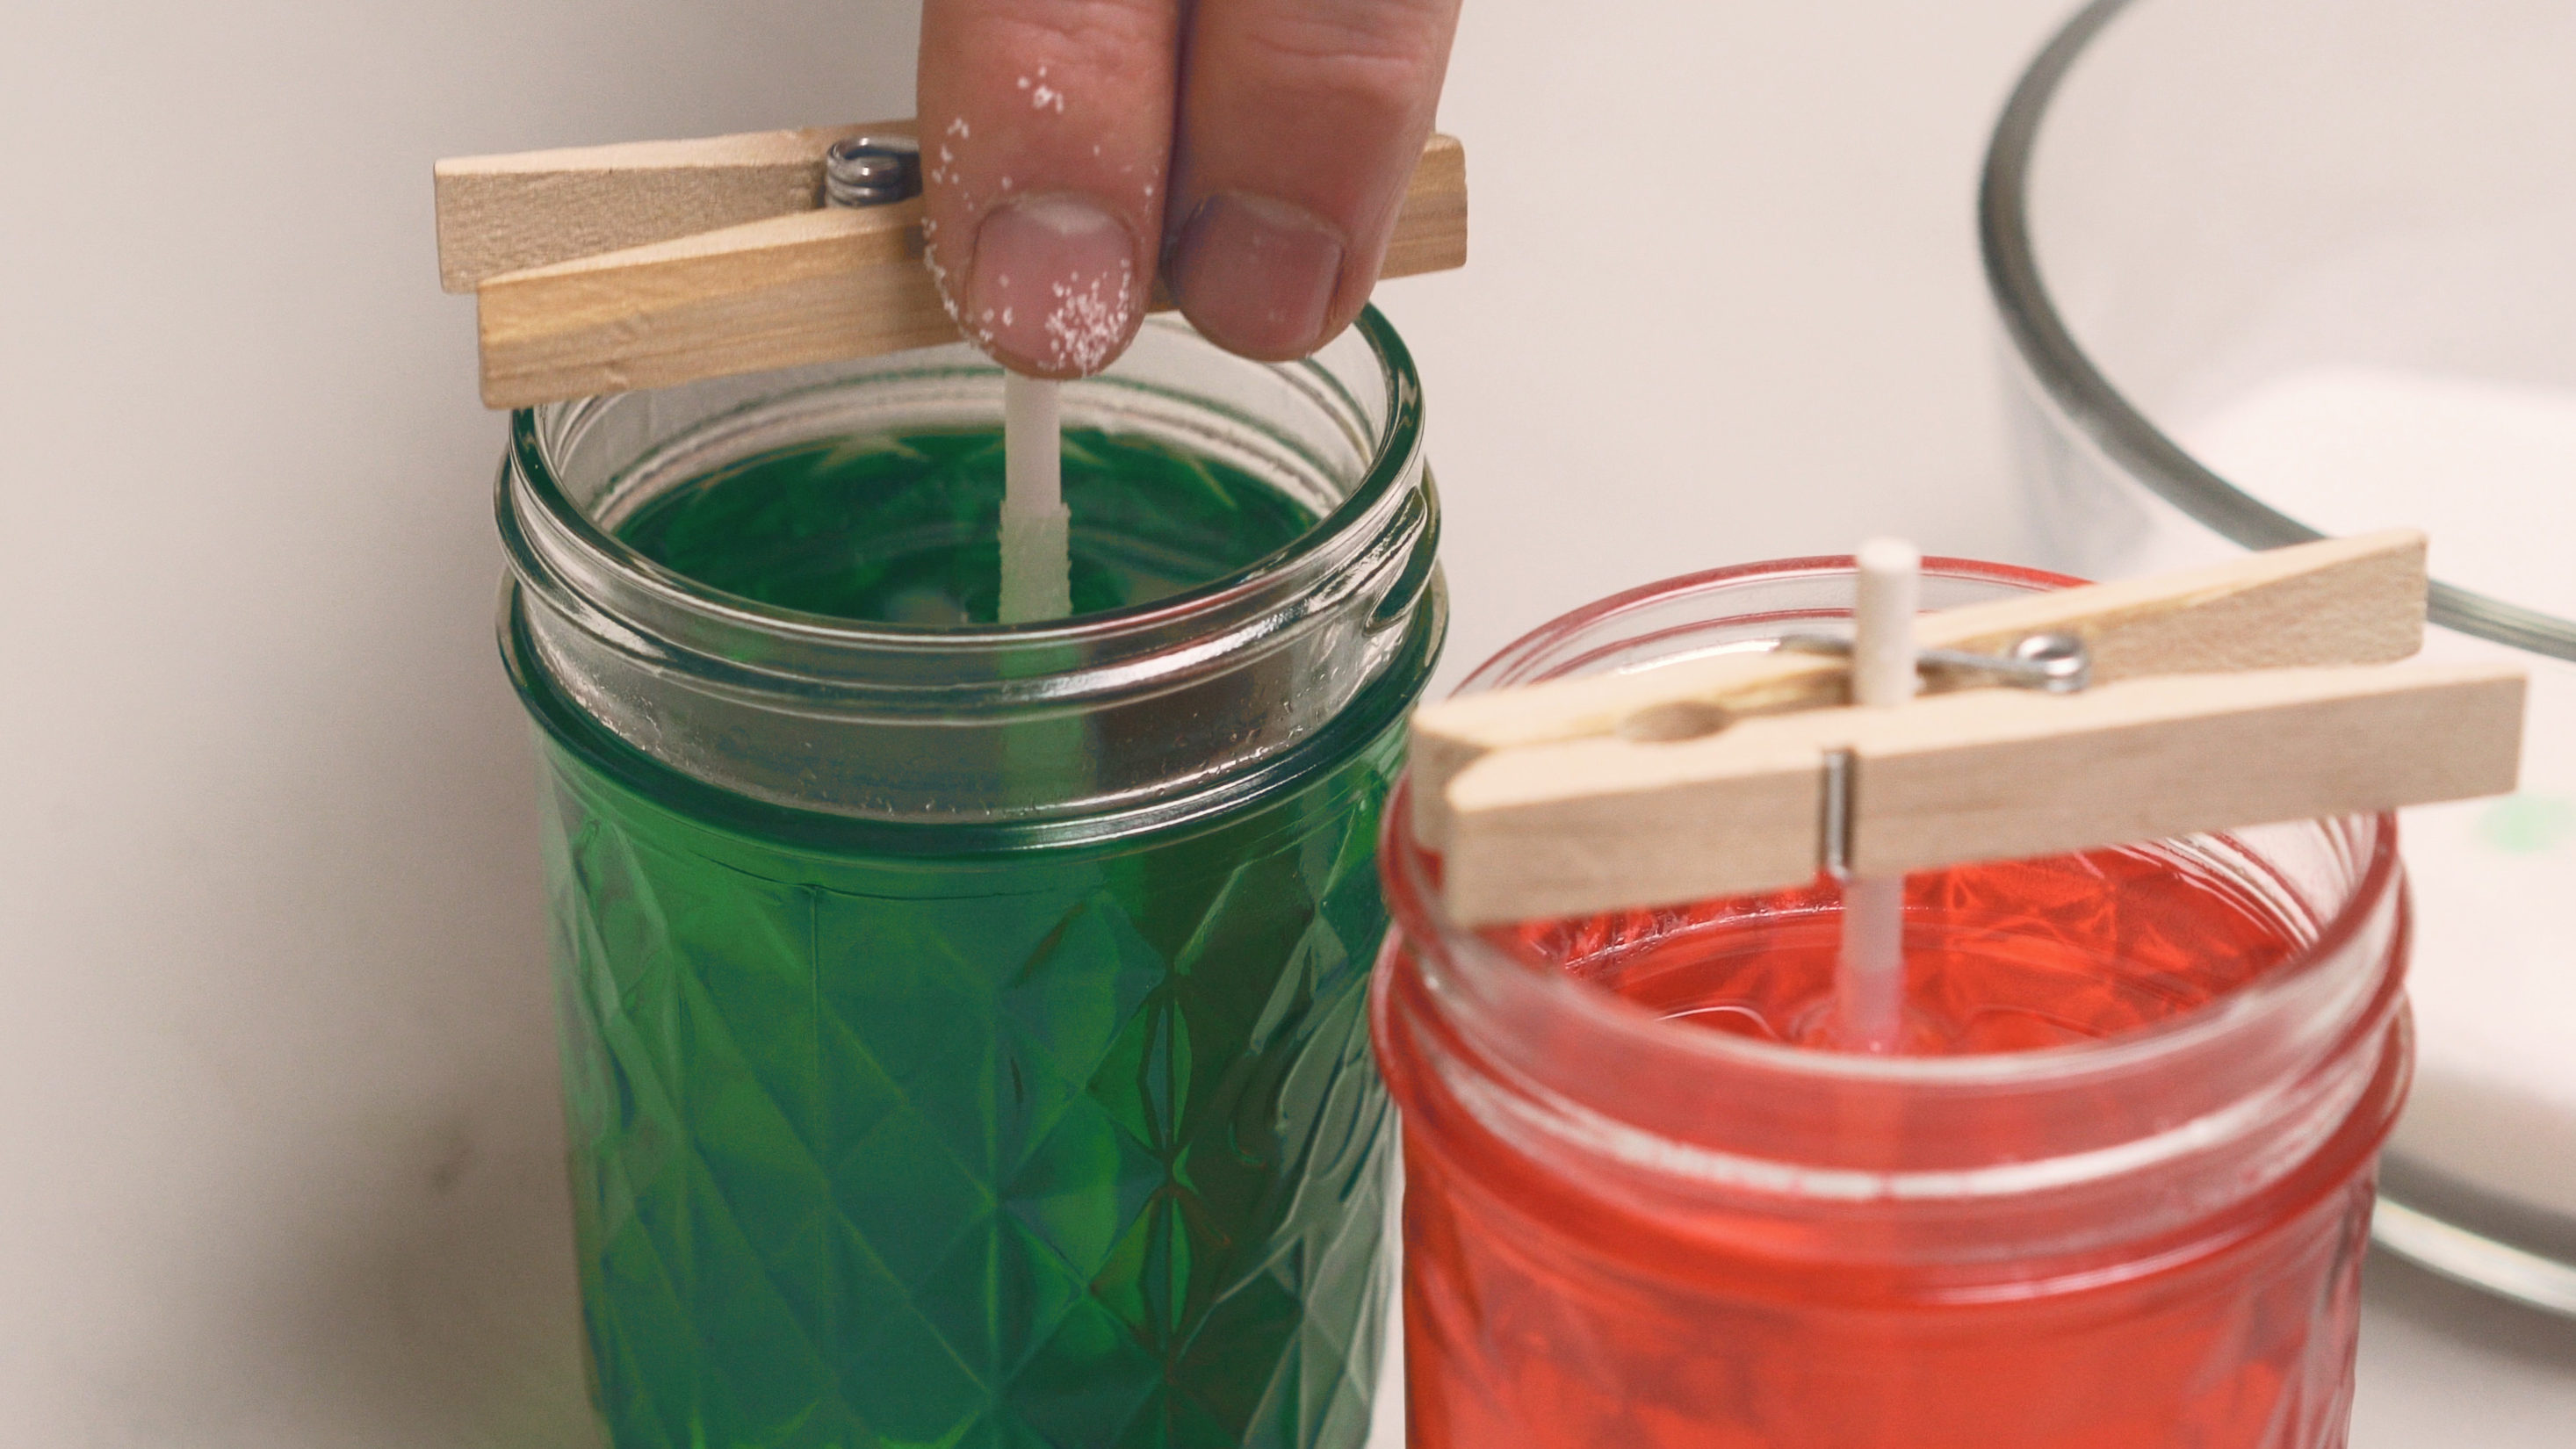
Step 6
Suspend each stick in one of the jars using a clothespin. Make sure the sticks aren't touching the walls or the base of the jars.
Step 7
Your crystals should start growing over the next couple of days. Once you're happy with the size of your crystals, remove them from their jars and let the excess liquid drip off. The top layer of the jar may get a bit crusty with excess crystals. You can break these off with a fork

Tip
Growing sugar crystals can be a bit tricky. If you aren't getting any crystals after a few days, try re-making the solution using a bit more sugar. If you're getting too many crystals, try using less.
Once you've found a formulation that works for you, there are many different variations you can do with this experiment. You can try different flavors like orange, vanilla, or maple, and you can also change the color.
Learn more

What's going on?
You created the solution for growing your crystals by dissolving sugar into boiling water. Hot water can dissolve more sugar (and other materials) than cold water can. You can see this for yourself if you try to dissolve the same amount of sugar in the same amount of cold water. No matter how much you stir, you'll still have some sugar left at the bottom of the cup.
So, when the sugar-and-water solution to room cooled to room temperature, the water was holding onto more sugar than it can comfortably. This is called a supersaturated solution. This supersaturated sugar solution is great for growing crystals because the sugar wants to fall out of the water - it just needs a place to start.
That's what you did when you rolled the cake stick in sugar crystals and dipped it into the mixture. As the little bits of sugar in the solution encounter the sugar crystals, they start to fall out of the solution and stick to the crystals. Over time, more and more sugar lands on the crystals, growing to form the large sugar crystals you saw - and tasted!


