Step-by-step tutorial
Step 1
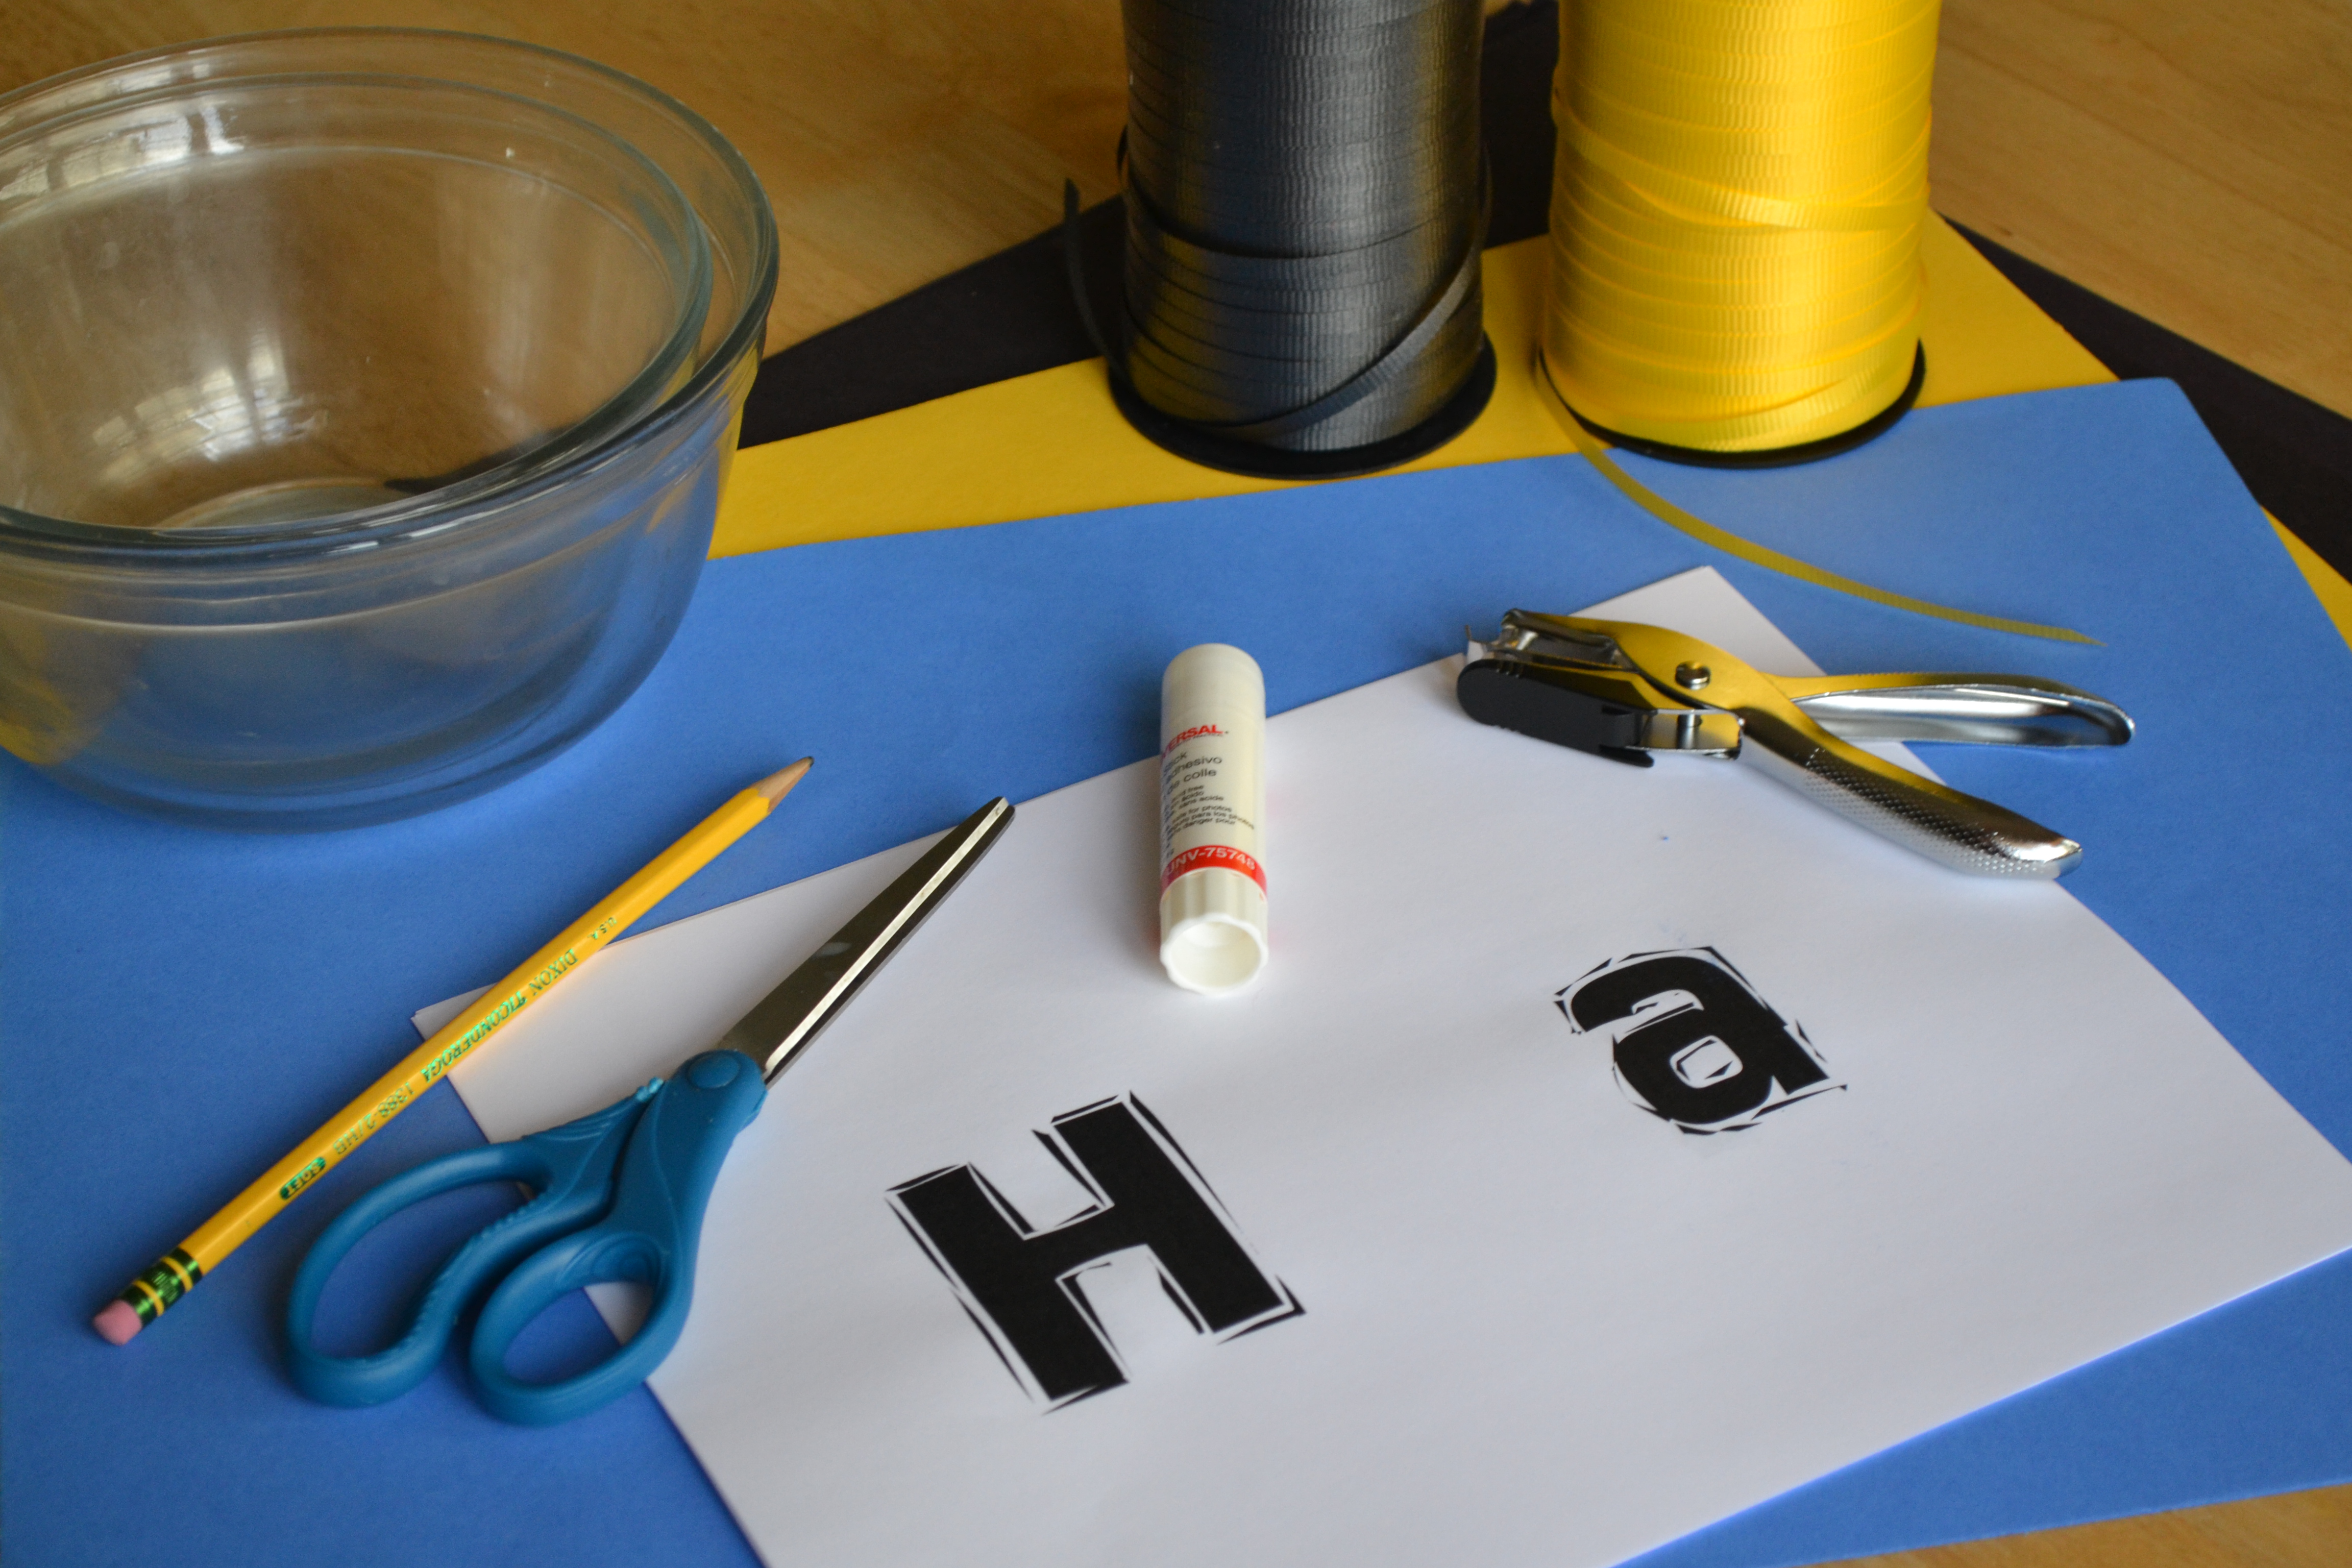
Gather all materials. We made this for my son's 5th birthday and used blue, yellow, and black to coordinate with his party theme.

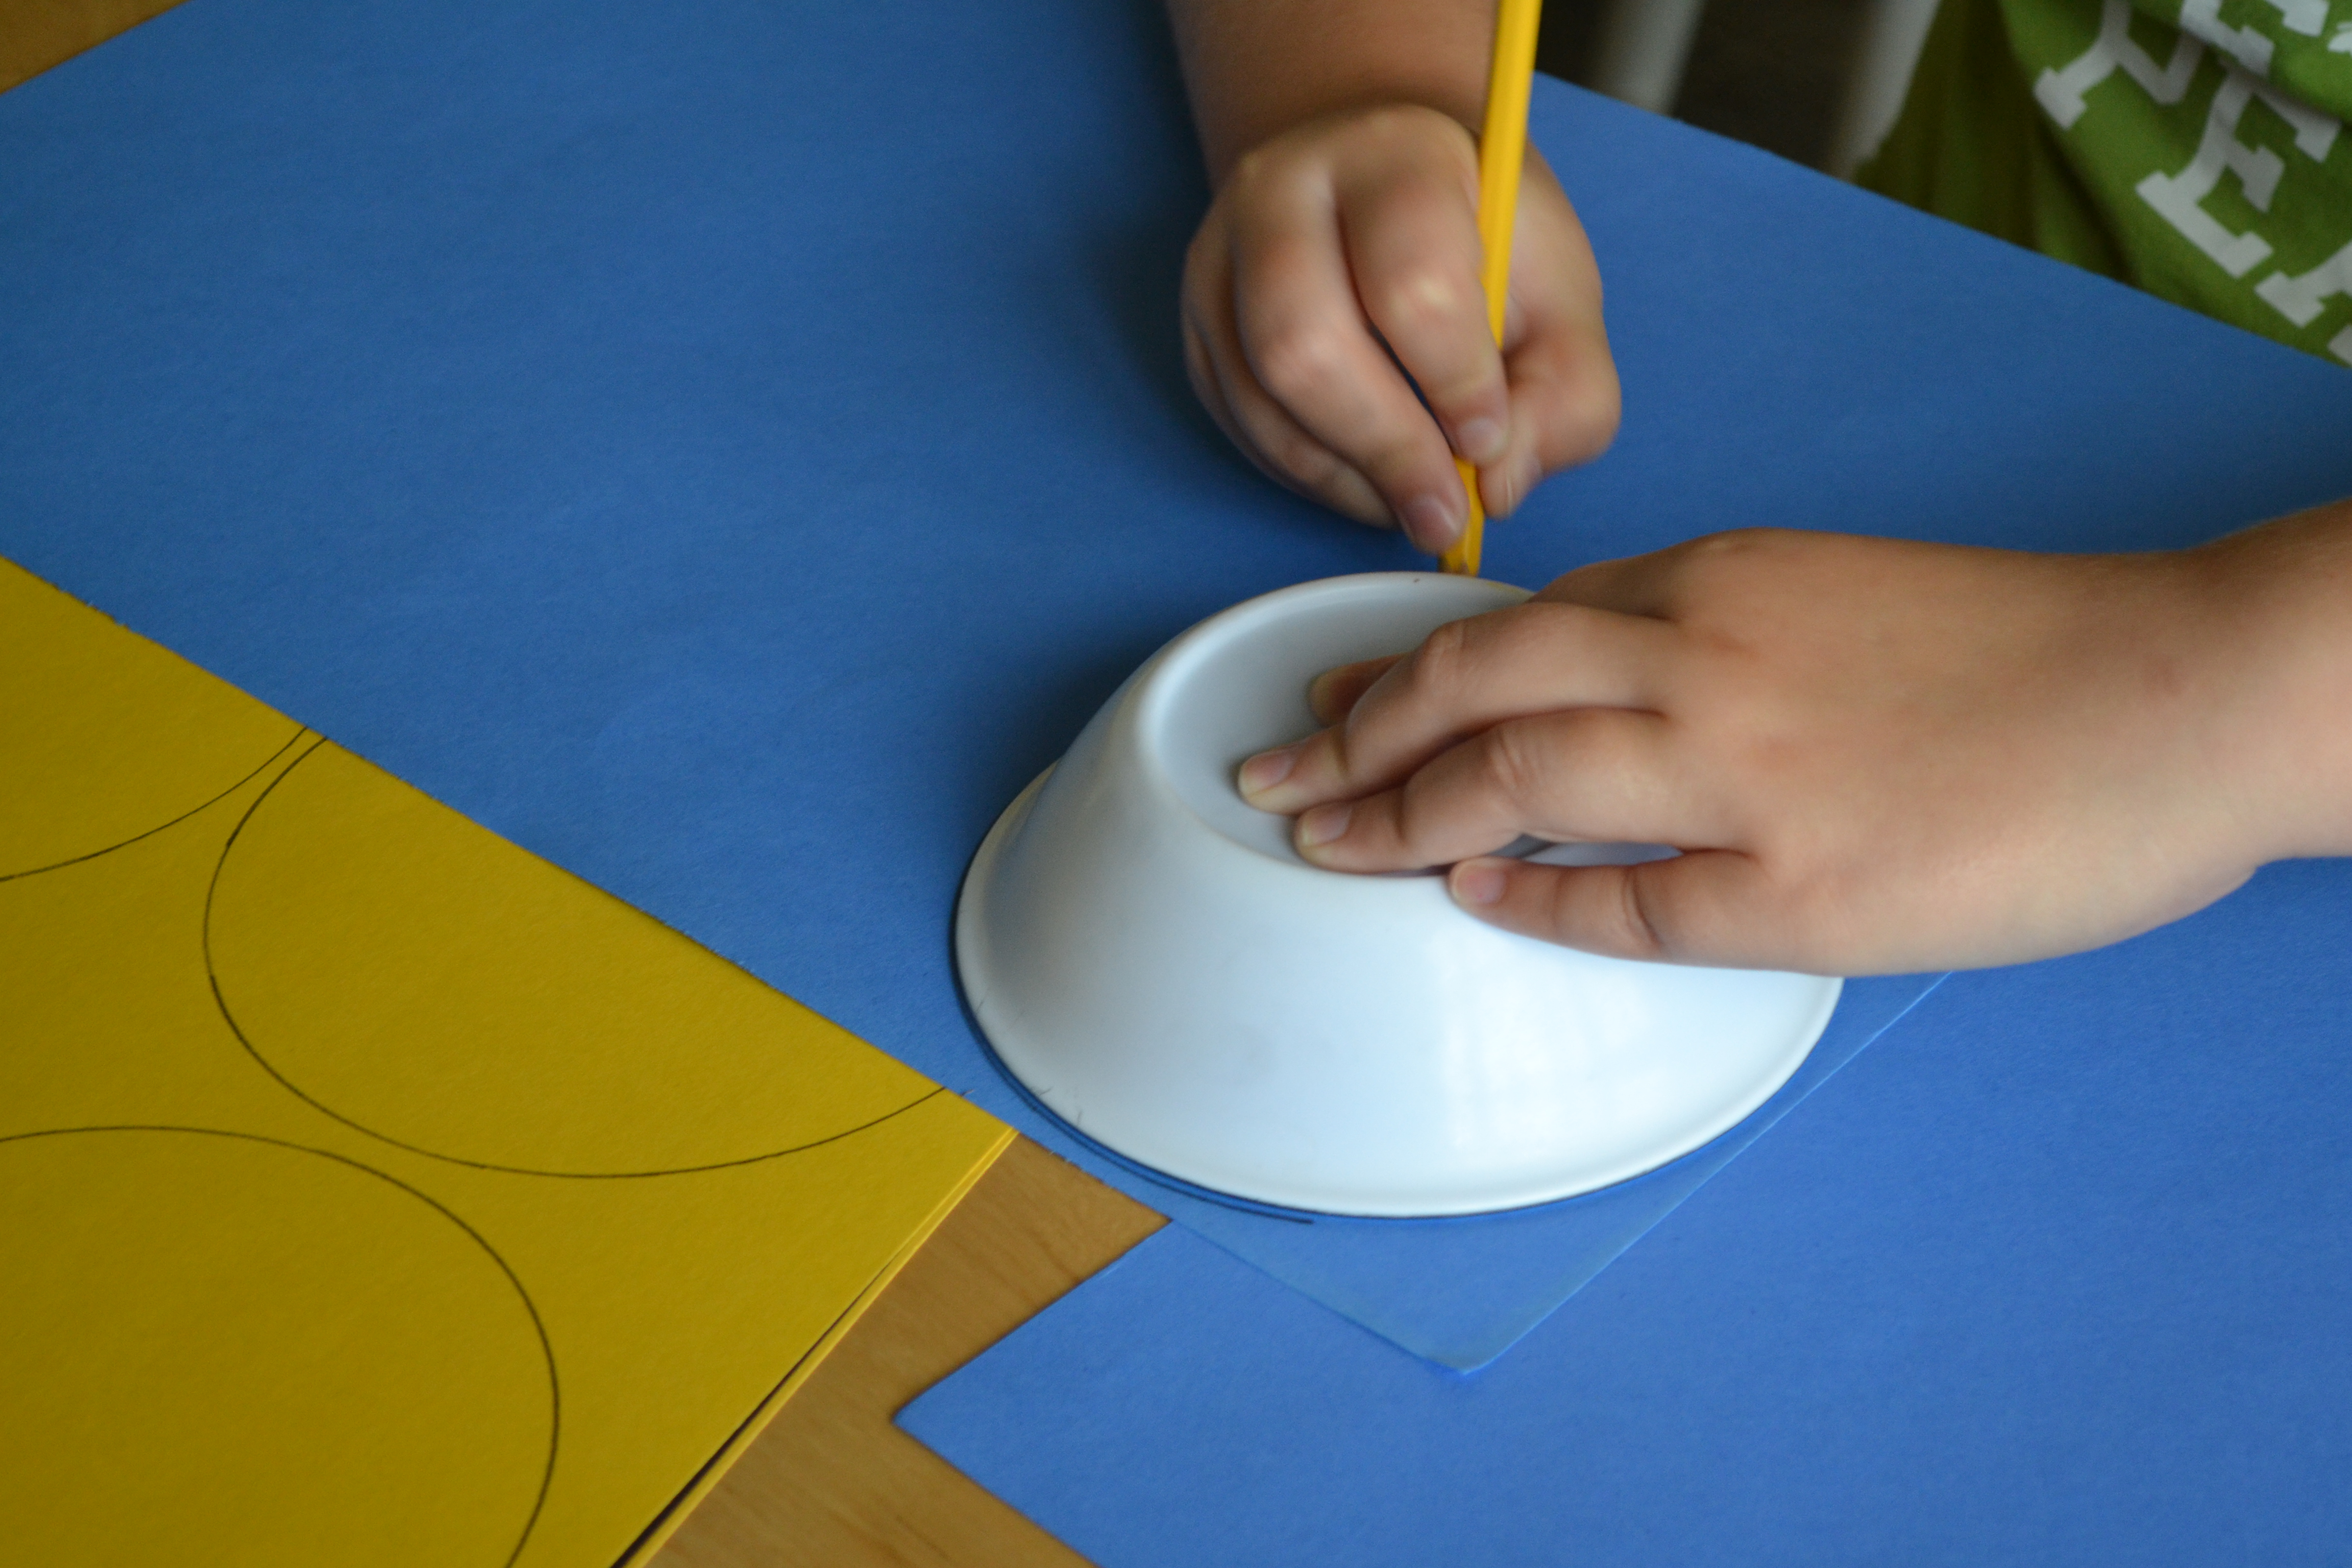
Step 2
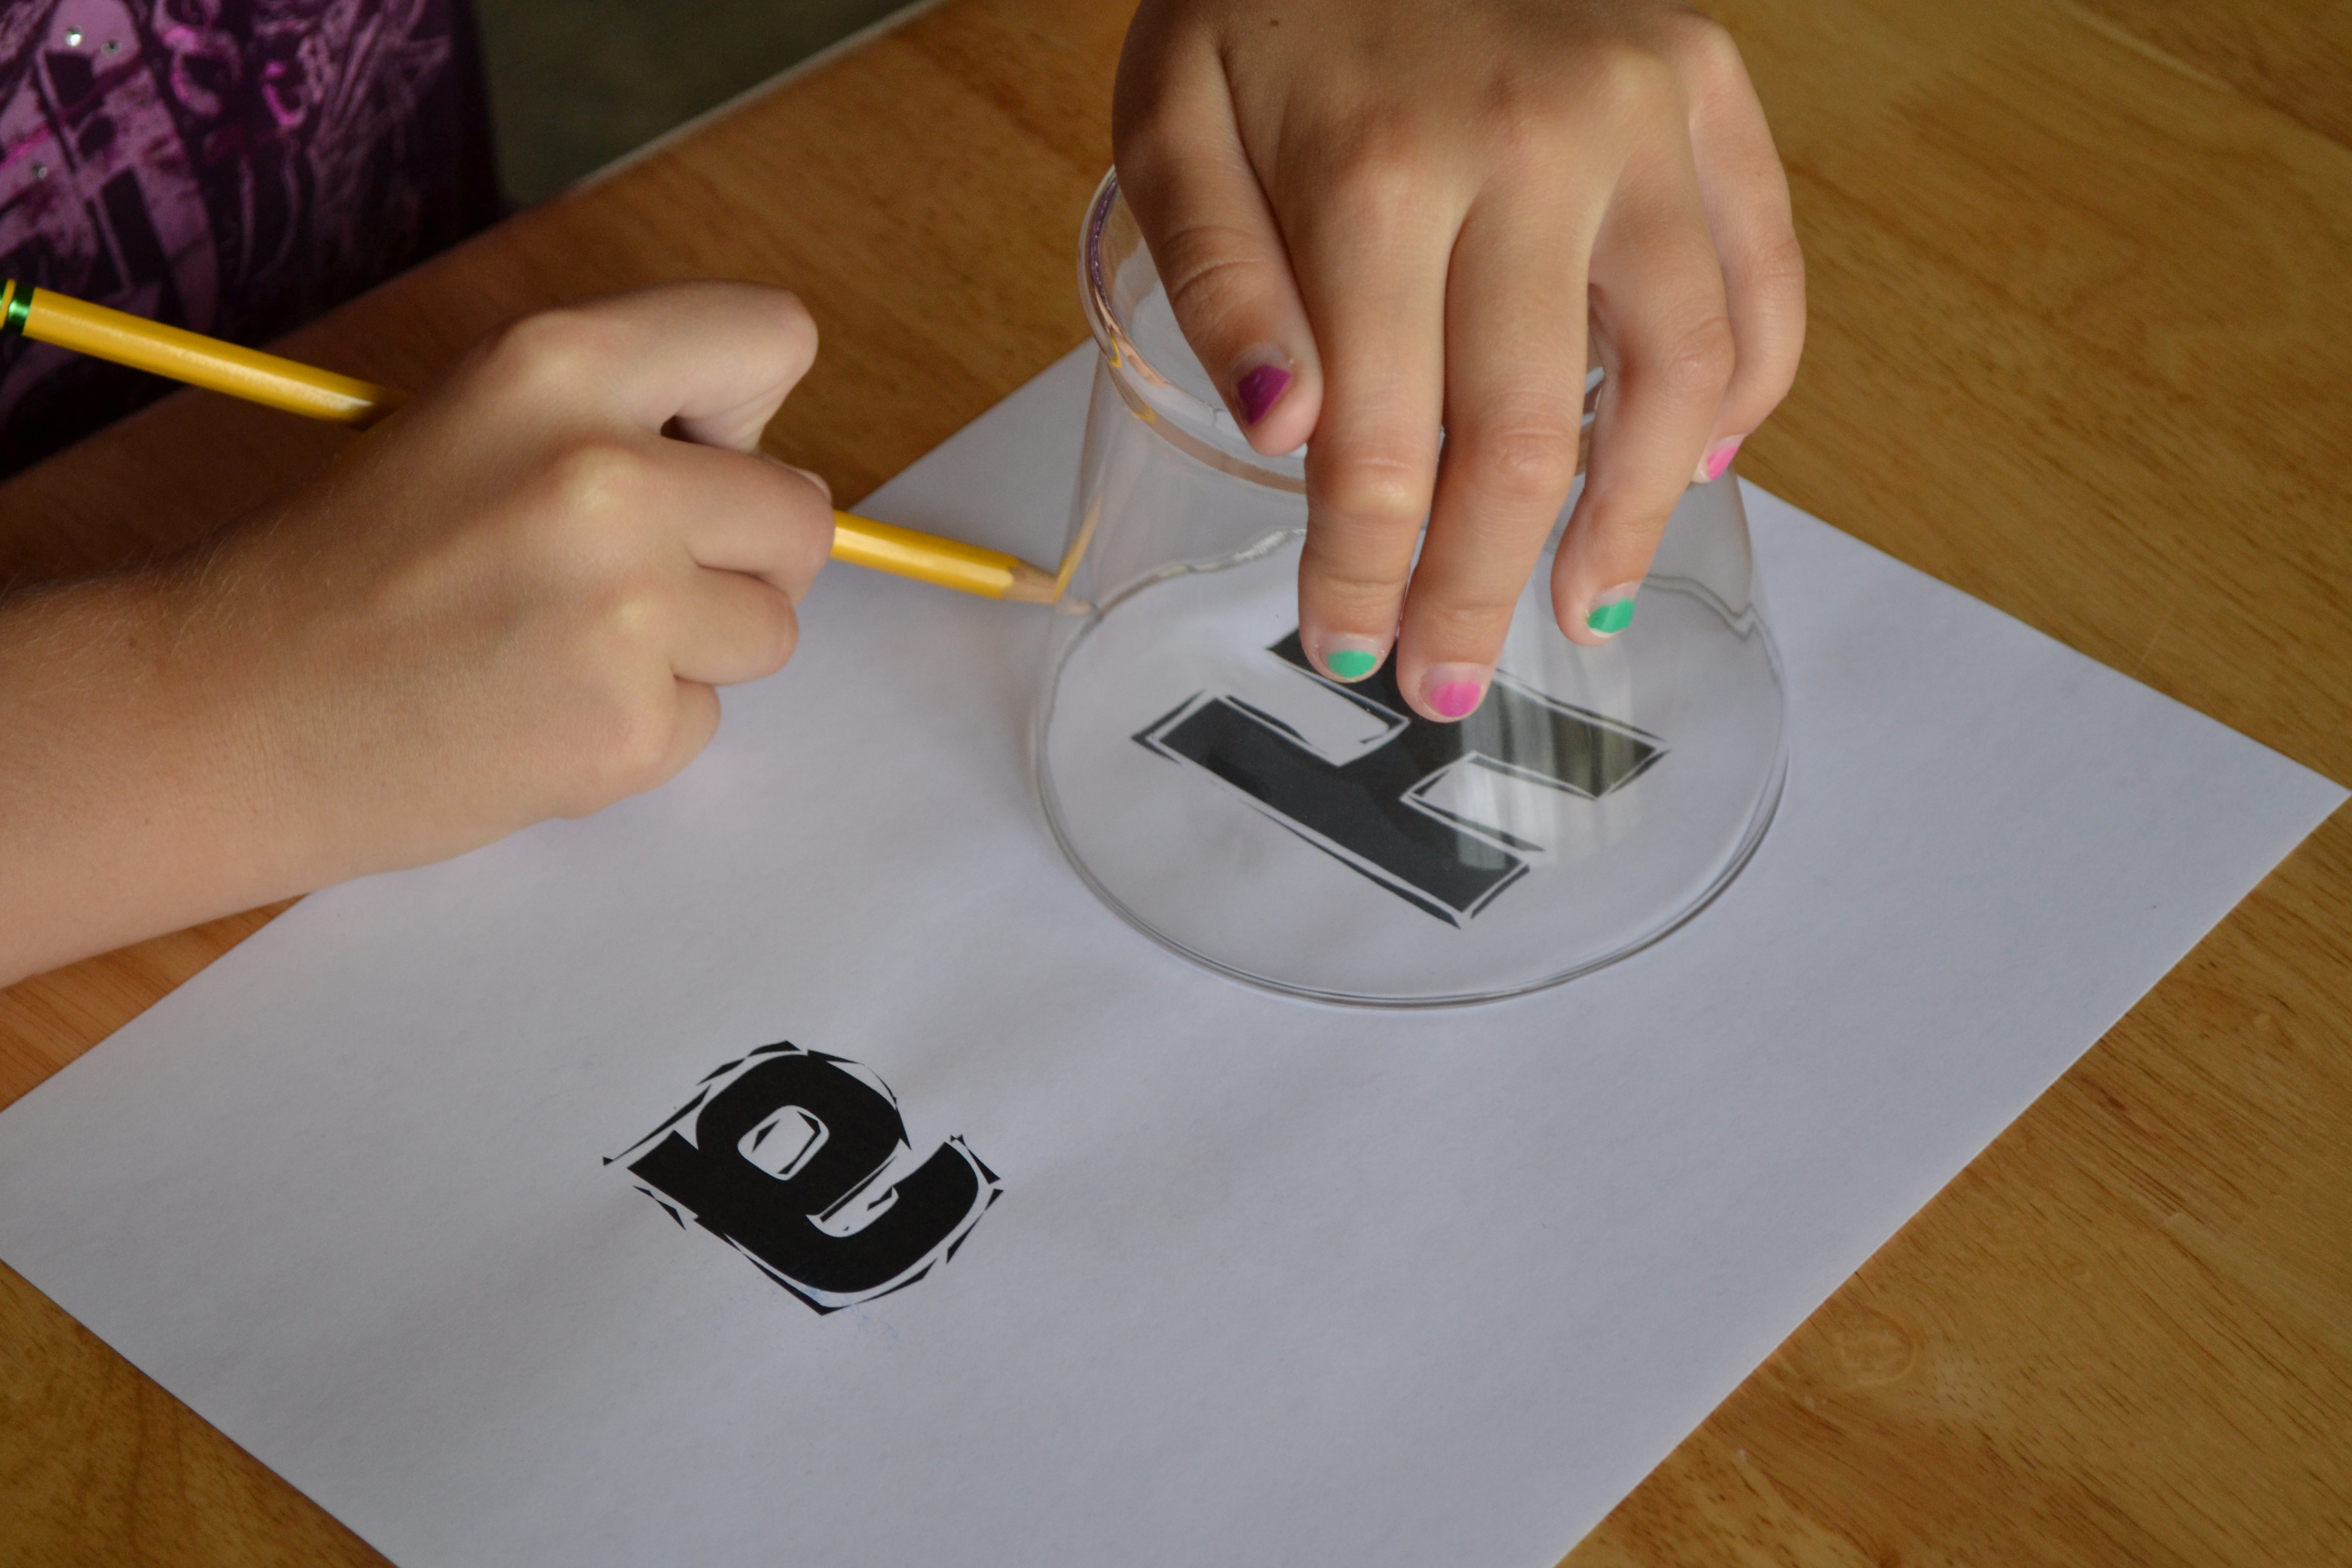
Print out the letters for "Happy Birthday" using any desired font. In the past, we have used the Walt font for a Disney theme. This banner uses the AR Darling font. I printed two letters per page and left plenty of room between them to trace the circles around them. My 9-year-old used a clear bowl to trace the letters. The clear vase works best so you can see that your letter is centered in the circle.
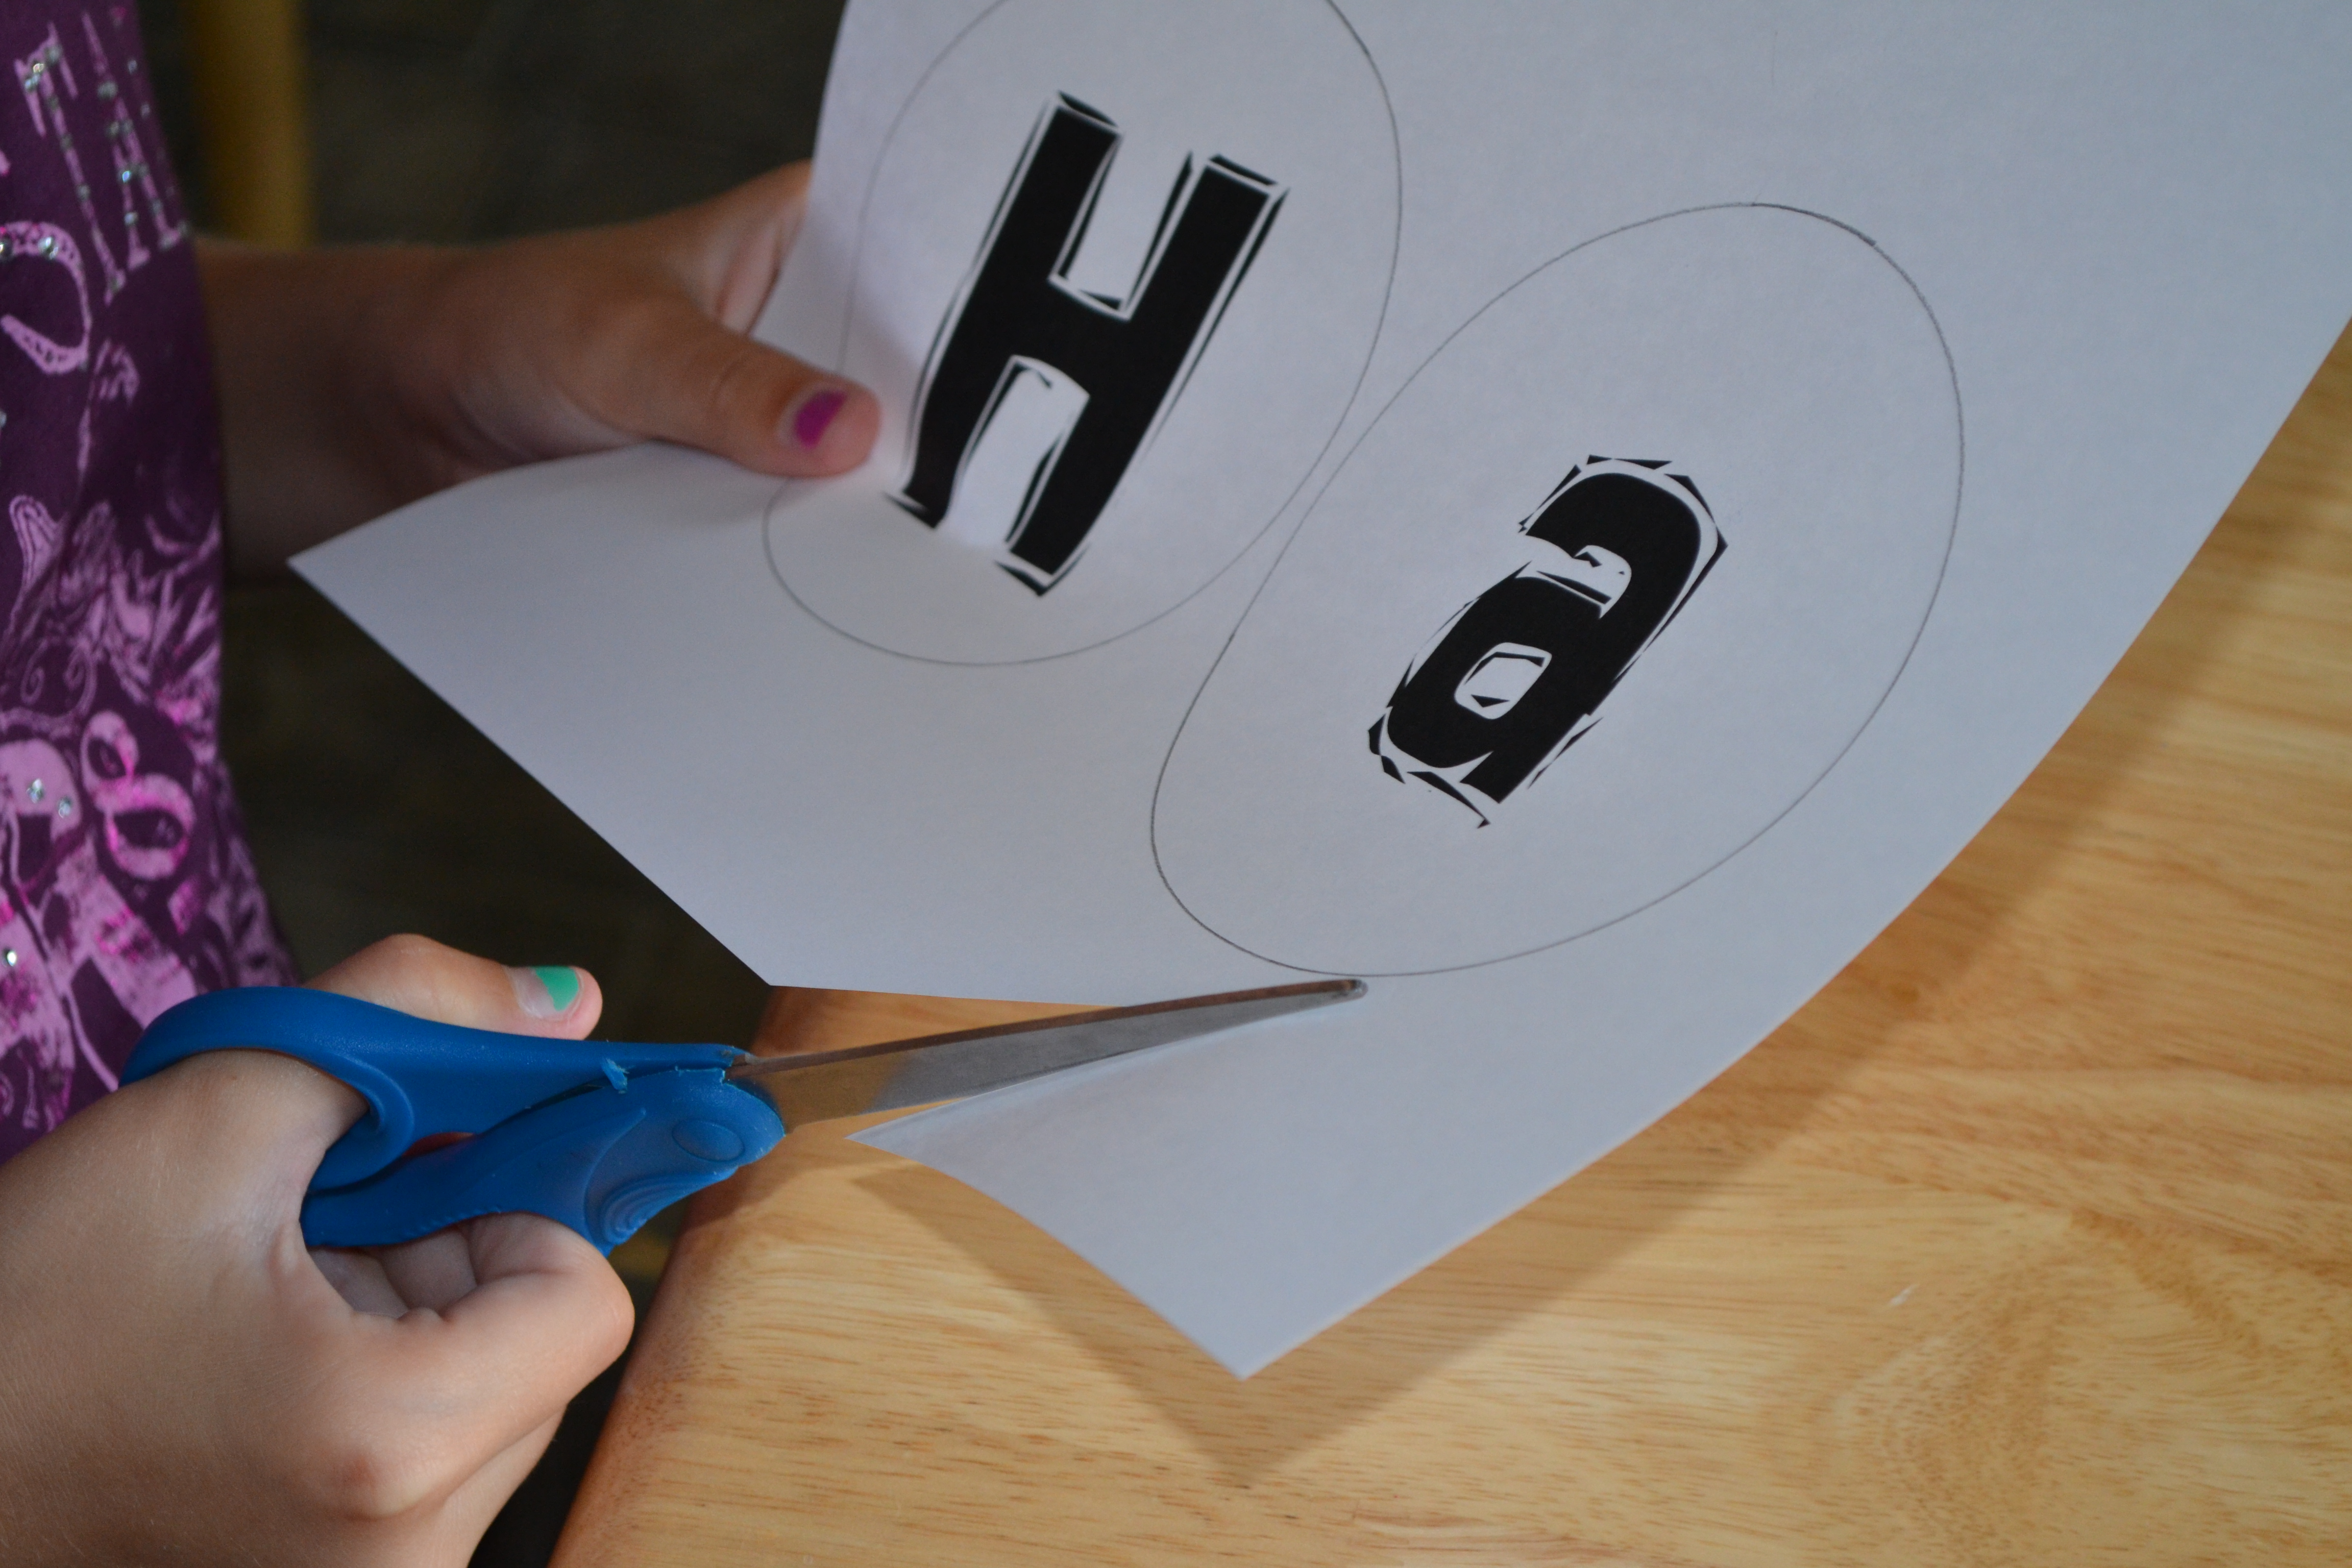
Step 3
Once all the letters were traced, my 7-year-old helped cut out all of the circles. This was a great activity for all of my kids to get involved with since it involved lots of tracing and cutting.
Step 4
We traced a larger bowl onto blue, yellow, and black construction paper so that we would have equal numbers of circles for each color. You could use any colors that coordinated with your theme. In fact, for our Disney party we also incorporated mouse ears and other shapes into our banner.
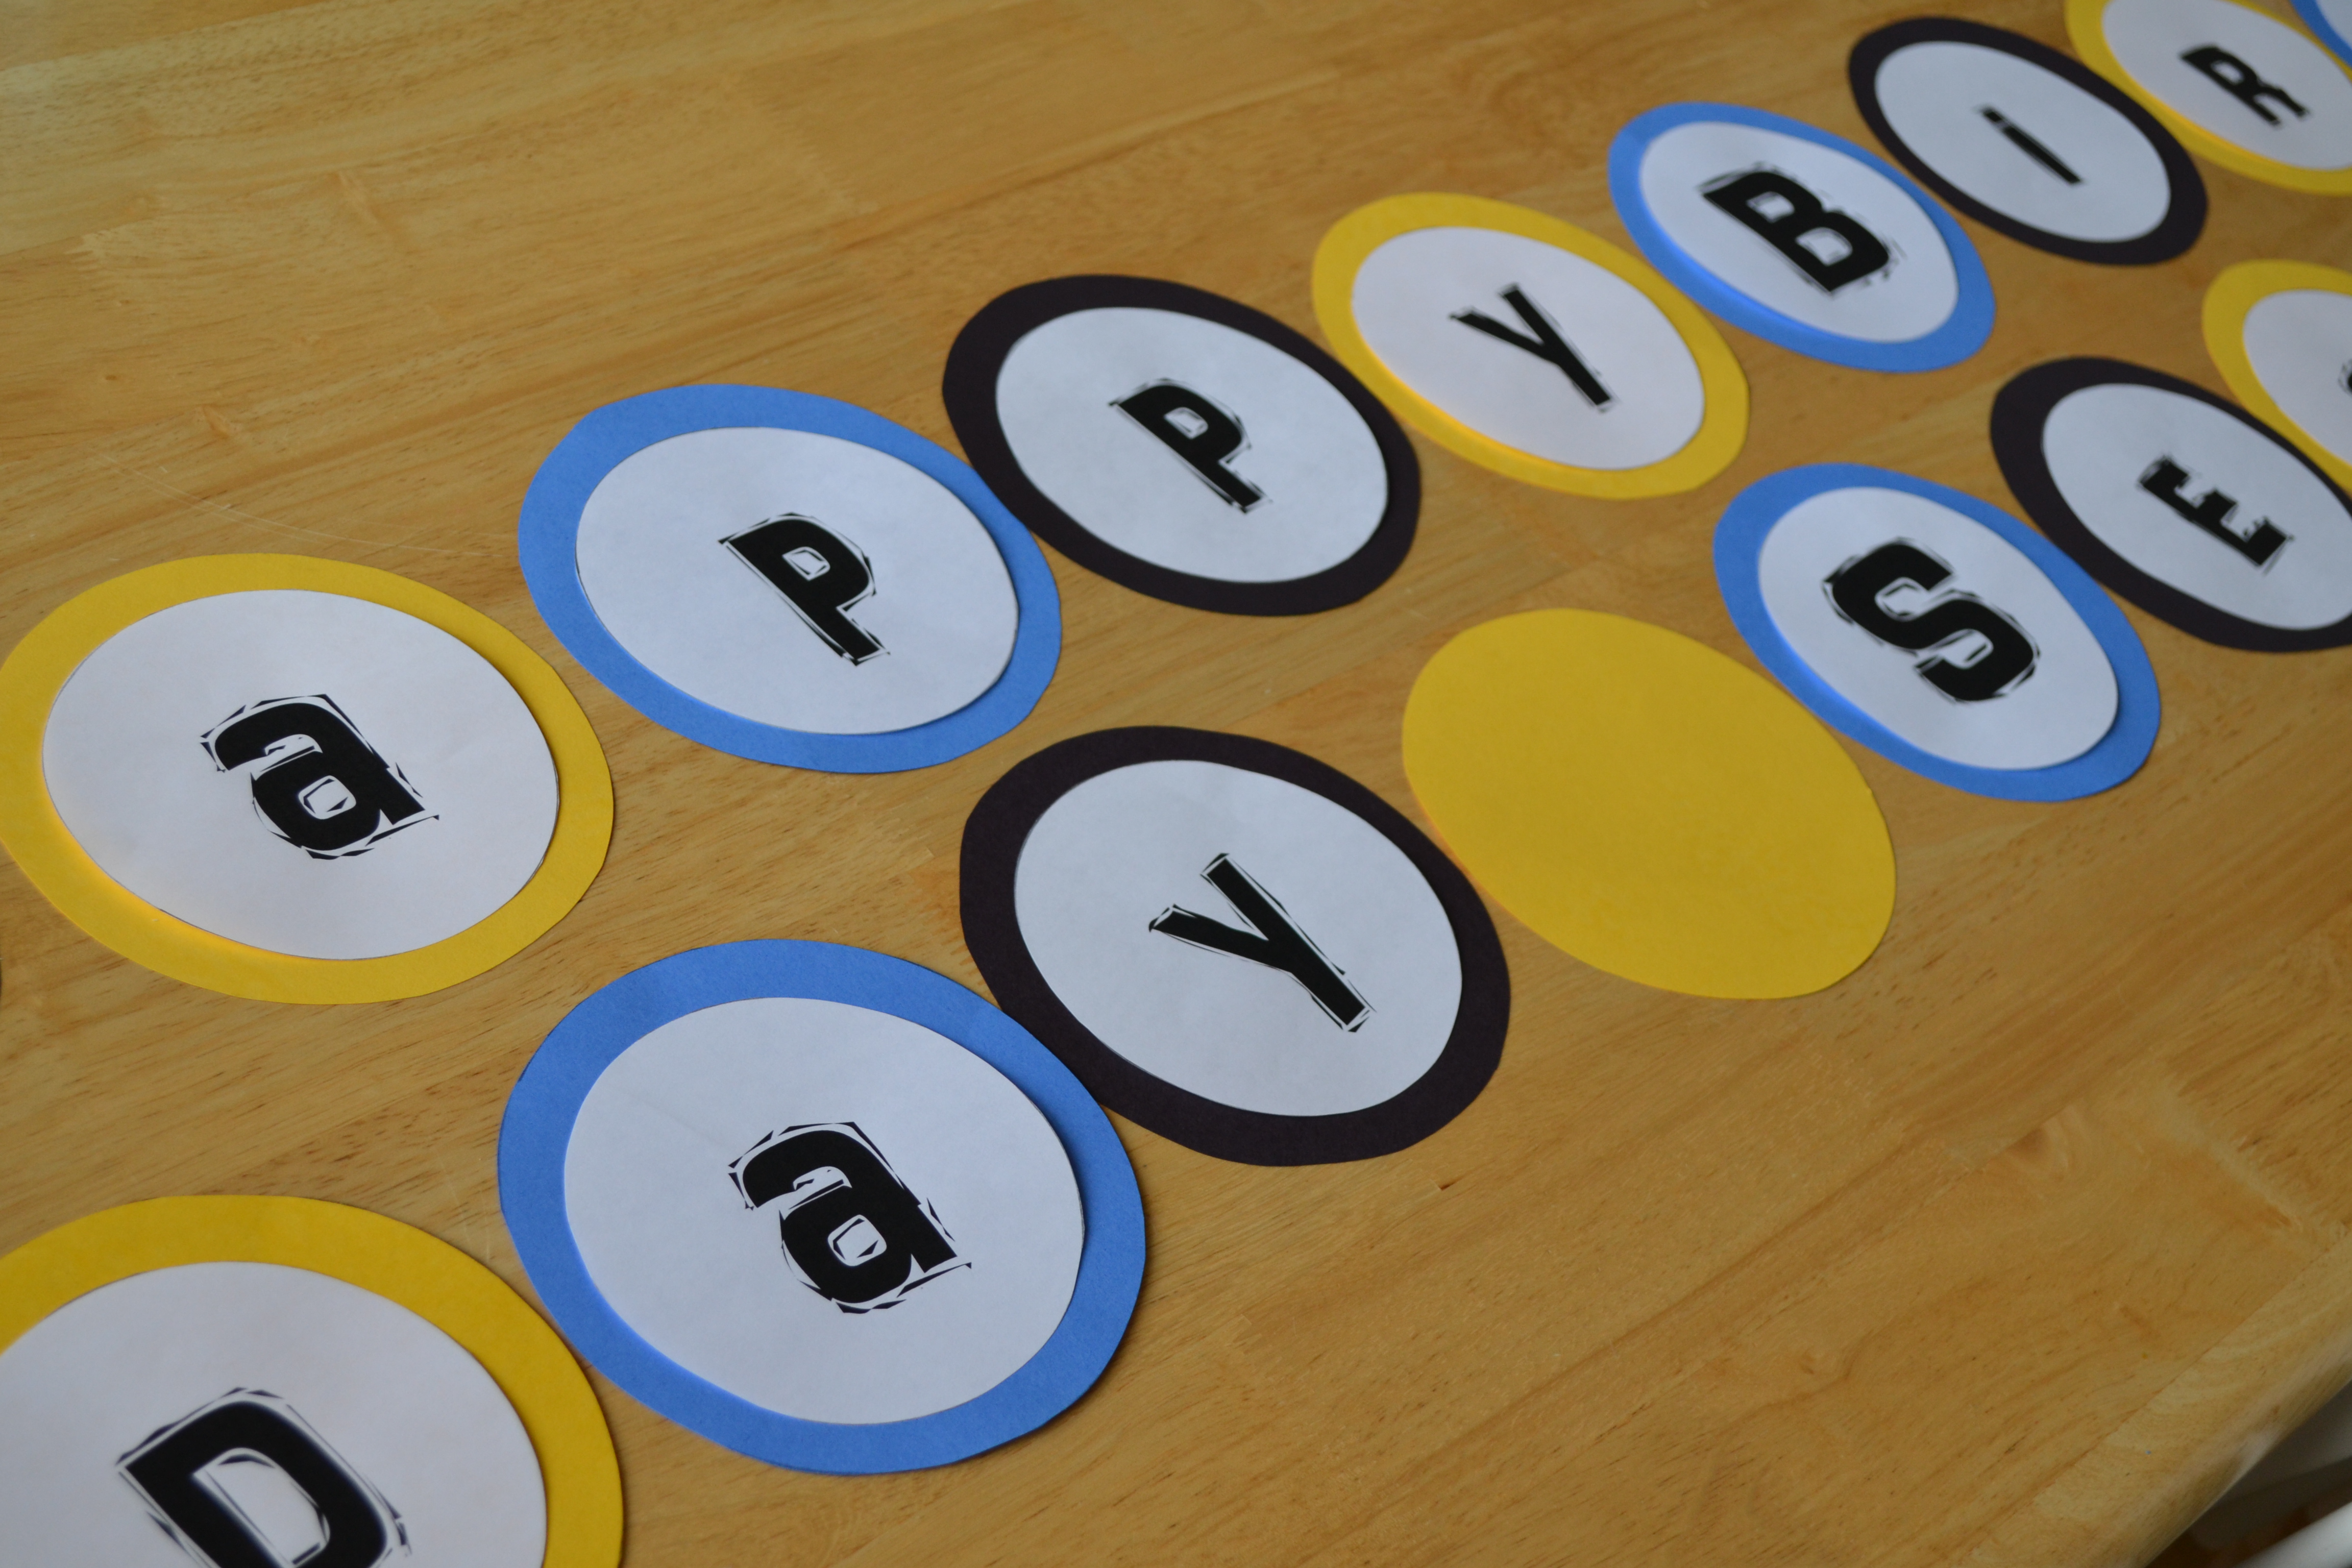
Step 5
My 4-year-old helped me set up the construction paper circles in a pattern and then we put the letters out to spell Happy Birthday. We put in circles for spacers between the words and left some extra room for decorations.
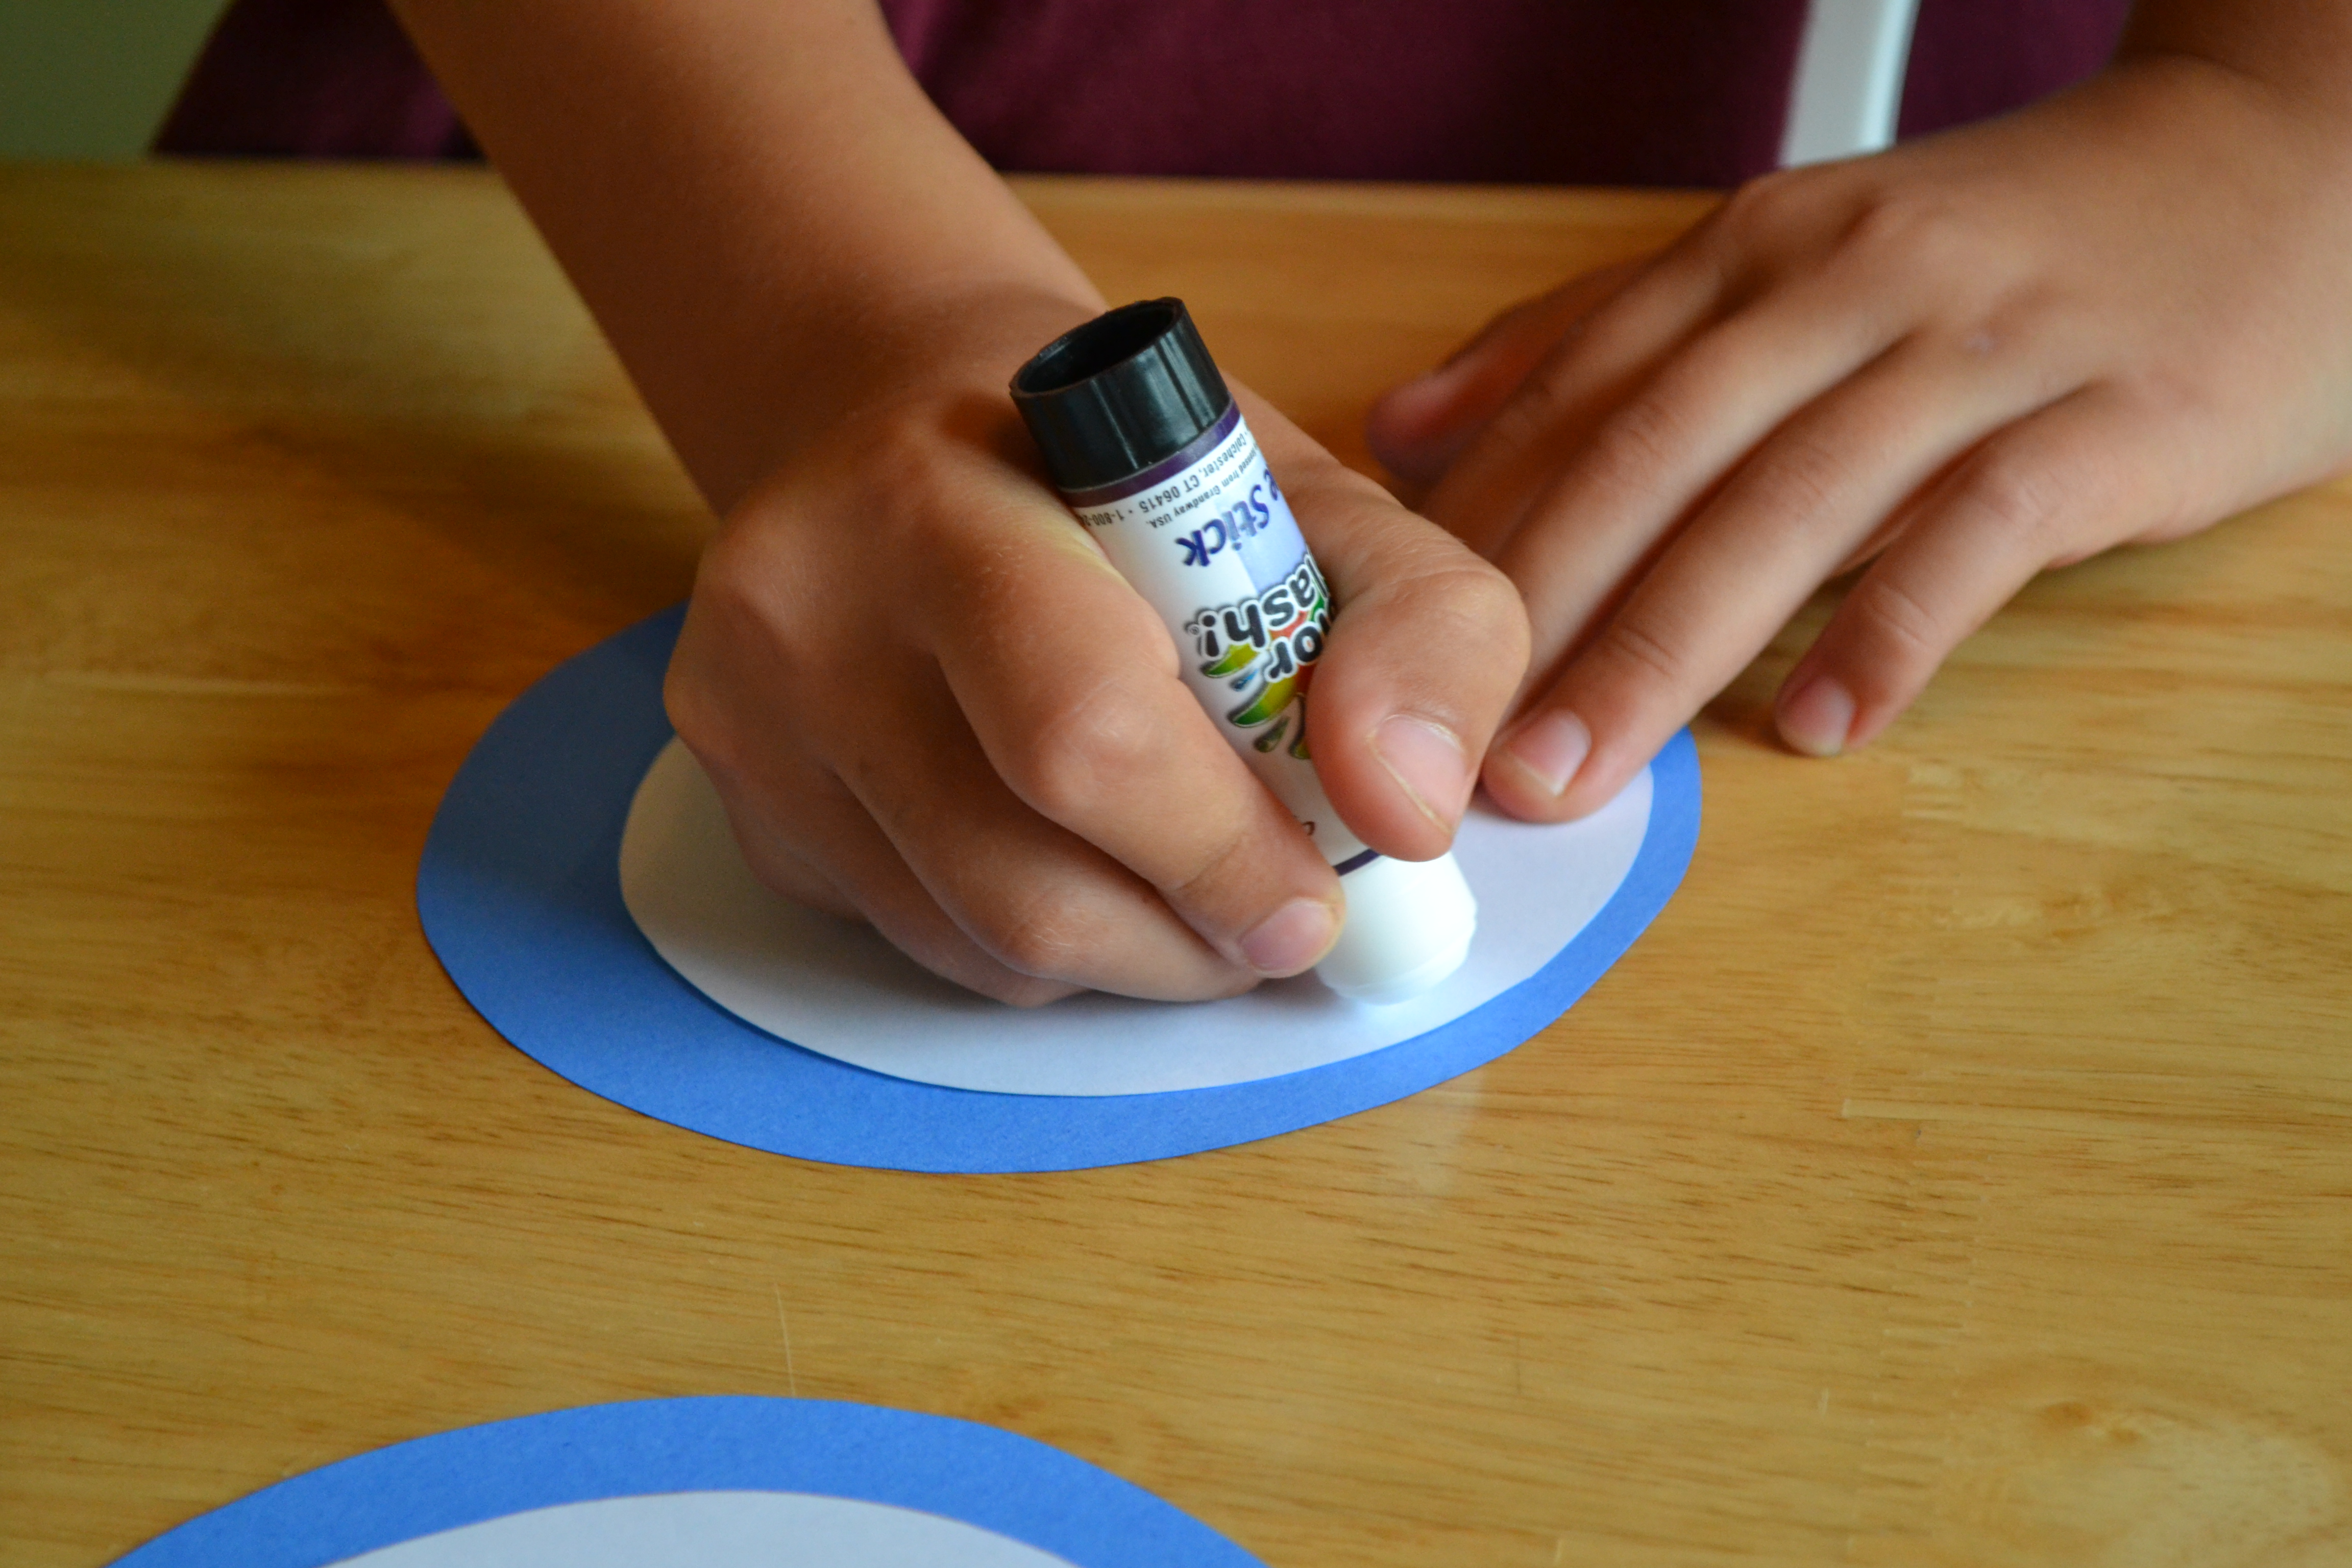
Step 6
Once everything was just the way we wanted it, the kids worked together to glue the letters and keep them in order. It's good to complete the rest of this project at a large table where you can spread everything out and keep track of all the pieces.
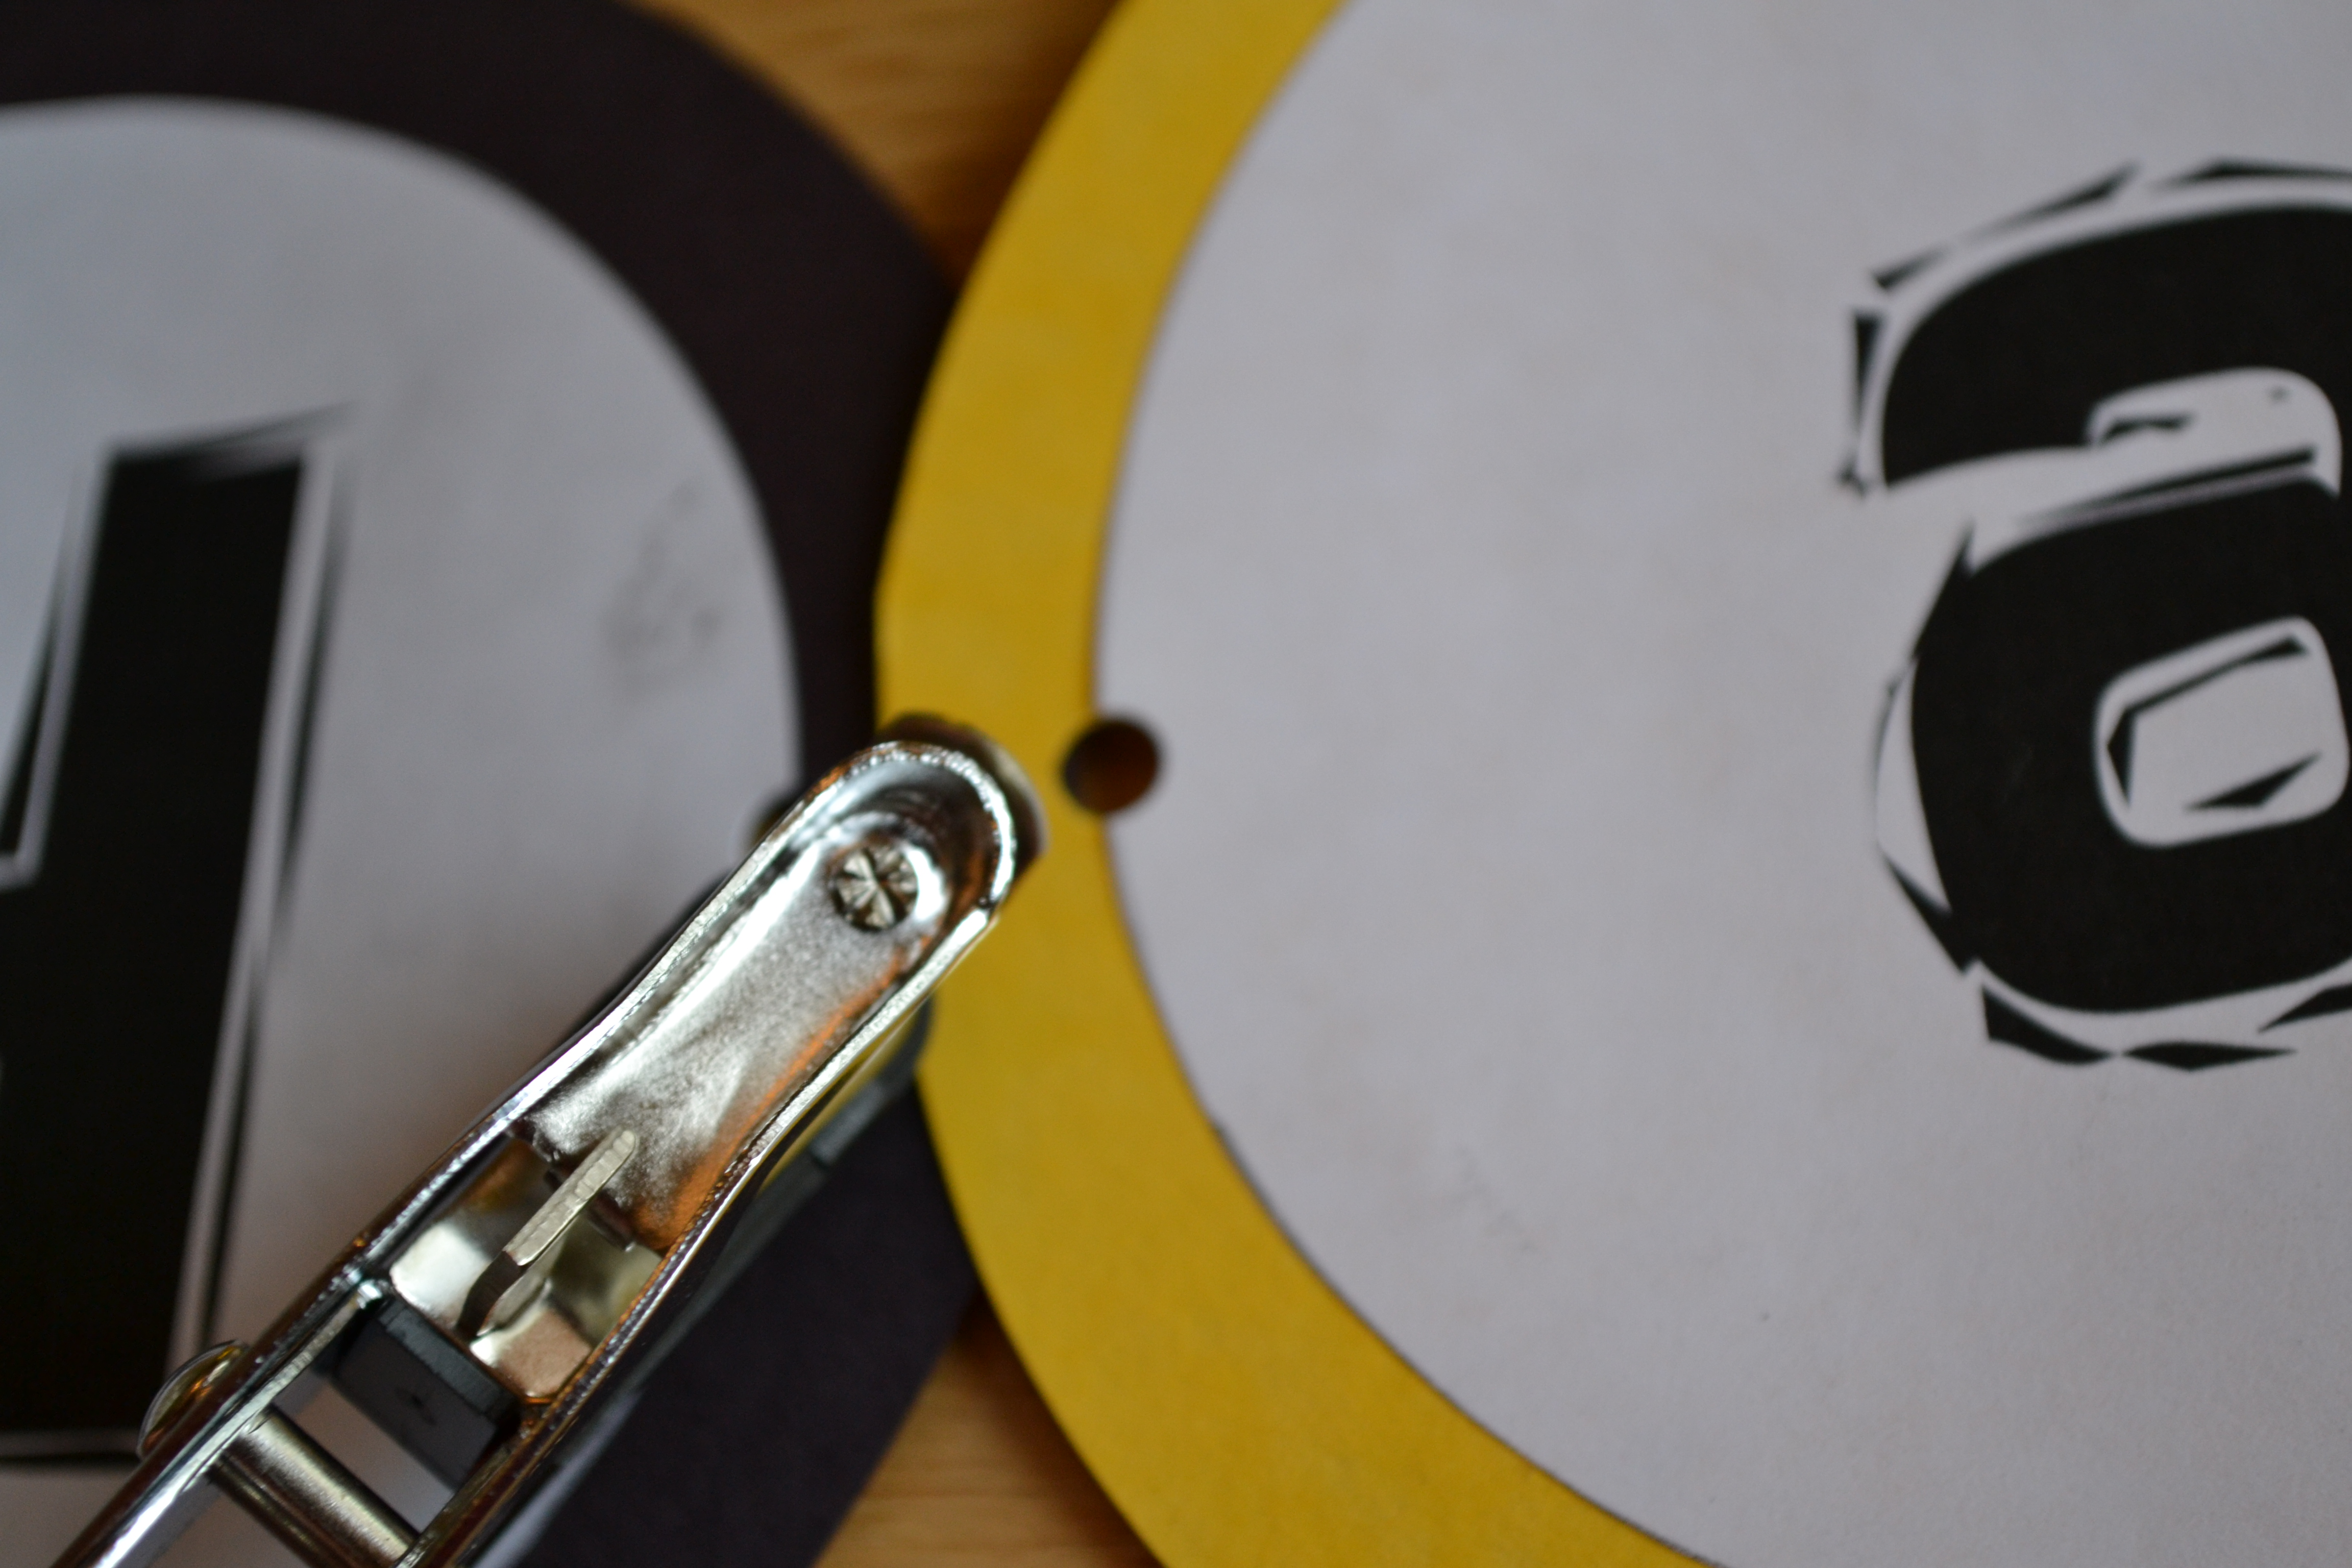
Step 7
To connect our banner letters, we punched holes on each side of the circles. This is a great activity to strengthen little hands. My 4-year-old loves to use the hole punch, but needs a little help guiding his punches. When he got tired of punching holes in the circles, I gave him some scraps of construction paper and let him punch as many holes as he wanted to.
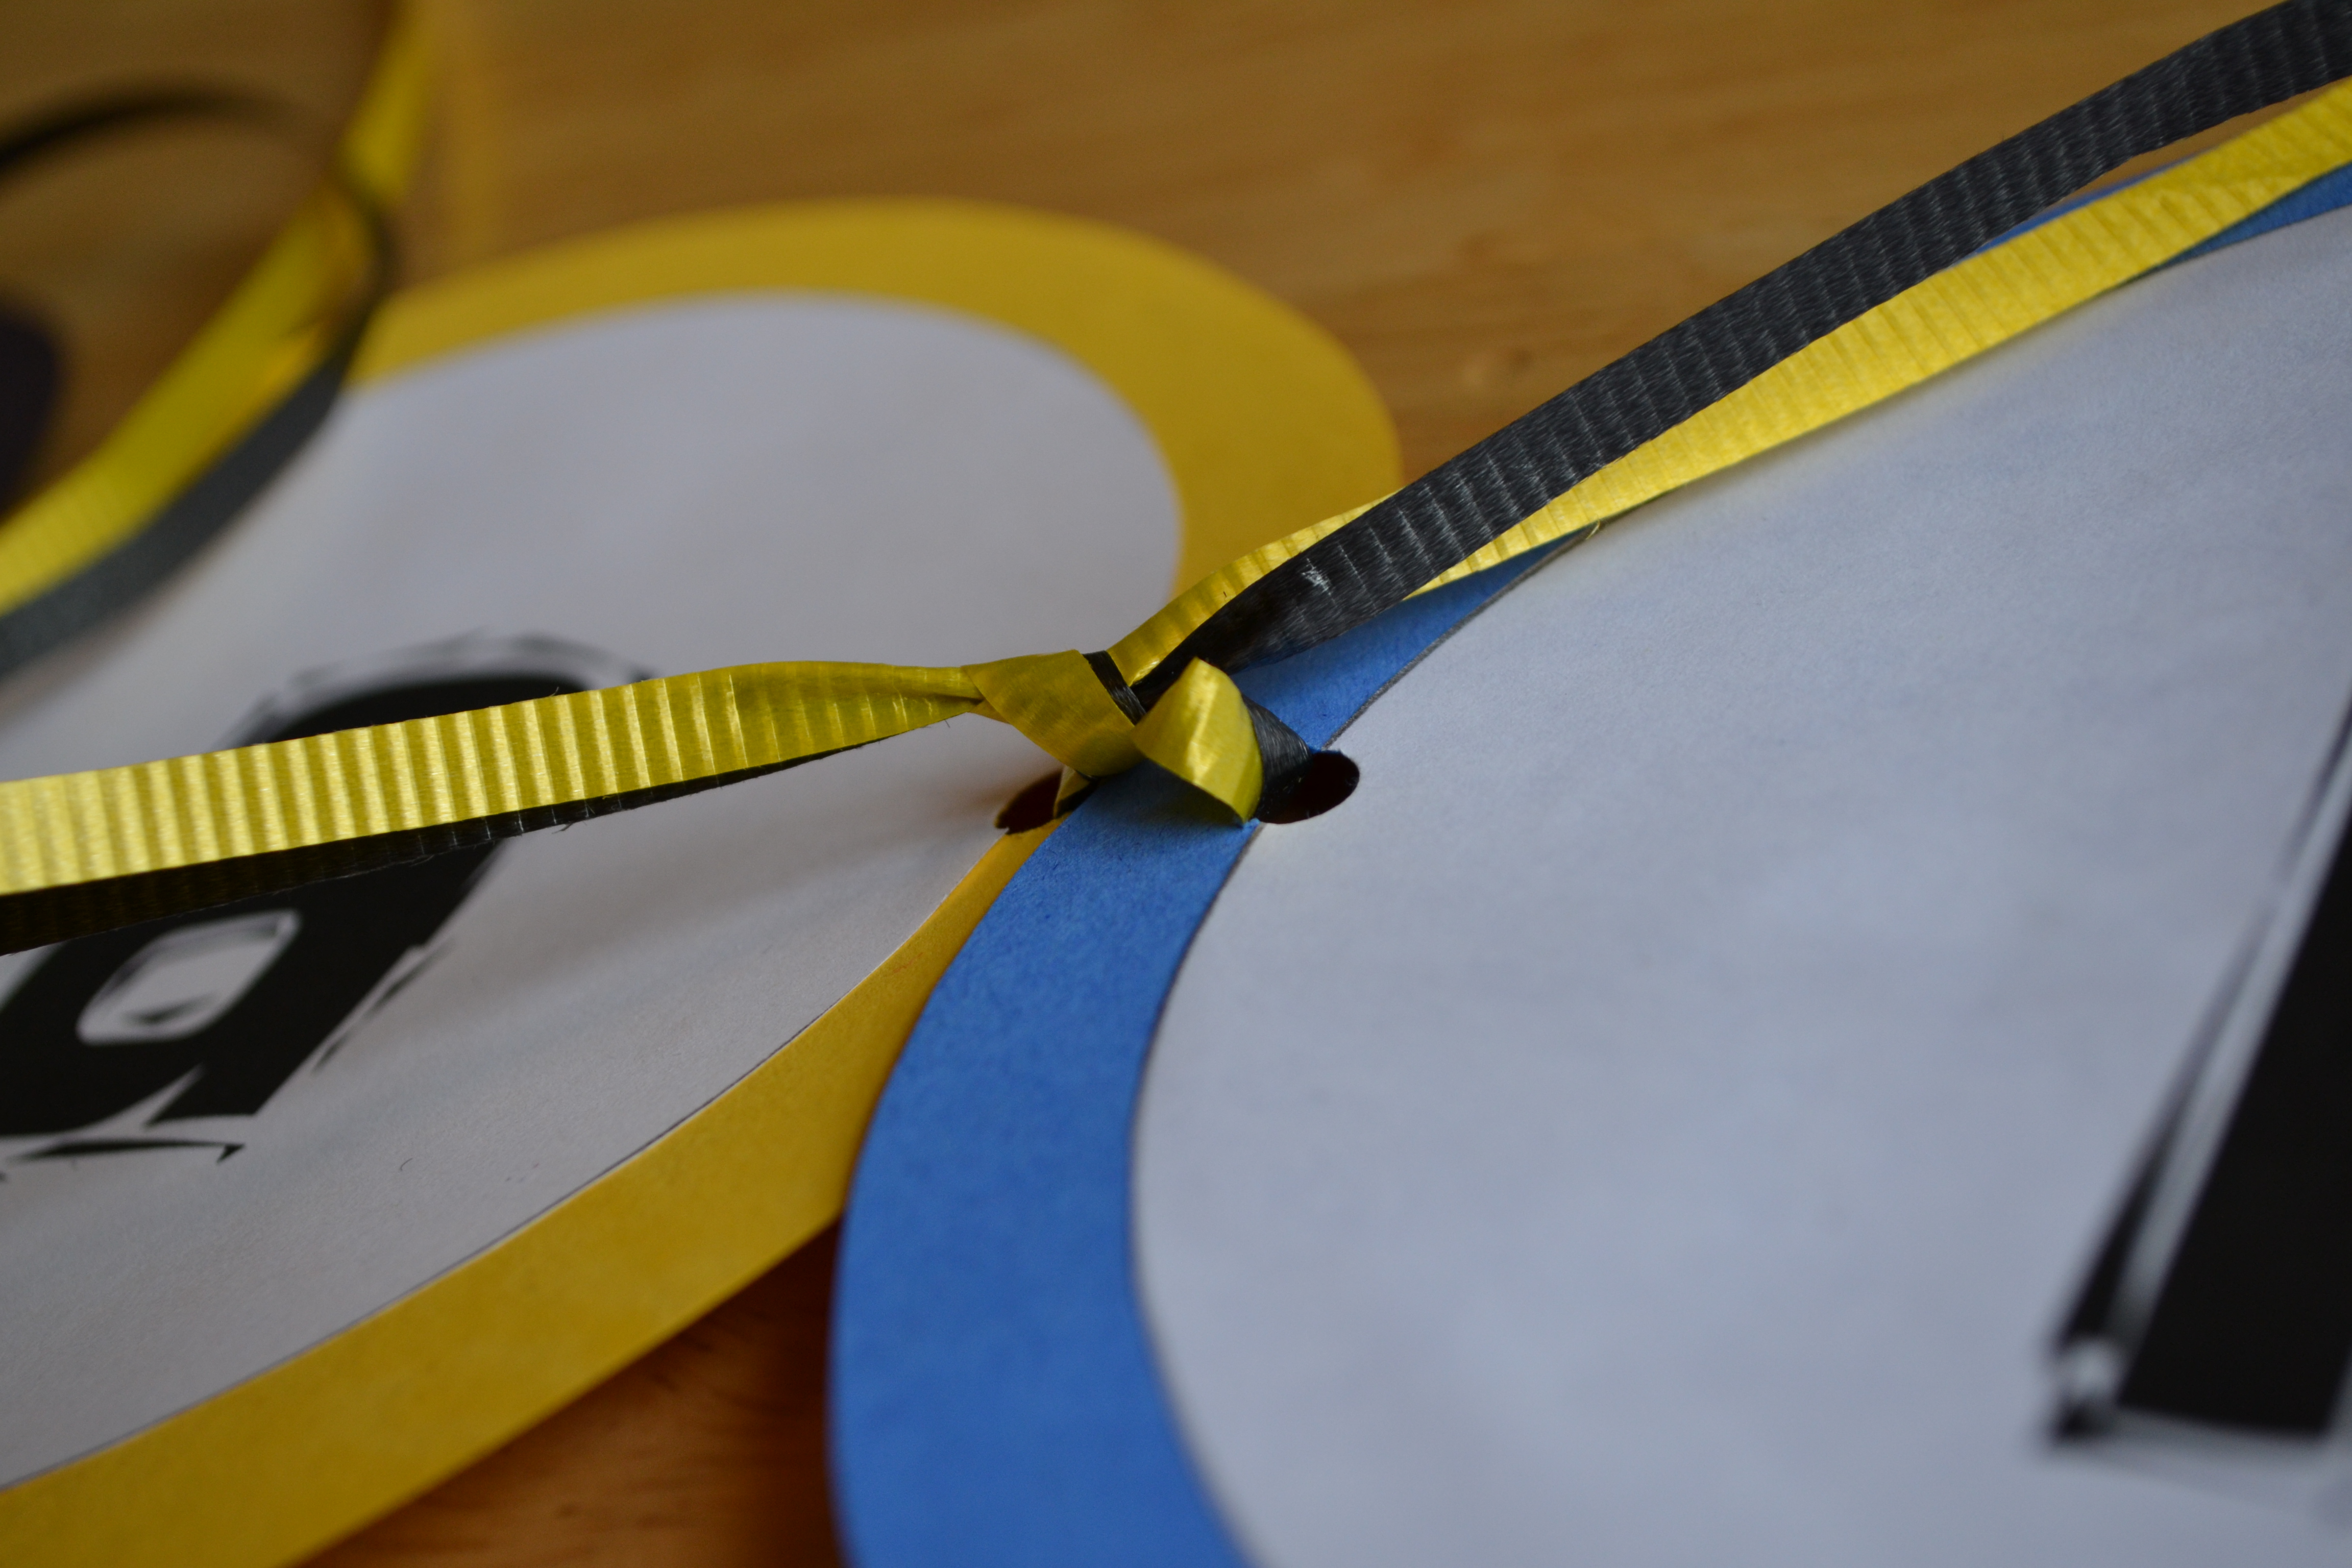
Step 8
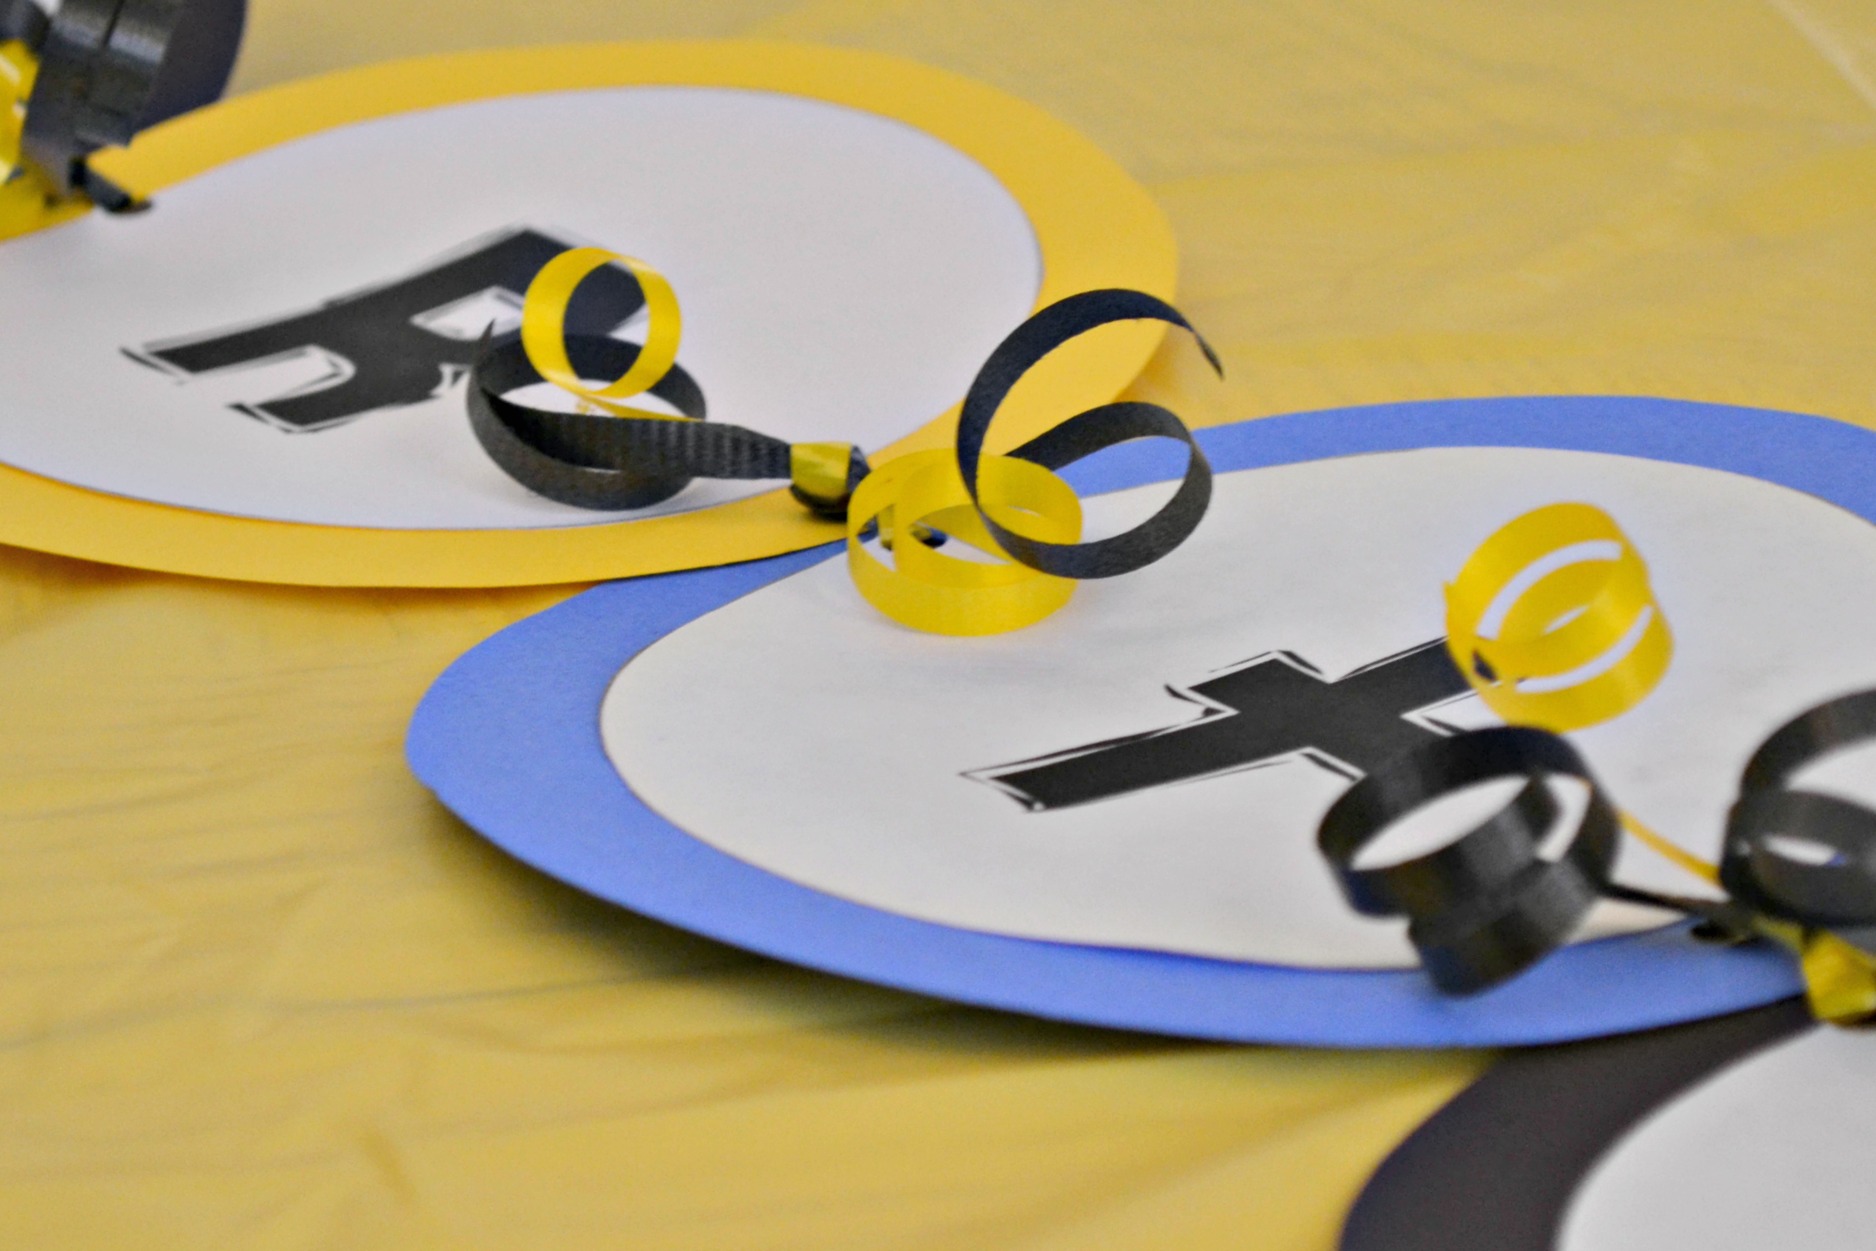
We used coordinating ribbon to tie the letters together and then I used a pair of scissors to curl the ribbon giving it a more polished look.
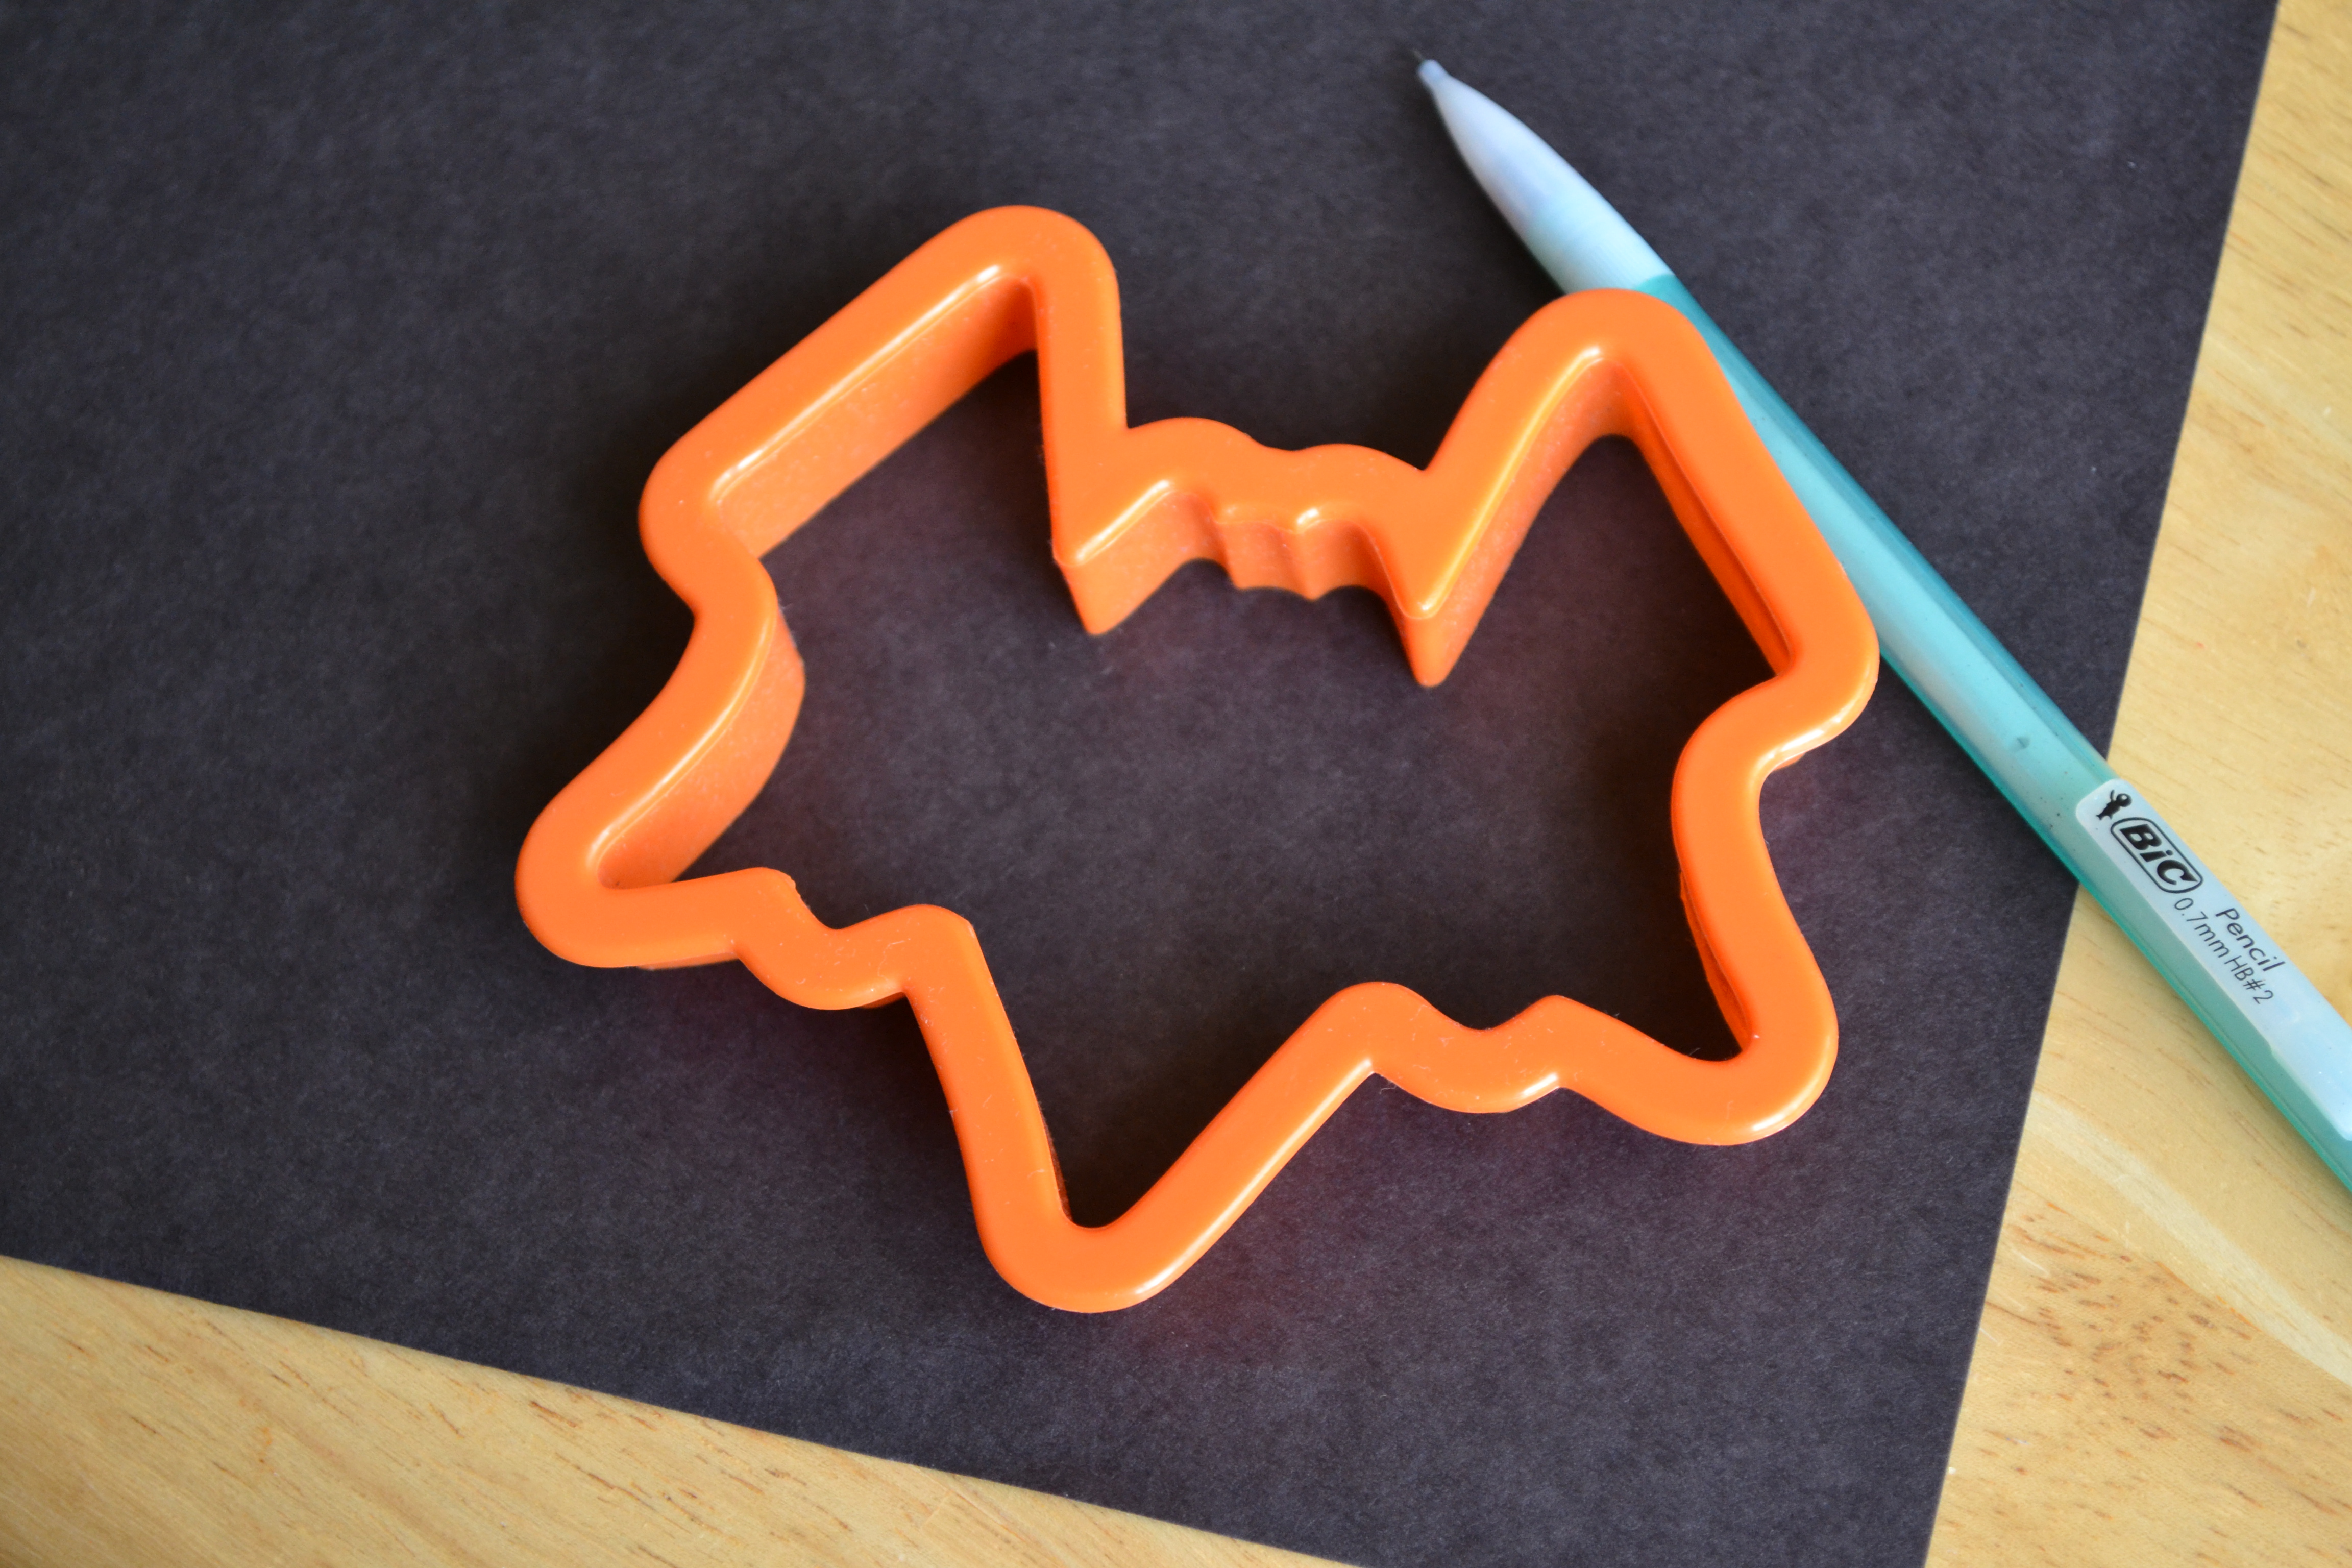
Step 9
To decorate our banner, we used a cookie cutter to cut out shapes that would go with our Superhero theme and then glued them to the extra circles in our banner. You could also use markers, stickers, pom balls, foam stickers, or any other craft material that you have on hand that matches your party theme.
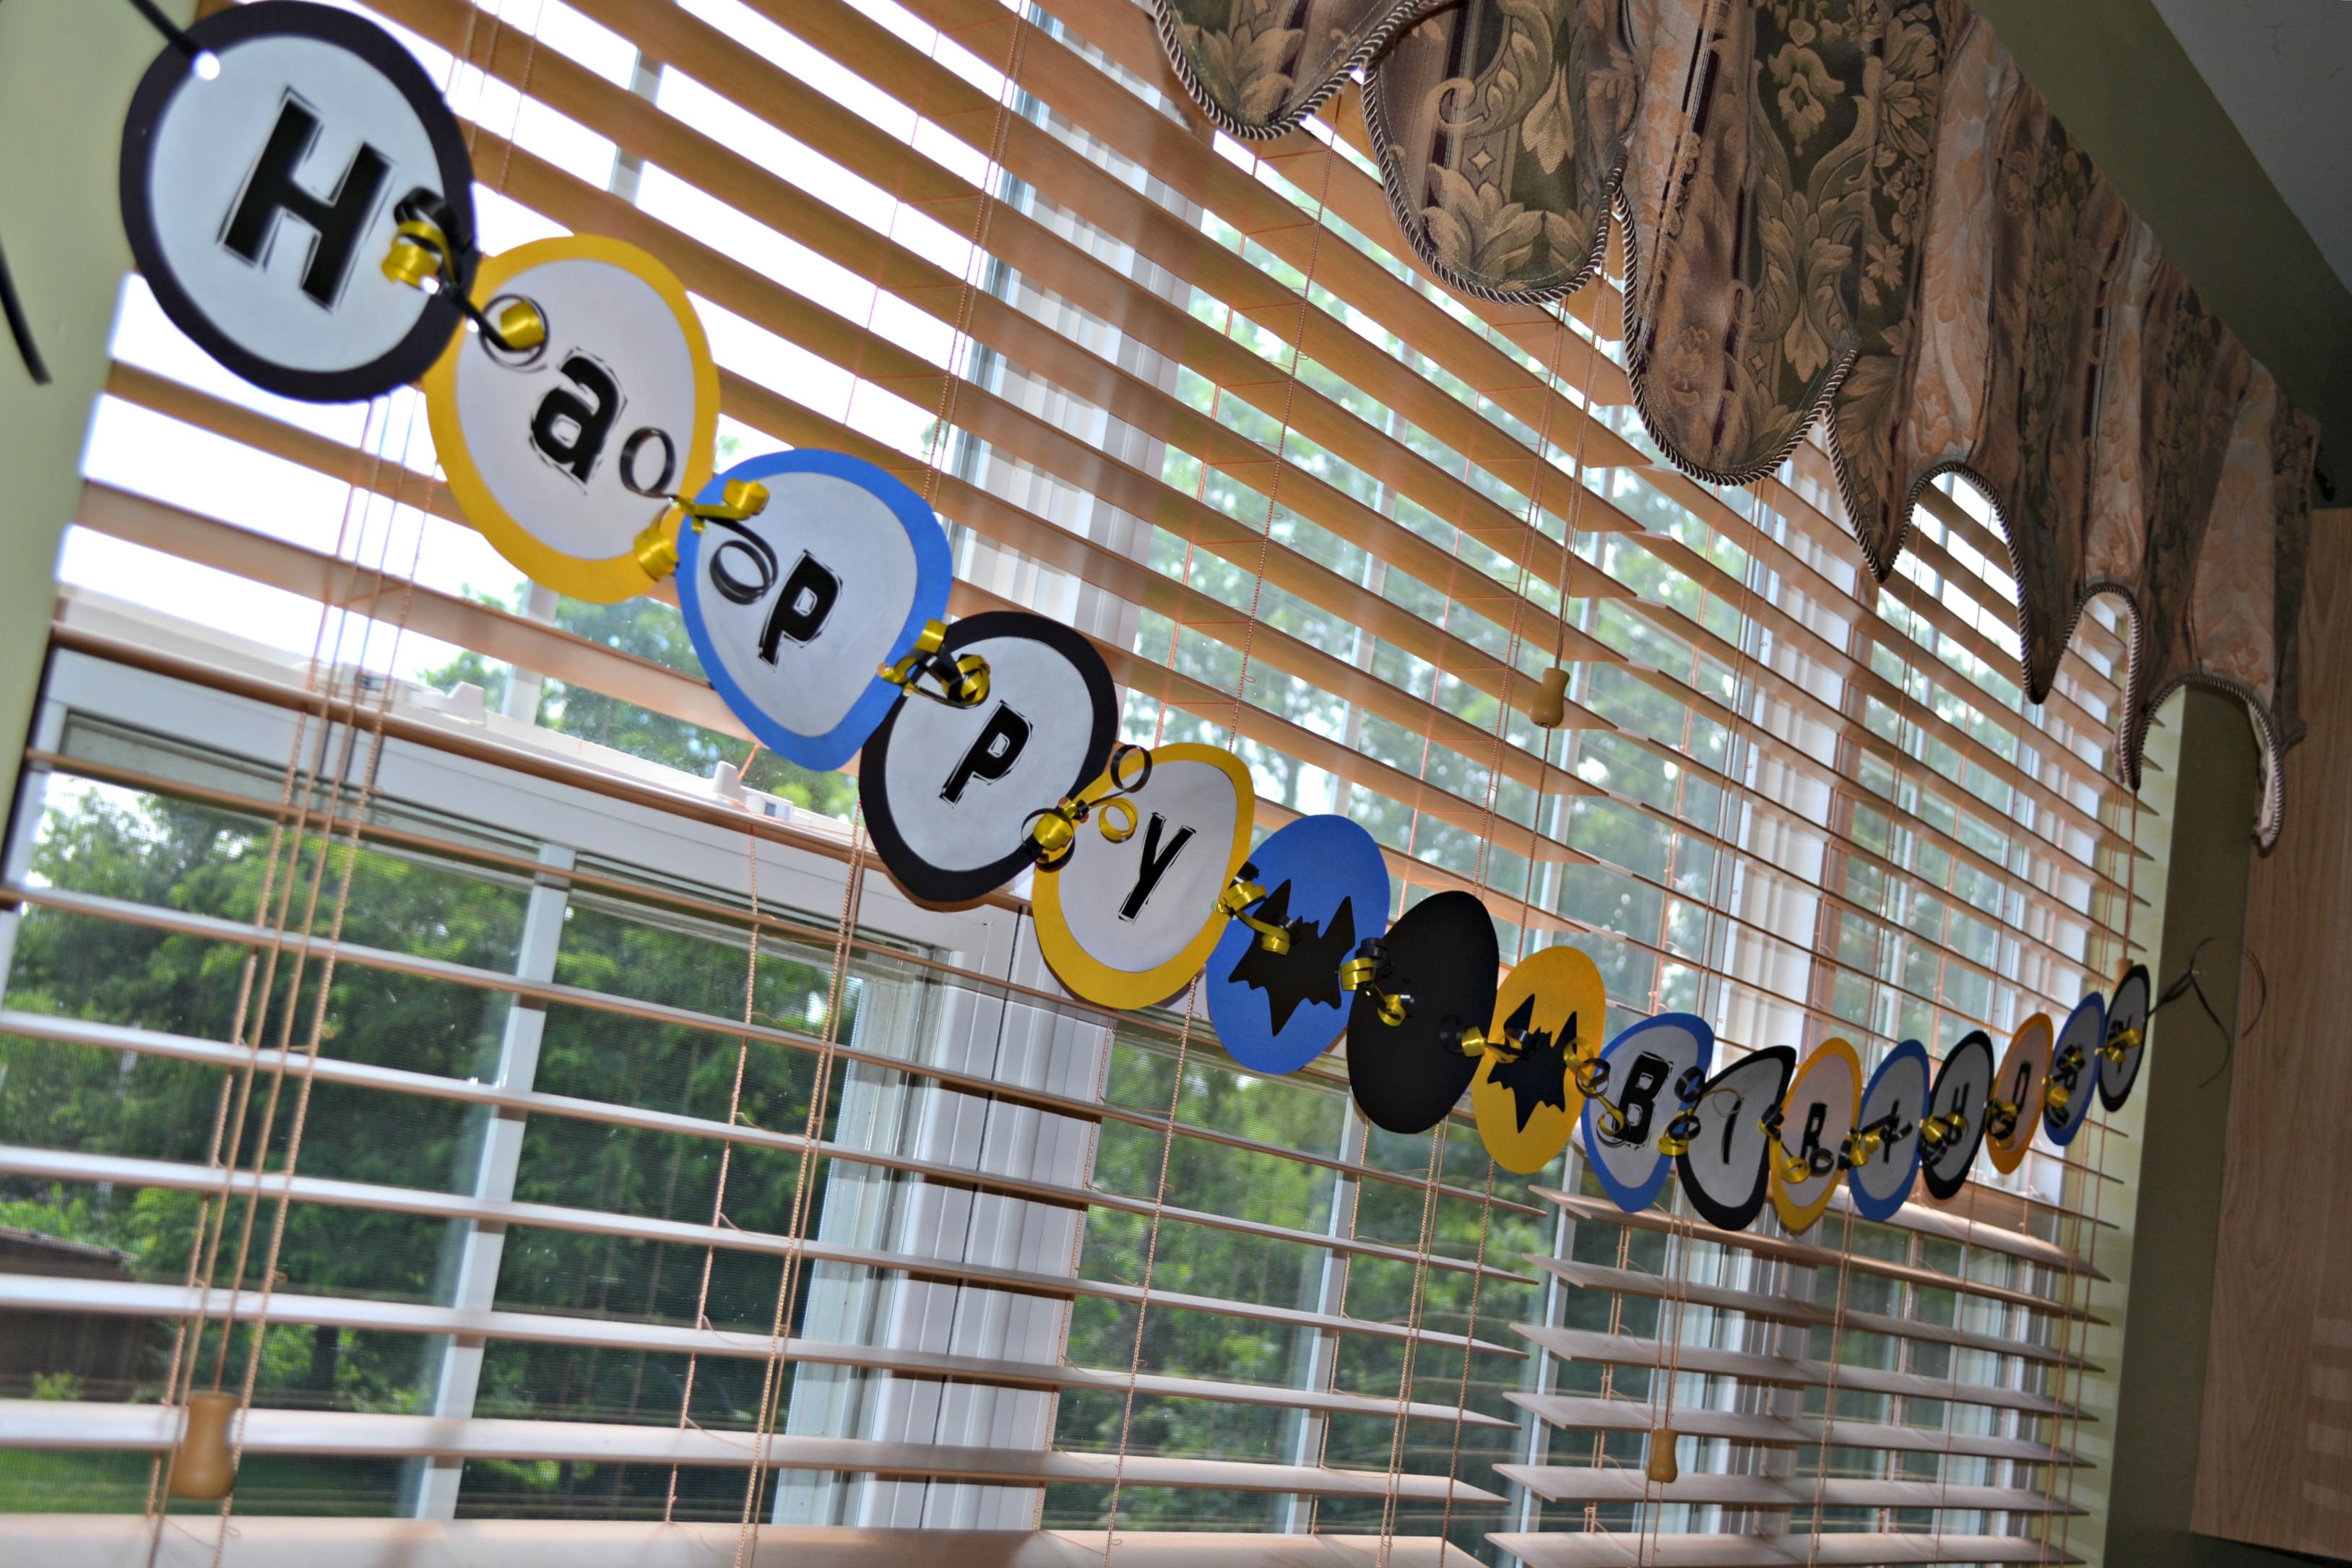
Done!
My son was so excited about his homemade birthday banner and couldn't wait to show it off to all of his friends at his party! Plus, since we used materials that we already had in our craft closet, it only cost us a little bit of time!