Step-by-step tutorial
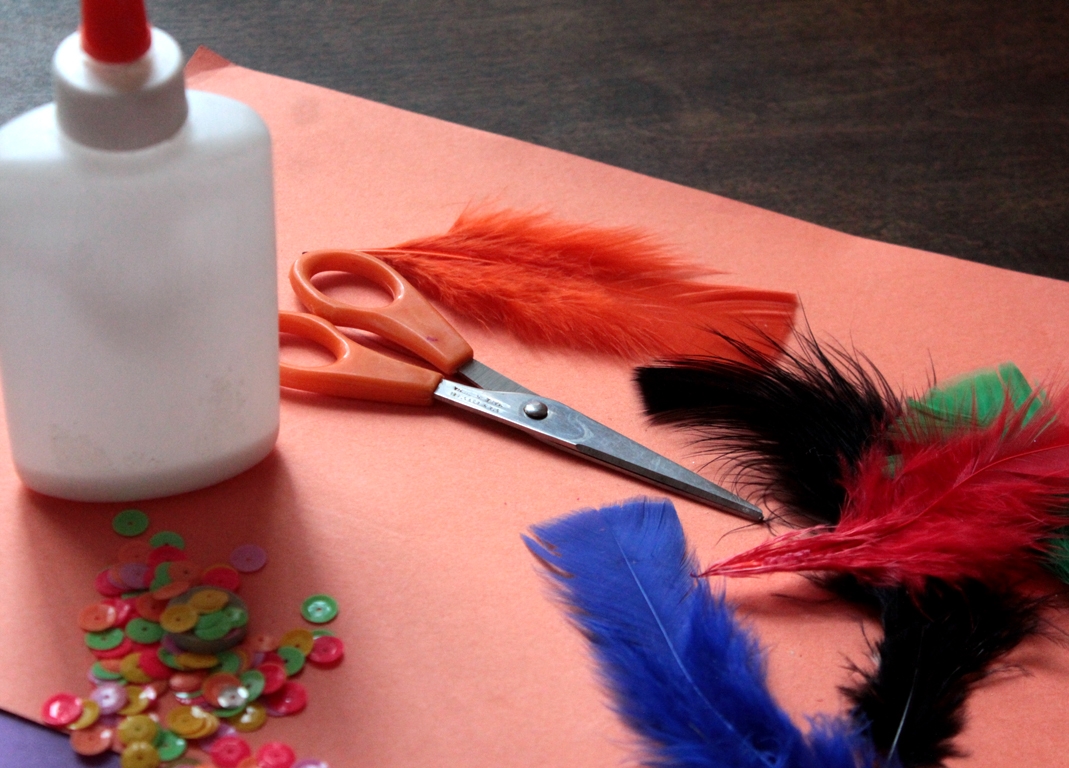
Step 1
We needed a couple of pieces of paper, Madeleine had definite ideas about how big her dragon should be!

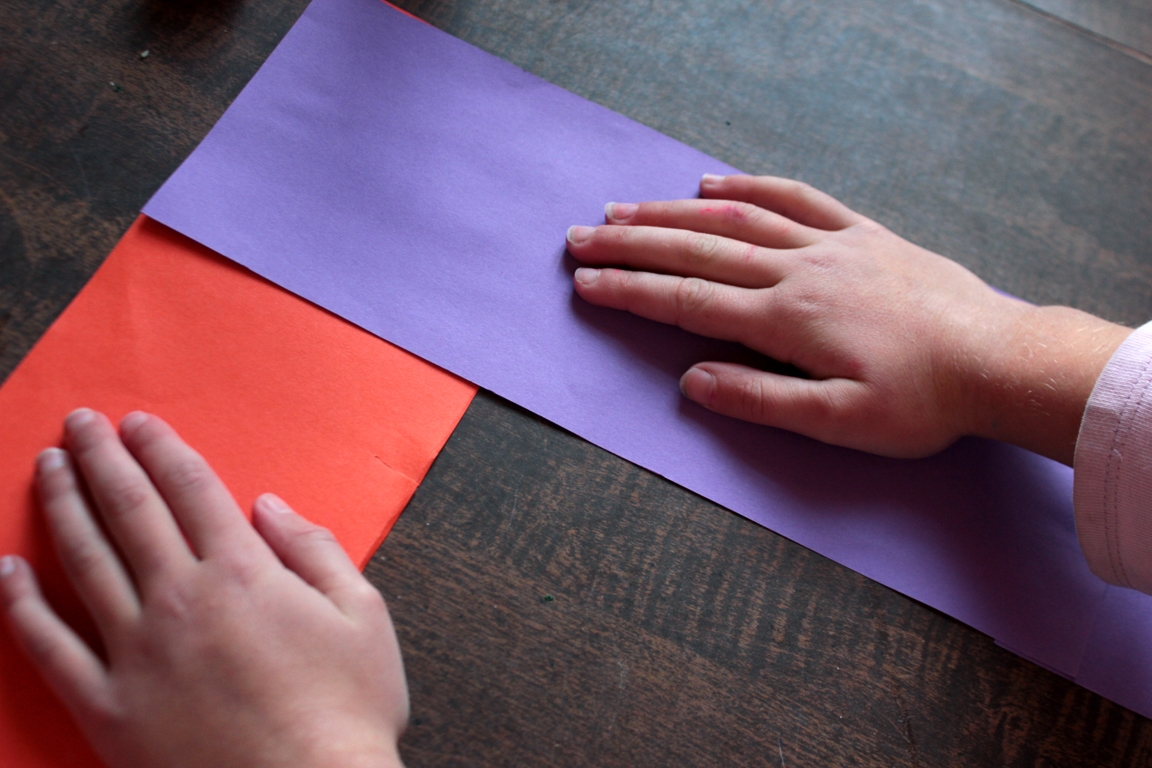
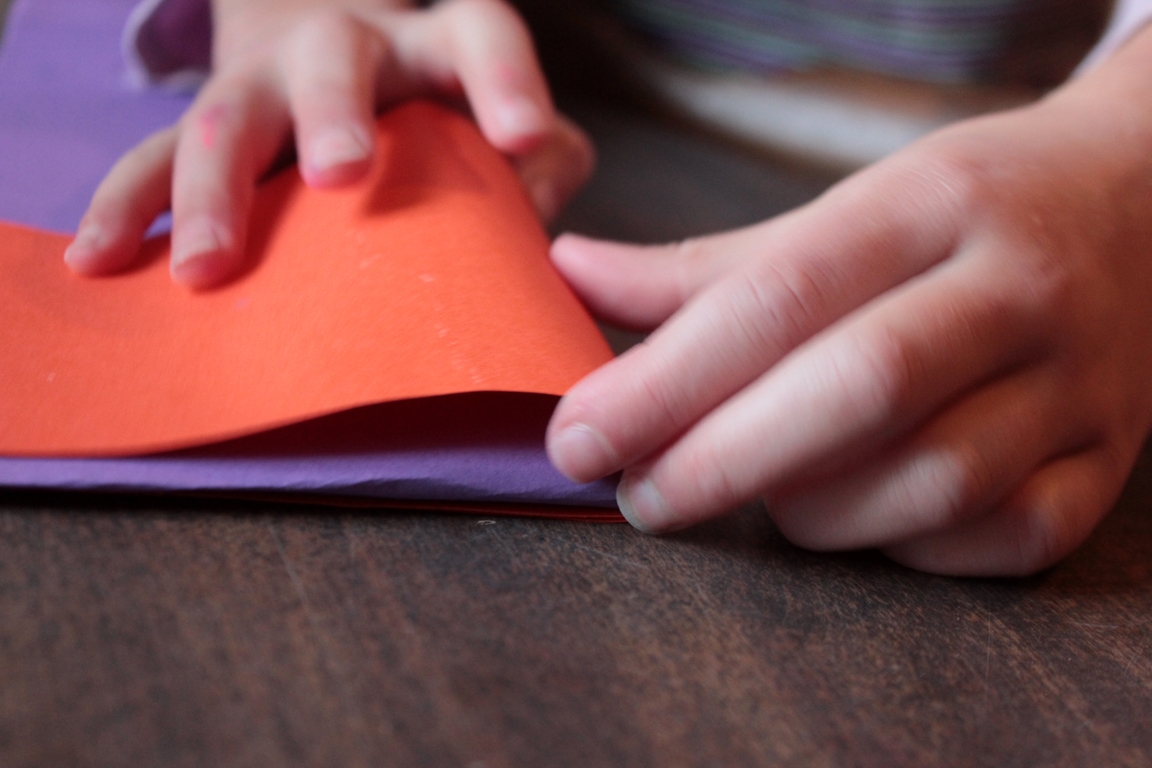
Step 2
She folded her paper in half length-wise, then cut it. She glued one to the end of the other, making it extra long. She did the same with another color. and we had one more of each color ready to add on to the others. One got glued on top of the other, at an angle.
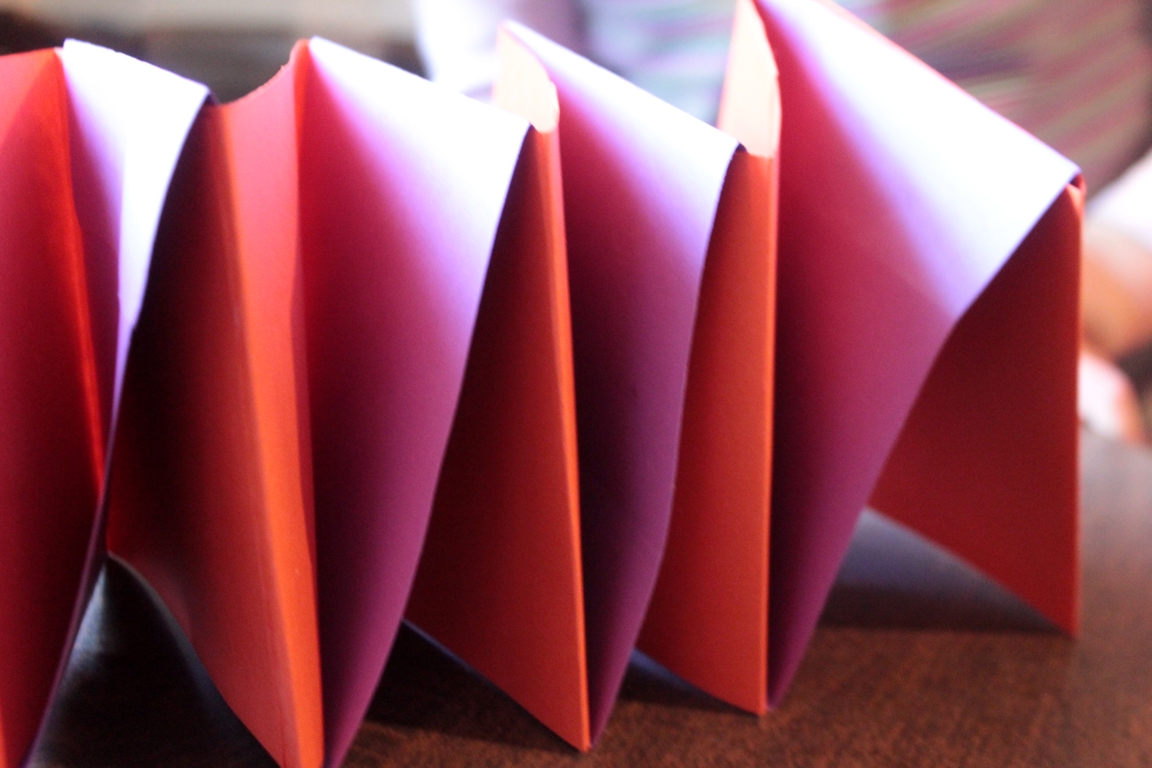
Step 3
It might seem complicated, but this process is really quite fun to create, and makes such a great effect! She just folded the bottom paper over the top, over and over again.
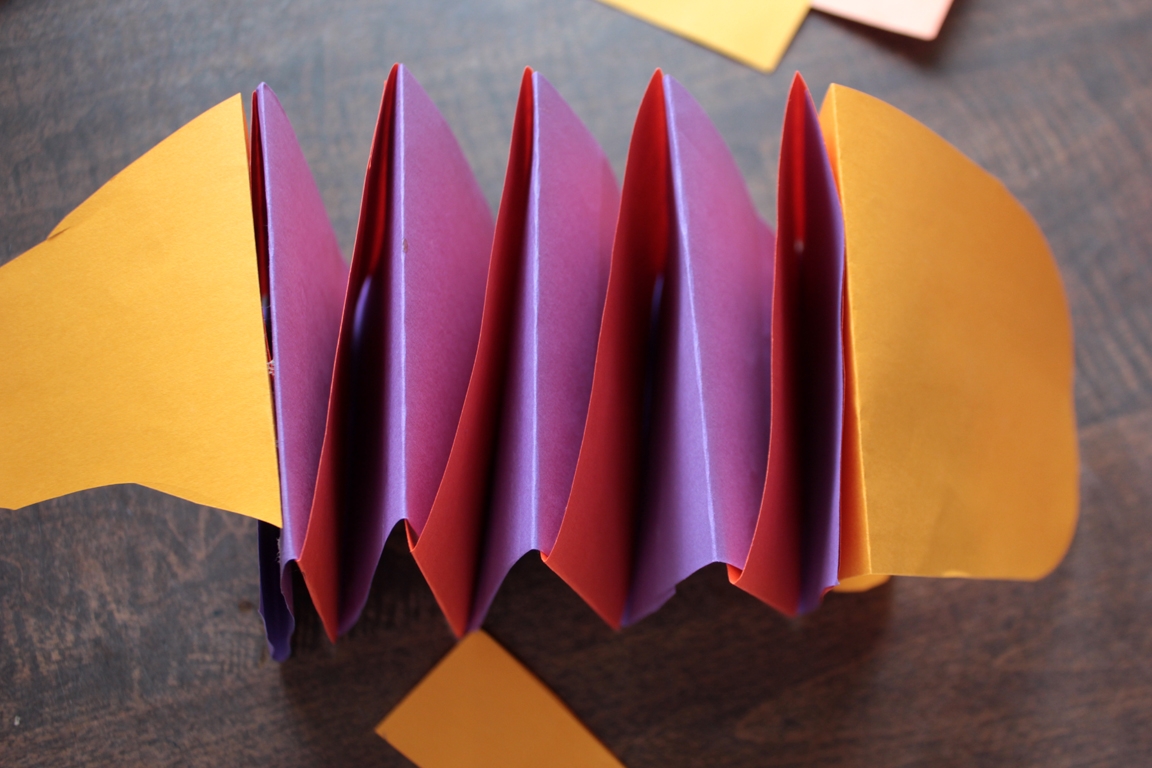
Step 4
After she added the extra lengths of paper (to the ends of this one) she had a fine dragon's body! You may not choose to make your dragon so large, and may not need to add as much paper as we did. You choose the size!
Step 5
Now for the decorating! We folded another paper in half length-wise; this would be the head and tail. Maddie cut out the shape she wanted for the head,
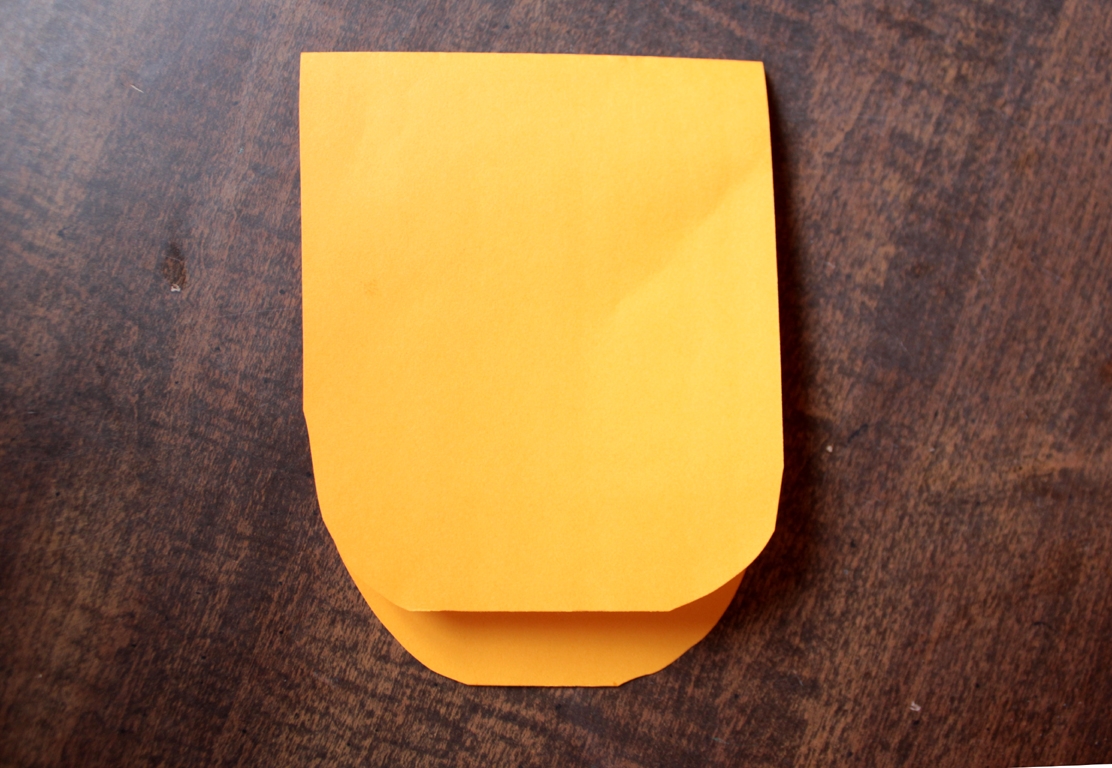
Step 6
and then drew and cut out the tail. She glued them on to the end pieces of the body.
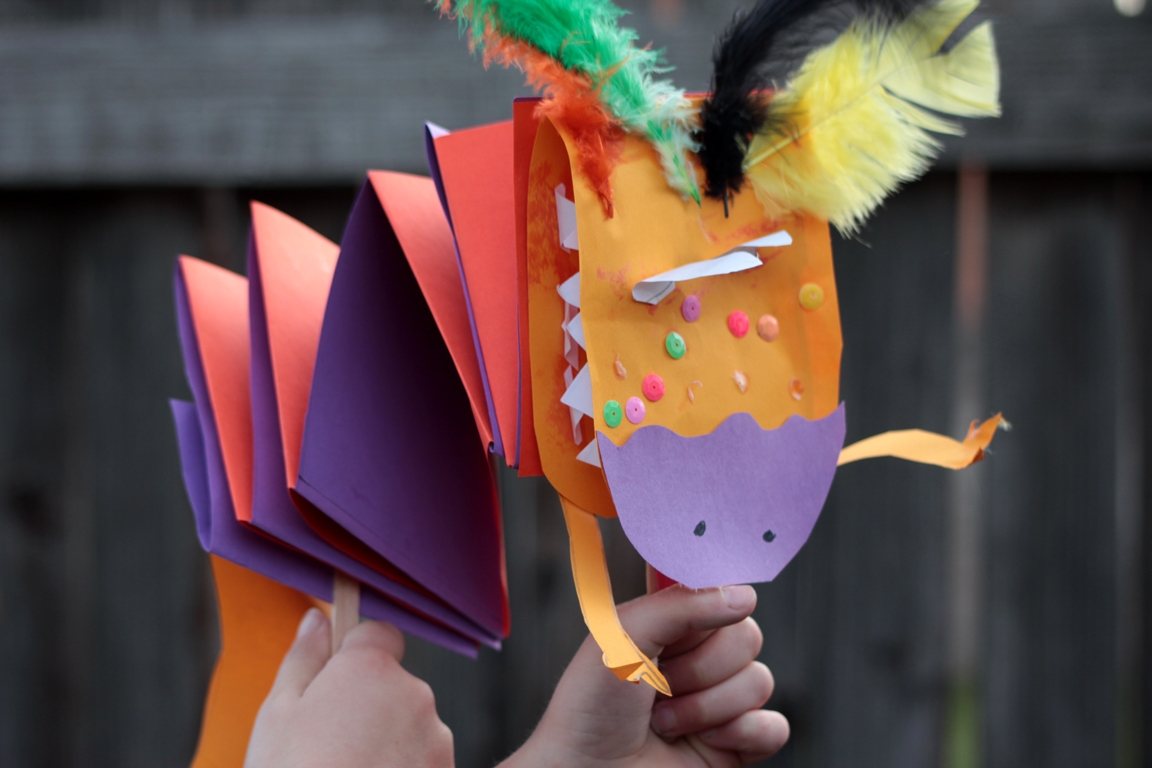
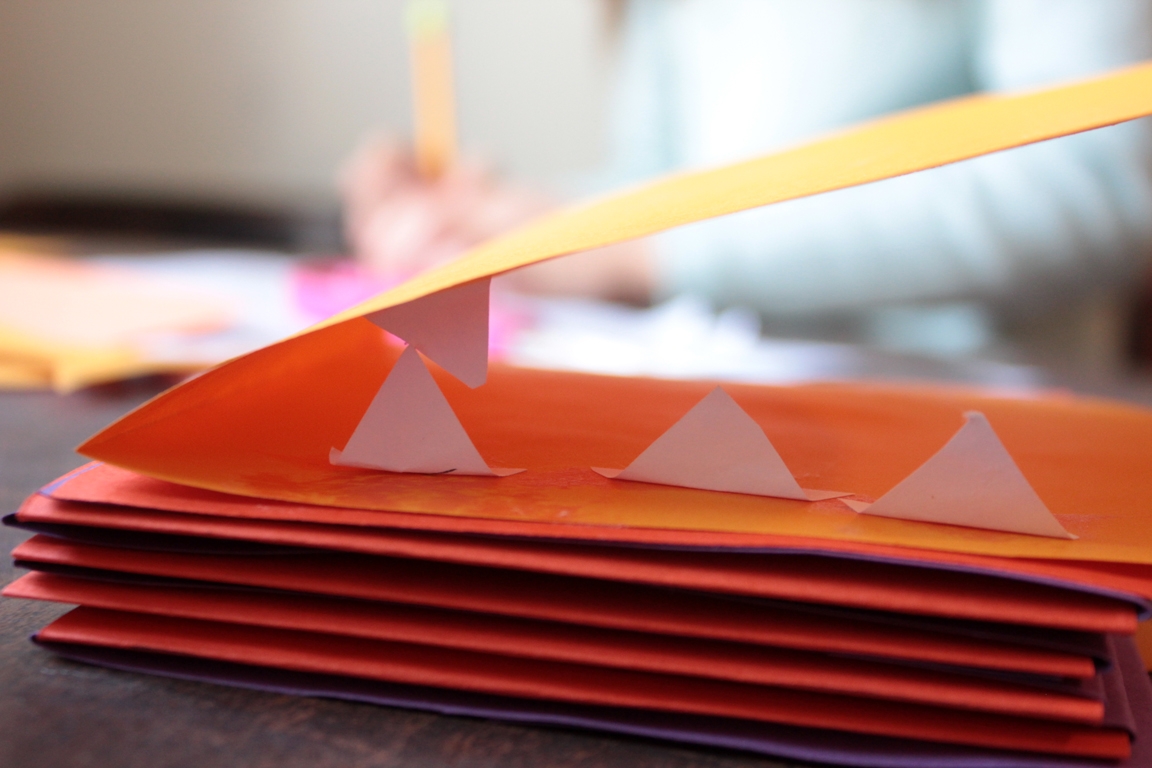
Step 7
It was so fun see her to take off with this... "'I'm making teeth!" she exclaimed at one point when I asked her. The teeth had to point up, the eyes had to stand up off its head,
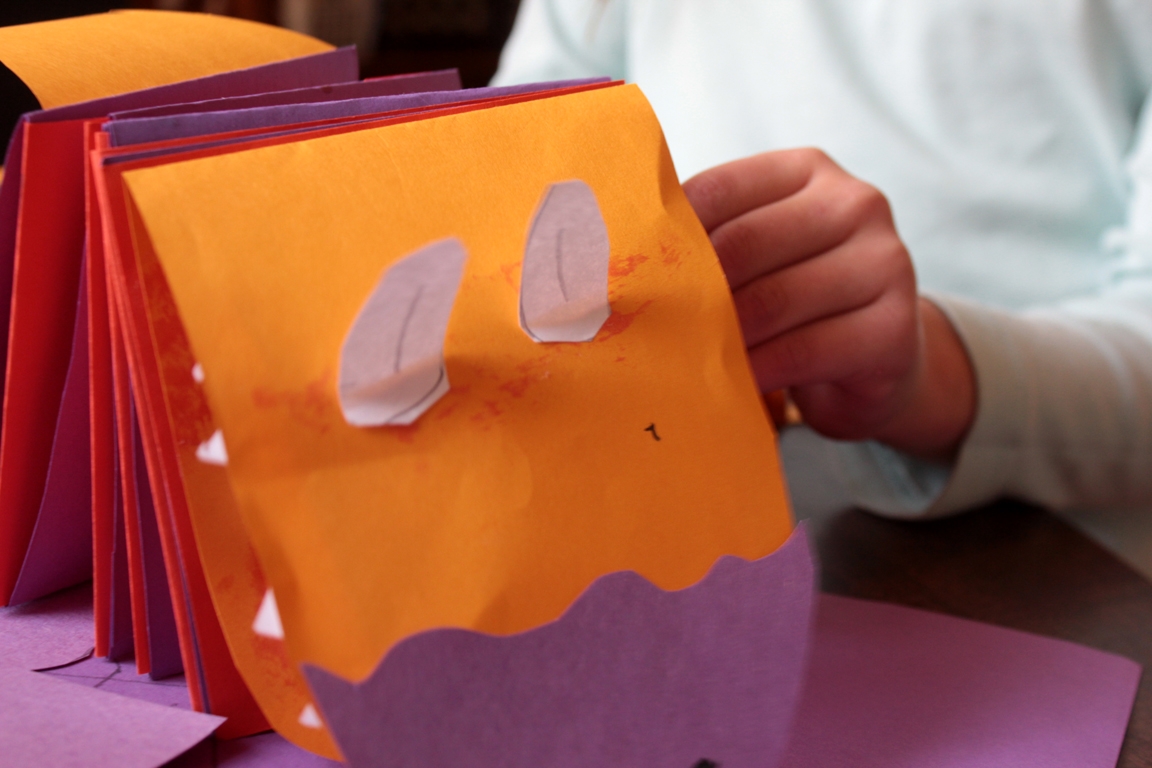
Step 8
the snout had to be shaped like this and have tiny nostrils.... And in go a couple of popsicle sticks, one near the head and tail so he might fly about...
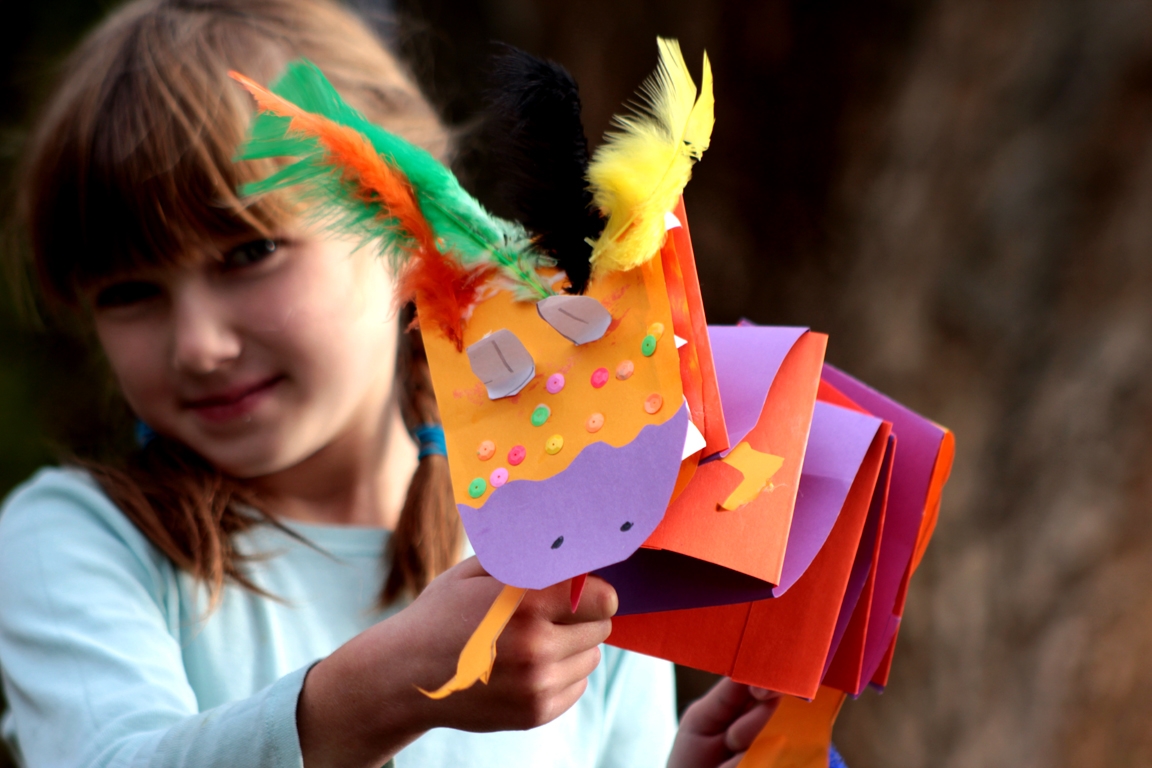
Done!
She had a blast bringing her dragon to life, and I thoroughly enjoyed seeing her imagination in action. Hooray for creativity!