Step-by-step tutorial
Step 1
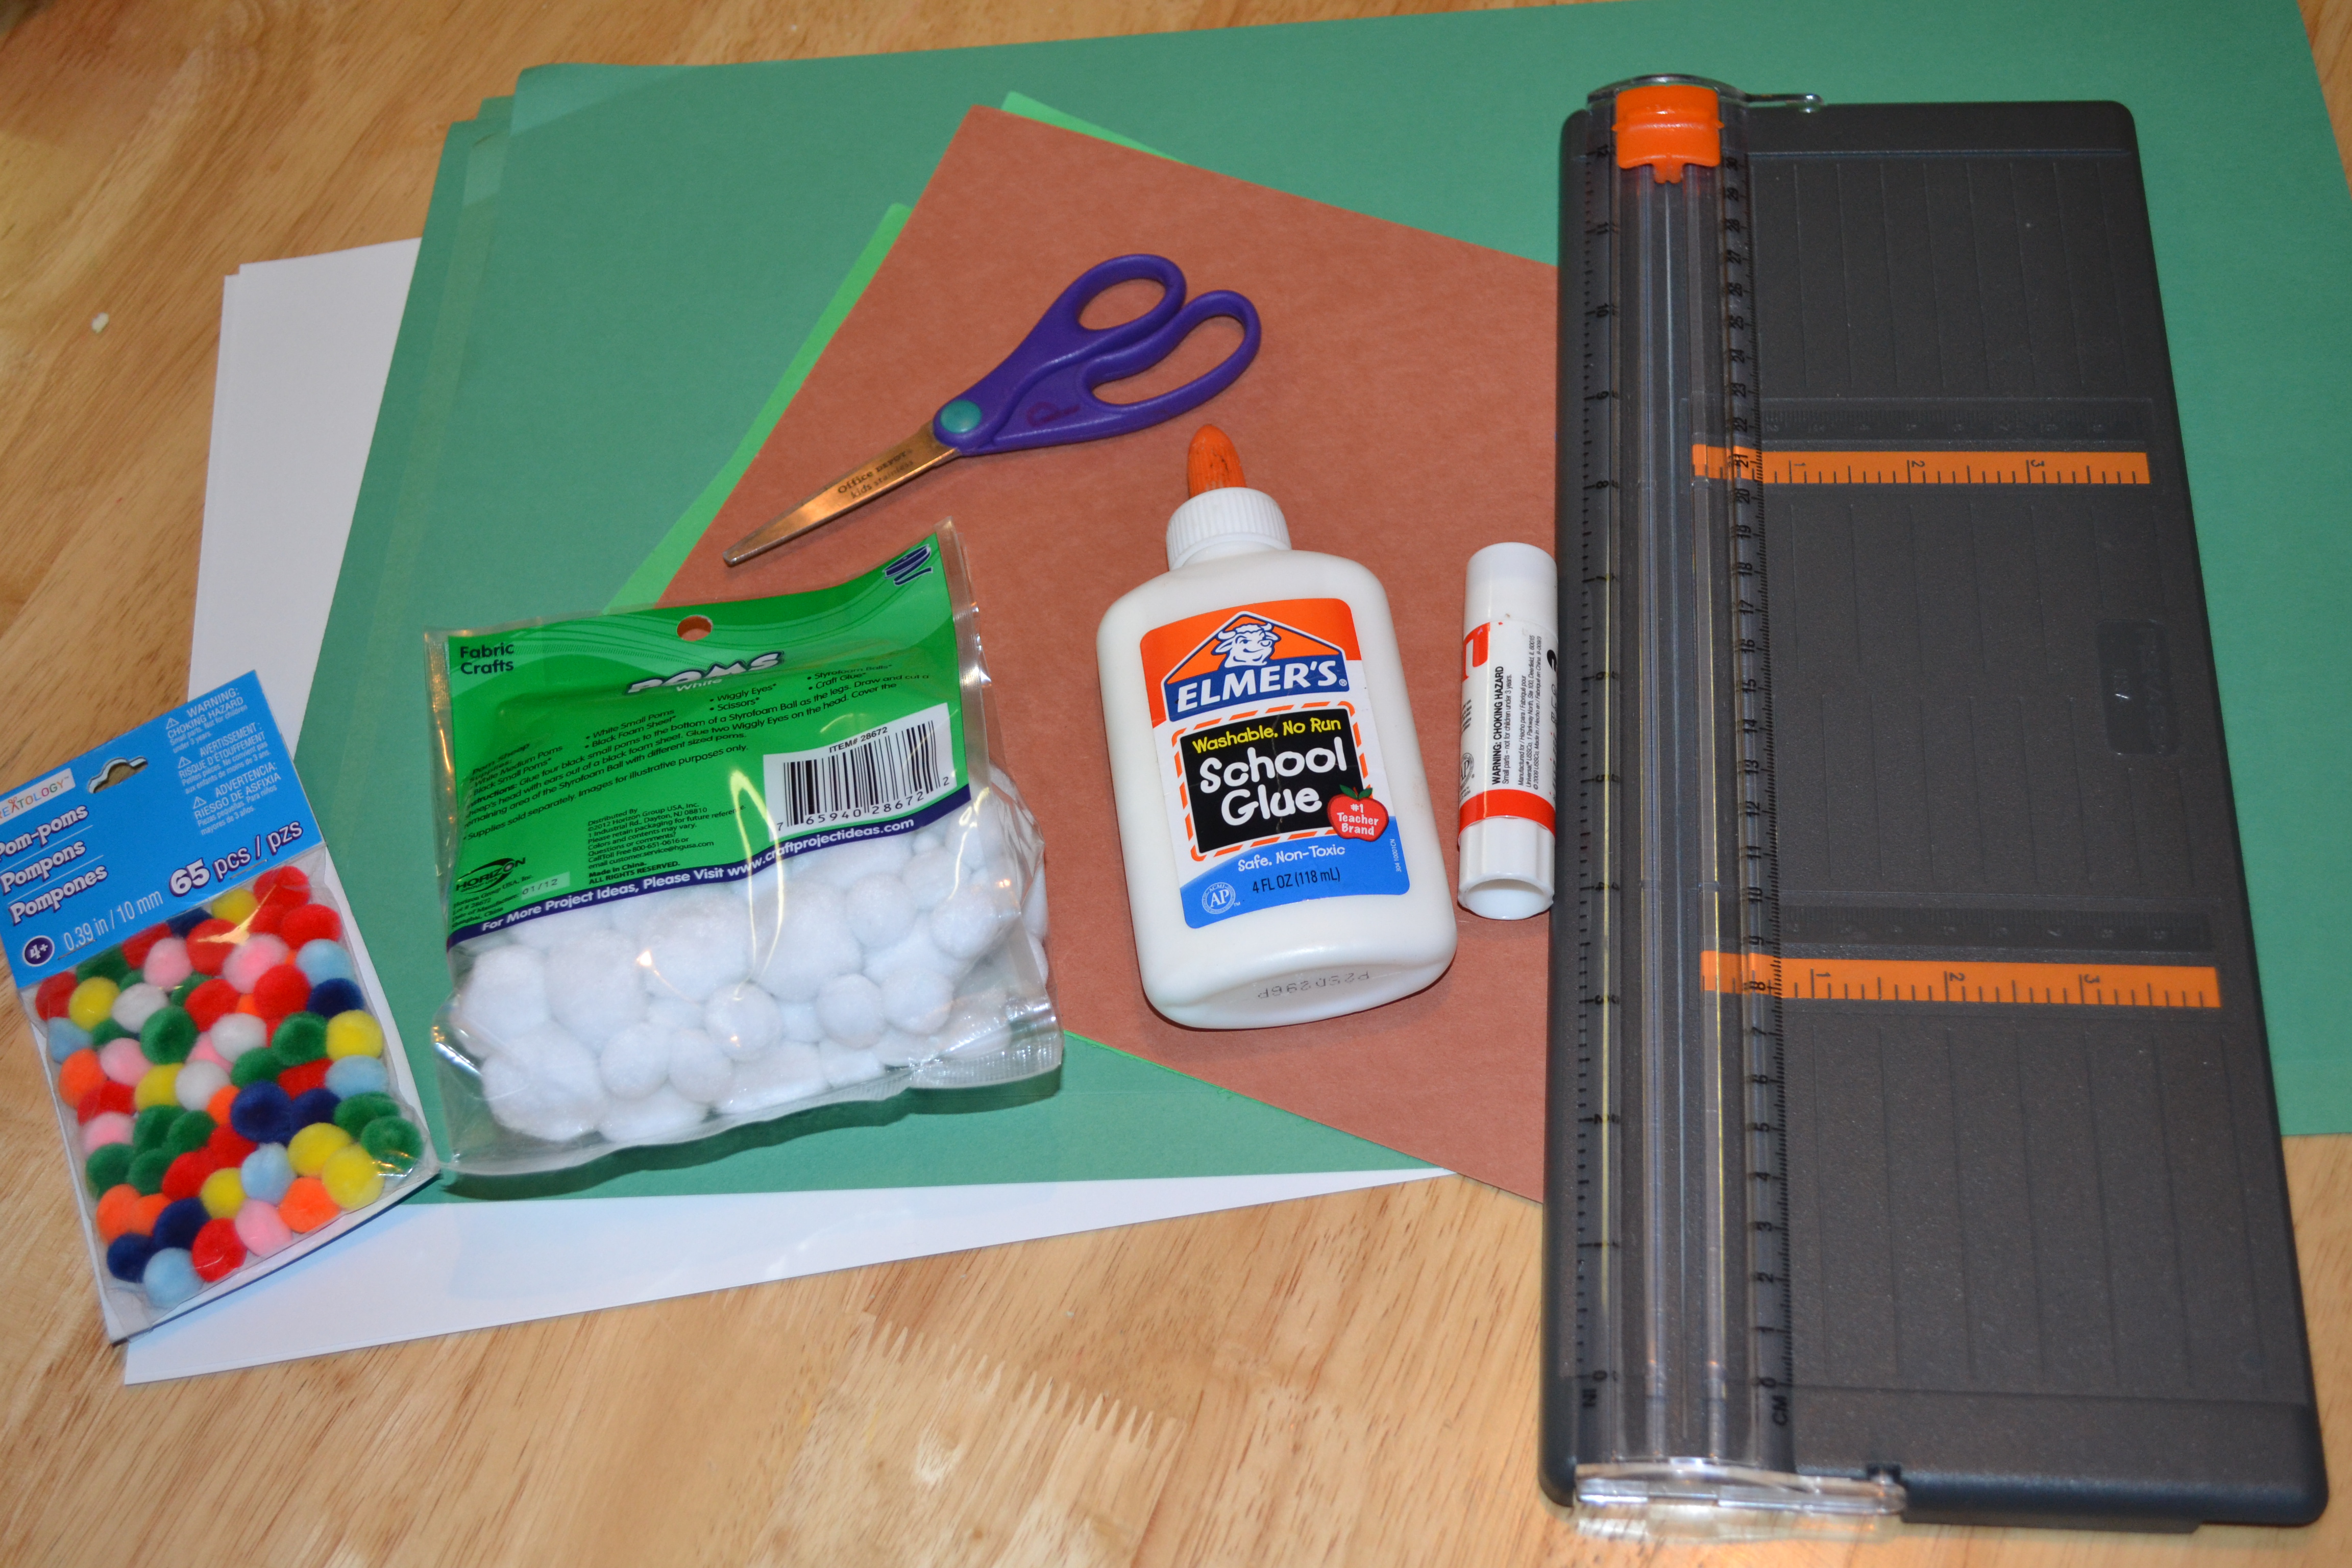
Gather all your materials. We used pom-poms and foam shapes to decorate our trees, but you could also use glitter, markers, stickers, or any other fun materials. I liked using the pom-poms and foam shapes because it made it easier for my kids to make patterns.
Looking for a gift? Checkout KiwiCo's Christmas gifts here.

Step 2
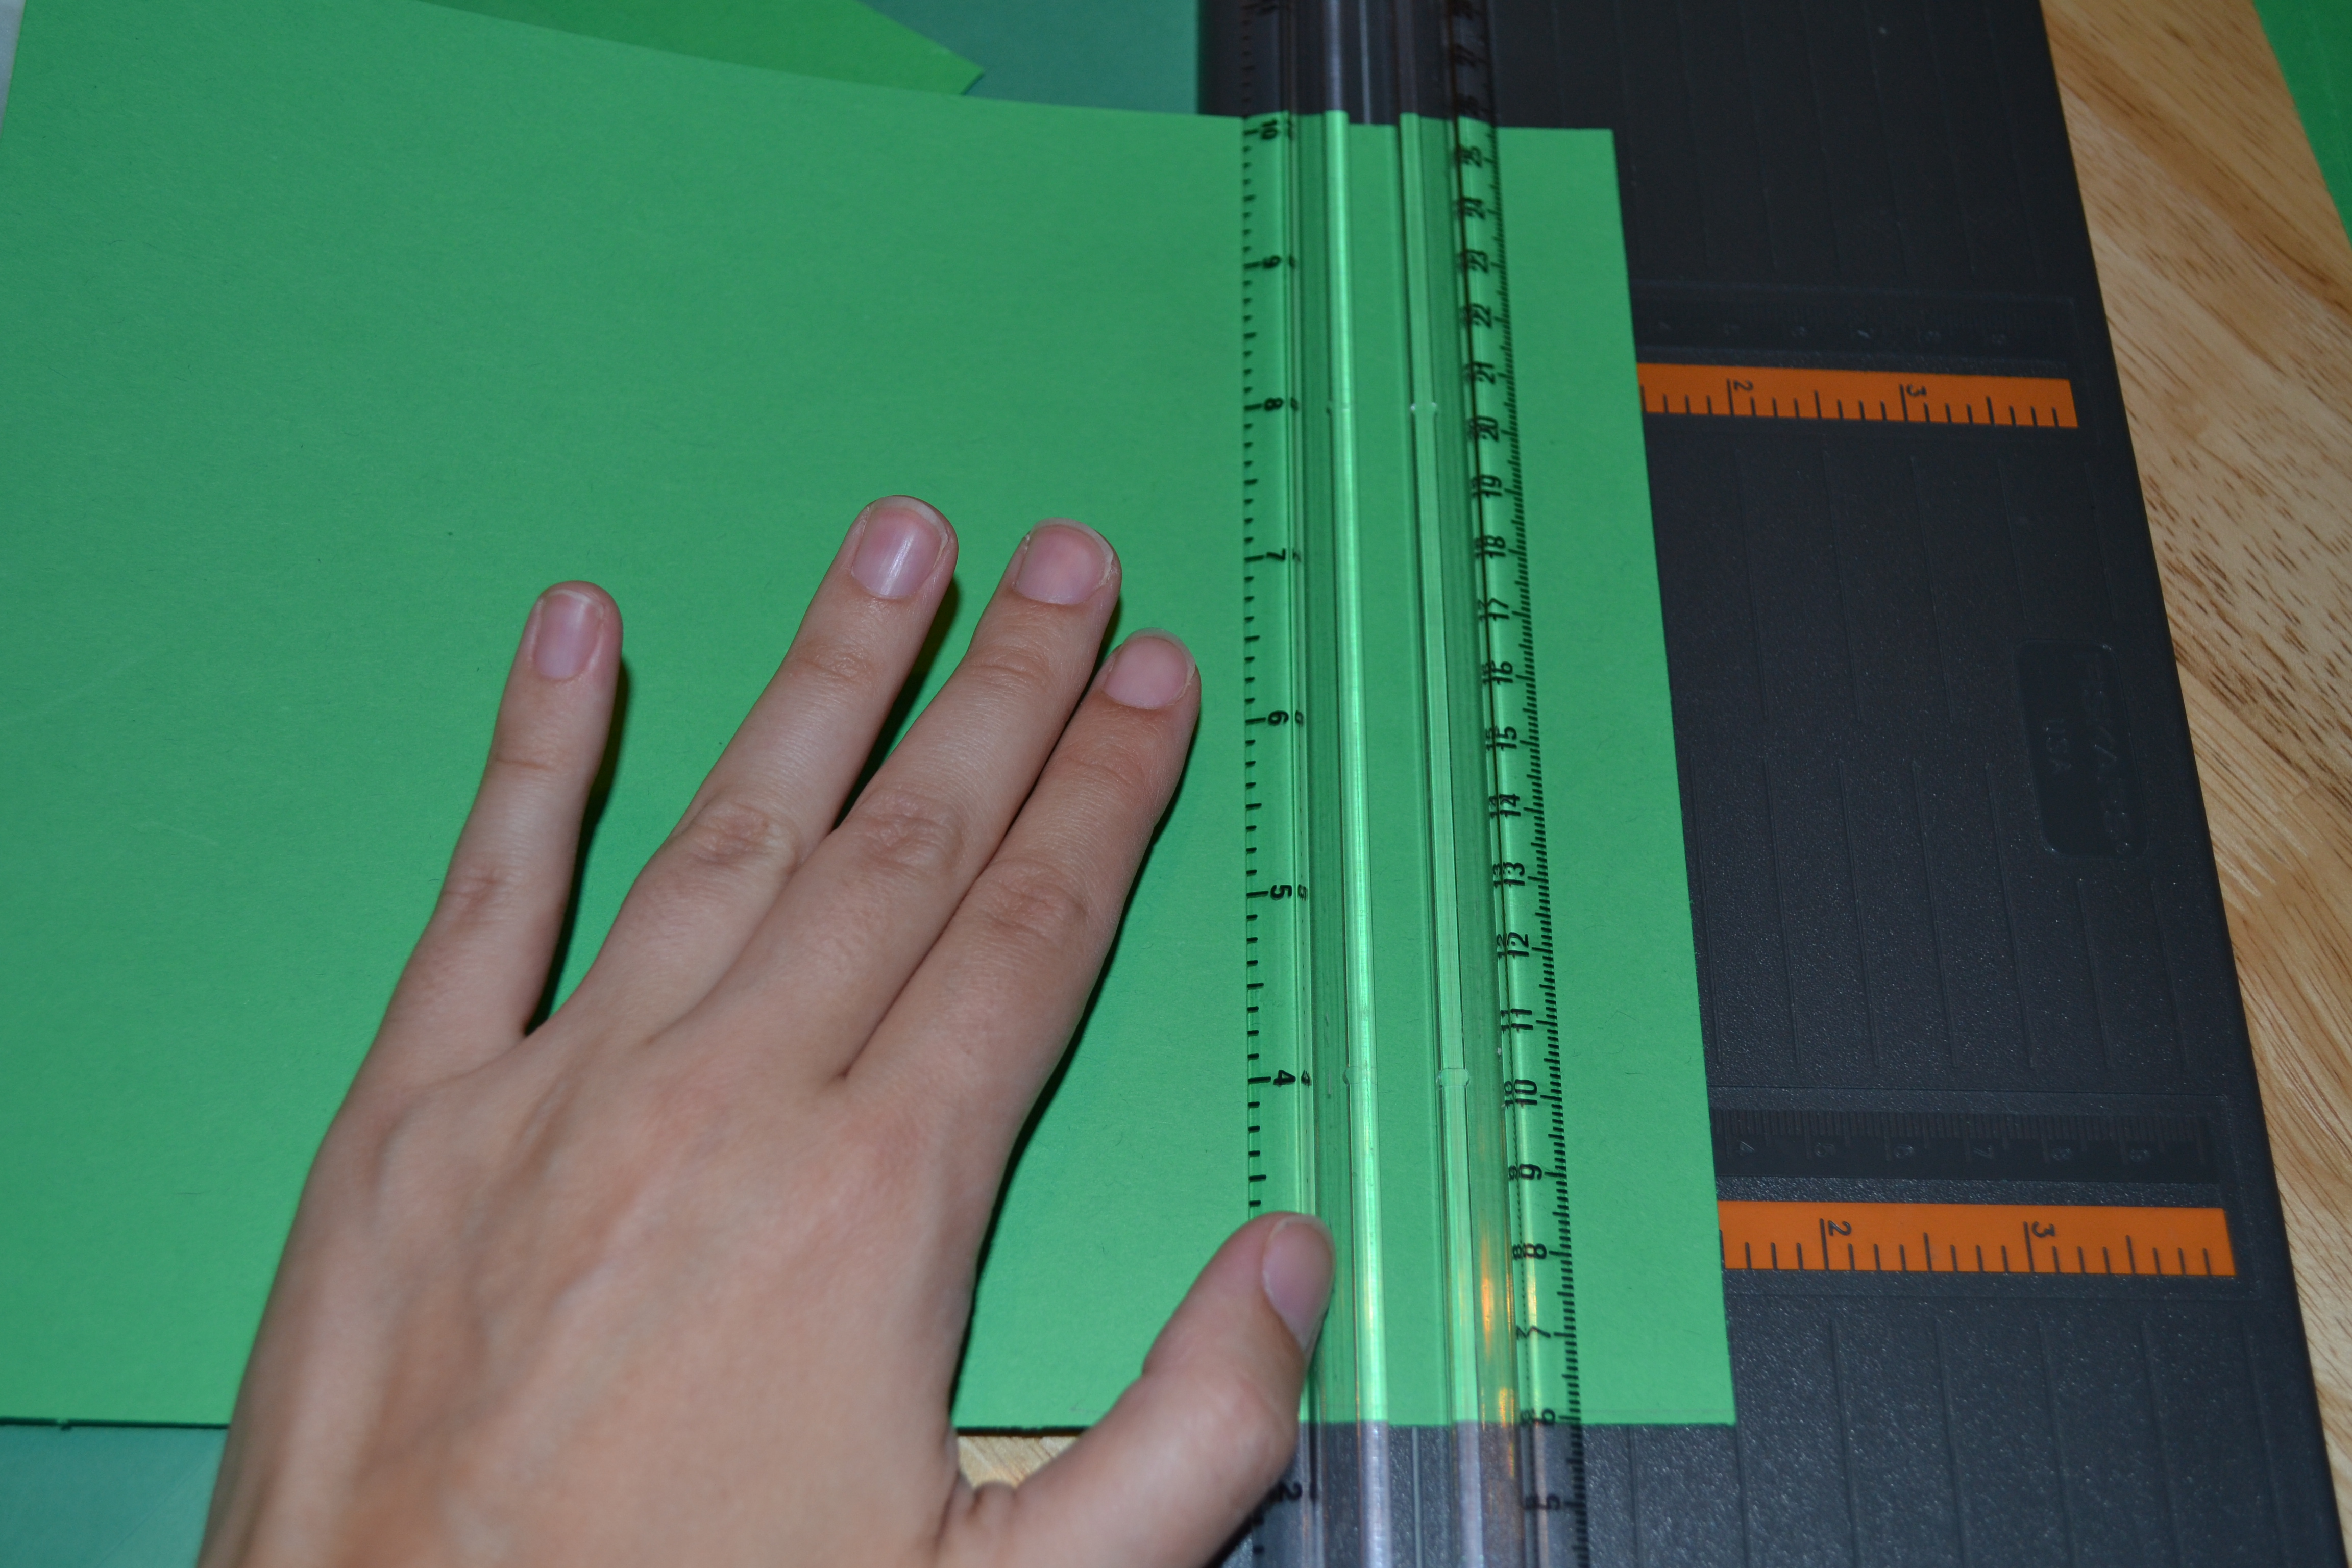
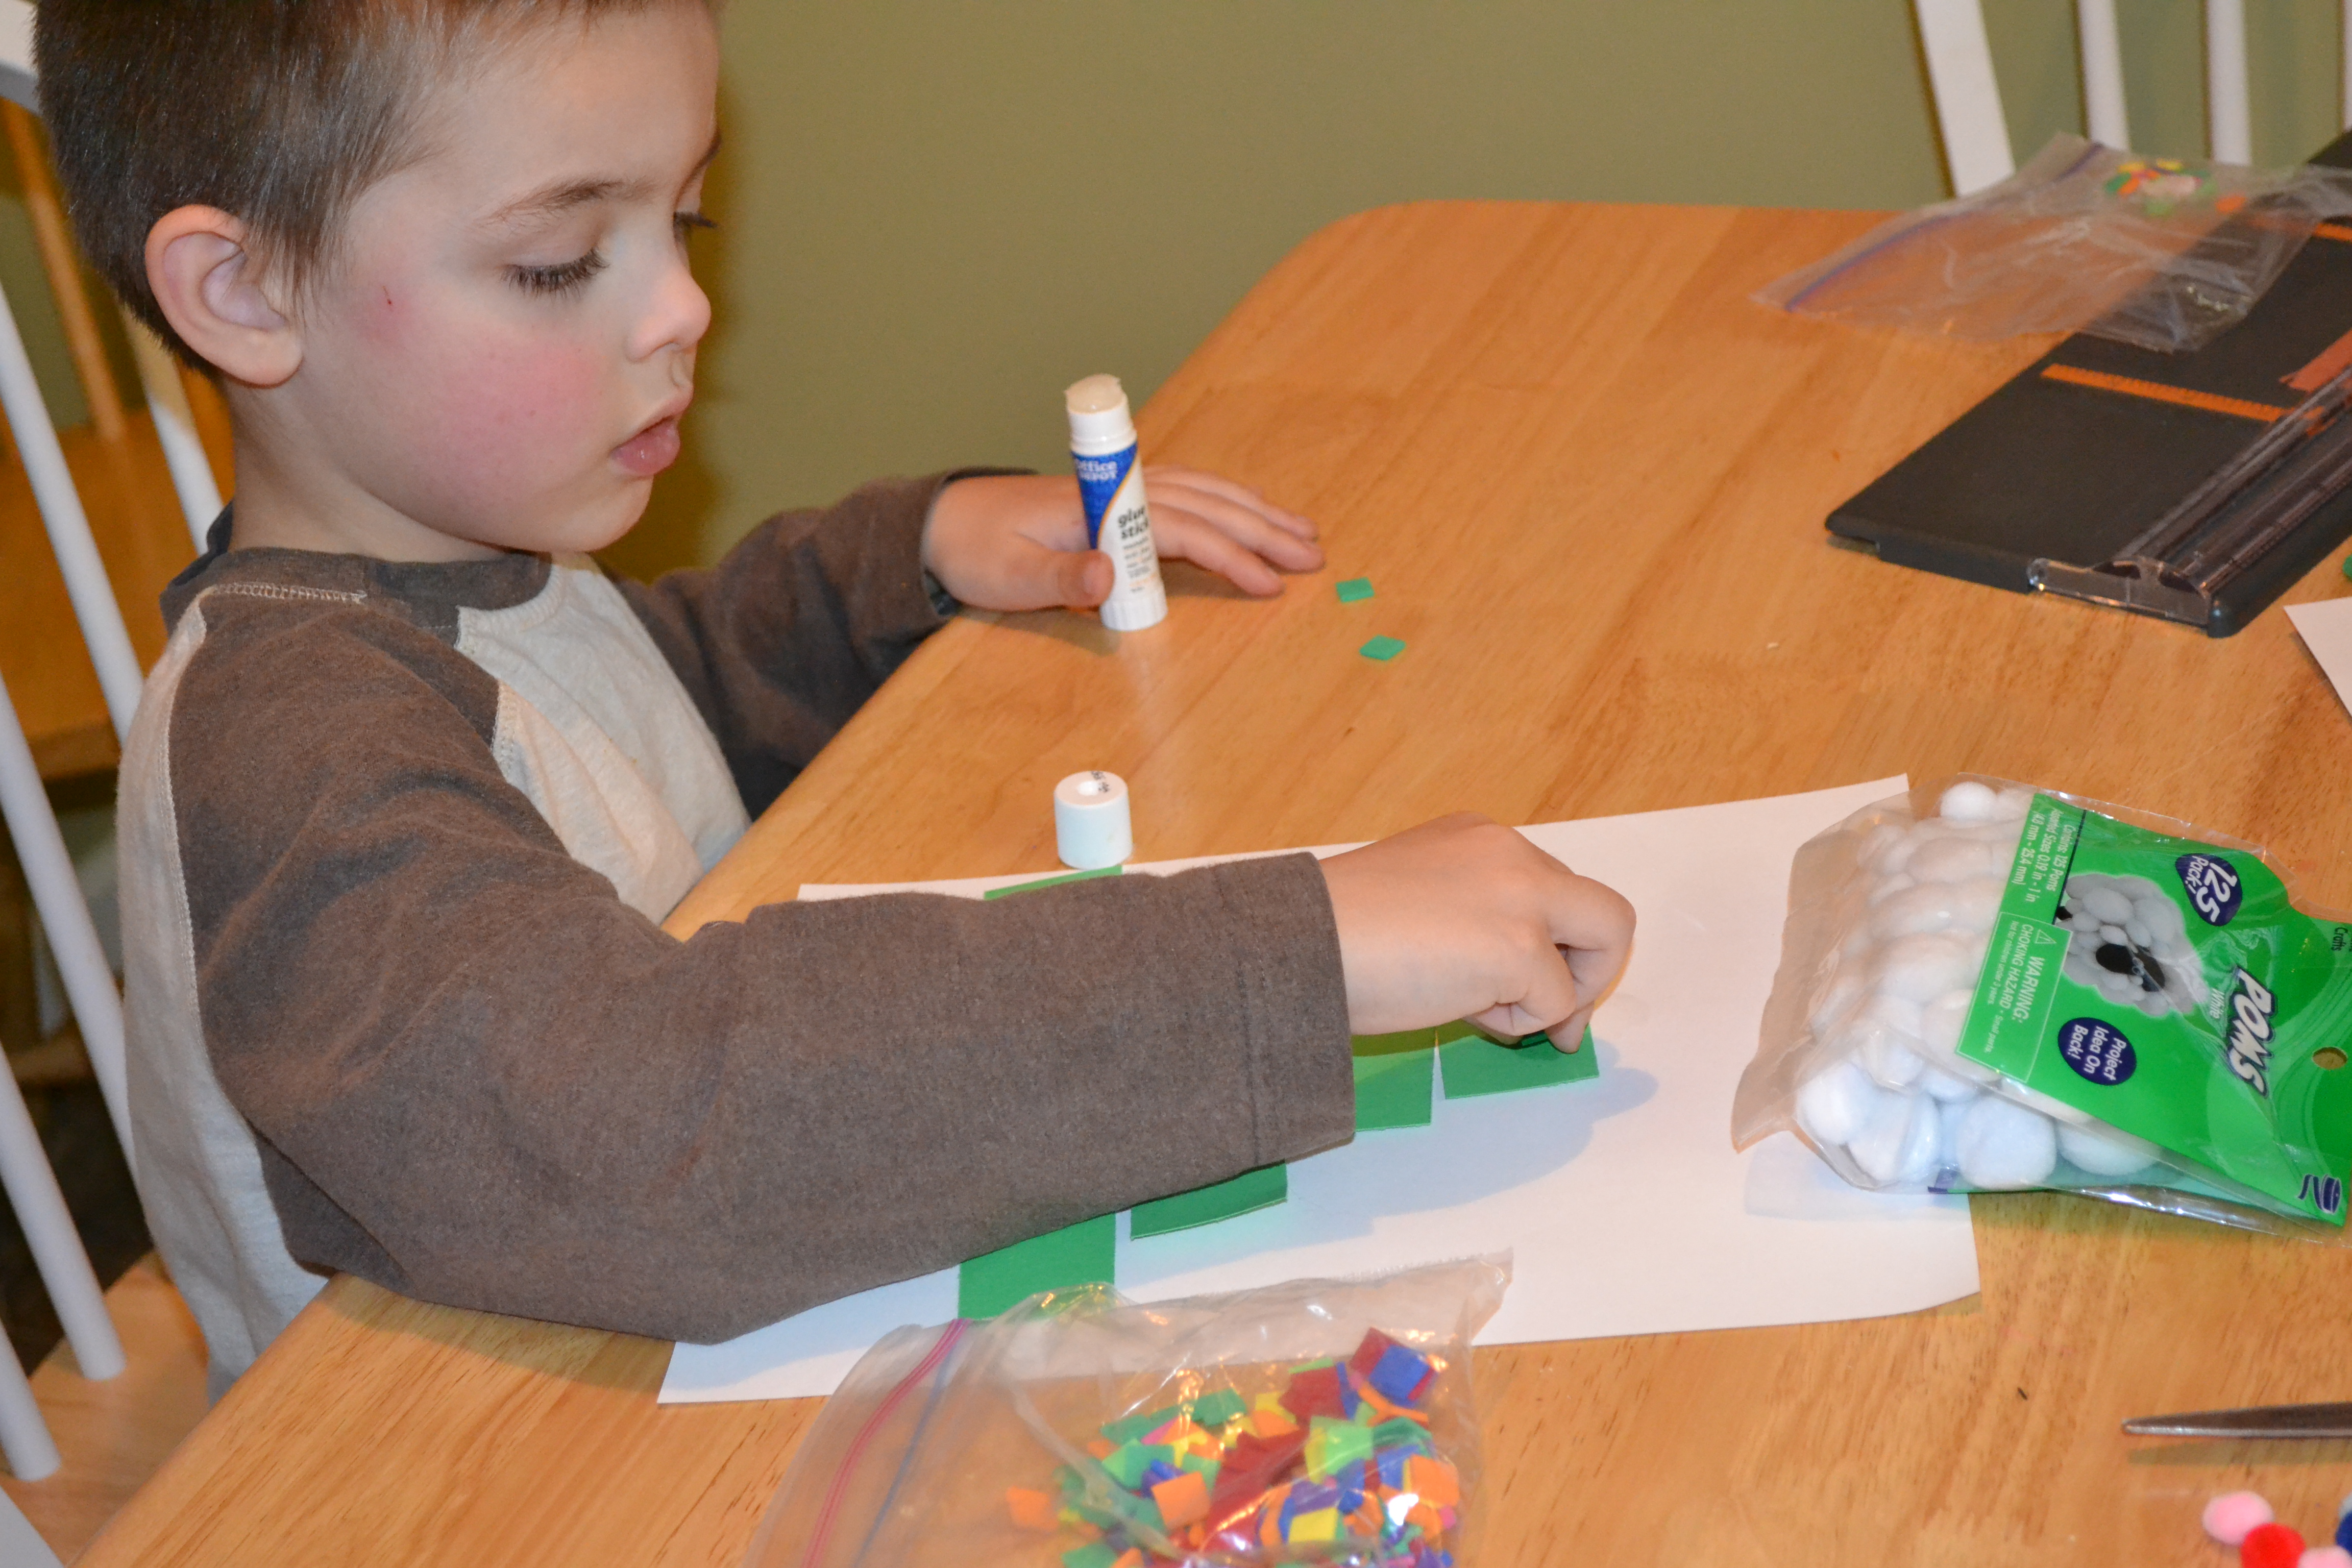
To prepare for this activity, I used the paper cutter to cut 1 1/2 inch strips of the green construction paper. Then I cut the strips so that I had different length strips. I found it easiest to make 8-inch, 6-inch, 4-inch, and 2-inch strips for the kids to compare. Then, I gave each of my children a sheet of white construction paper, a green strip of each length, and a square piece of brown construction paper.
Step 3
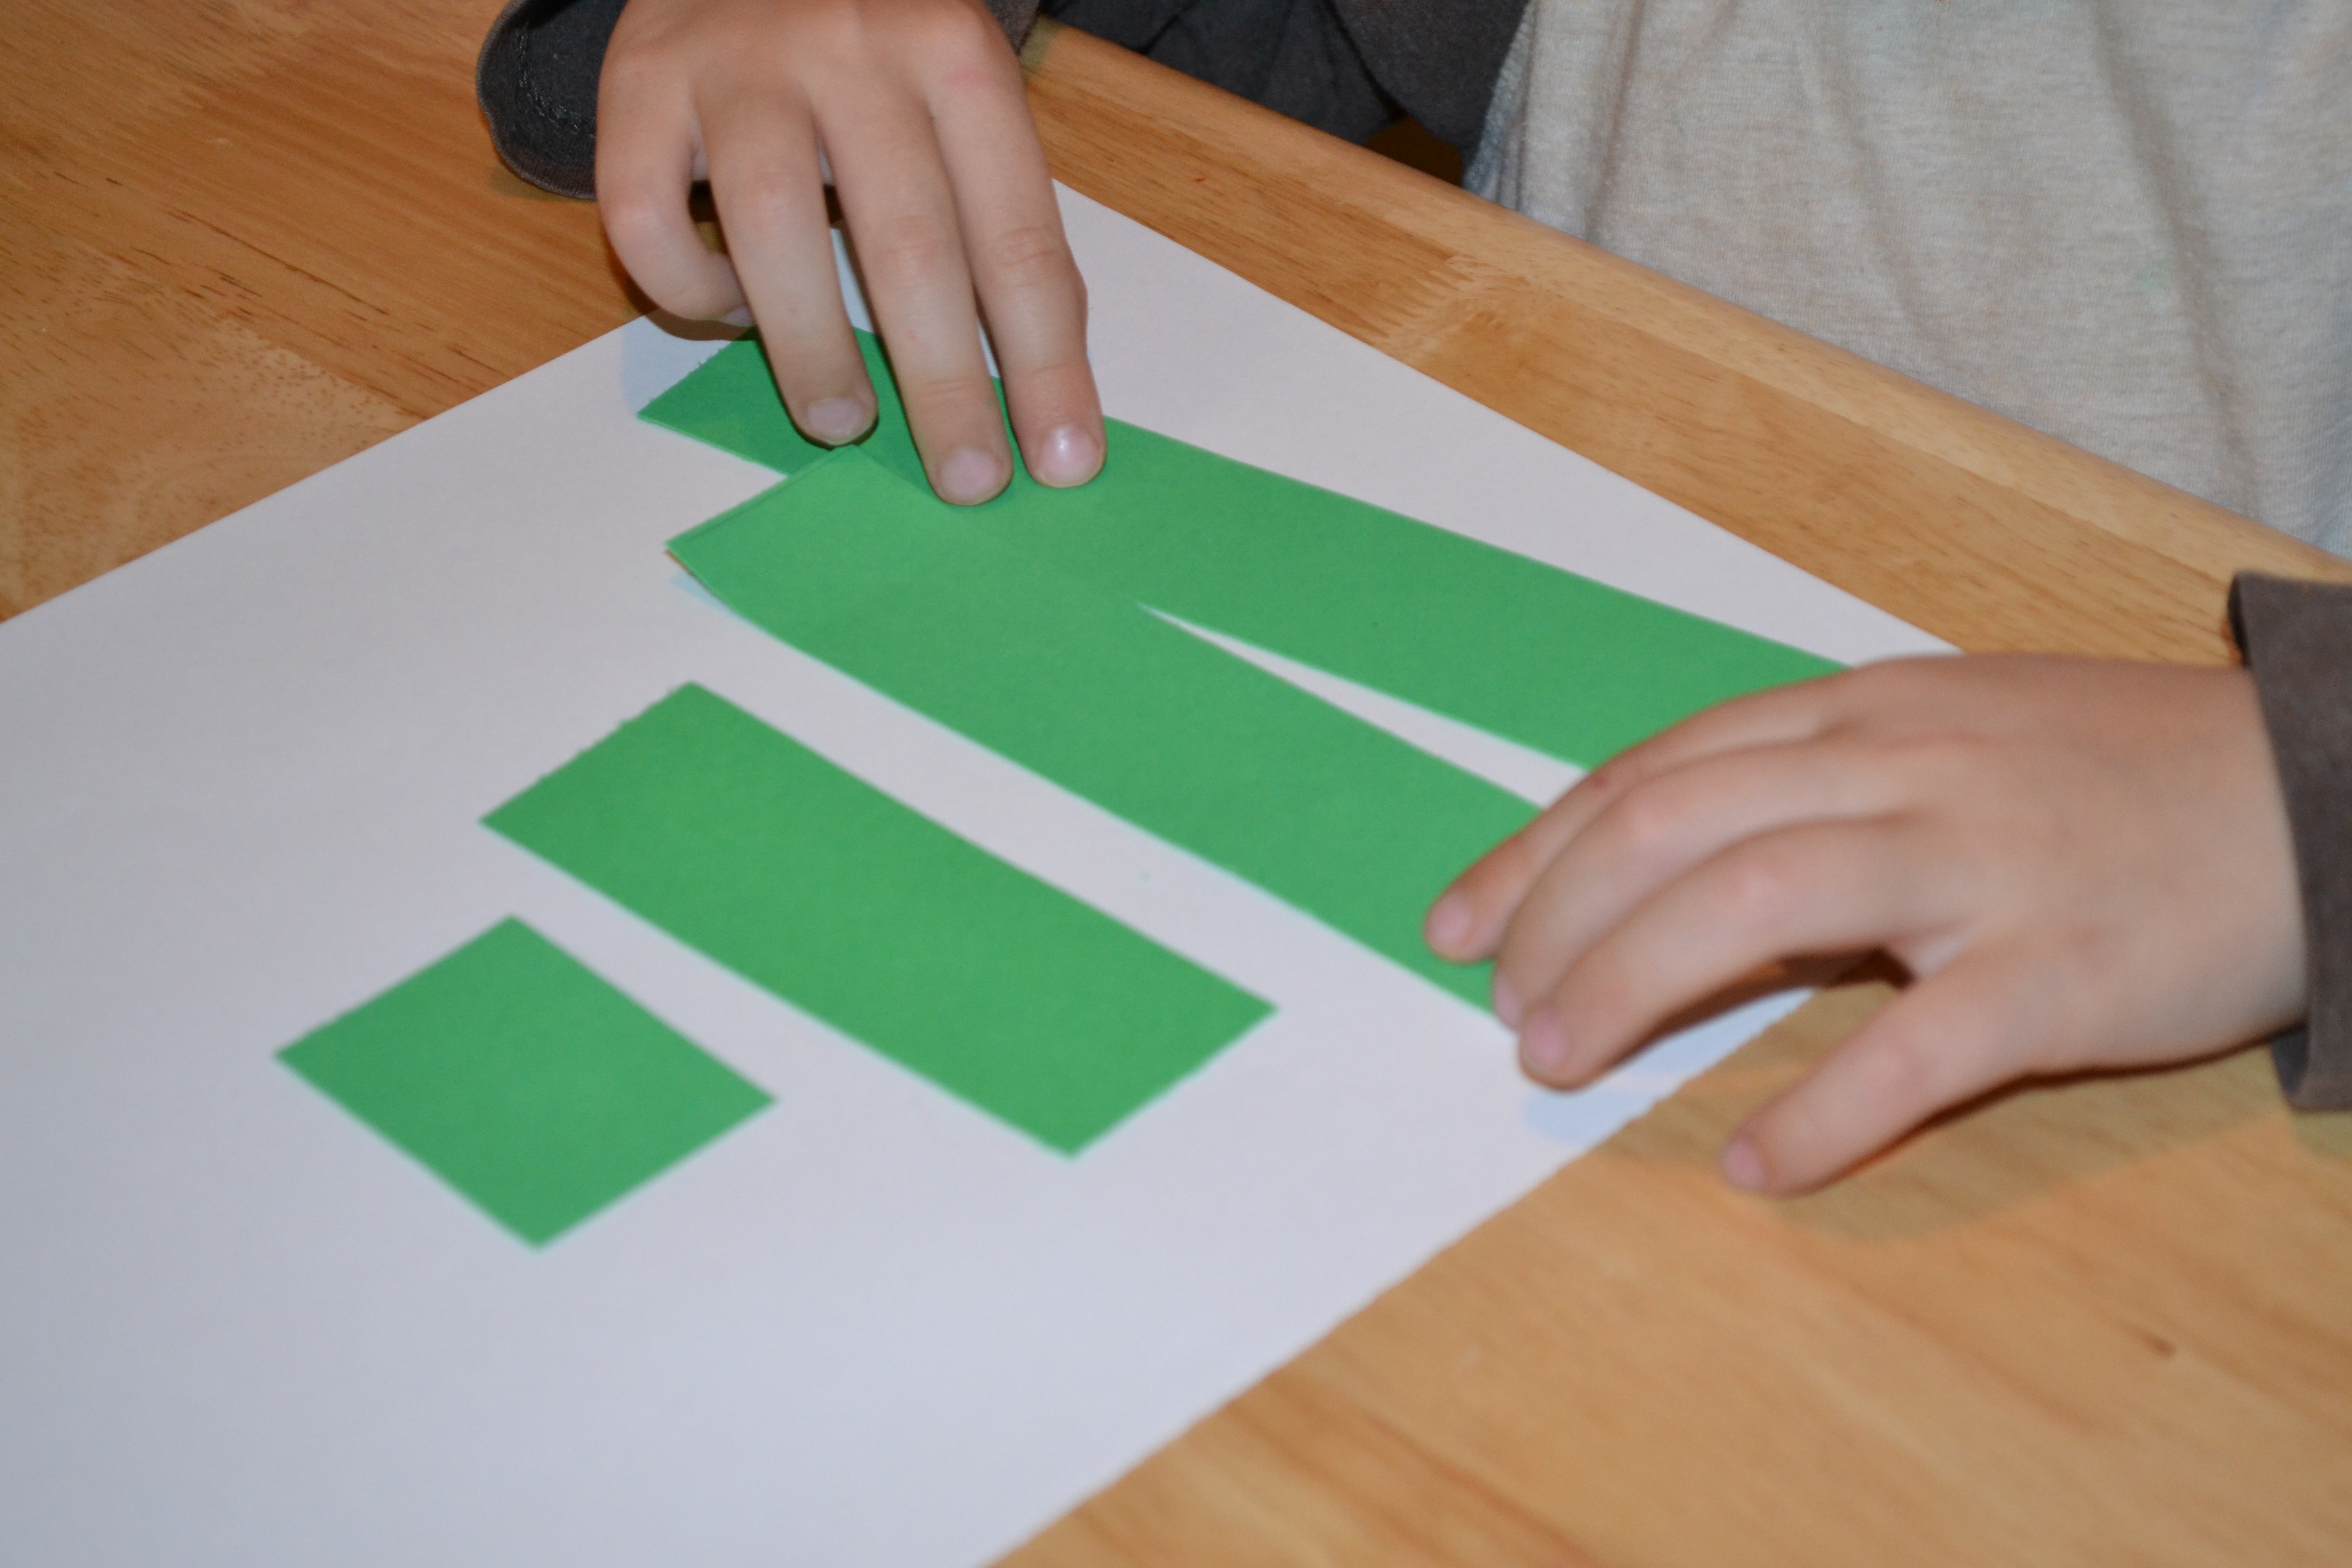
The kids went to work sorting their strips from longest to shortest and forming them to make a tree. The math part of this was most beneficial for my four-year-old son, but his older brother enjoyed helping him compare his pieces. After we were sure that all the pieces were in the correct order, the kids glued their strips to the white construction paper.
Step 4
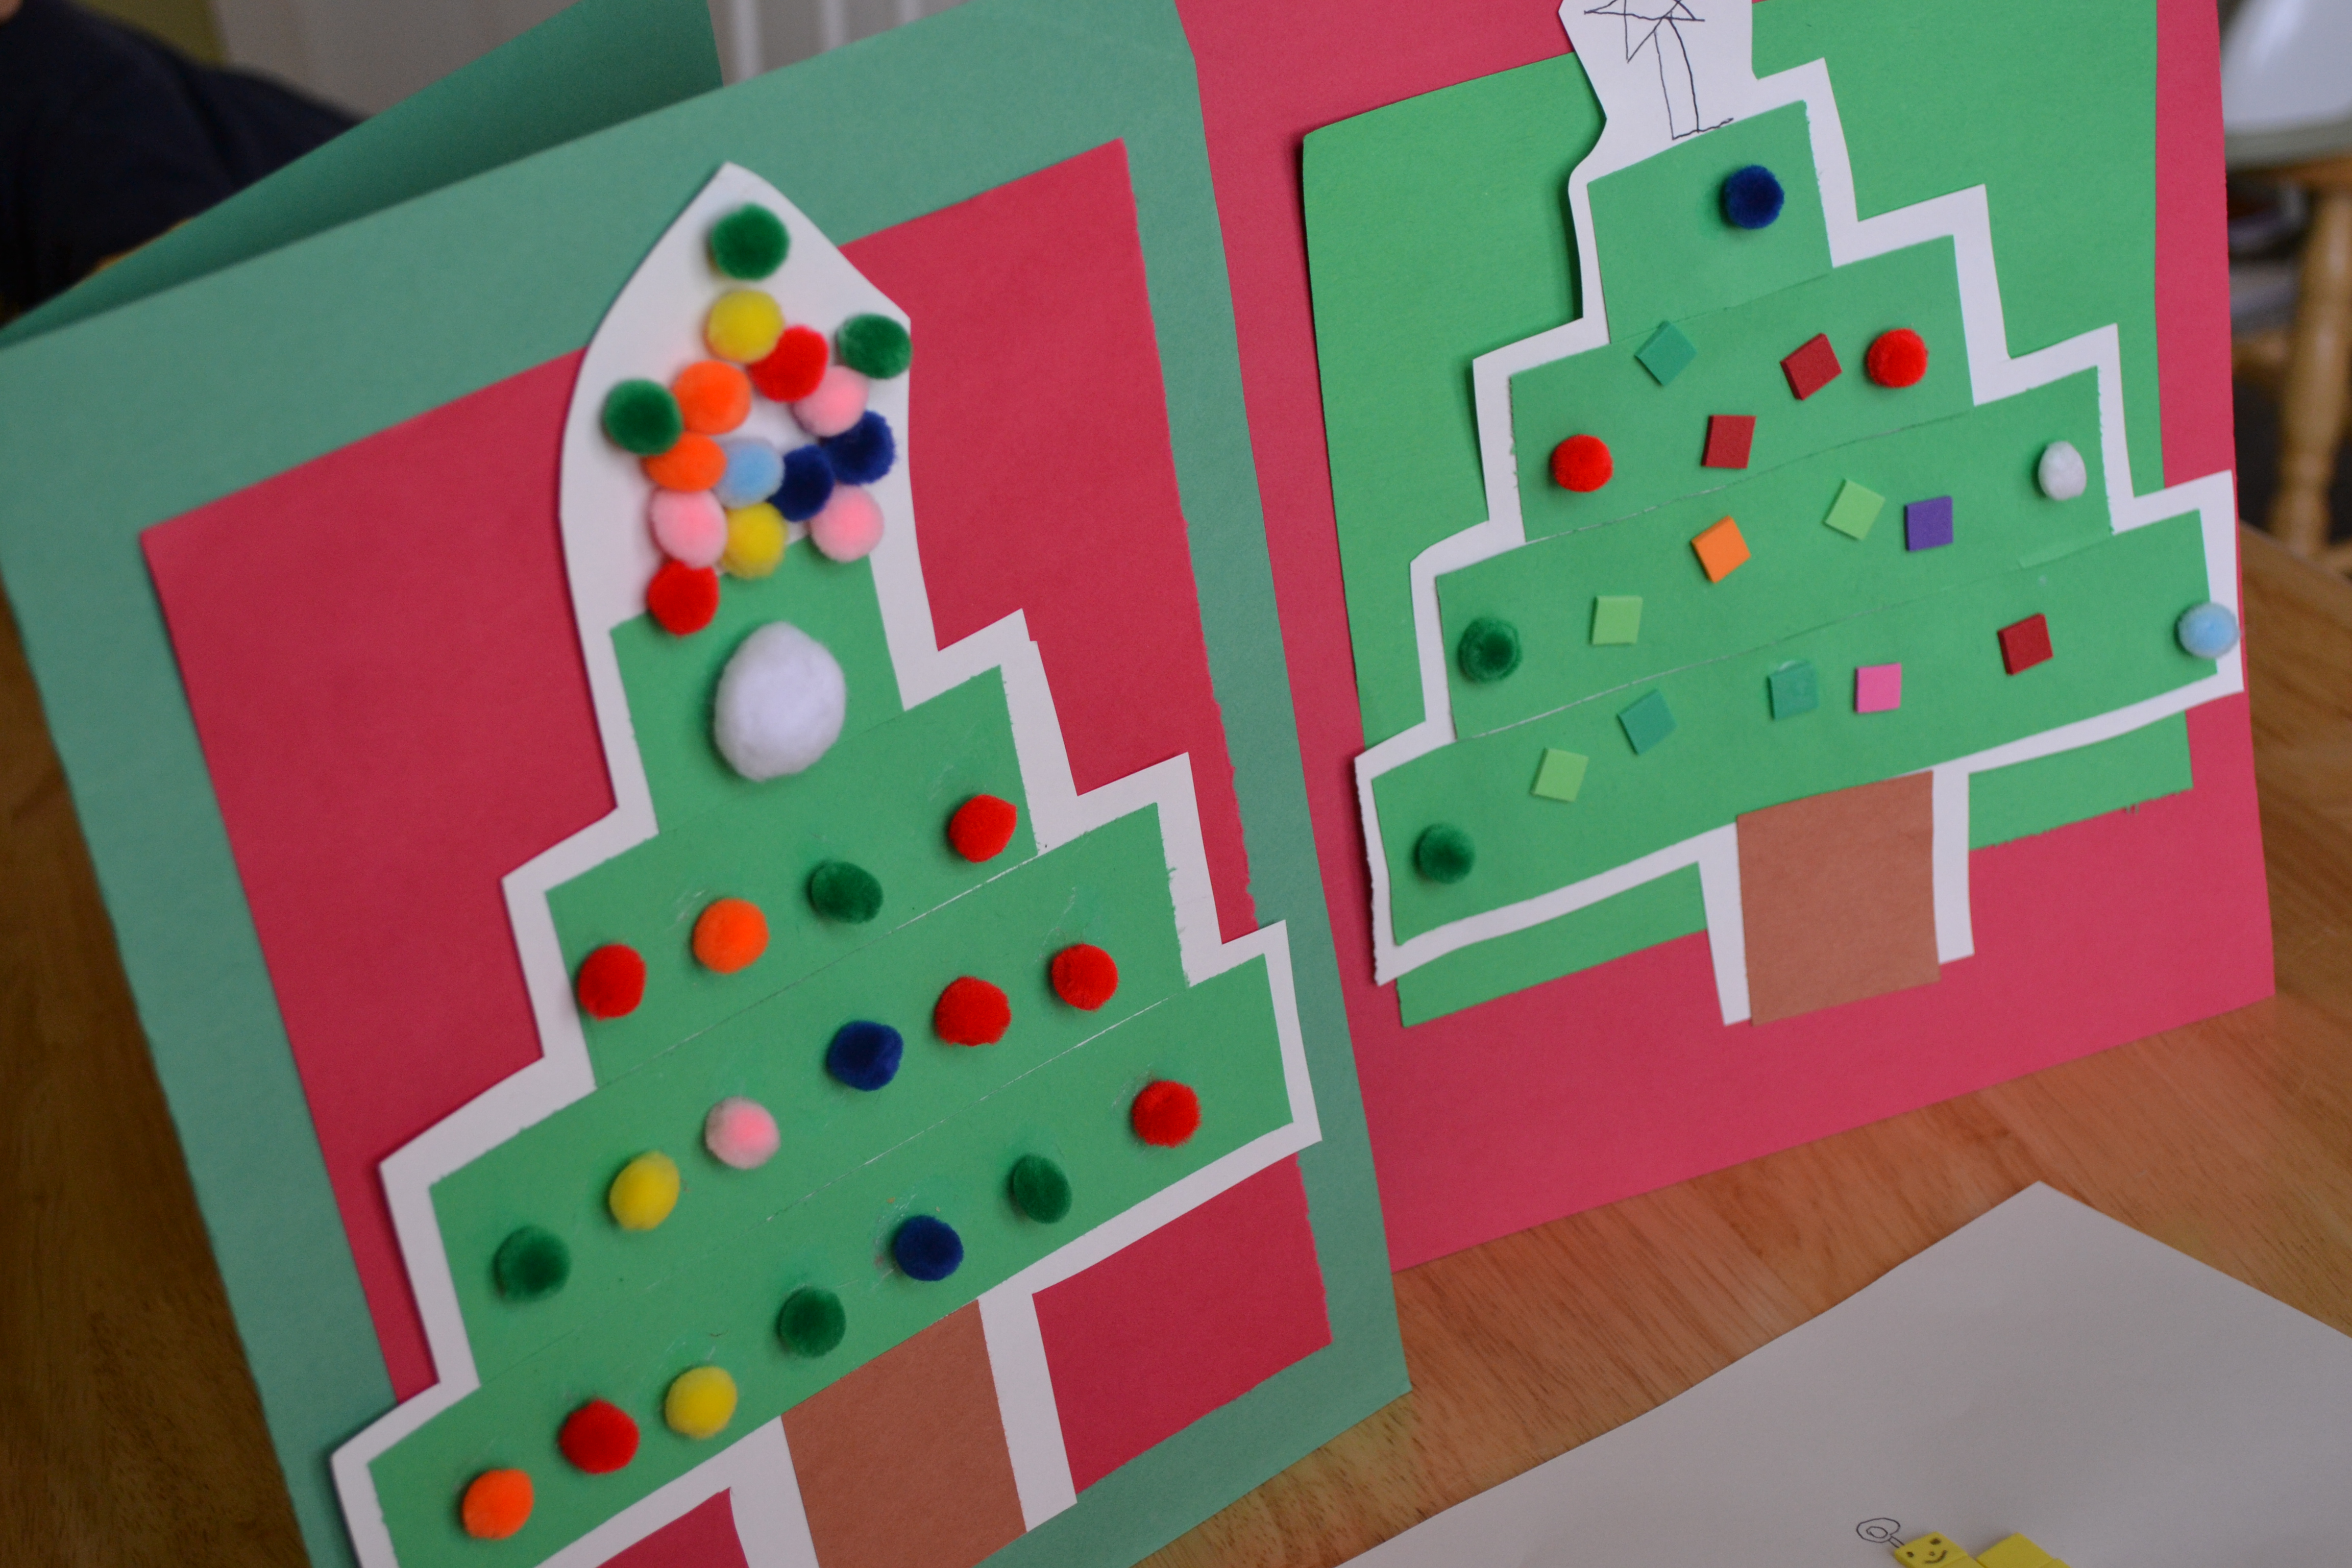
Then they used the pom-poms and foam shapes to make ornaments on each strip. We started out making some color and shape patterns with the different materials, but in the end, the kids decorated their trees however they liked.
Done!
When the trees were dry, we cut them out and mounted them to green and red paper to make Christmas cards. They turned out really cute. The kids can't wait to give these cards to their grandparents.


