Step-by-step tutorial
Step 1


Step 2
The first step, and the one that requires a bit of elbow grease, is conditioning and rolling out the clay. My son loves working the clay with his hands and flattening it with a rolling pin. The clay can be sticky so wax paper is key. And since the clay is pretty thick, I stepped in to get it smooth and flat.
Step 3
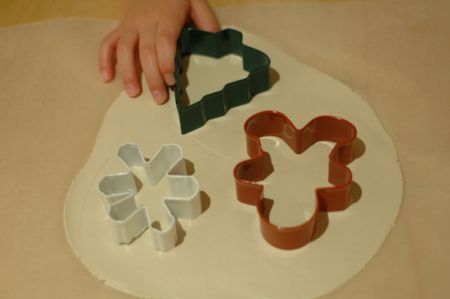
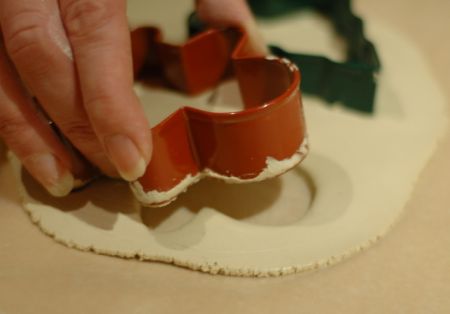
My son pressed down his cookie cutters on the flattened clay, and my first instinct was to peel away the clay outside the cutters. Wrong! It works much better to simply lift the cookie cutters since the clay inside neatly pulls up with the cutter.
Step 4
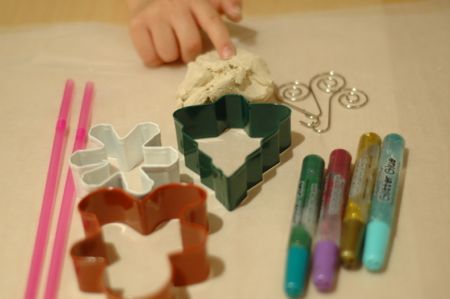
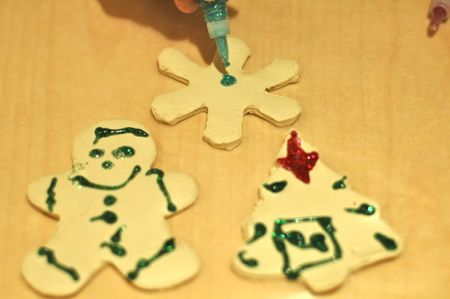
With a clear image in his mind of how he wanted to decorate his gingerbread man, tree, and snowflake, my son carefully applied the glitter glue. But the glitter glue wasn't always cooperative. It has a tendency to blob out if you squeeze too hard. He also tried painting the glue on with a paintbrush, which is nice for coating the clay. Despite the blobs, I still think the glitter glue is a great choice. My son practiced fine motor control, the glitter bonded well to the clay, and of course, it shimmers!
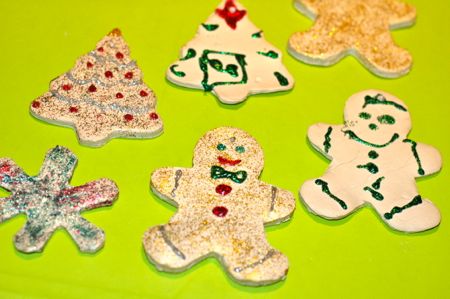
Done!
Finally, I made my own ornaments (I couldn't resist!) and used a straw or chopstick to poke the hole for hanging on the tree. We let our ornaments dry overnight, and the next day we flipped them over so the backside could dry--giving us a chance to decorate that side as well. Another option, if you're not into glitter glue, is to find objects to press into the clay. You can try pine needles, pine cones, shells--or even Matchbox-type cars, little figures, or animals.