Step-by-step tutorial
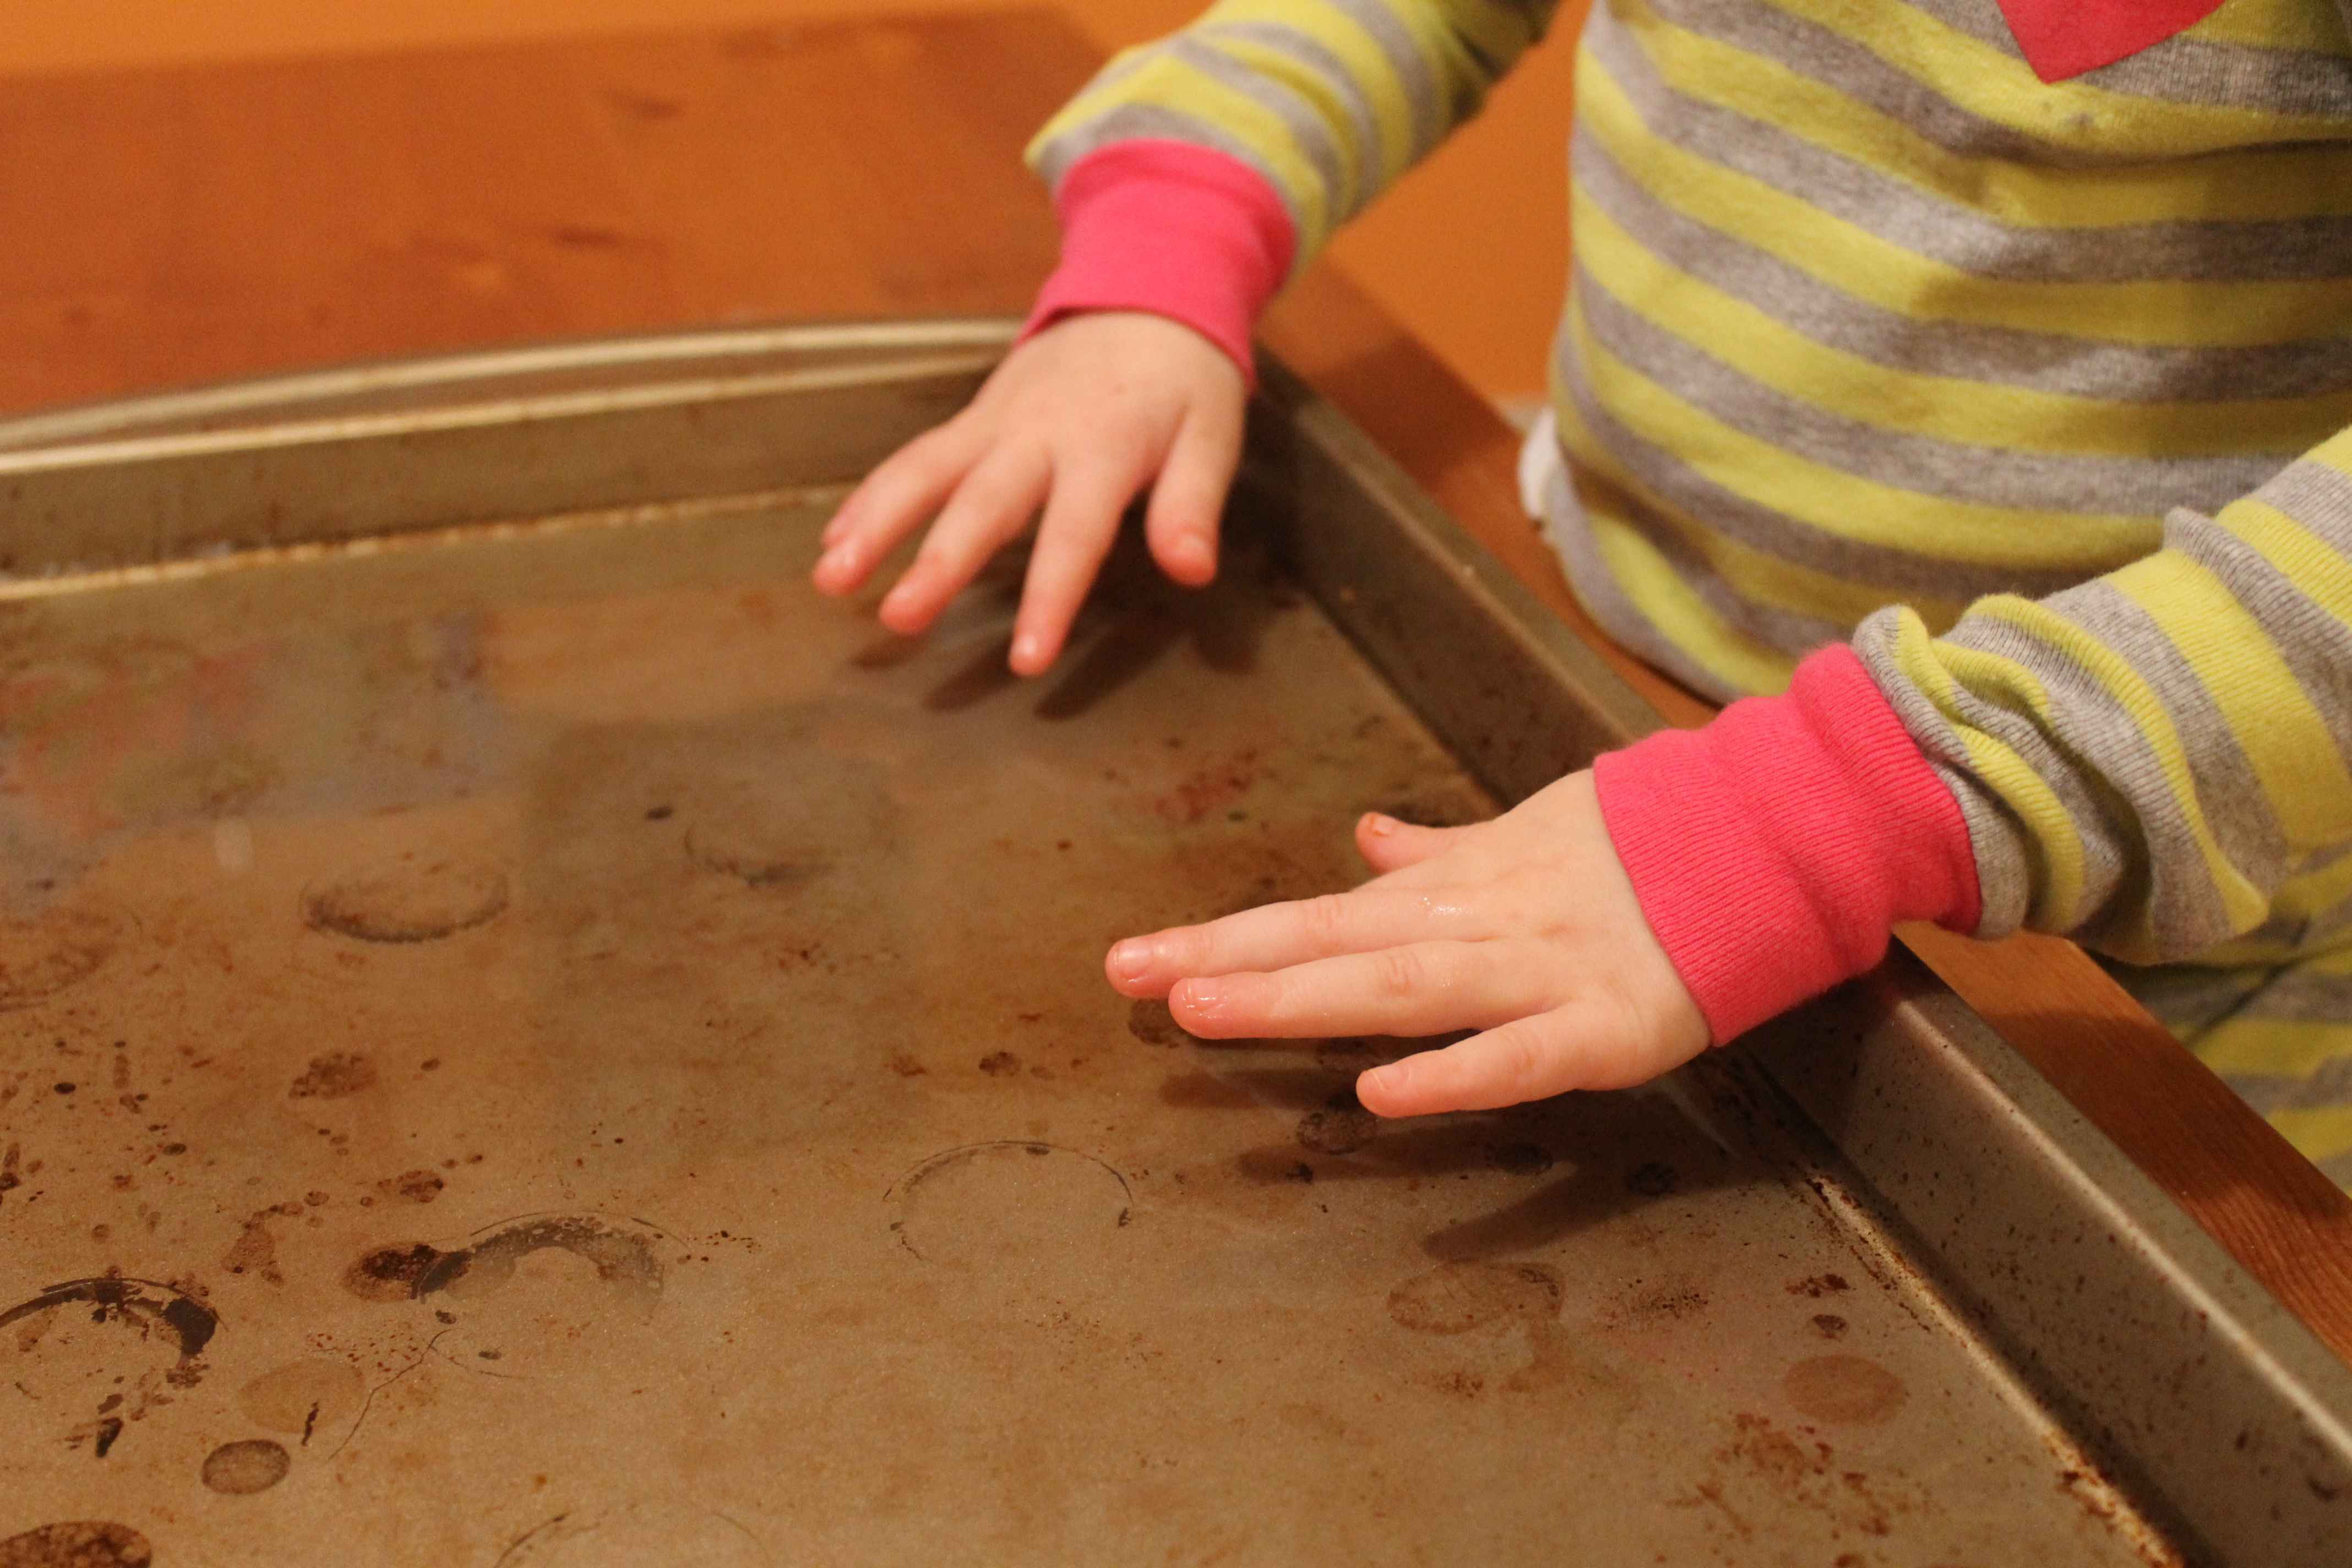
Step 1
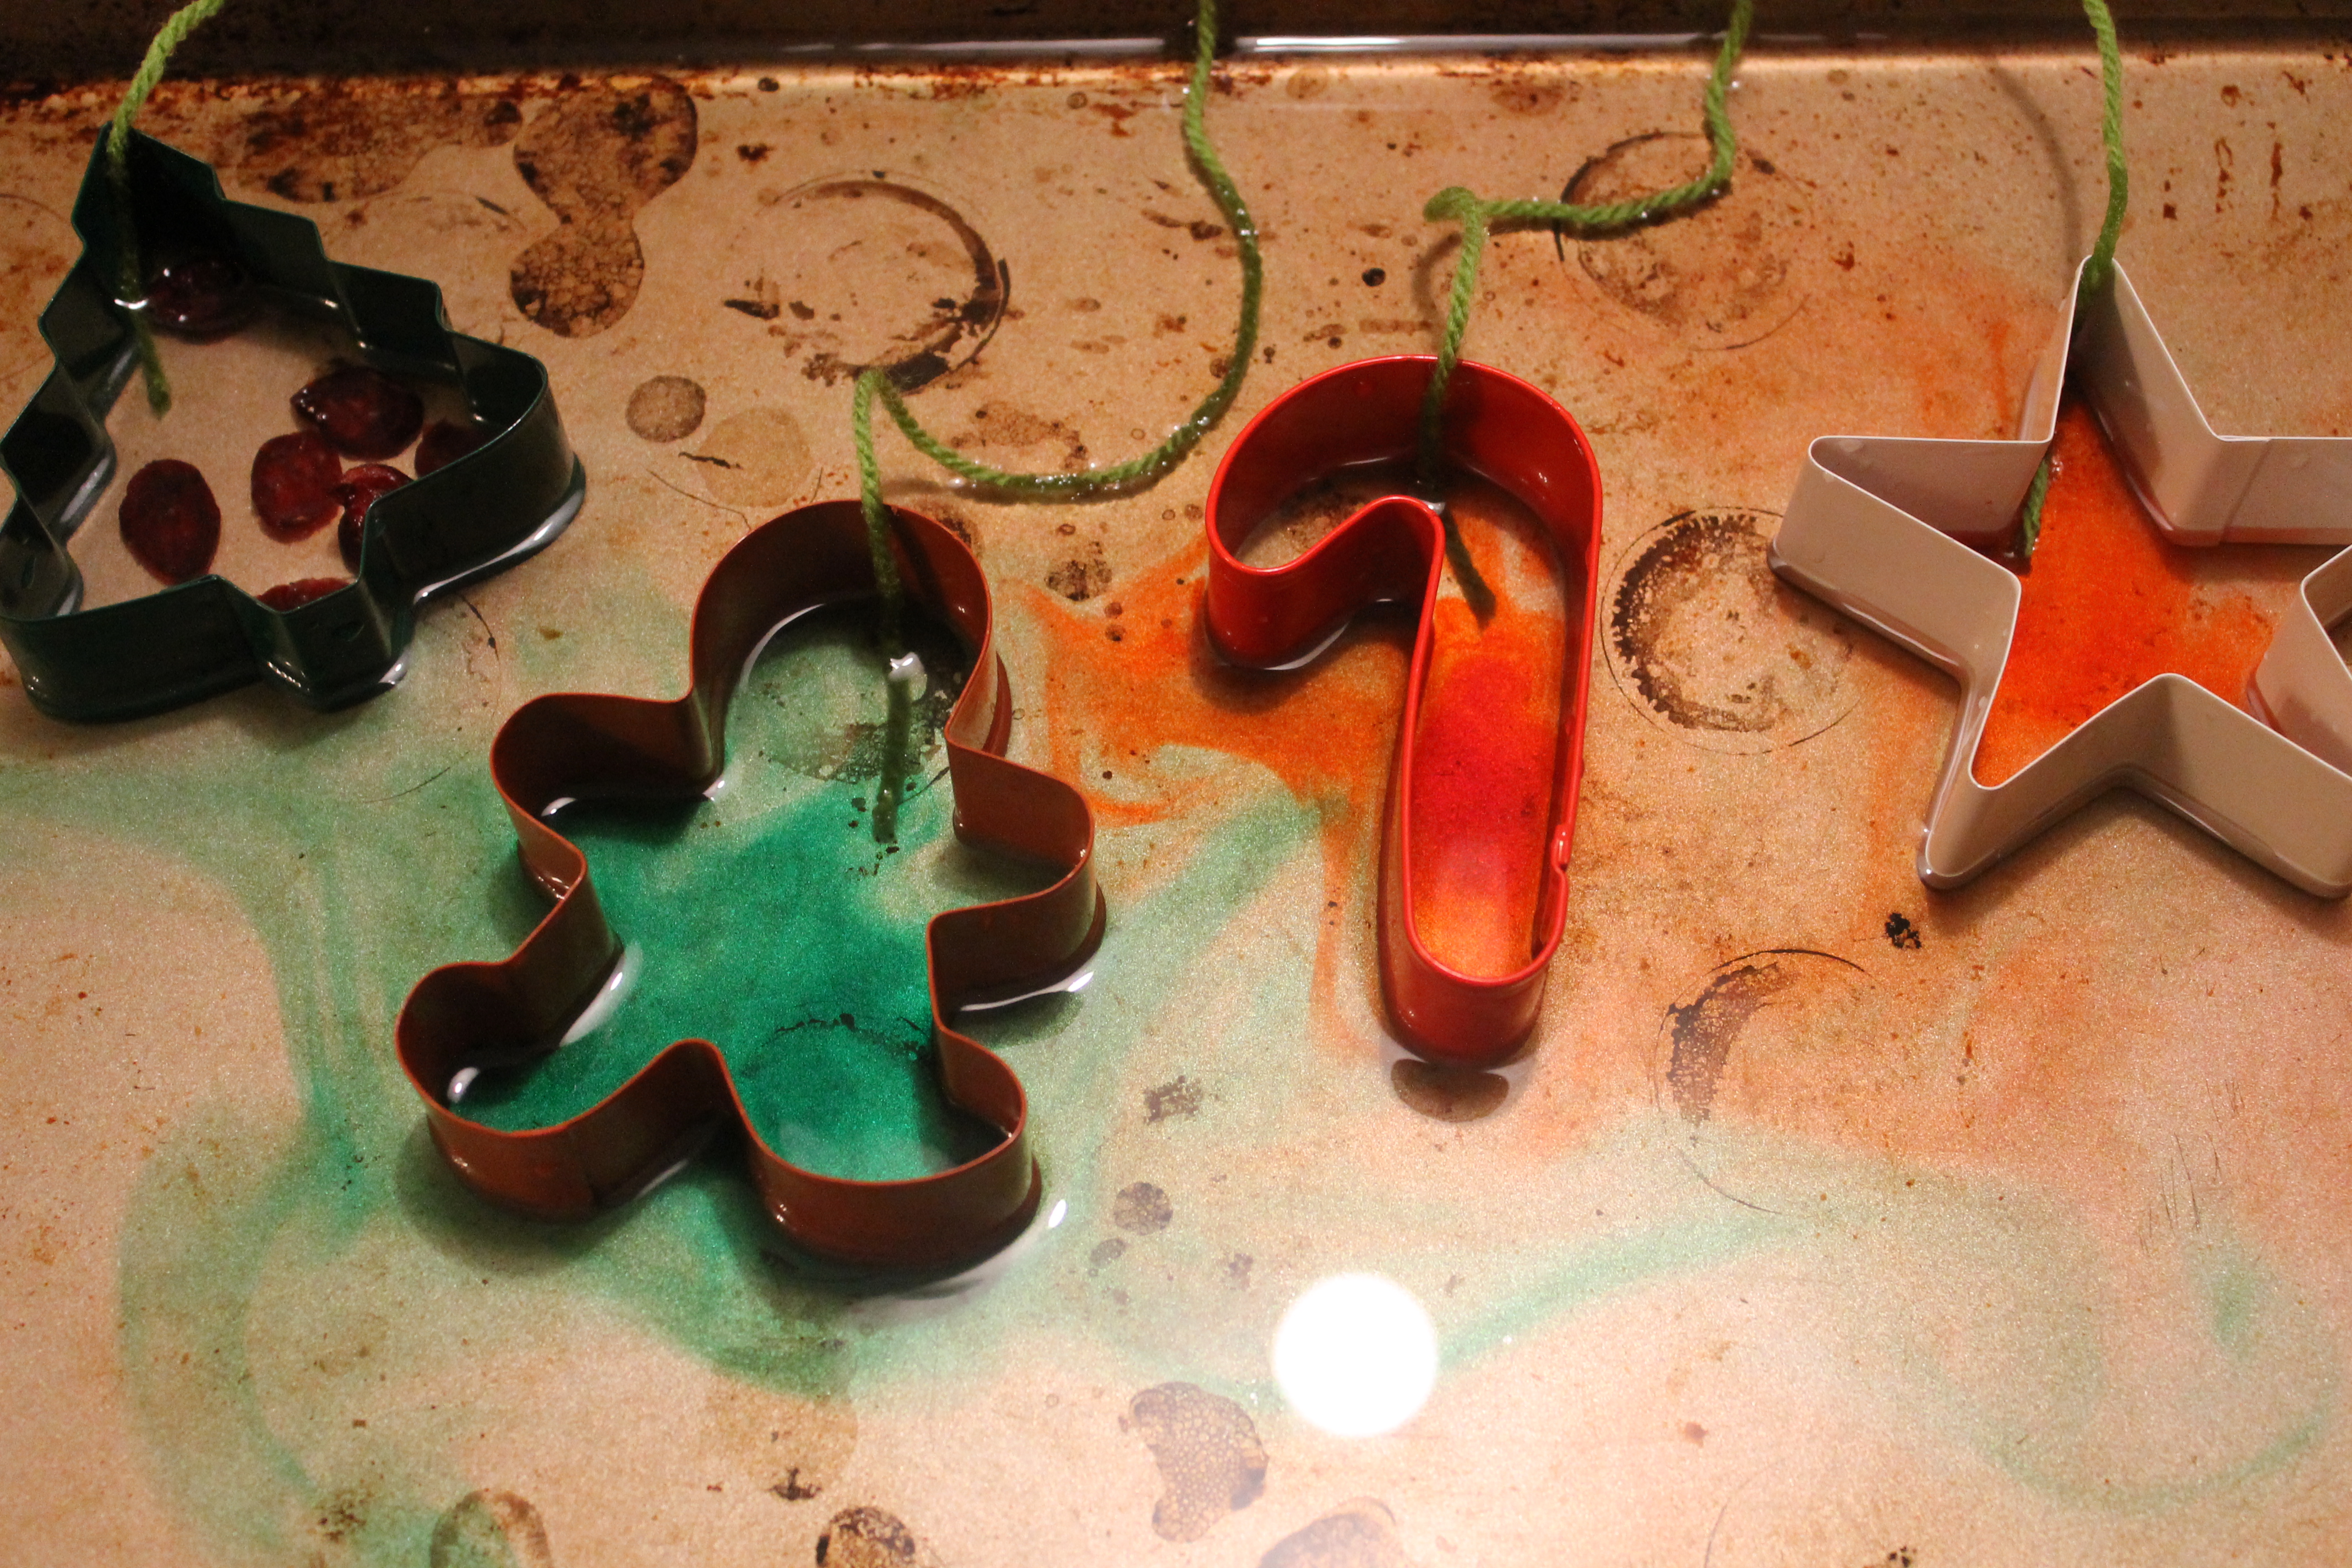
We began by filling an old cookie sheet with some water. We didn't fill it to the top but just about half-way up the sides.

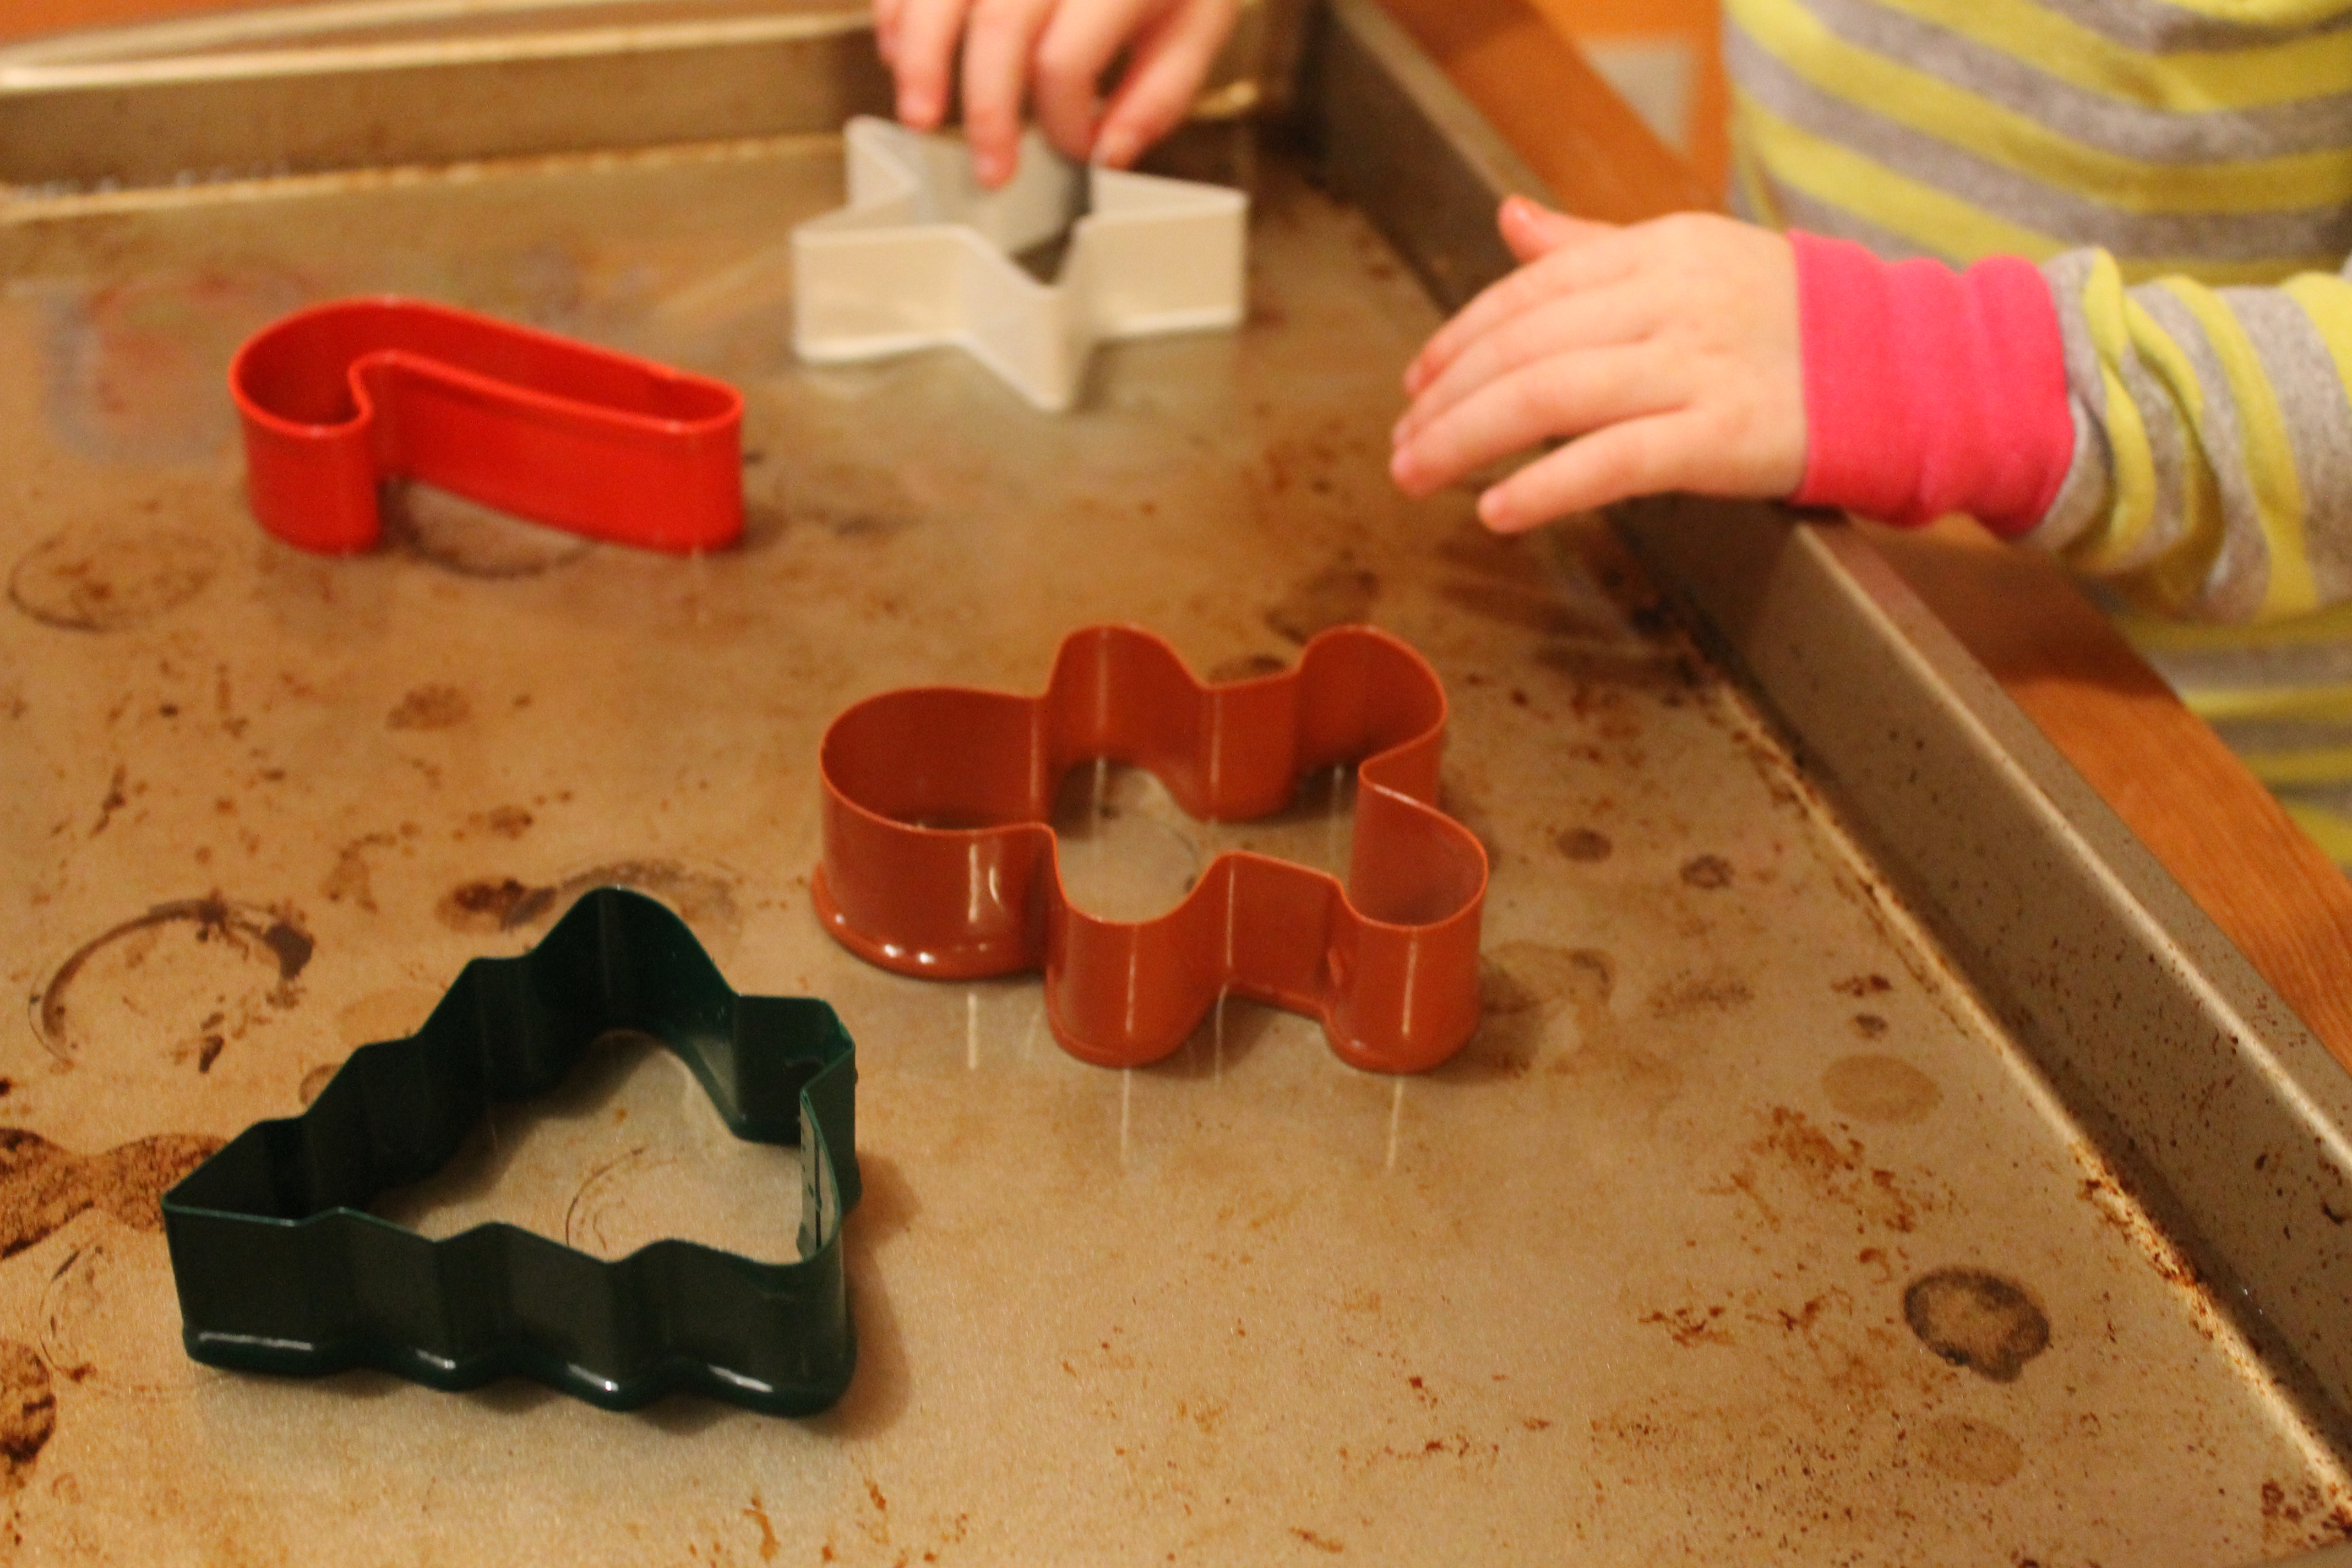
Step 2
Next, my daughter laid out the cookie cutters she found in some fun seasonal shapes.
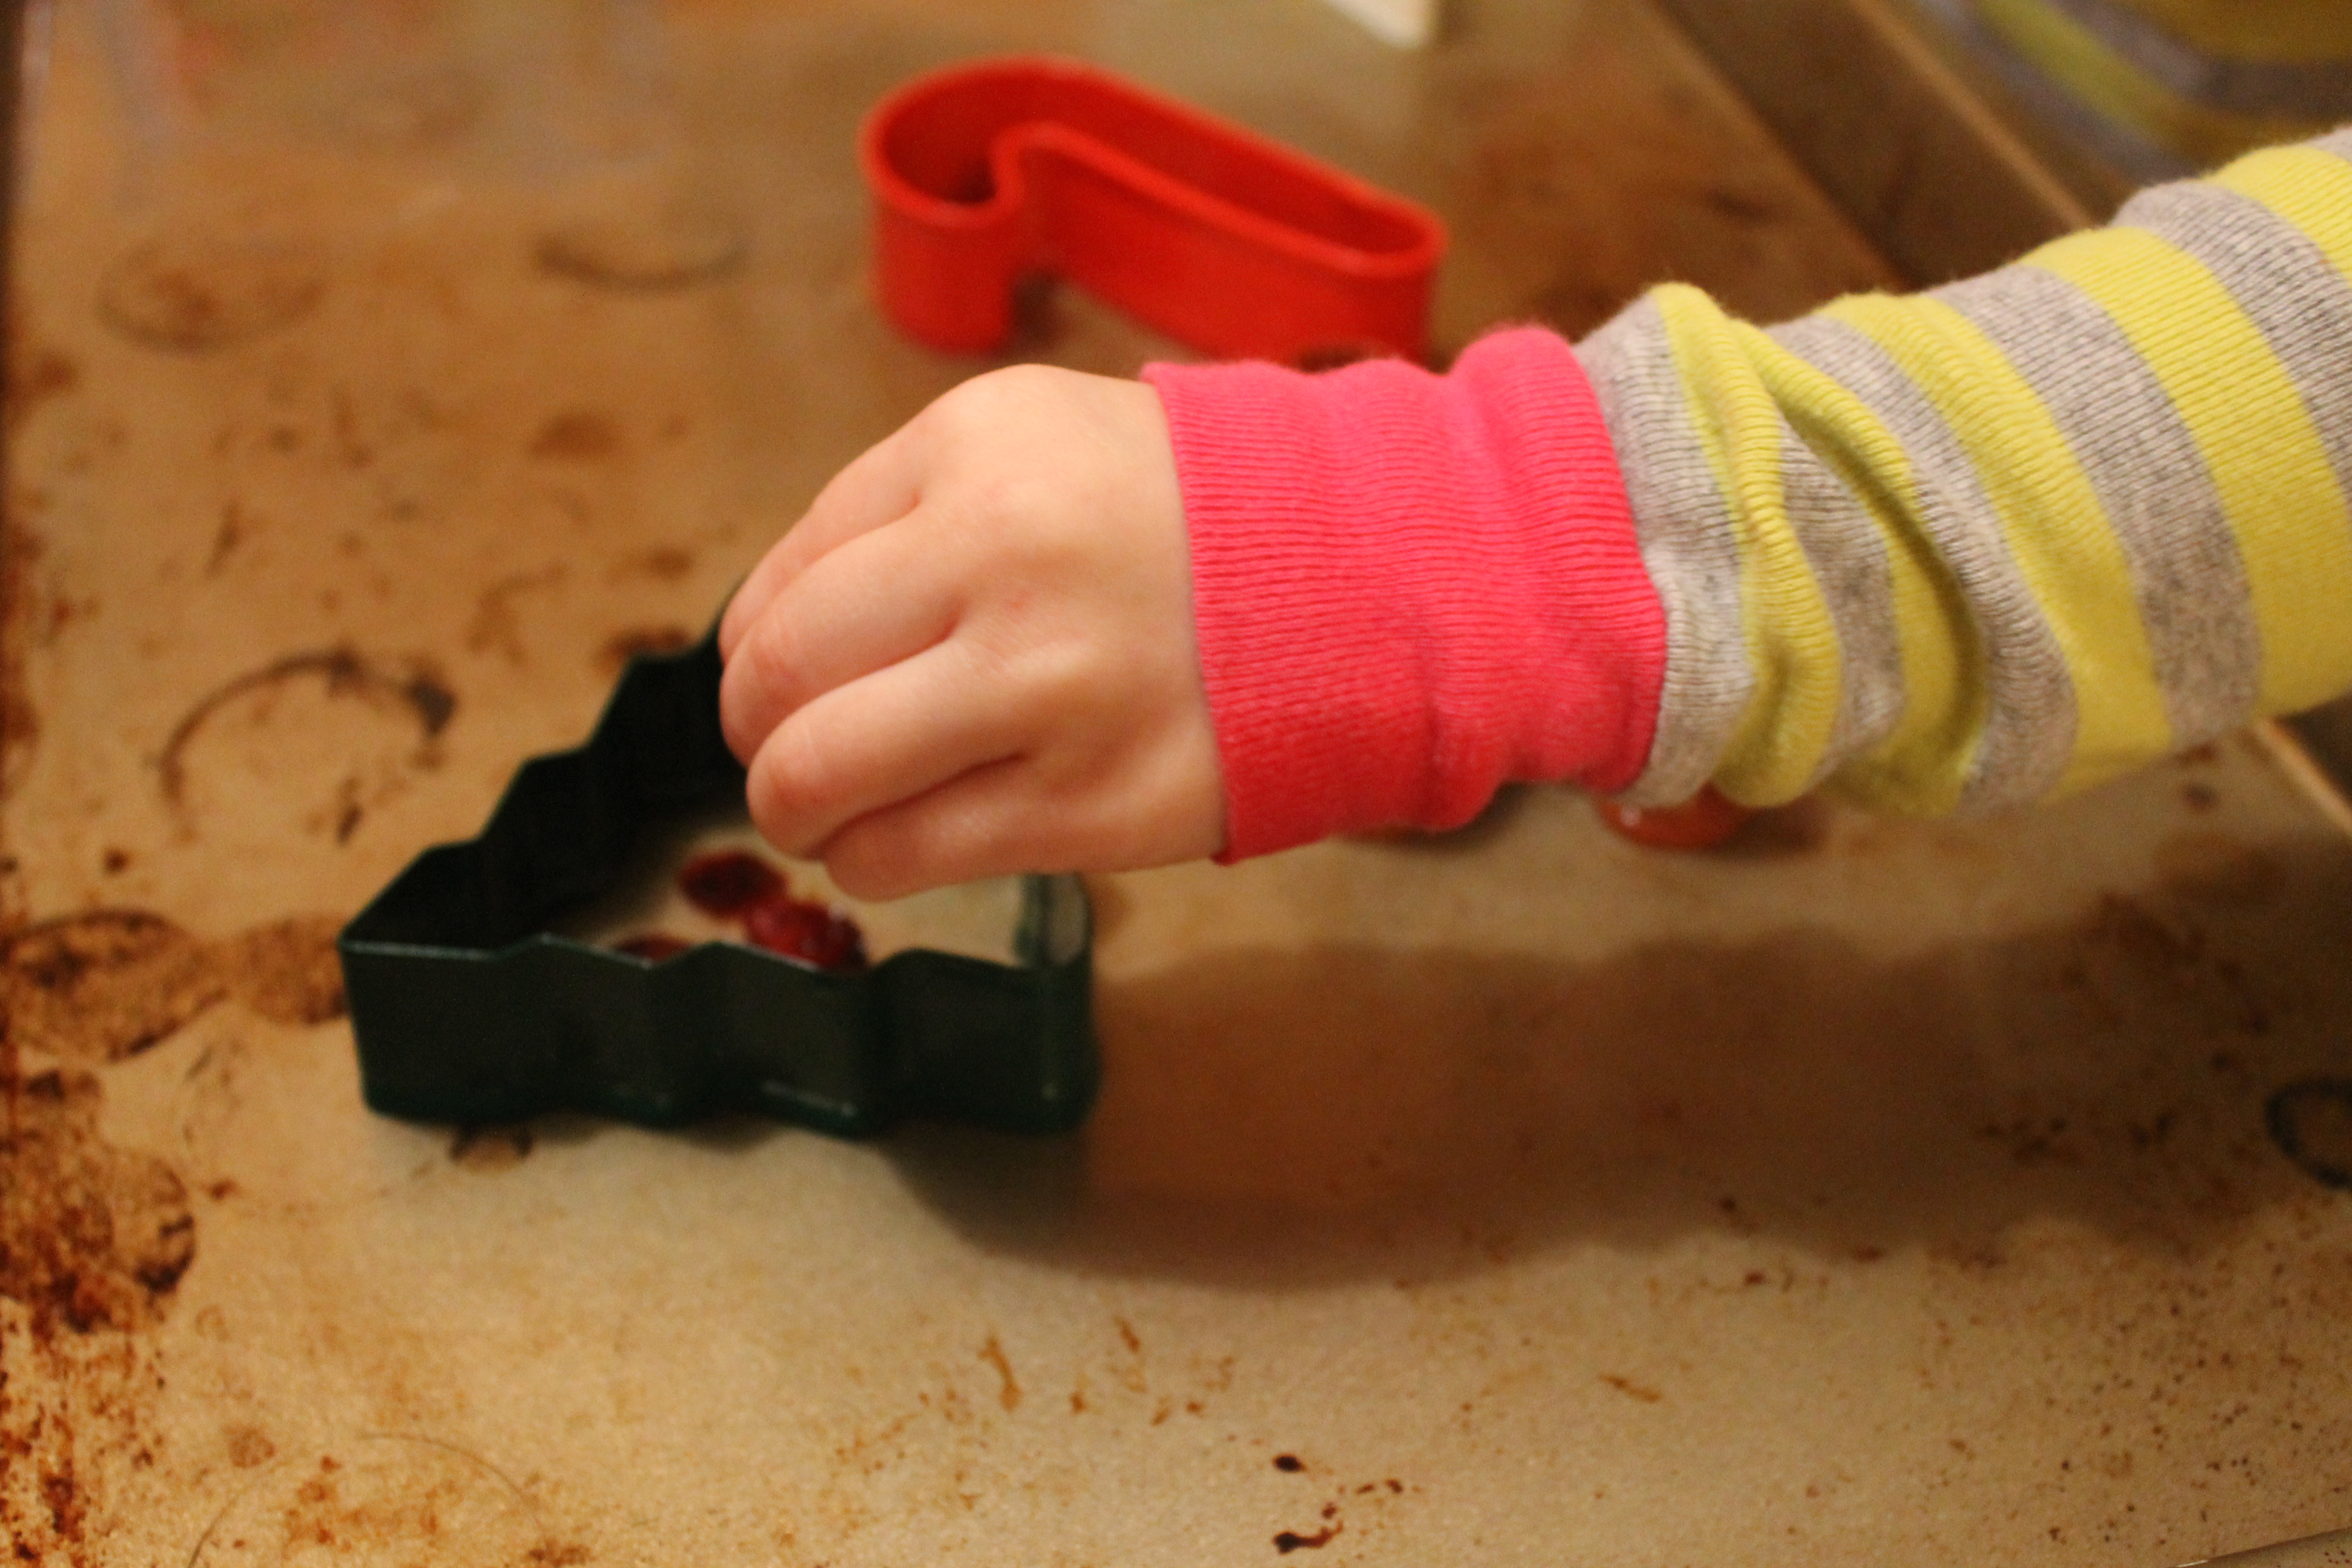
Step 3
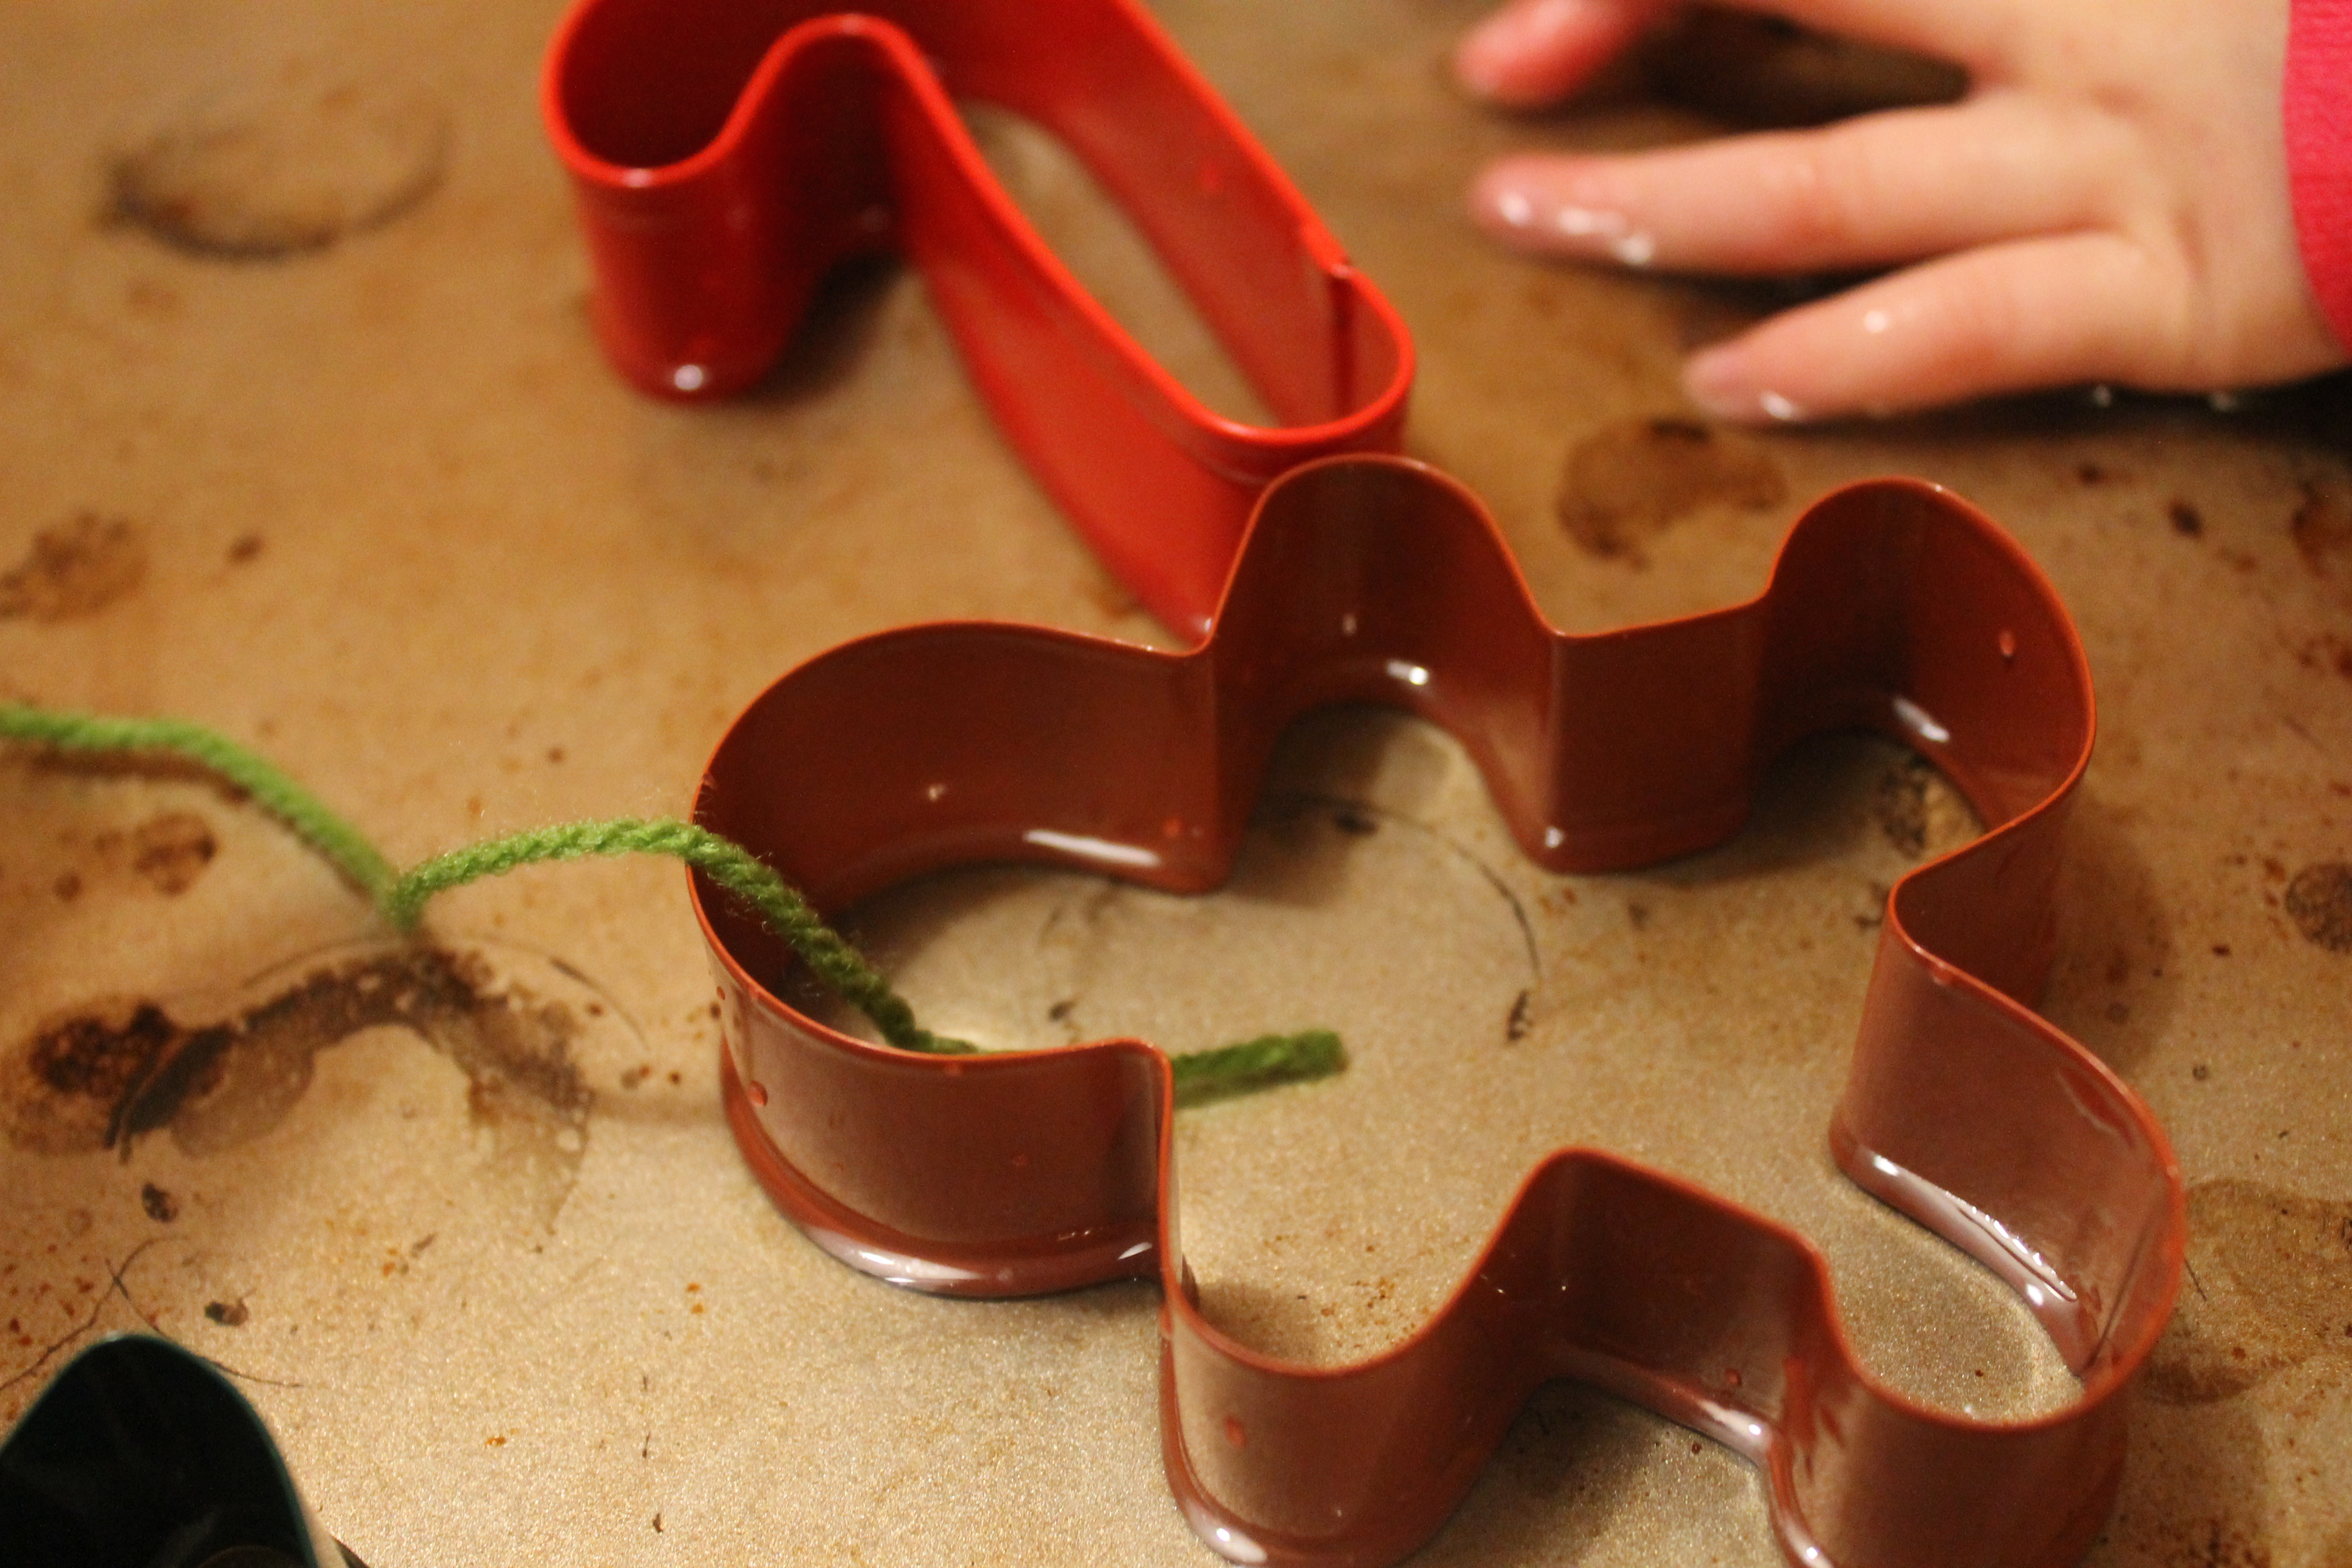
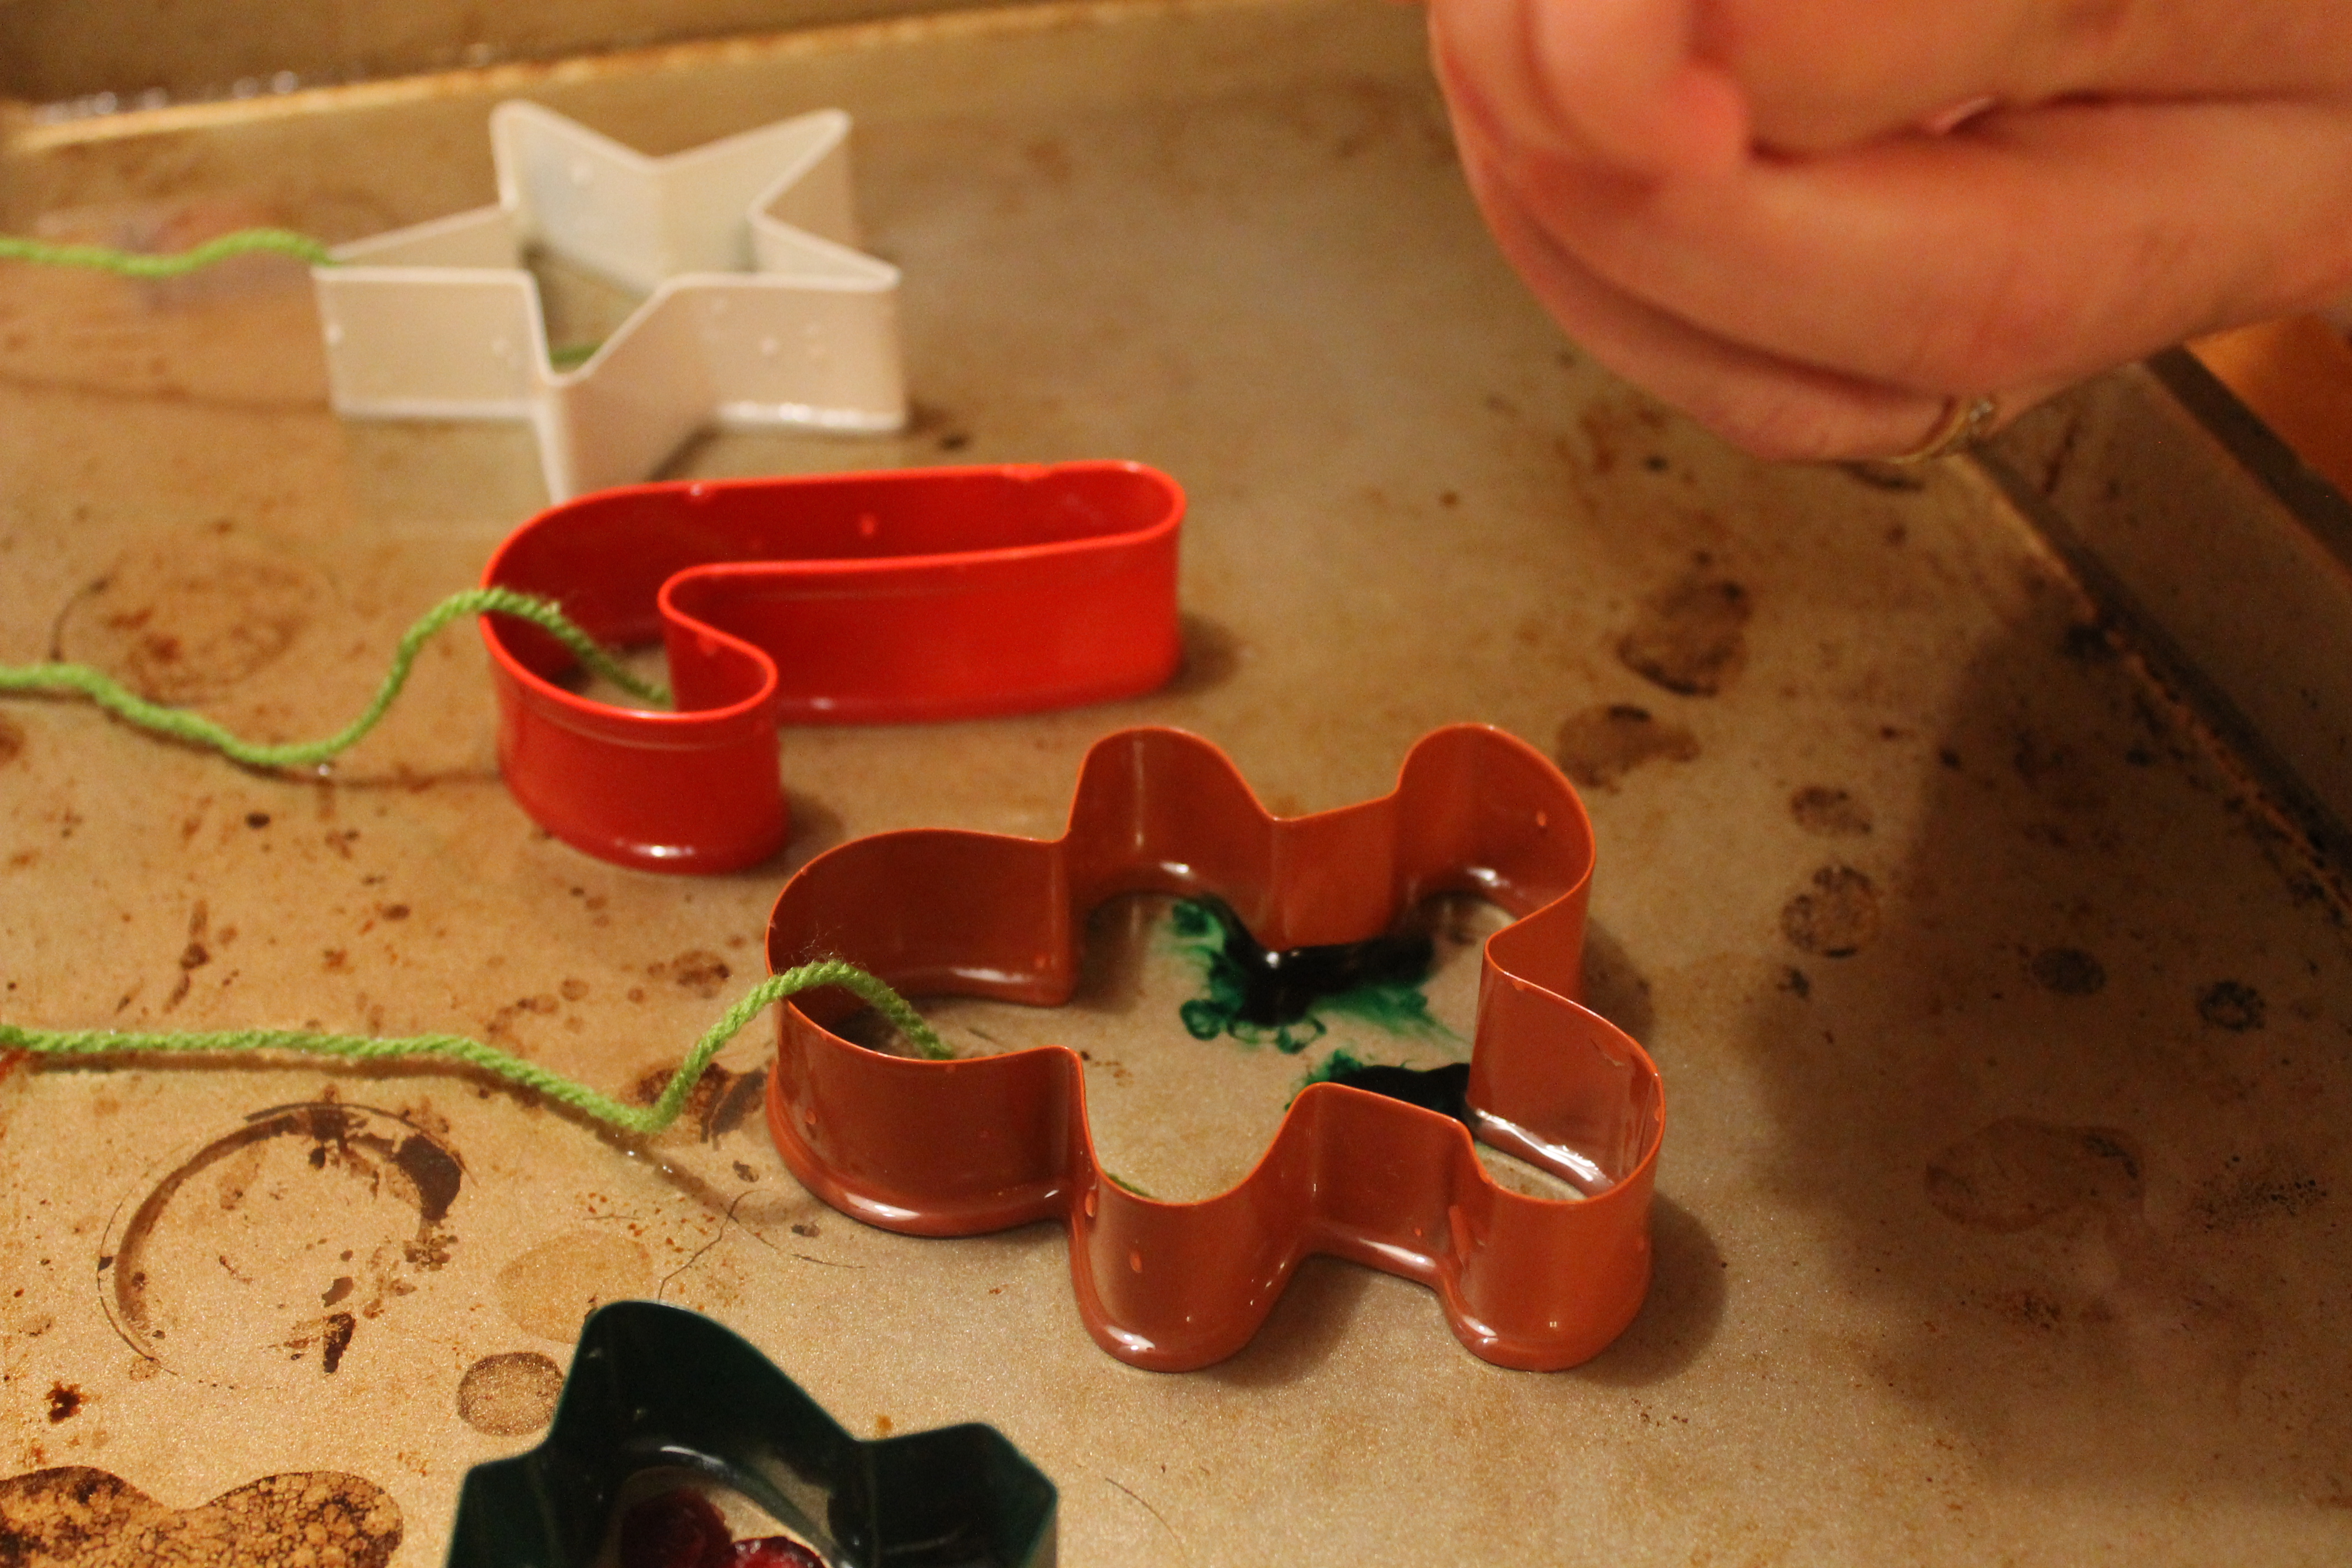
She said the tree should have berries on it, so we used craisins and she just plopped some inside the cookie cutter.
Step 4
Next, she wanted the other ornaments to have color so she added in some drops of red and green food coloring. We were careful not to shake the cookie sheet too much and spread the color everywhere!
Step 5
Lastly, I cut some strings of yarn and my daughter laid the yarn inside each ornament. I made sure the yarn hung off the edge of the cookie sheet so that they would have something to hang from.
Step 6
After all the yarn was placed inside each ornament, I carefully carried the tray to the freezer and laid it flat inside to harden and freeze up. If it is cold where you live, you can take your cookie sheet outside!
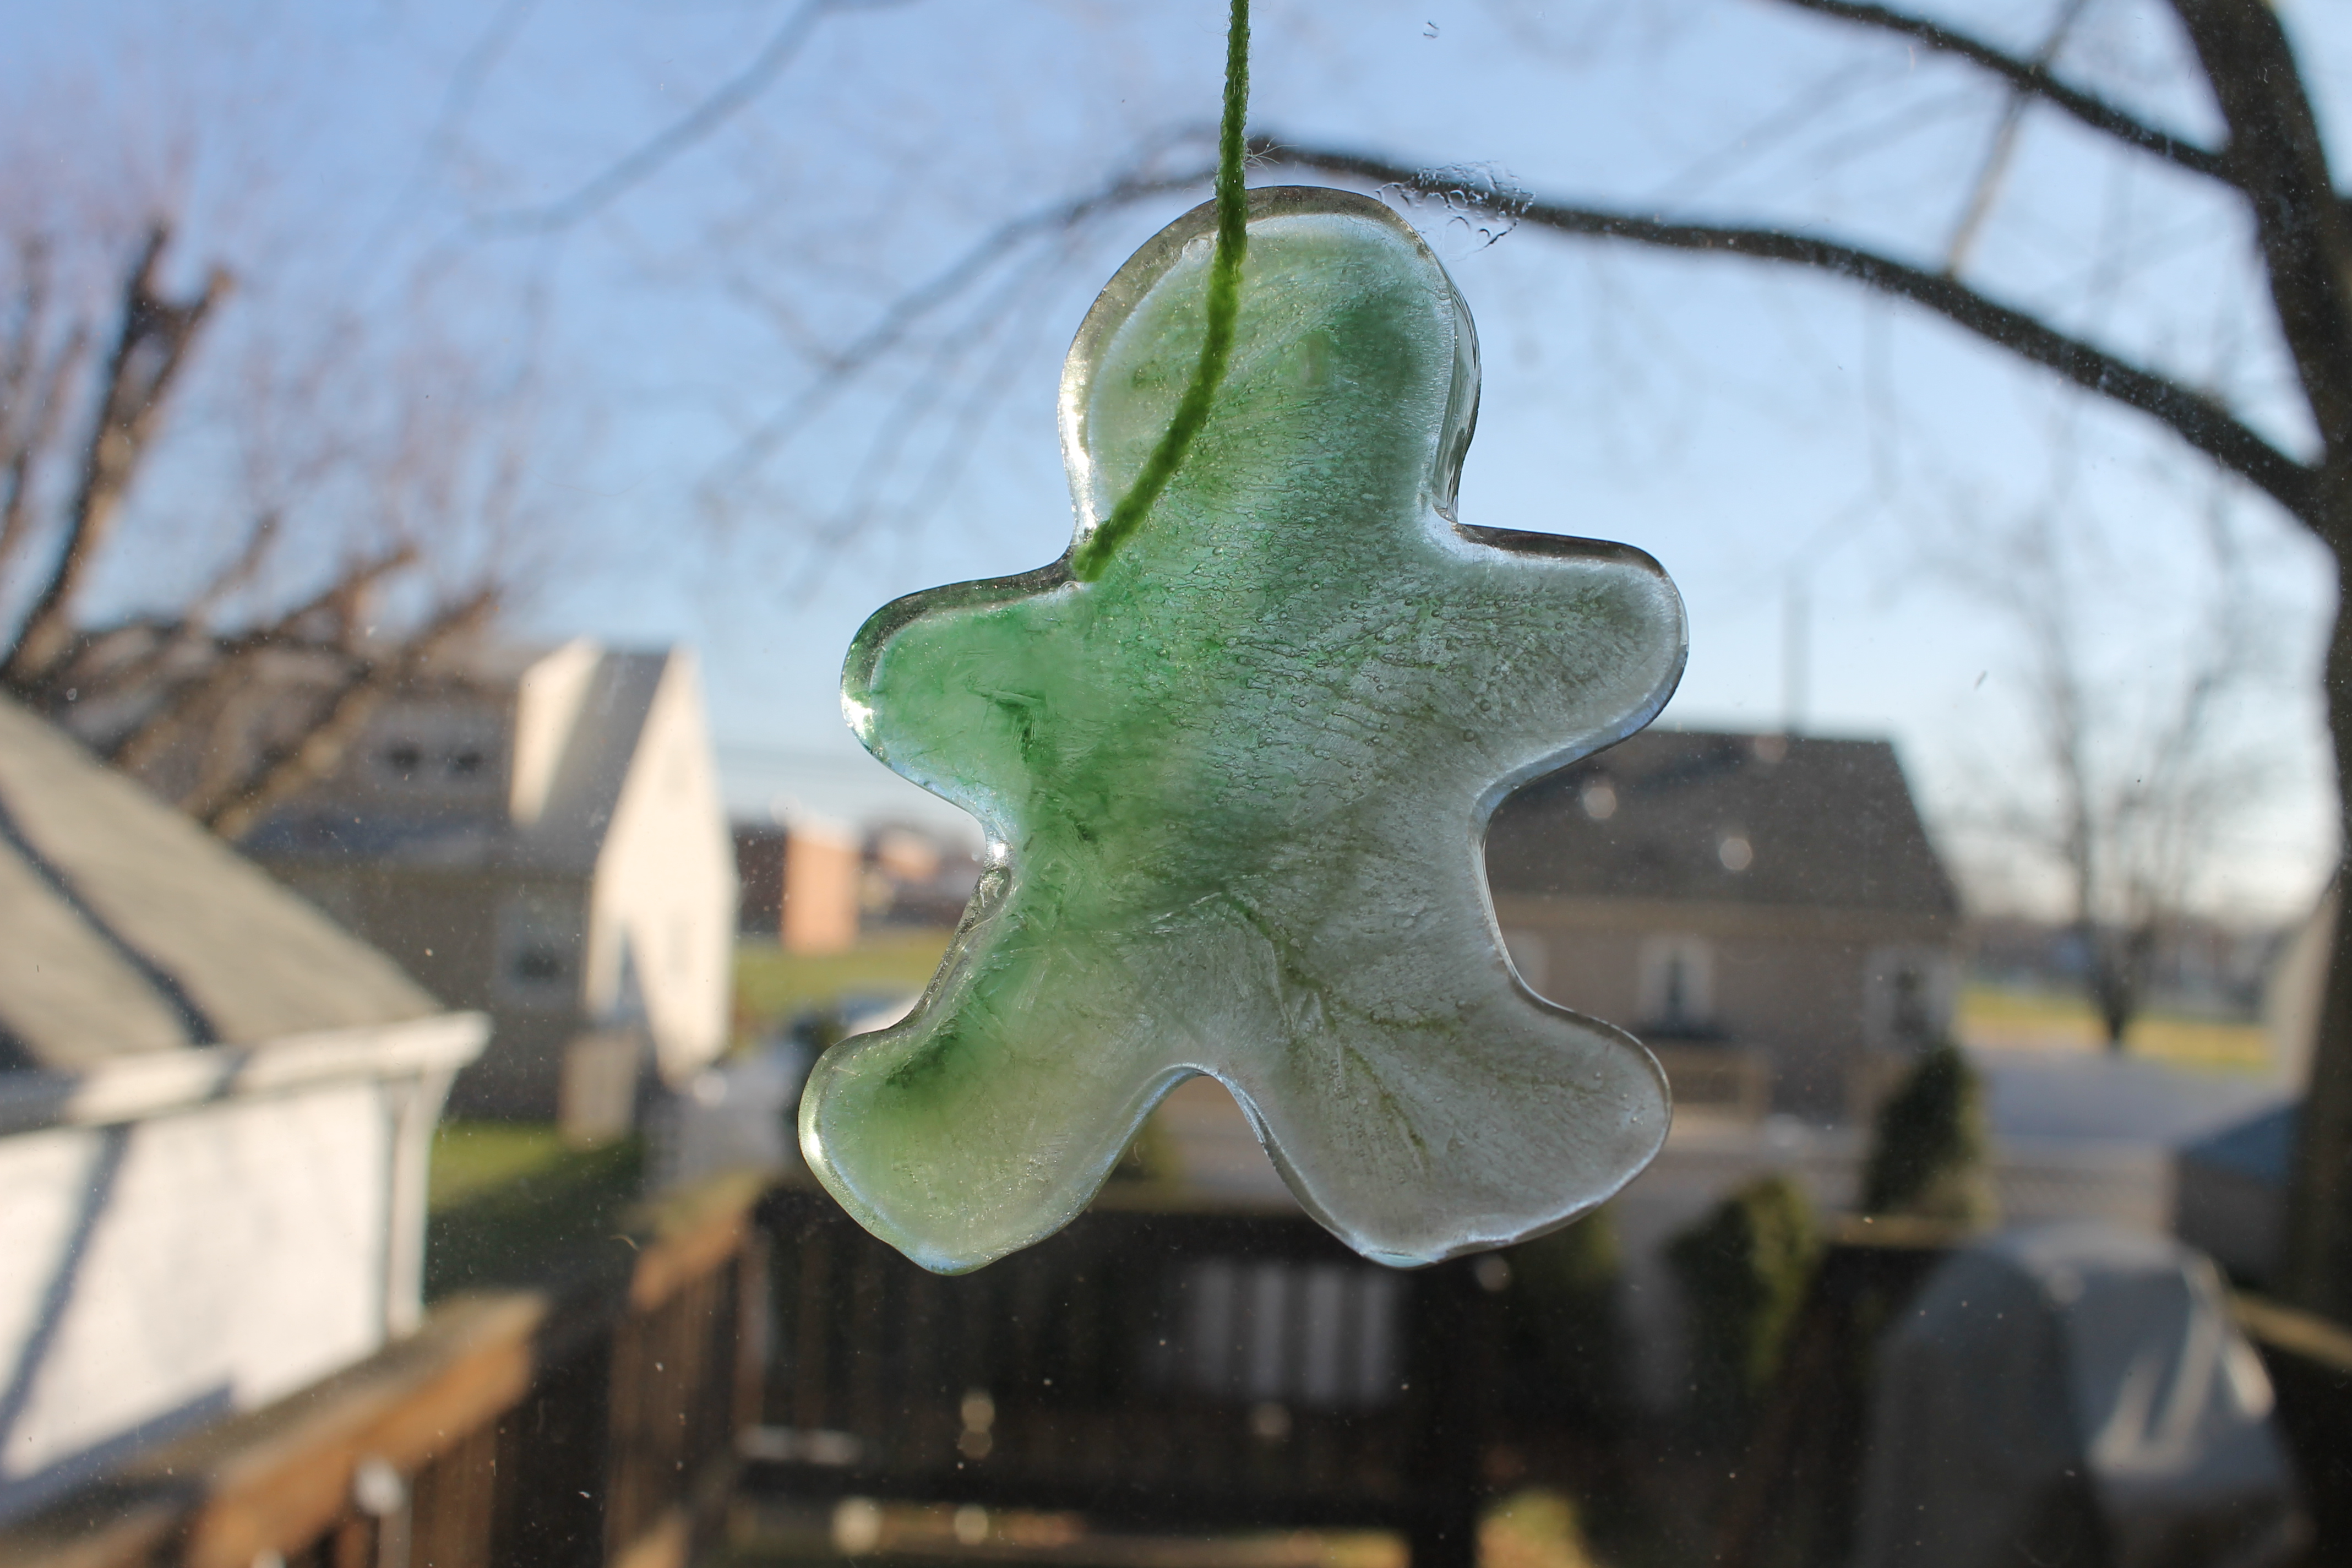
Step 7
After they freeze, take the cookie sheet out and let it sit for a few minutes to warm up. Then, gently twist the sheet as if you were trying to loosen ice cubes out of an ice cube tray. Once the ornaments break free, run the cookie cutter under warm water for a second or two, then gently push out the ice ornament.

Final result!
My daughter loved holding them up to the light of the sun to see how pretty they all looked!
