Step-by-step tutorial
Step 1
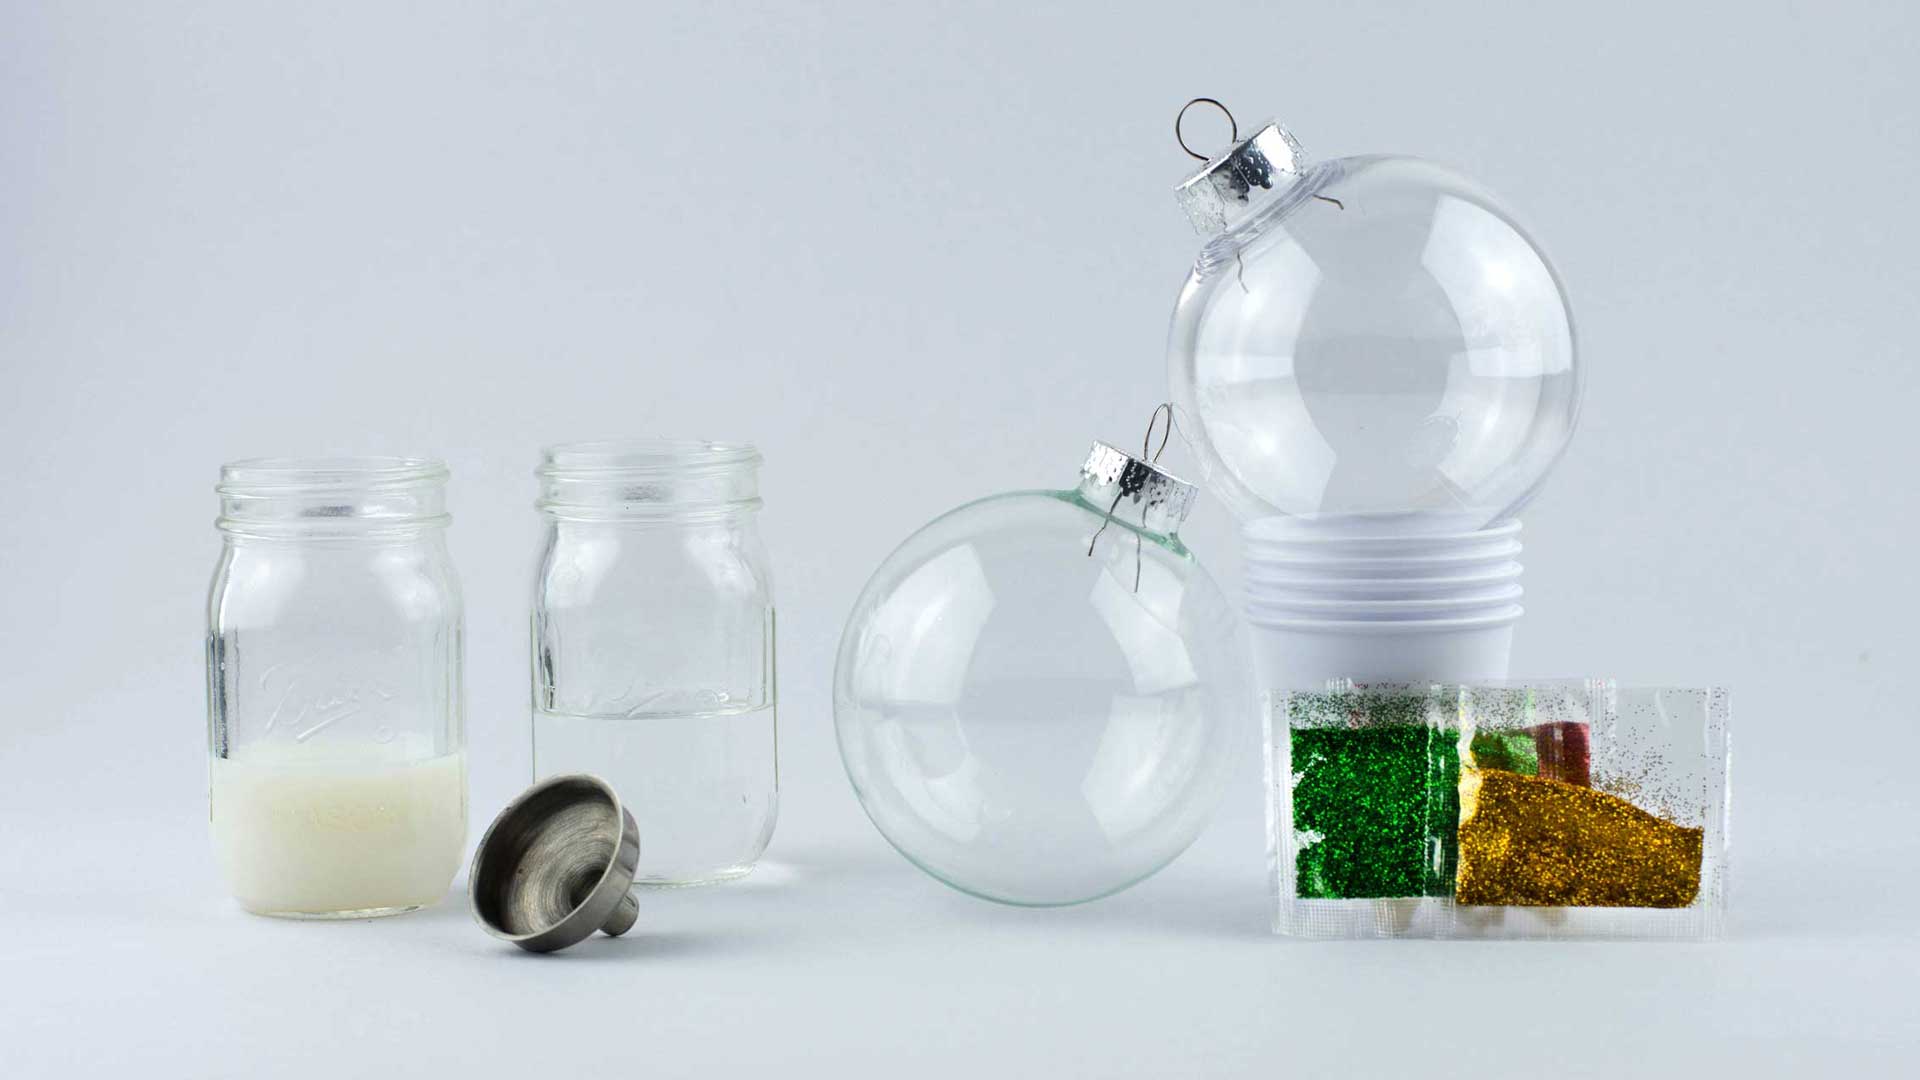
Glitter Gathering
Grab your favorite crafting partner, some cleaning solution (vinegar or rubbing alcohol), transparent (clear) ornaments, a bottle of floor finish/cleaner and your favorite color of glitter. Once you've gathered all these materials it's time to create the best DIY glitter ornaments to light up the season!
Step 2
Clean-N-Shine
Now that you've got your transparent plastic or glass ornaments out, look over your ornaments carefully since dust likes to hang out on glass and plastic surfaces. The inside of an ornament is irresistible to dust bunnies. Make sure no dust bunnies are hopping around in your ornament. Pour some cleaning solution inside and swish it around. This will coat and clean the interior.


Fact

Rubbing alcohol or isopropyl alcohol is often preferred over vinegar when cleaning. If you are wanting to deep clean any transparent surfaces (like clear ornament spheres) isopropyl is ideal. It is what is known as "volatile." This means it doesn't leave a residue as it evaporates. As a bonus, it tends to dry quickly, so anxious artists don't have to wait so long to complete the next step!
Step 3
Spread it Around
After you've coated the interior of your ornament, it's time to get rid of the excess. Instead of tossing the cleaning solution out entirely, this could be a perfect intro to conservation for young creators. Some glitter ornament DIYers suggest pouring the excess into any other glitter ornaments you are looking to glitter glam. Or if you only want to do one or two ornaments, you can reuse the solution in other interesting ways.
Tip
If you use isopropyl and have quite a bit left, there are so many interesting projects you can do with it. Along with being a great cleaning agent, it plays a role in countless craft projects and science experiments!
Step 4
Drip It Dry
Break out the small paper cups! It's time for a drip dry. When you use a chemical agent like rubbing alcohol, the drying process is quick and easy. Flip your sparkling clean plastic or glass globes upside down into the small paper cups. After the residue from the cleaning solution has evaporated, you'll be able to move on to the next step--adding the adhering glitter ingredient.
Step 5
Swirl And Swish
You can skip the unsightly glue globs! Glitter ornament-making professionals say floor finish works much better, allowing for a more even layering of glitter inside the ornament sphere. Take only a little of the solution and drop it into the open ornament. Once you've done that, swirl the liquid around inside, but don't shake! You want to avoid causing a bubbly reaction. The fewer the air bubbles the more evenly the floor finish will go on. After the interior is fully coated, glitter glam comes next!
Step 6
Bedazzle Your Ornament Ball
Now it's time to add in your non-toxic extra fine glitter powder to the mix. What color does your child prefer? Half the fun is in picking the color! Remember how you swirled your floor finish inside your globe? Pour the glitter into your already finish coated globe and do that same fun swirling motion. Pretty soon you'll have a sparkling example of what your creative crafter can do with only a few directions and a whole lot of enthusiasm!
Step 7
Cup on Repeat
Now you can reuse the cups you had used for the cleaning solution drip dry step as holders for your glitter globes. You can set them upright in the cup this time. Here's an opportunity for some prediction premonitions. Will the glitter take longer to dry than the cleaning solution? Will it dry faster?
Step 8
Cap it Off
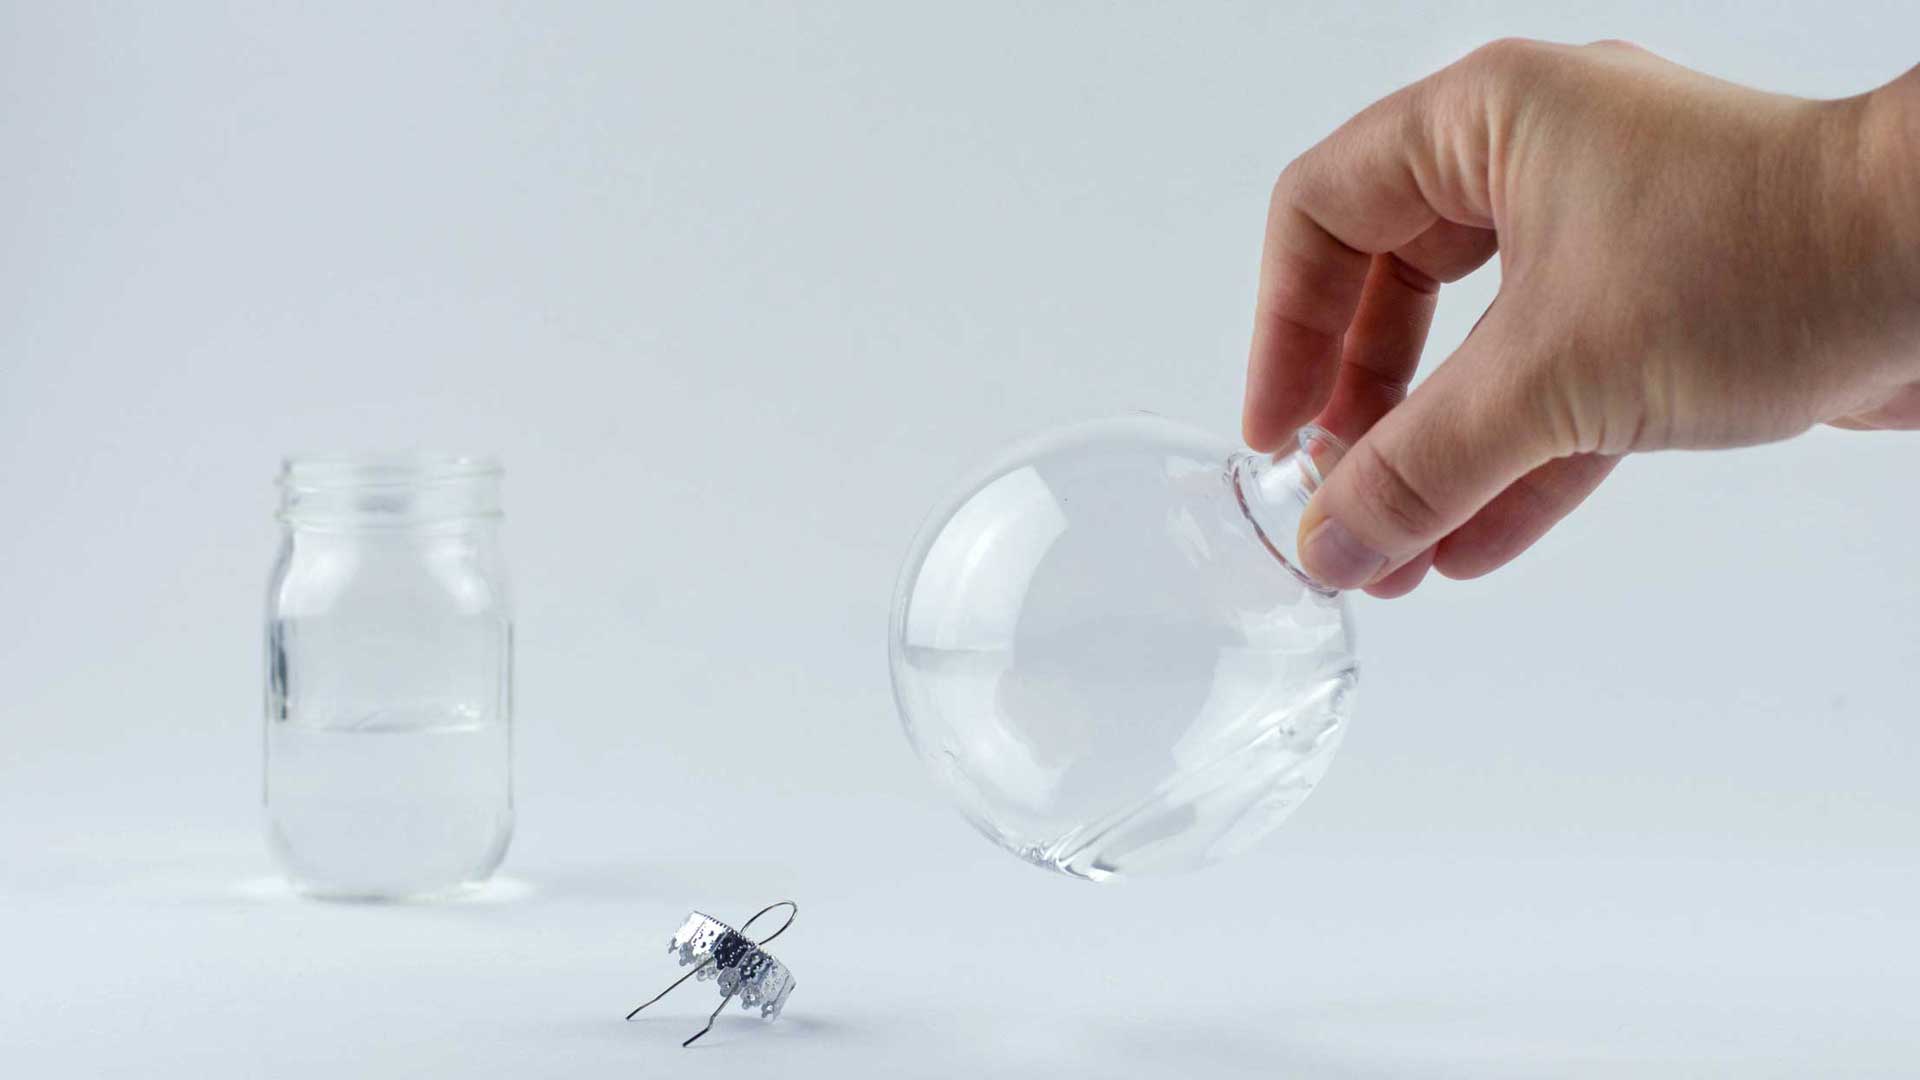
After the ornaments have dried, you'll need to reattach the lid of the ornament. (Usually, the lids are made of metal or plastic and have a wire that slides in or out of the holes at the top of the lid when pinched.) But wait! Before you attach the ornament cap, it may be wise to add a little glue inside the sides of the lid. This will help keep the lid snug and tight. You don't want to let the festive ball drop off your Christmas tree!
Step 9
Stick a Pin/Wire in It
Now it's time to slide the wire back into the ornament cap. This should be one of the final steps. The less you handle the wire, the less likely it is to damage the glitter within the globe. The wires can be a little sharp, so make sure you handle them carefully, especially when handling glass ornaments. Too much force applied can crack the plastic or glass.
Warning
For younger artists shatter-proof plastic ornaments are recommended over their glass counterparts.
Done!
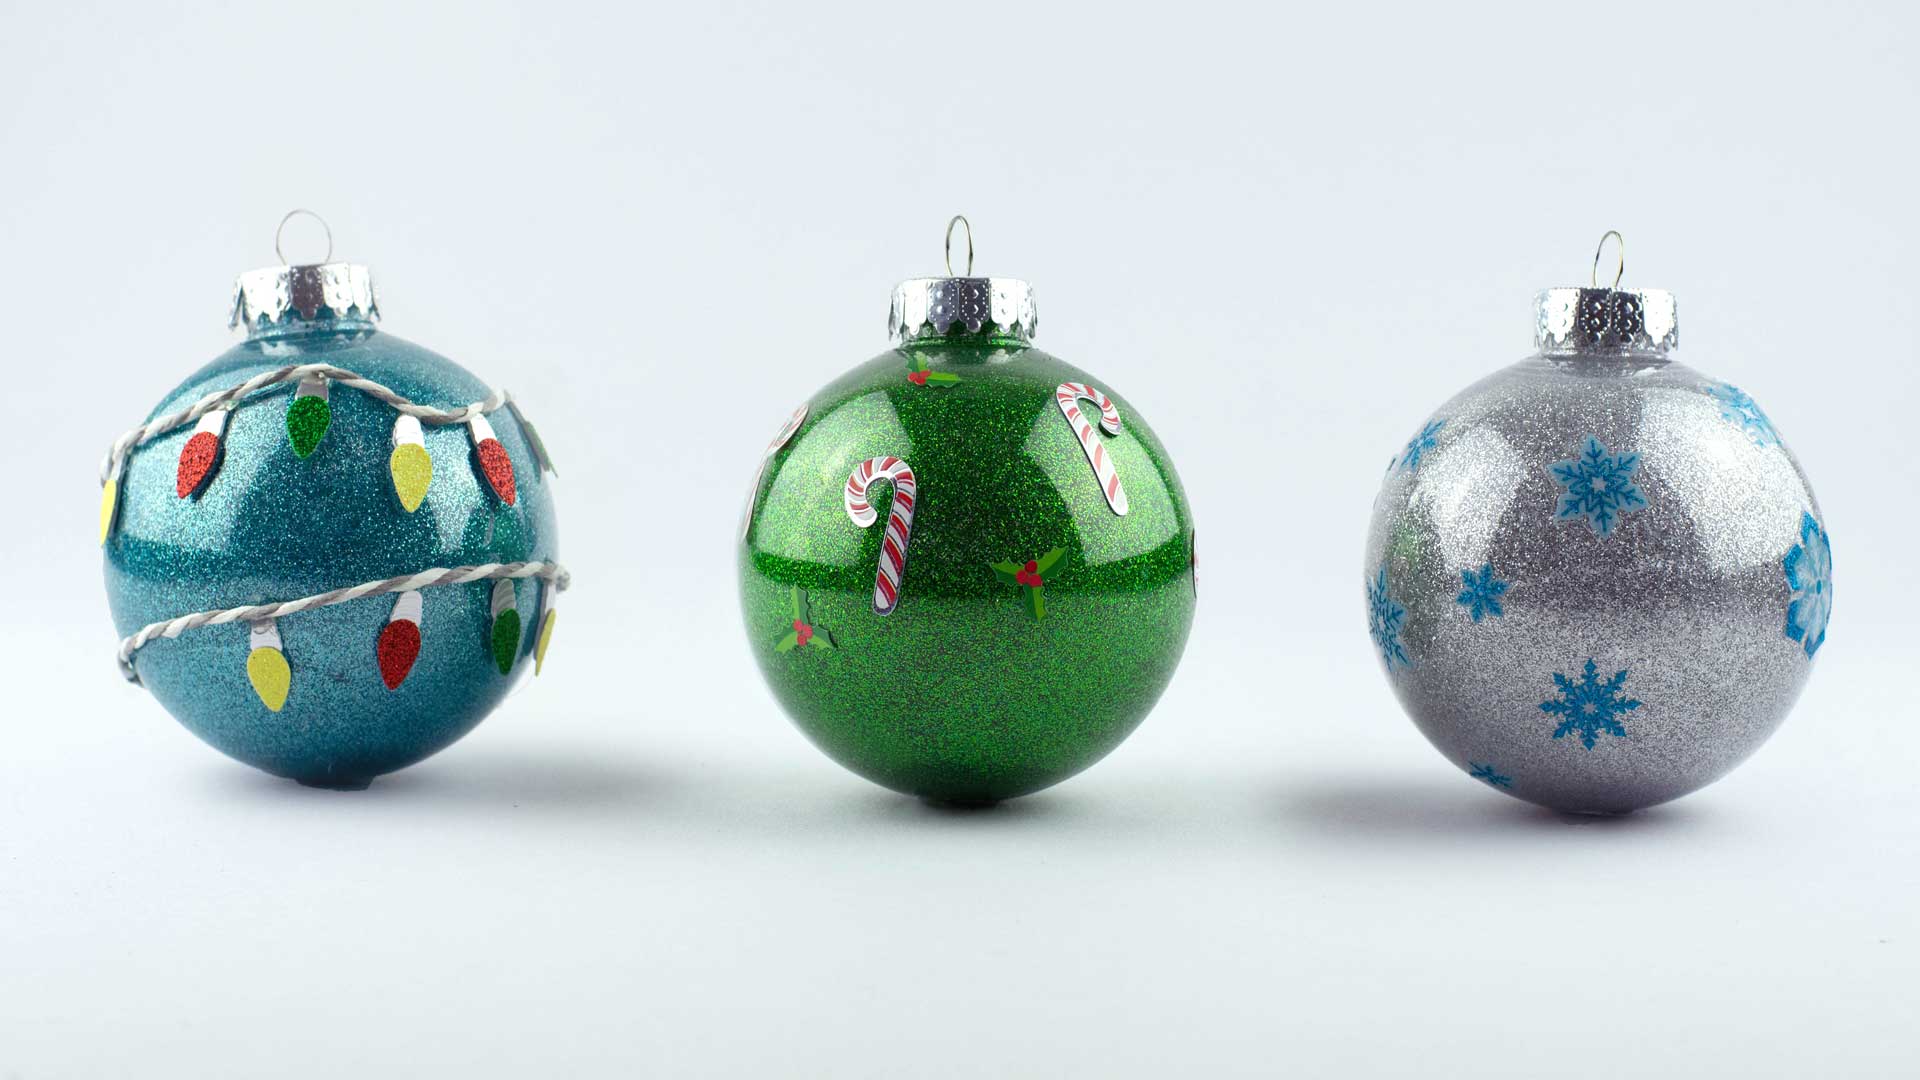
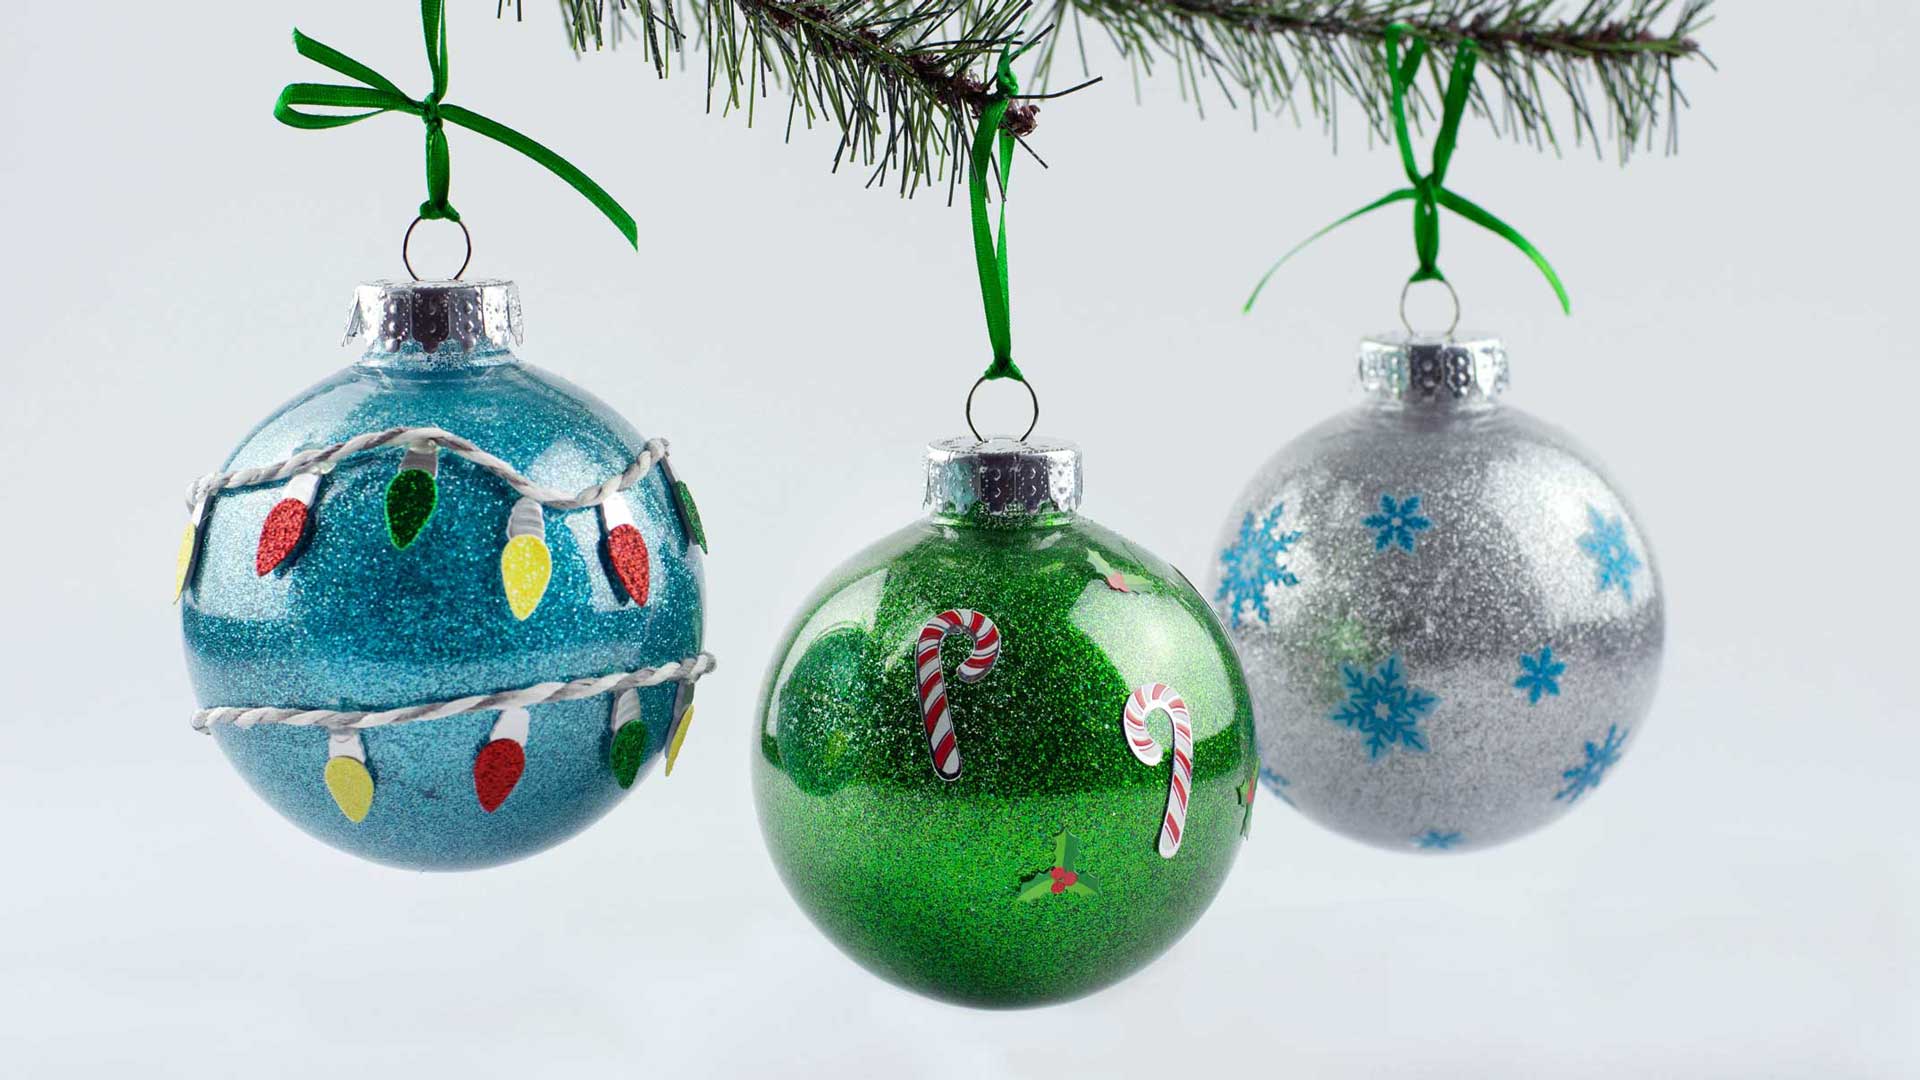
Put a Scrapbooking Spin On-It
This next step isn't necessary to complete the project, but it's a great way for kids to give their ornament an extra boost of personality! Stick-on sequins and Christmas themed stickers like snowflakes, trees, stars and reindeer make great additions to any glittery sphere. It'll be a fun way to empty your scrapbooking overflow while allowing the Christmas DIYer in your life to sparkle as much as their glitter creation!
This season, glitter ornaments can help keep winter days warm and bright! It may just come from a different source--from the smile on your child’s face as they discover a whole new way to celebrate the holidays!