Step-by-step tutorial
Step 1
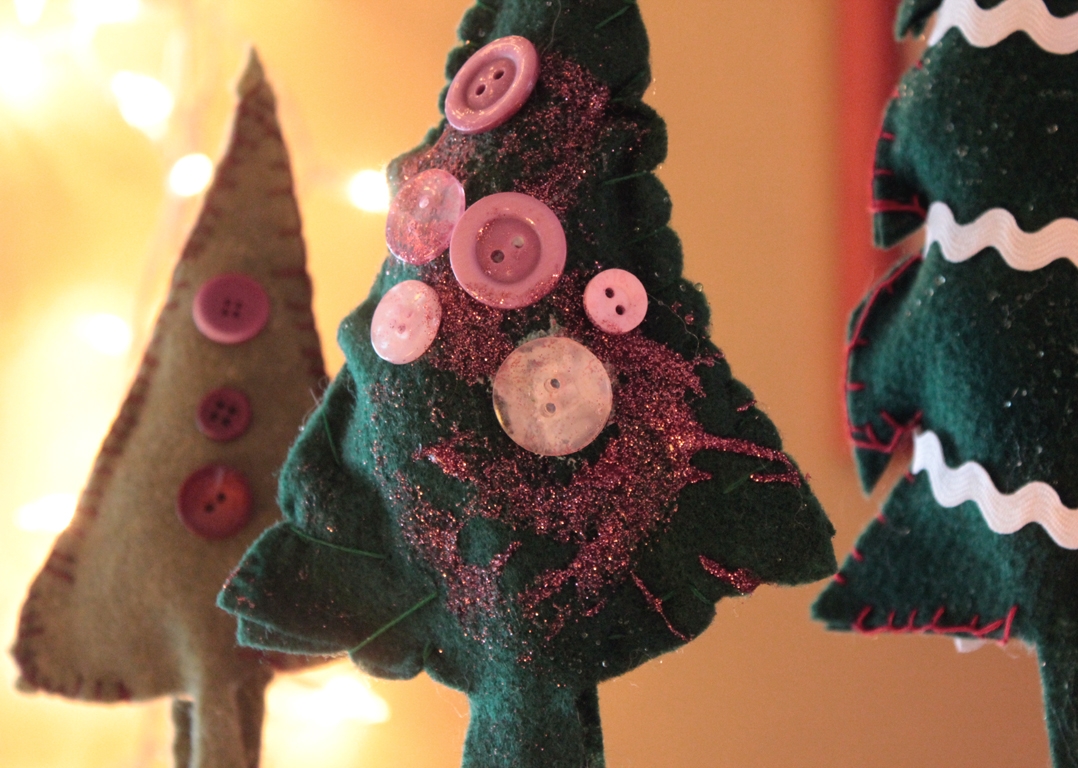
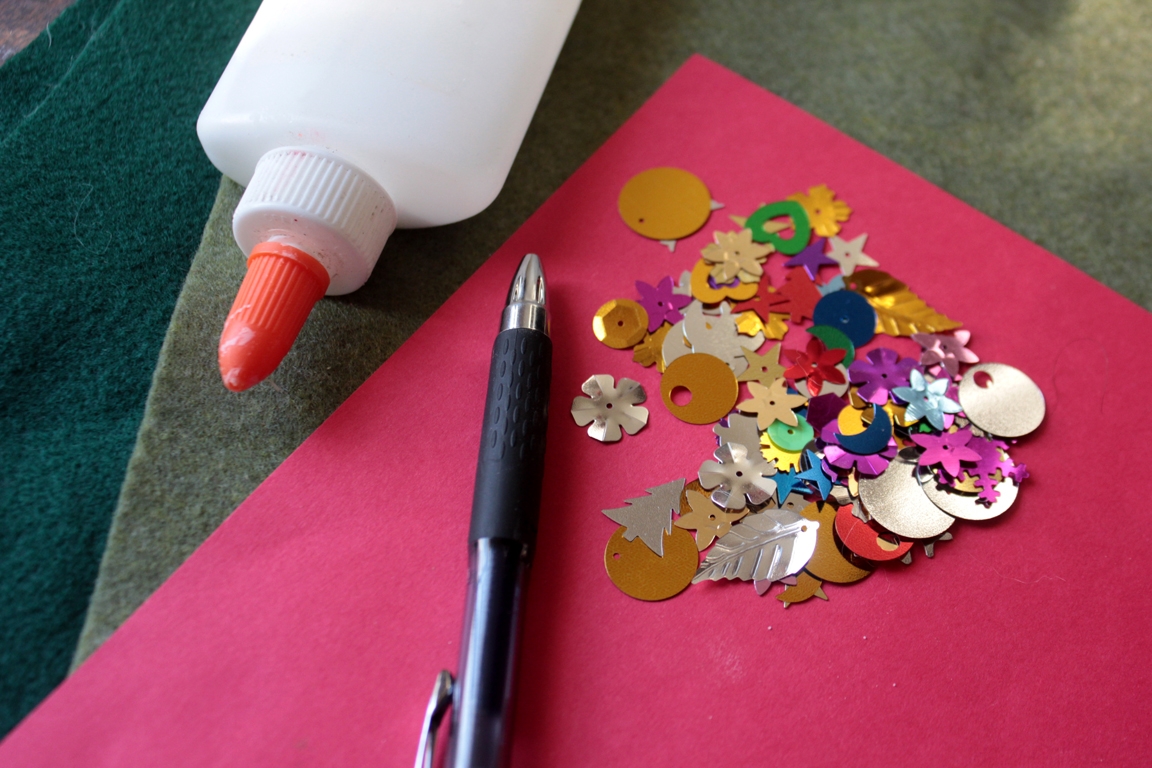
"What shall it be today?" we wondered. "Buttons? Glitter? Ribbons? Sequins?"
Looking for a gift? Checkout KiwiCo's Christmas gifts here.

Step 2
First, we needed tree shapes. Maddie drew trees onto scratch paper and then cut the shapes out. Felt can be difficult for a little girl to cut, so I used these templates to cut the felt.

Step 3
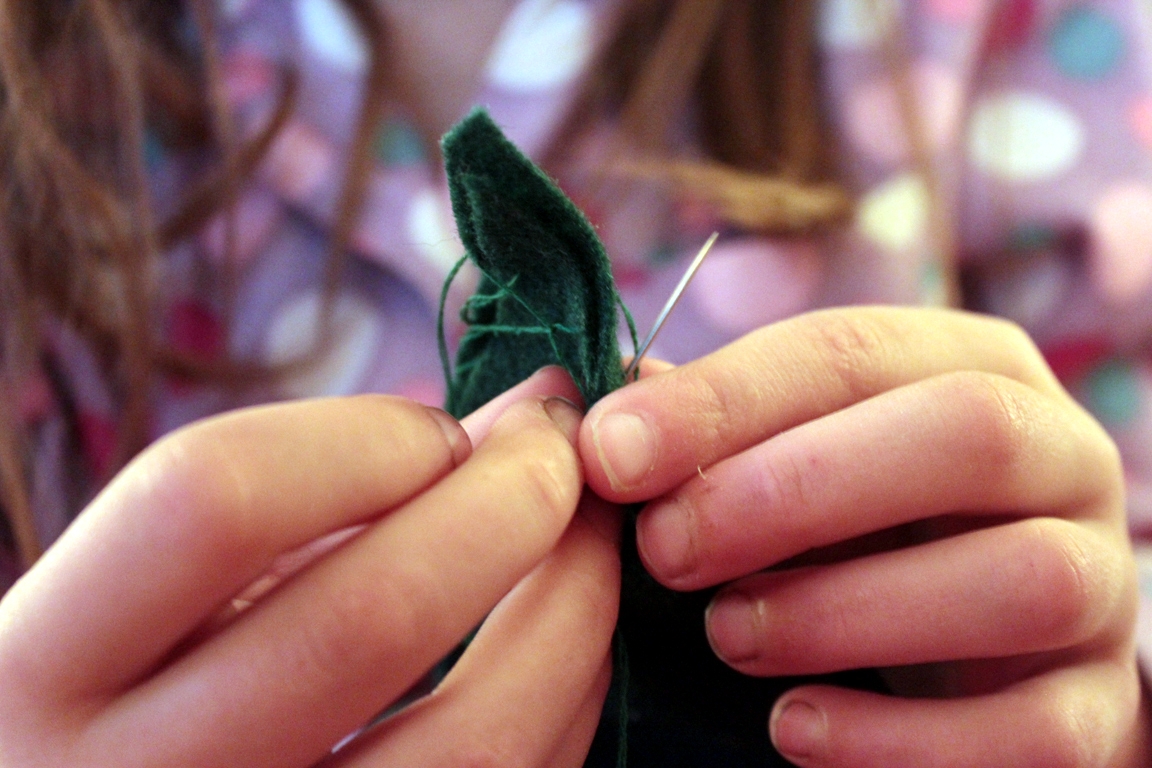
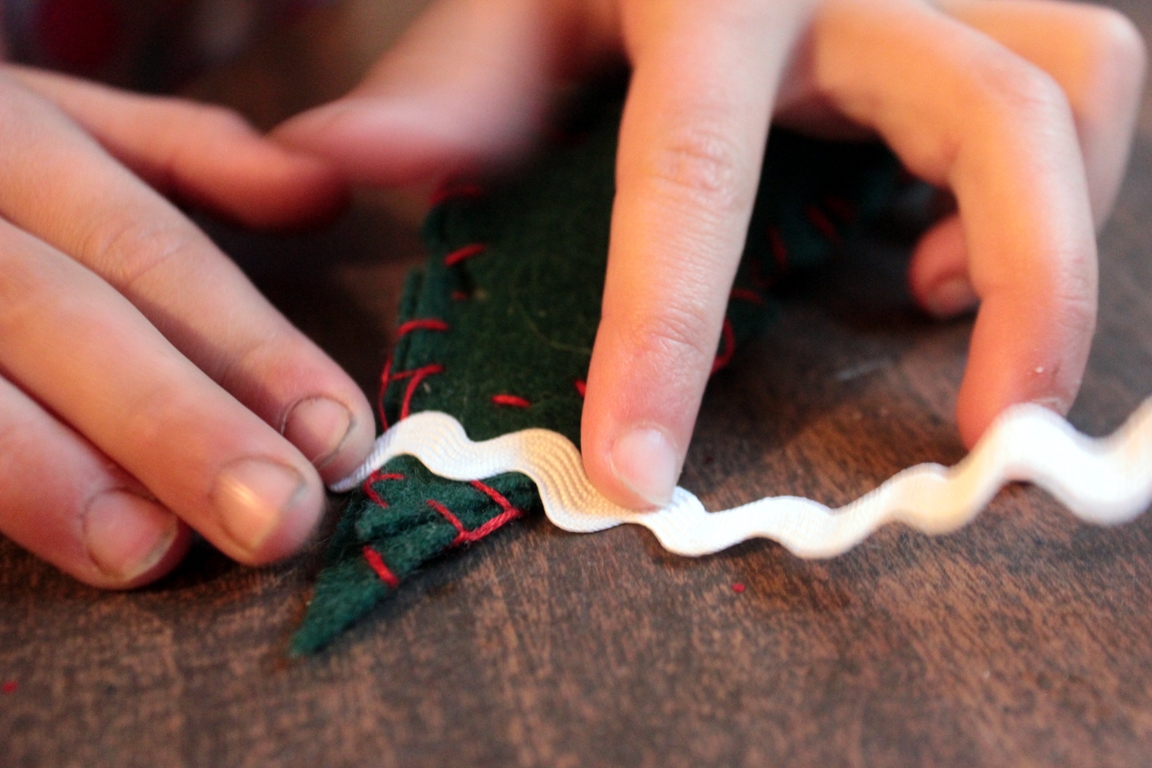
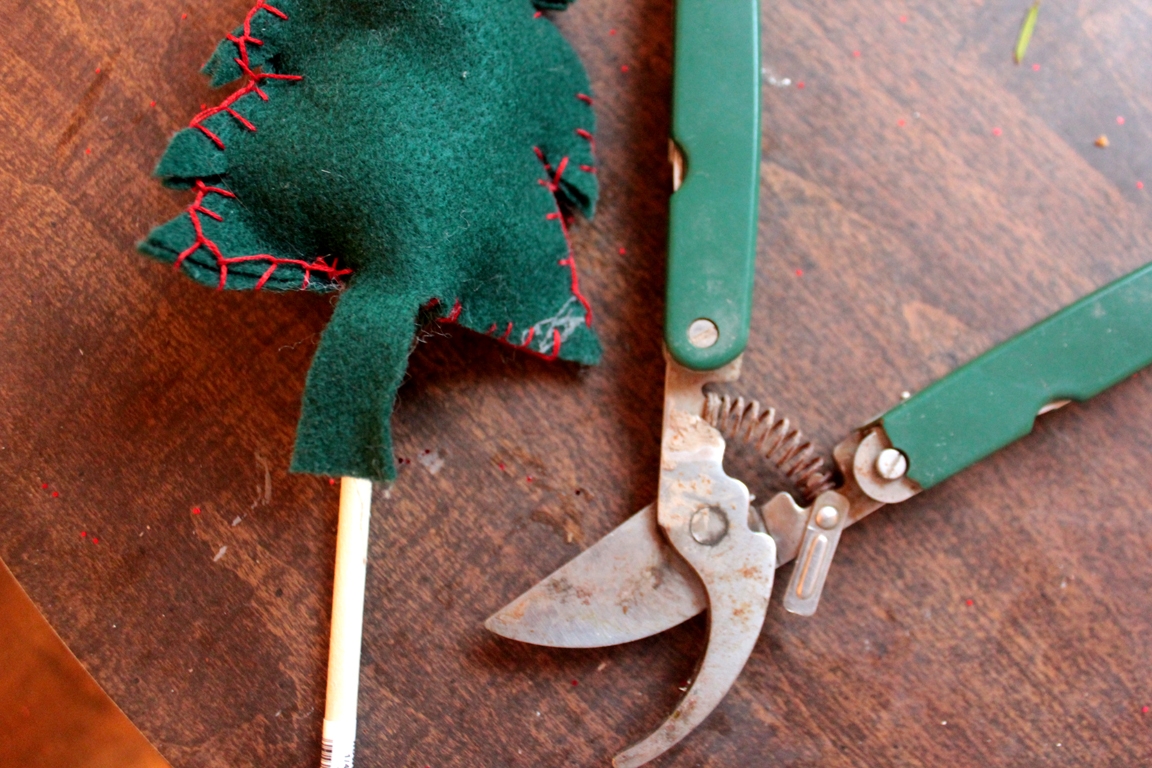
Madeleine wanted our trees sewn and not glued, so we sewed them up, leaving the tree trunk open at the bottom for stuffing.
Step 4
We lightly stuffed the trees...then got down to decorating!
Step 5
La la la, la la la la.... (Maddie did lots of humming and singing while we worked)...

Step 6
We had to decide how tall our trees would stand on sticks, so we laid them down, and marked how long we'd cut the dowel--leaving it long enough to support our trees (inside) about half-way up. We put a bit of glue on the tree trunk, to keep the stands in place,
Step 7
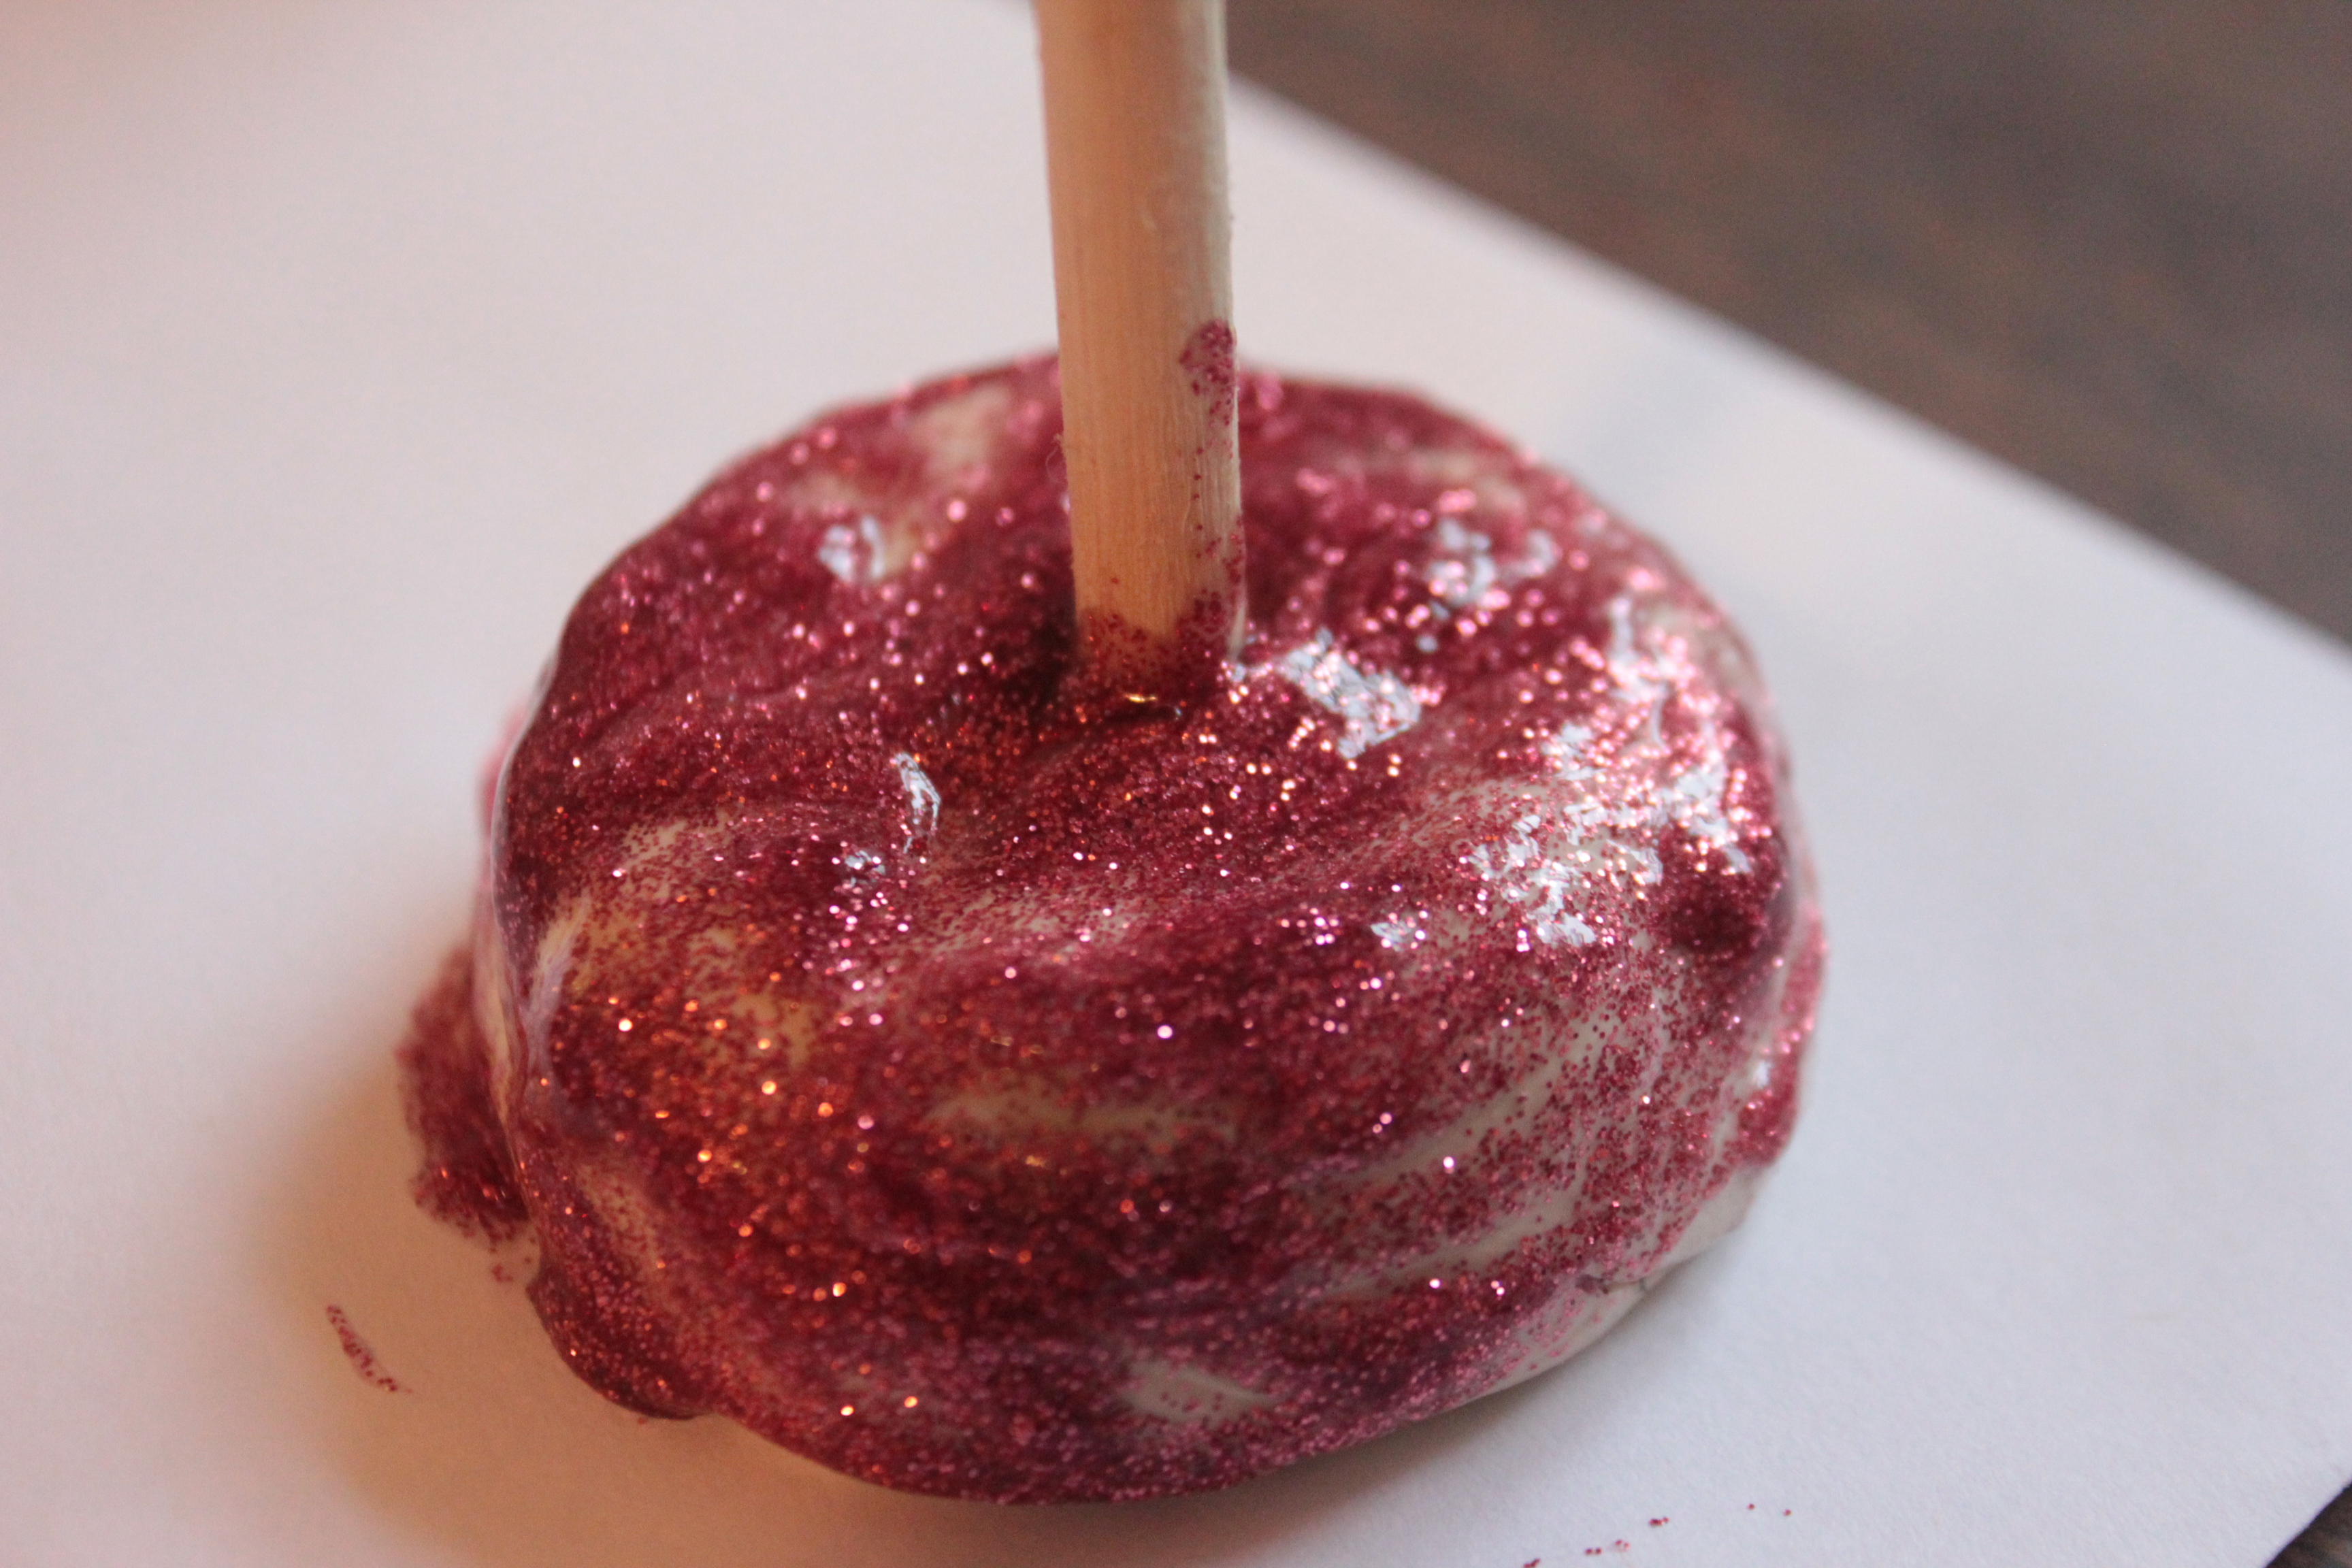
...then made our stands. For this, we just made a round ball of clay and flattened it just a bit. Some were left as they were, and some were decorated with a bit of glitter glue.
Done!
And then just as we were finishing up, it began to snow! Here's our lovely winter wonderland...