Step-by-step tutorial
Step 1
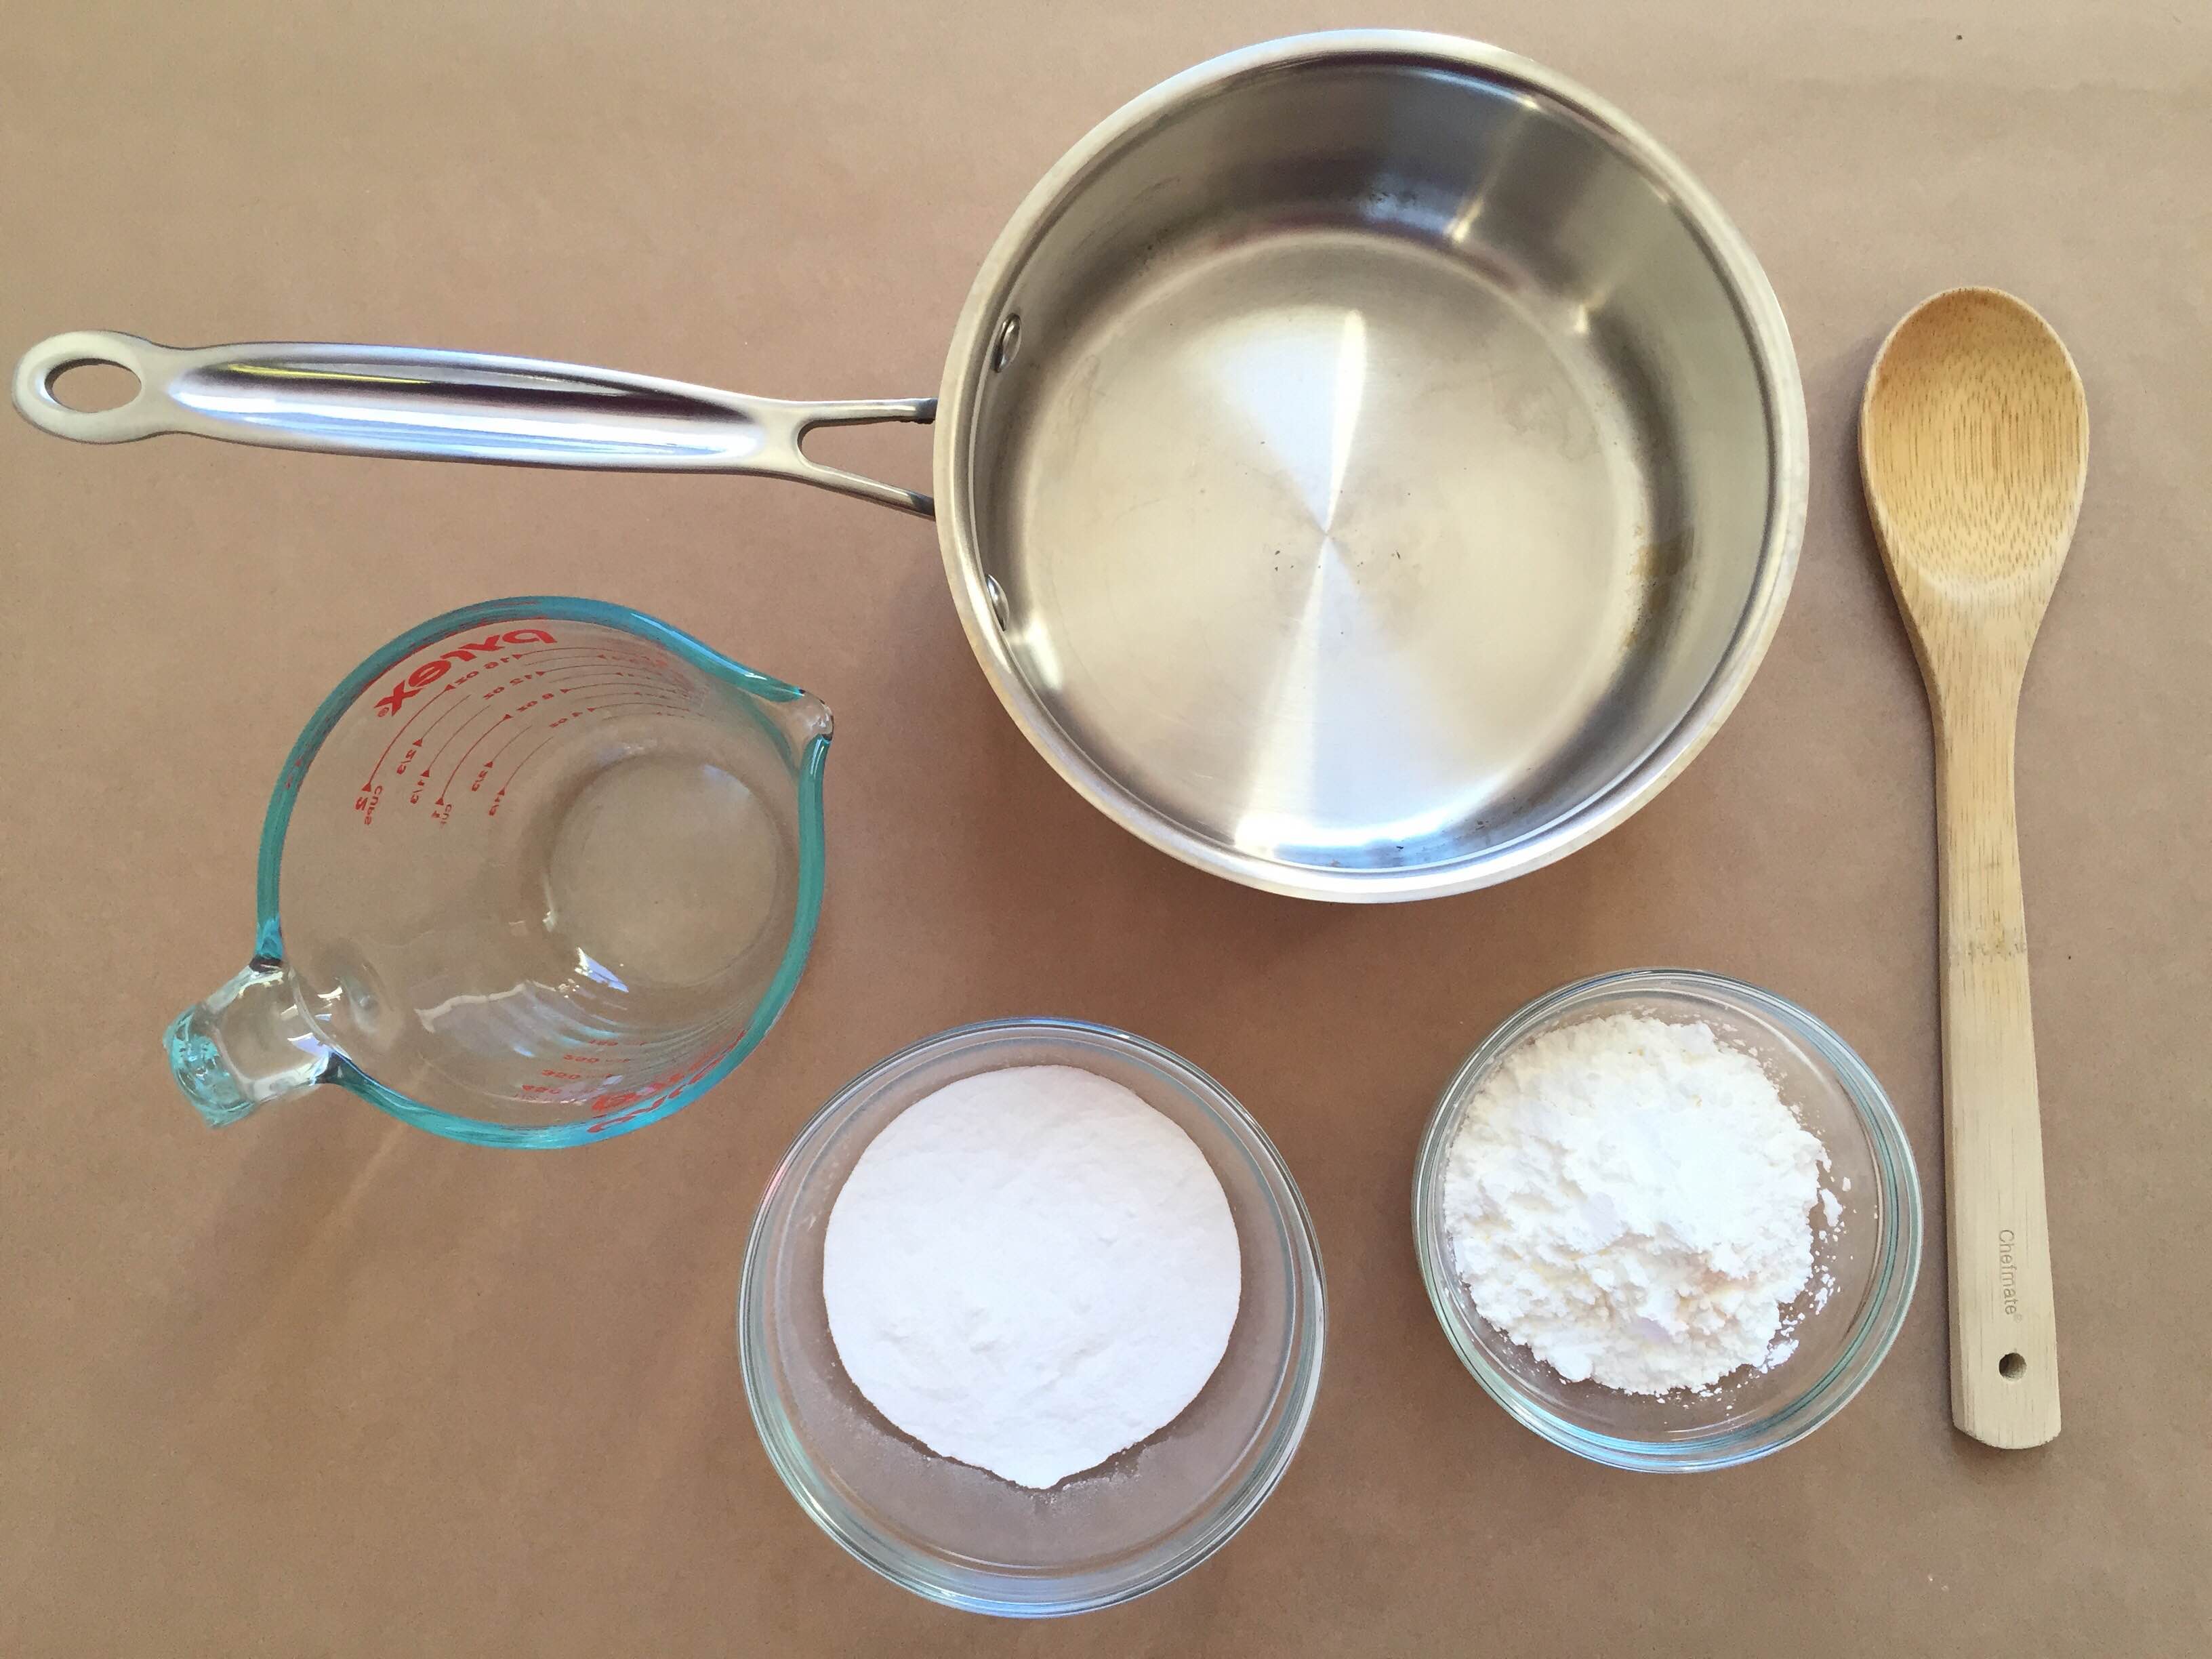
Gather your materials.
This recipe creates enough dough for roughly 2 dozen gift tags. As a heads up, the dough requires heating over a stove, which should be done by a grownup.

Step 2
Combine the baking soda and cornstarch in a pot. Add the cold water and mix until smooth. Cook the dough over medium heat until the dough comes together.
Step 3
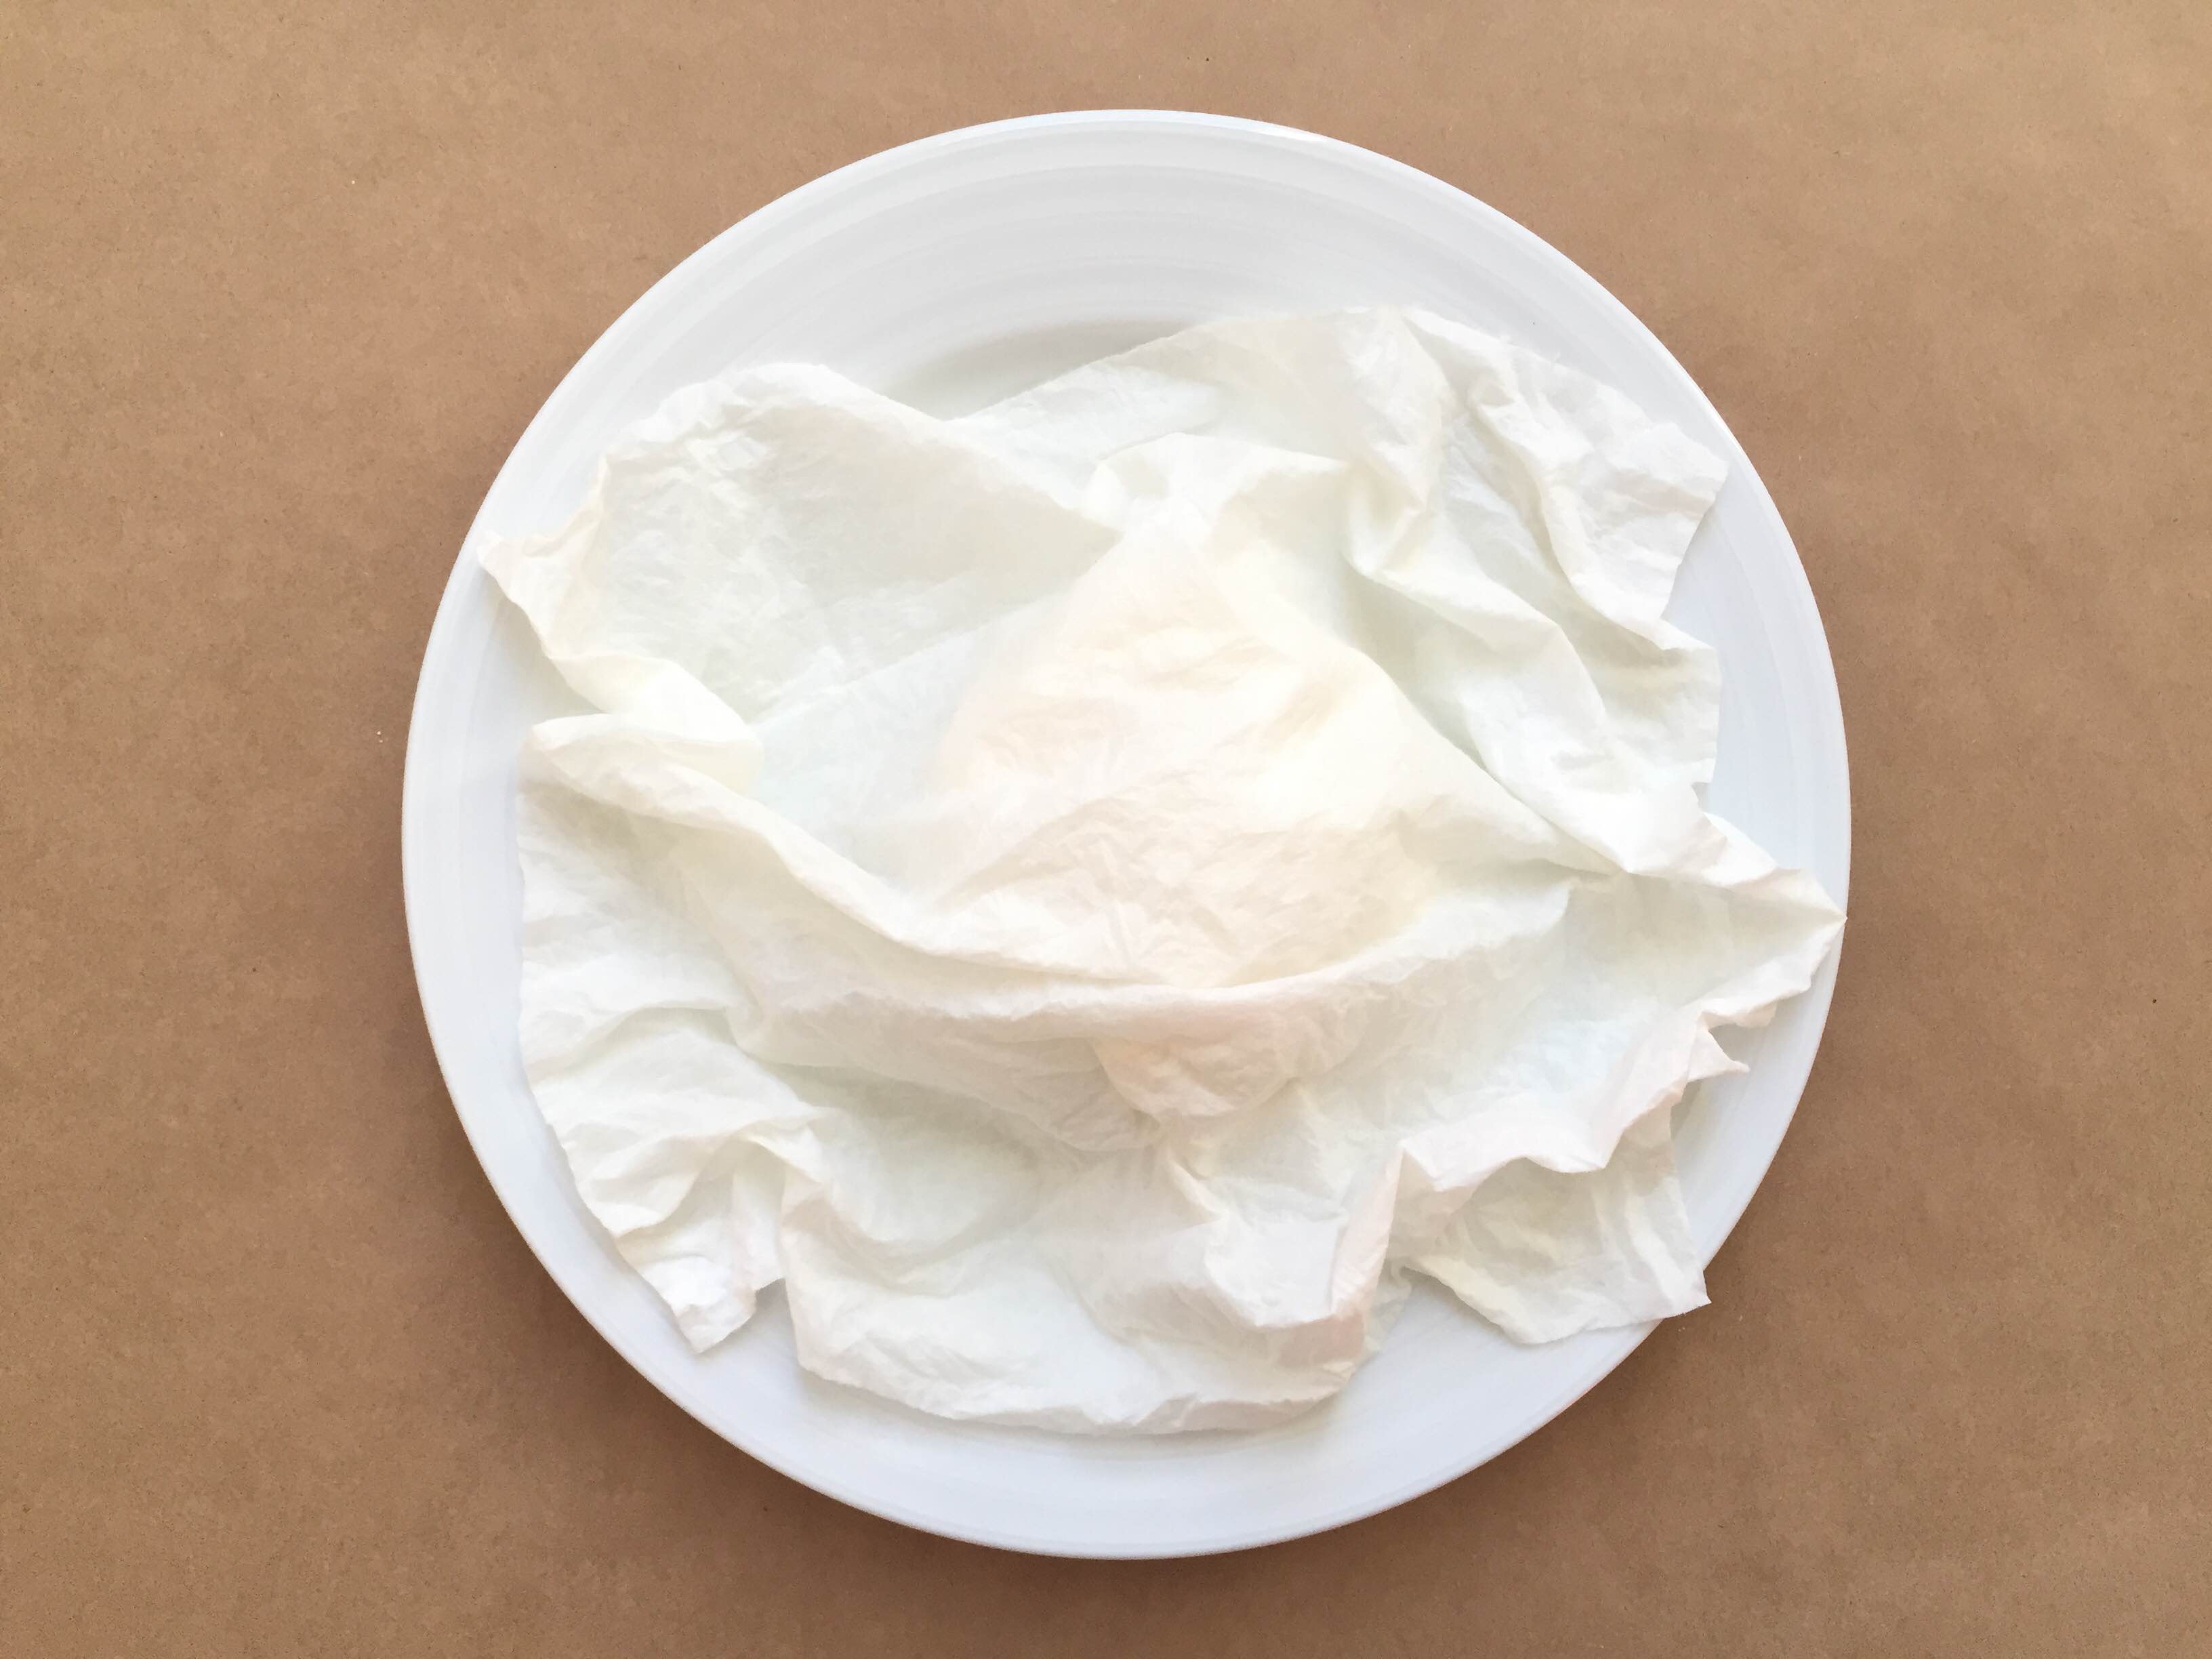
Scoop the dough onto a plate and cover it with a damp paper towel. Let the dough cool for about 15 minutes or until it's cool enough to work with.
Step 4
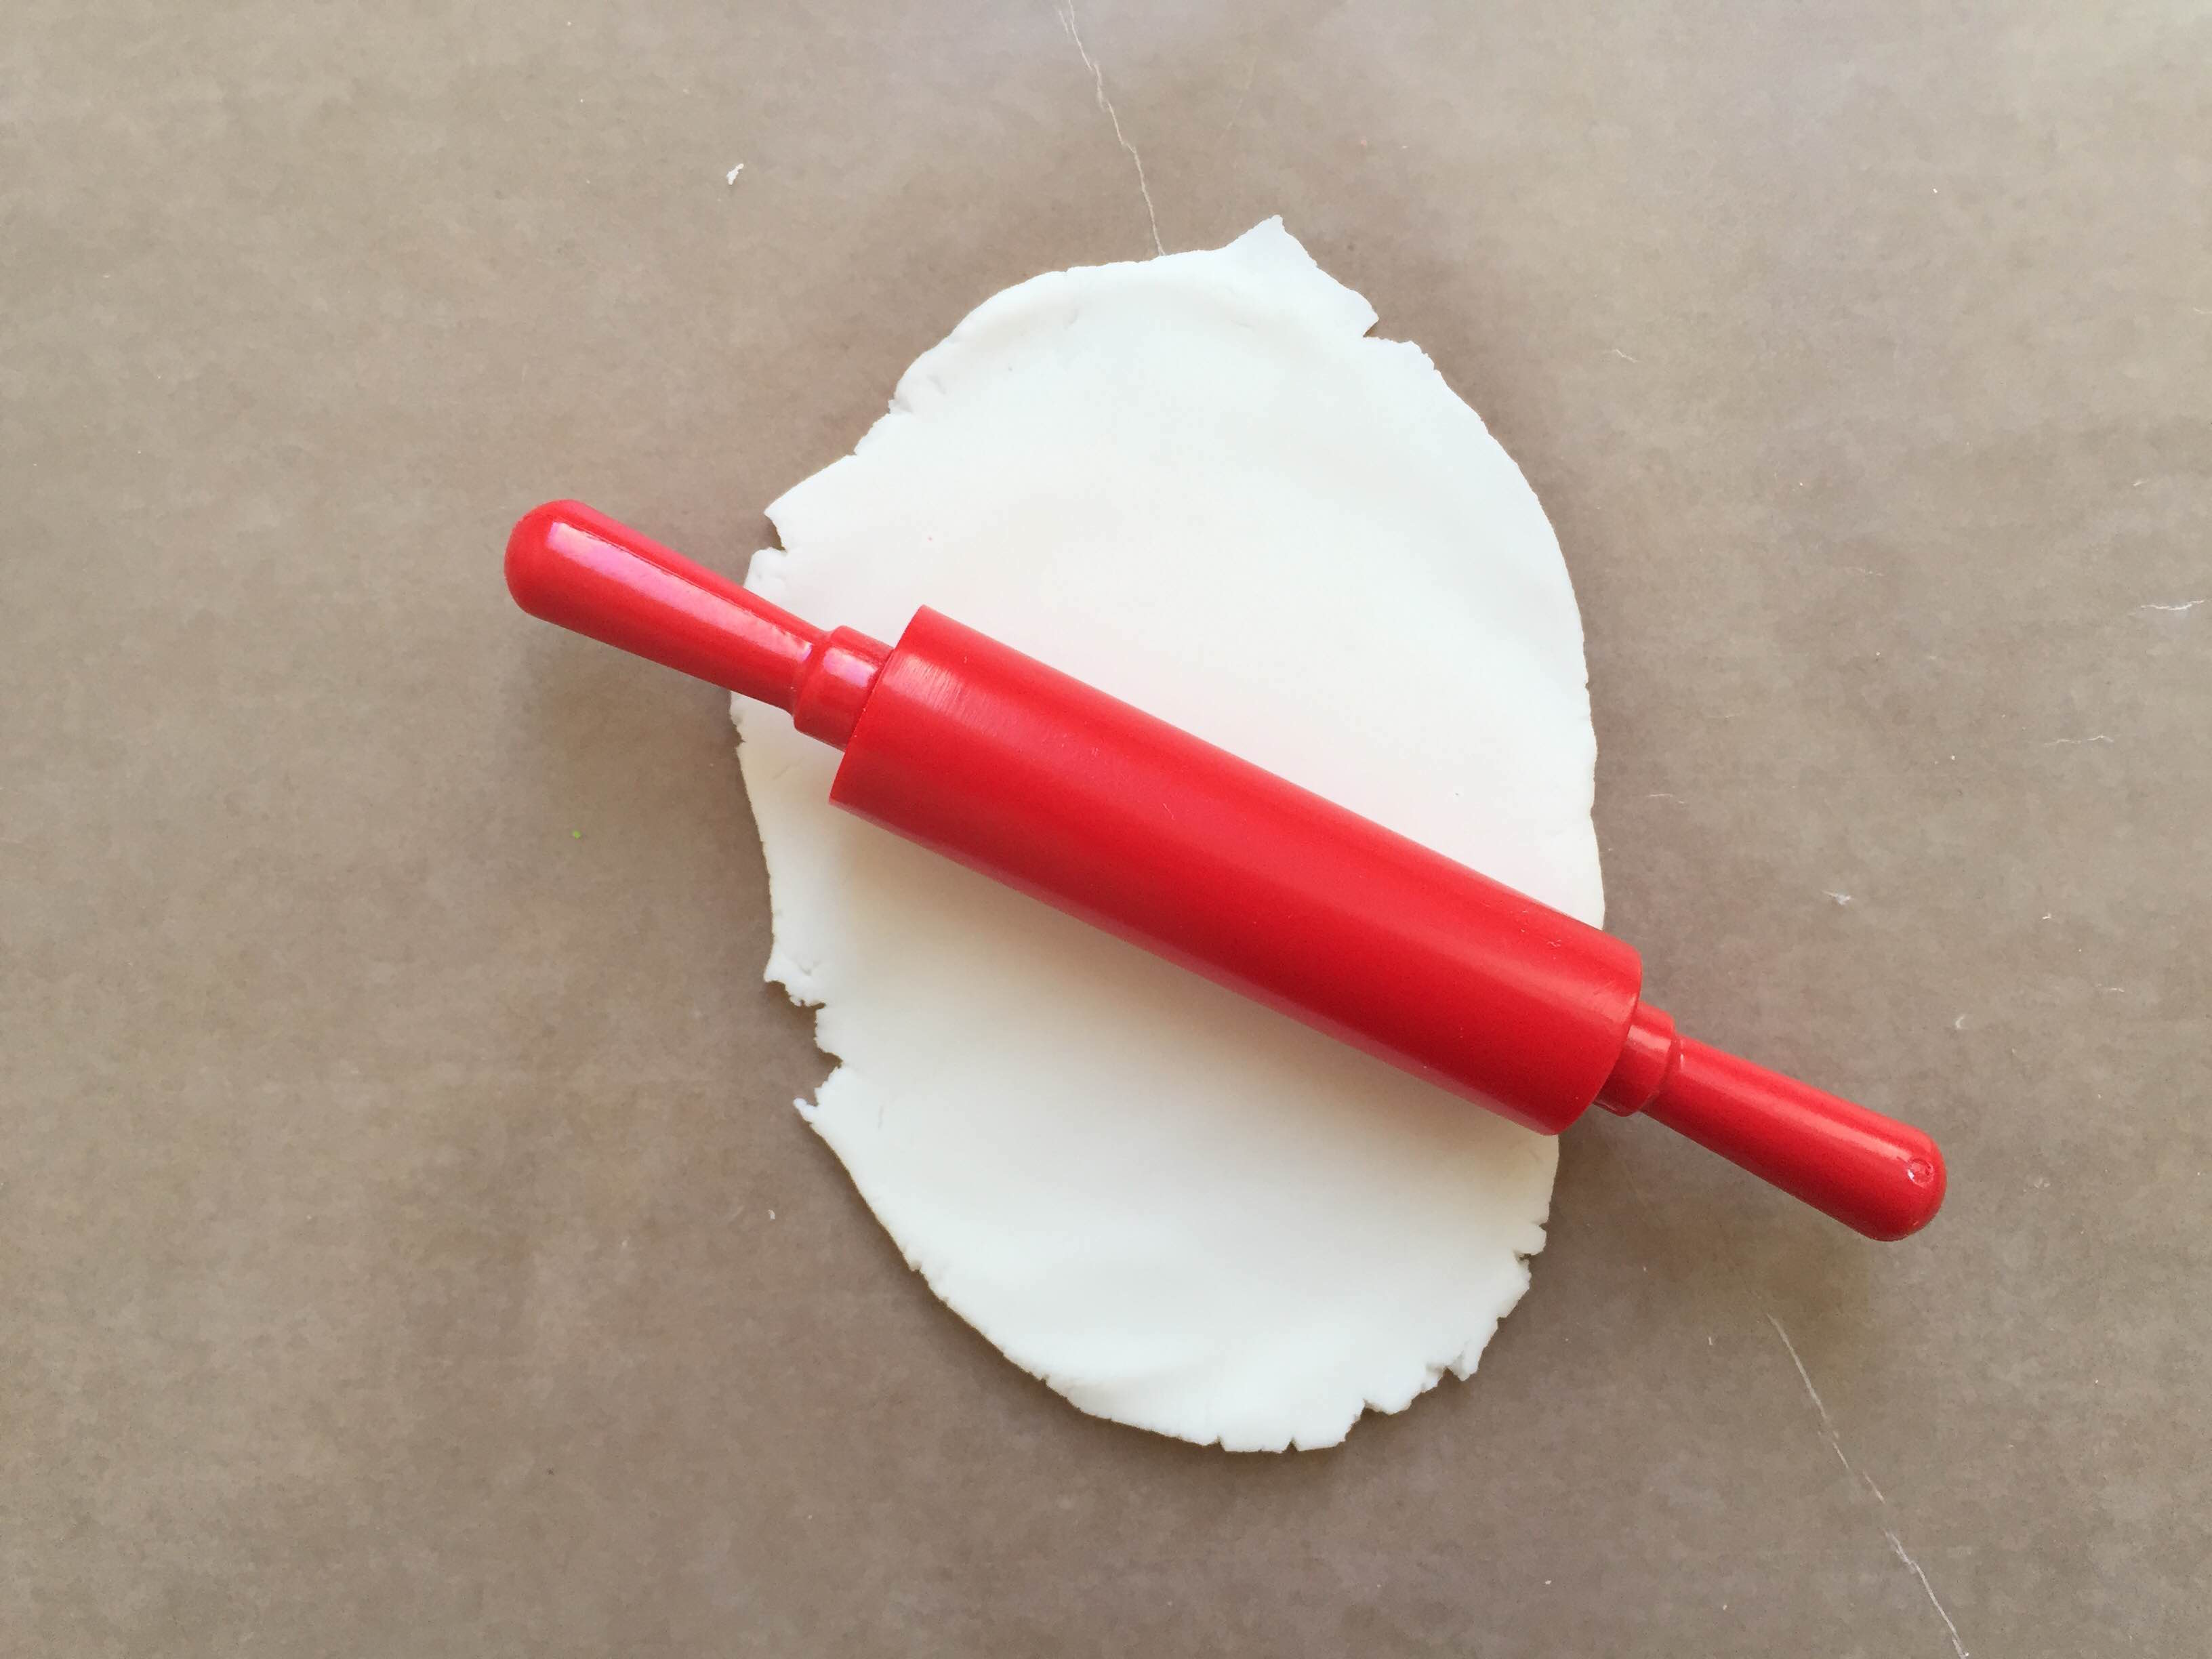
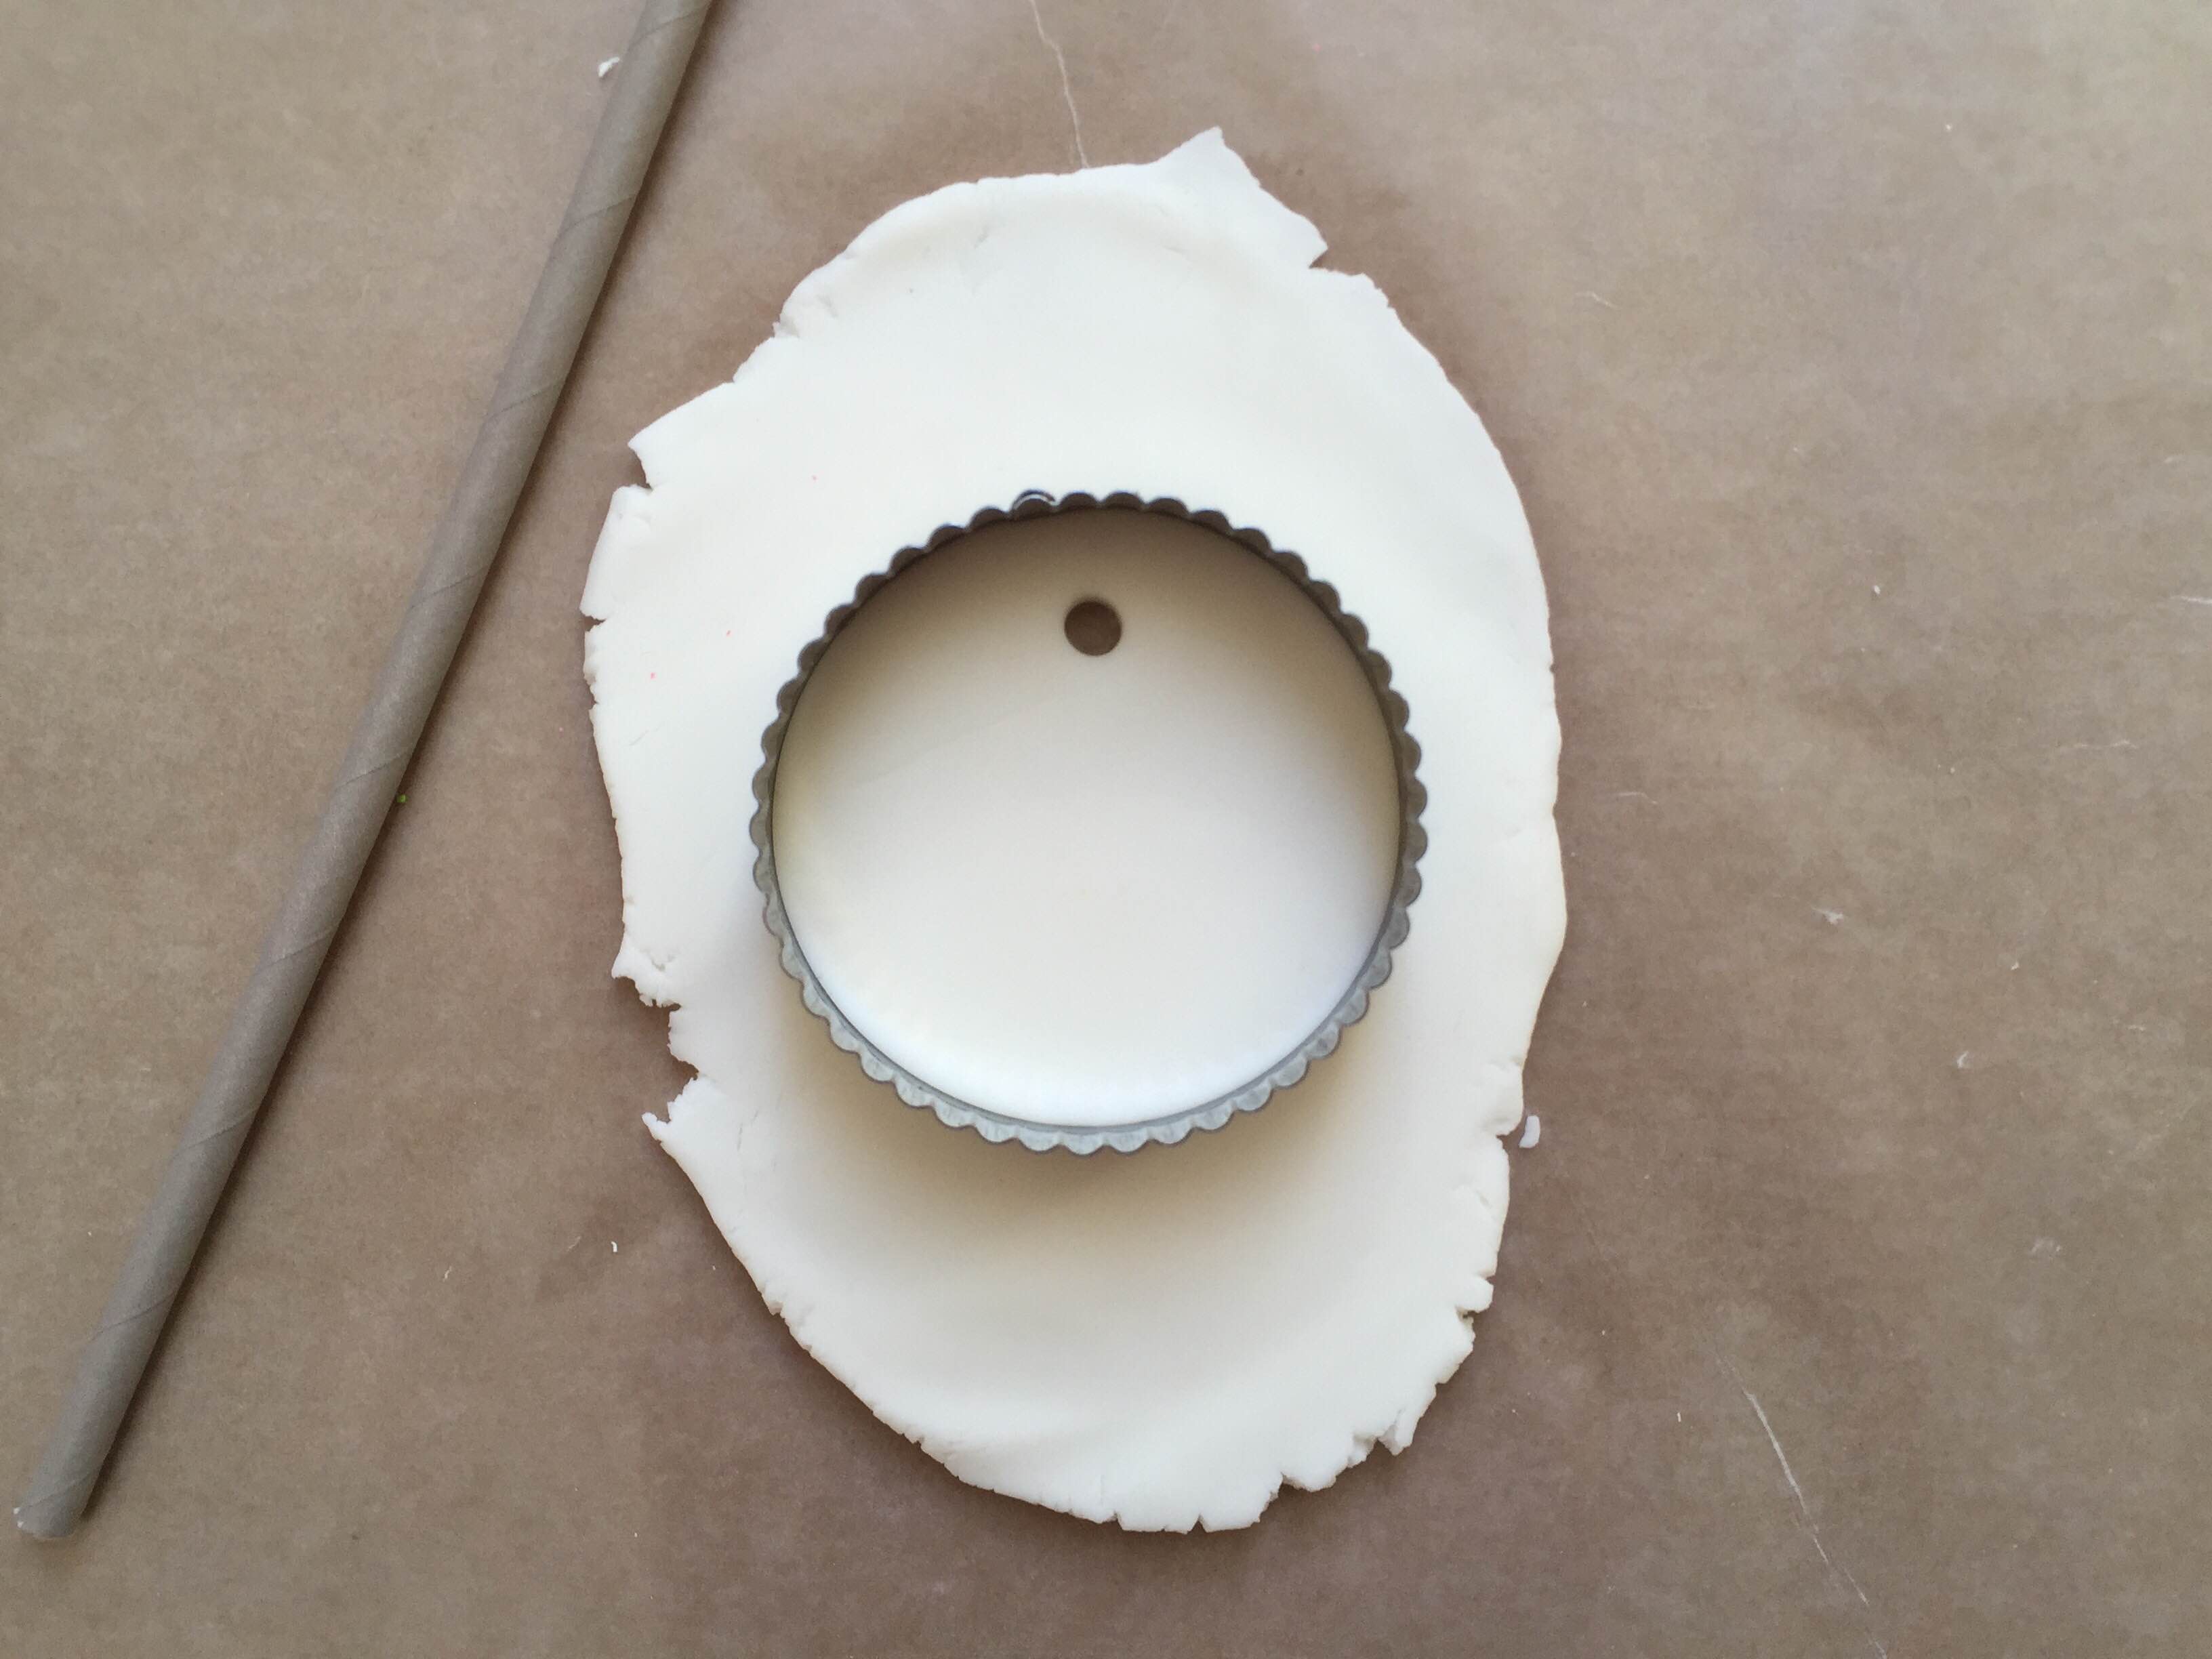
After your dough sits for about 15 minutes, it's time for some fun! Cover your workspace with wax paper and roll out the dough. (You can also use your kitchen counter or table, but make sure to dust the surface with a pinch of cornstarch to prevent sticking.) Flatten your dough to about ¼ thick.
Step 5
Using the cookie cutters, cut your desired shape. Use the straw to poke a small hole.
Step 6
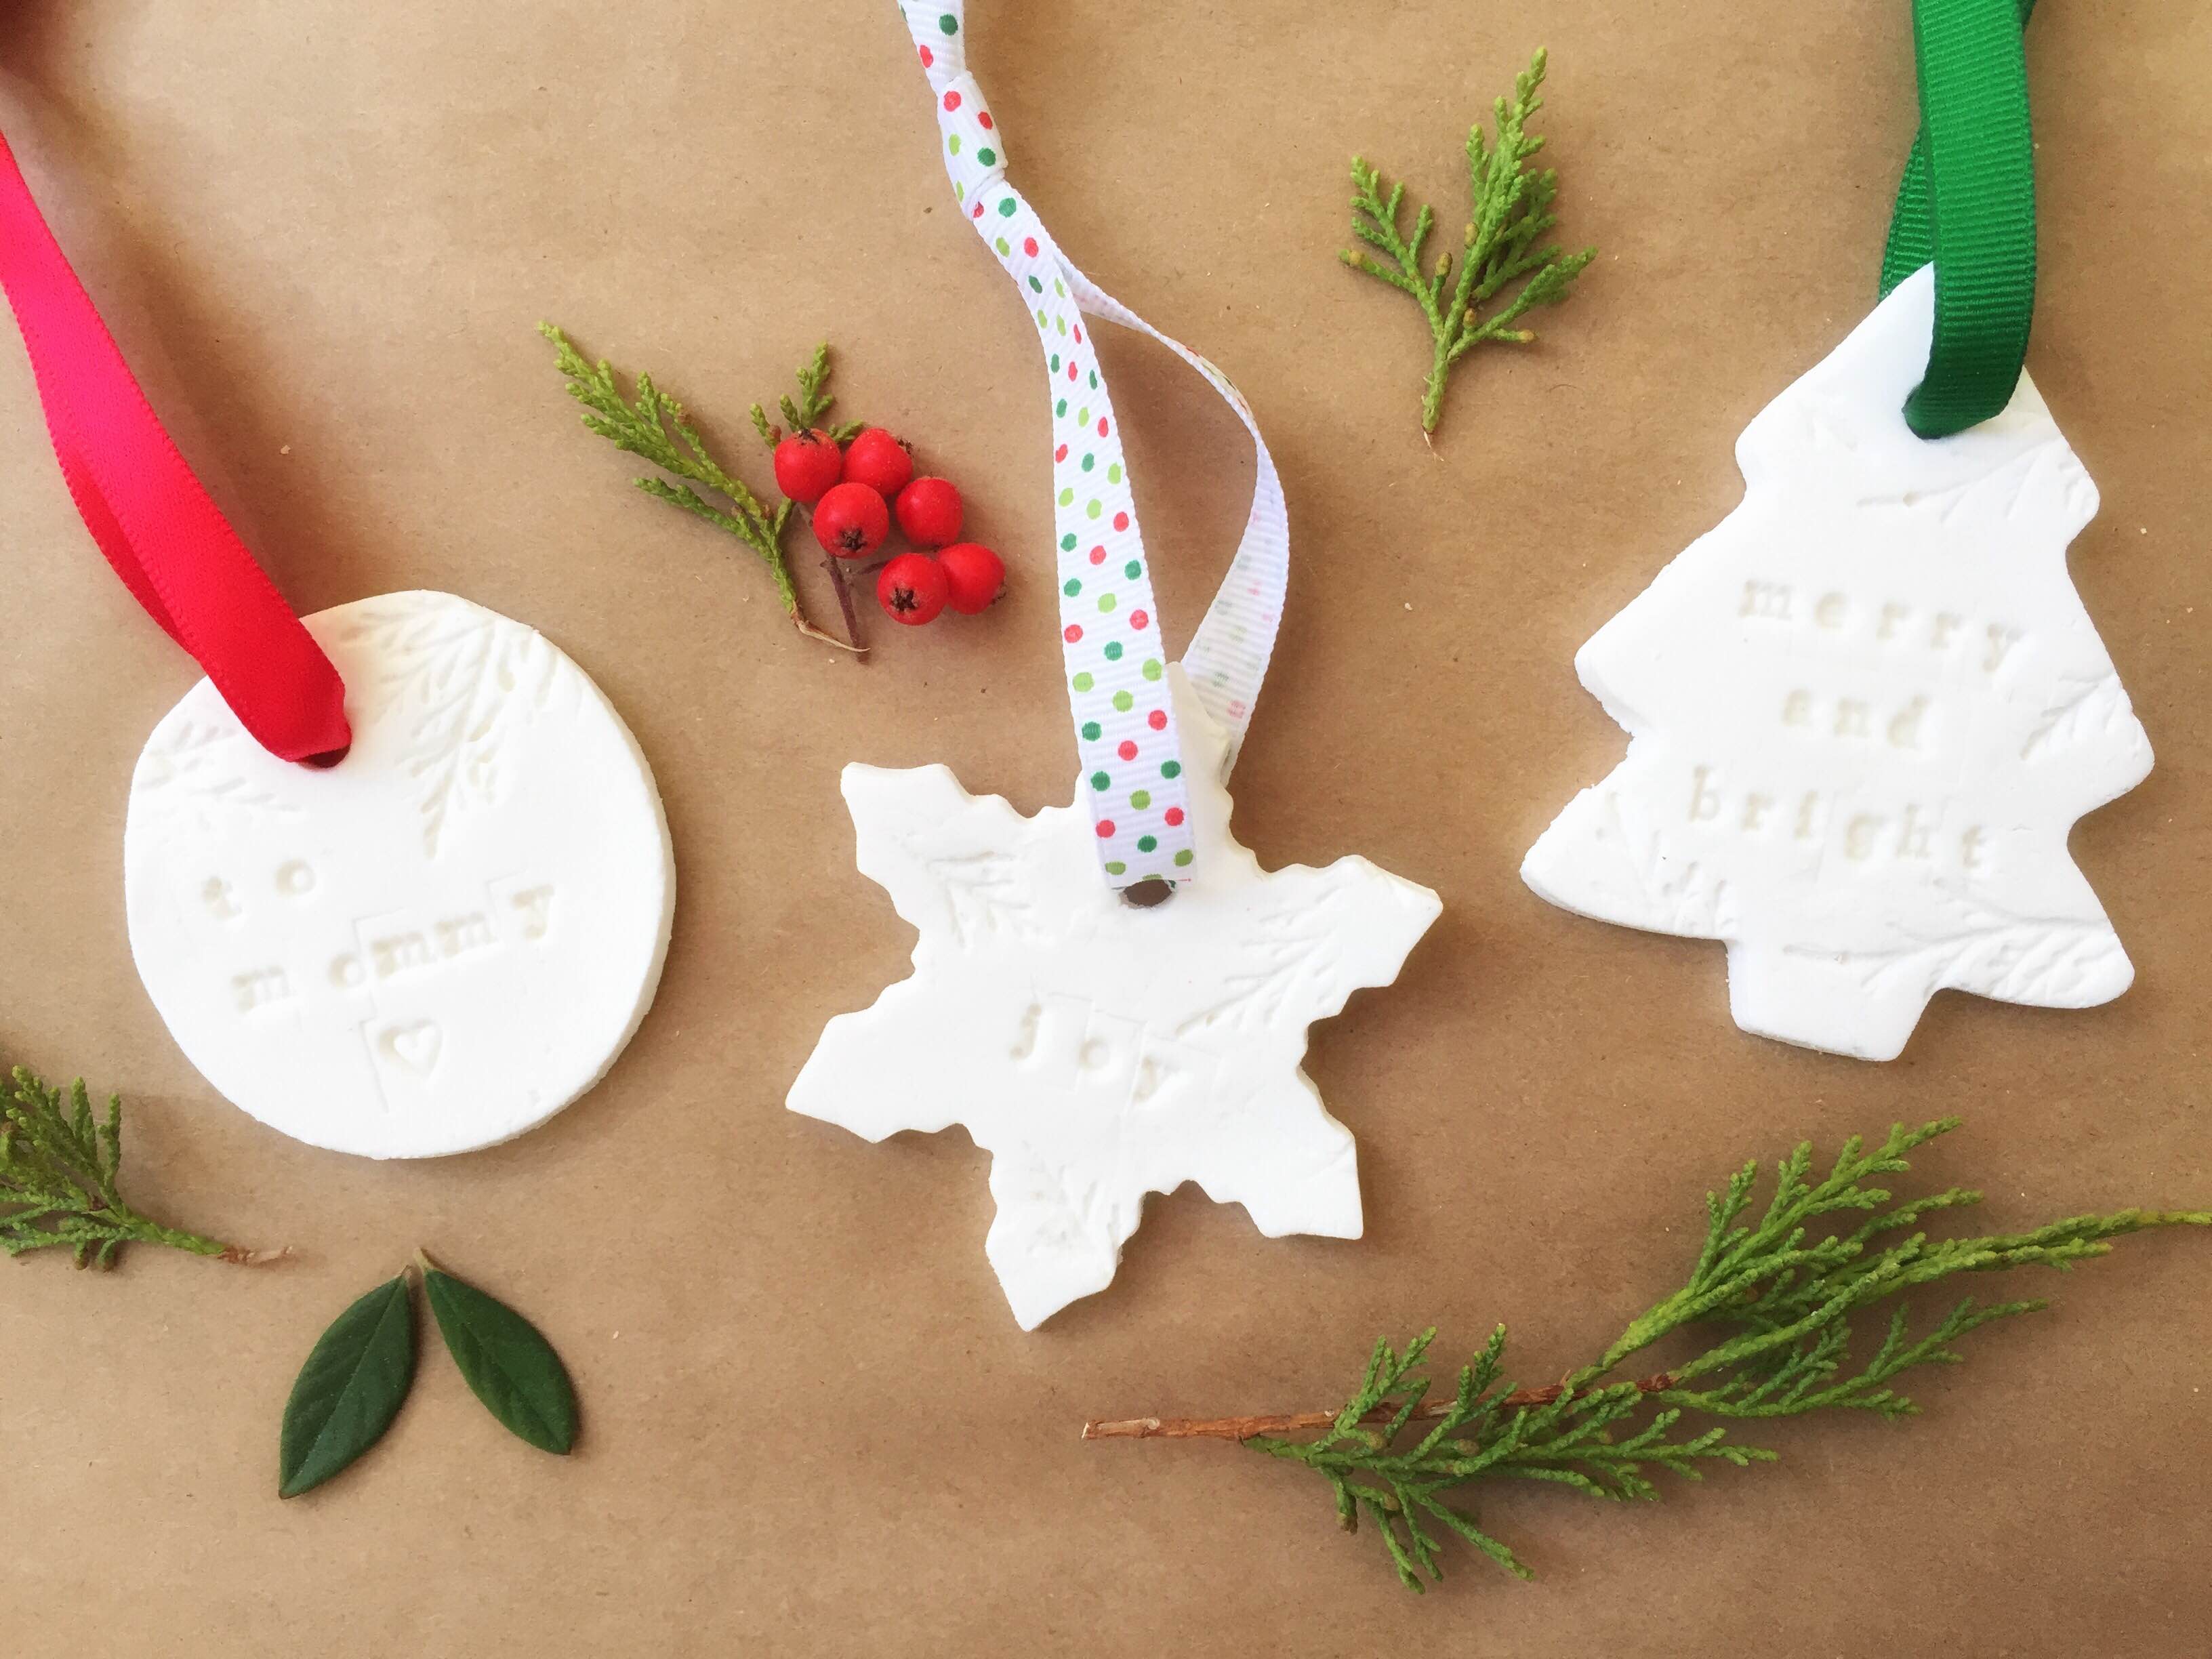
We have a set of rubber letter stamps, which were perfect for spelling out simple words, like "peace", "joy" and "love" or add the name of the gift recipient. Our kids got a little lesson on letter recognition and spelling in the midst of the fun. Press leaves and tree trimmings into the dough leaves an imprint. Experimenting with different shapes and found objects to see the different kinds of imprints was a fun exploration!
Leave your dough ornaments to harden overnight.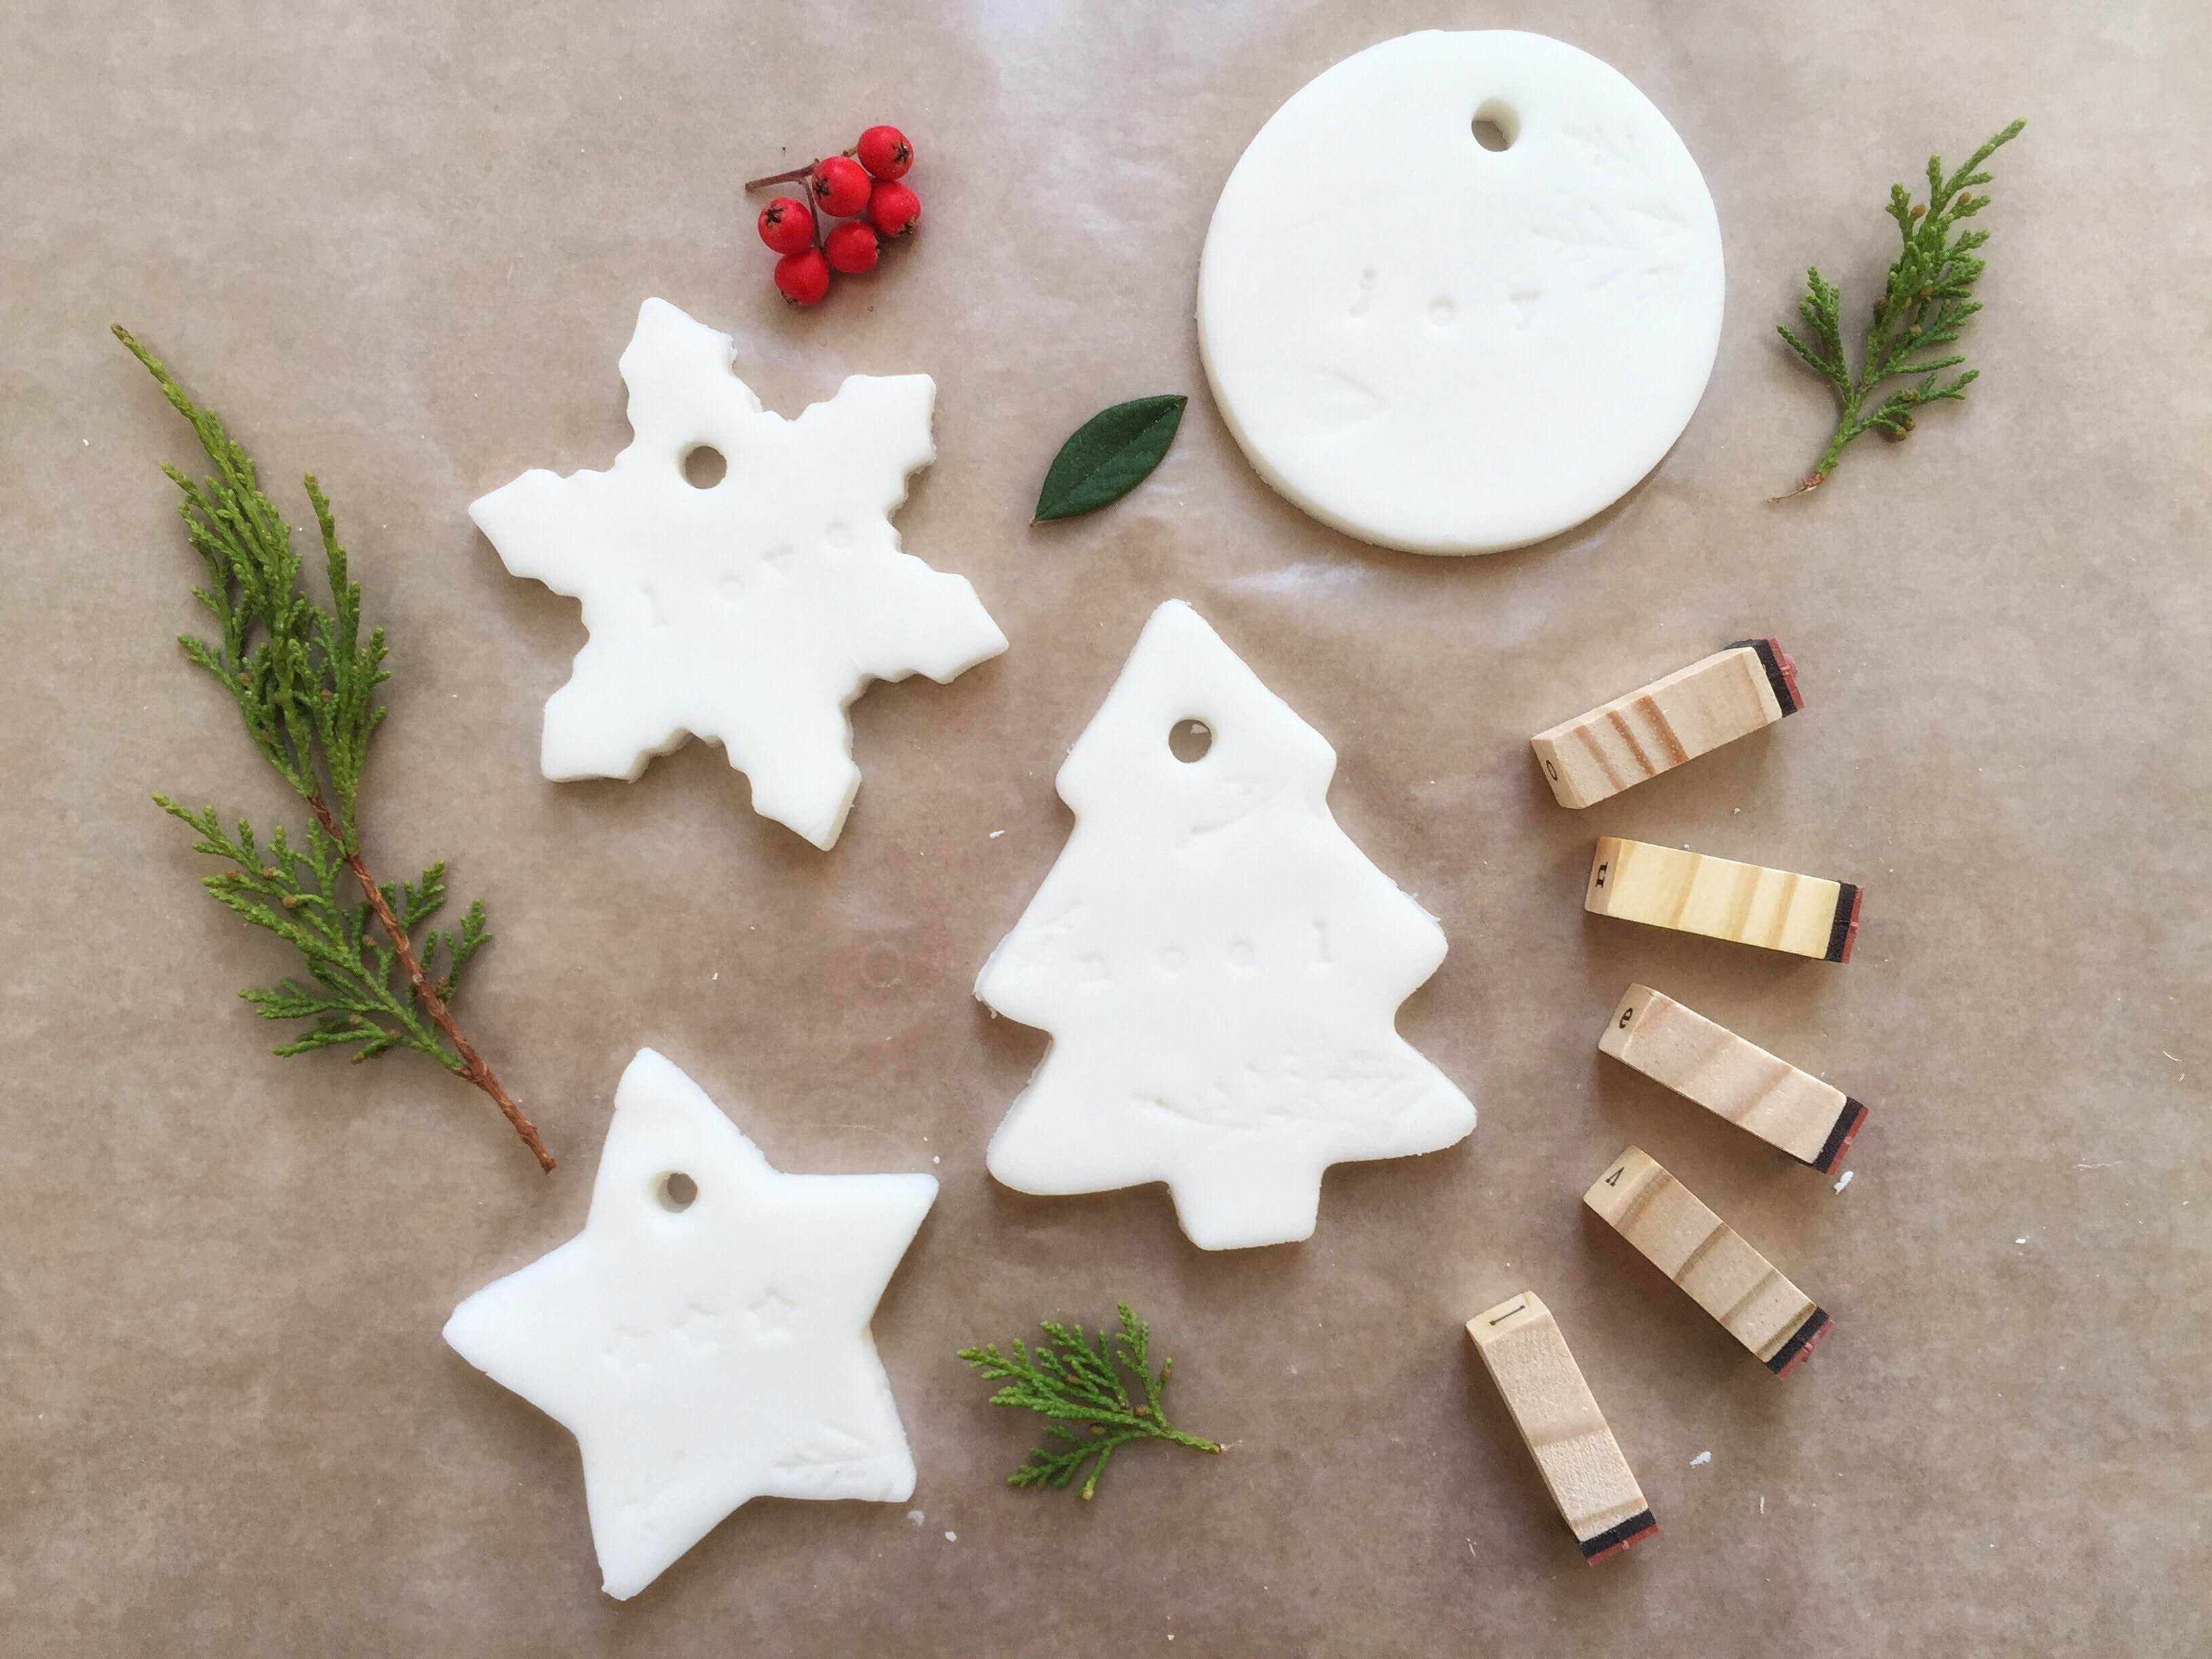
Done!
Cut a piece of ribbon and loop it through the small hole. Use your new gift tags to add a personalized touch to your holiday gifts!
They also make lovely ornaments. We also ended up taking a few and hanging them on our tree.


