Step-by-step tutorial
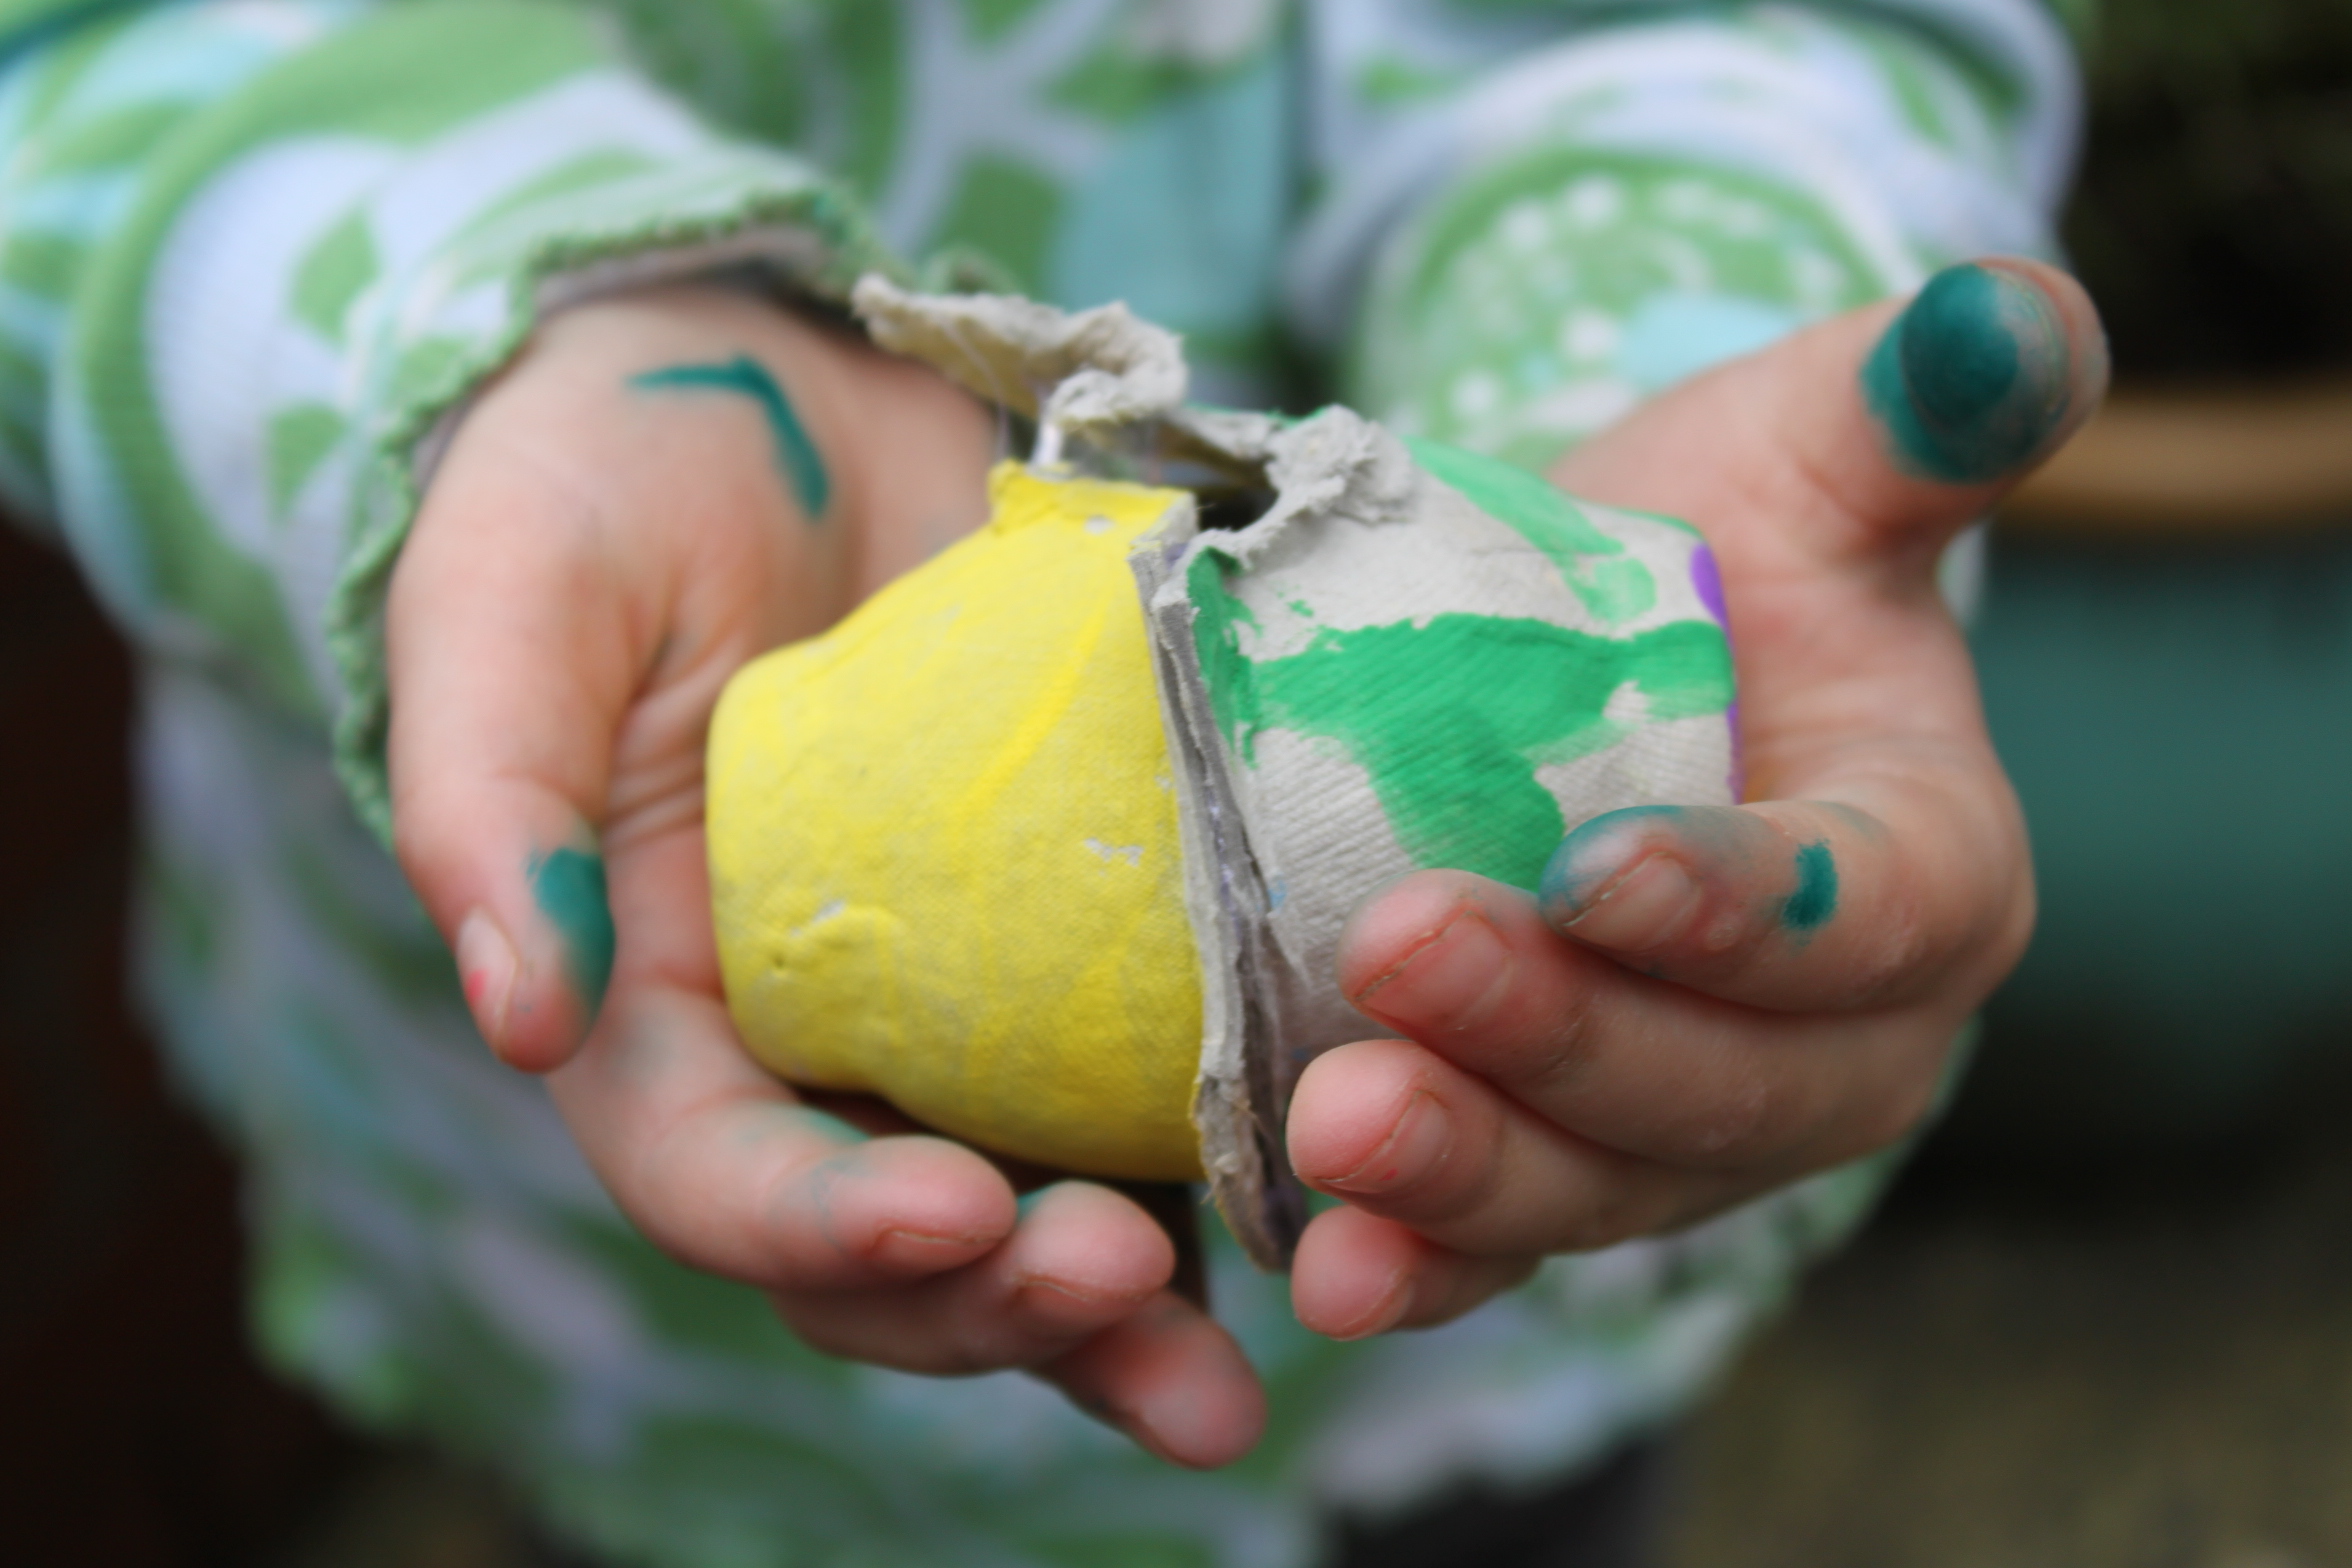
Step 1
The kids and I started tearing out the egg domes one by one. My two-year-old was just tearing, but my five-year-old was pretty good at carefully removing the egg shapes that we needed.

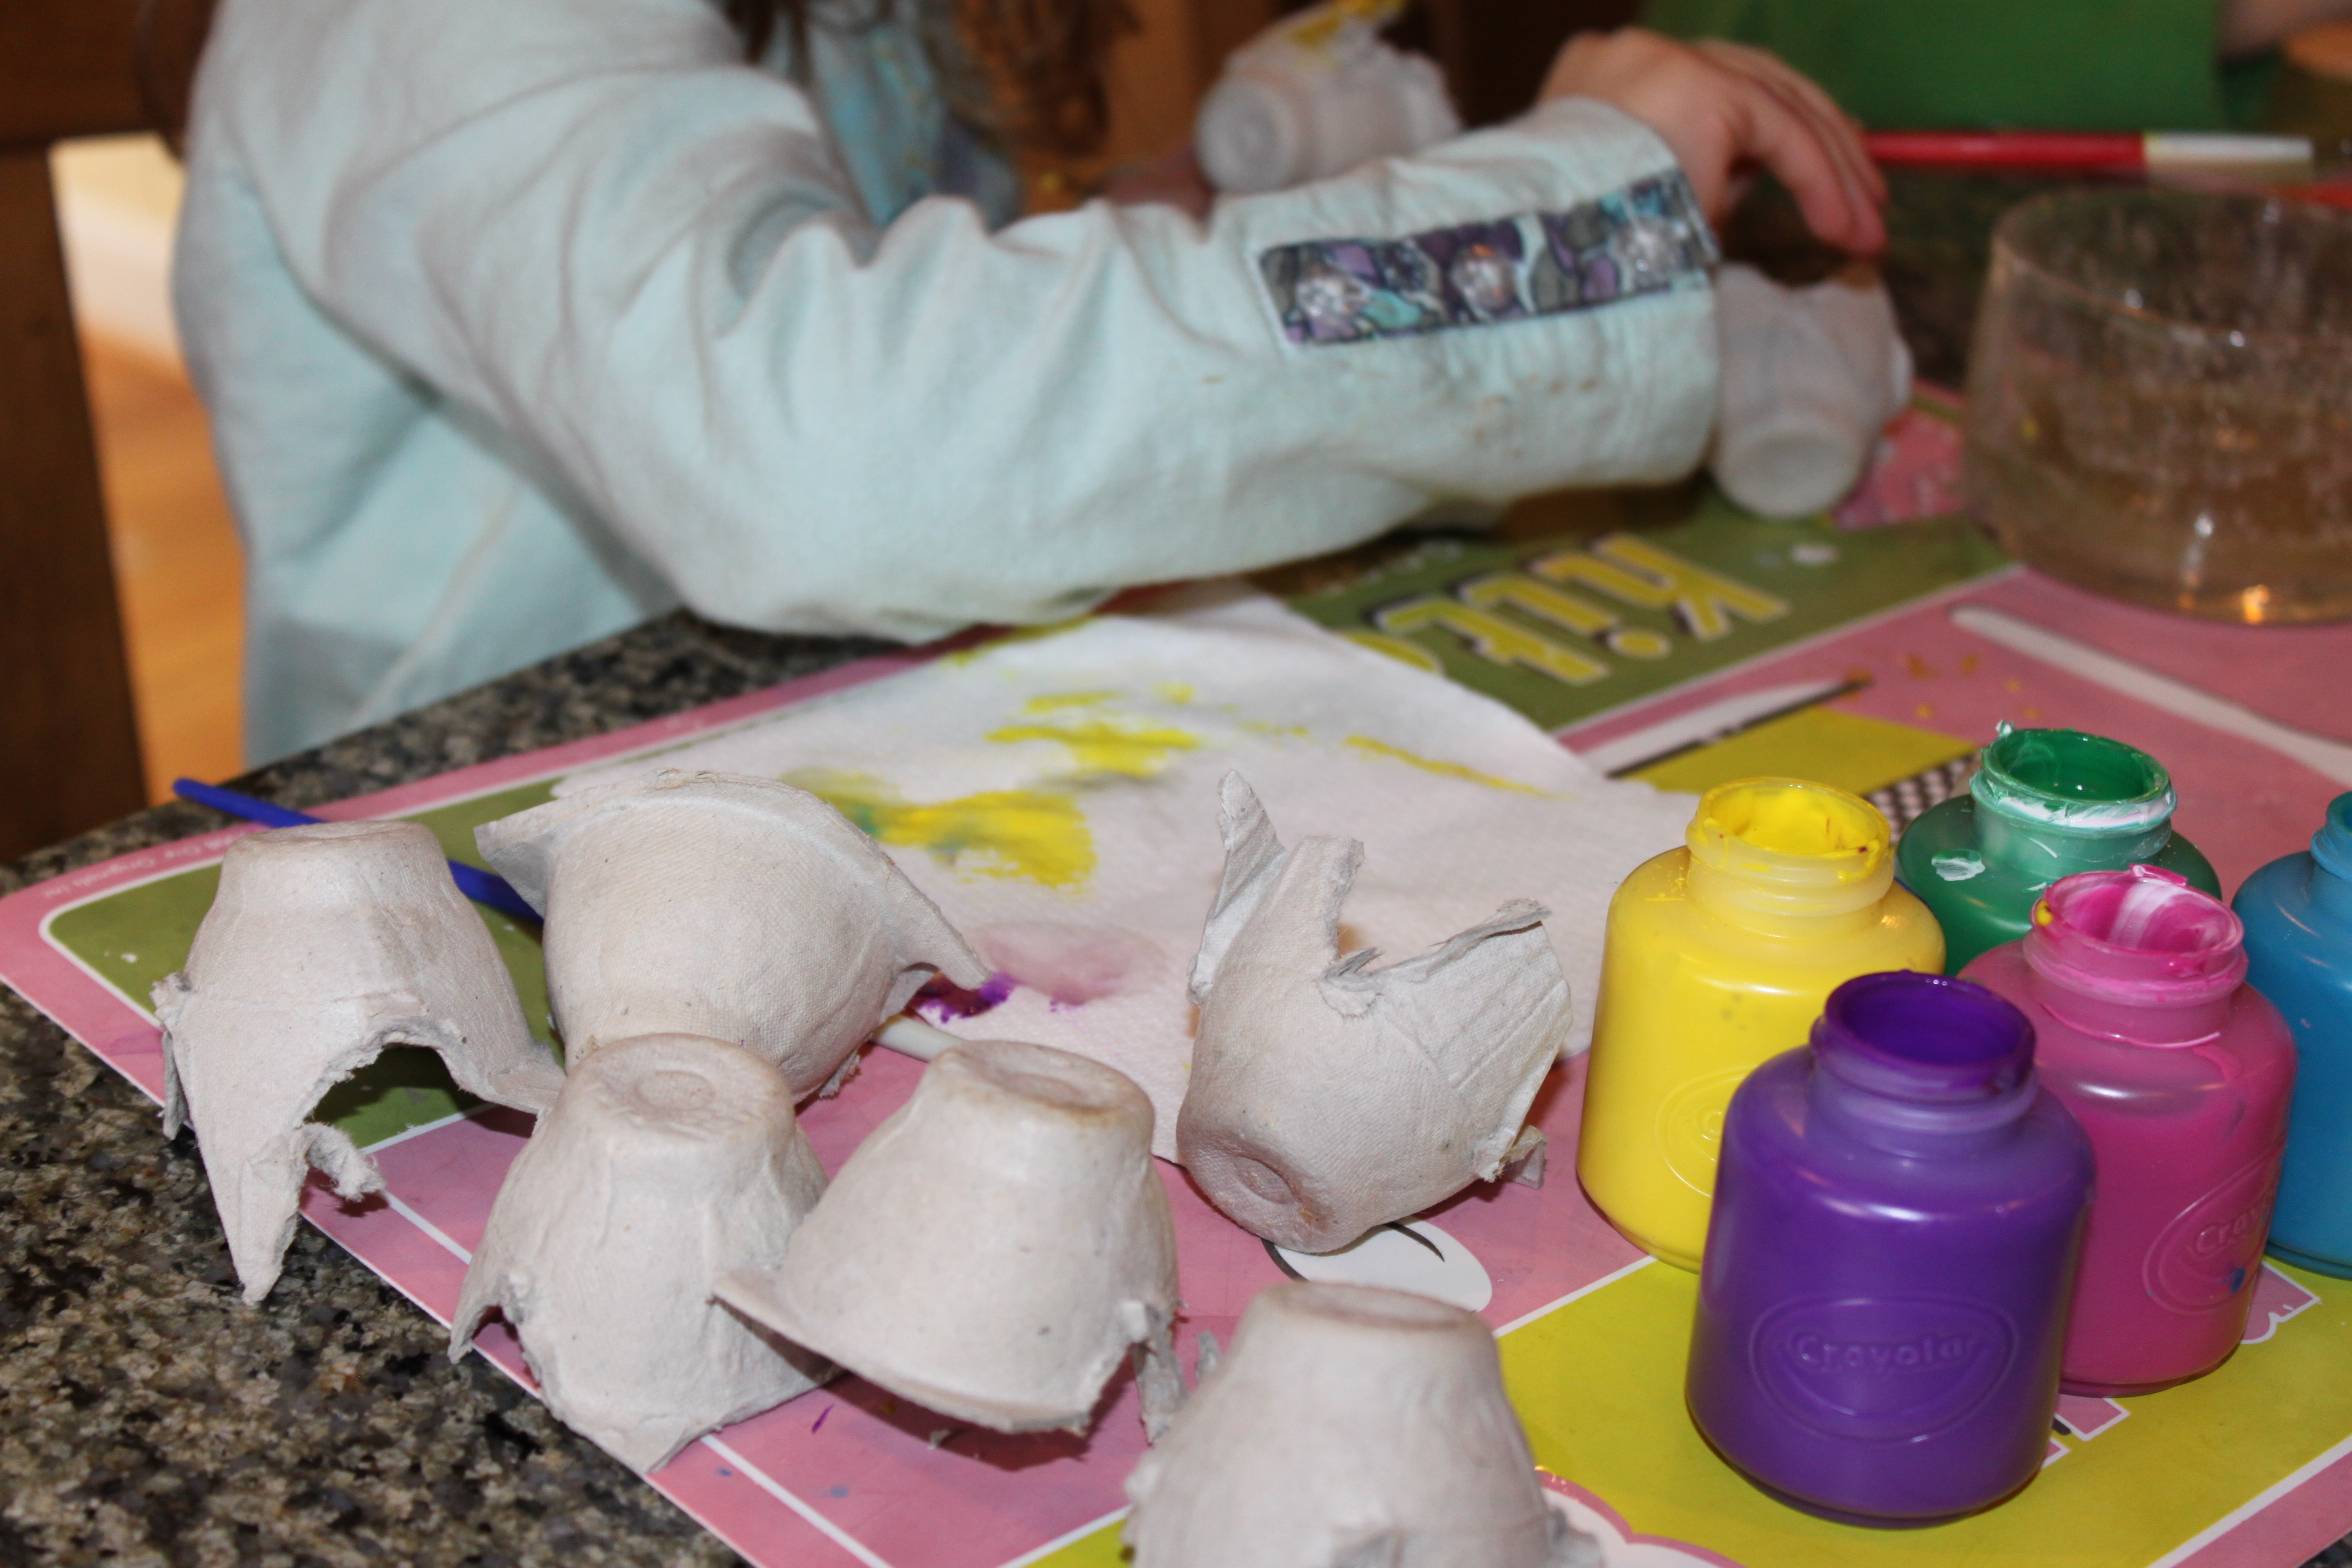
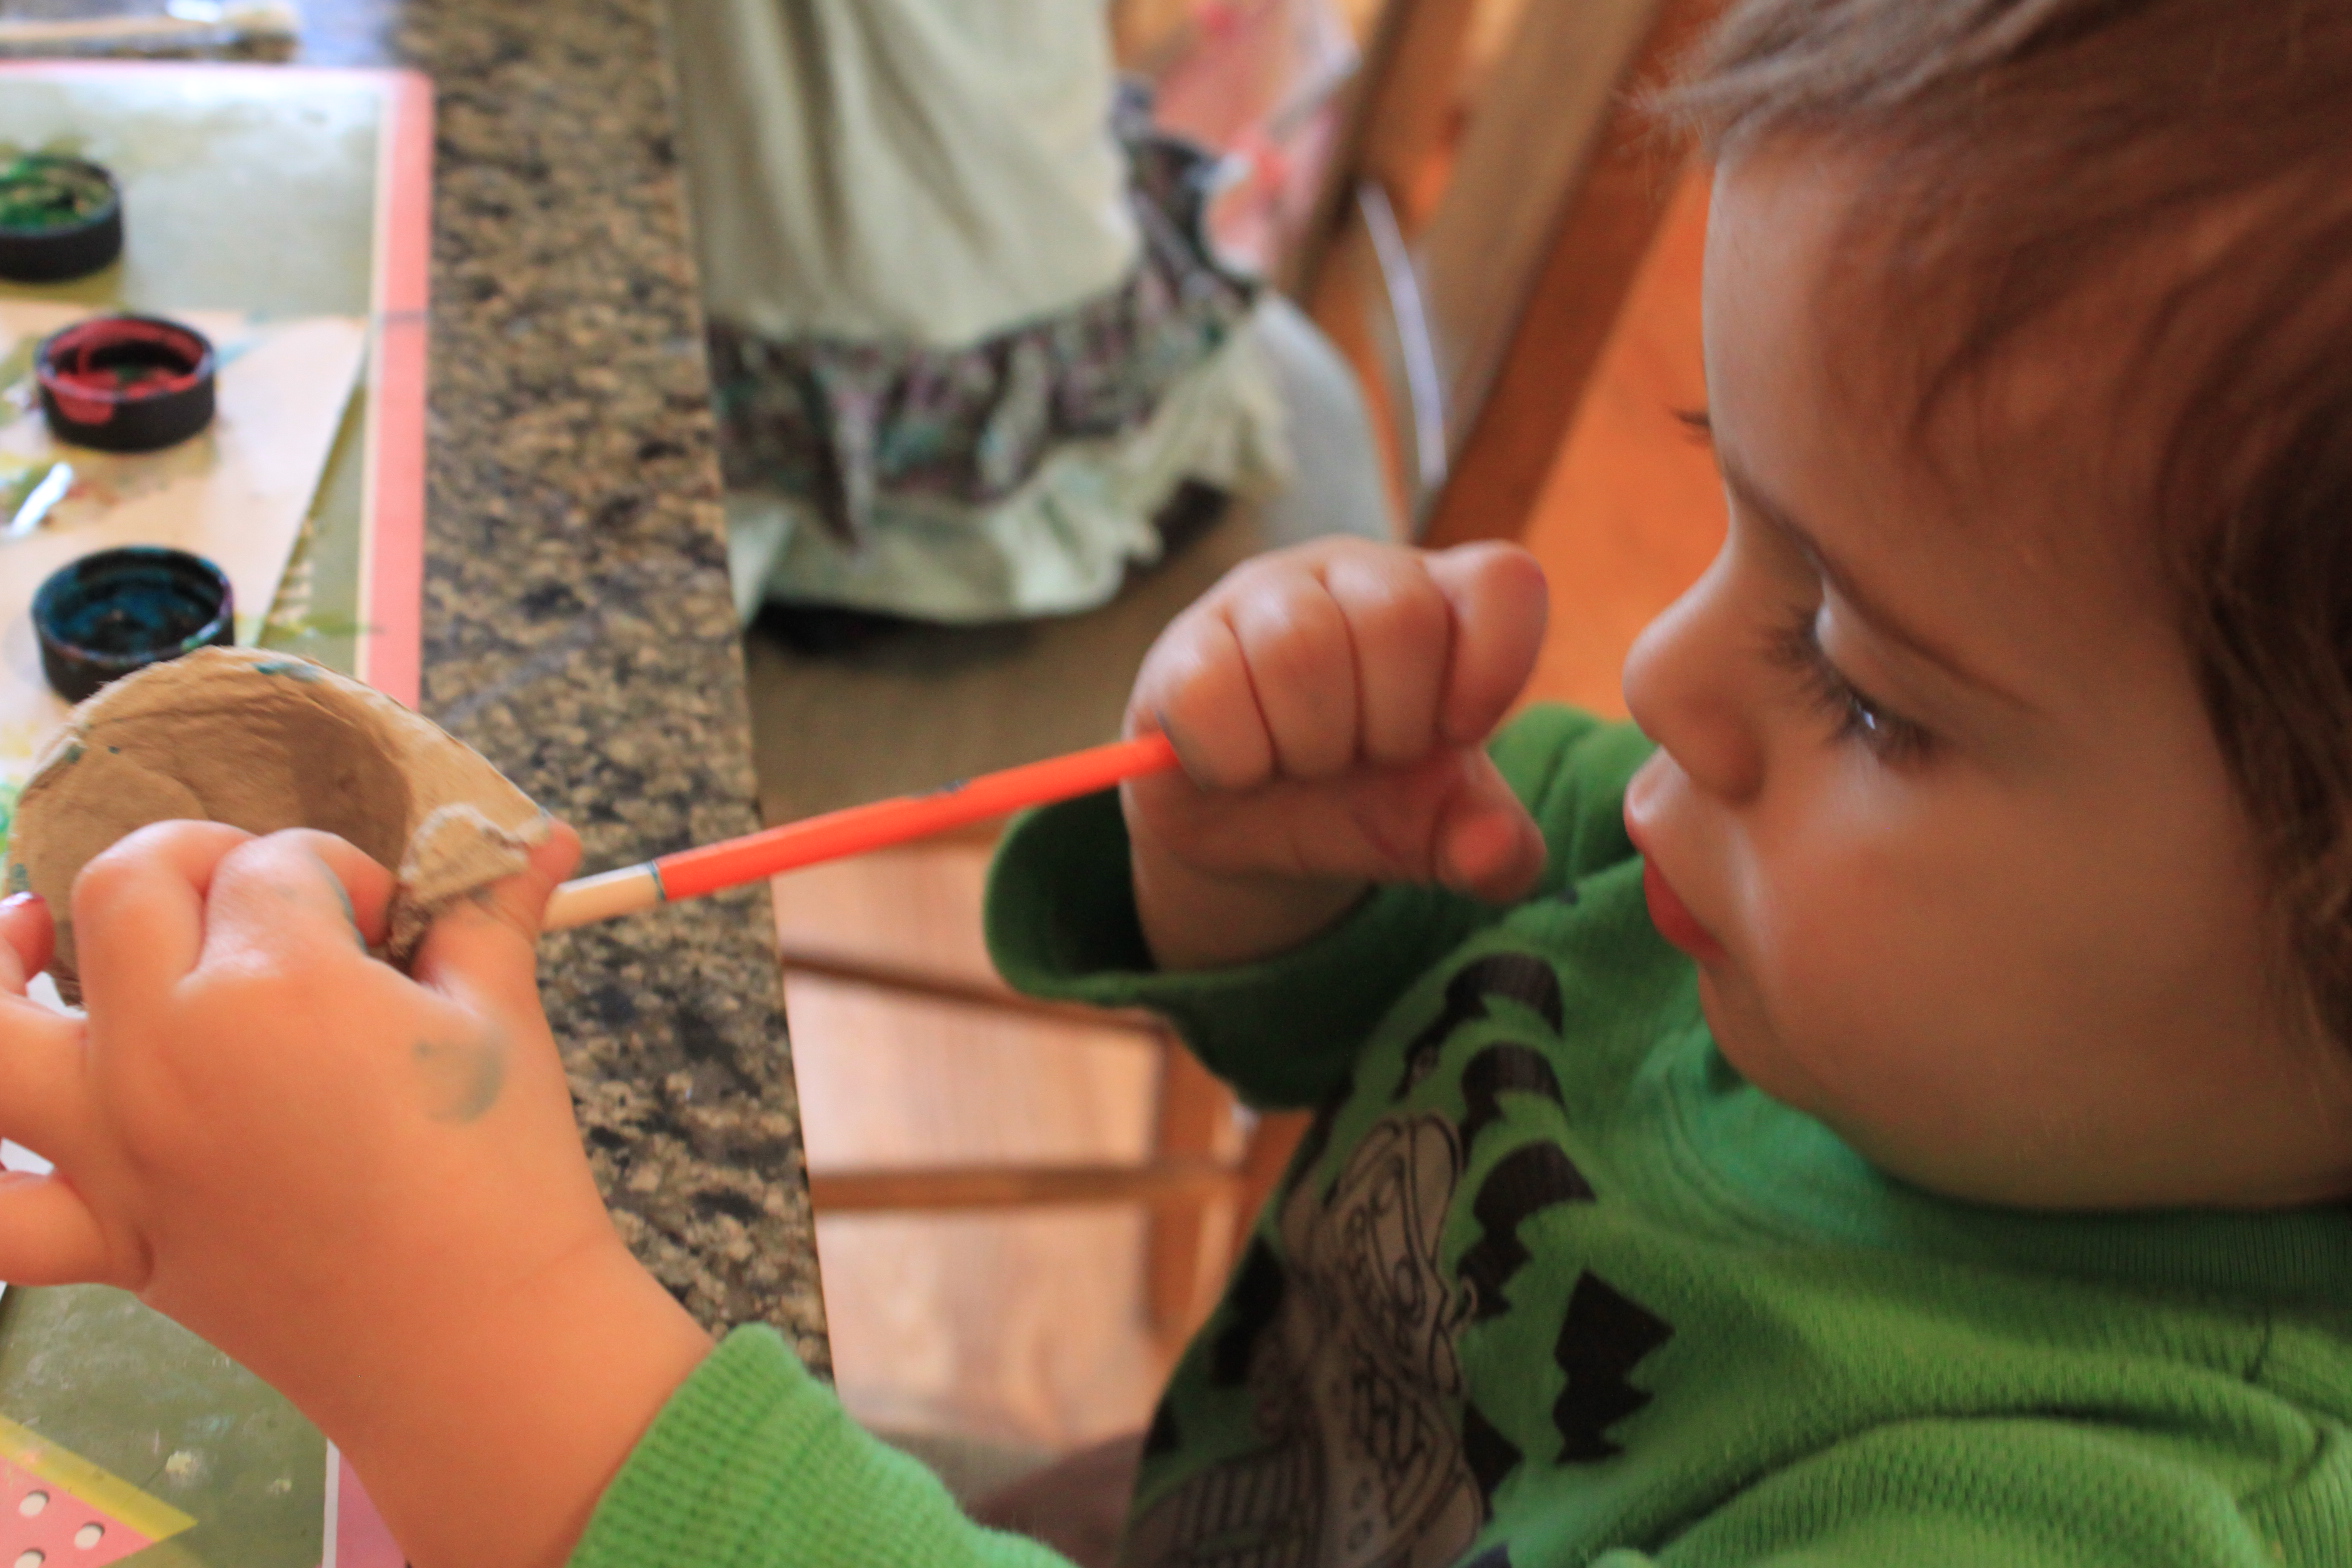
Step 2
They got busy painting the paper eggs in bright colors. You can also use markers or glitter glue to decorate these fun eggs.
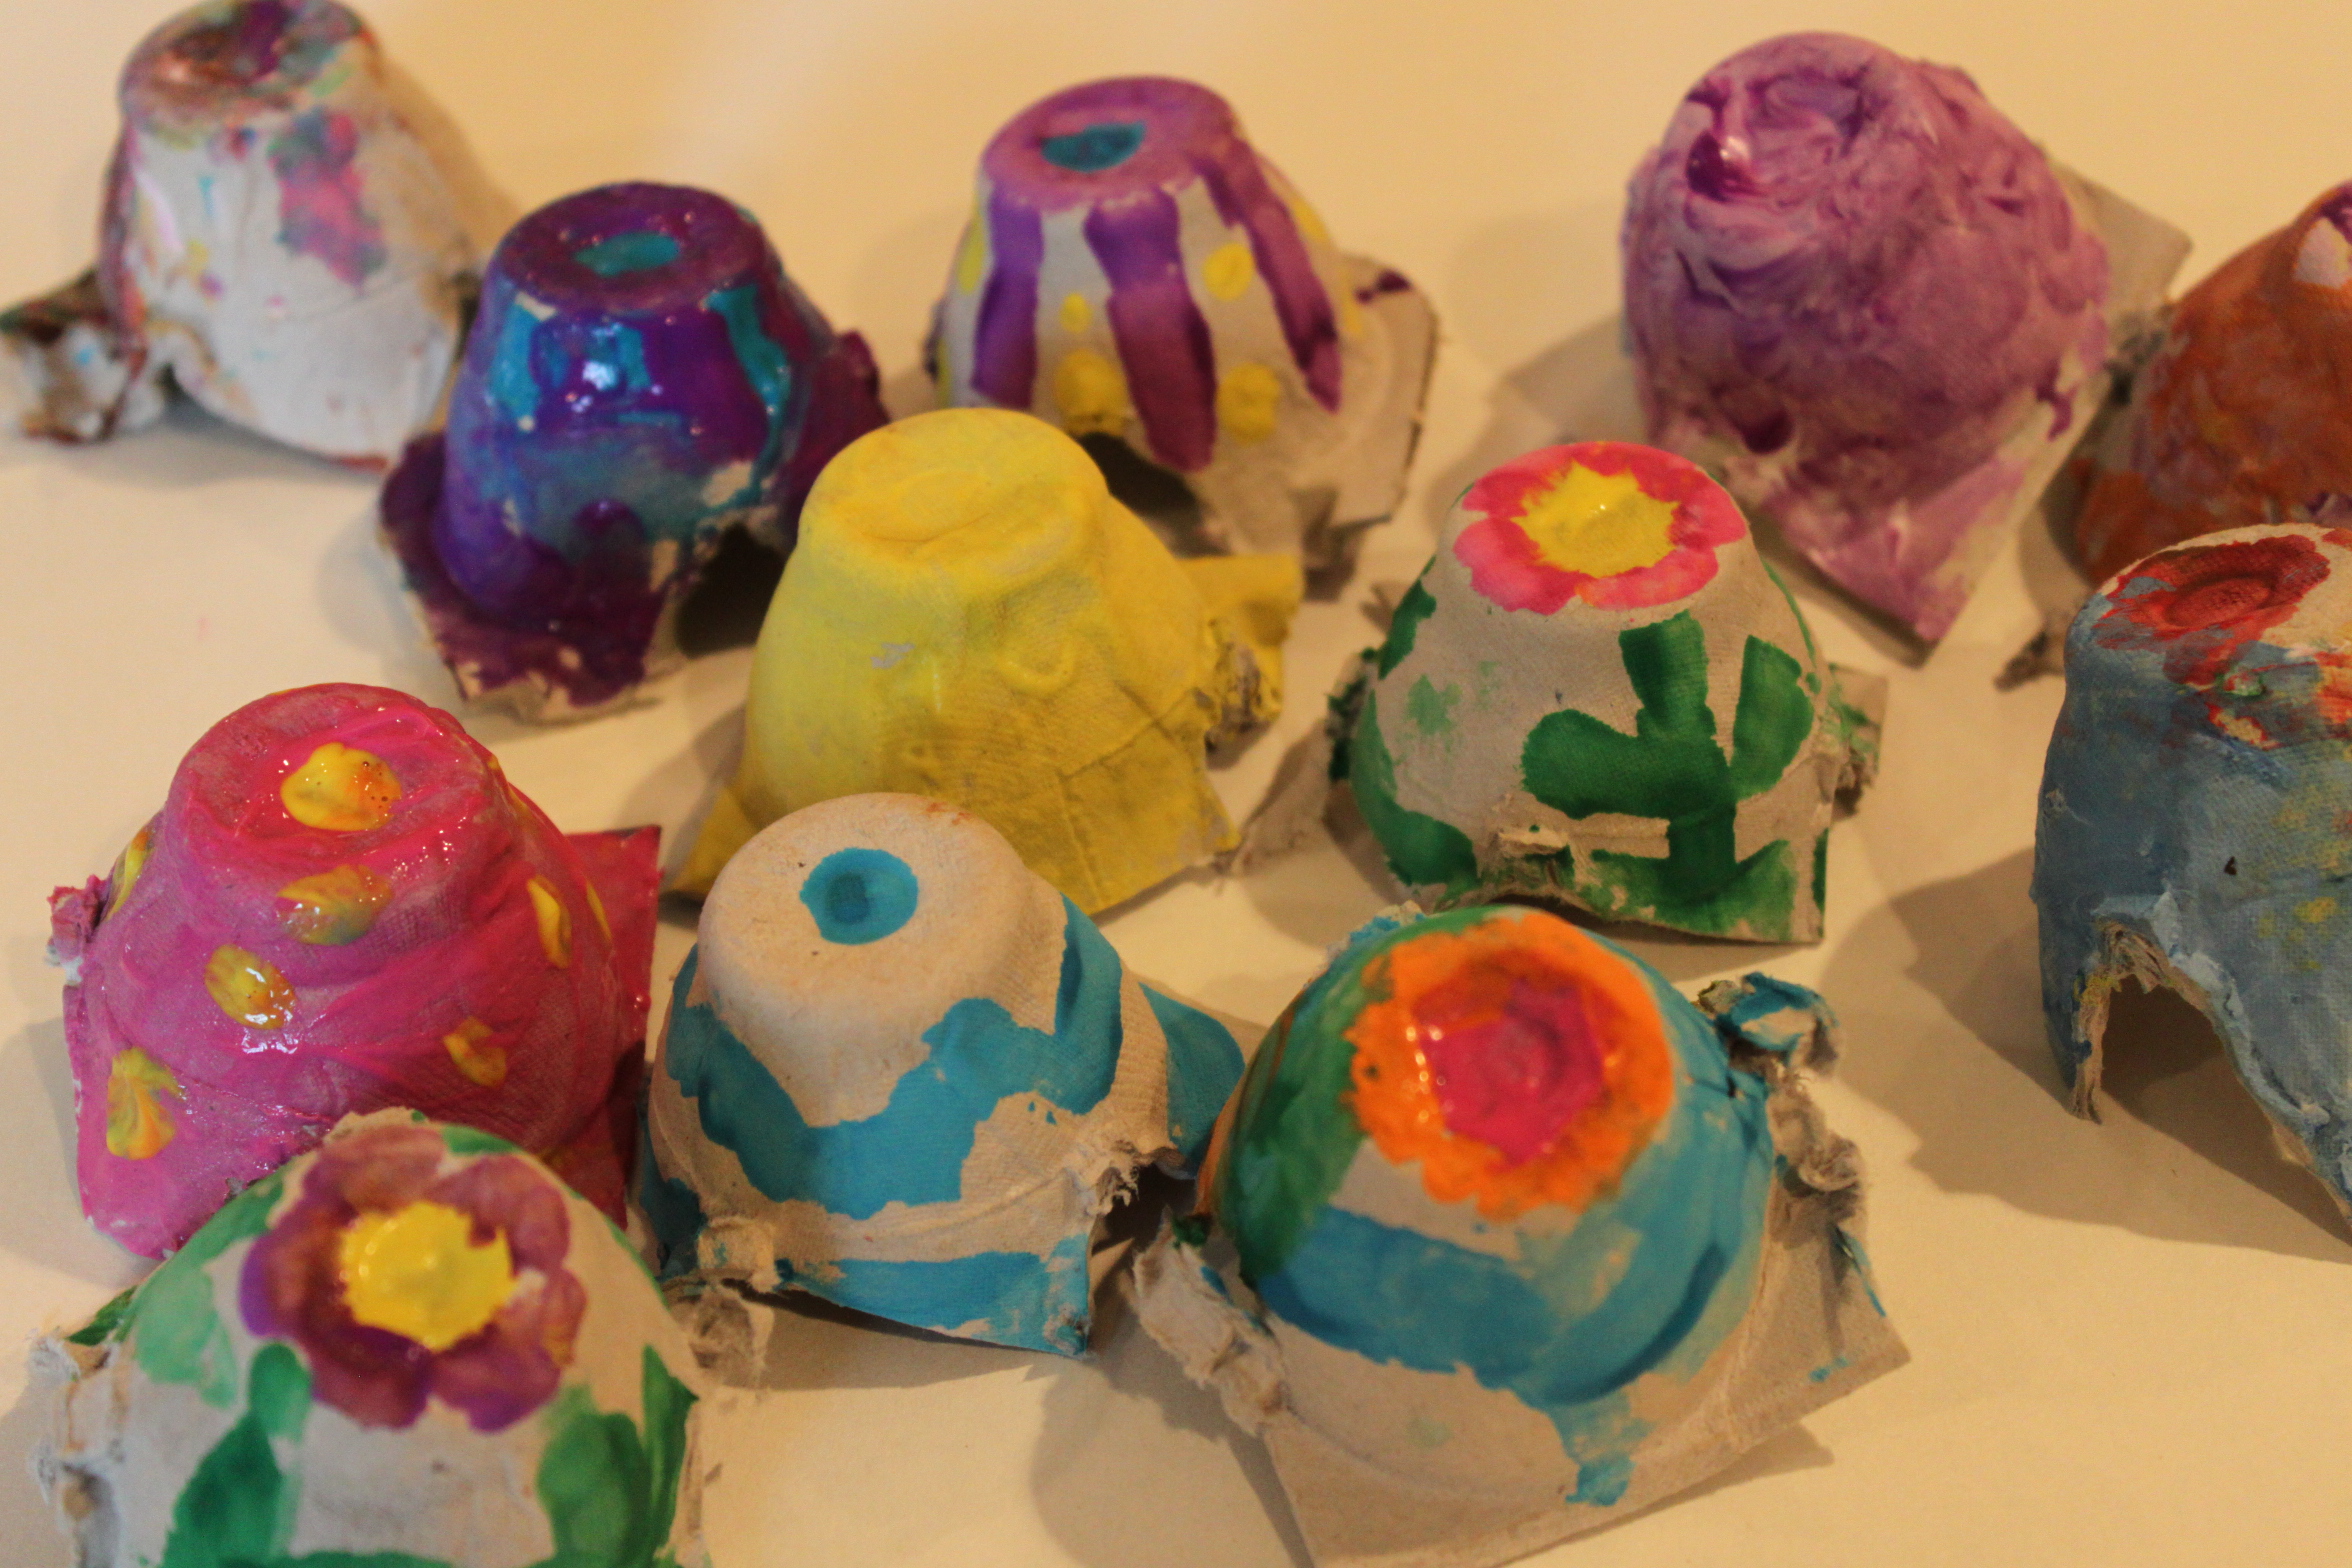
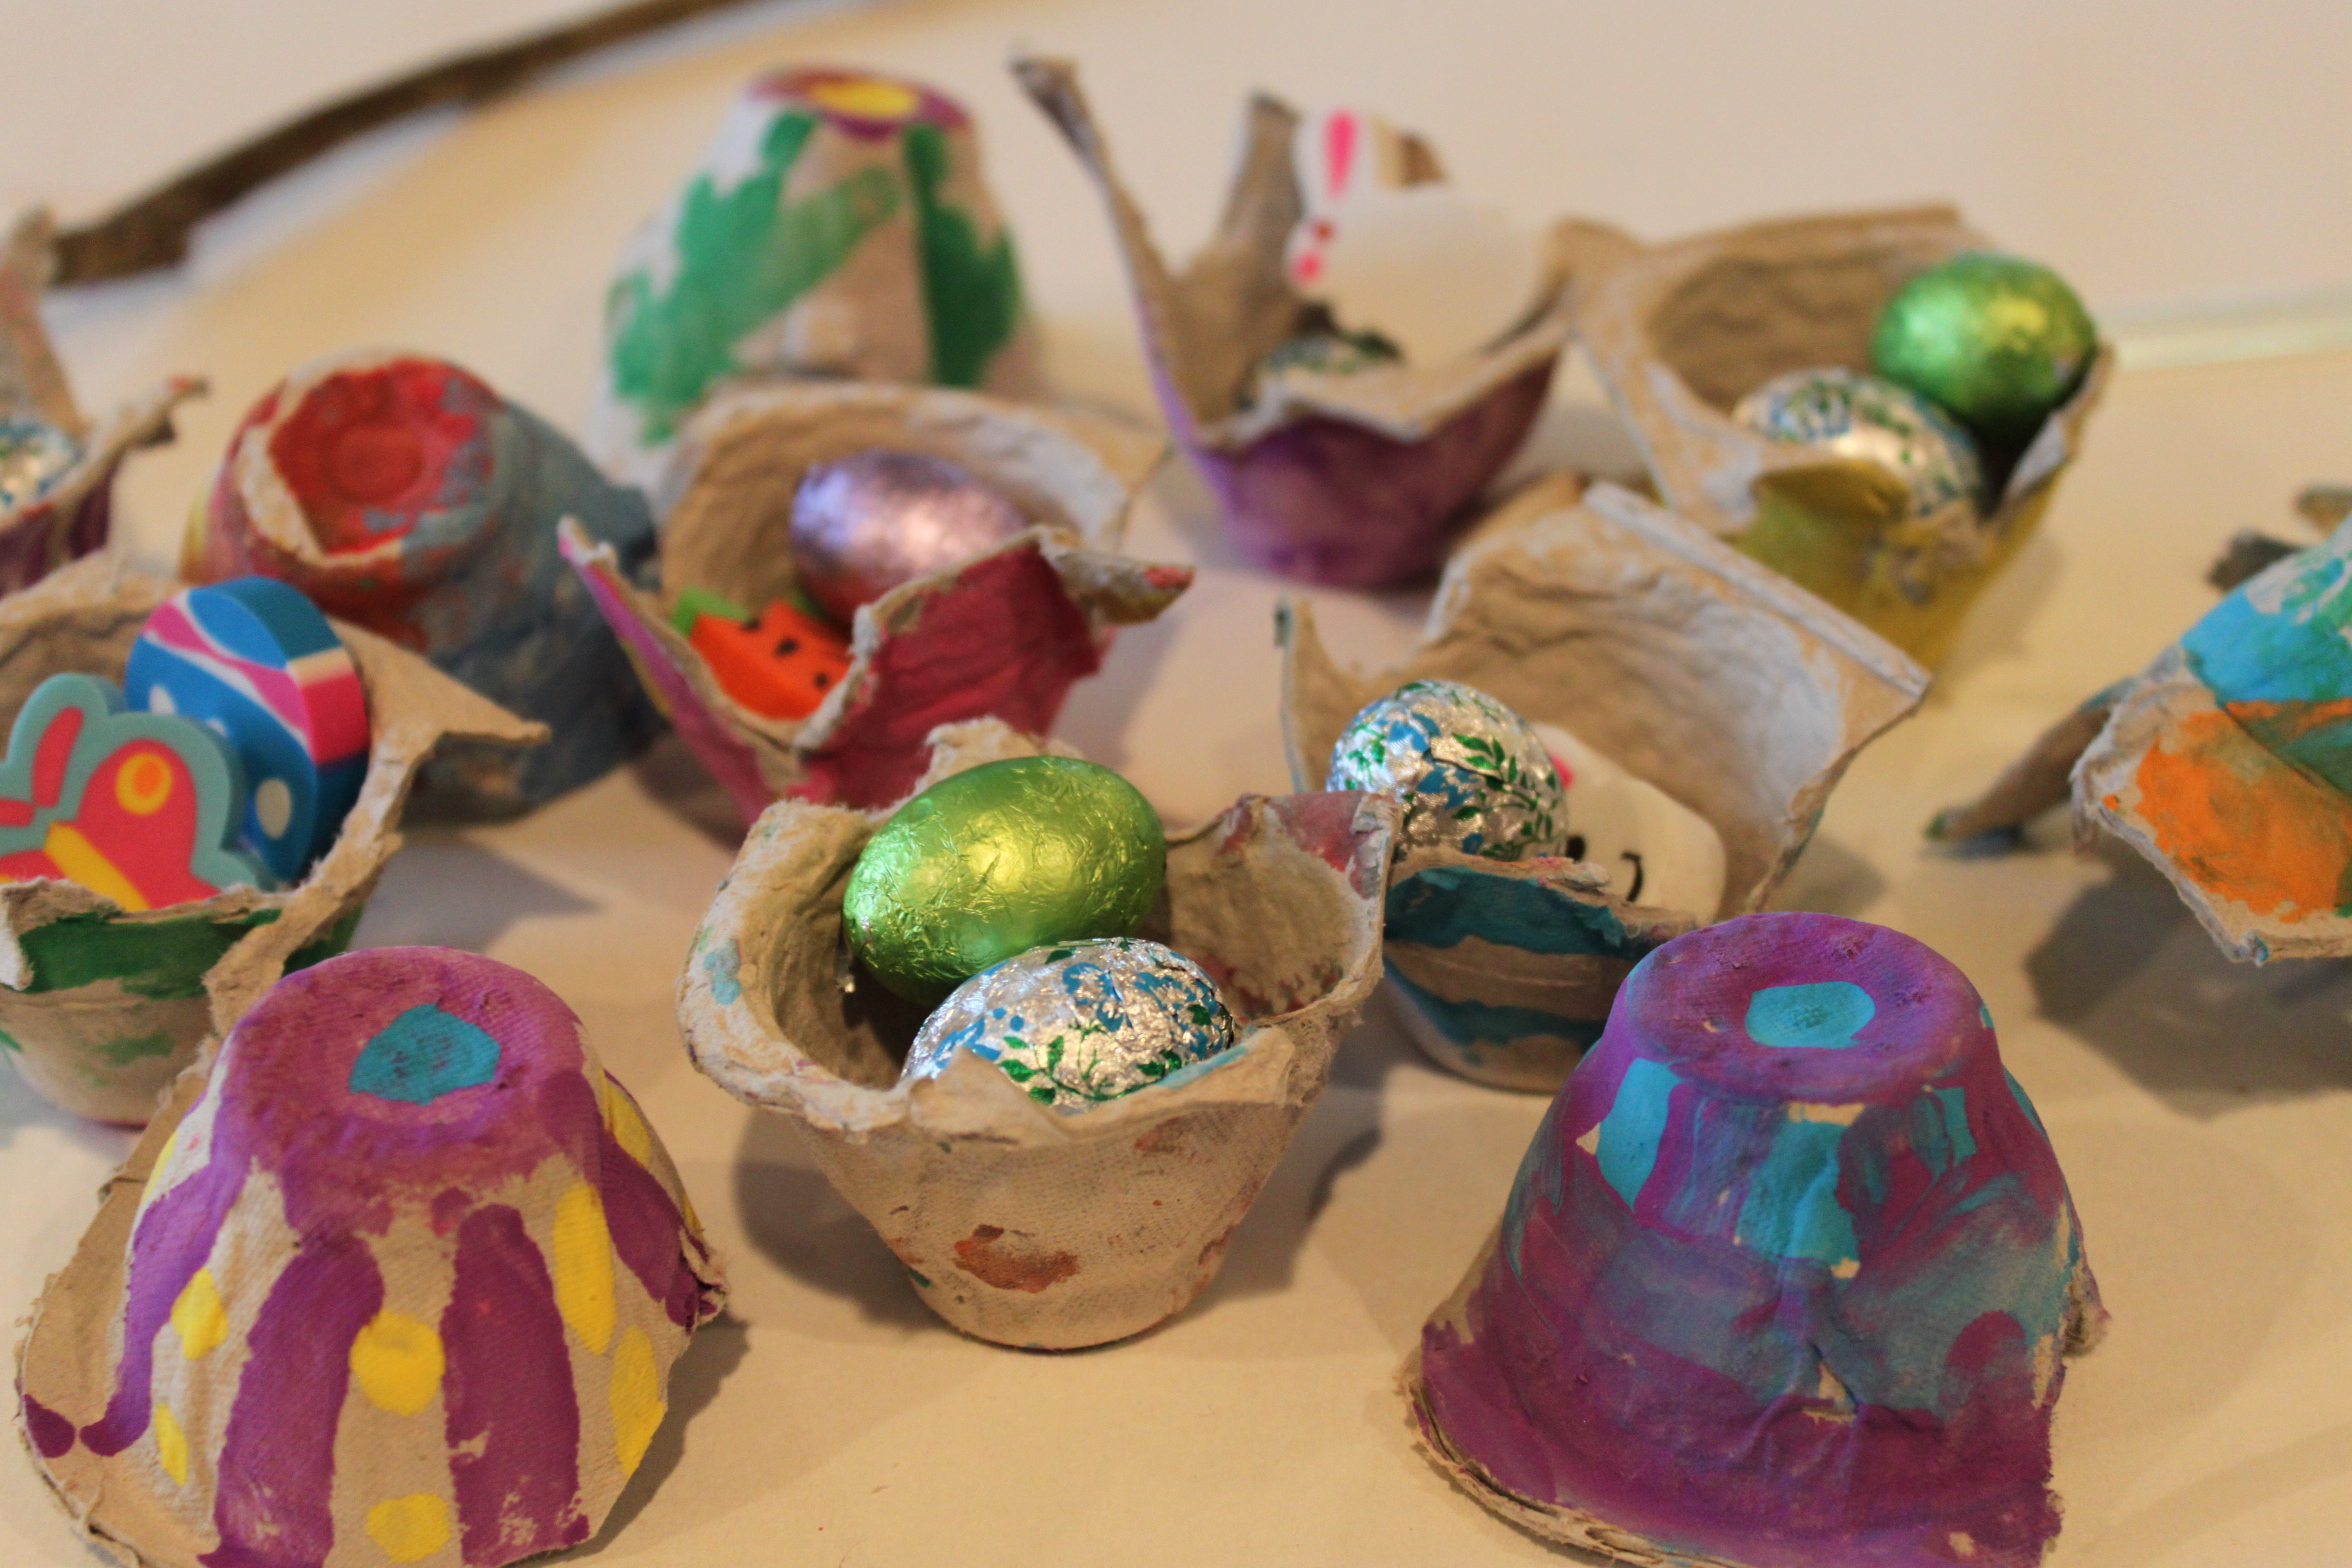
Step 3
The eggs came out so fun and festive. I was liking our new plastic egg replacement more and more... We set them out to dry and the kids headed up to bed.
Step 4
While my little ones slept, I filled our new eggs with treats and sealed two cups together with a little hot glue. (If you want the kids to be a part of this step tacky glue will work just fine. I was just impatient!)
Final result!
On Easter morning, our filled eggs worked perfectly for the egg hunt. The kids were so excited when they realized that their were treats inside the eggs!