Step-by-step tutorial
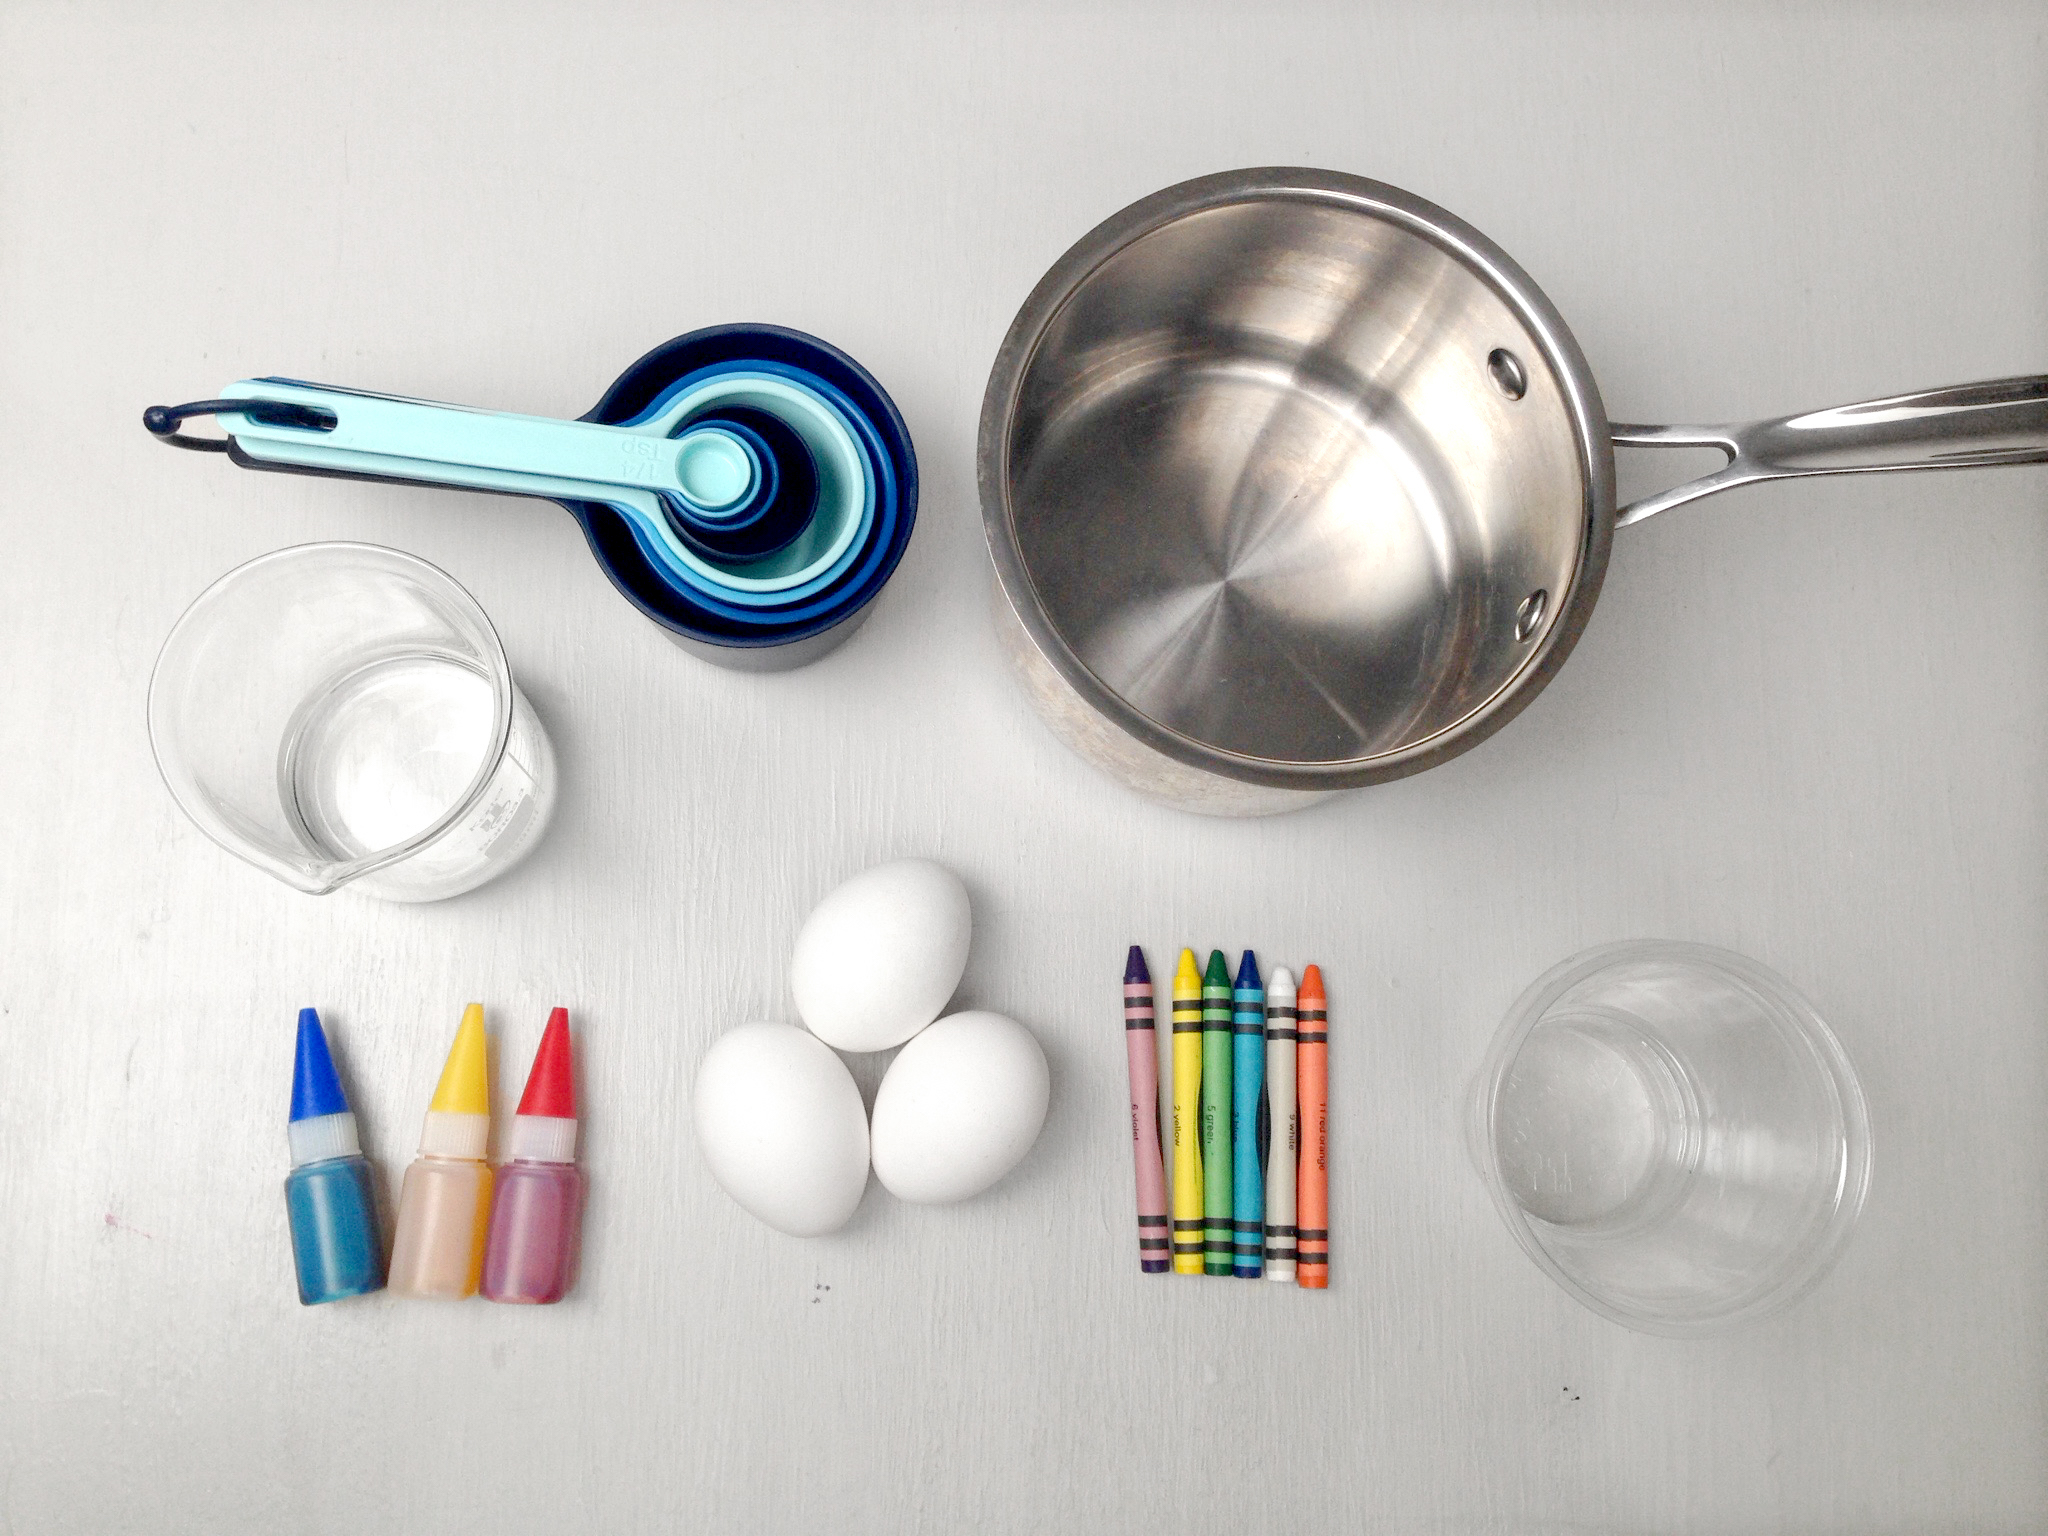
Step 1
Gather your ingredients!

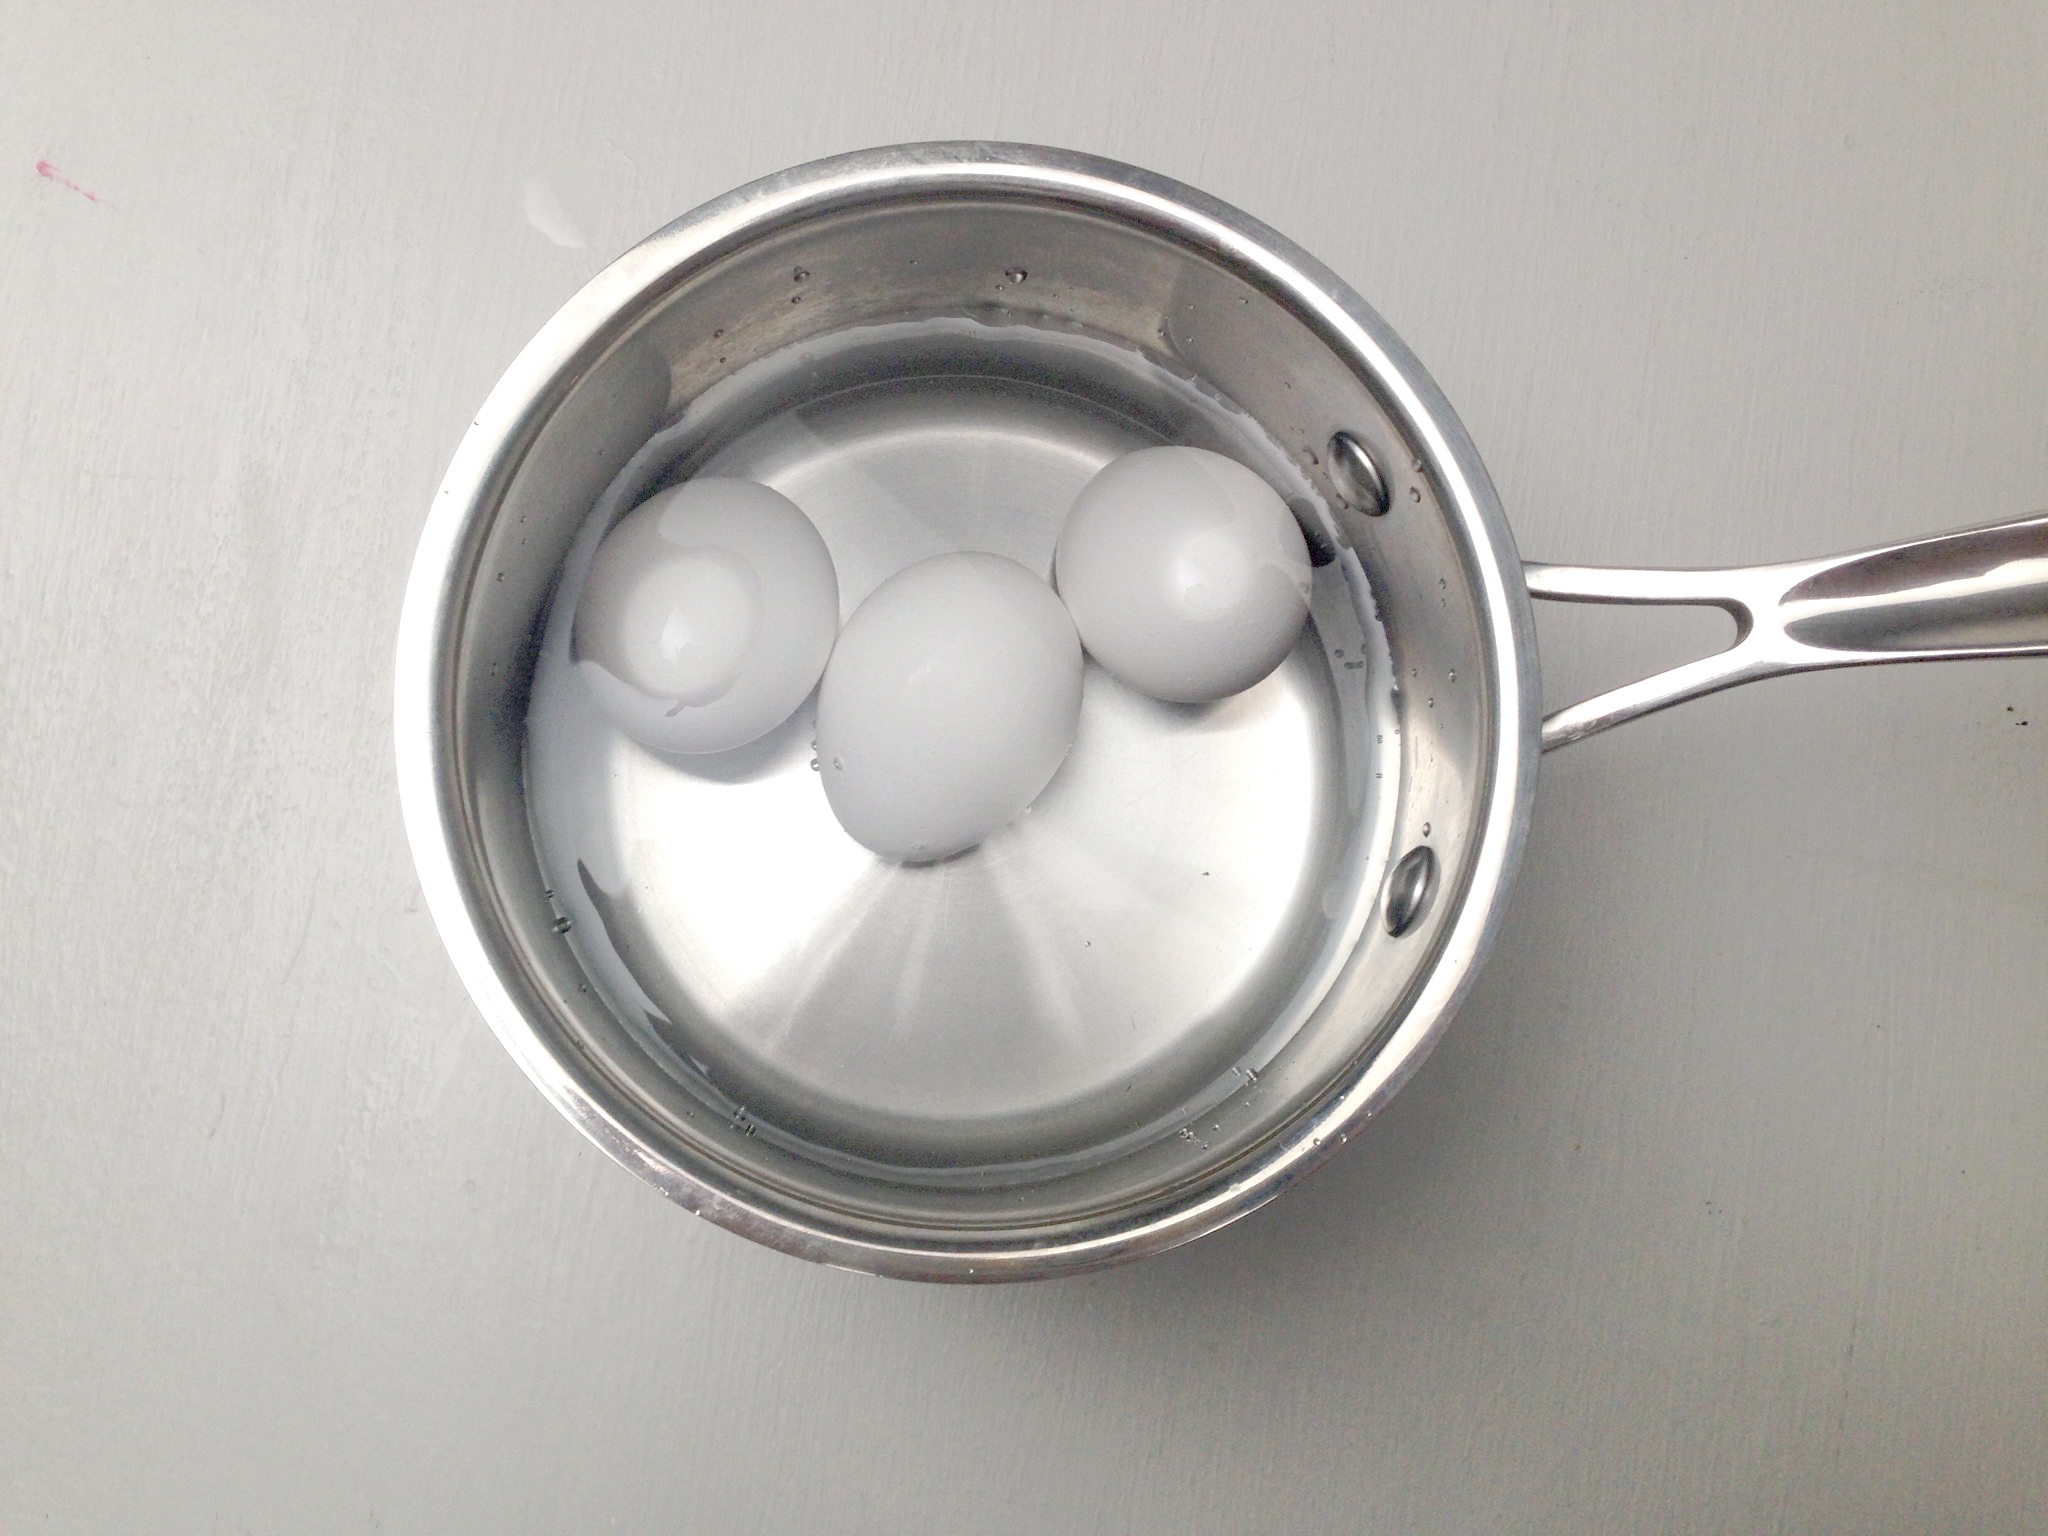
Step 2
Start by boiling some eggs.
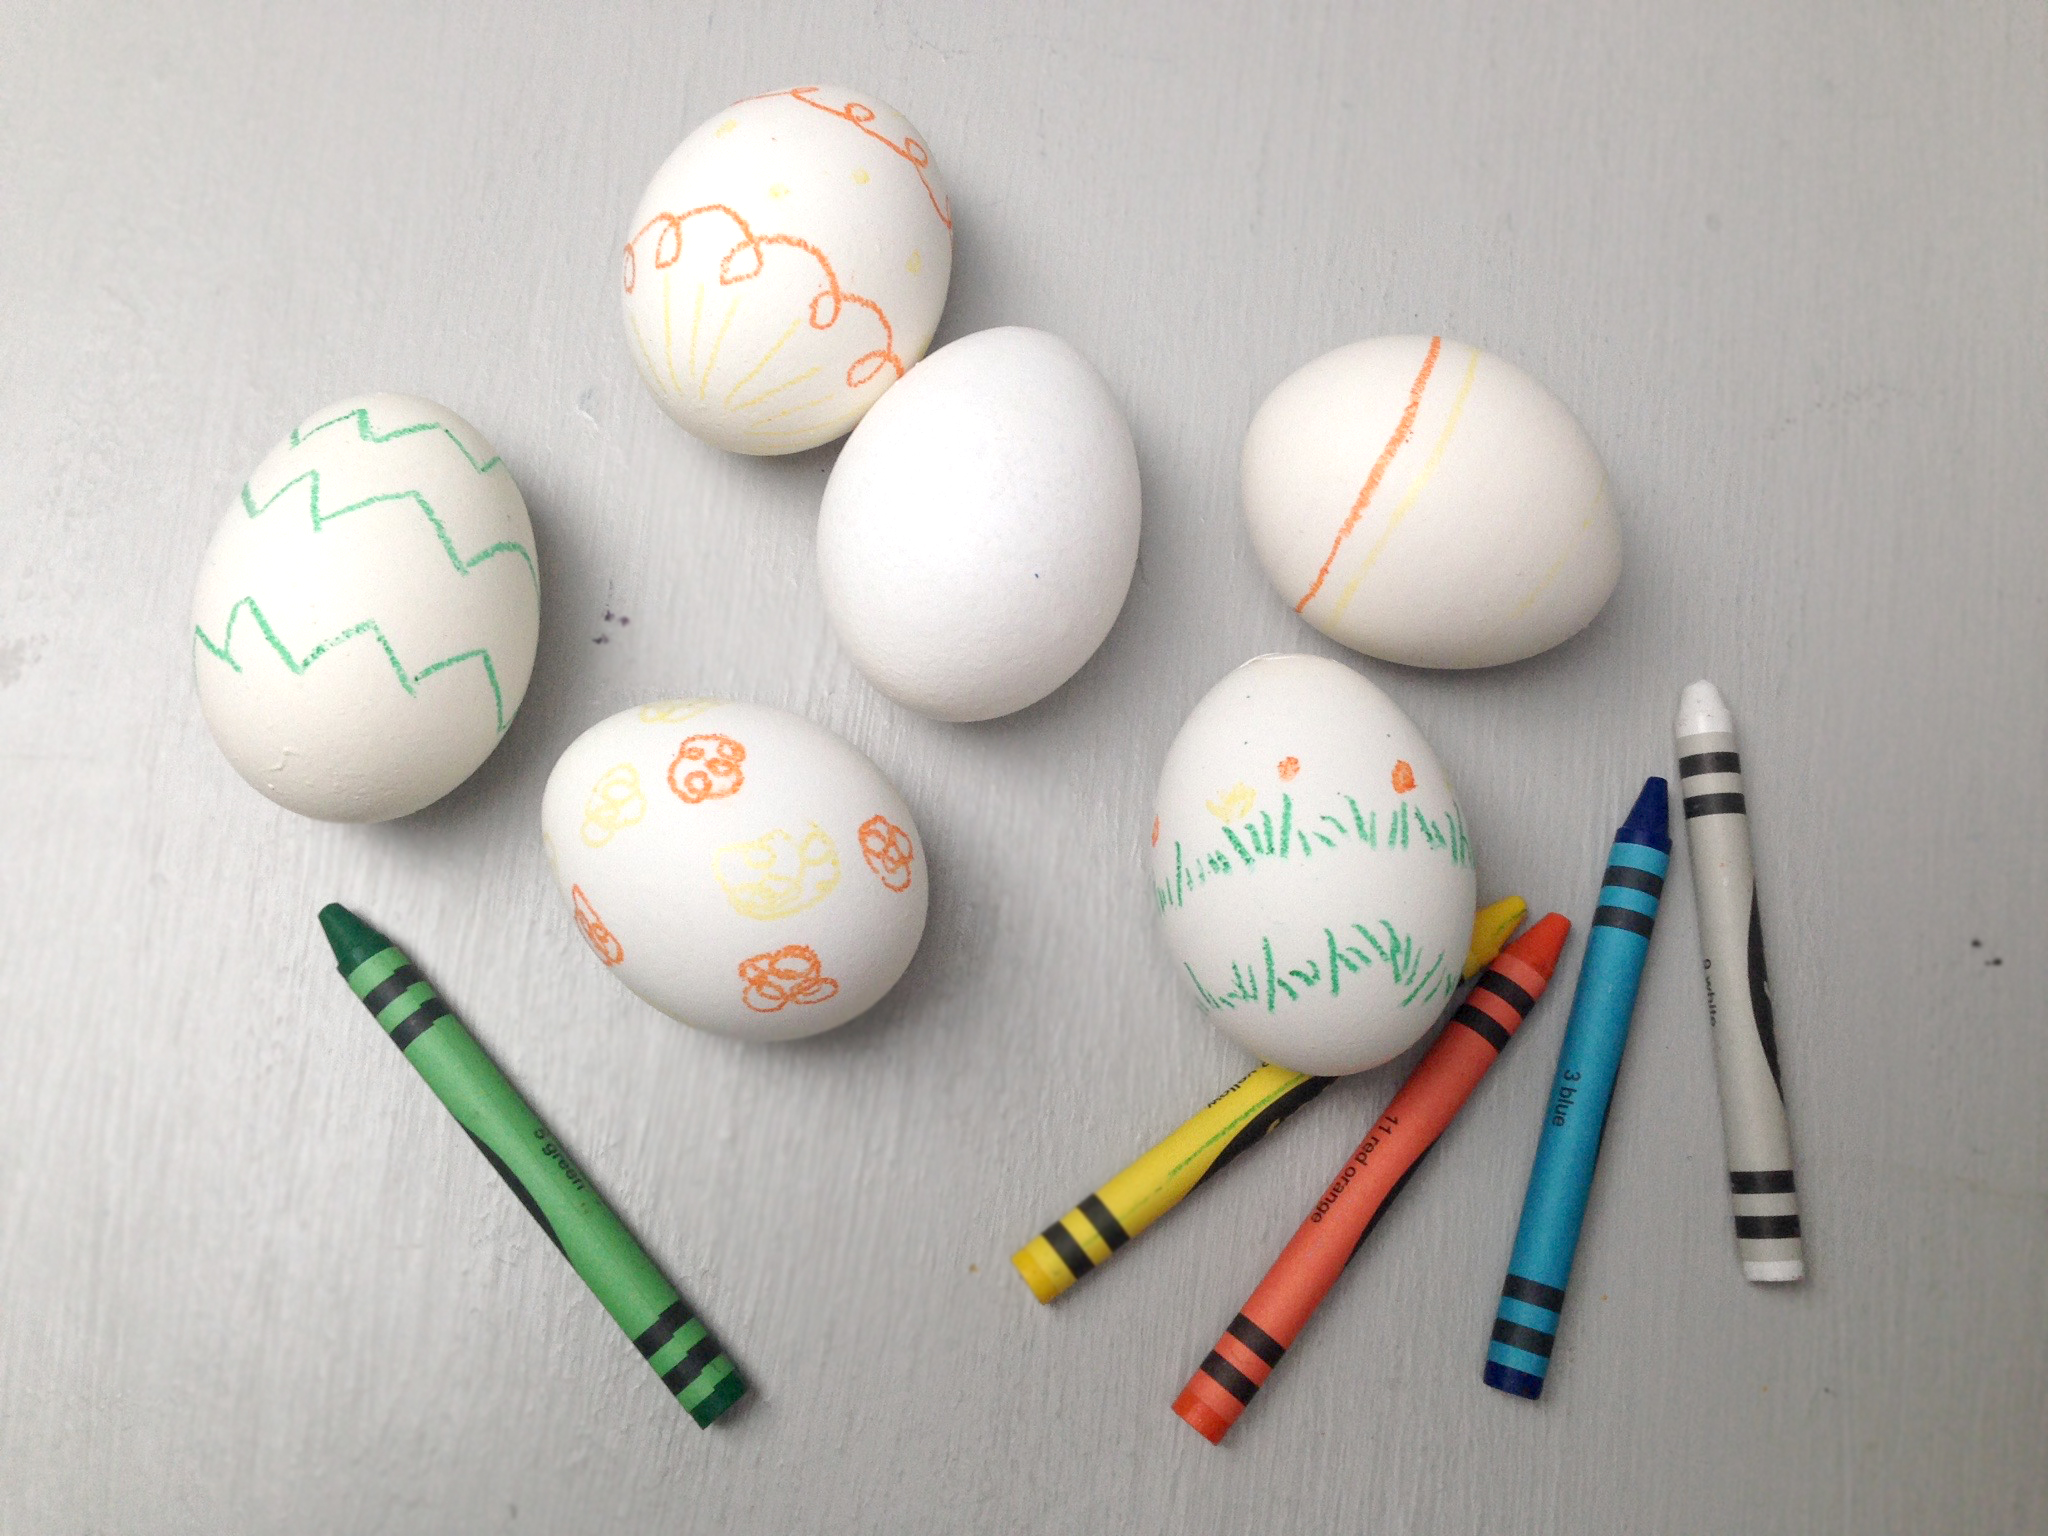
Step 3
Once the eggs are done, let them cool down until they are warm to the touch. Don't wait for them to be completely cold because then the crayon wax will not stick. Start drawing your designs on the eggs. We experimented with white crayon patterns but found that it was hard to see the white on the egg so we also used some colored crayons.
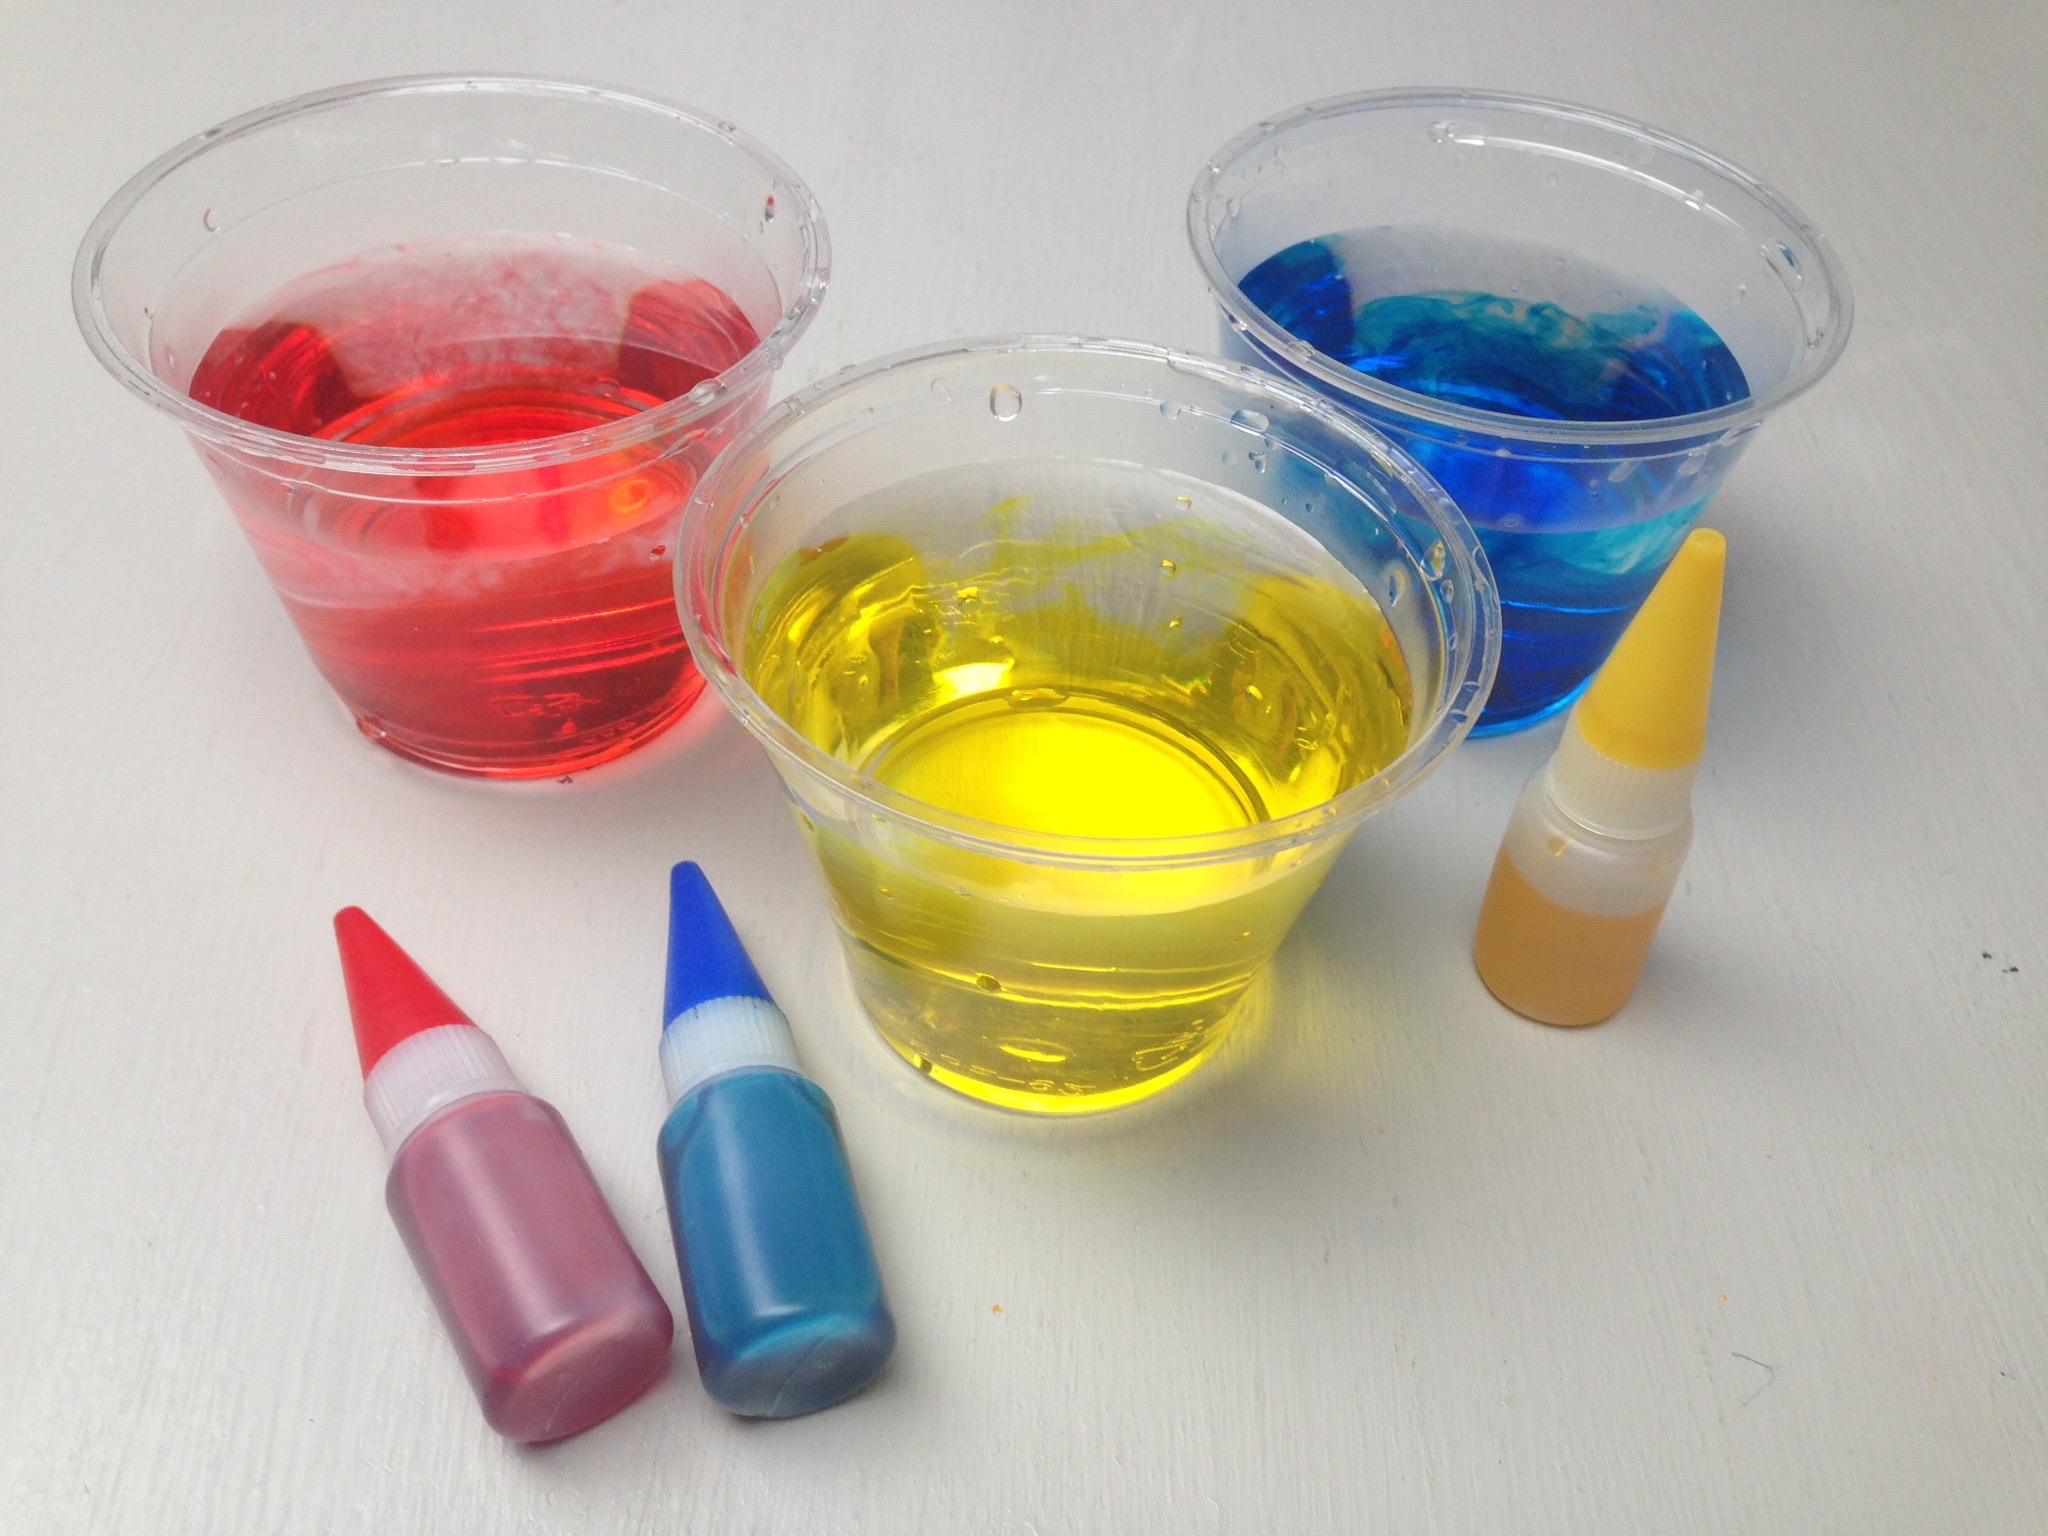
Step 4
Make egg dye in a cup by mixing 1 tablespoon of vinegar for every 3/4 cup of warm water. Add in food coloring until you get a color you like. We used about 15-20 drops. Try mixing colors to create more colors.
Step 5
Place your egg in the dye bath for about 5 minutes. Once it is done, take it out and see your wax designs appear! You might need to sit it on a paper towel or dry it off with one after it comes out of its bath.
We decided to experiment with color by dipping our eggs in more than one color!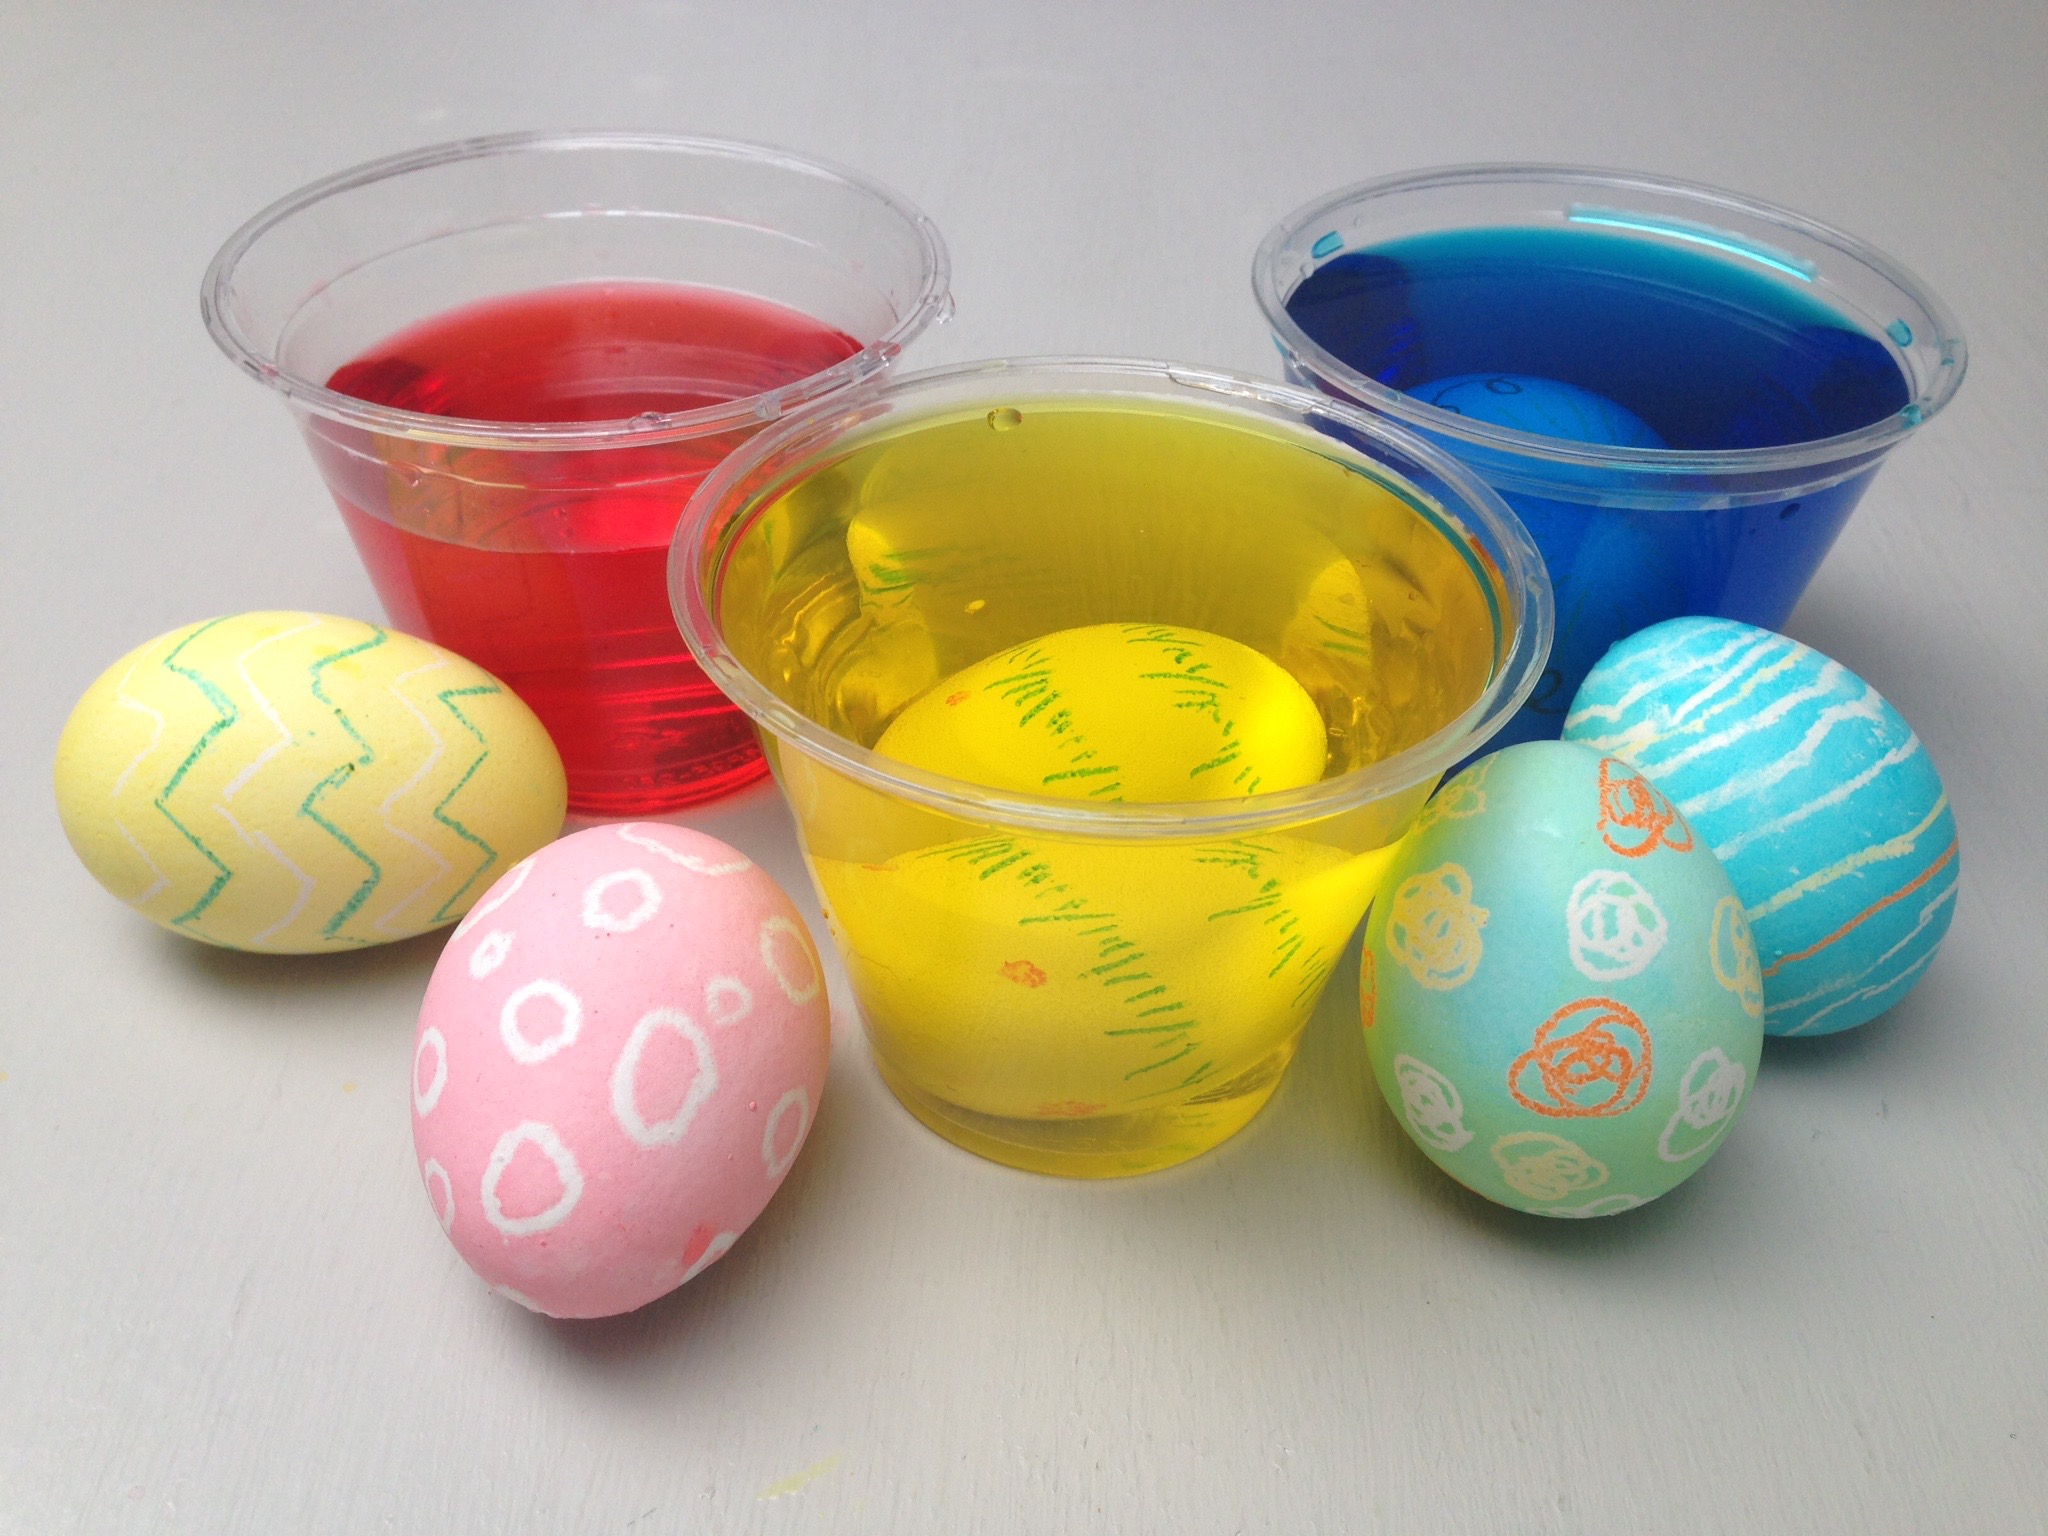
Tip
You can use a plastic spoon to hold the egg so you don't dye your fingers, too.
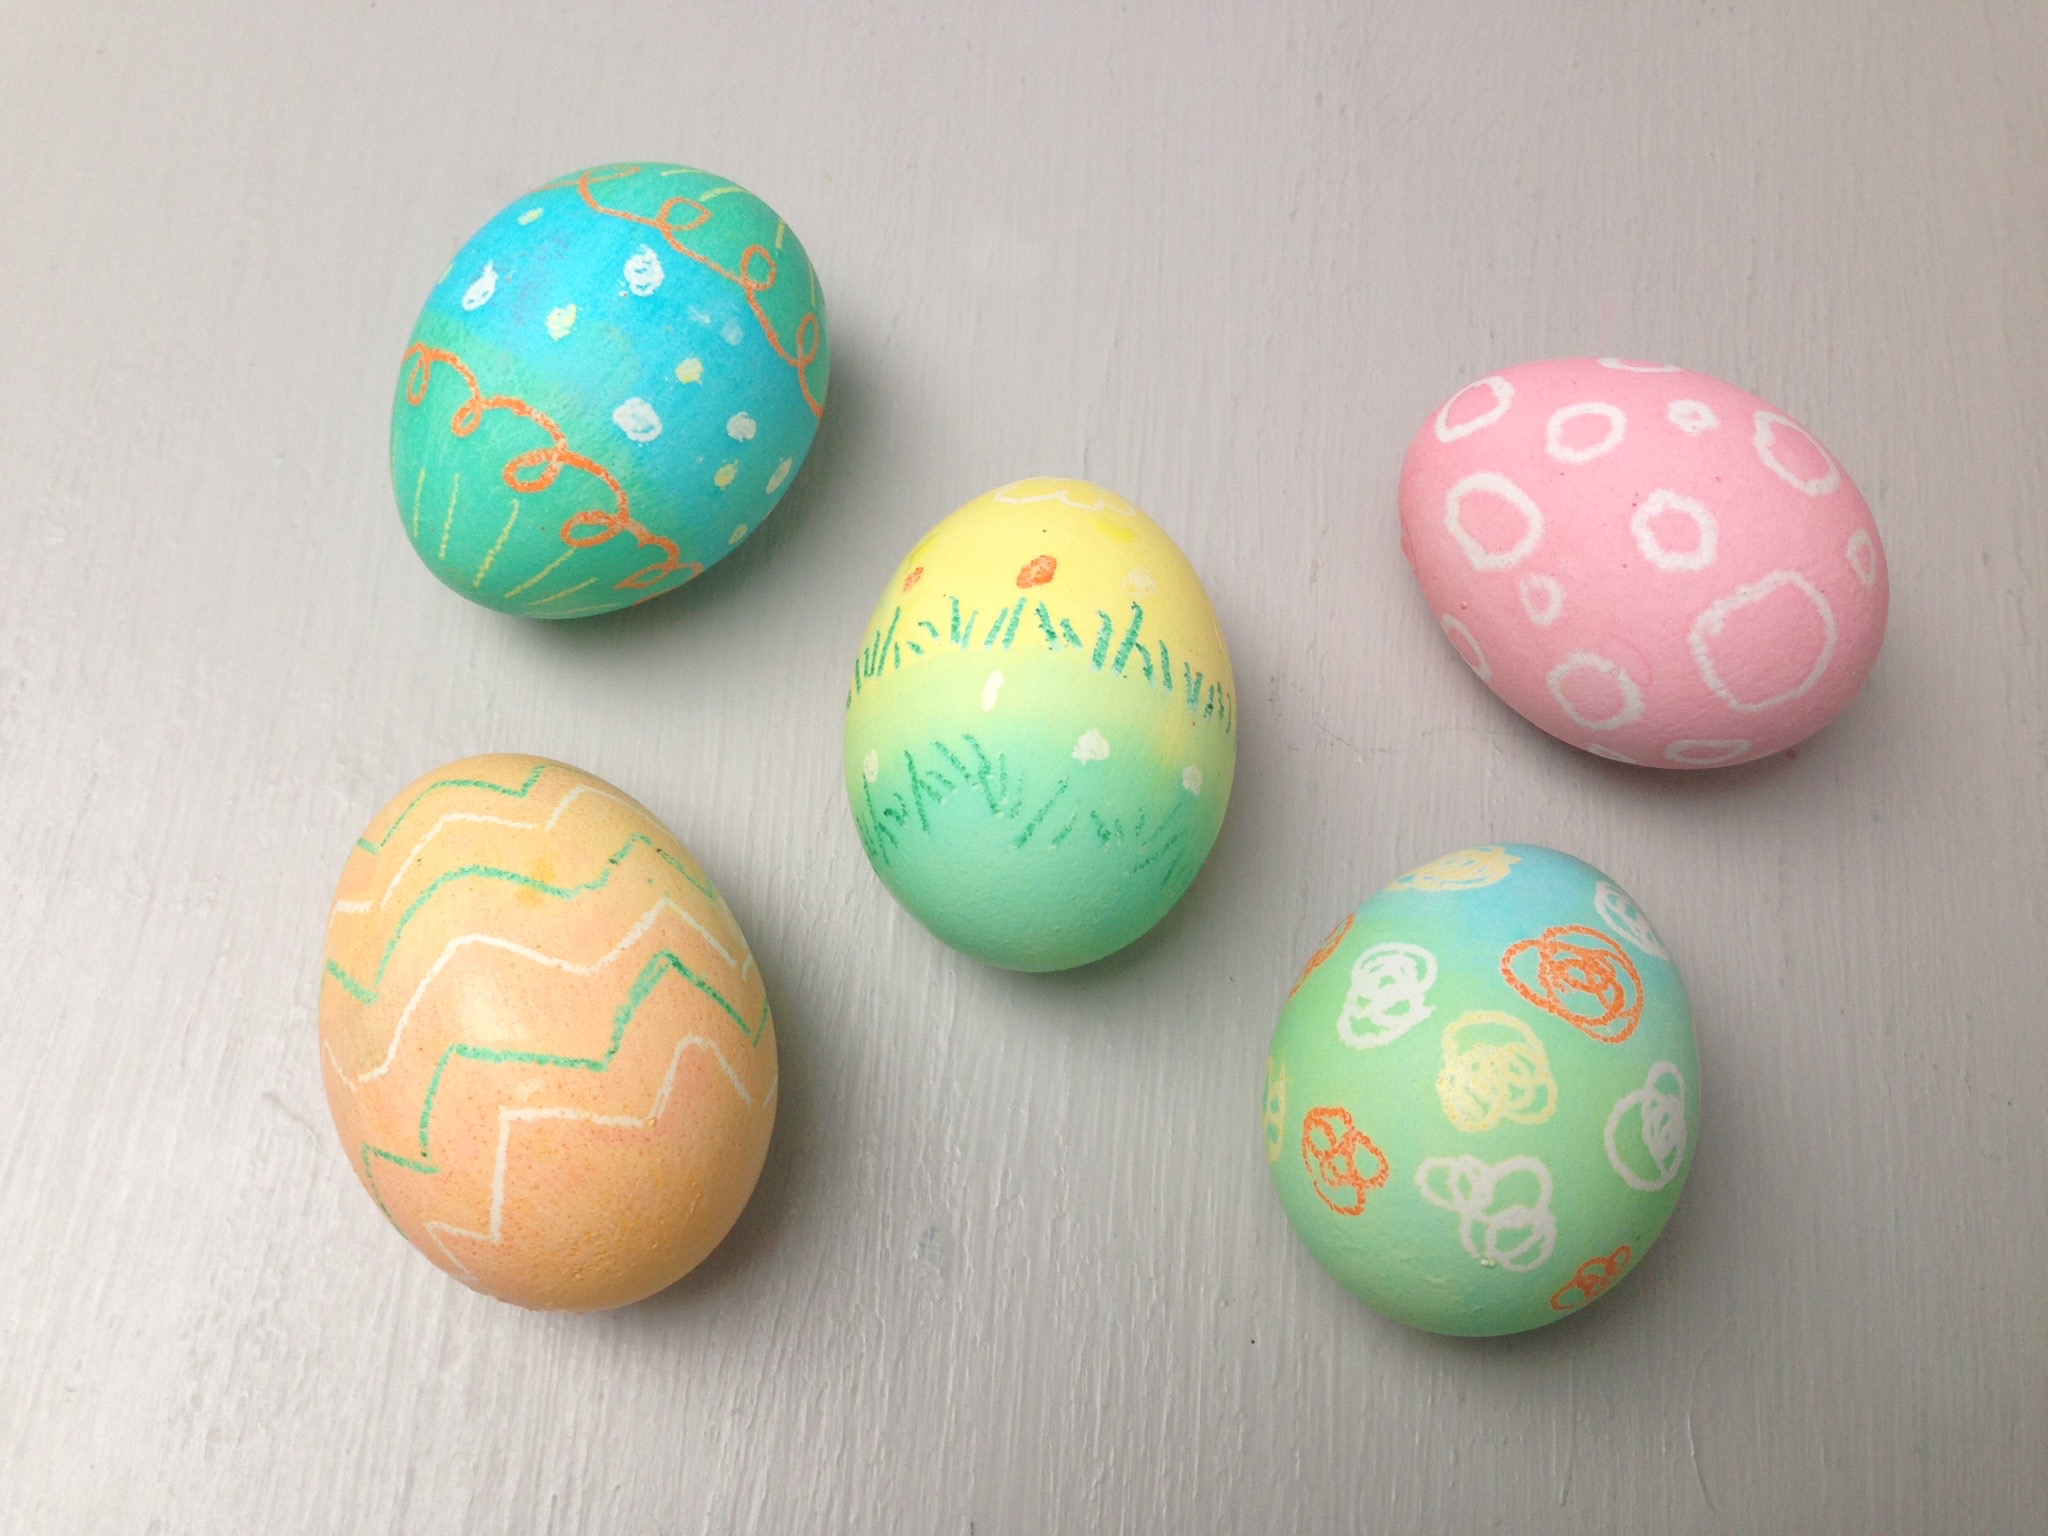
Done!
Enjoy your creative Easter eggs!