Step-by-step tutorial
Step 1
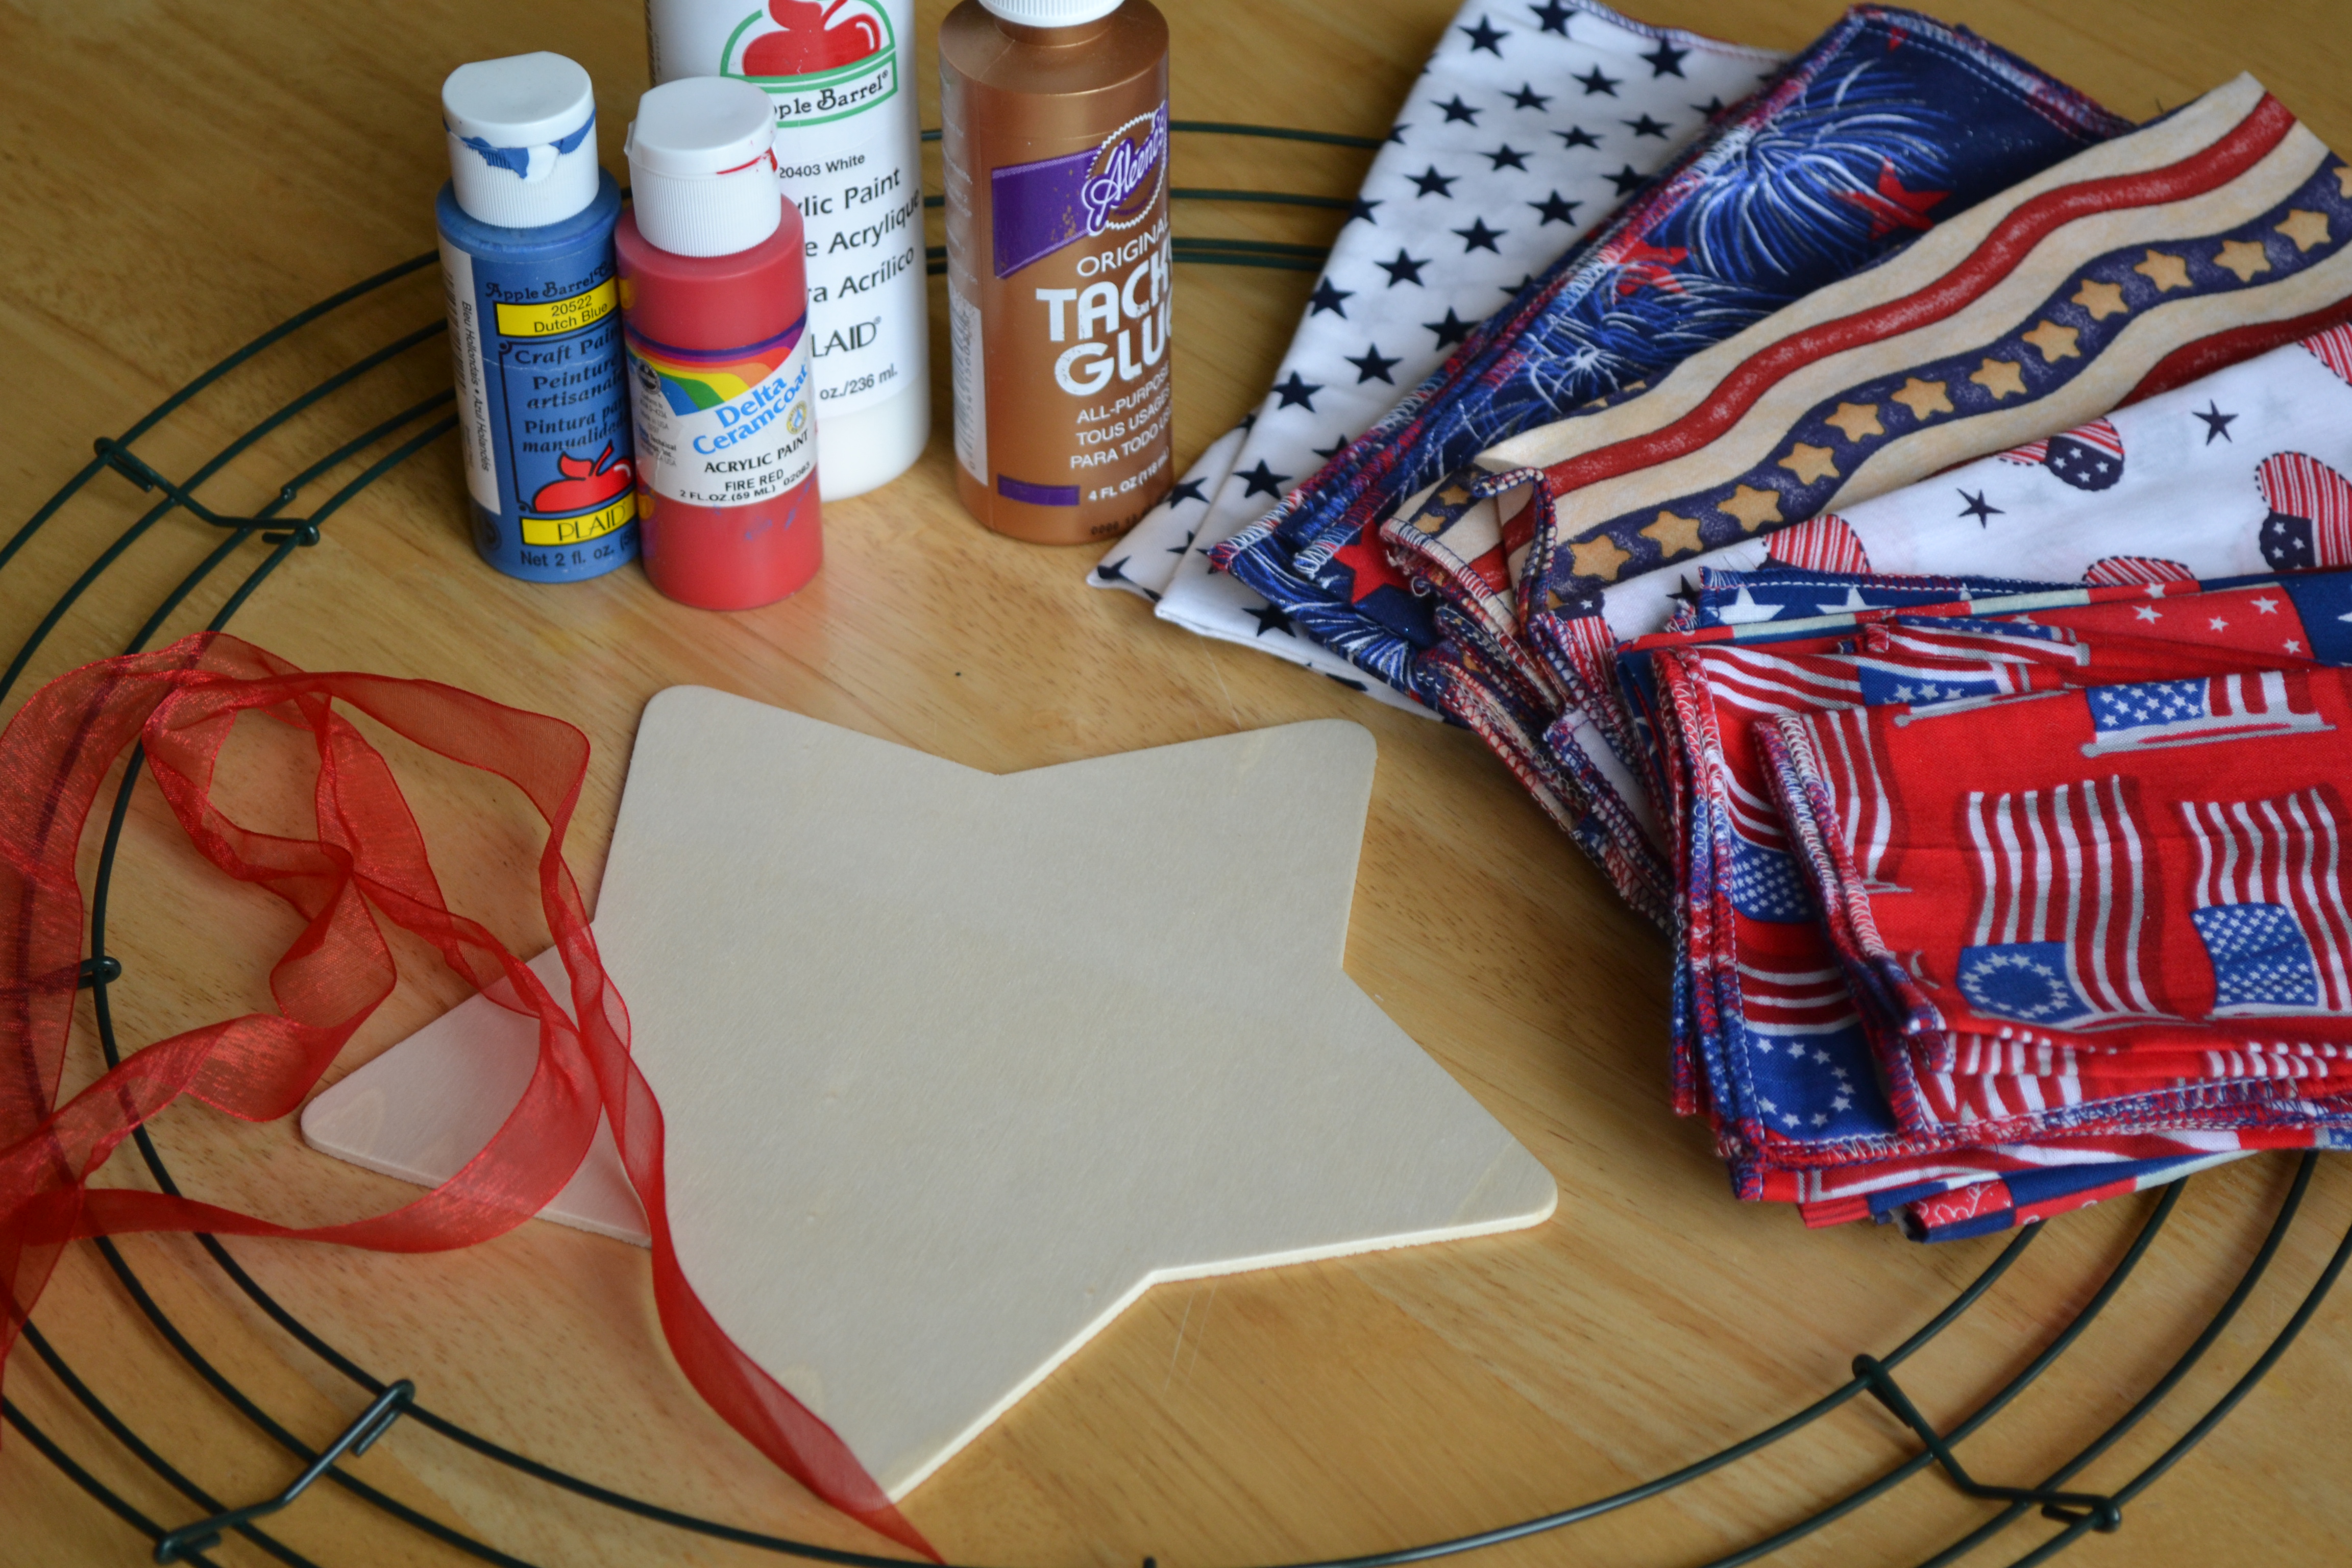
Gather all ingredients. I found a tutorial online to create a wire wreath form out of coat hangars, but found this one at Walmart for $2. Having used coat hangars in the past, I can say that this was $2 well spent! We found the wooden star at a local craft store on sale and used old fabric napkins. Our whole wreath cost less than $4!

Step 2
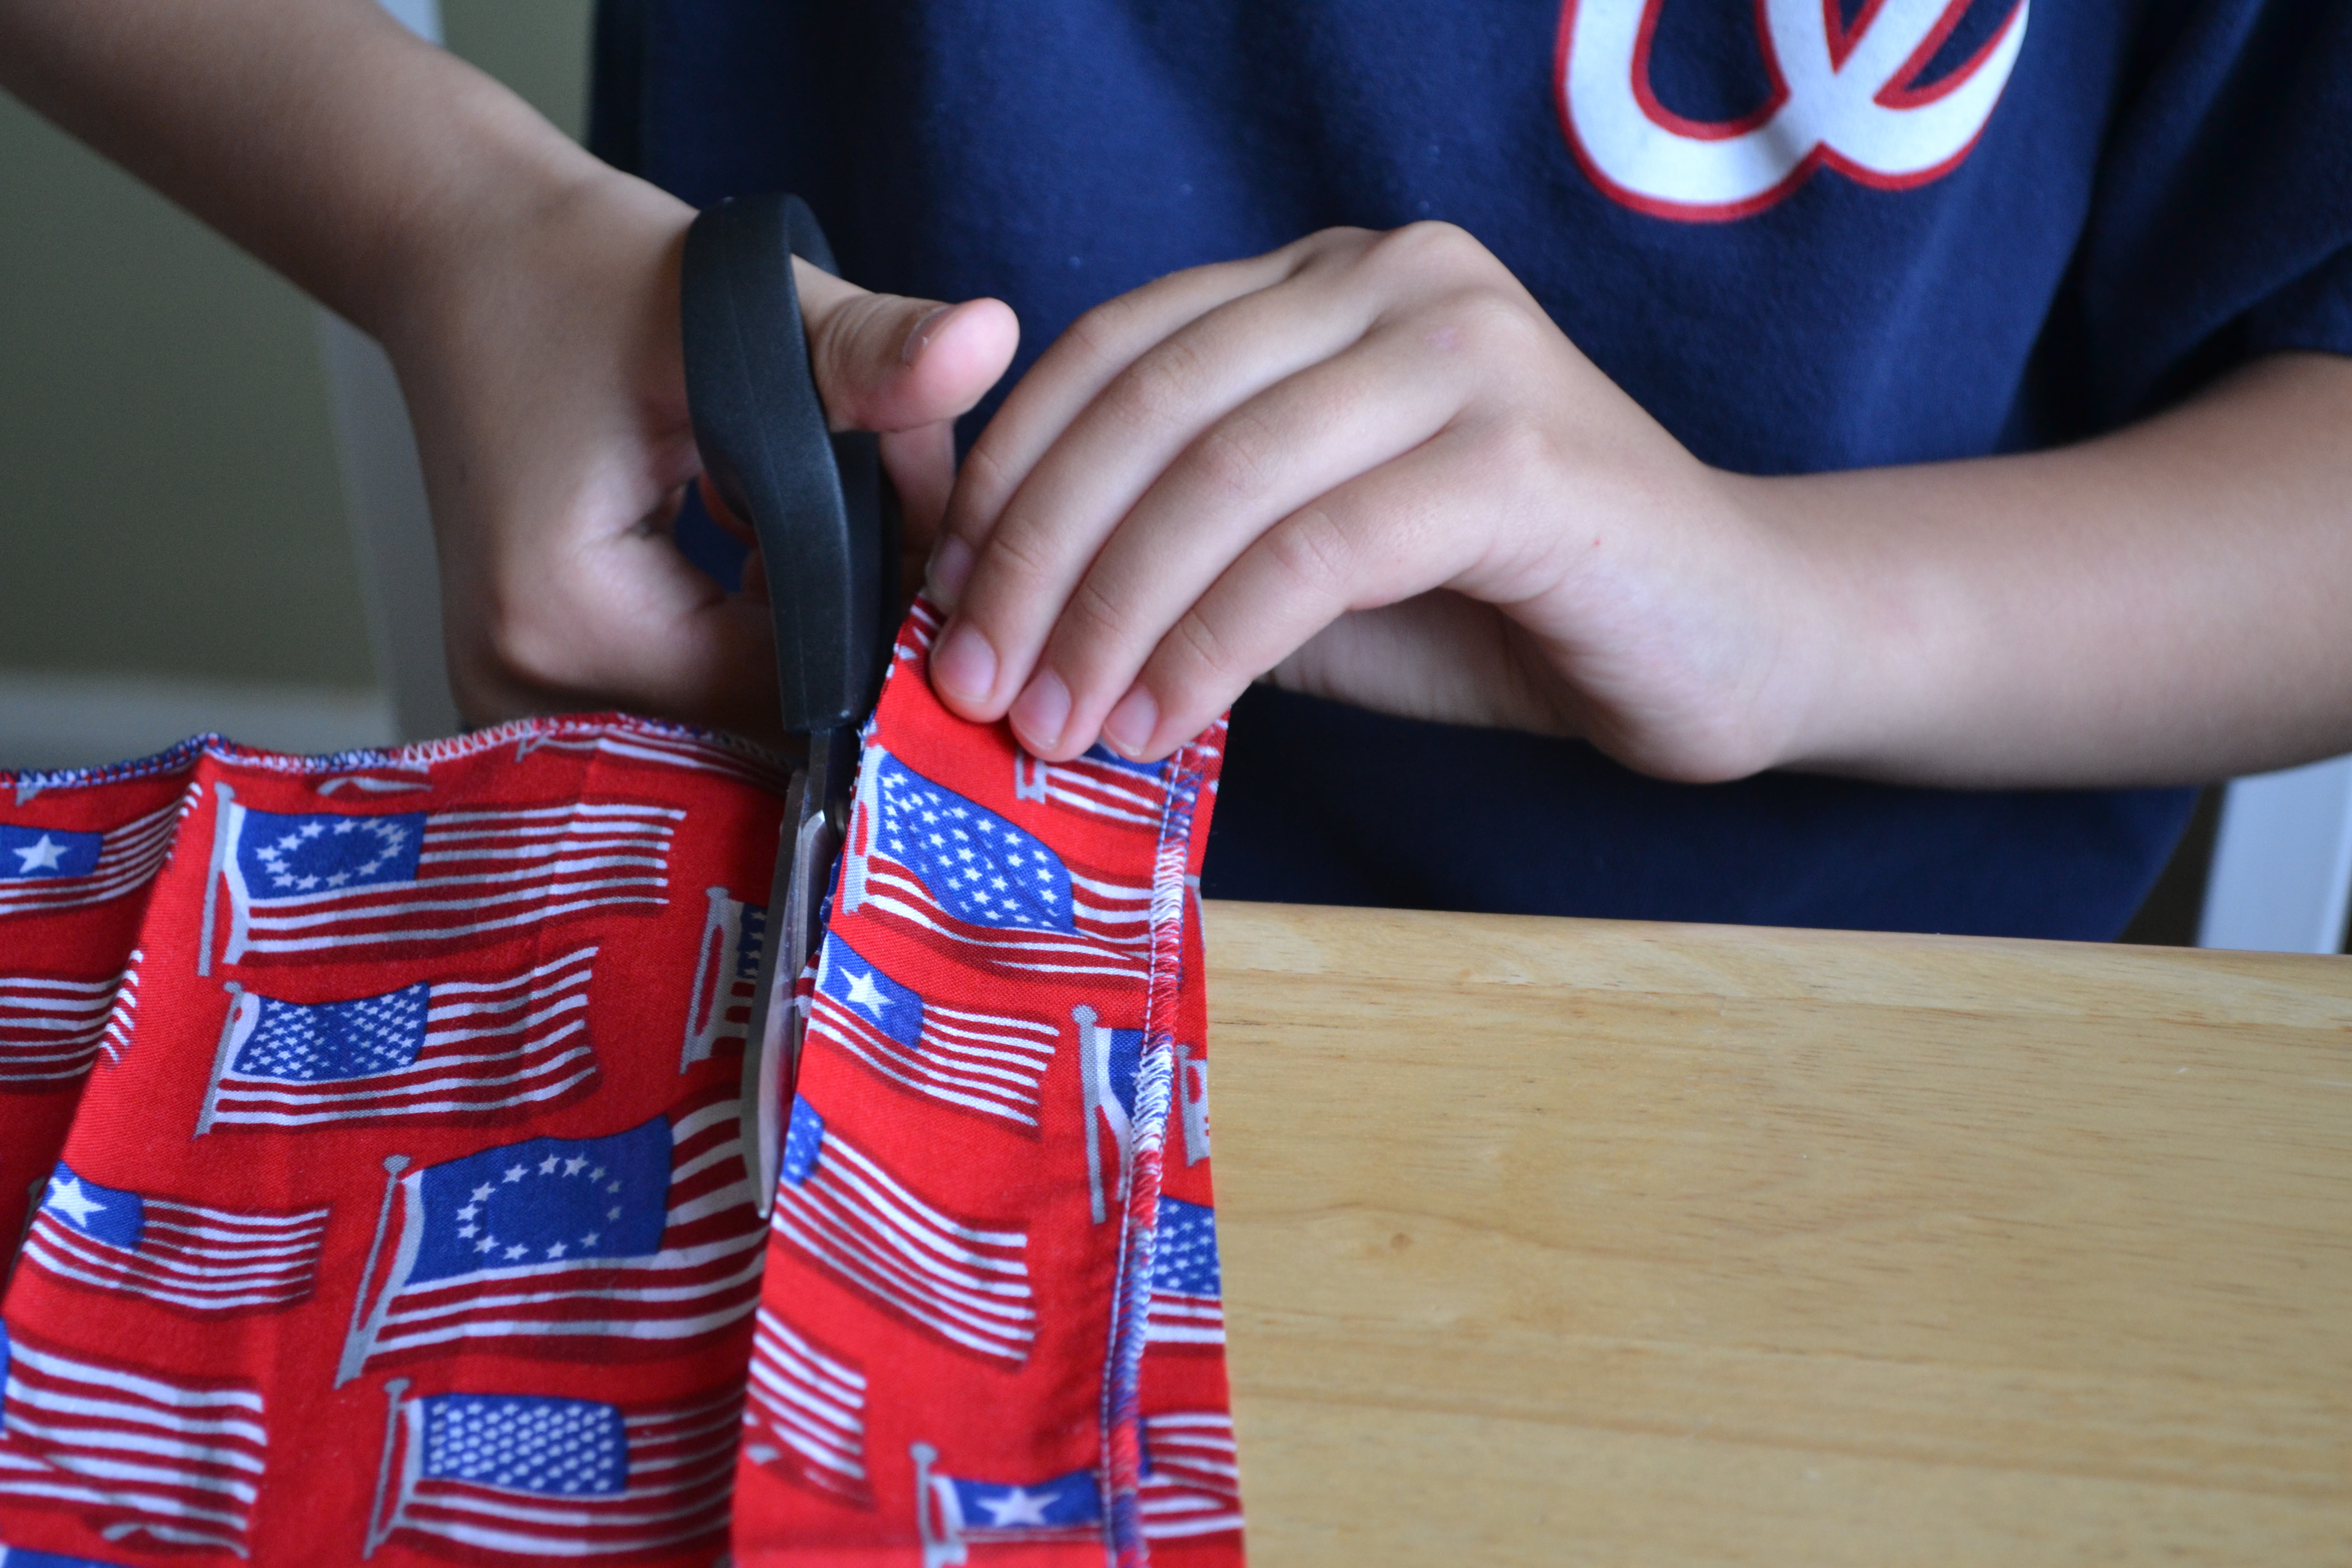
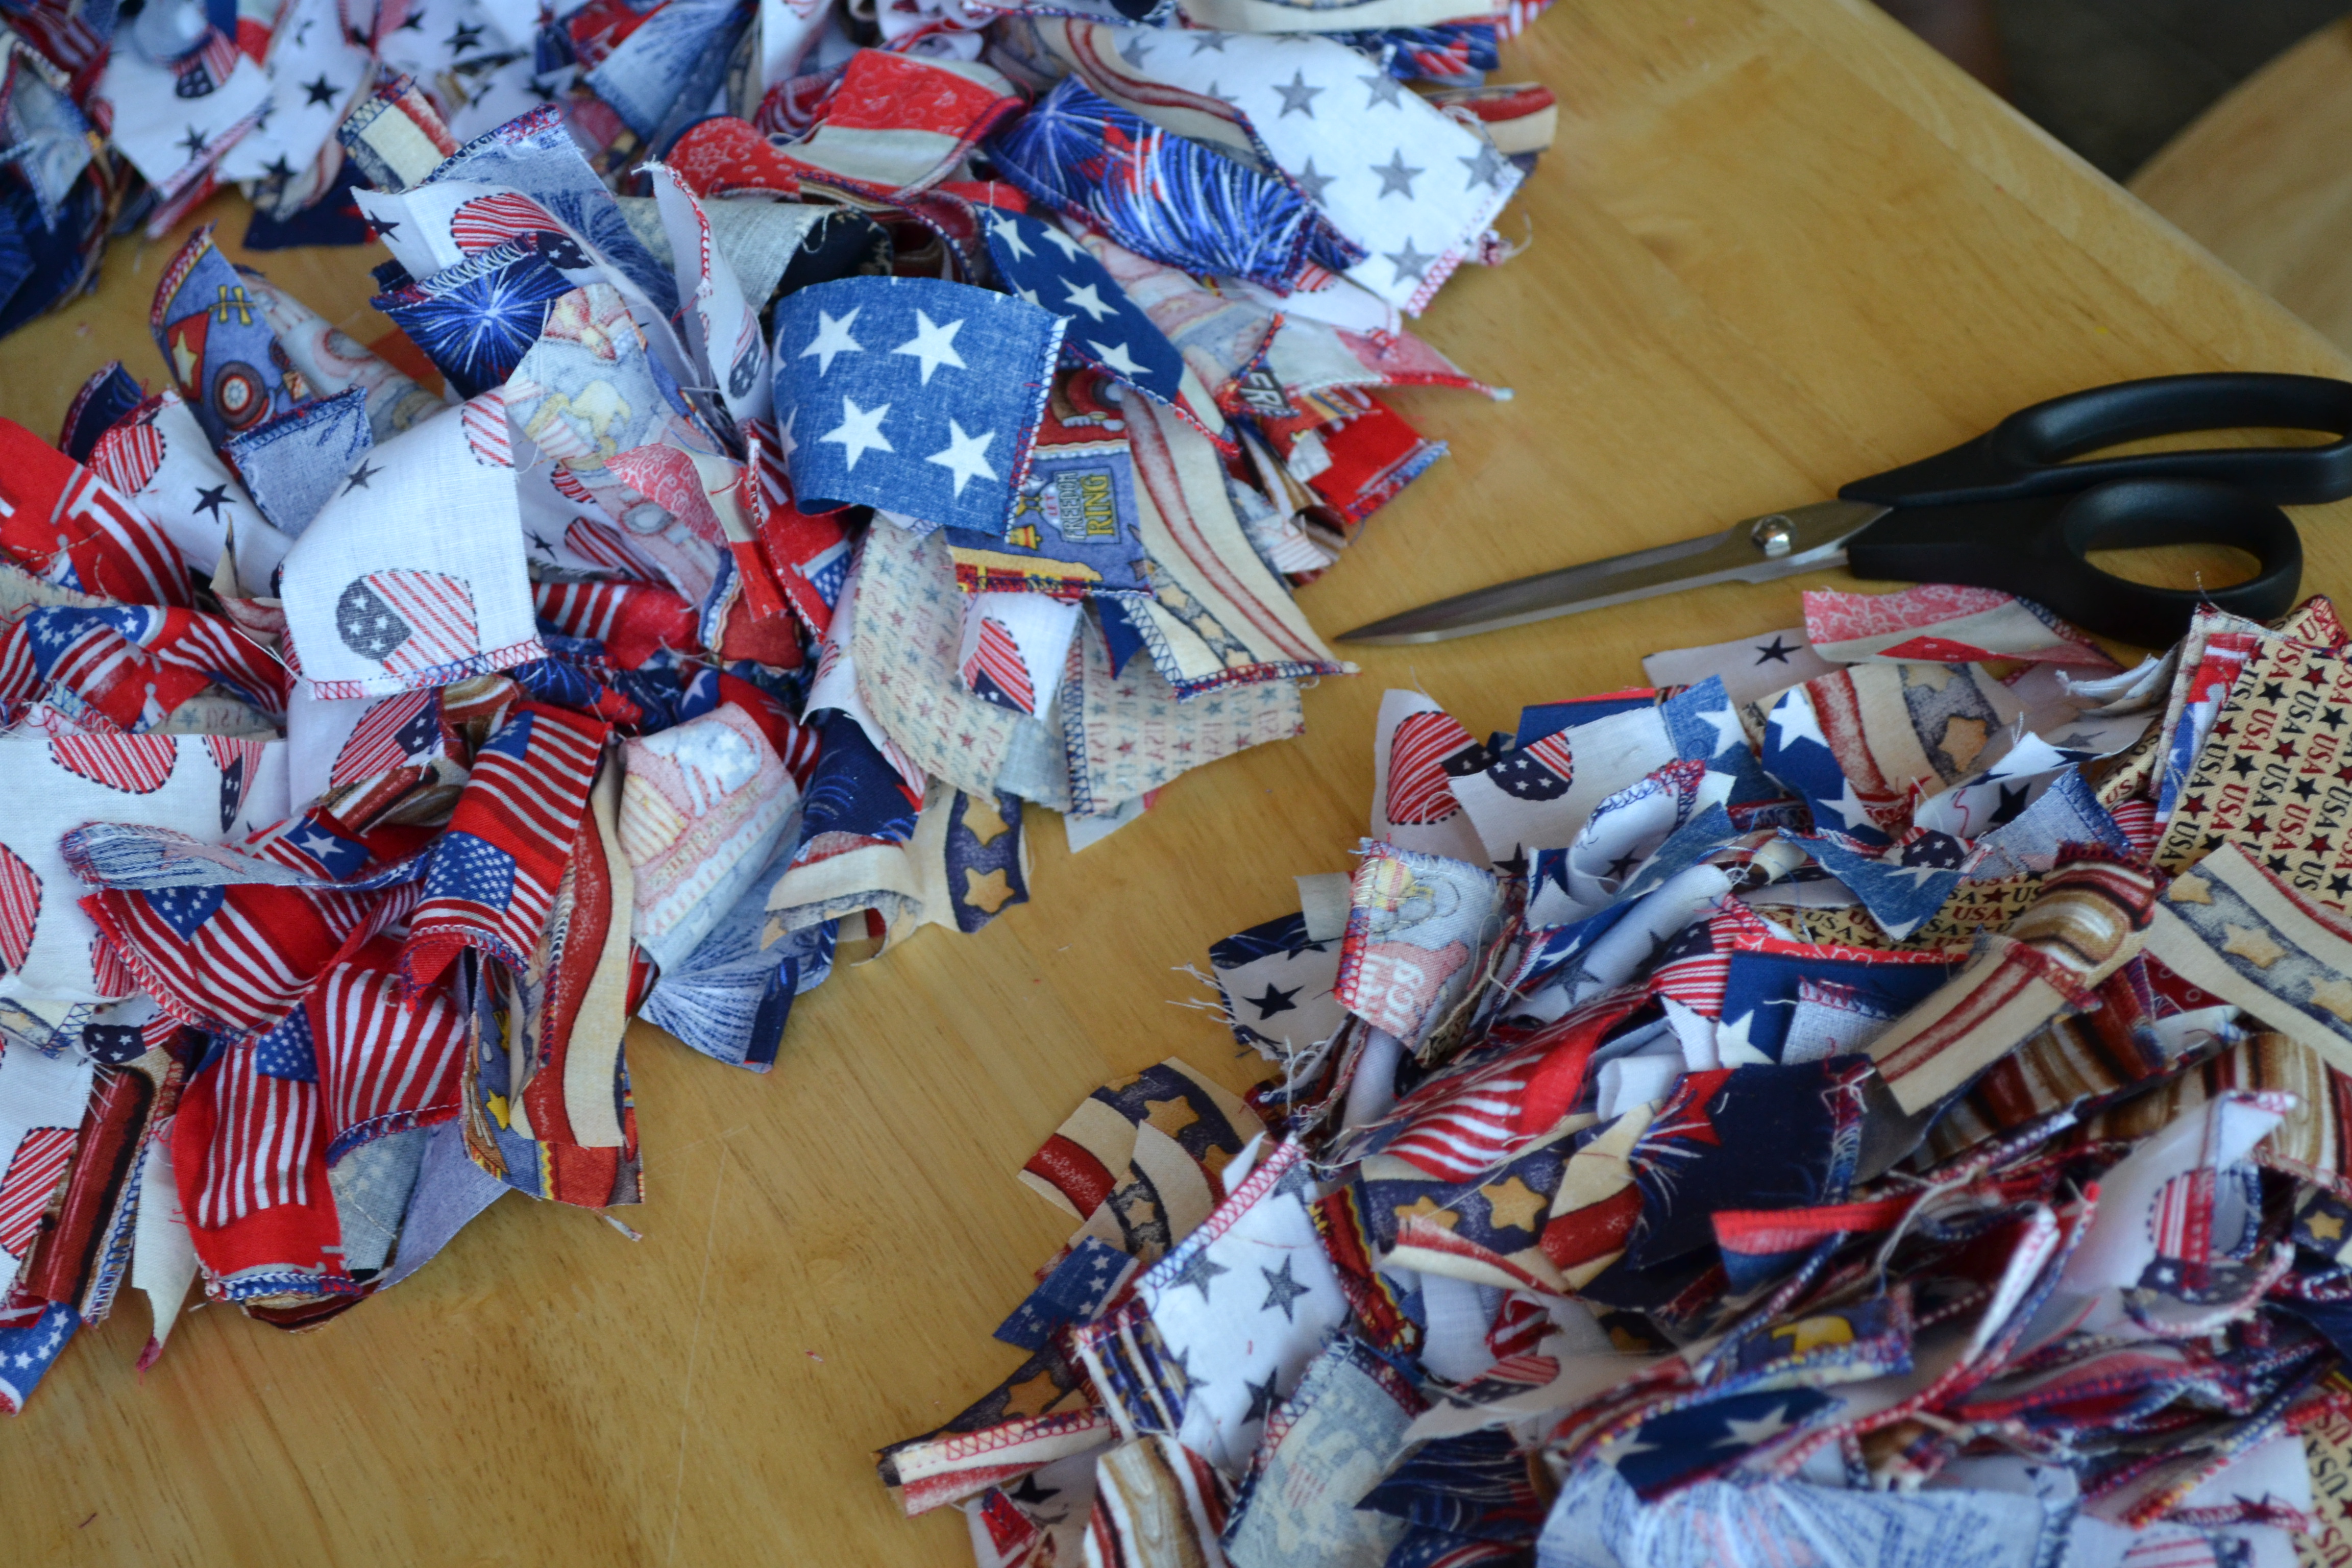
My 7-year-old cut the fabric strips into approximate one inch strips. Since we were using fabric napkins, they were already about 12-inches (30.5 cm) long. They ended up being a little longer than we needed so I would recommend about 8 inch (20.3 cm) long strips. We ended up cutting out over 300 strips of fabric and used almost every single one!
Step 3
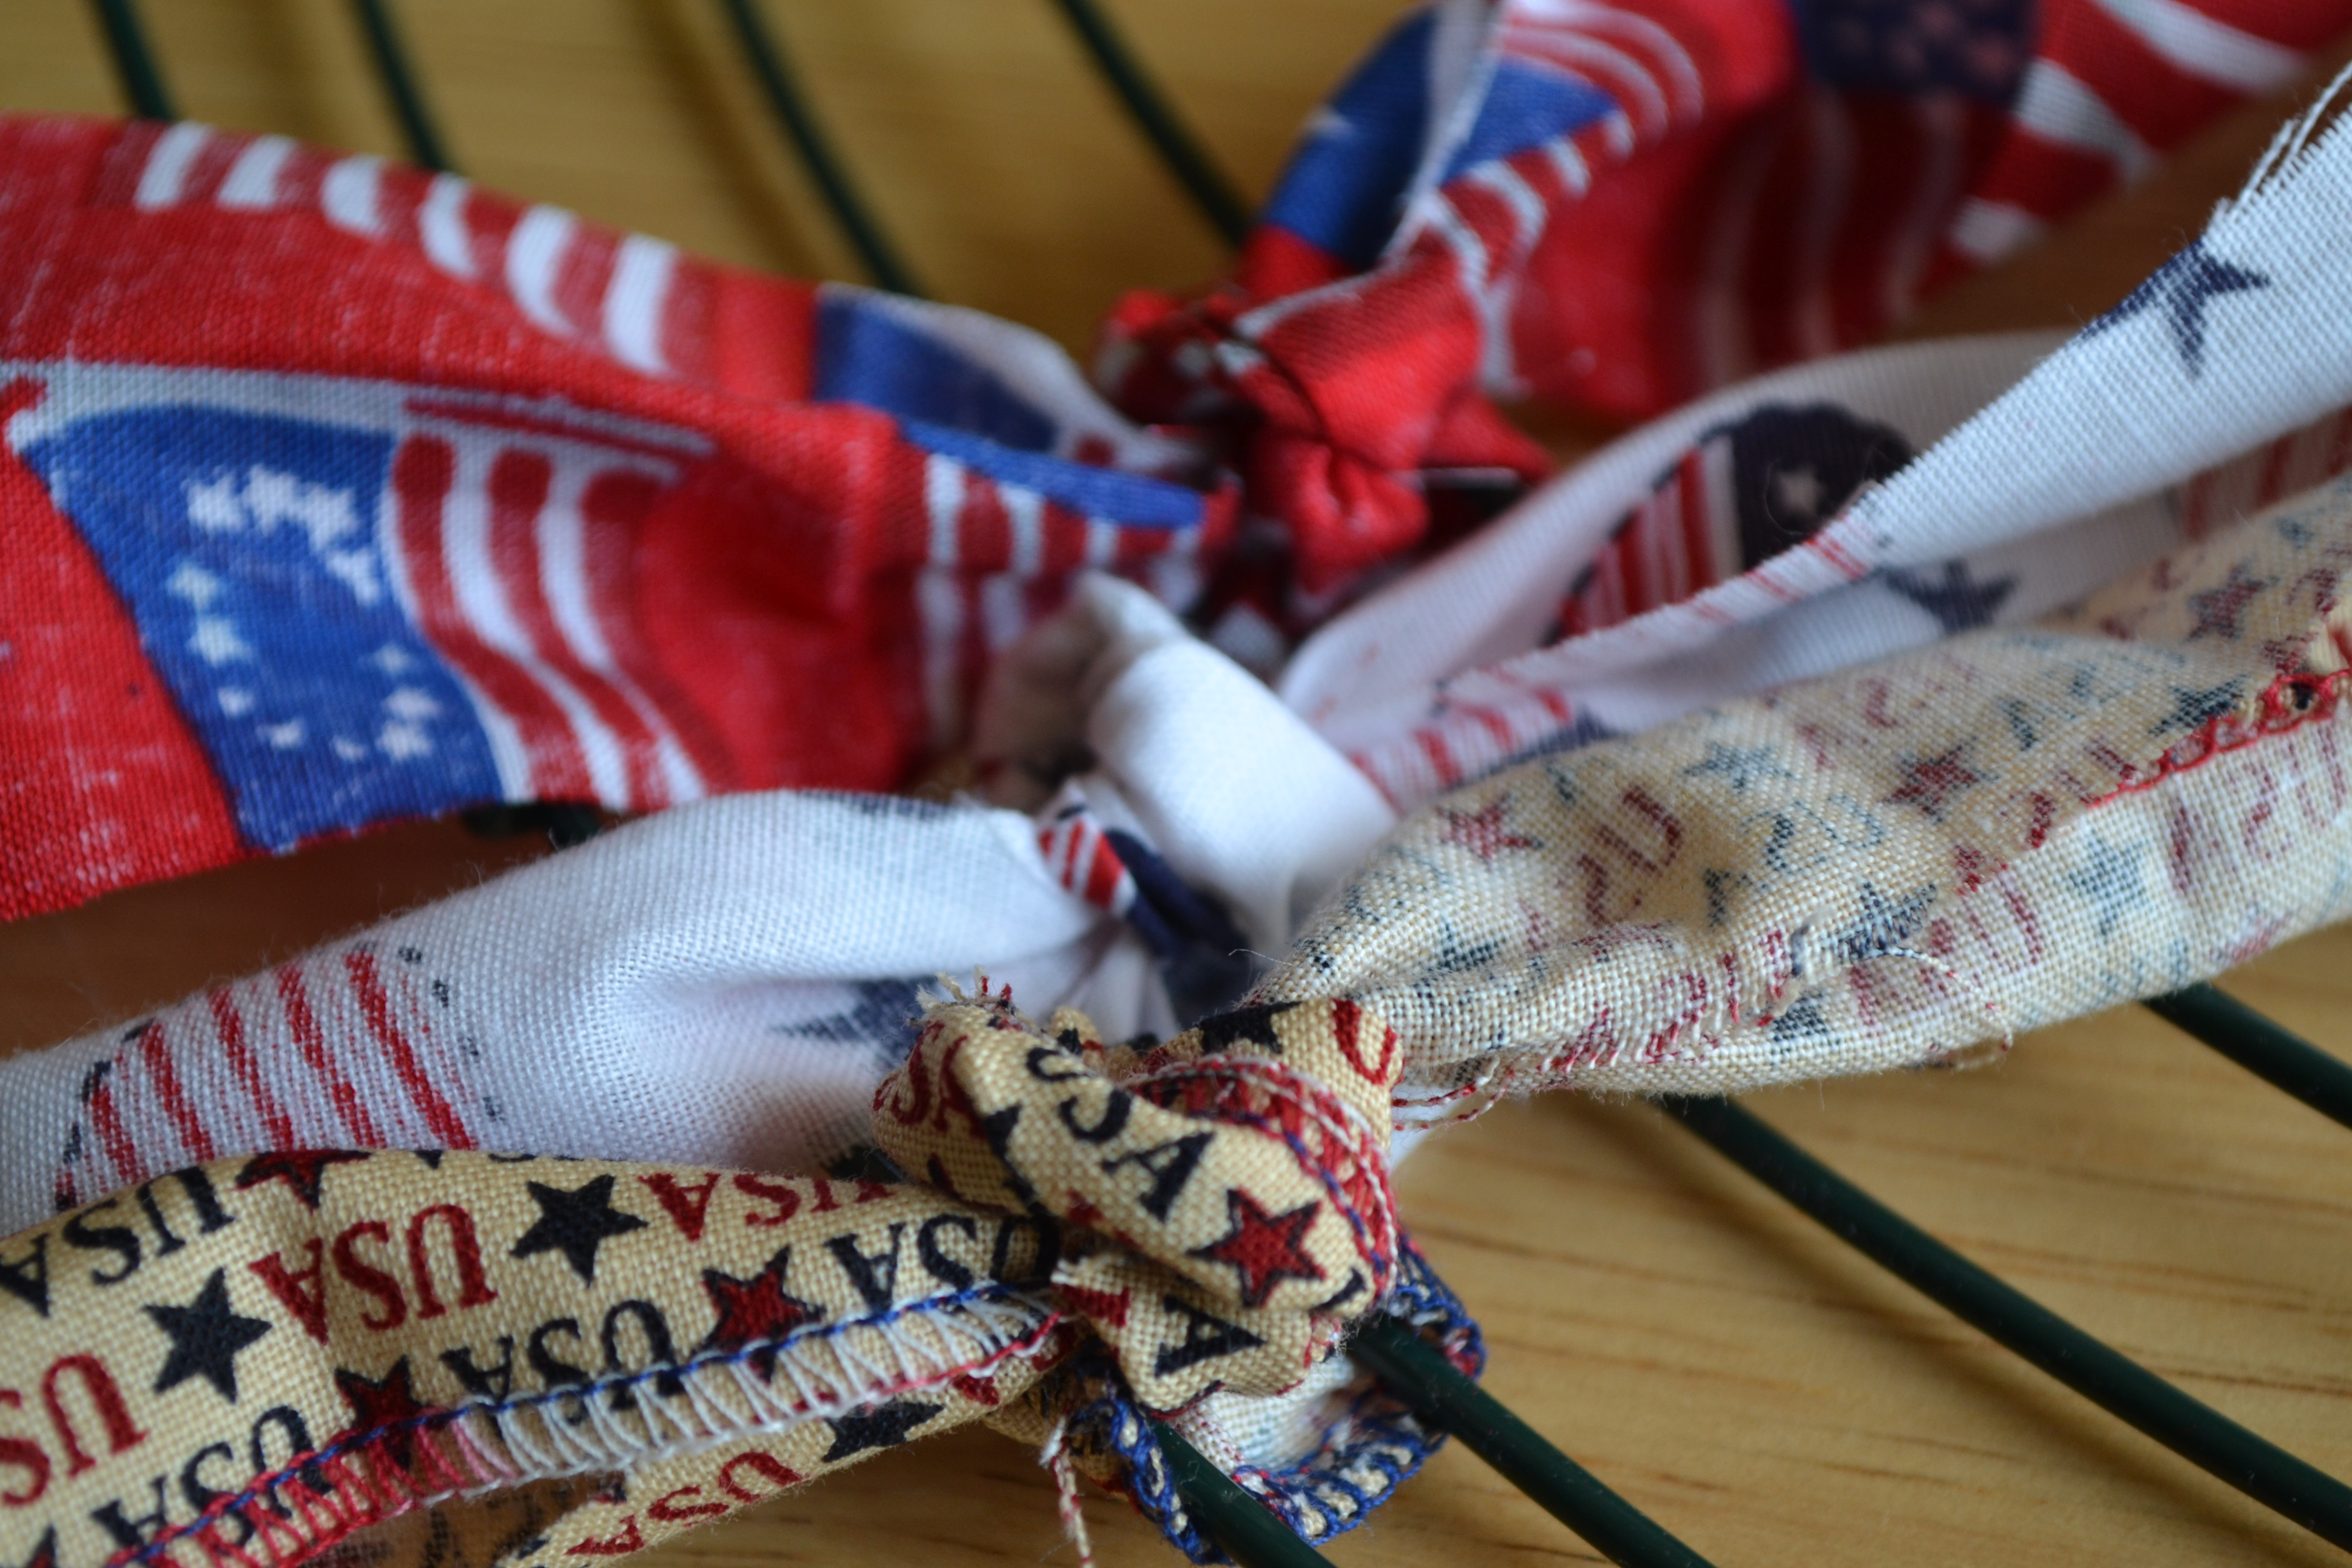
The kids got started typing the strips onto our wire wreath form. We started by tying the first strip on the two "outside" wires and the second strip on the two "middle" wires. The third strip was tied onto the two "inside" wires and we repeated that pattern...over and over.
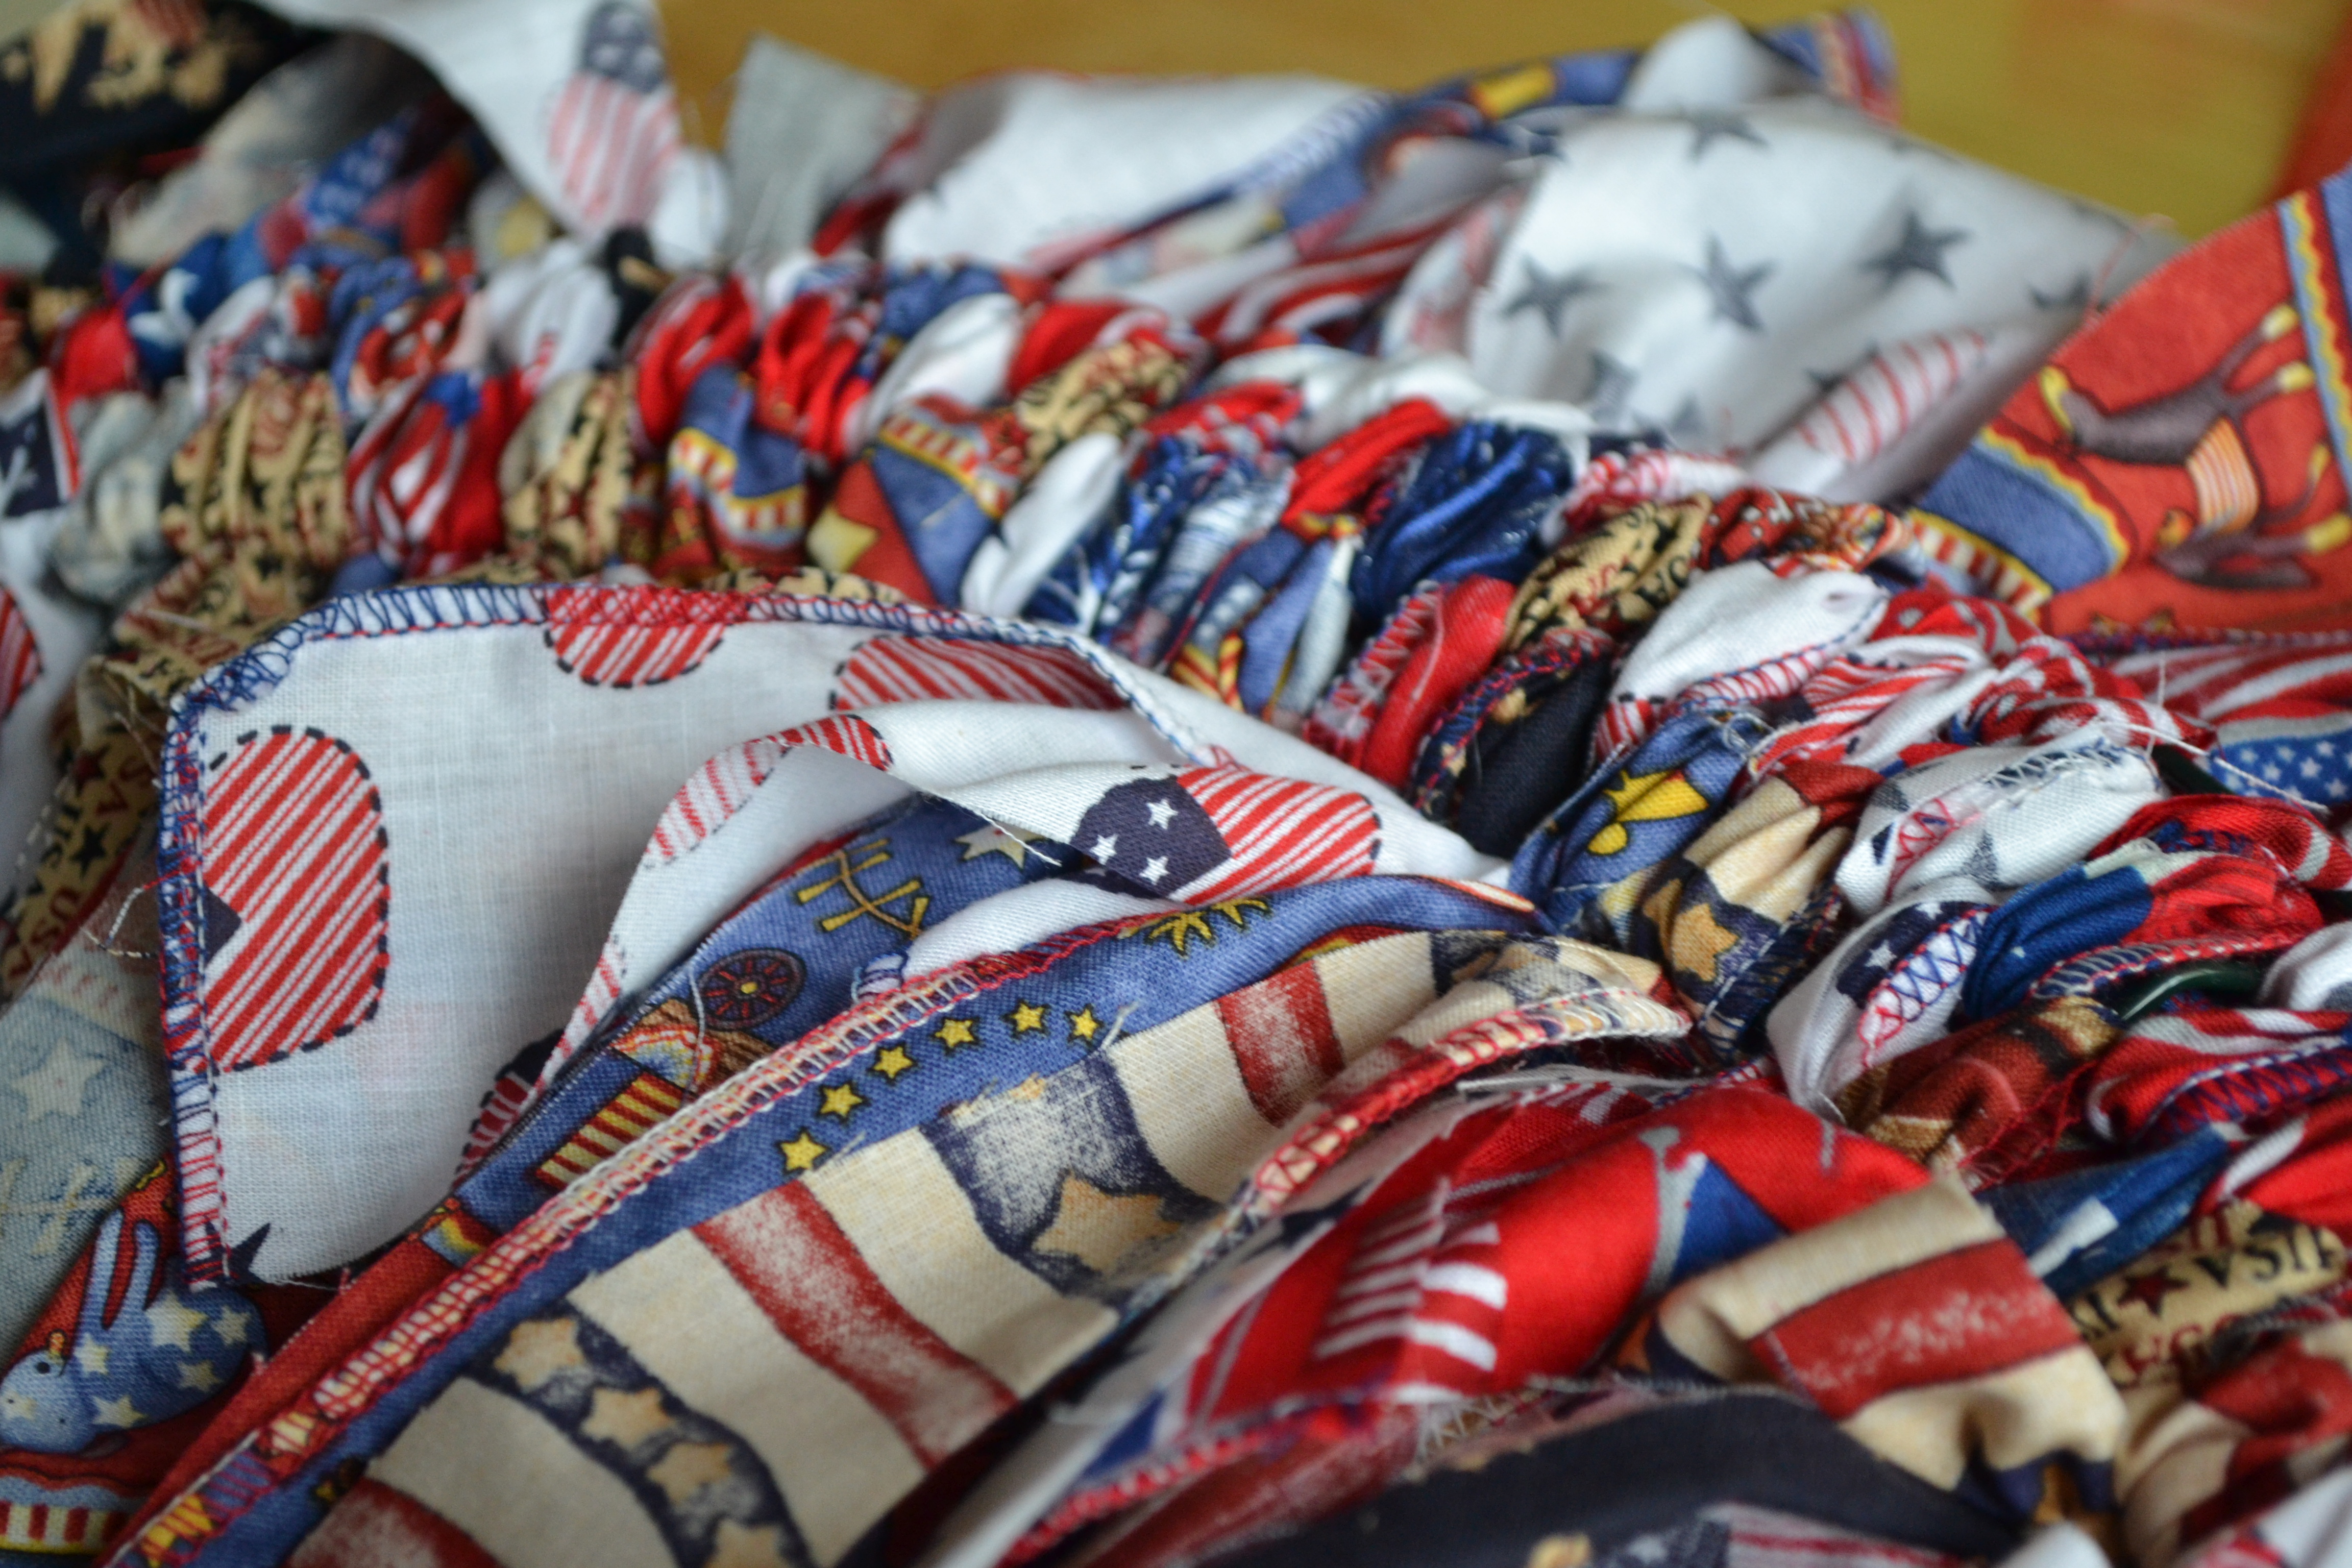
Step 4
We kept going, alternating fabric strips. My 2-year-old got involved by picking out the different strips and counting piles of strips. We didn't really need to have numbered piles, but it kept him happy and made him feel like he was helping. This is a great way to give your little one practice tying knots if they're learning to tie their shoes! Here is what the backside of the wreath looked like as we worked.
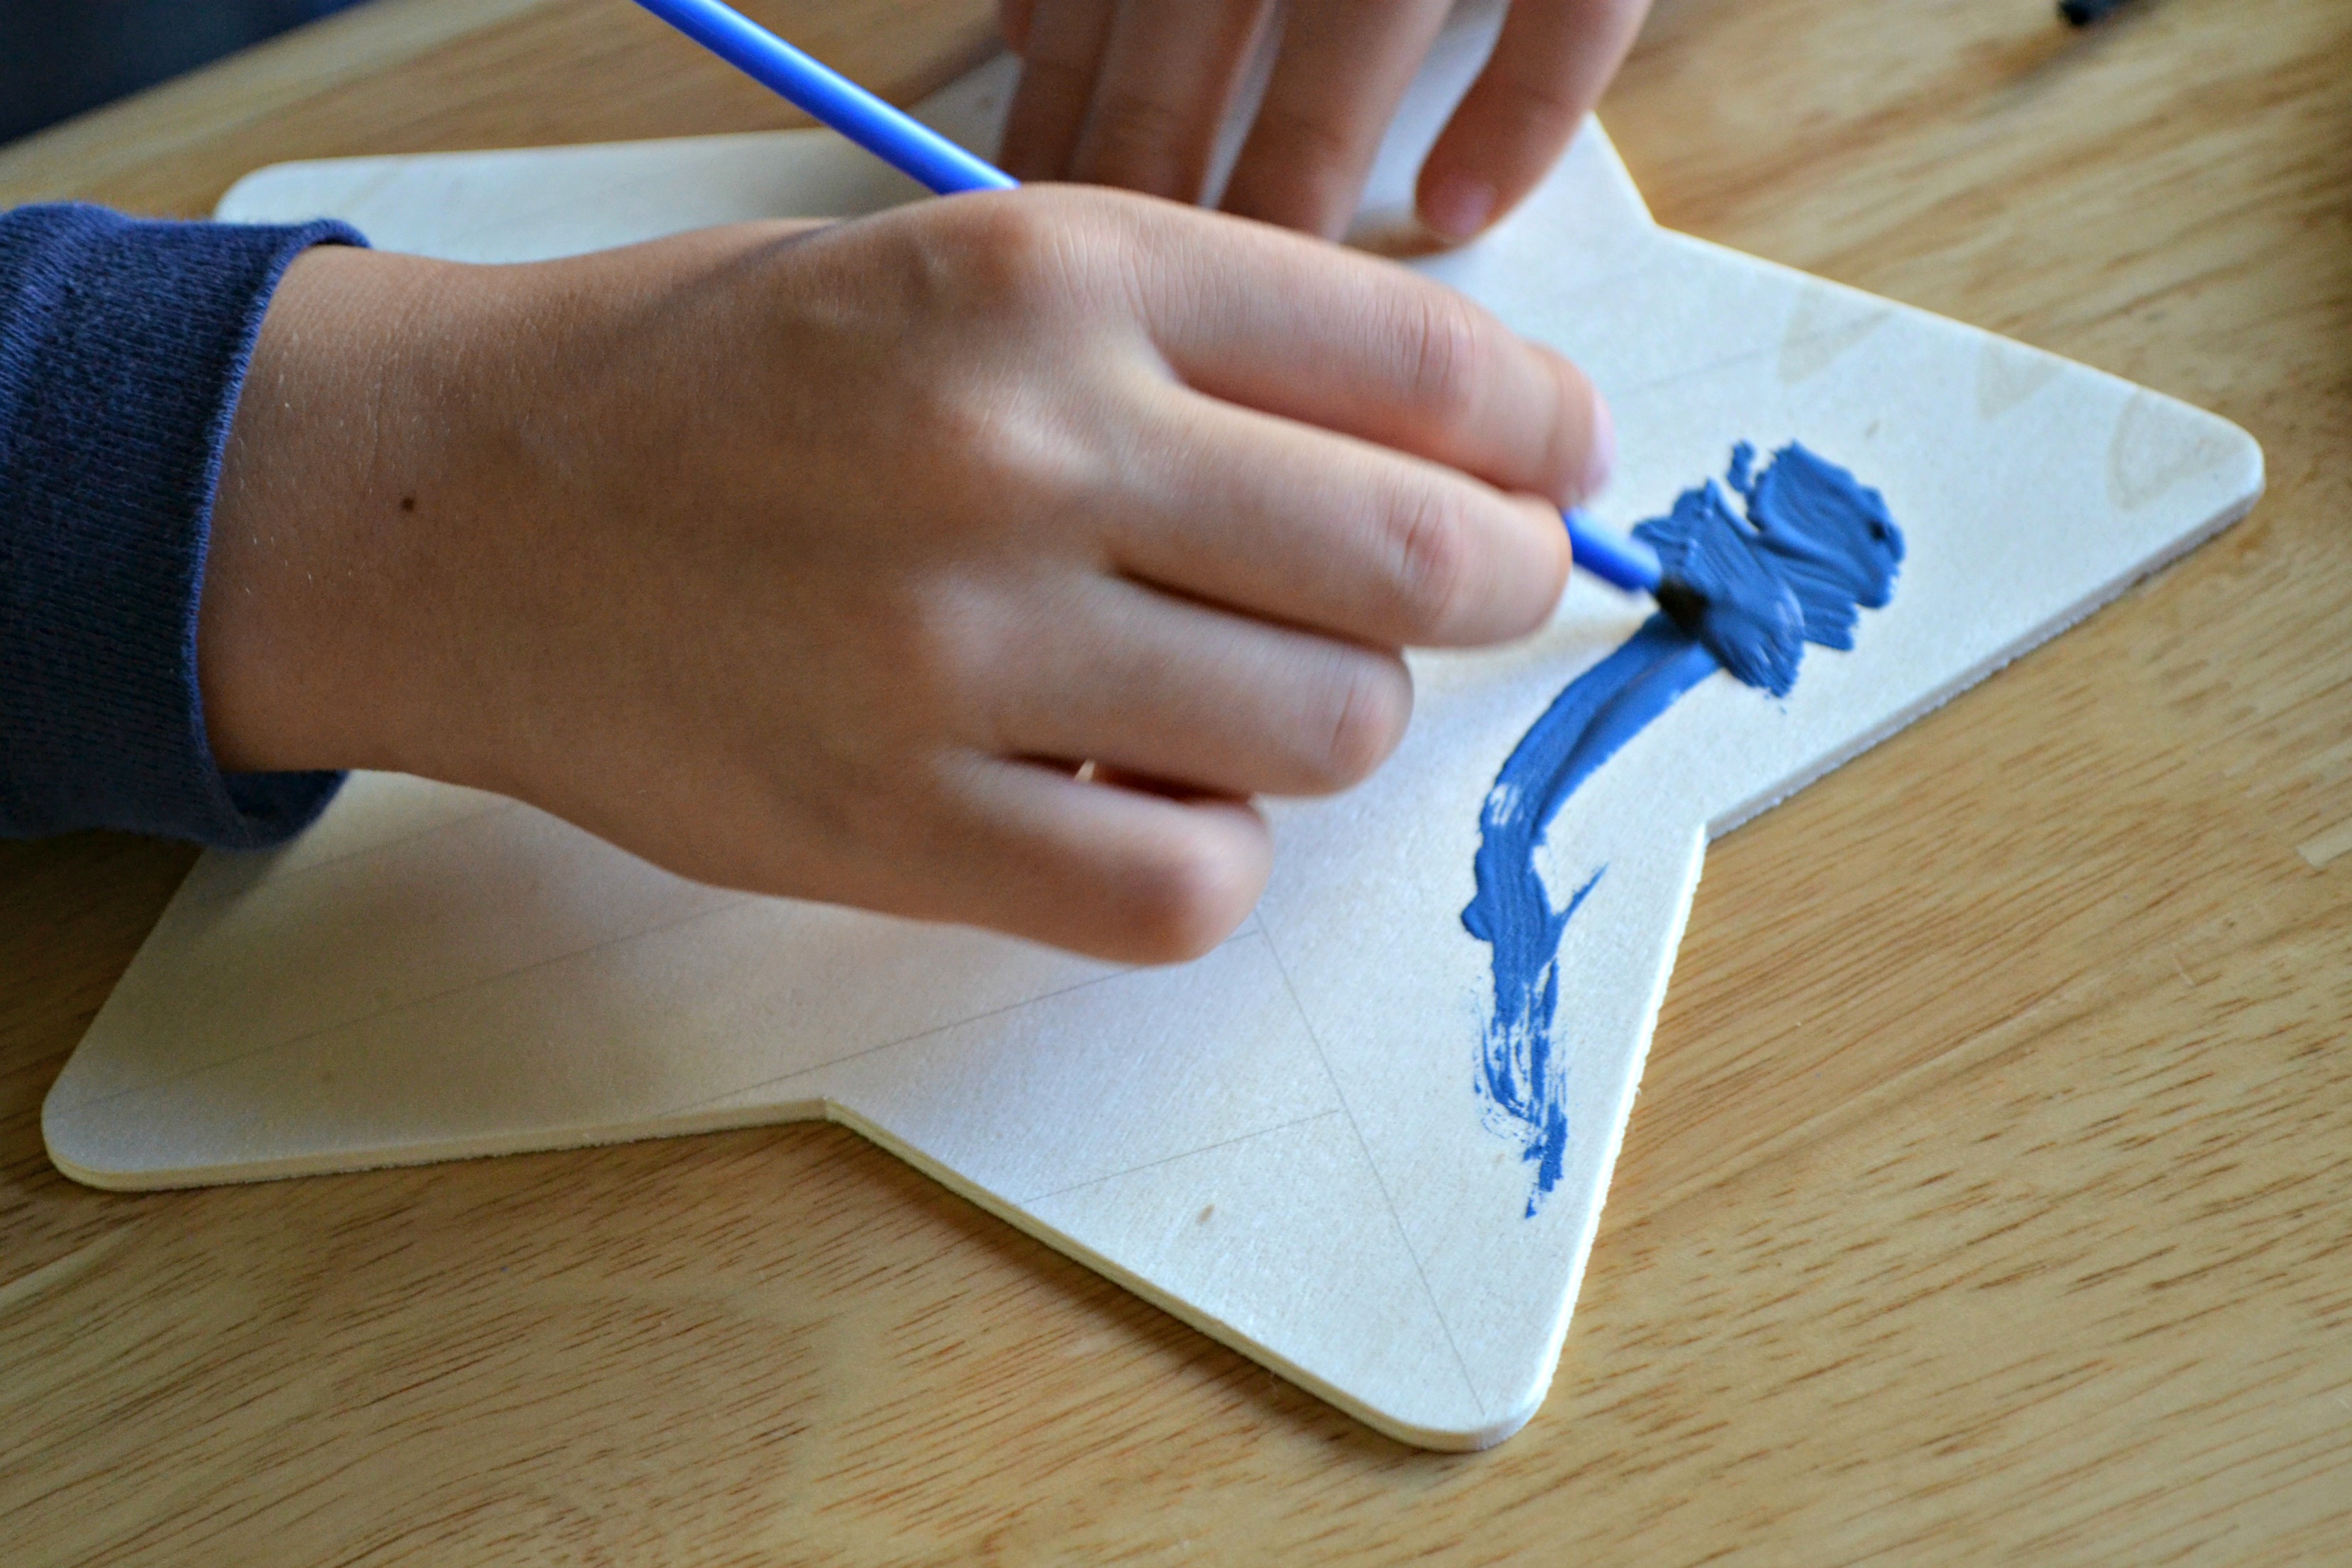
Step 5
My 5-year-old painted our wooden star into a flag design that I drew on with a pencil and ruler. He was very proud of his star.
Step 6
While he was painting, my 7-year-old worked on giving our wreath a "hair cut" to even out the fabric strips. We ended up trimming off a lot of ours, but it's really up to your personal preference.
Step 7
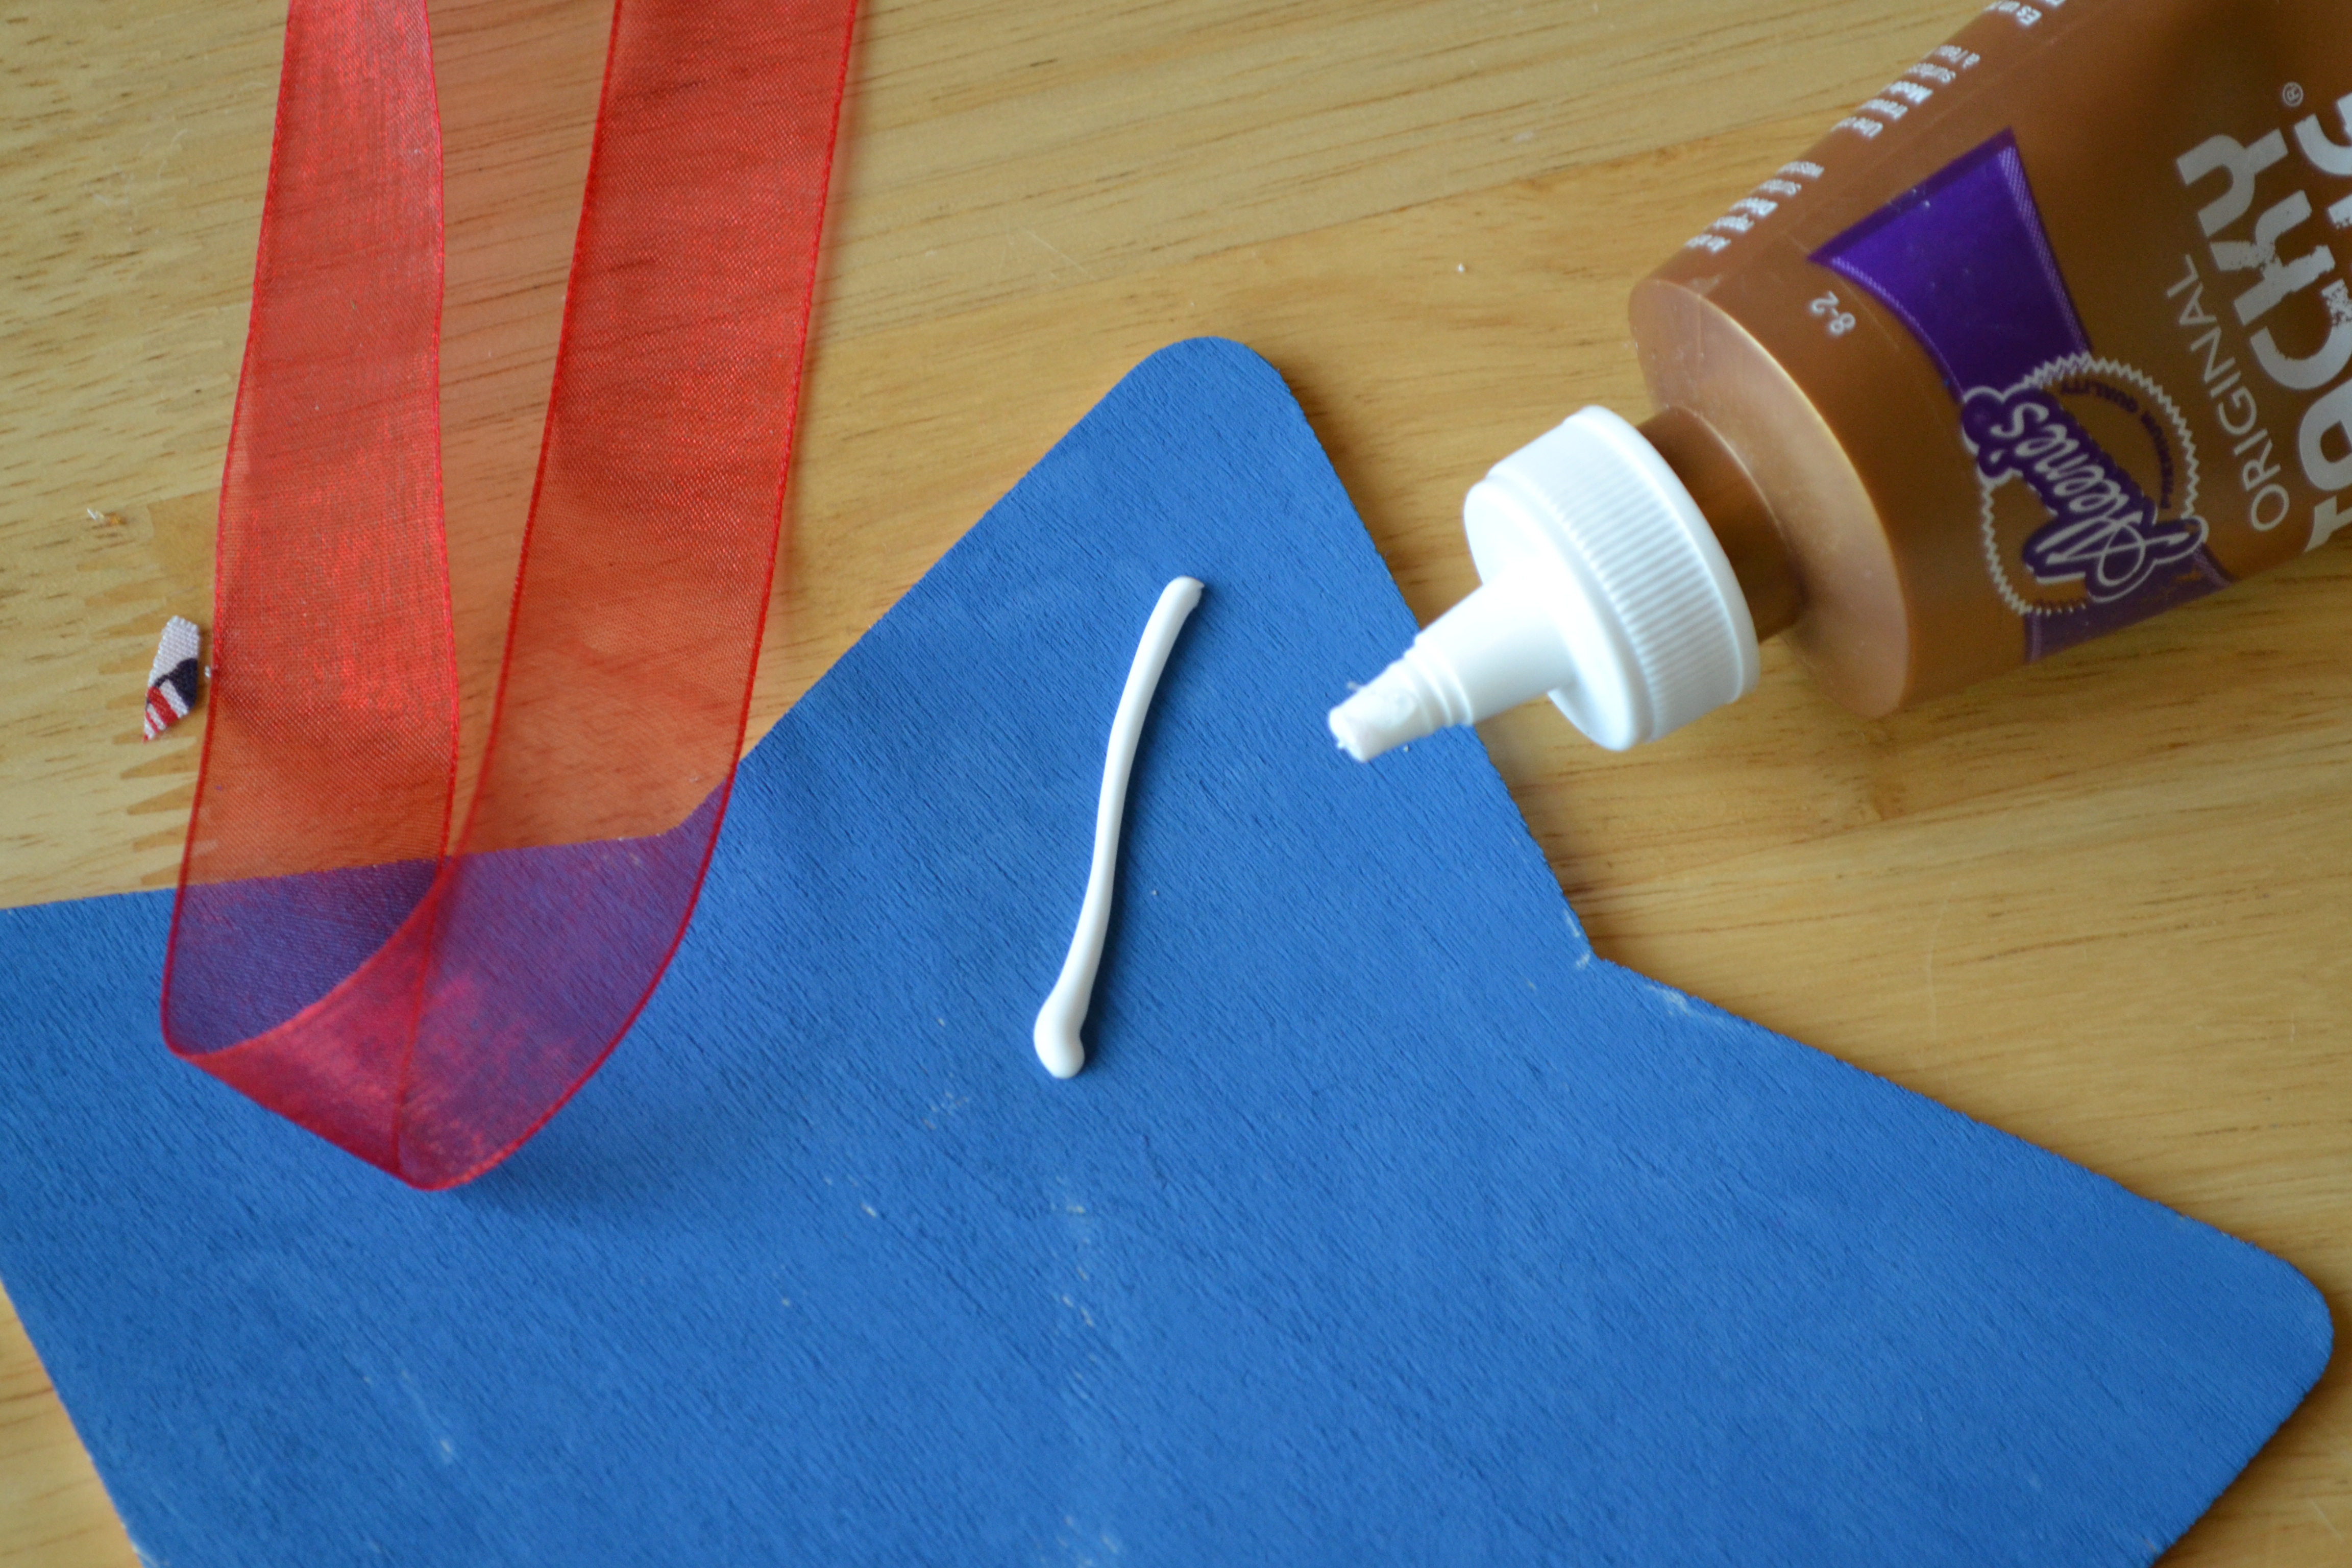
Once the star finished drying, we used tacky glue to attach a red ribbon to our star. It took a few minutes to dry completely and the kids couldn't wait to attach it to the wreath.
Done!
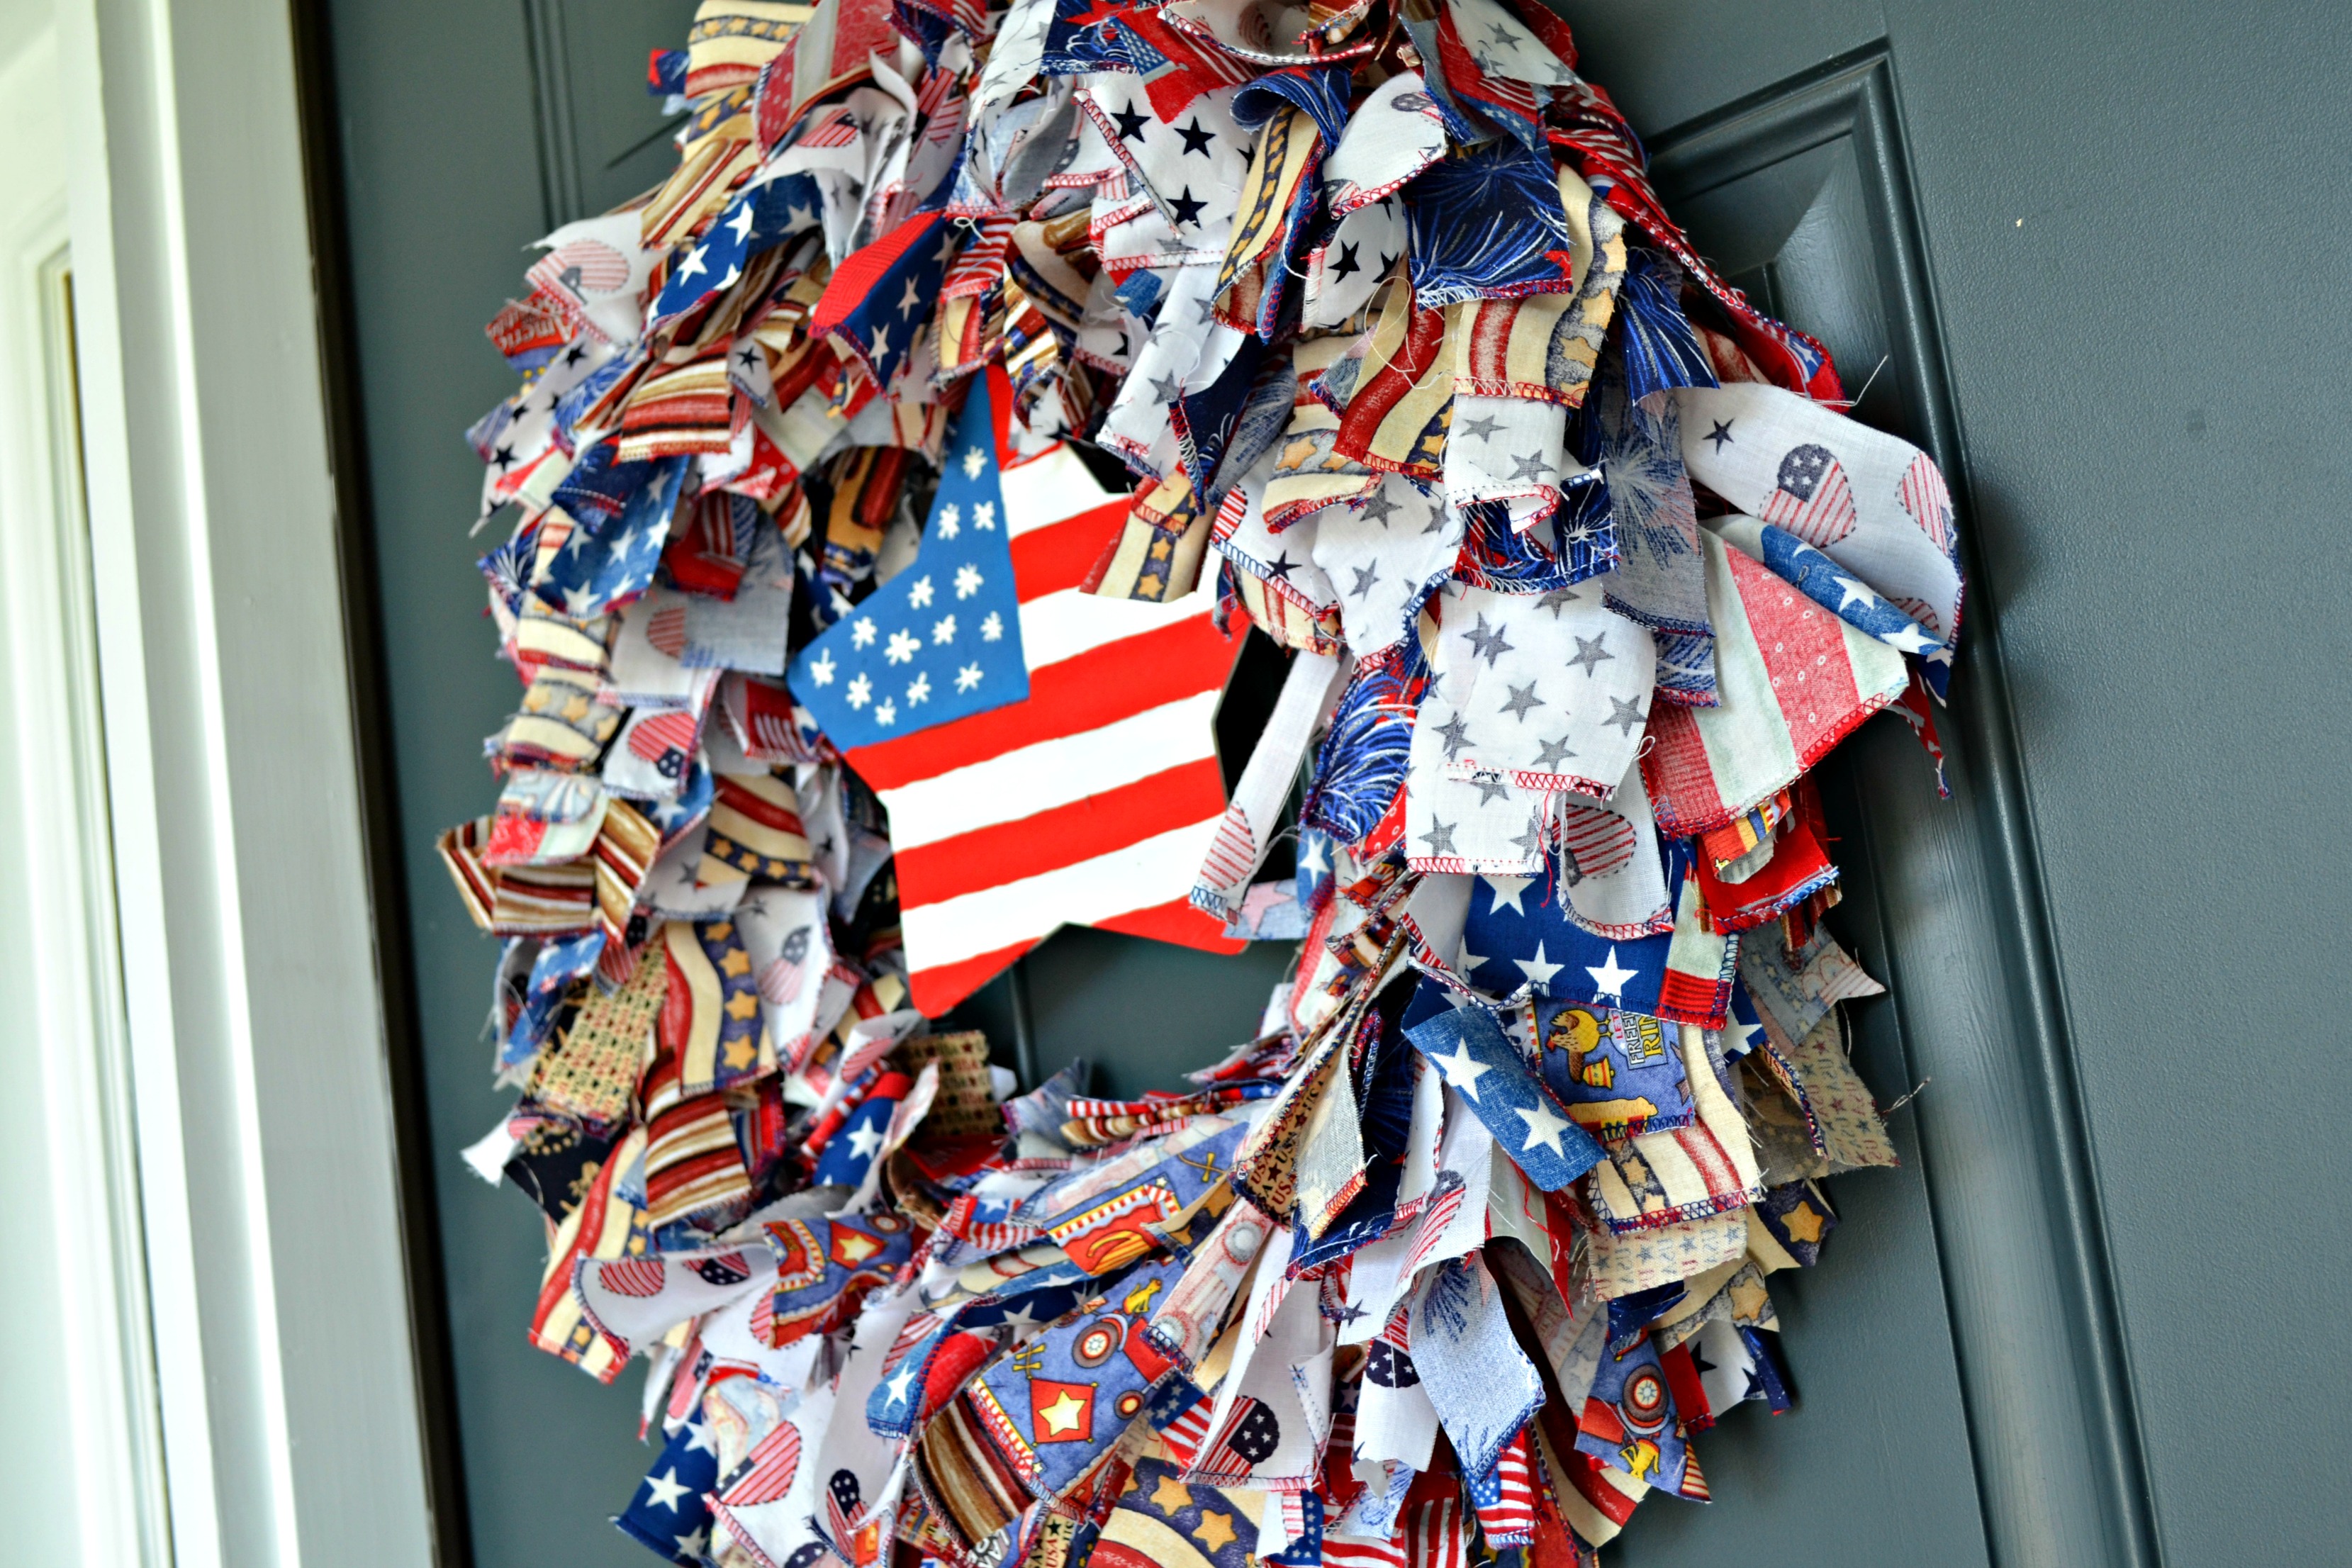
We tied our star to the top middle of the wreath and hung it on the front door just in time for our 4th of July celebrations! The kids were so proud to show all our guests their homemade creation!


