
Step-by-step tutorial
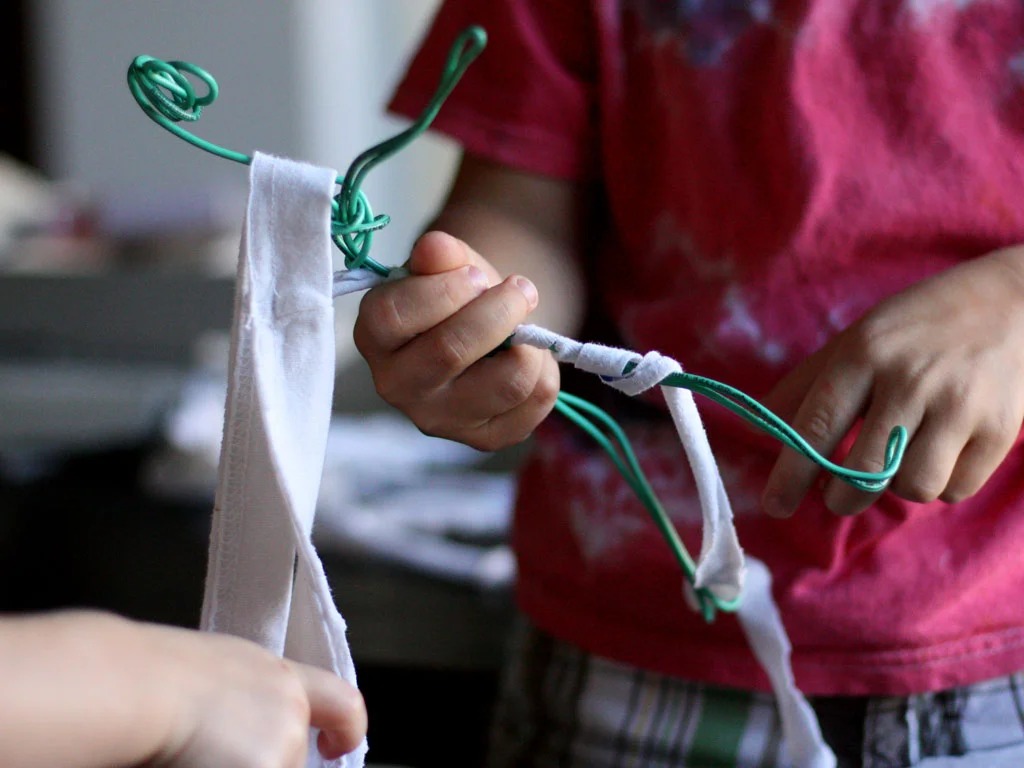
Step 1
Bend the wire into the shape of a figure. (Depending on your child's age, you may need to help him or her with this.)


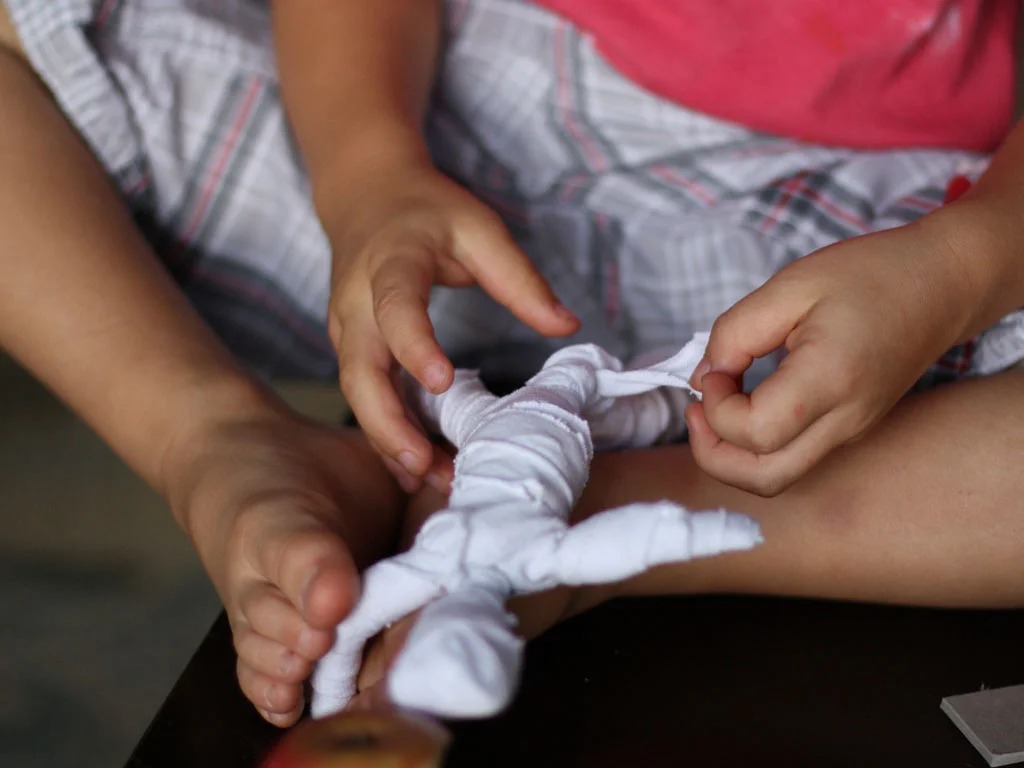
Step 2
I cut up some strips of old fabric then tied a knot of fabric around the wire waist. My four-year old then took over wrapping the mummy. She wrapped the fabric around the wire in multiple angles and directions.
Step 3
Create multiple layers to make your mummy thicker, or fewer layers if you want your mummy to be skinnier. Once my daughter finished making the mummy, she added a dab of glue to the end of the fabric and tucked the end into the "gauze." (You can also just tie the end of the fabric around the mummy.)
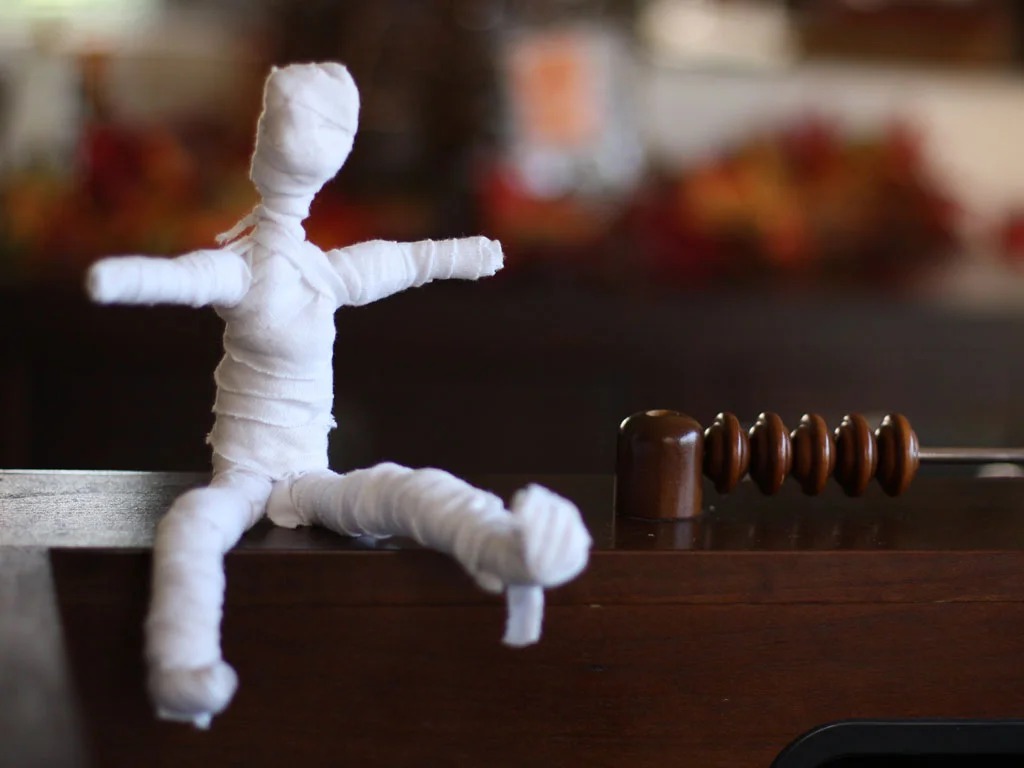
Step 4
She loved repositioning her mummy mannequin and moving him (her? it?) around the house!
Learn more

Your kids have probably seen mummies in movies or books, but they may not know the reason why mummies are wrapped in what looks like toilet paper. Way back when, in ancient Egypt and in other cultures, mummification was used to preserve bodies after death. Human bodies are a lot like fruits and vegetables. A couple days after they’re picked, they start to get brown and moly. This process is called decomposition. The same process happens to human bodies after death. So in order to keep a body fresh, Egyptians relied on a special ingredient called natron salt. Salt is made of two elements: sodium and chloride. They work together to remove water out of cells and kill tiny organisms that cause things to decompose.
During the mummification process, Egyptians would soak or cover the body in natron salt for about a month to remove as much water as possible. The dryer the body, the longer it would last after burial. To keep water and bacteria from returning, Egyptians would wrap the body in bandages, giving the appearance of the mummies we see in movies and books today!
For more fun facts, check out this NatGeo Kids post: How to Make a Mummy!


