Step-by-step tutorial
Step 1
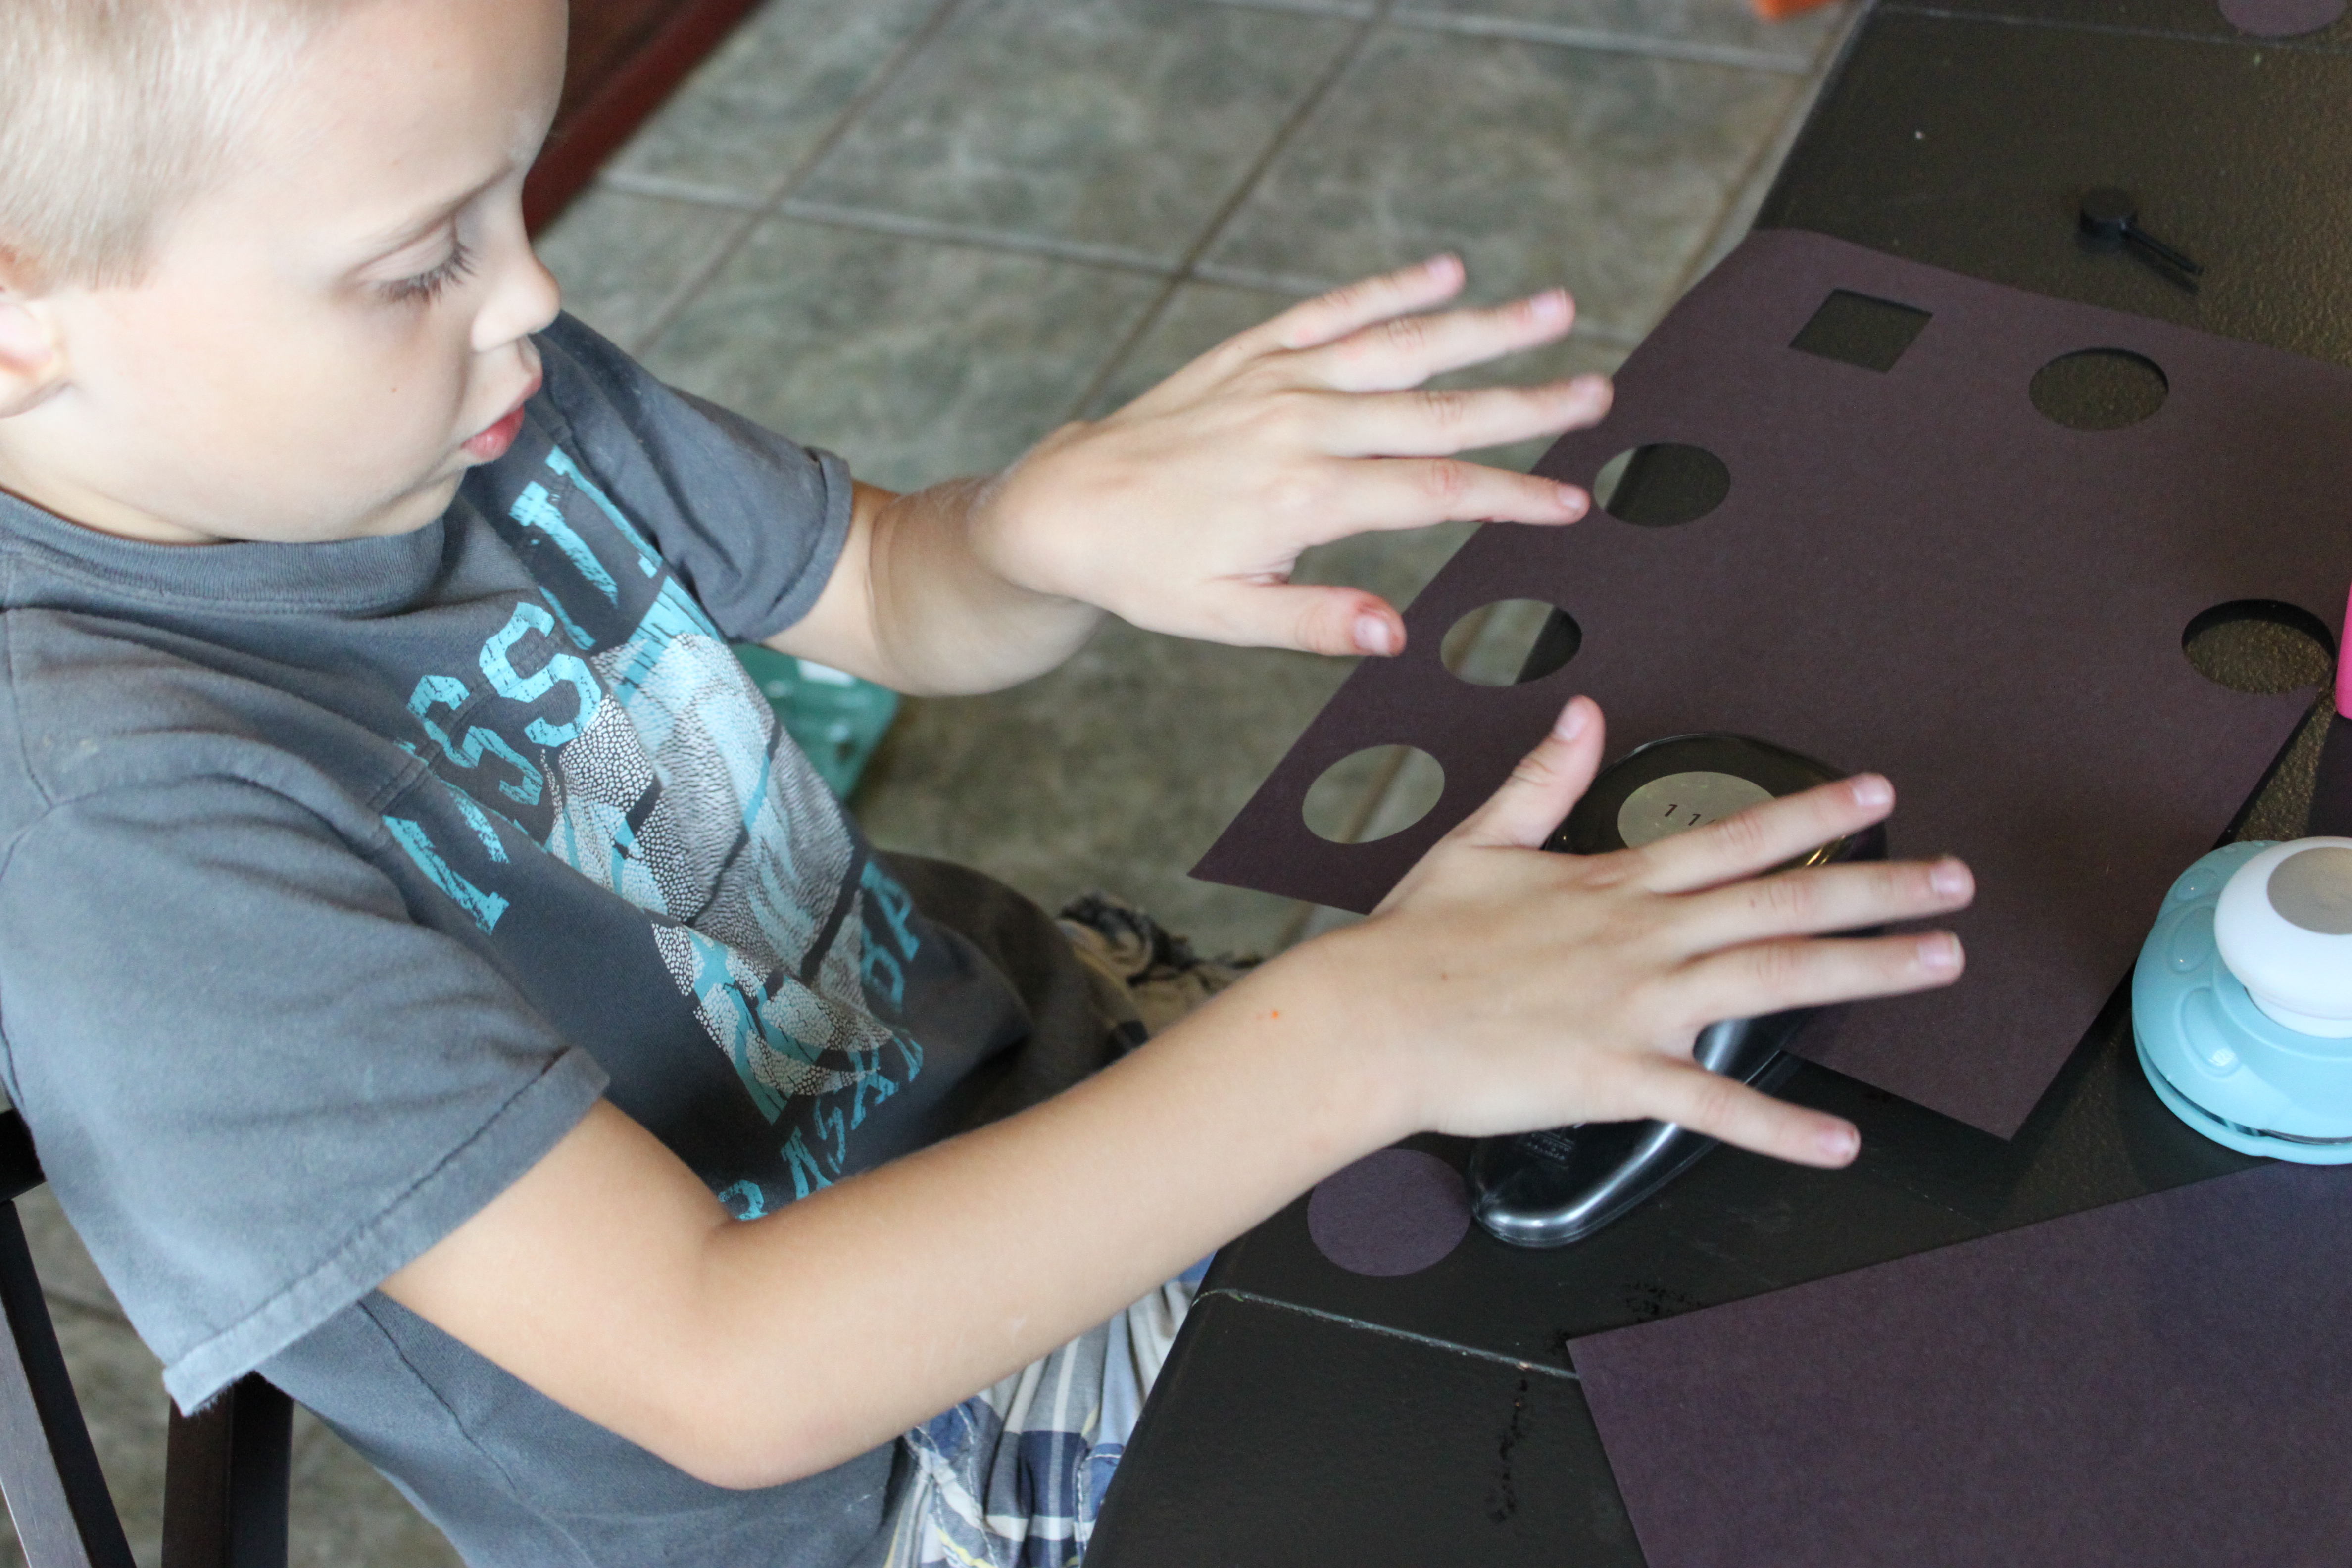
Cut out different shapes from black construction paper. We used circles, squares, and triangles. The shapes don't have to be perfect. Let your child trace and cut them out himself or have your older child use a paper puncher like we did to prepare all of the shapes. (This was my five-year-old's favorite part of the project.) We also talked about how you can cut squares diagonally to make triangles.

Step 2
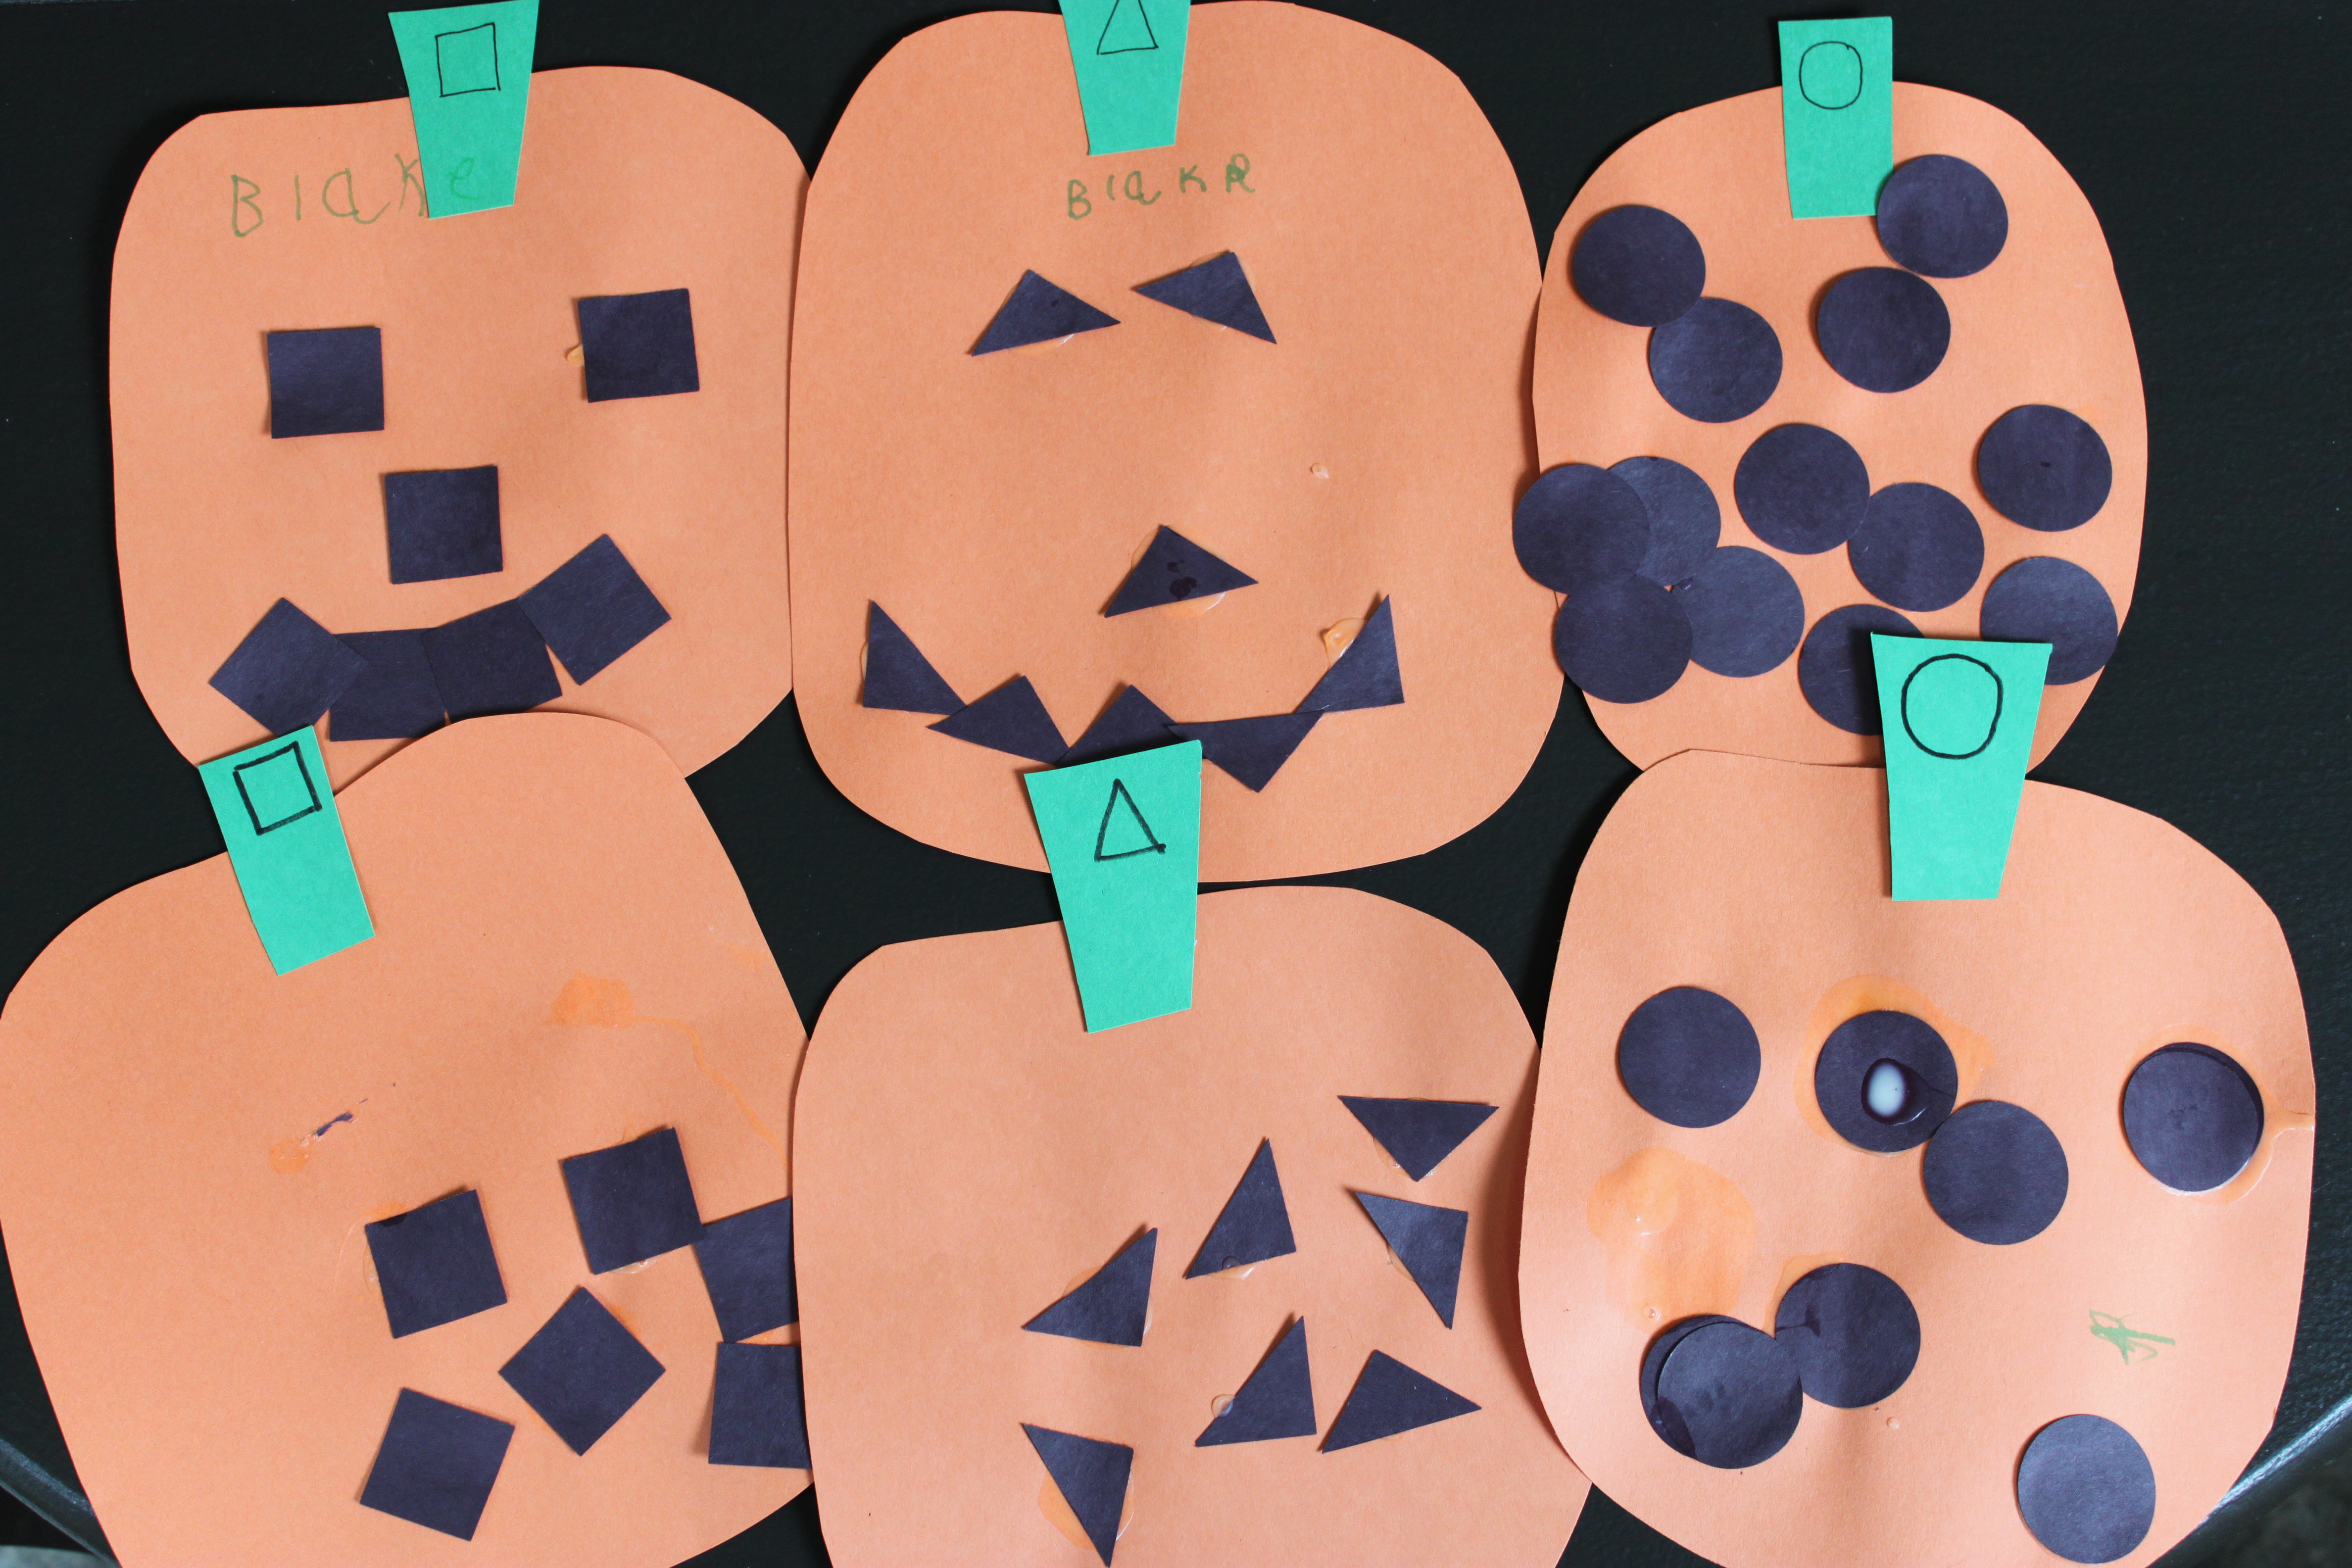
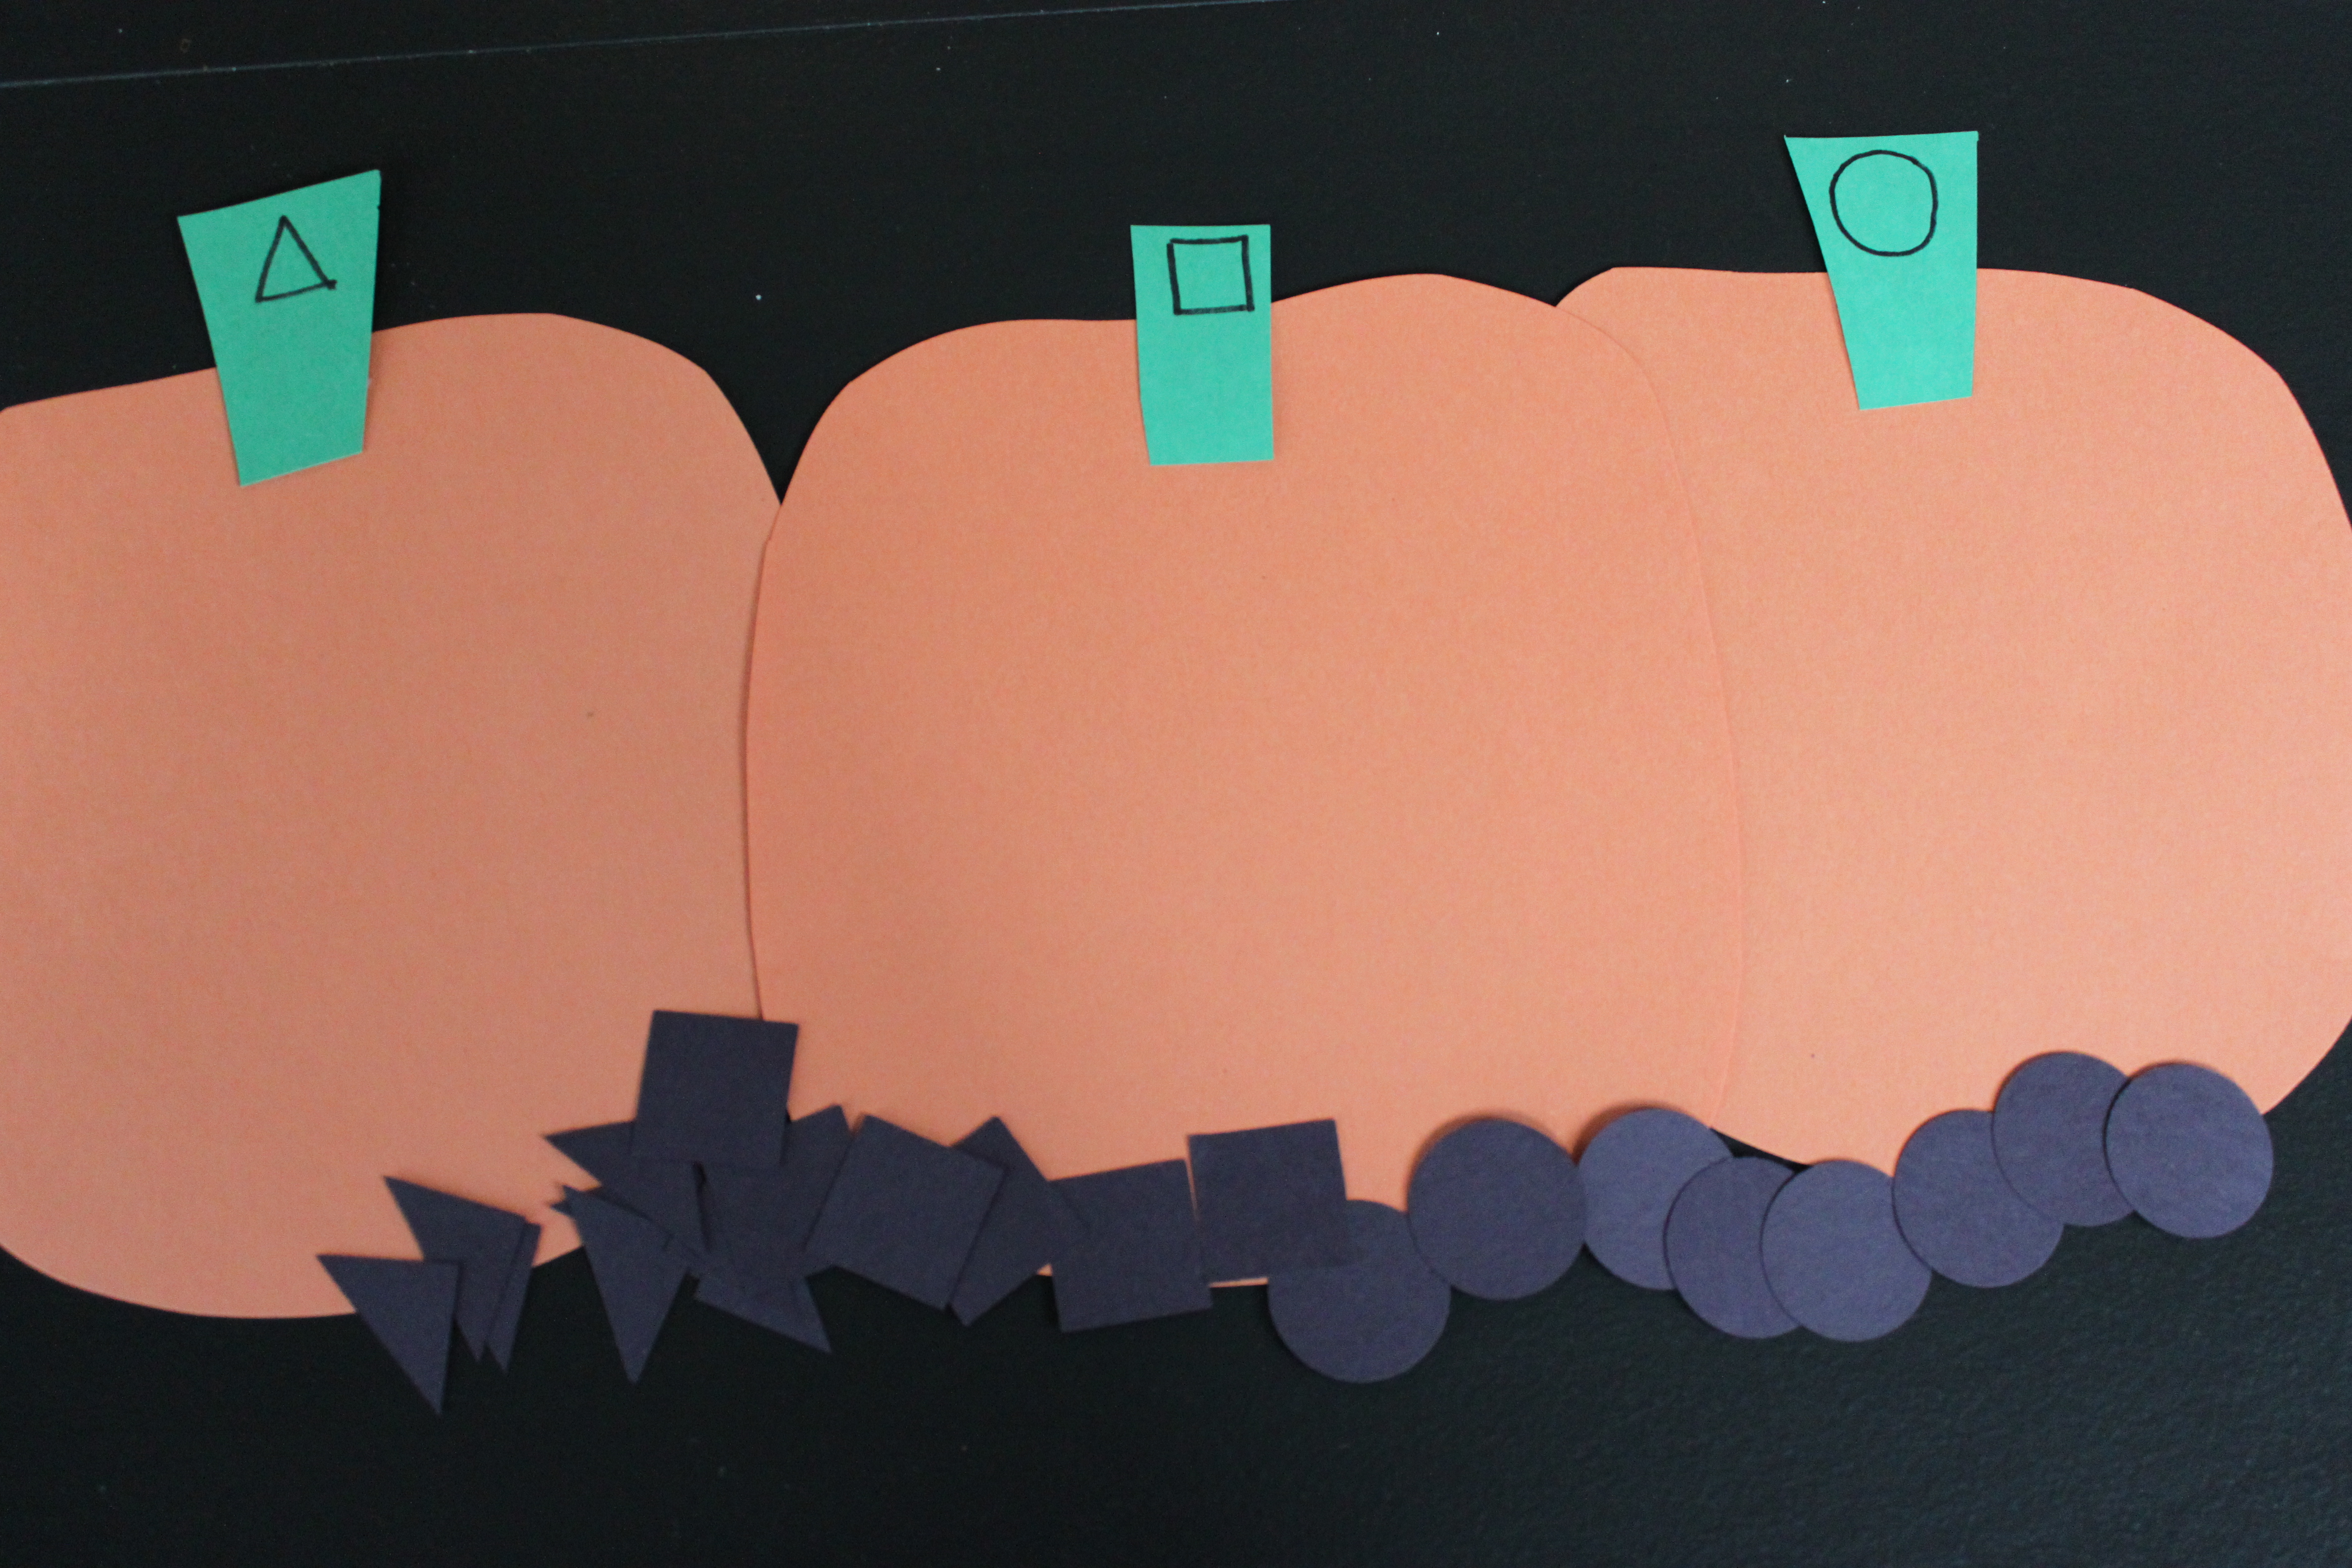
I drew a shape on the stem of each pumpkin and Natalie sorted the shapes first. Then, we glued the shapes on the matching pumpkin.
Step 3
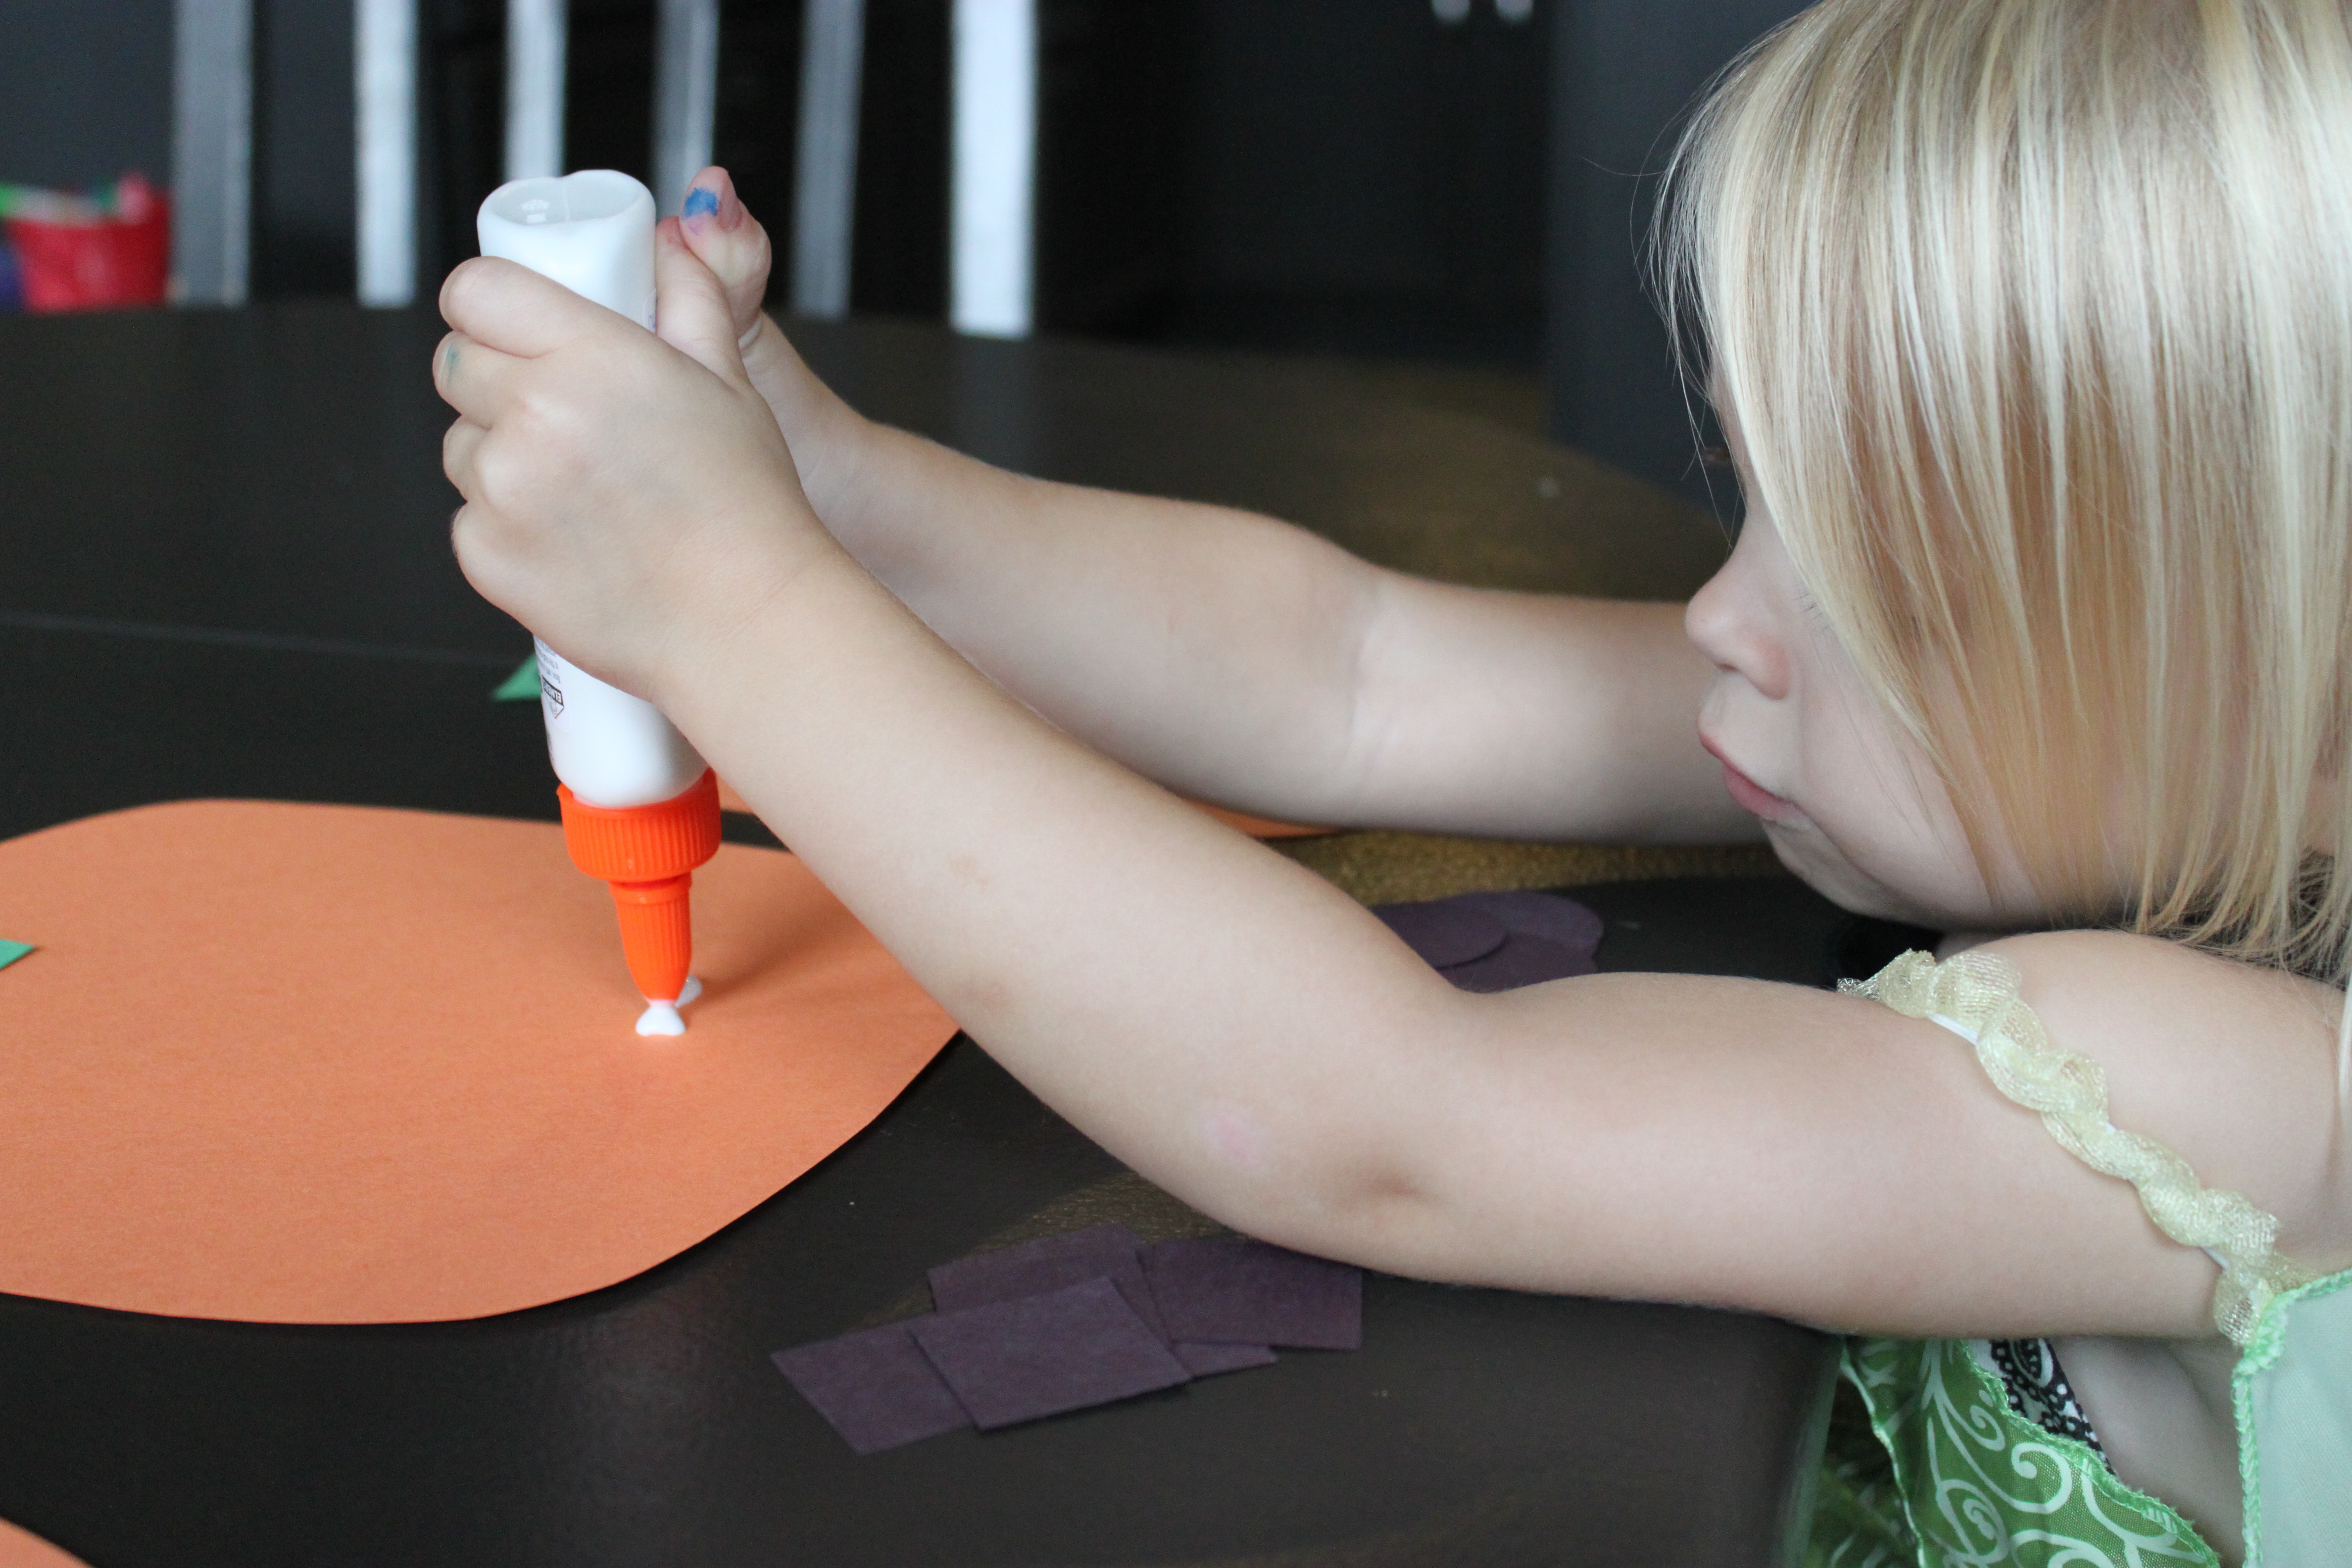
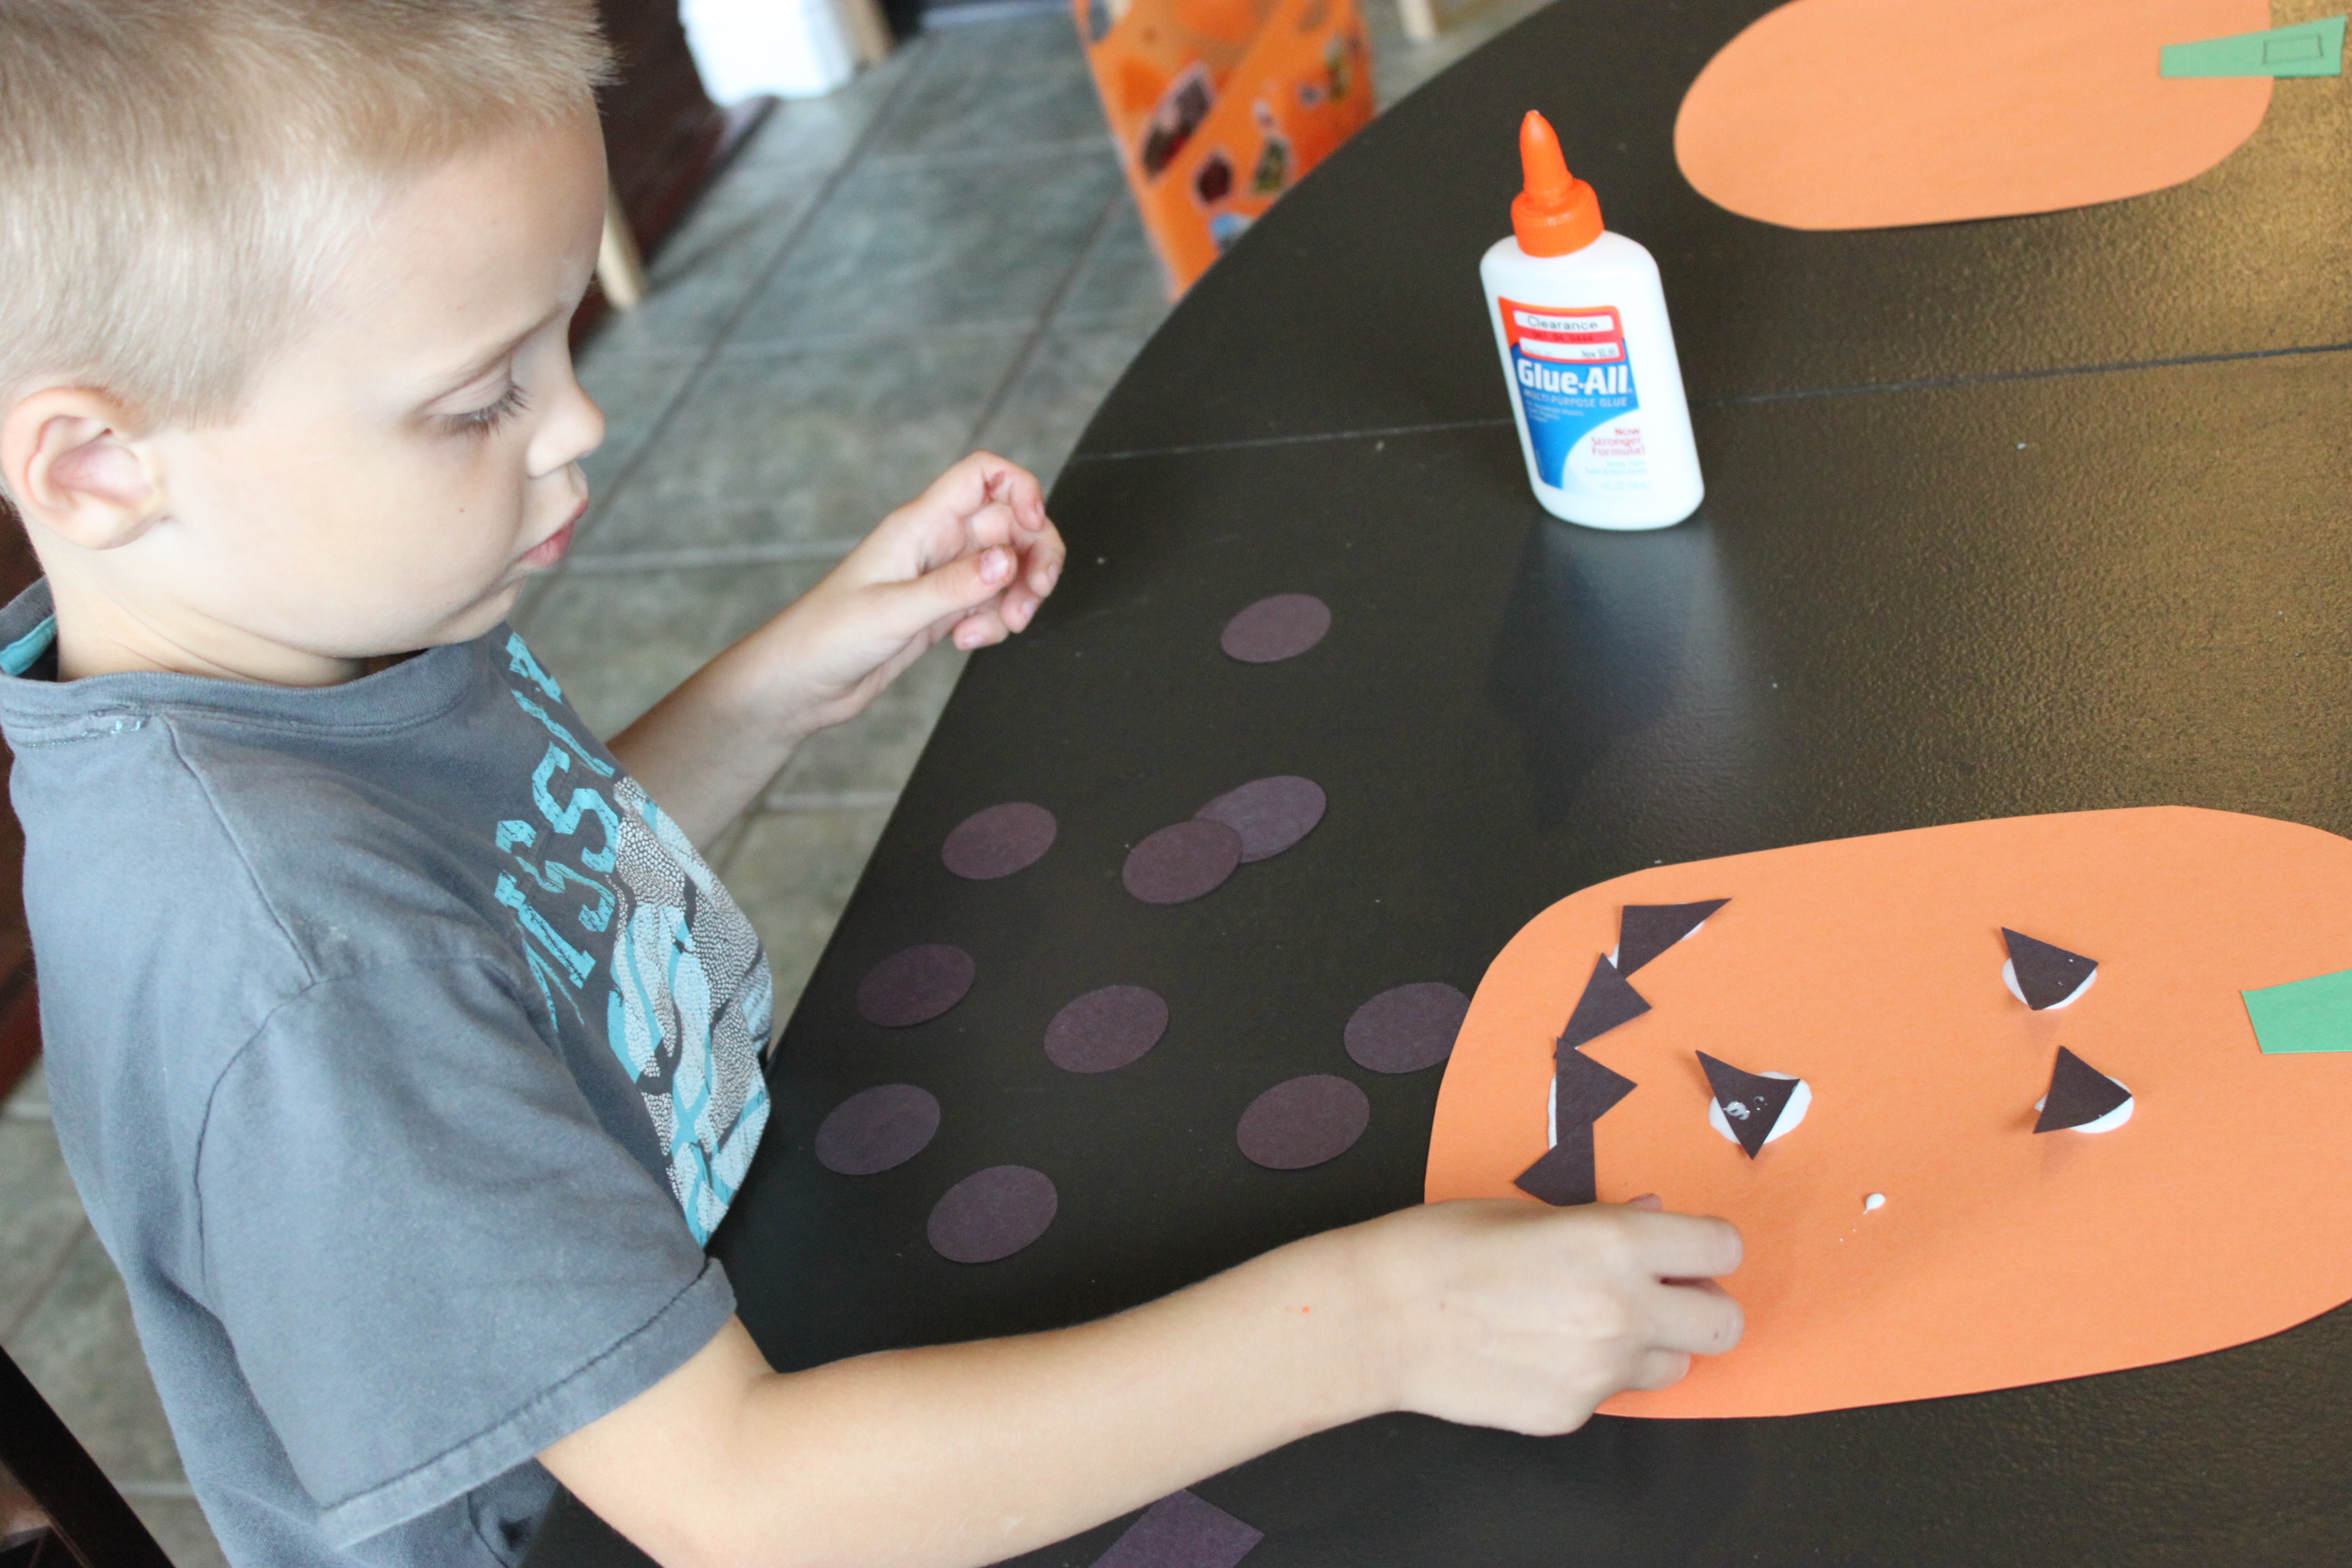
Natalie decided to use her shapes in a collage. She is just experimenting with how much glue she can get onto the paper right now while Blake got creative and used his shapes to make faces on the pumpkins.
Done!
This is our final product. The kids were so proud of what they made! We hung their creations up on the door to get ready for Halloween.