Step-by-step tutorial
Step 1
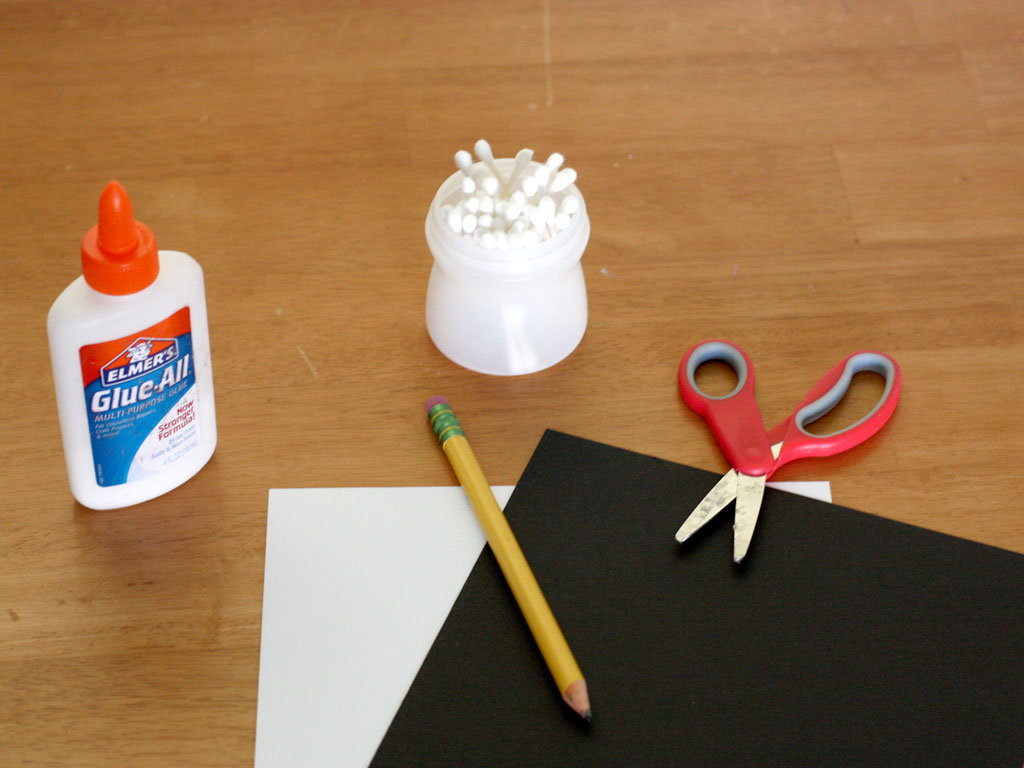
If you'd like, use a white piece of scratch paper and draw a skull. Cut out and glue the skull onto the black card stock.

Step 2
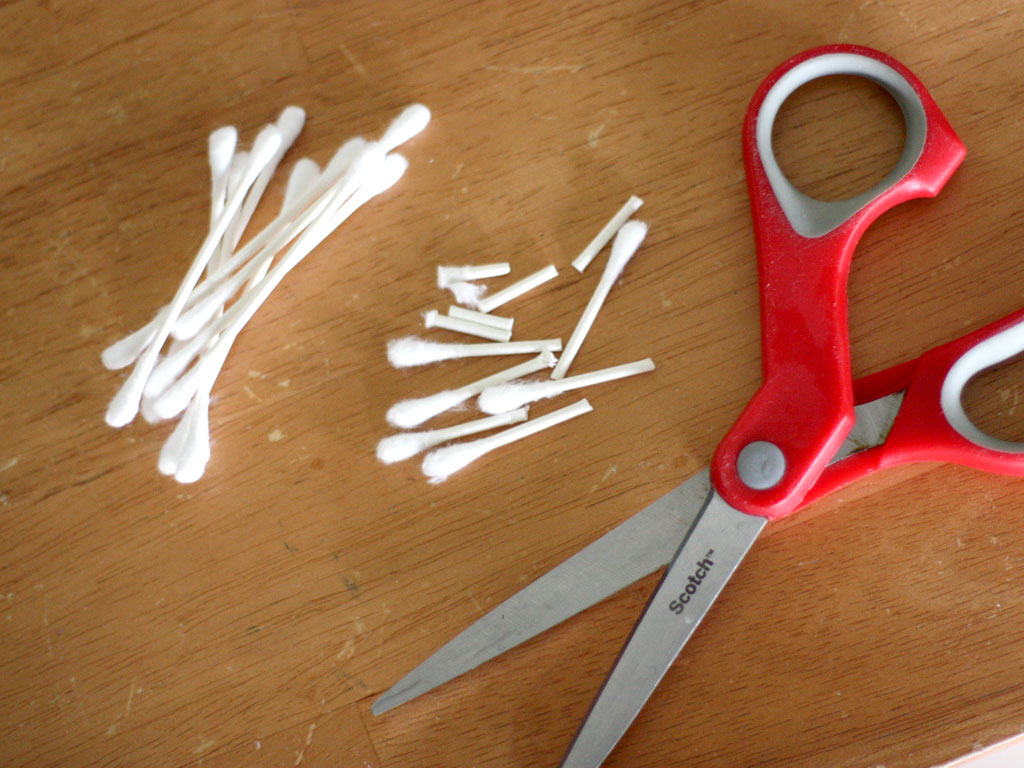
Take a few cotton swabs and cut them into various sizes. (I helped my kids with this step, since cutting the swabs can be difficult.) The cotton swabs are very thick and as I cut them they flew everywhere! The kids thought it was funny and enjoyed gathering the "bones" from the floor.
Step 3
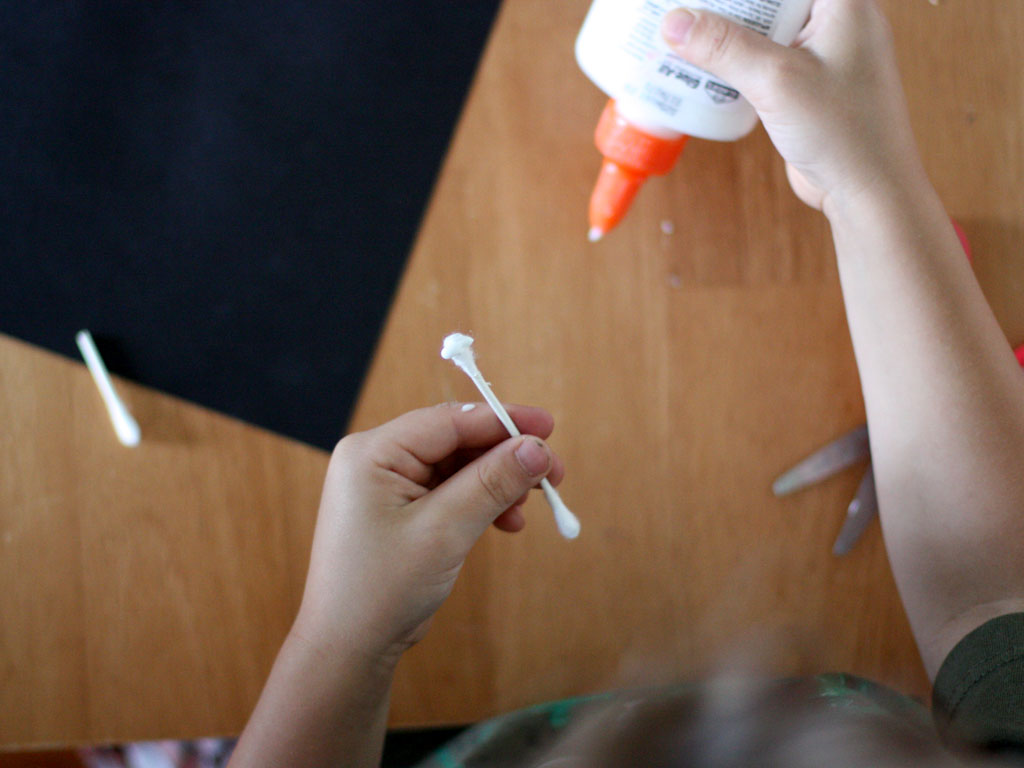
Have your child apply glue to the cotton swabs and begin to build the skeleton. You can also pour glue into a small dish and have your child dip the ends into the dish.
Step 4
We helped our four-year-old son place the first few bones in order to create some sort of frame for him to work within.

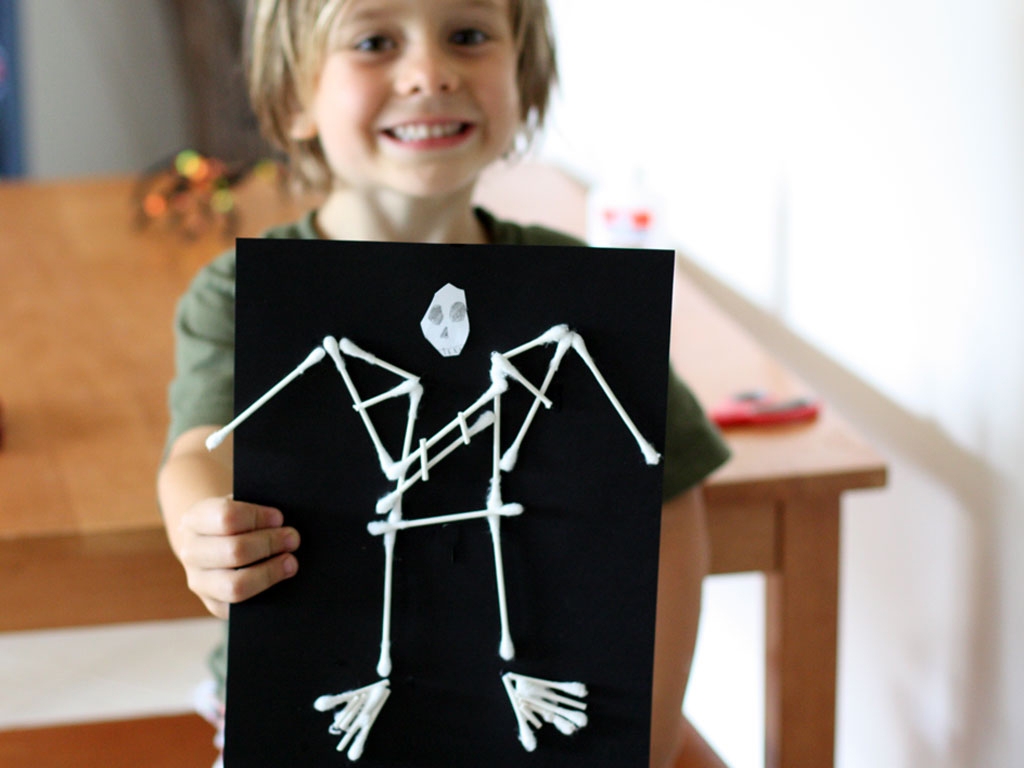
Done!
Then we let him do what he wanted, and we just love how his creation turned out. I definitely recommend cutting up different size cotton swabs because it was fun watching him problem solve where each size would fit best.


