Step-by-step tutorial
Step 1
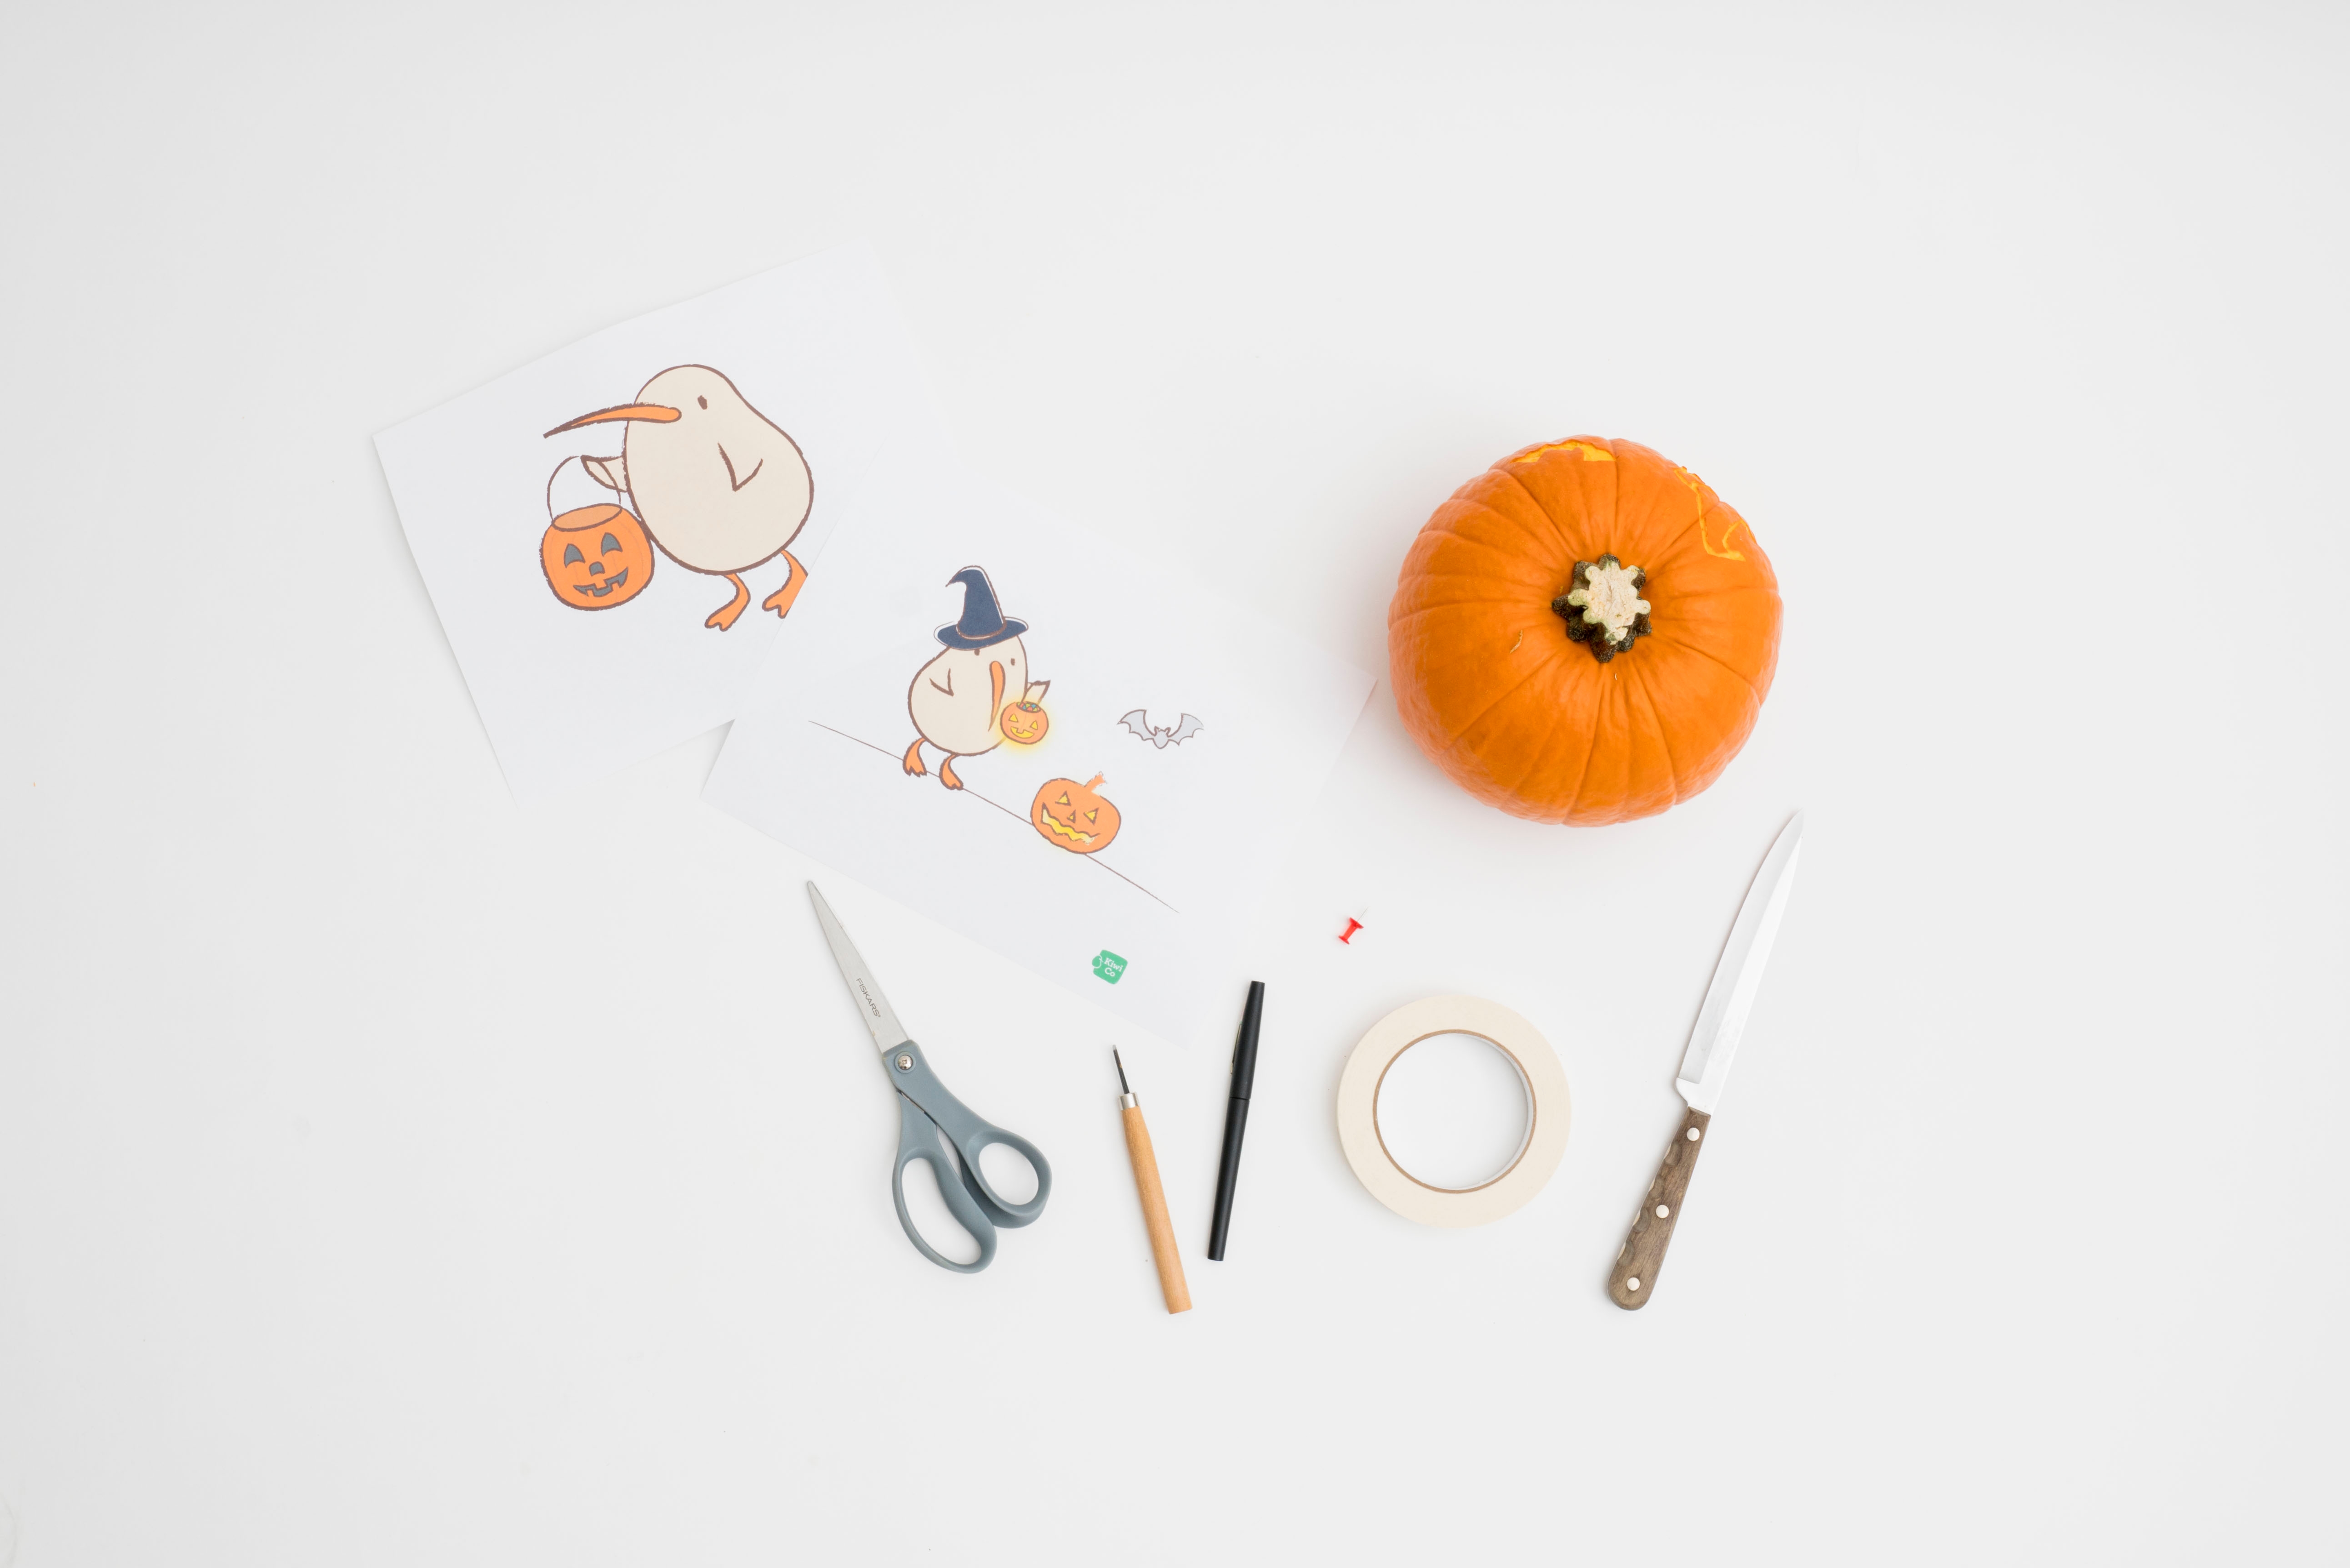
Gather your materials!

Step 2
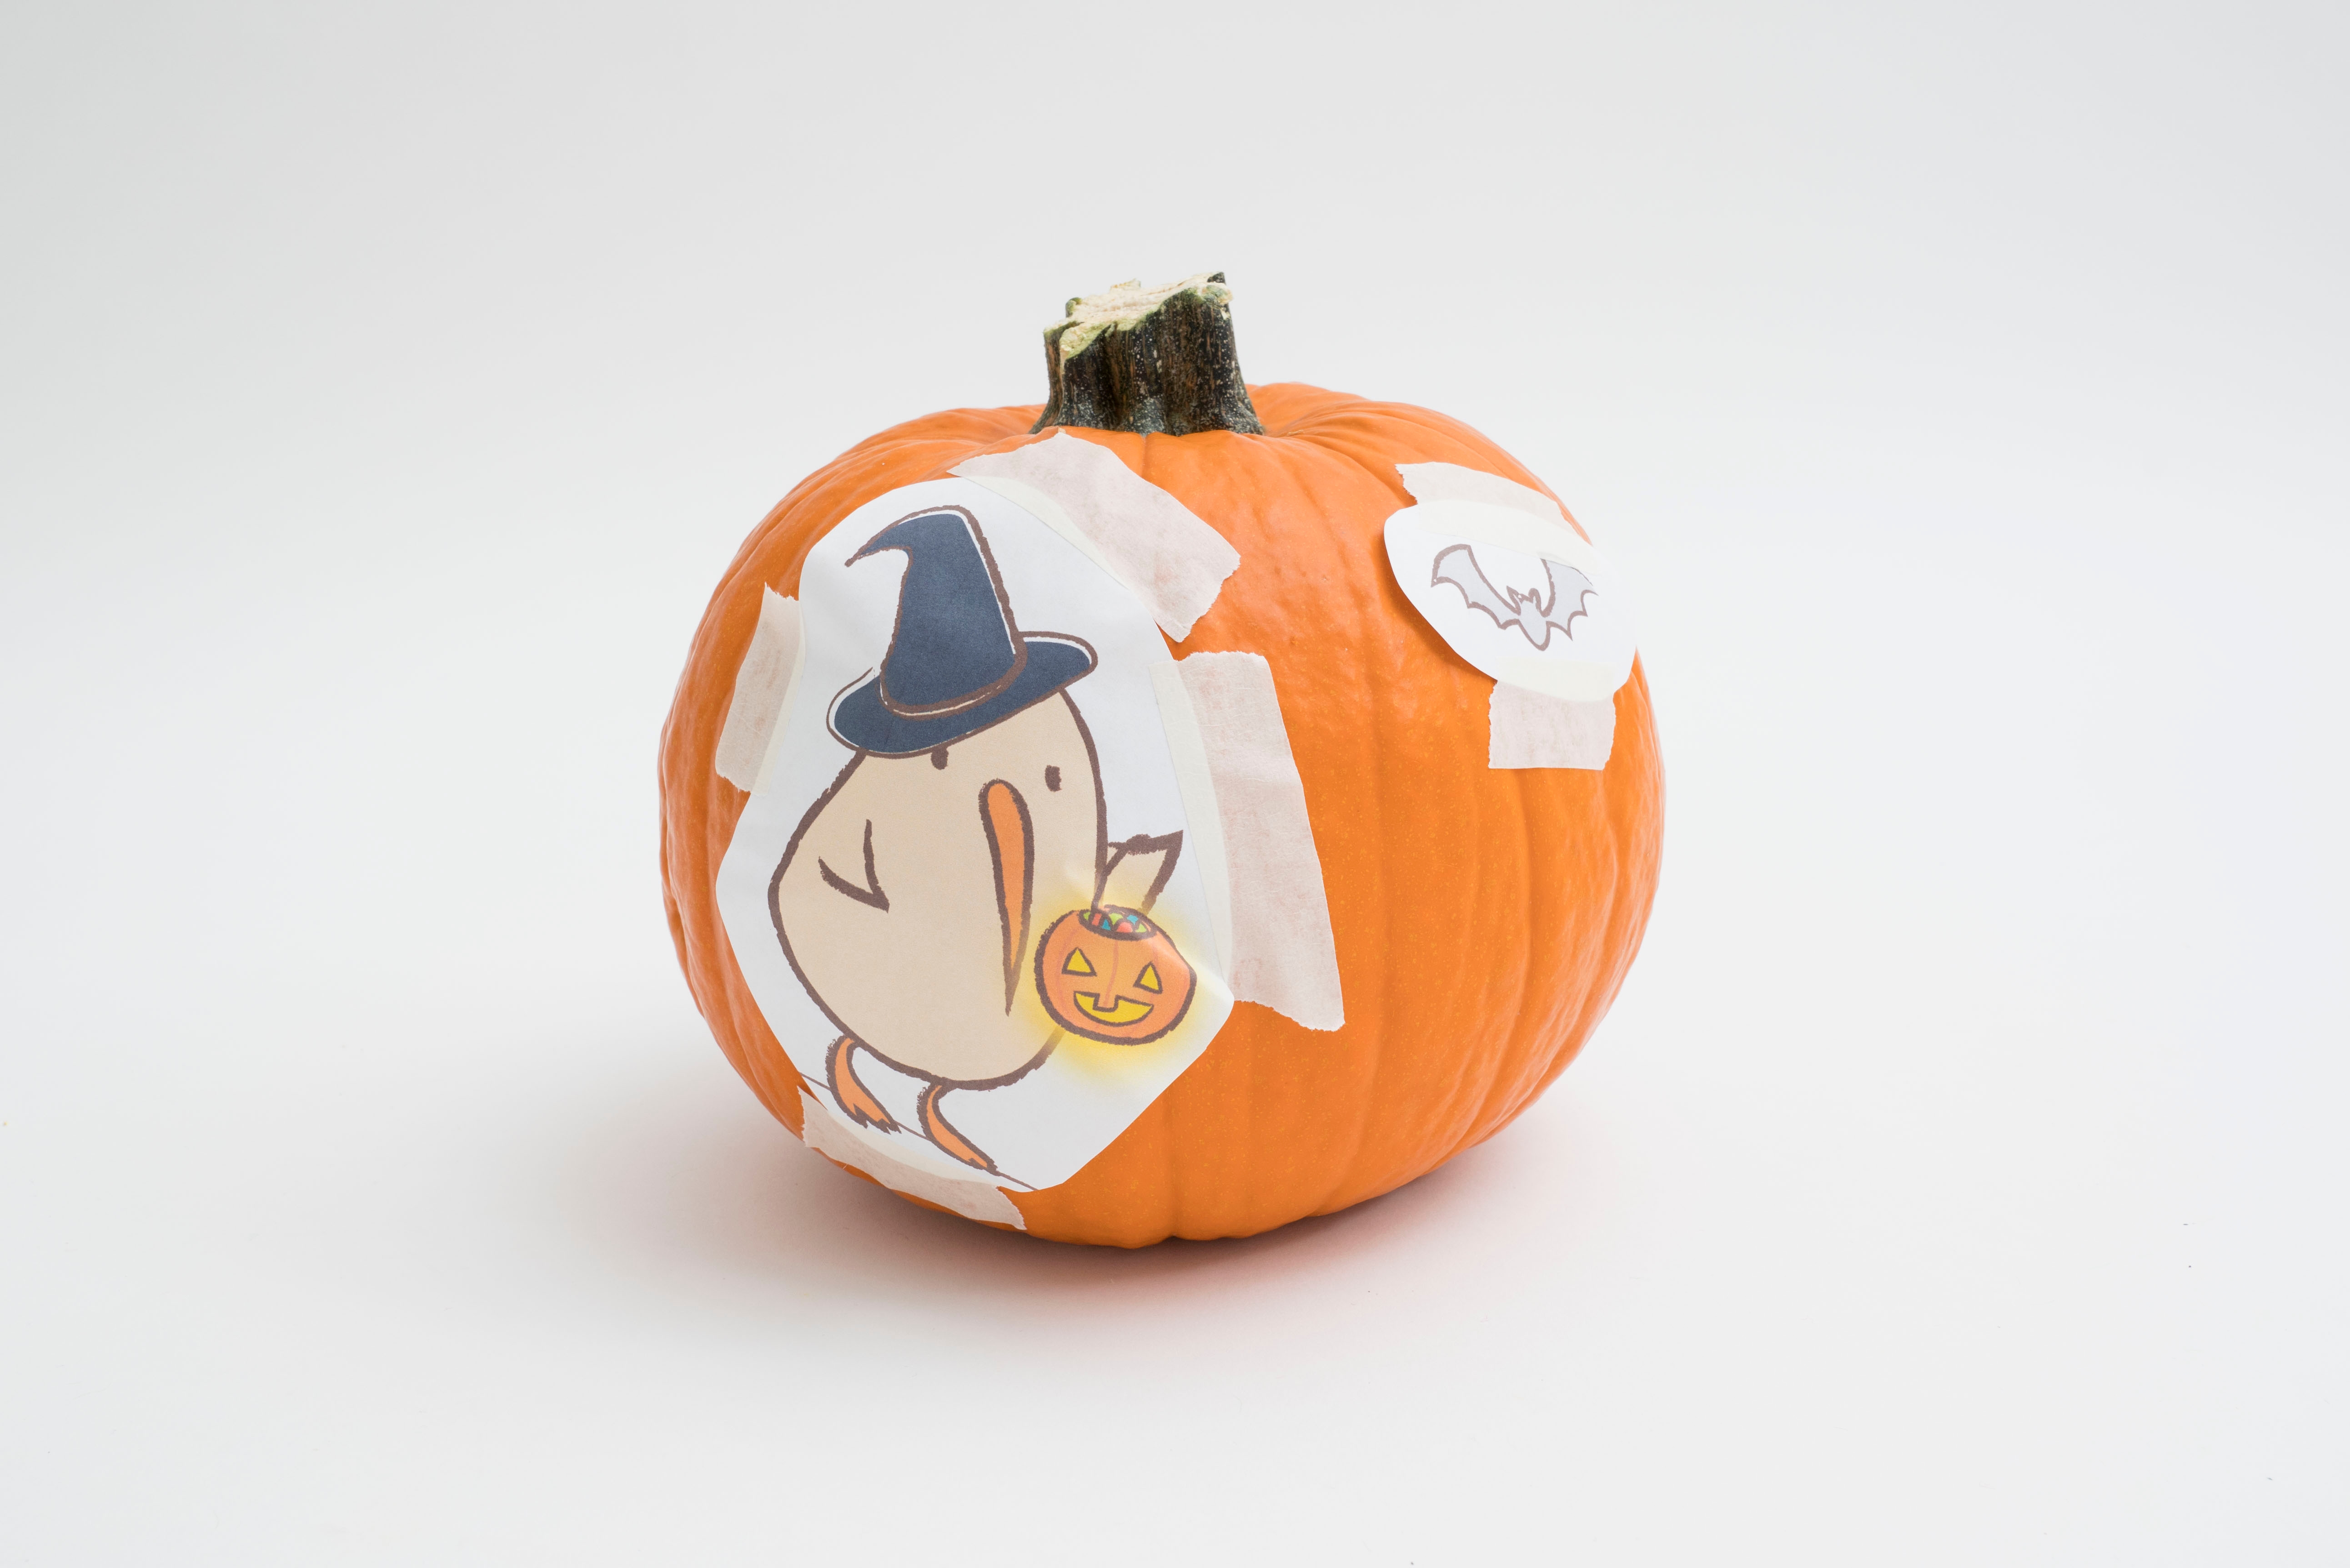
Cut out your design and tape it to a pumpkin. Or, draw your own design and skip to steps 5 or 6.
Step 3
Cut out your design and tape it to a pumpkin. Or, draw your own design and skip to steps 5 or 6.
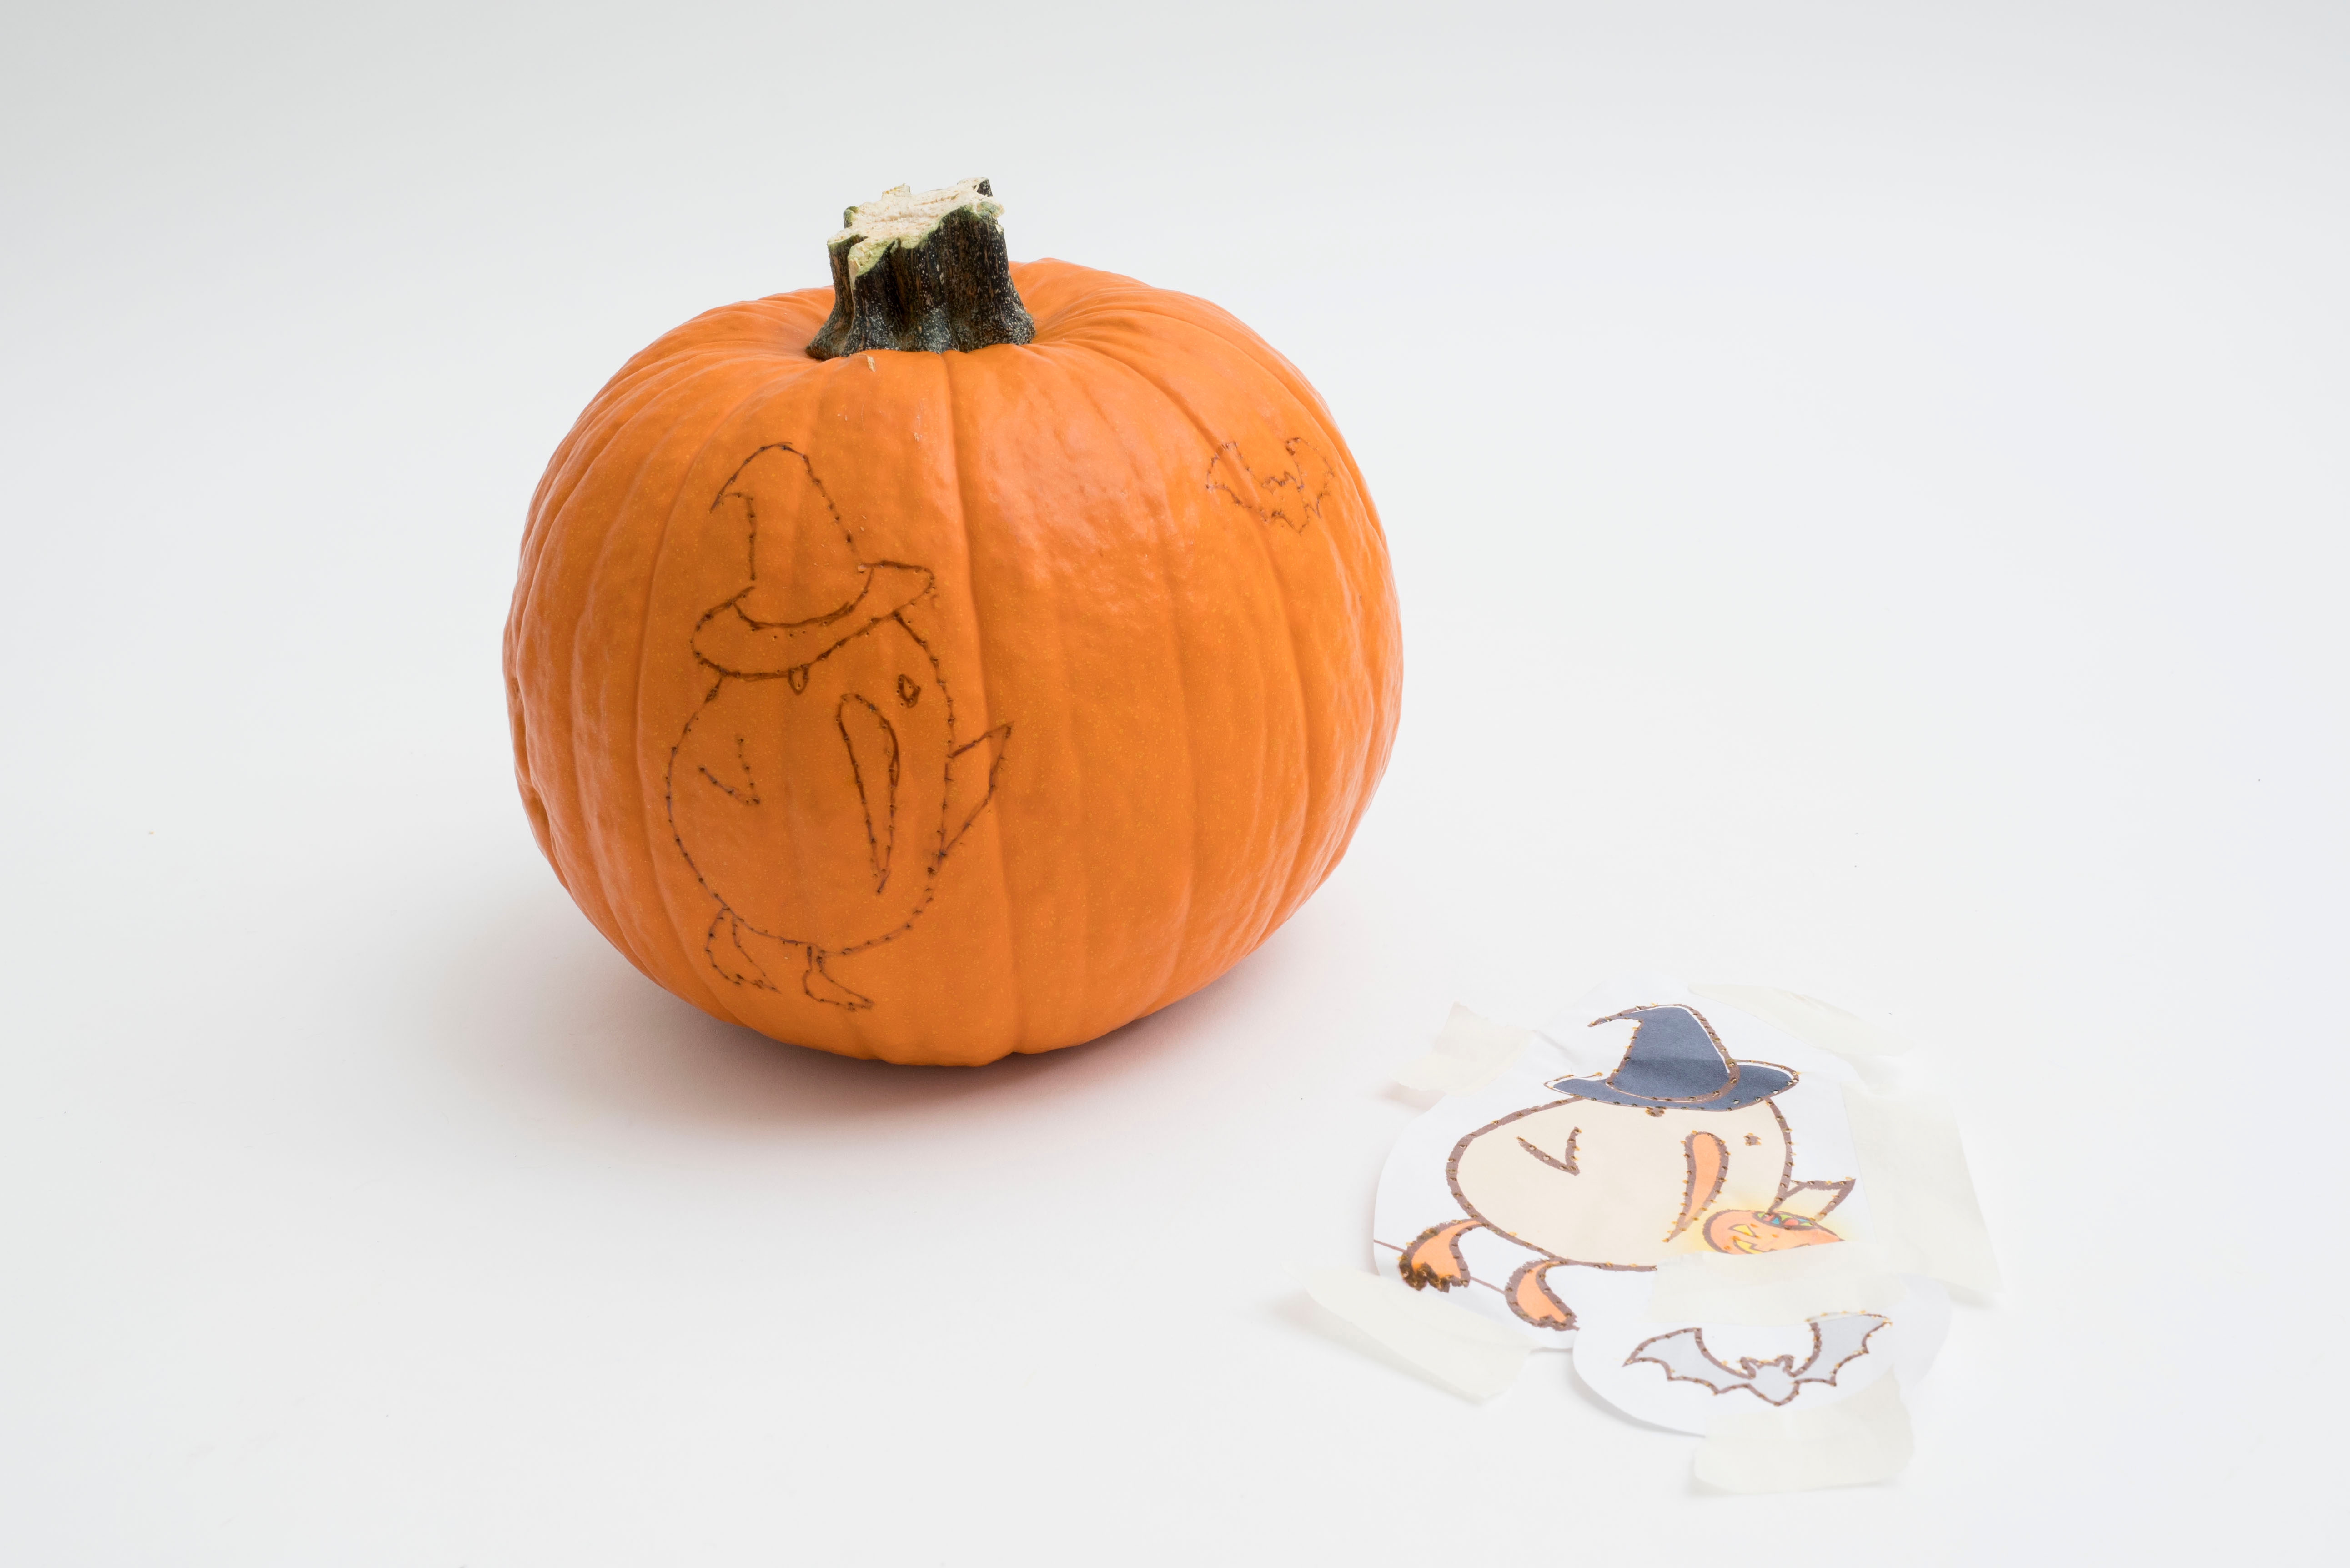
Step 4
Using a pushpin, poke holes to outline and transfer the design onto the pumpkin.
Step 5
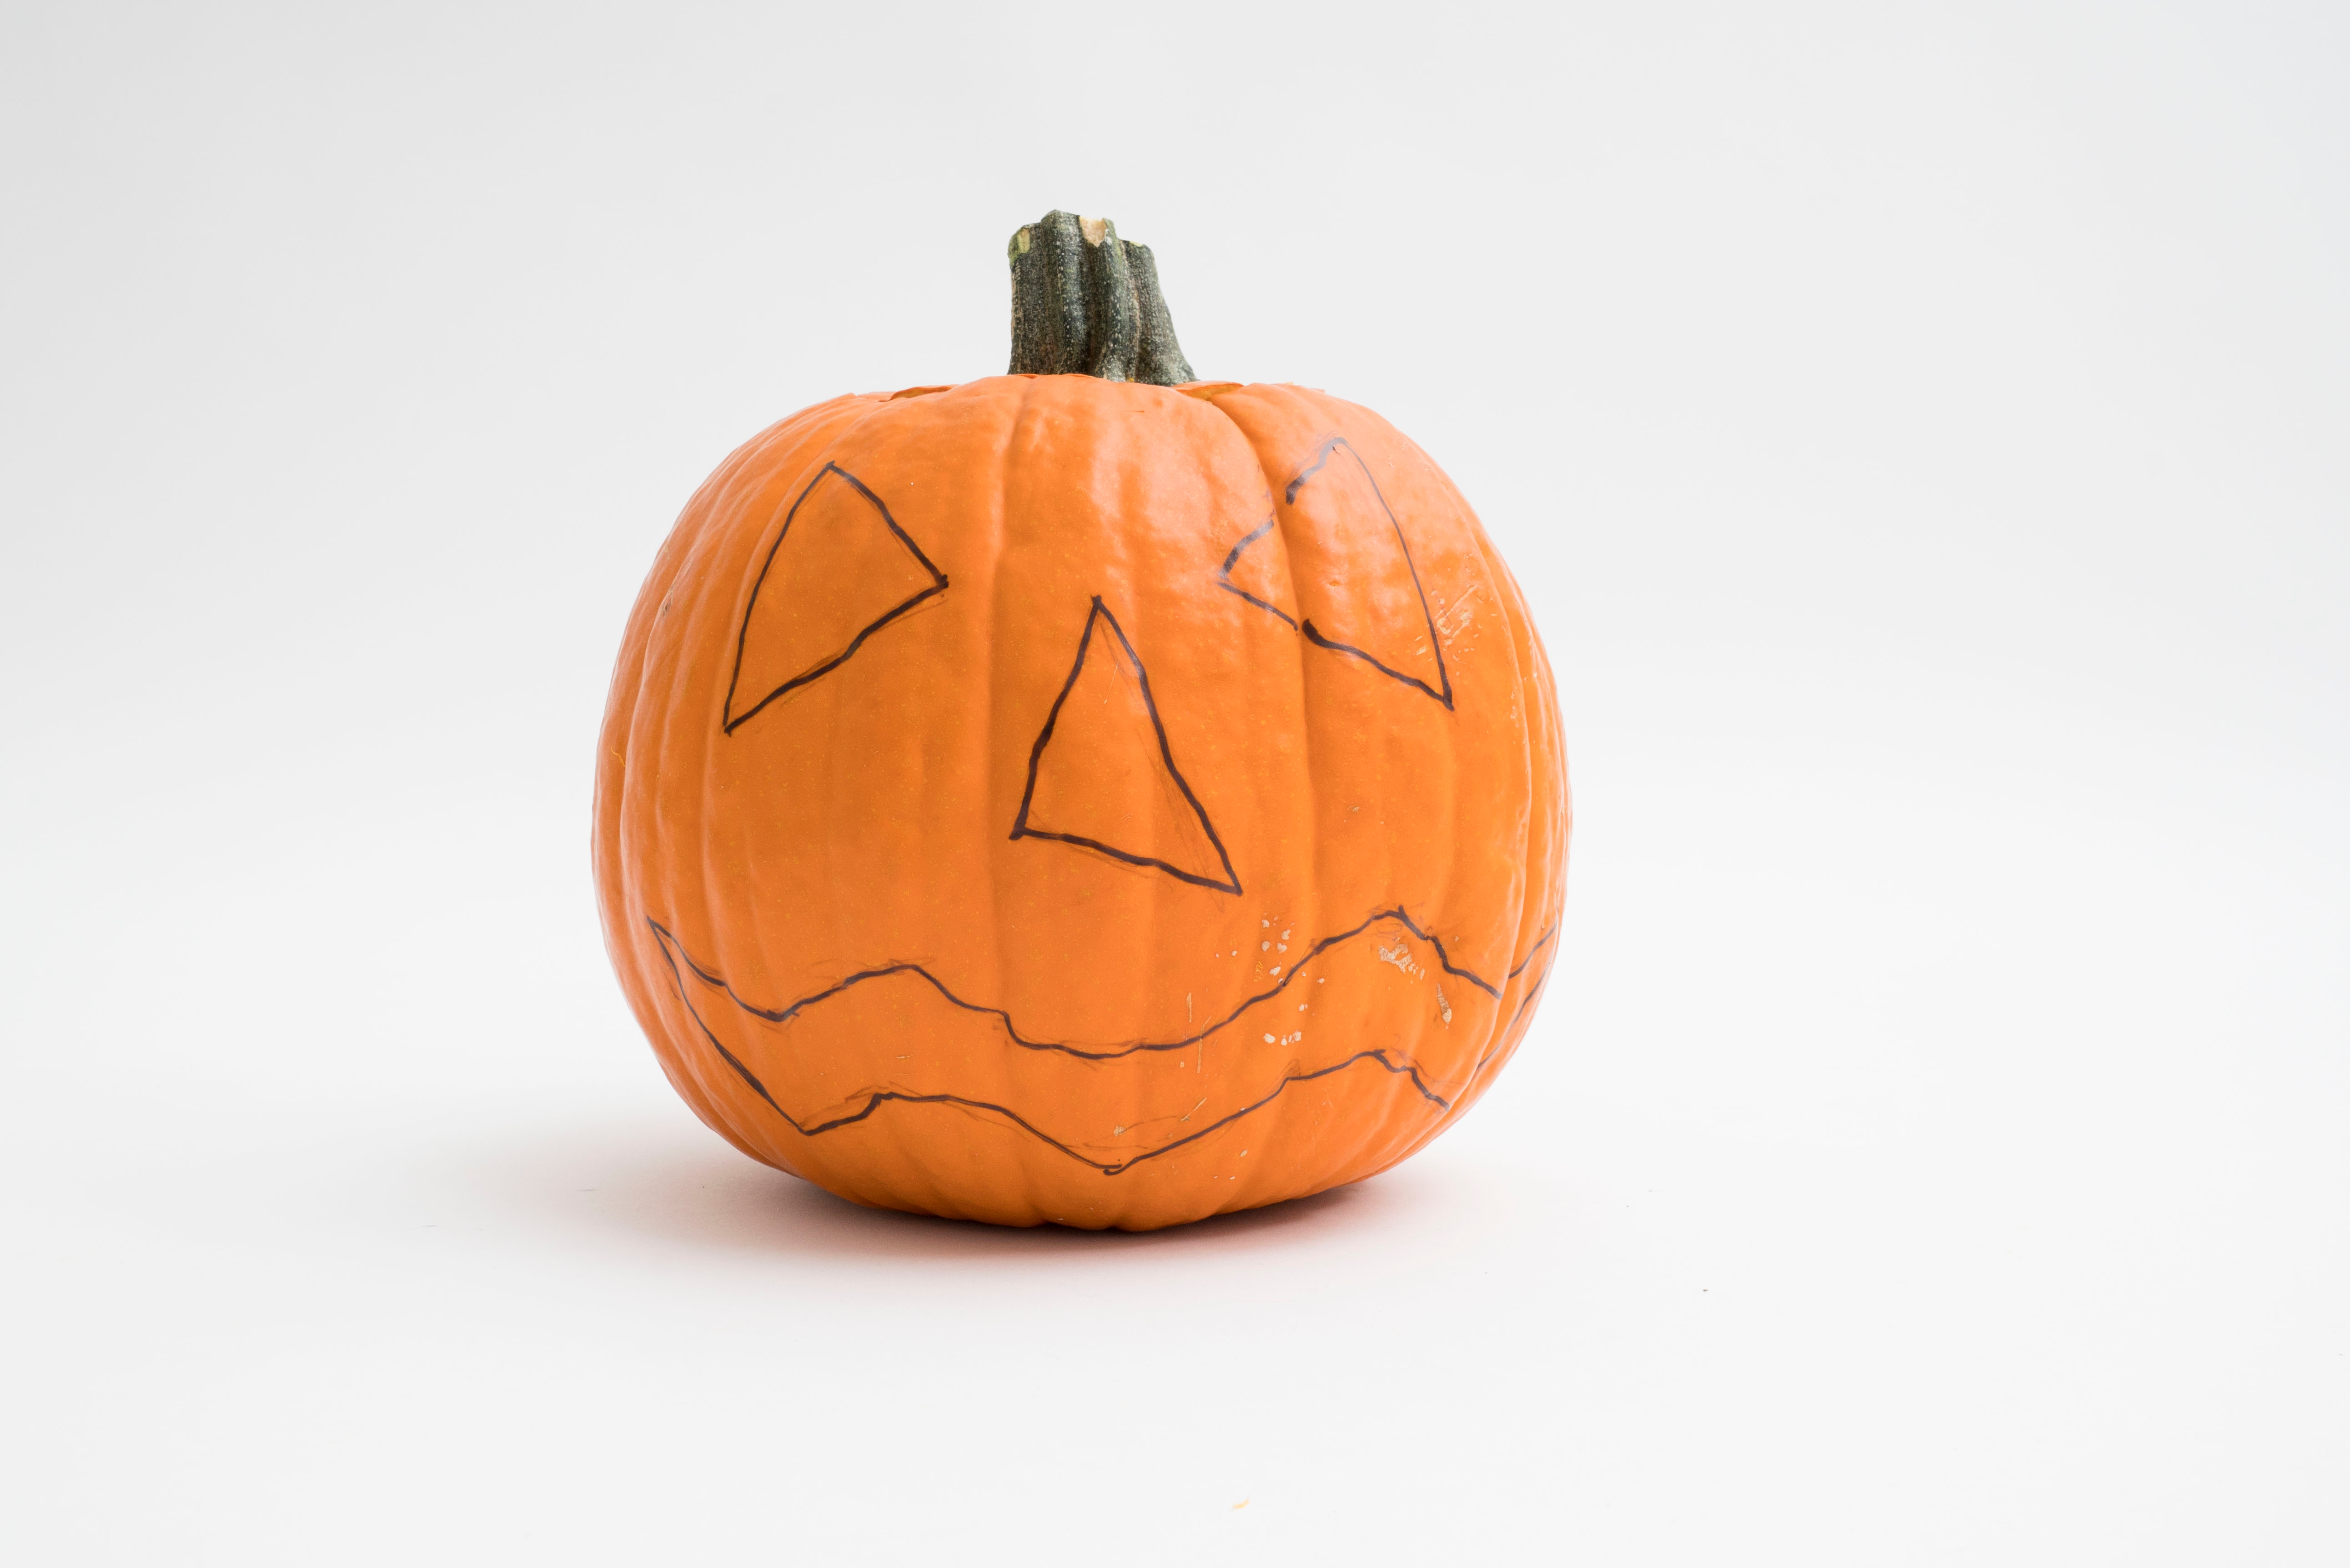
Remove the design. Then, trace over the holes with a marker. This will help you to see where to etch or carve out your design.
Step 6
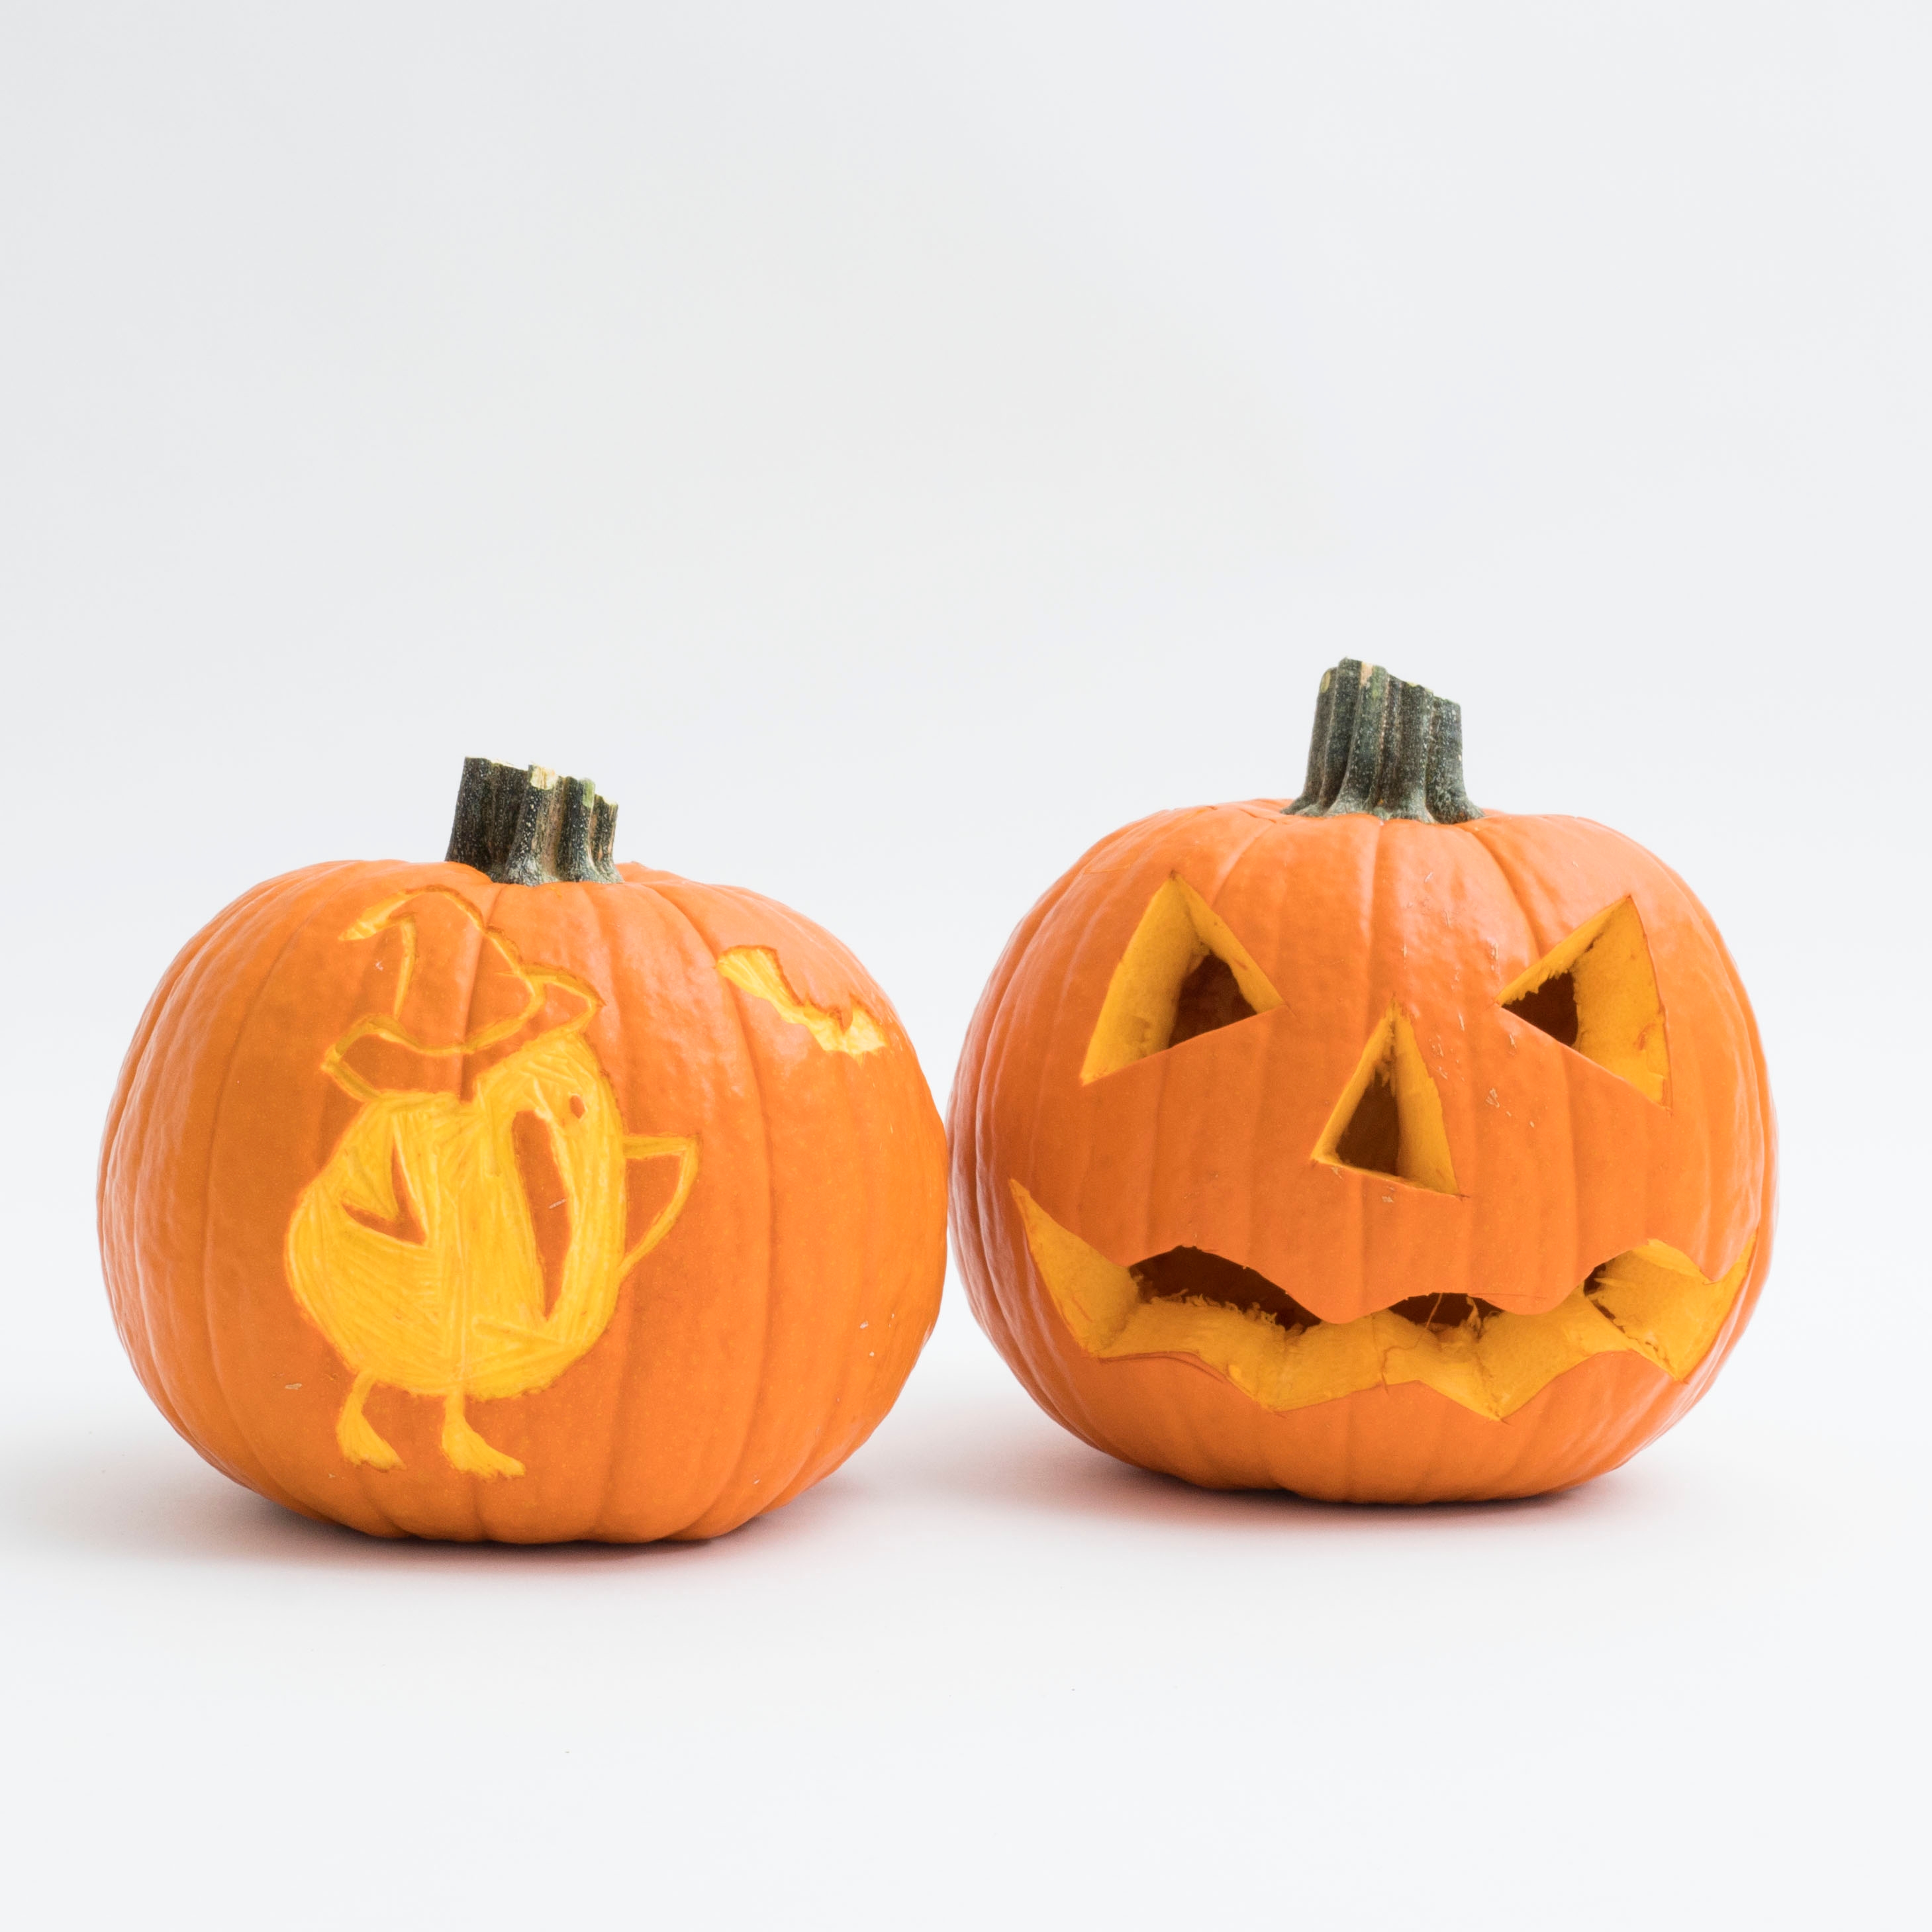
Let’s etch! Etching is fun when you want to create designs on your pumpkin by just carving out the surface.
Using your carving tool, carve out where your marker lines are. Make sure you etch until you see a very light yellow.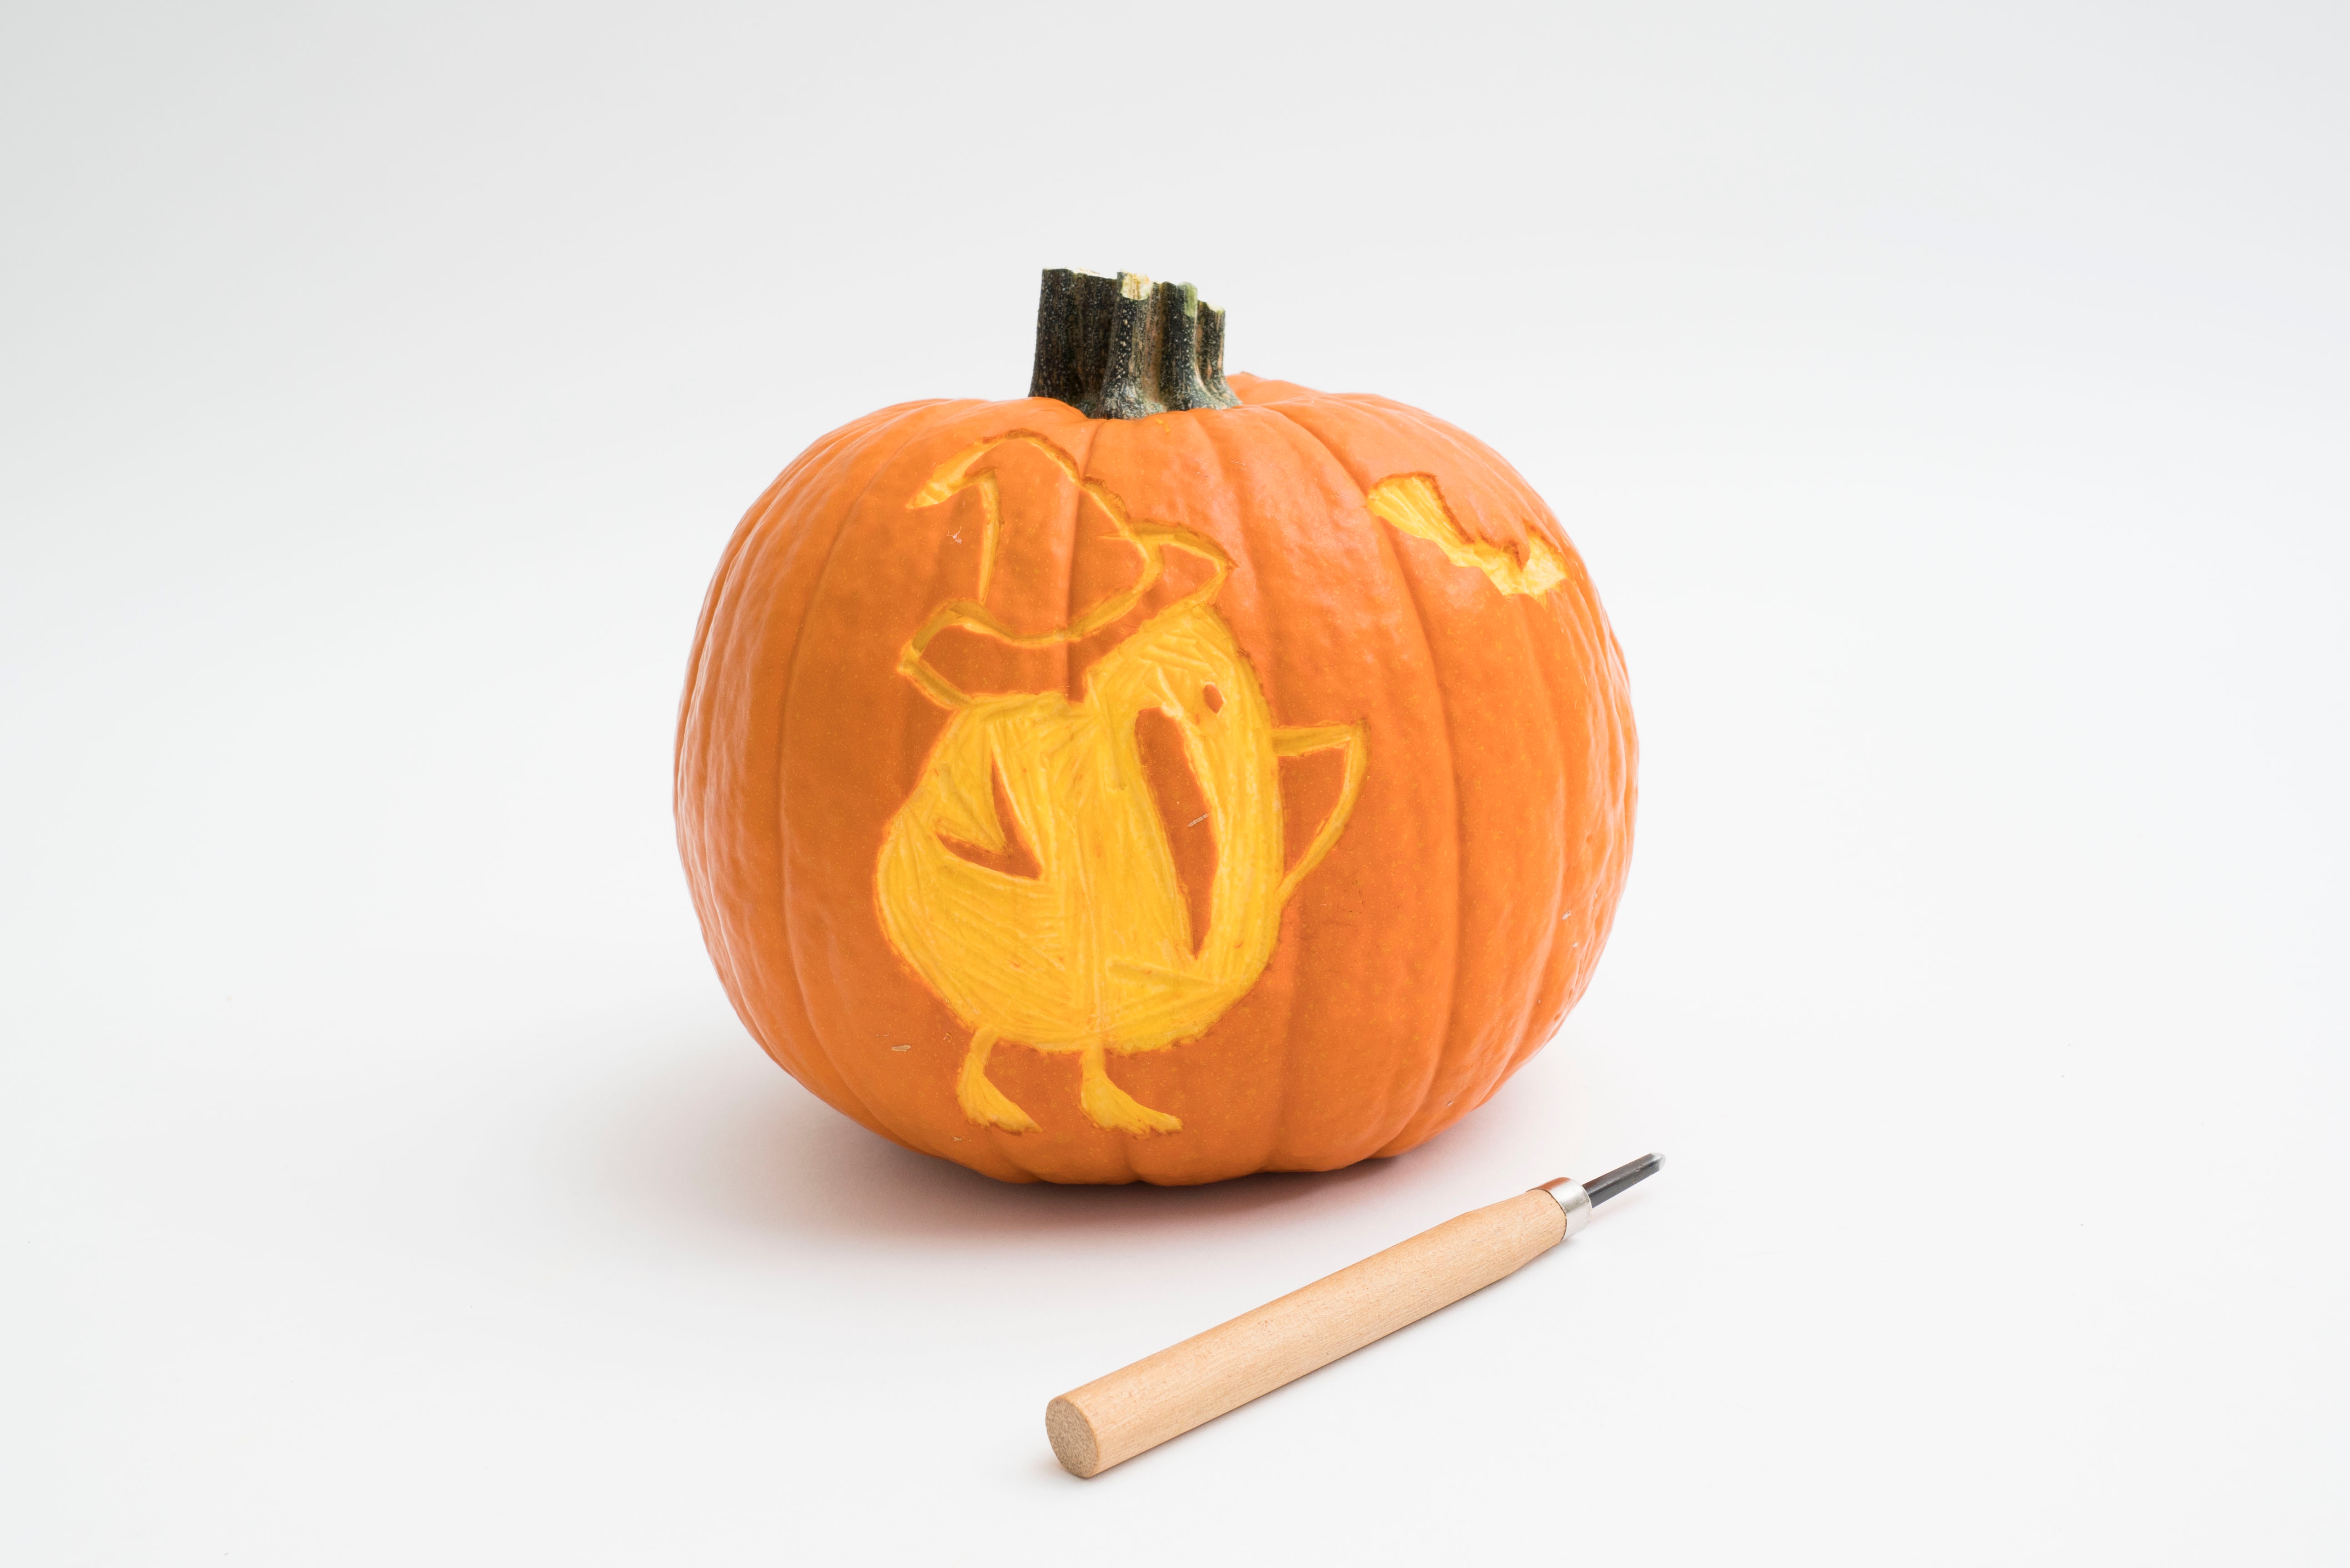
Step 7
Instead of etching, you can carve your pumpkin! Carving is a bit messier but you can cut whole shapes out of your pumpkin.
Draw a hole around the stem of the pumpkin and cut it out. Then, remove all of the innards out of your pumpkin.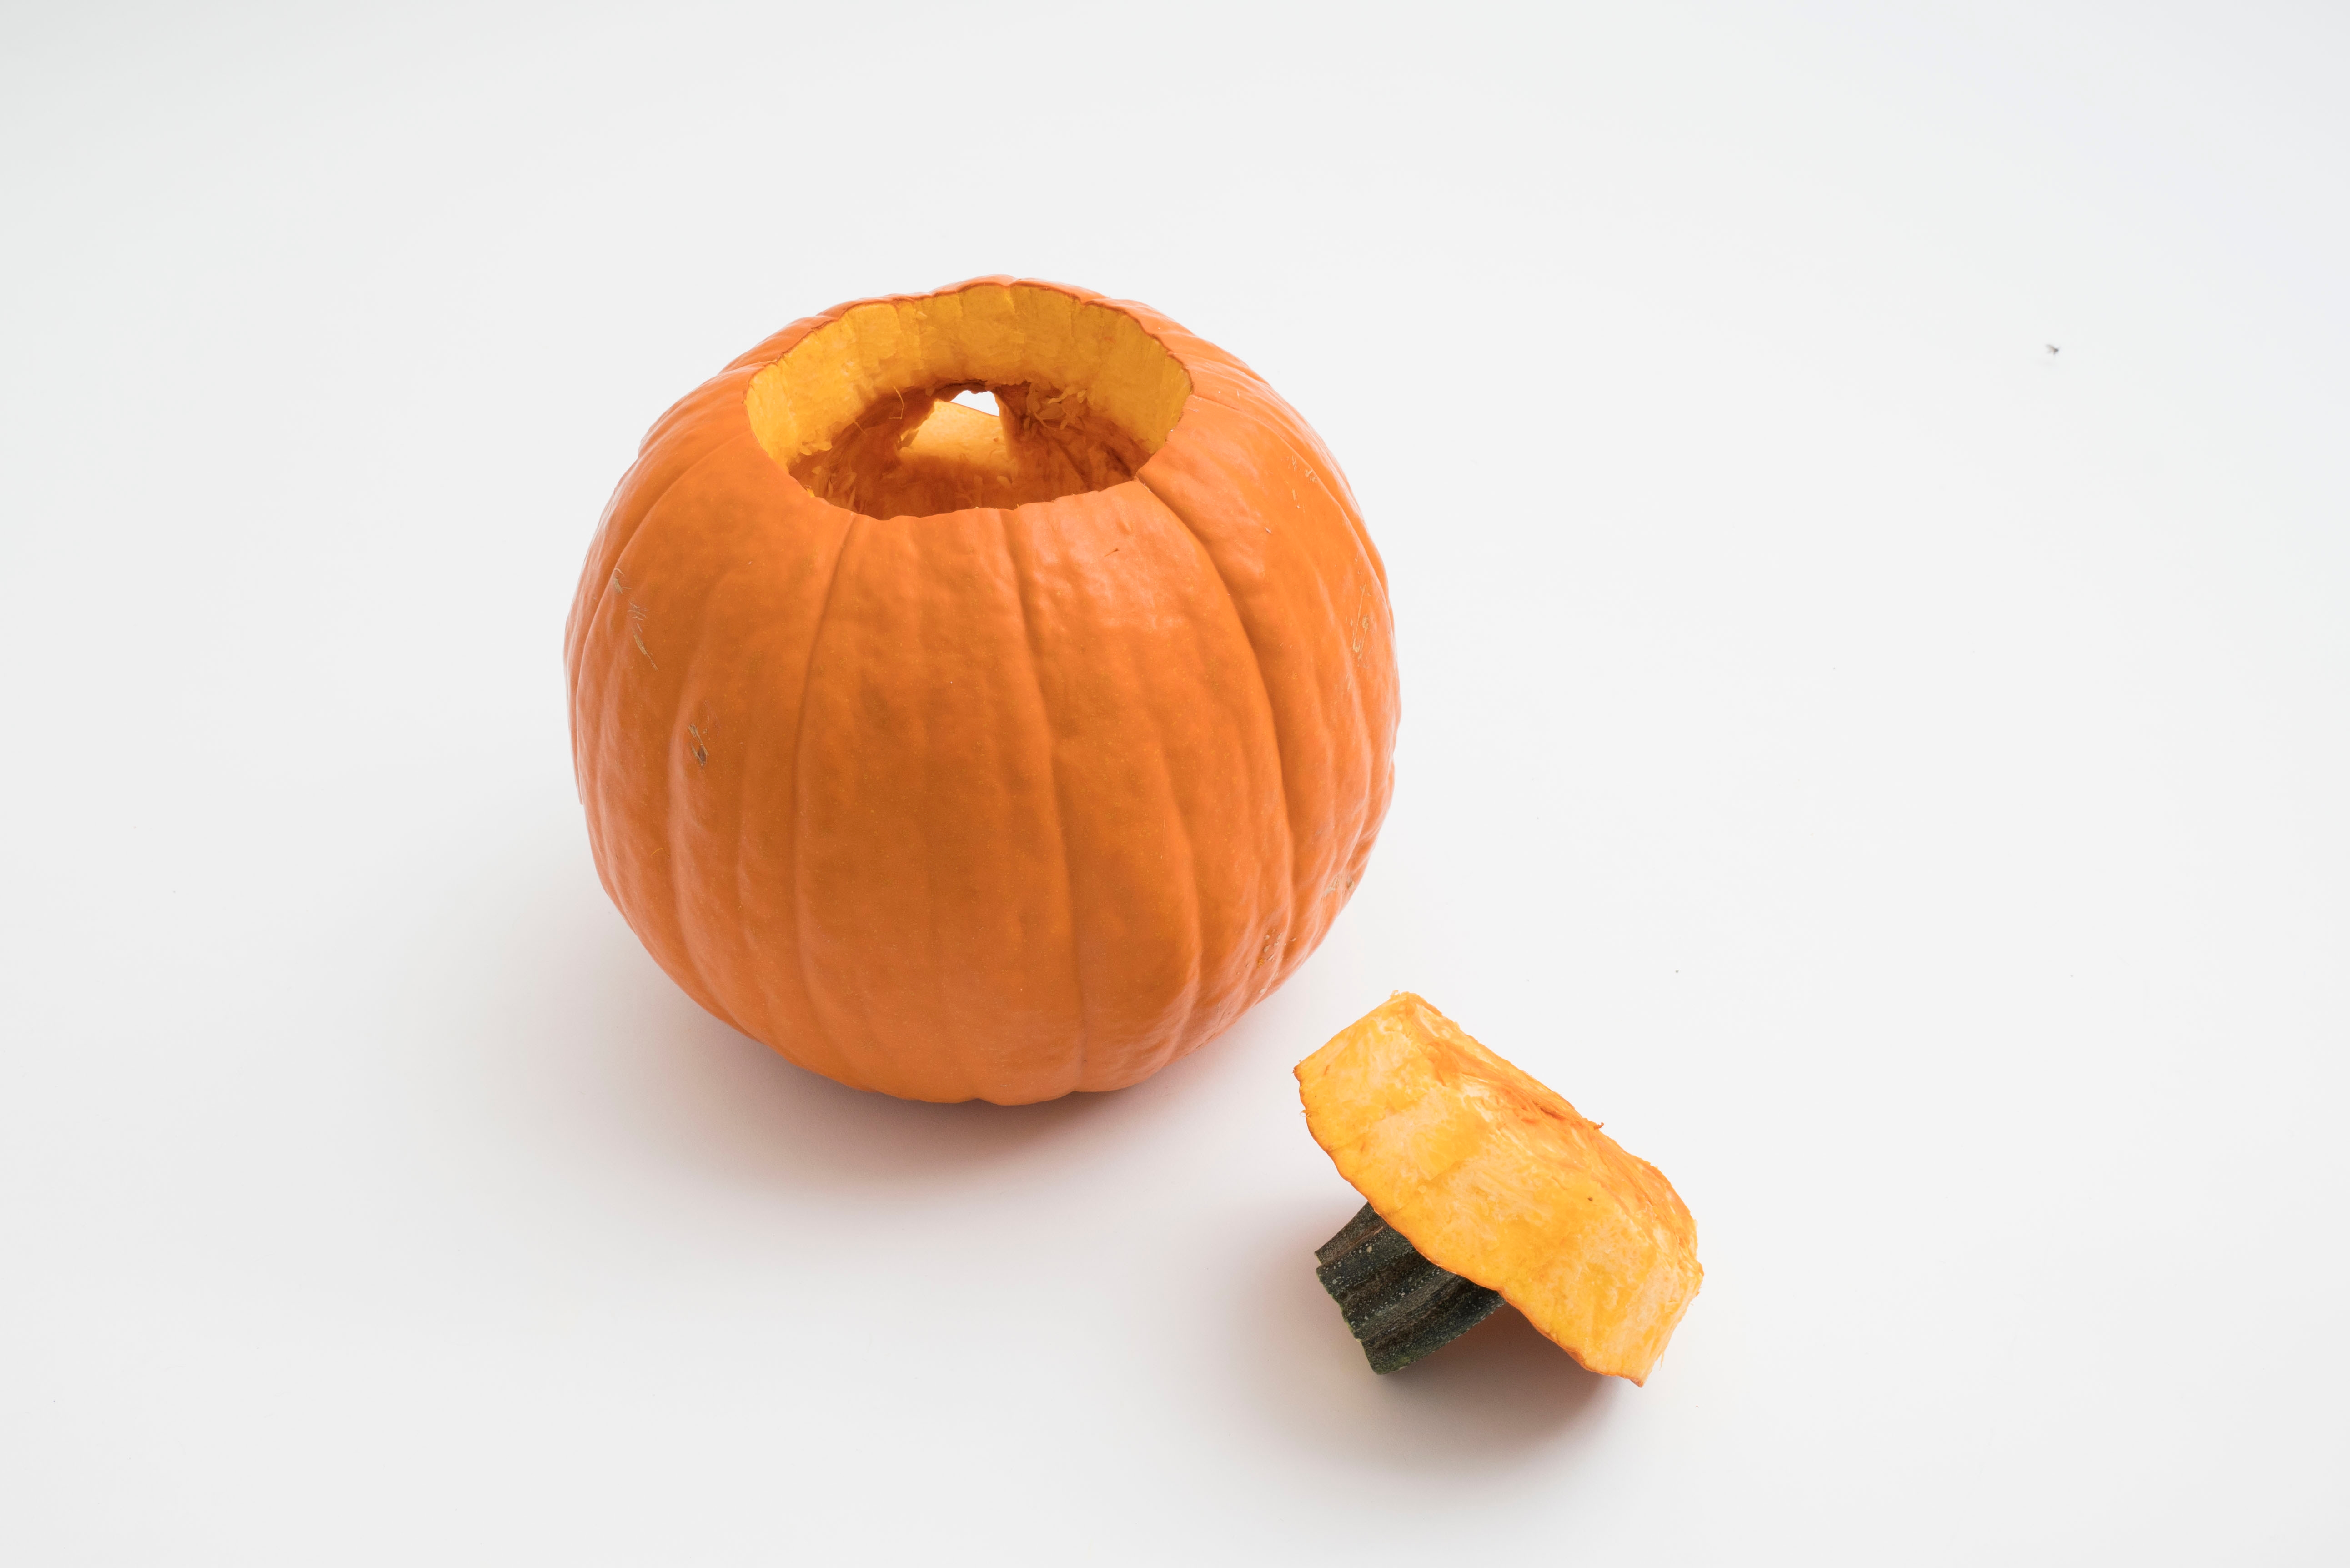
Tip
Clean the pumpkin seeds and bake them in the oven for a tasty treat!
Done!
Using your carving tool, carve out where your marker lines are.