Step-by-step tutorial
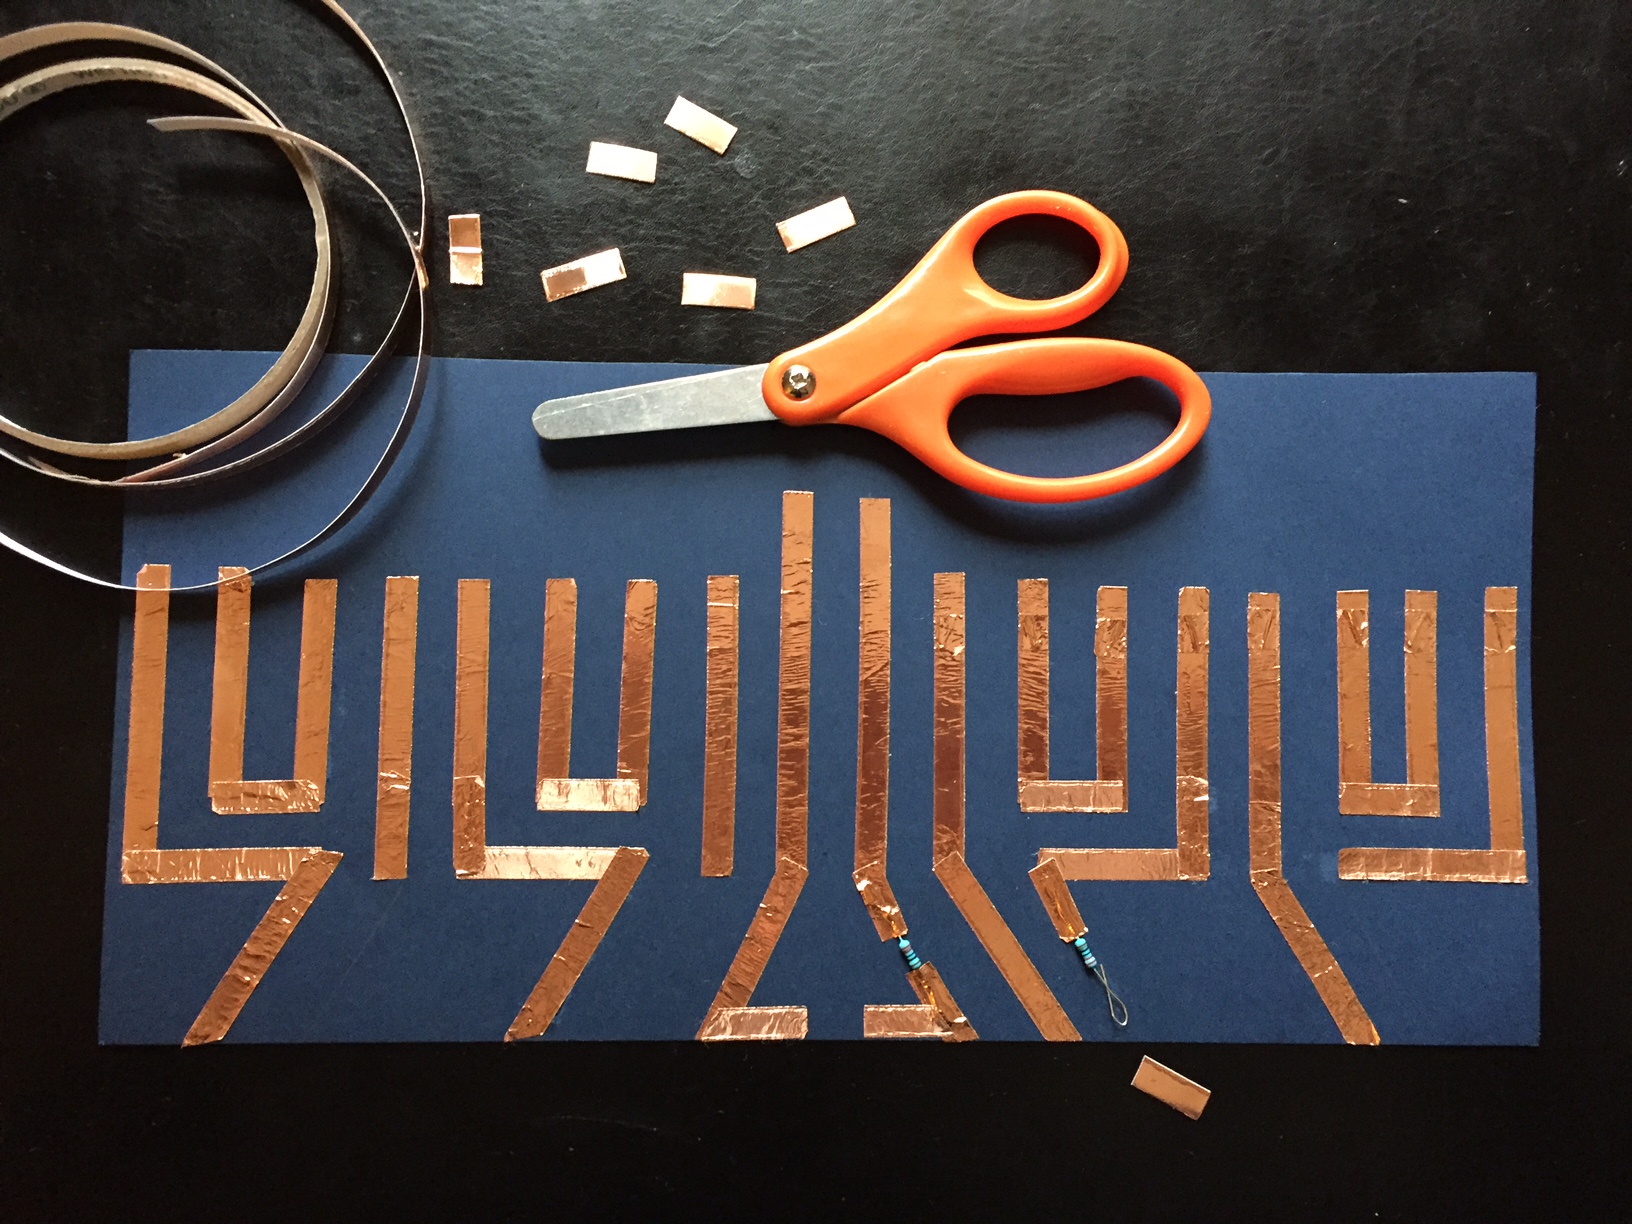
Step 1
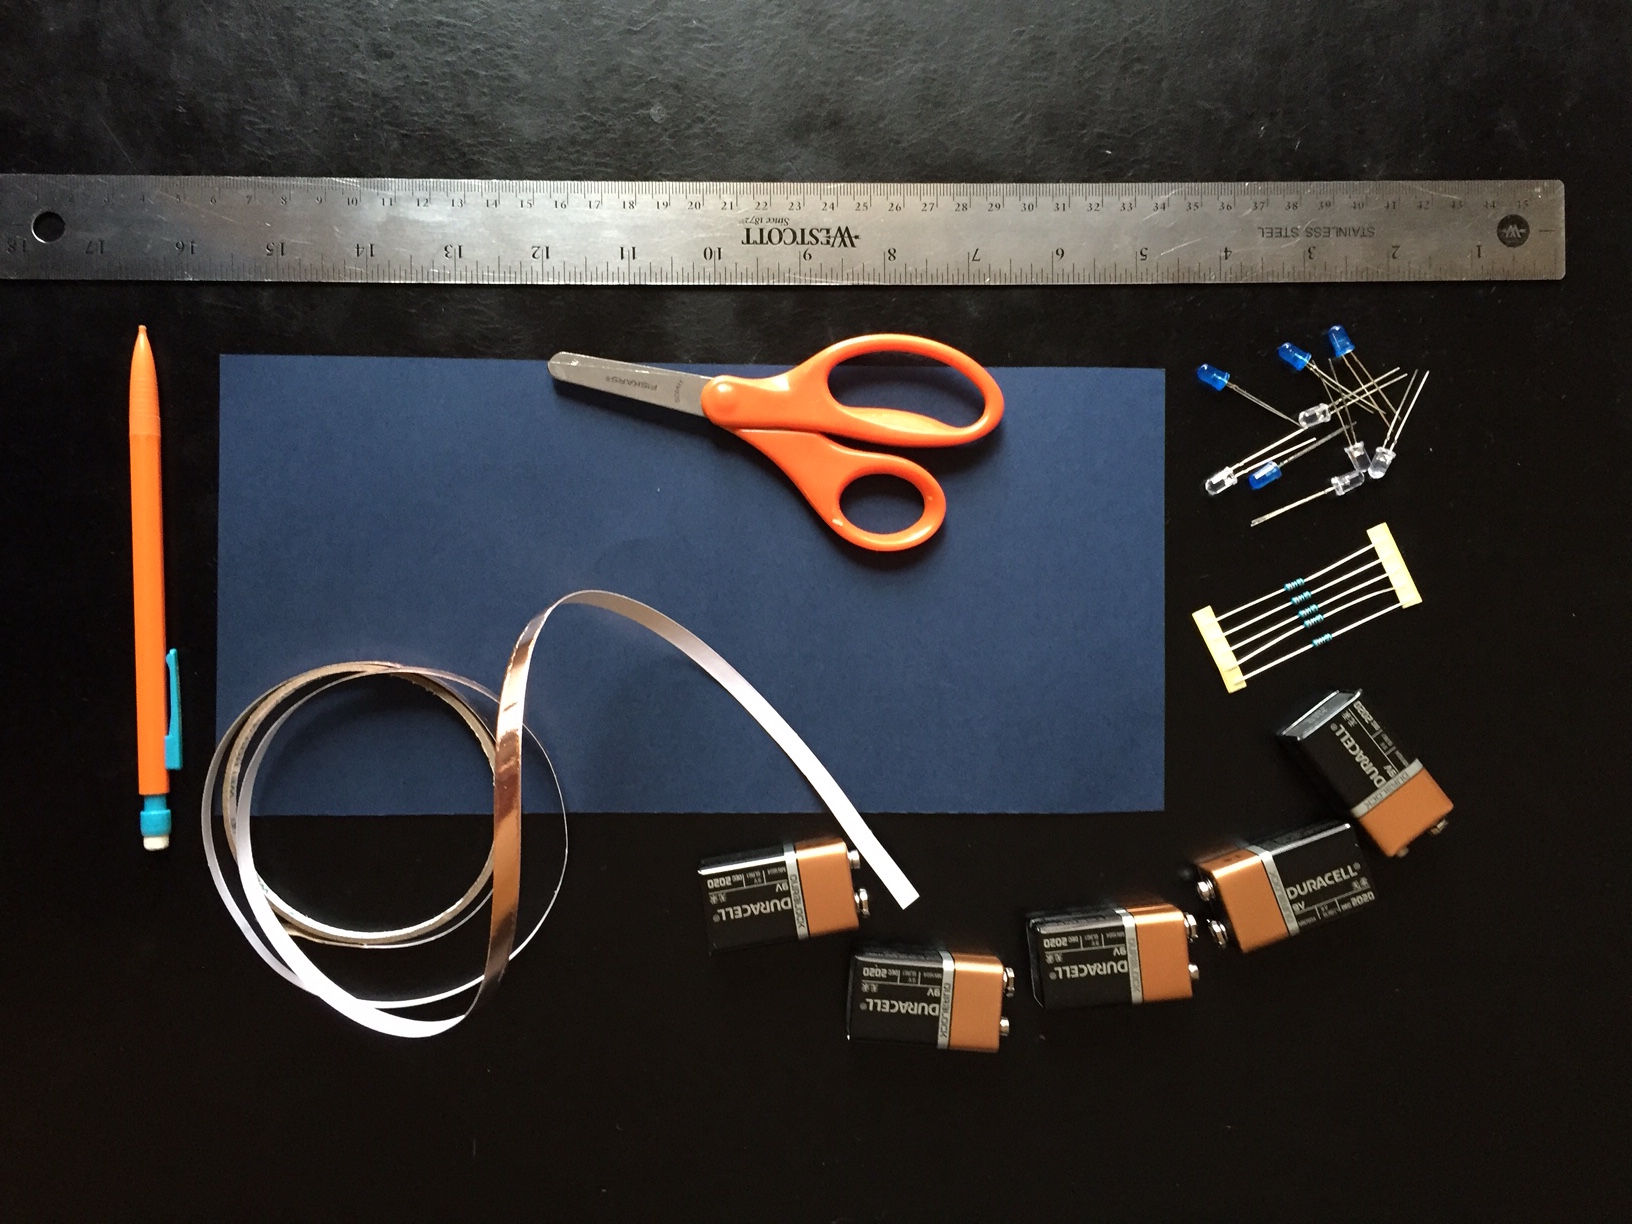
Gather your materials!

Step 2
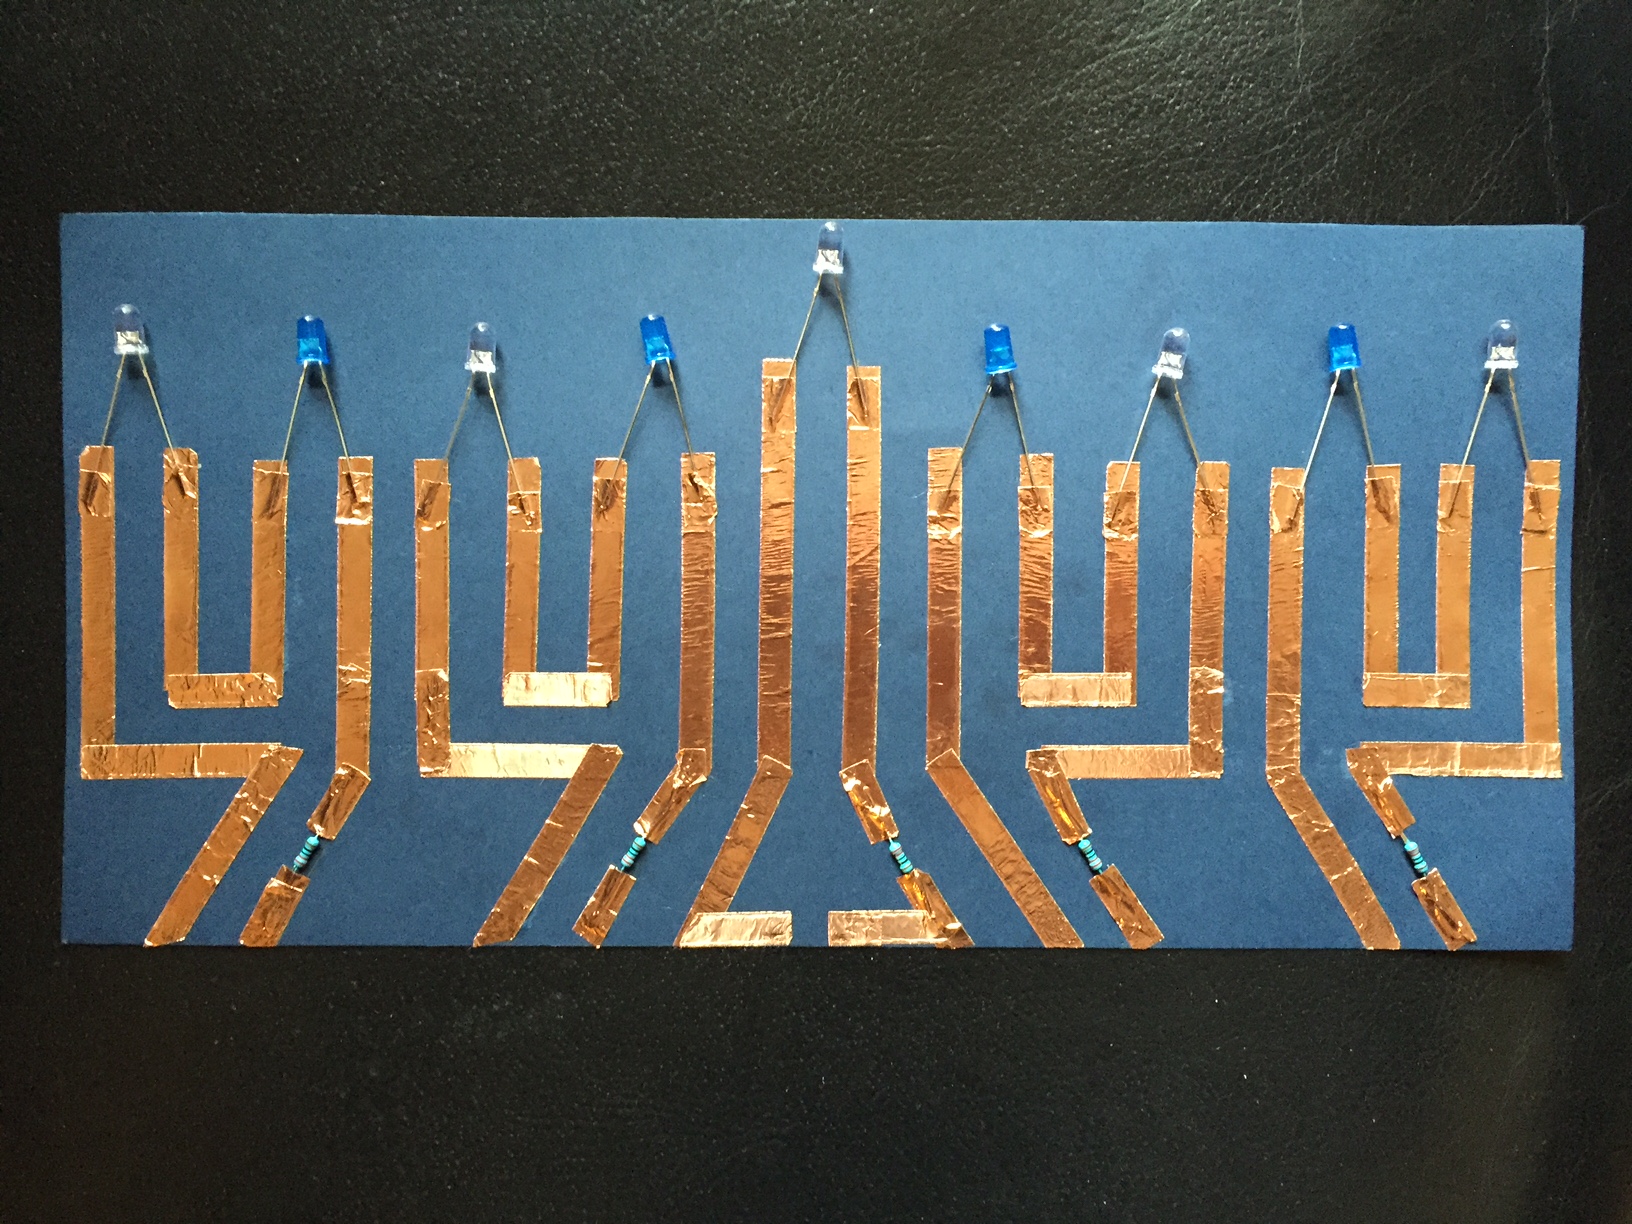
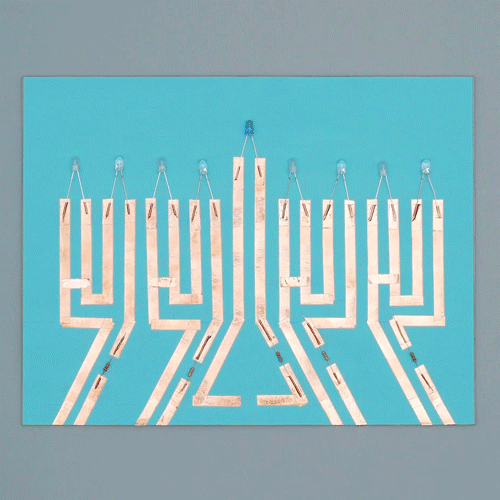
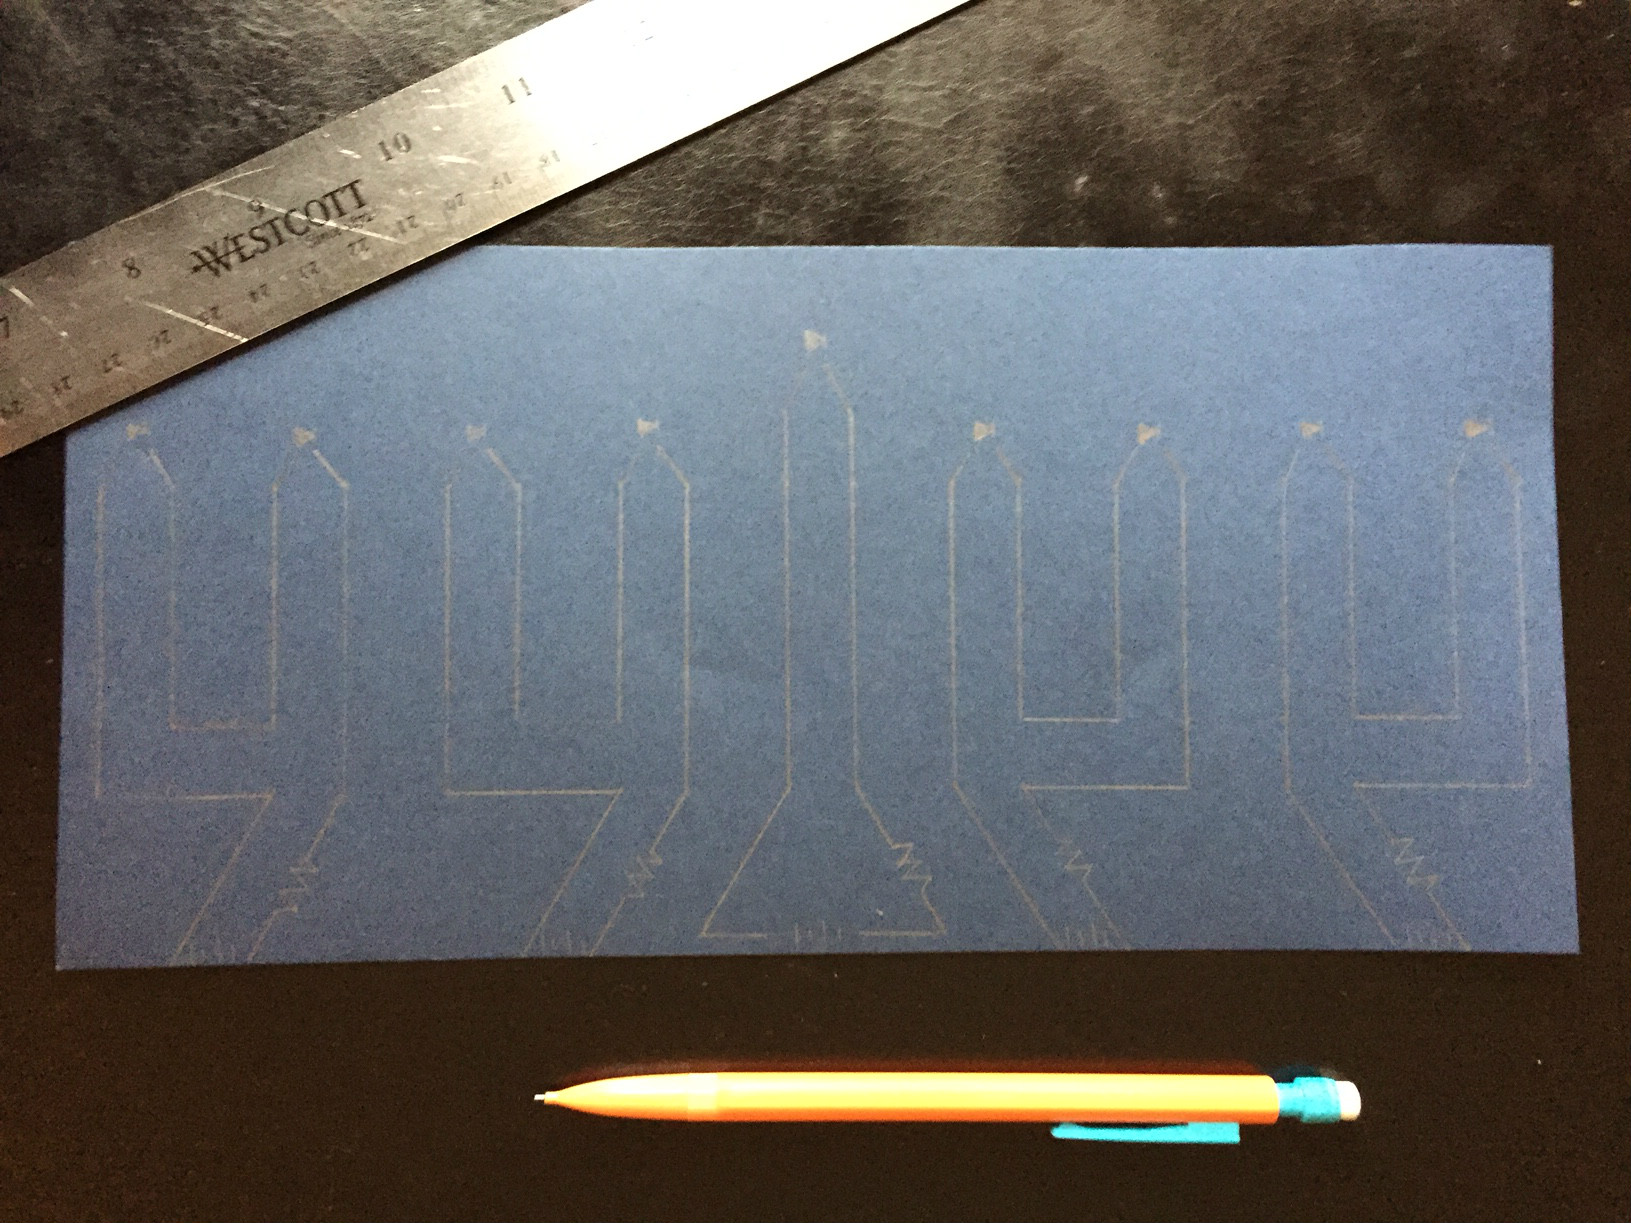
We kicked things off by sketching out designs with a pencil, paper, and a ruler. As I mentioned, this was definitely an iterative process for us! Here's where we landed on our menorah. It's basically 5 circuits. The sideways triangles are LEDs, the zigzags are resistors, the short parallel lines are batteries, and the lines are copper tape. To make things more interesting, try to create your own design! For example, we actually started with a design where the 4 right LEDs and 4 left LEDs were each their circuit. At first, the 9V battery seemed to be able to power 4 LEDs. But then, we noticed that the LEDs were kinda dim. So we split things up and added additional circuits to ensure that our menorah was as bright as it should be.
Step 3
With our design, we laid copper tape and resistors down on top of the sketched lines. We left the LEDs off to start.
Step 4
On the first night of Hanukkah, we added the LED to the center circuit. Place a battery on that circuit to see the LED light up. (If it doesn't light up, flip the battery 180 degrees.)

Done!
Then, we lit the far right candle by adding an LED to the far right. We didn't want to add the LED next to it until the second night. So to complete the circuit, we simply added some copper tape where the 2nd LED would go - as well as the battery. We removed that tape on the 2nd night and replaced it with an LED. We continued on this way - from right to left - for all 8 nights. Happy Hanukkah!