Step-by-step tutorial
Step 1
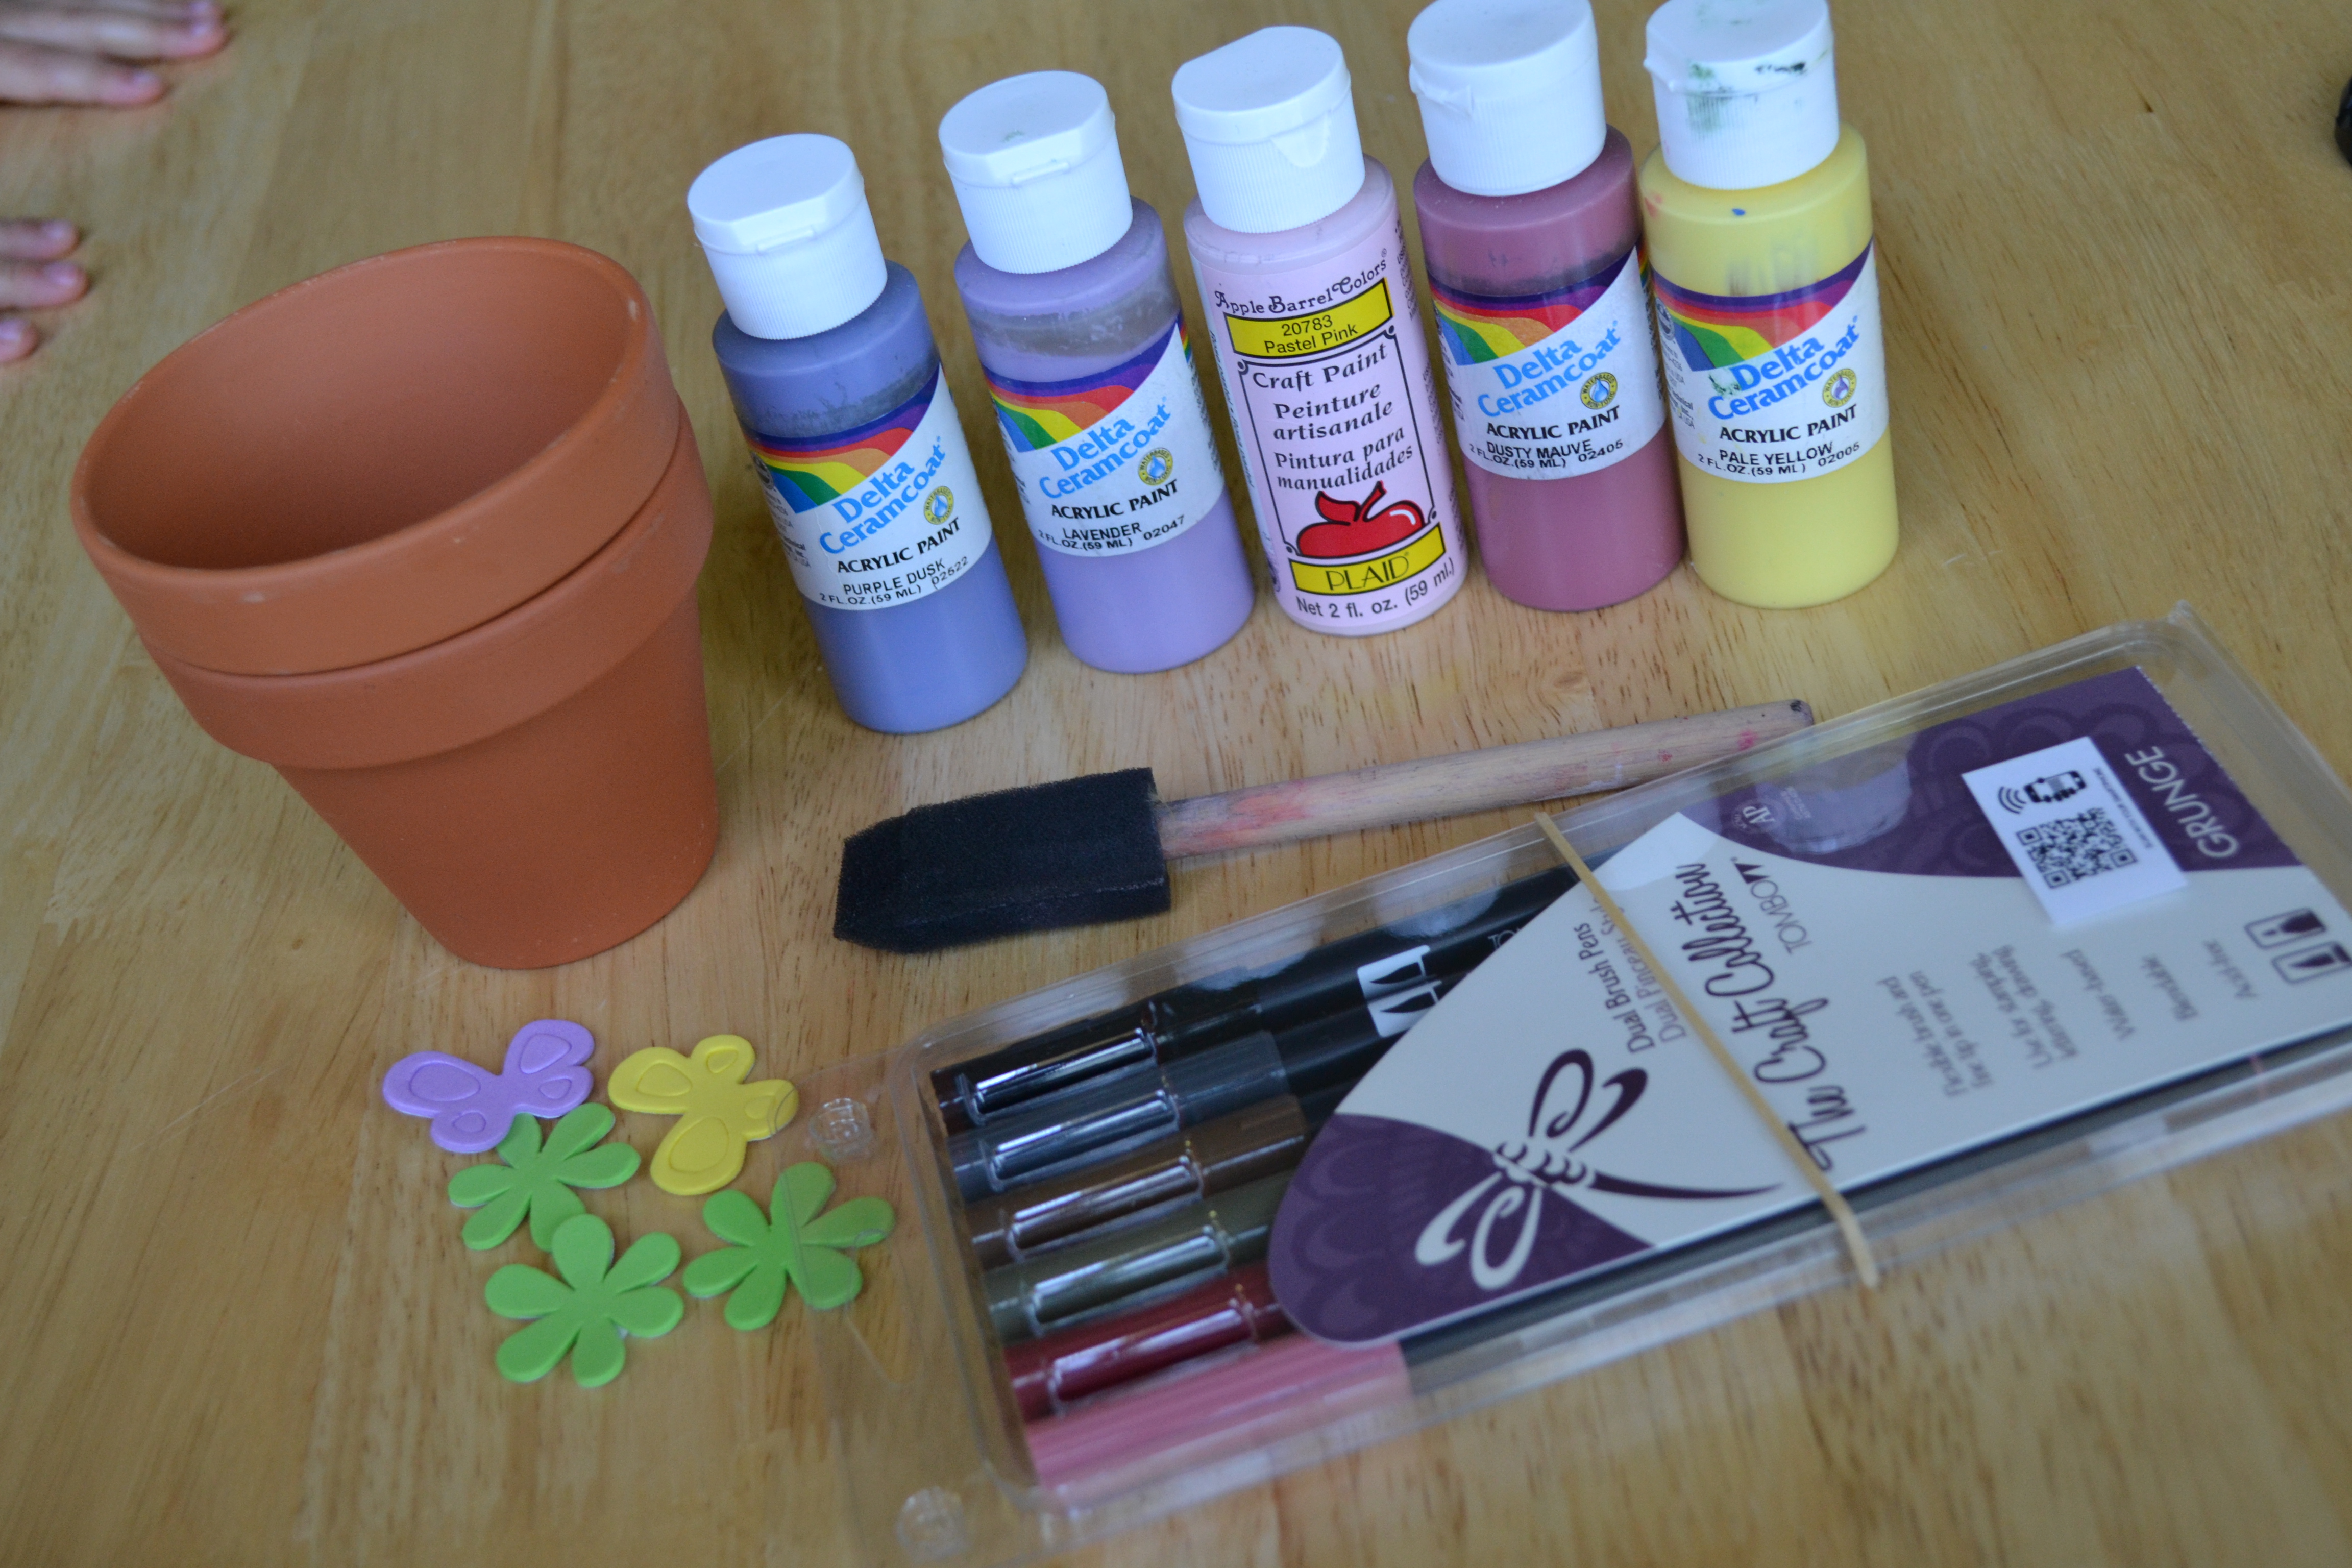
Gather all materials. We also used a piece of large construction paper to protect our surface while painting and a paper plate to pour the paints onto.

Step 2
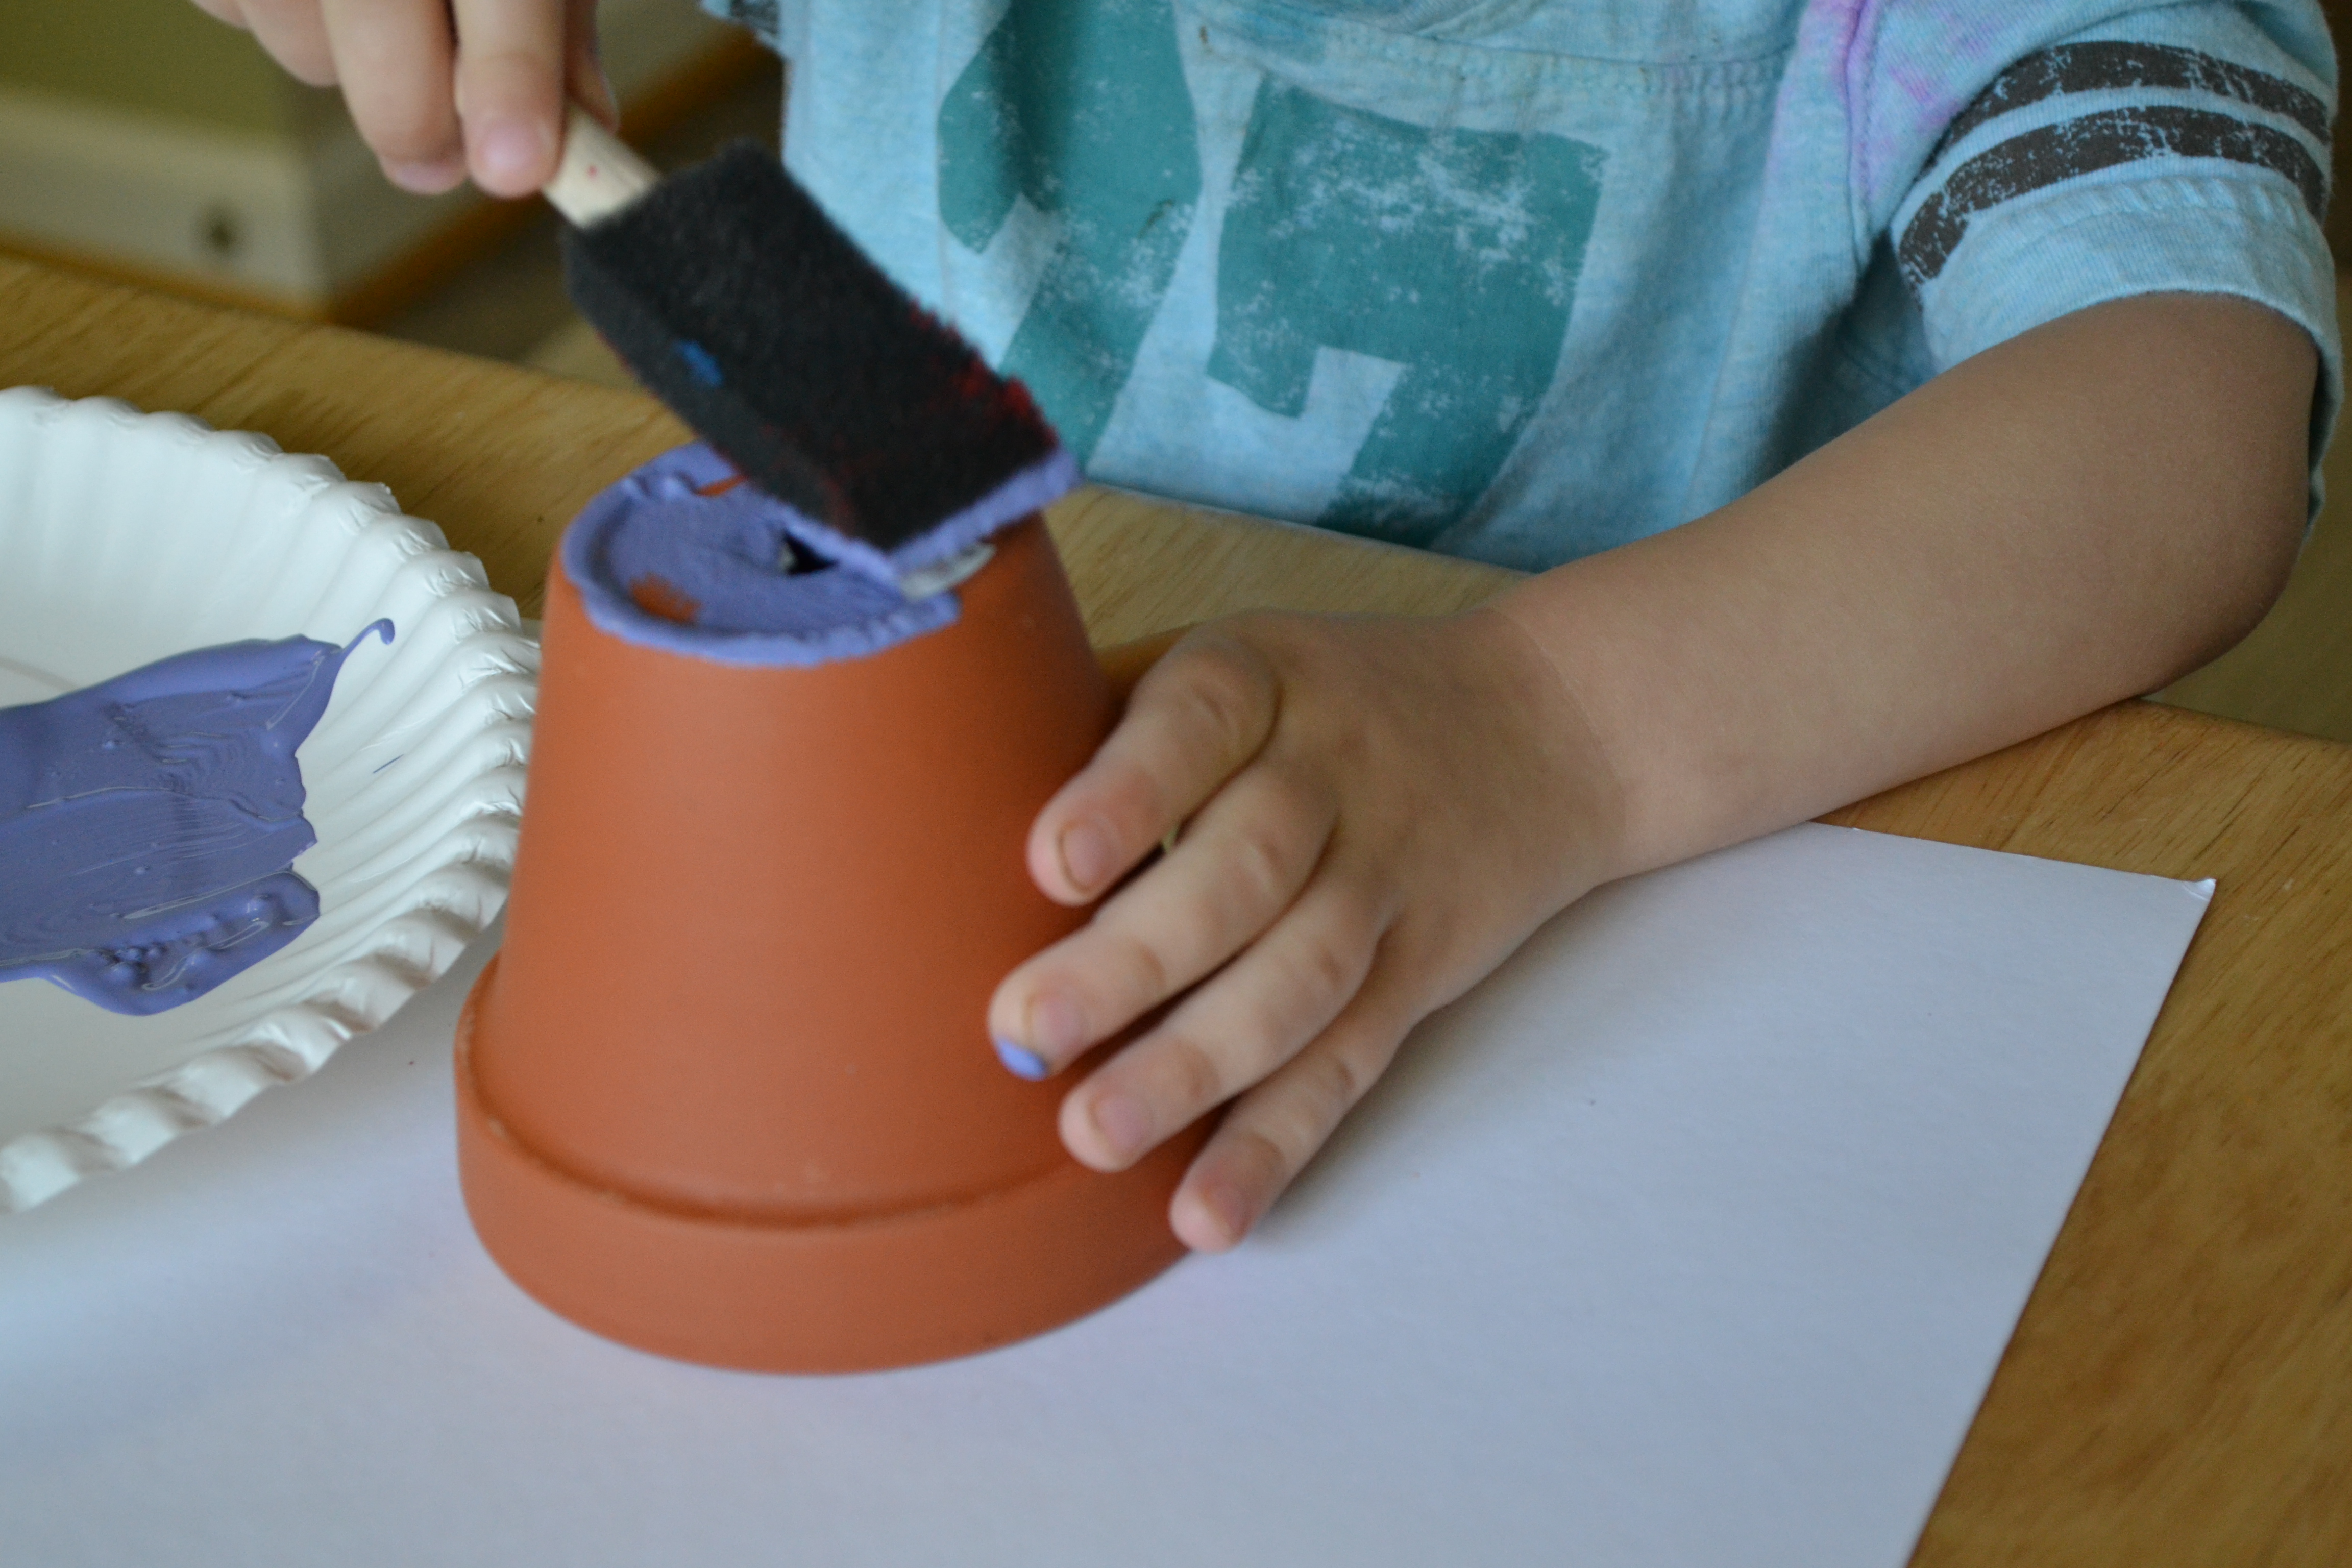
The kids used their sponge brushes to paint their pots. I tried to encourage them to use one color for the bottom and a separate color for the rim. My 4 year-old was able to completely cover his pot all by himself, but my 3-year-old lost his attention and ended up coming back to it several times after breaks for play.
Step 3
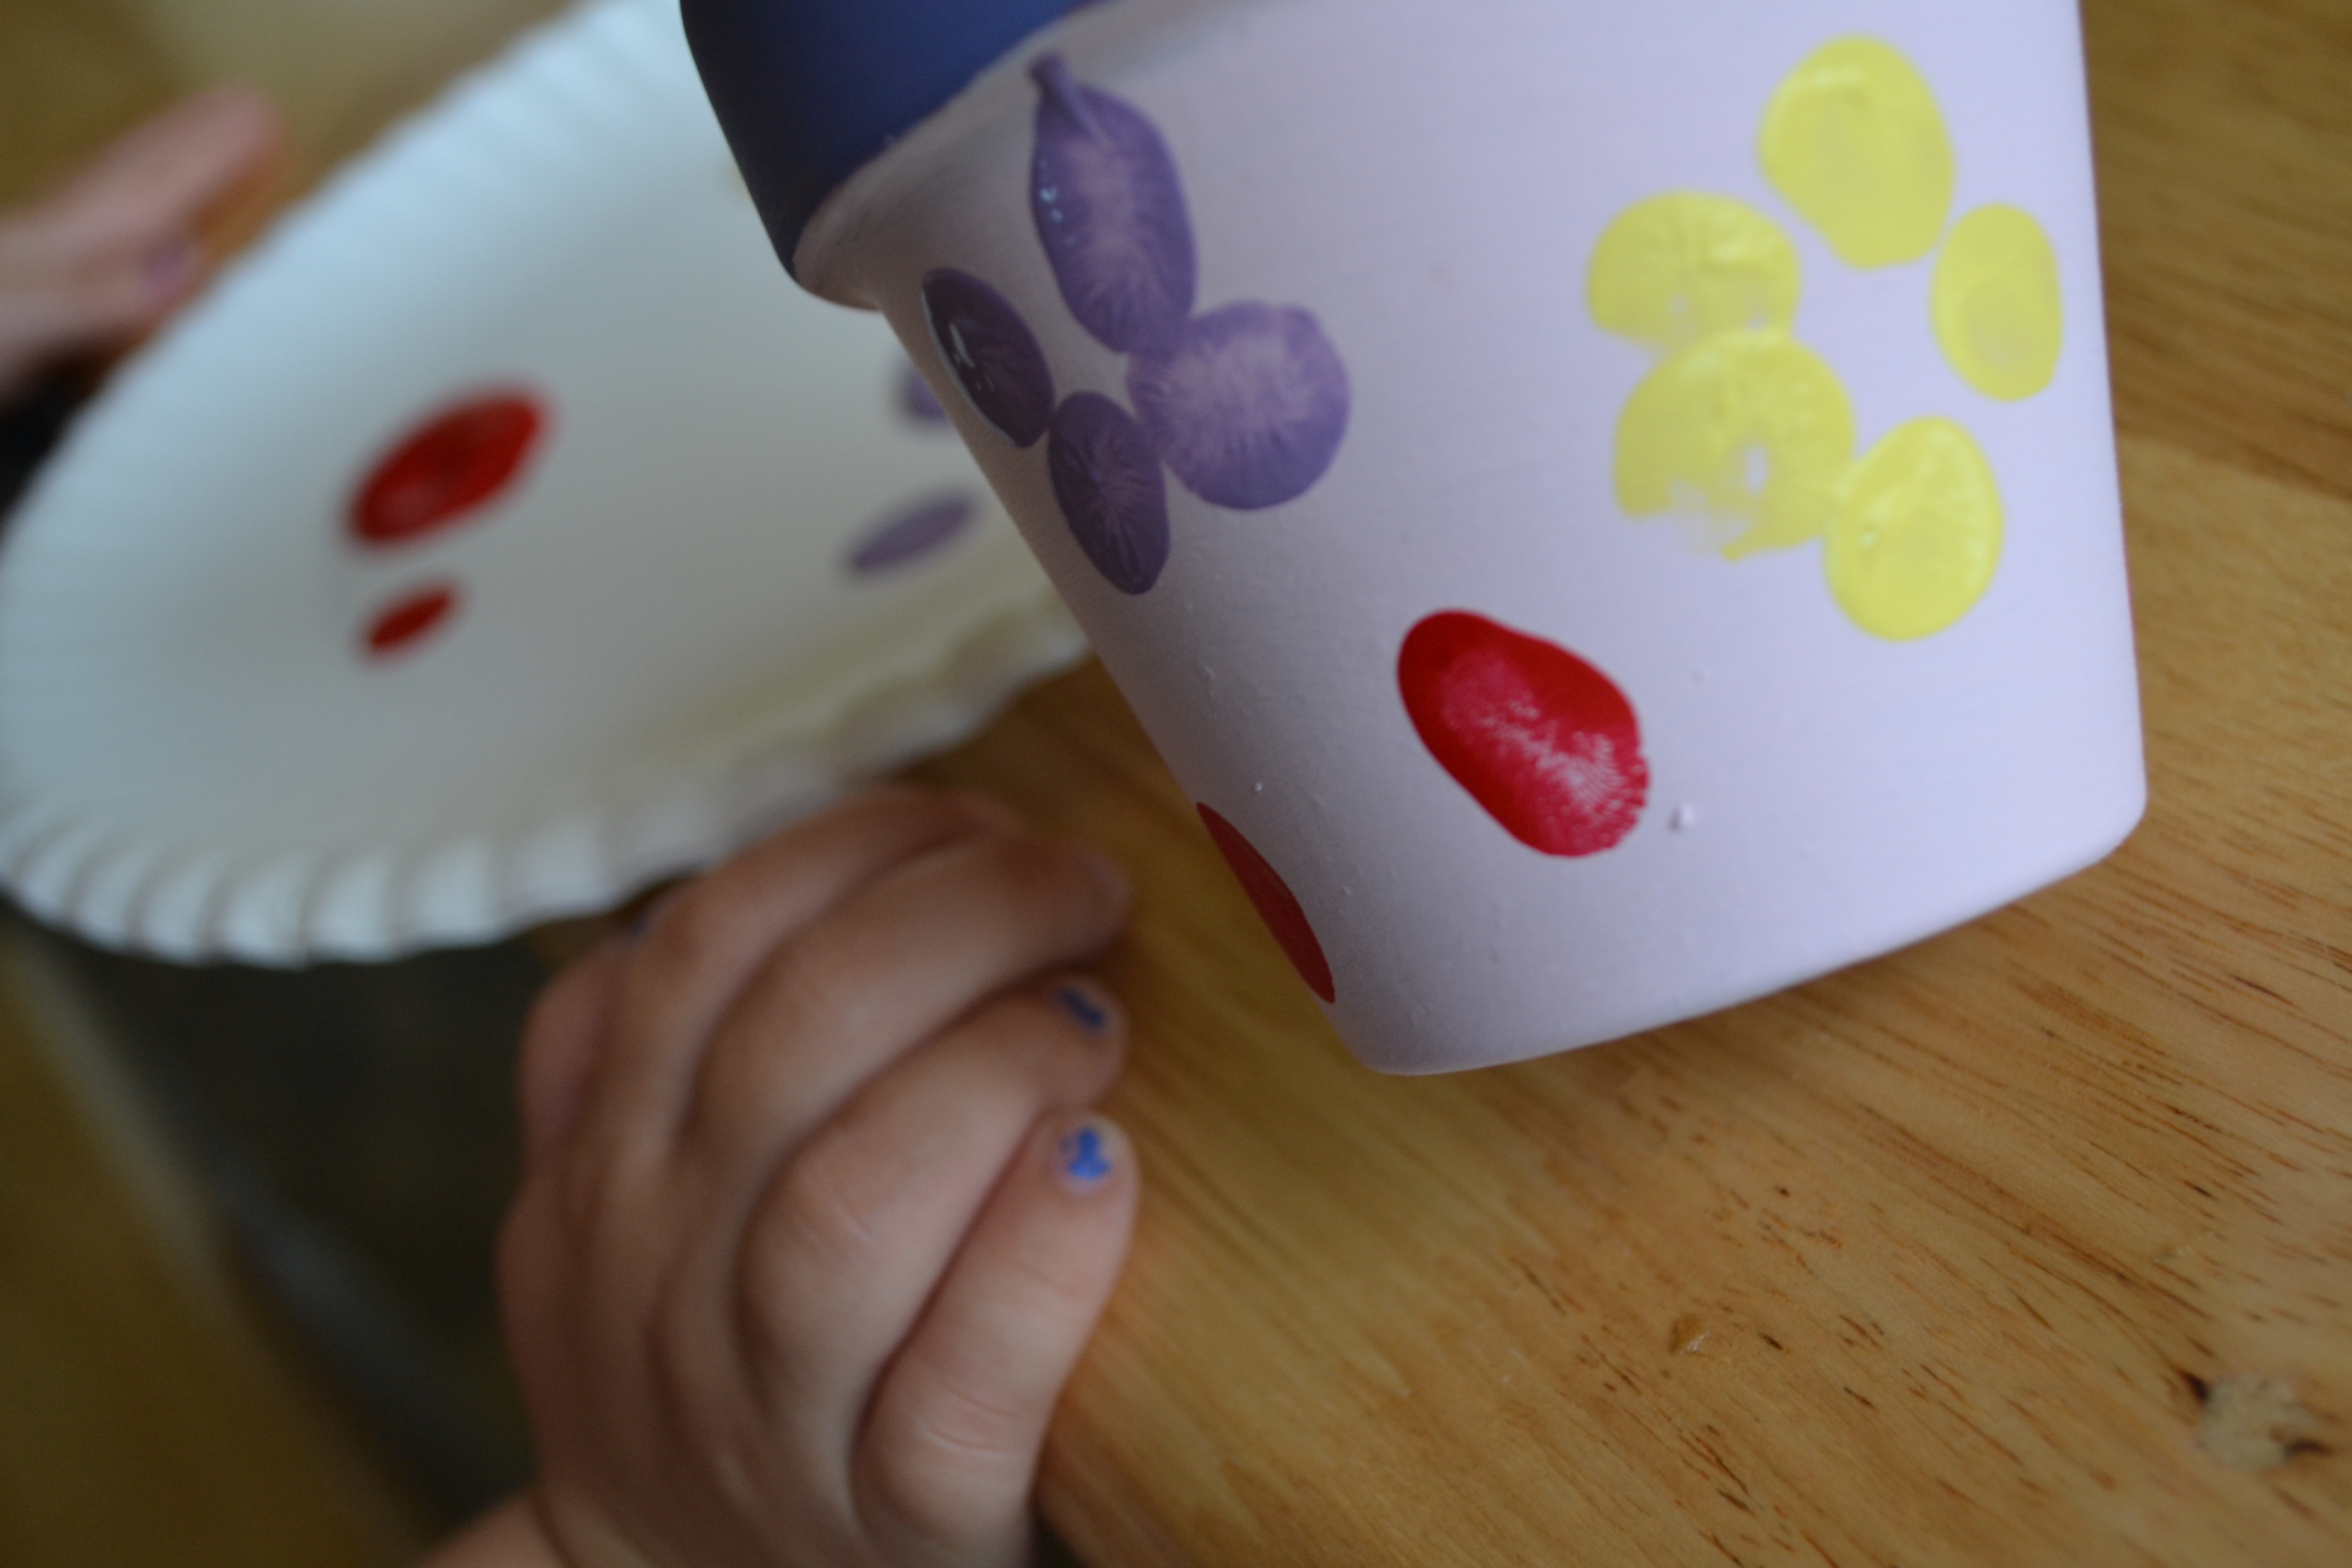
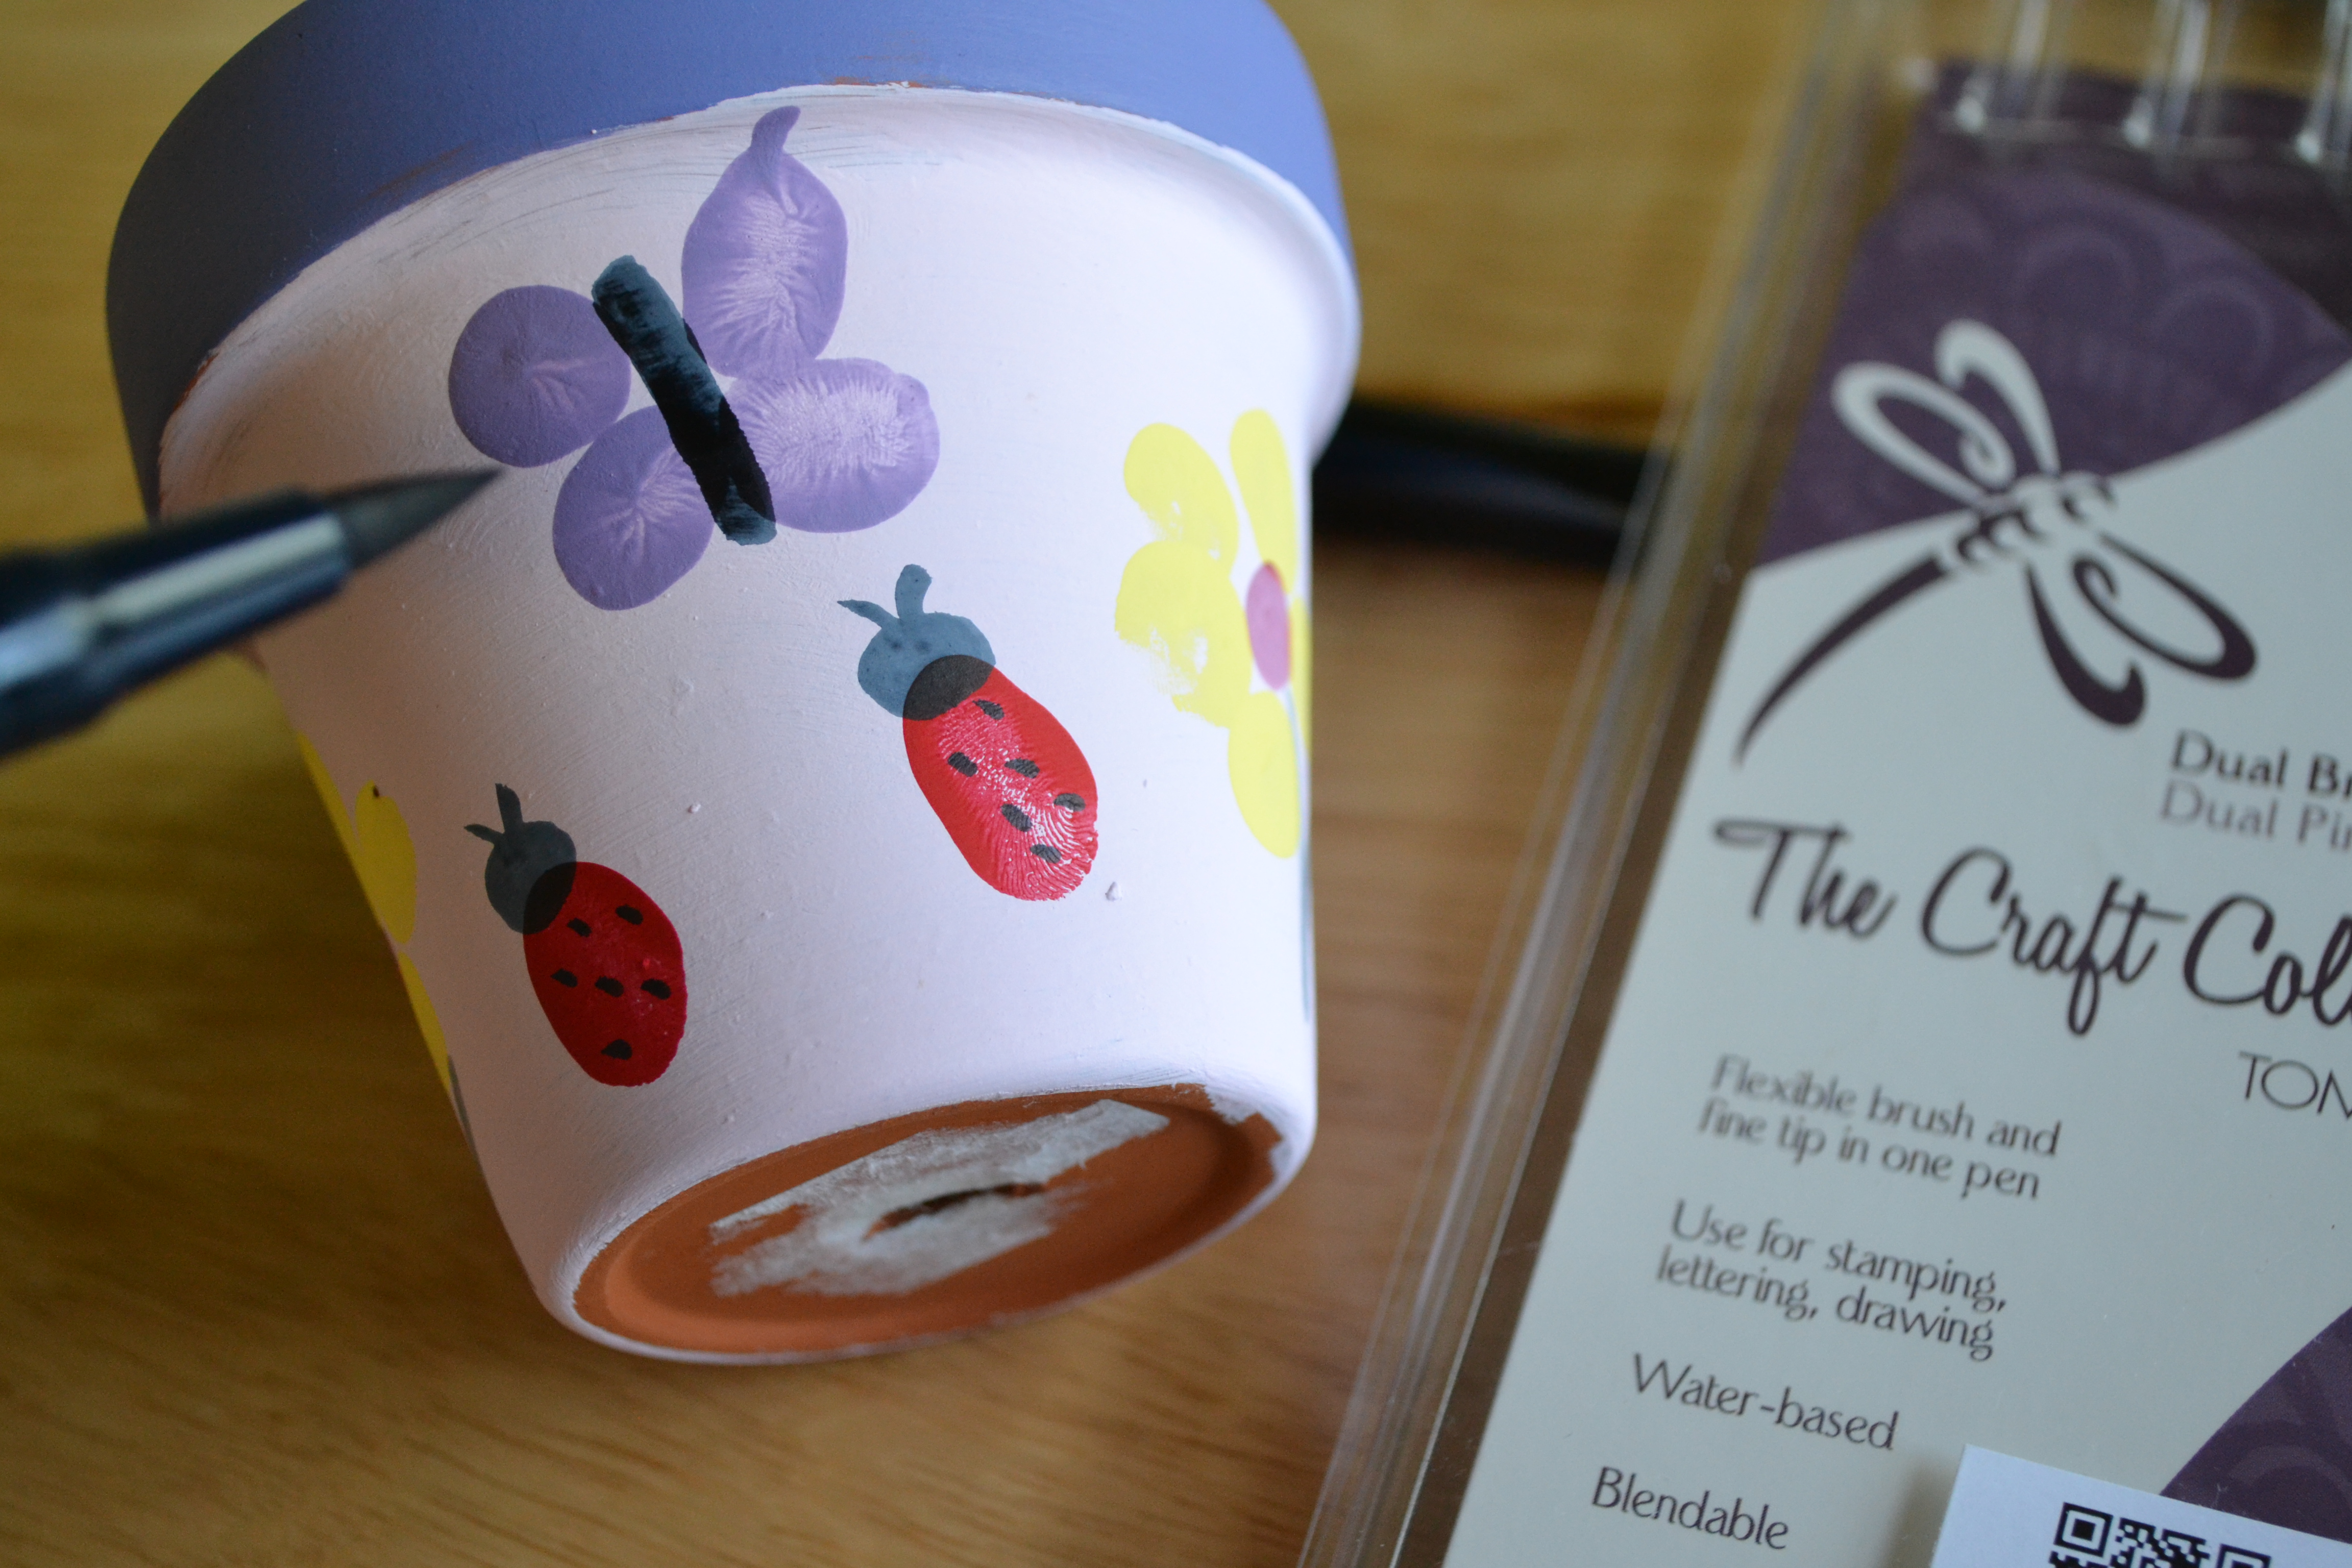
After the pots dried, we used red, yellow, and purple paint to put thumbprints on our pots. I helped my 3 and 4-year-old make thumbprints in yellow and purple for flowers and red thumbprints for ladybugs. We also put 4 thumbprints together to make butterfly wings.
Step 4
Once all of the thumbprints had dried, we used paint pens to draw on the details of our flowers, ladybugs, and butterflies. I also used the paint pen to write "Happy Mother's Day" with each child's name and the year along the rim.
Step 5
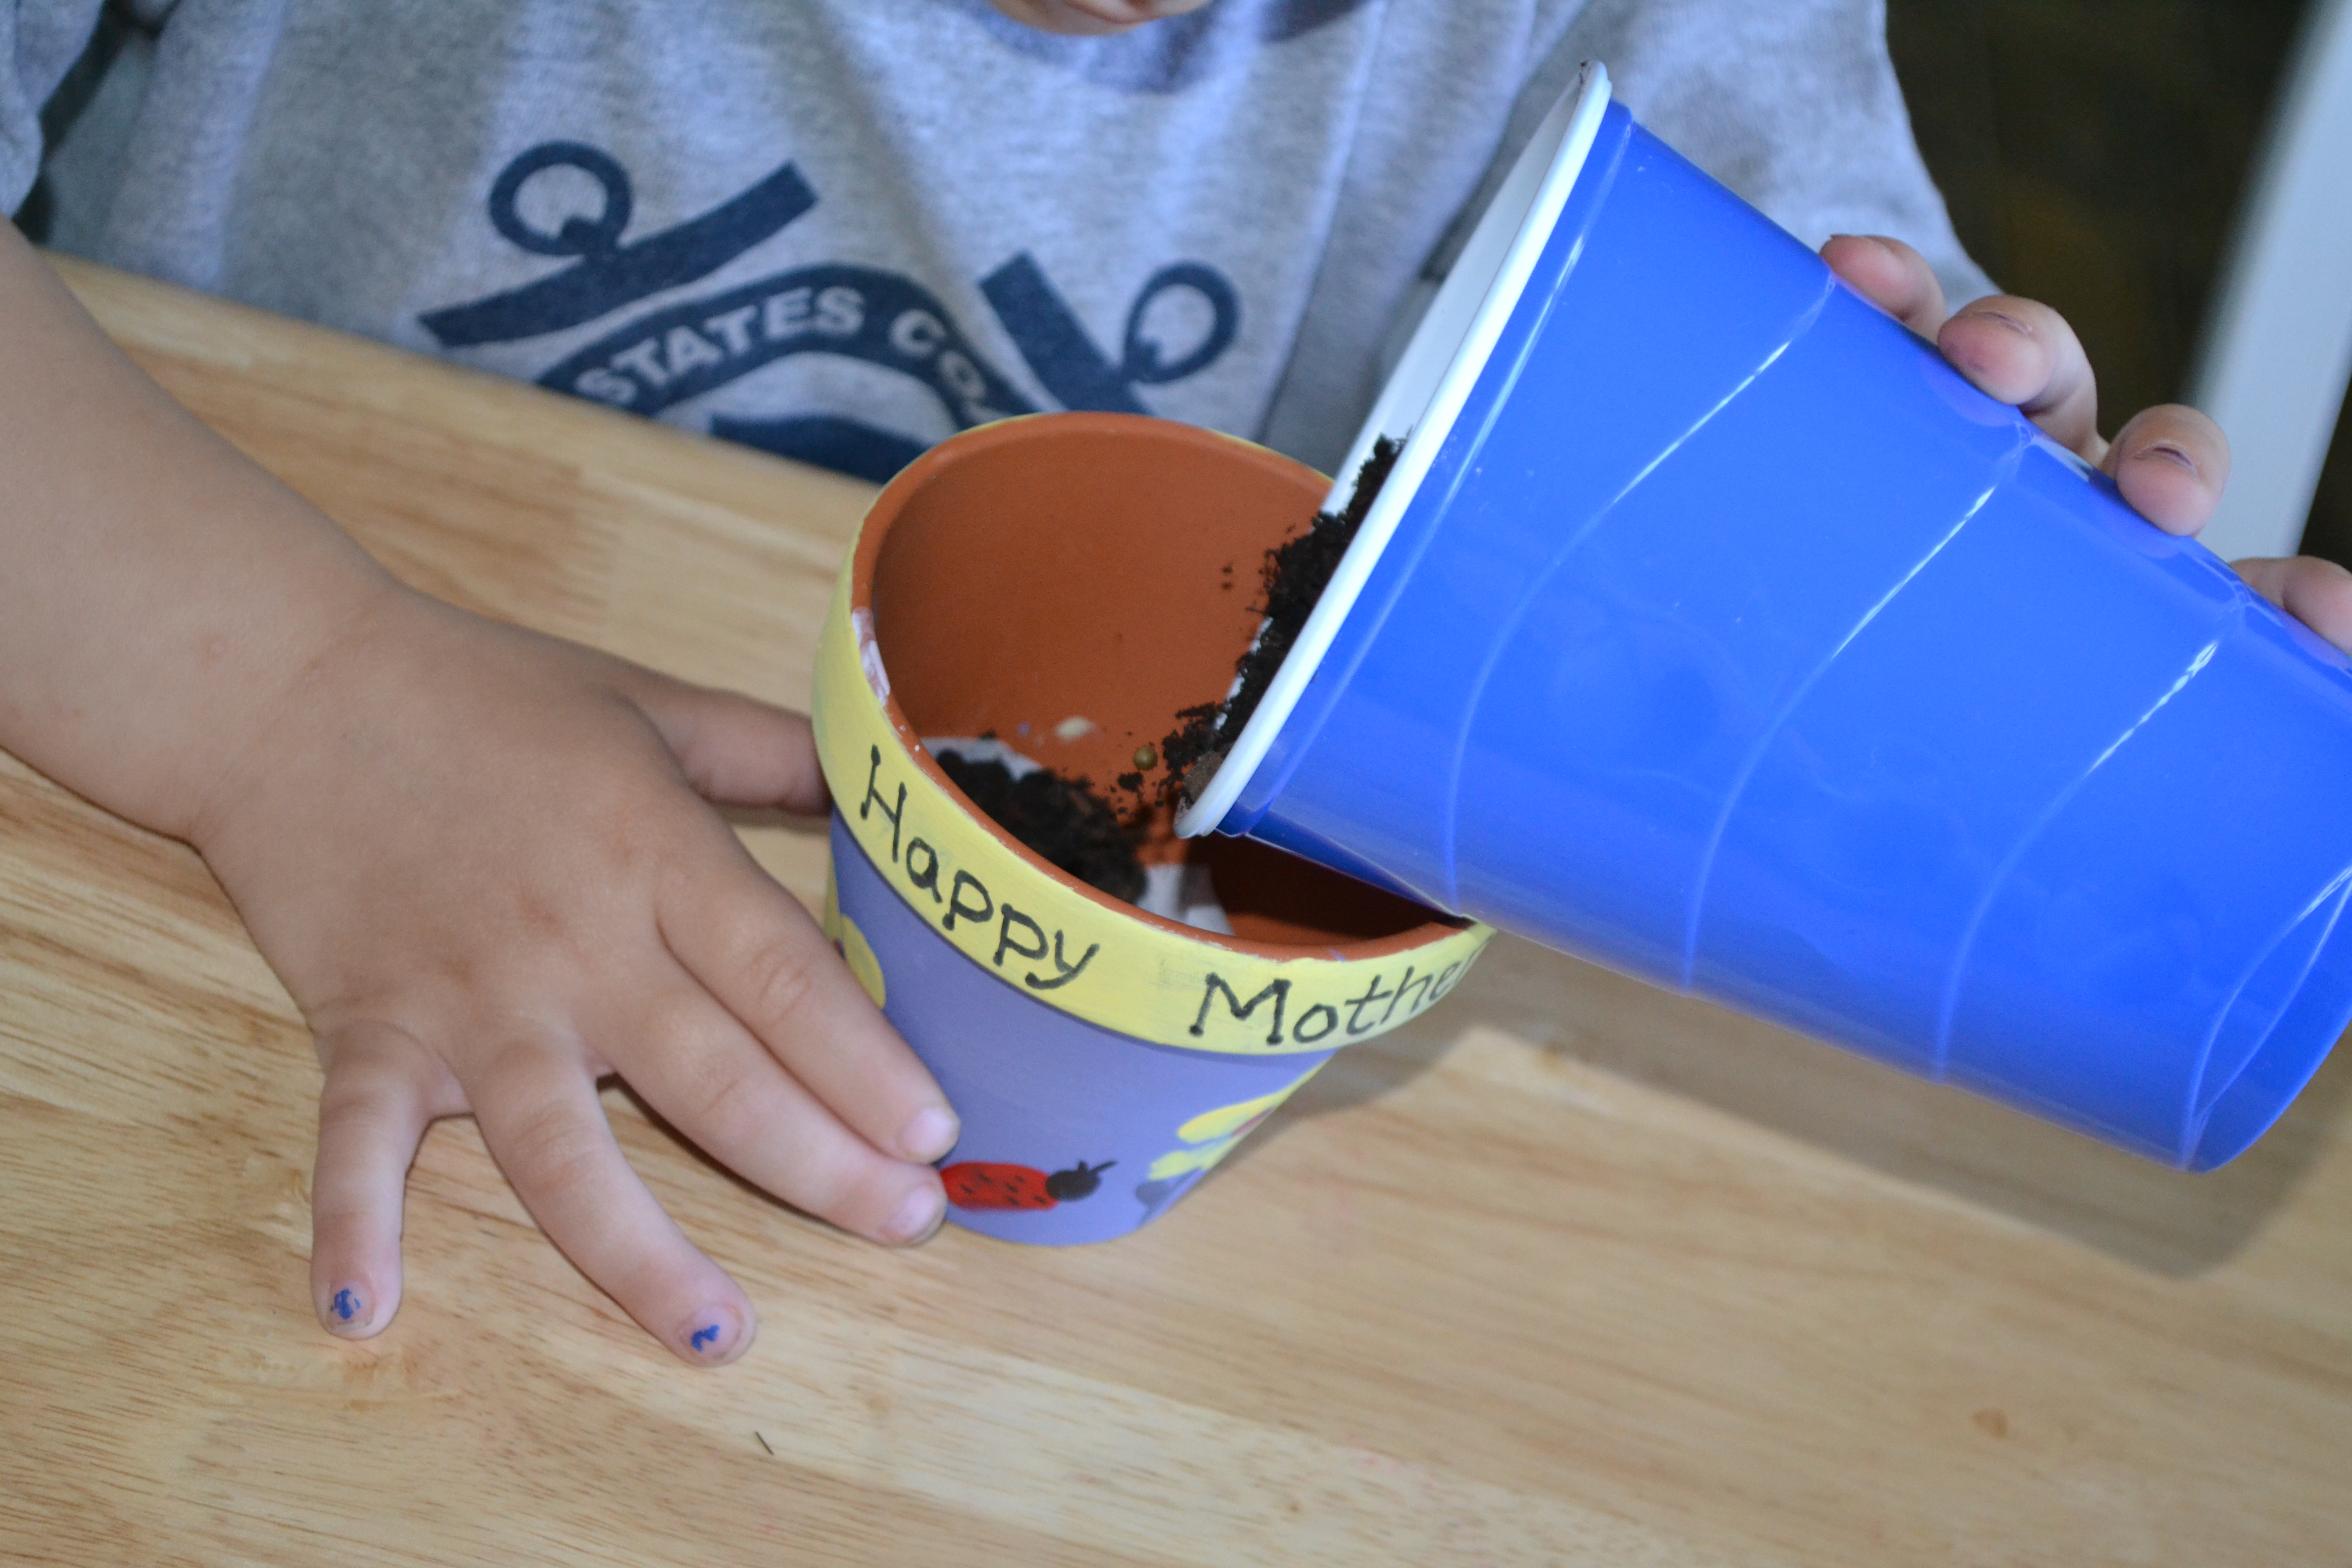
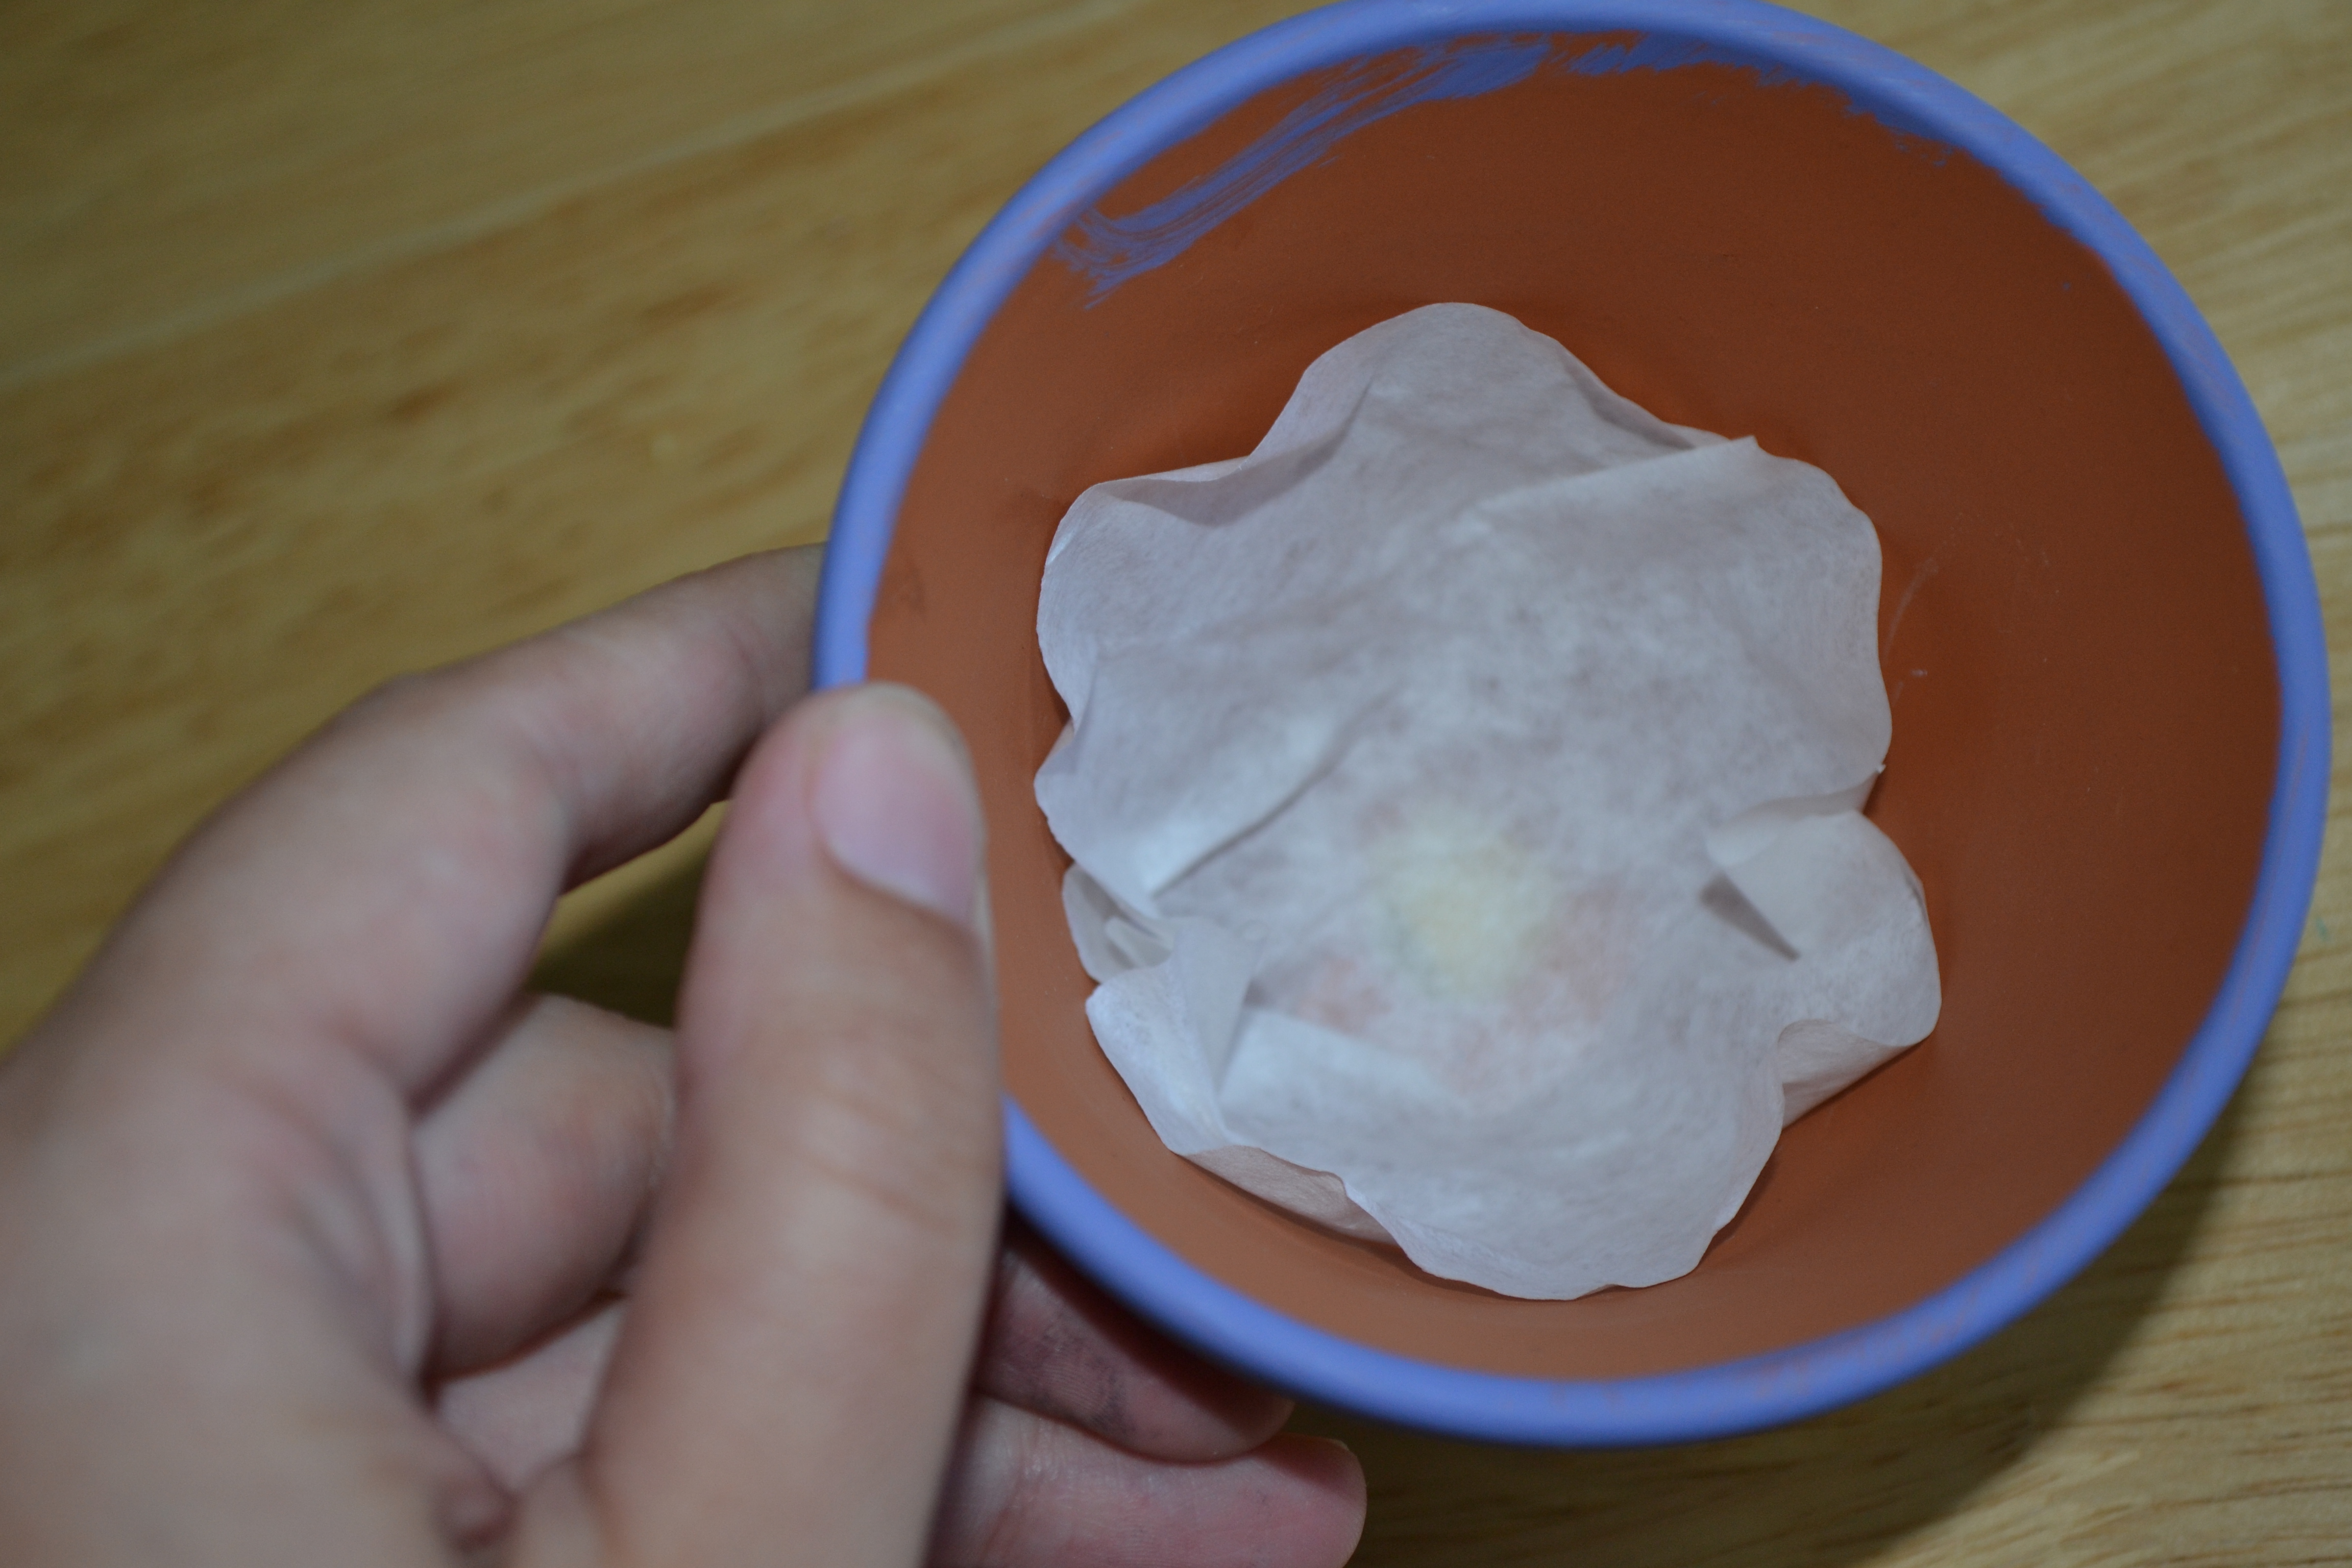
We let everything dry overnight, and then the next day we planted seeds in our pots. I have found that Marigolds are very easy to grow and grow quickly. We cut up coffee filters and put them in the bottom of our flower pots to keep the soil from leaking out of the hole in the bottom.
Done!
The kids had so much fun getting their hands dirty as we scooped soil into our pots and used our fingers to make holes for the seeds. They placed their seeds very carefully into the pots and covered them with dirt. We talked about what seeds need, watered them and put them on a windowsill so they could get plenty of sunshine.