Step-by-step tutorial
Step 1
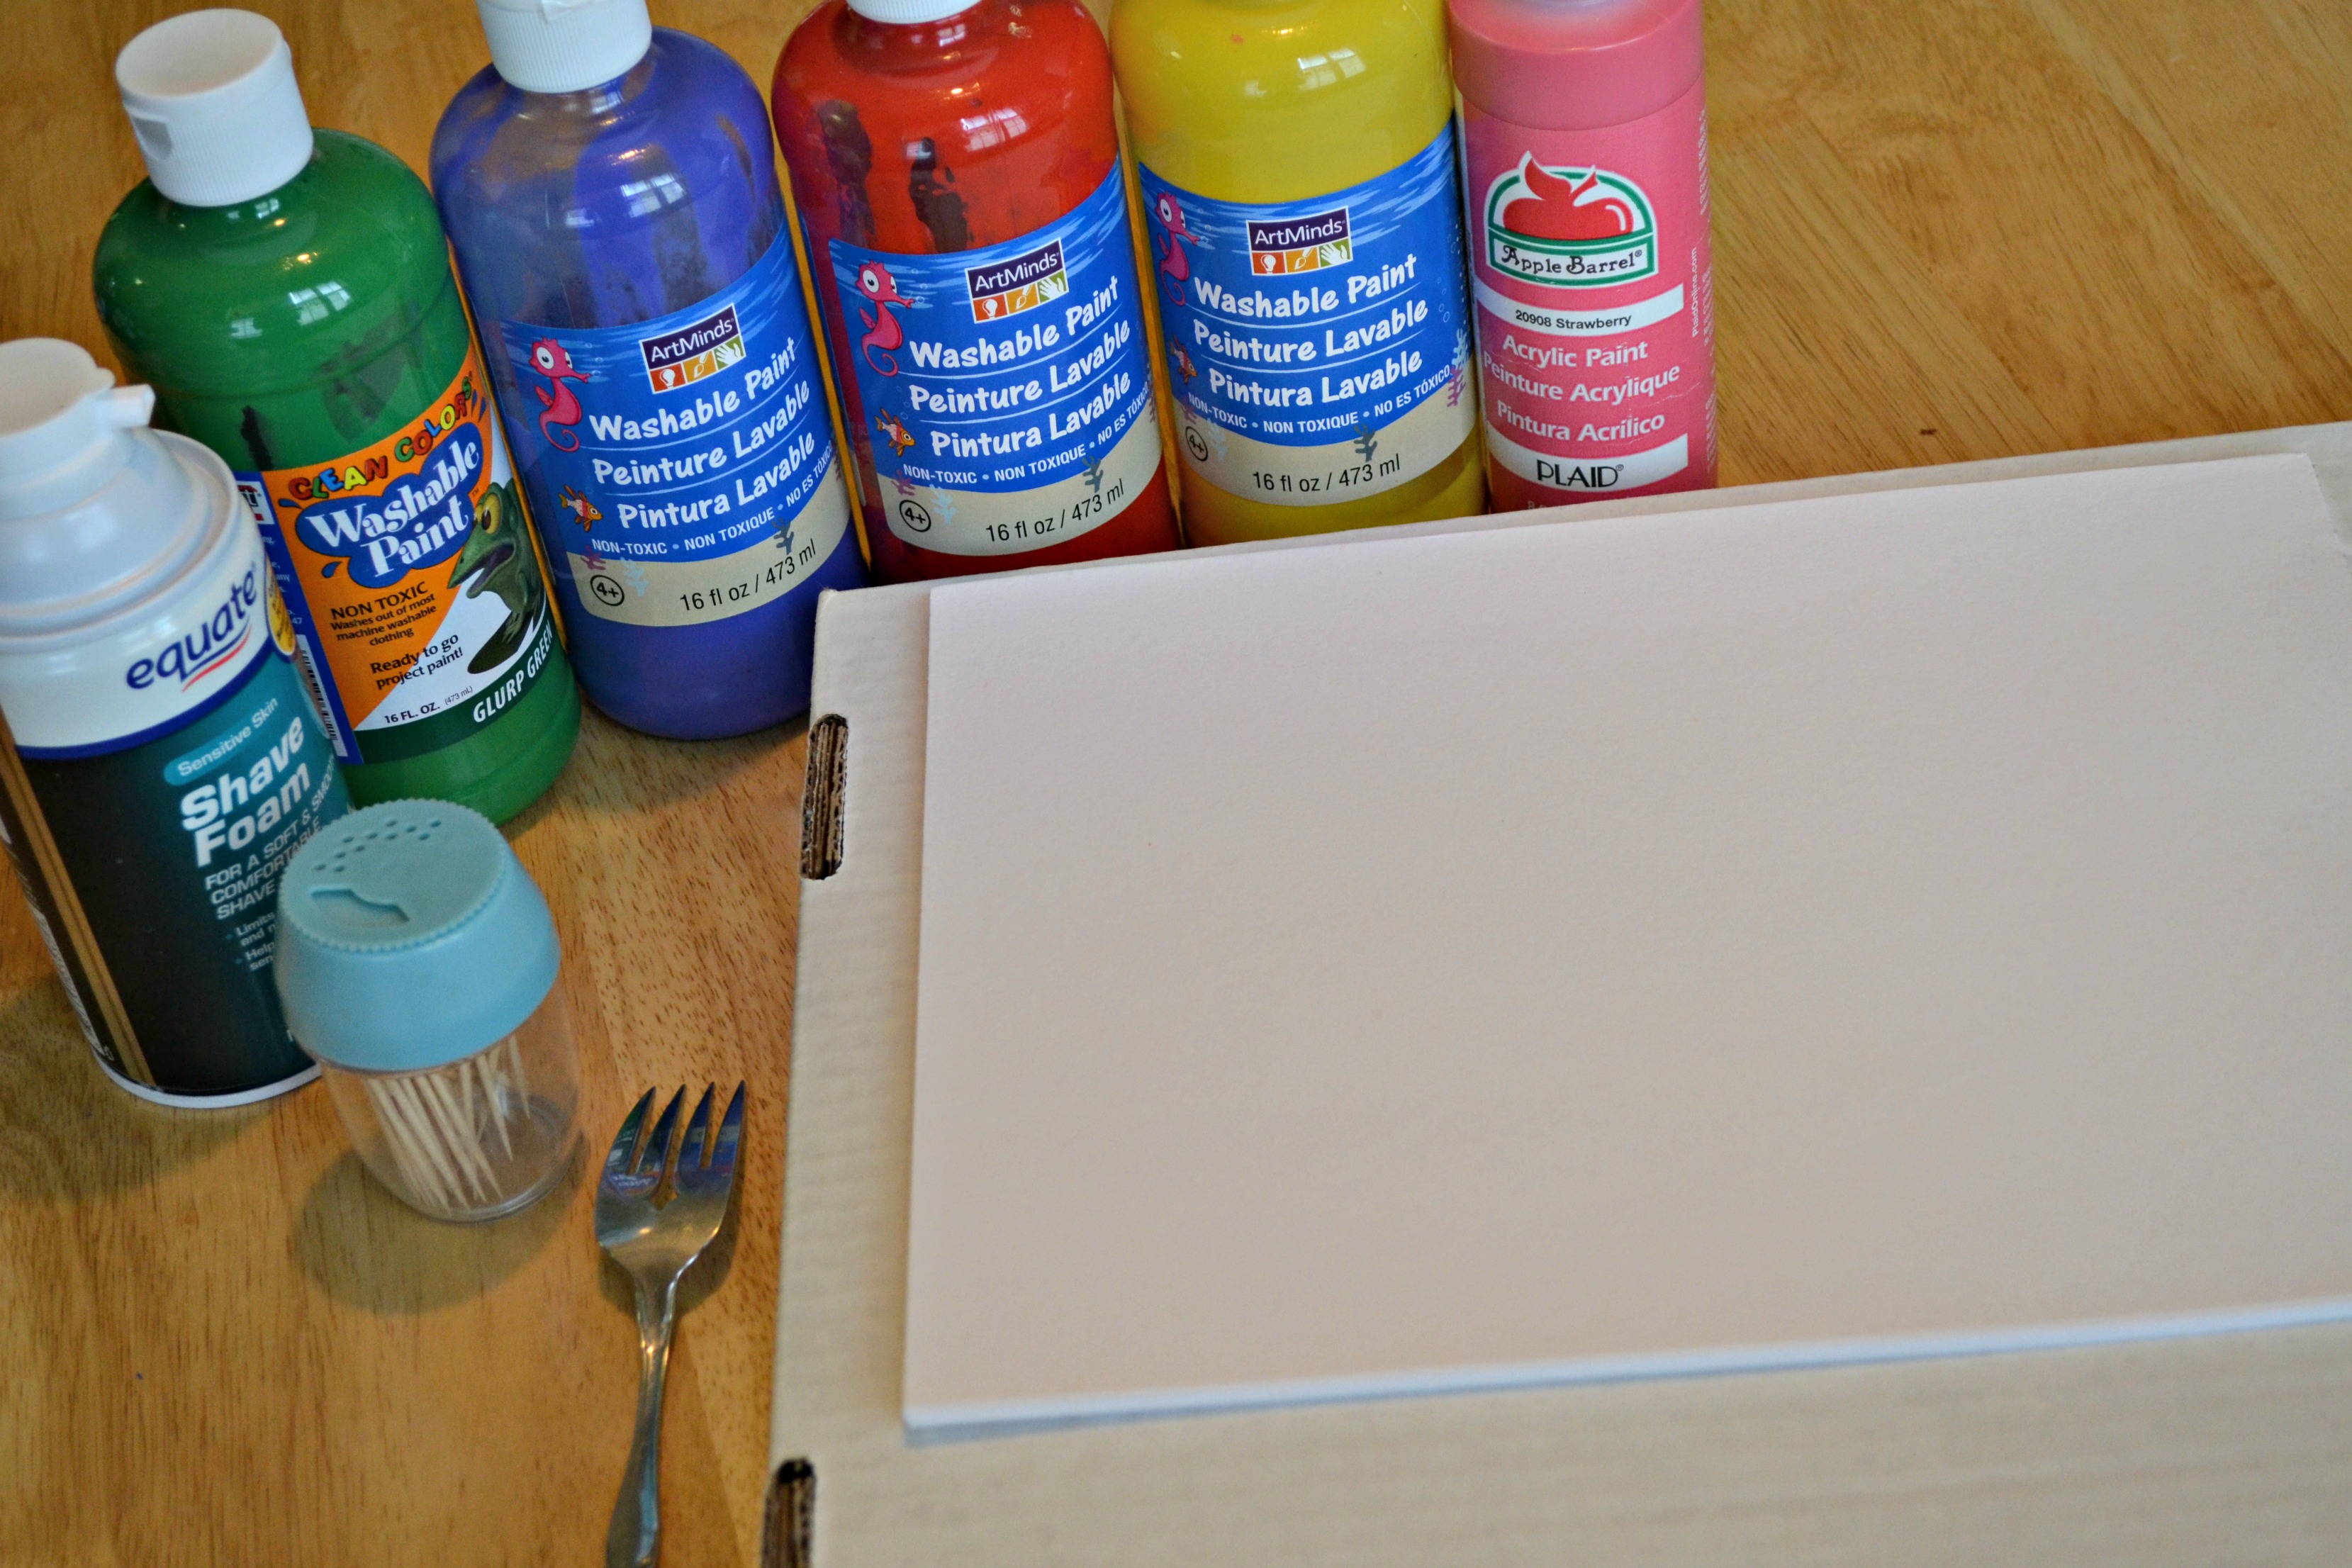
Gather all materials. I pulled out all of the paints because we did a few different shapes, but we found that the green and yellow mixes made a beautiful marbled effect for the shamrocks.

Step 2
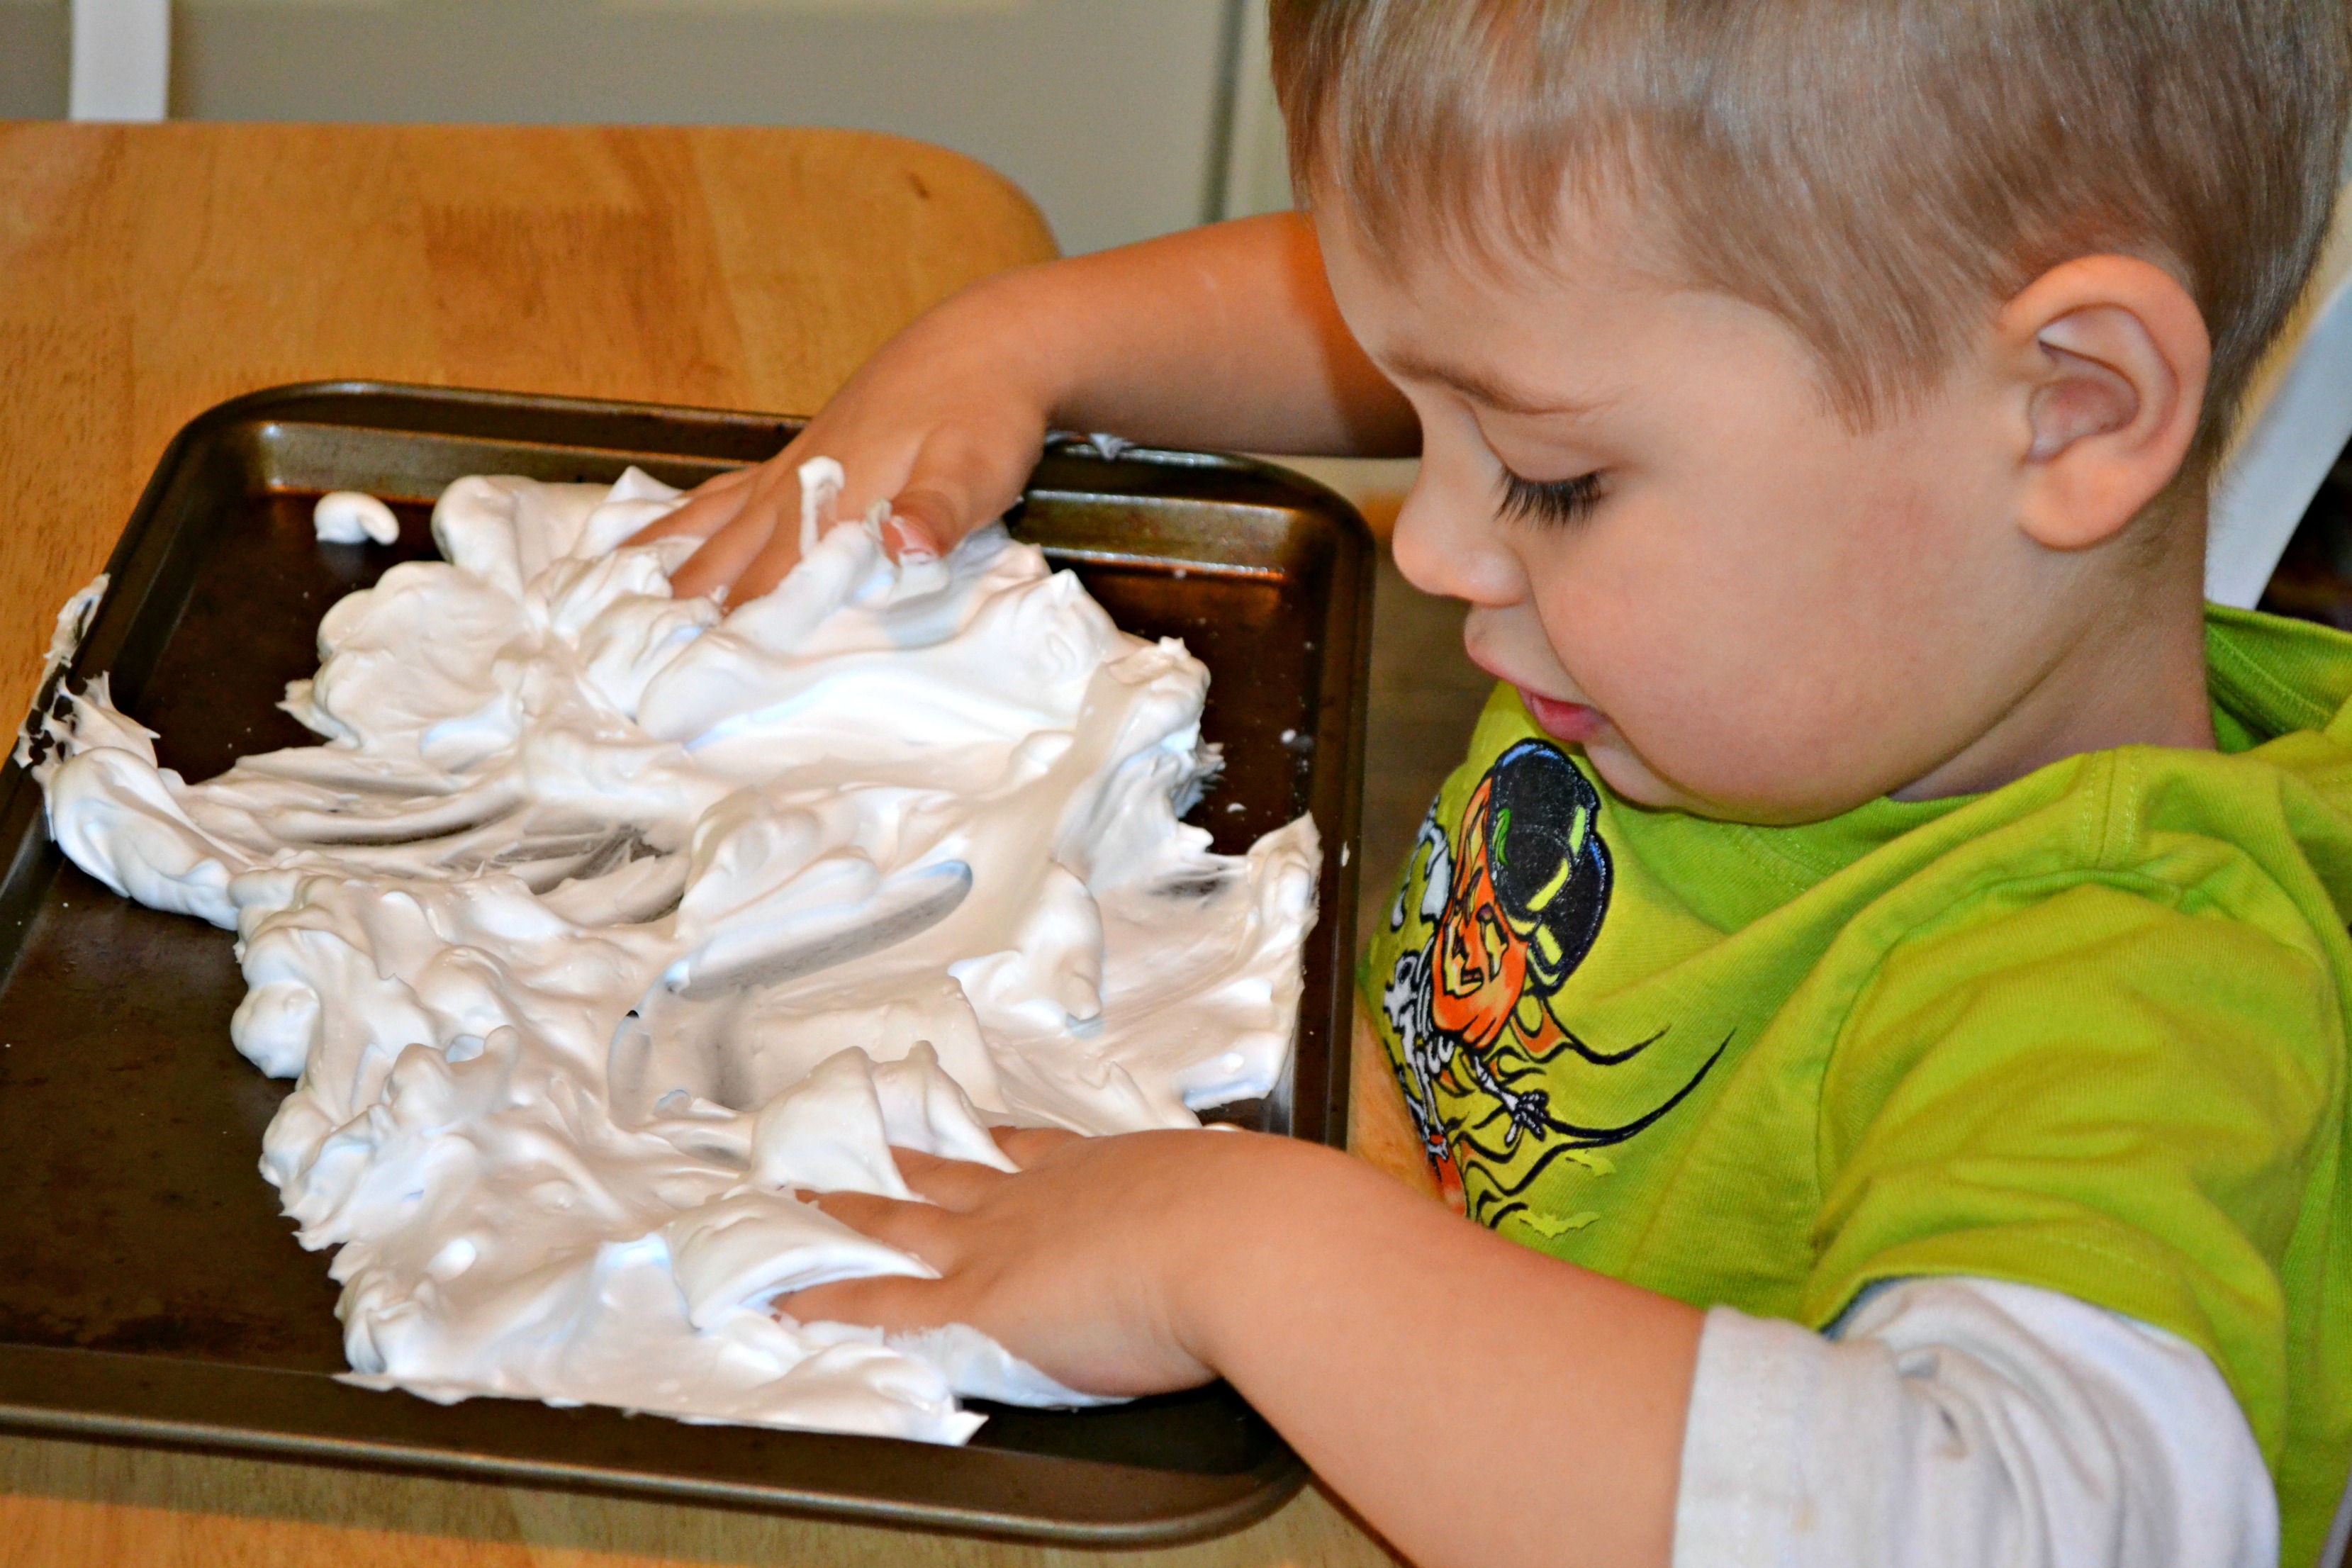
We started by squishing and playing in the shaving cream on our cookie sheet. It took the kids a little while to warm up to this new sensory experience, but they were soon patting and squishing and having a great time!
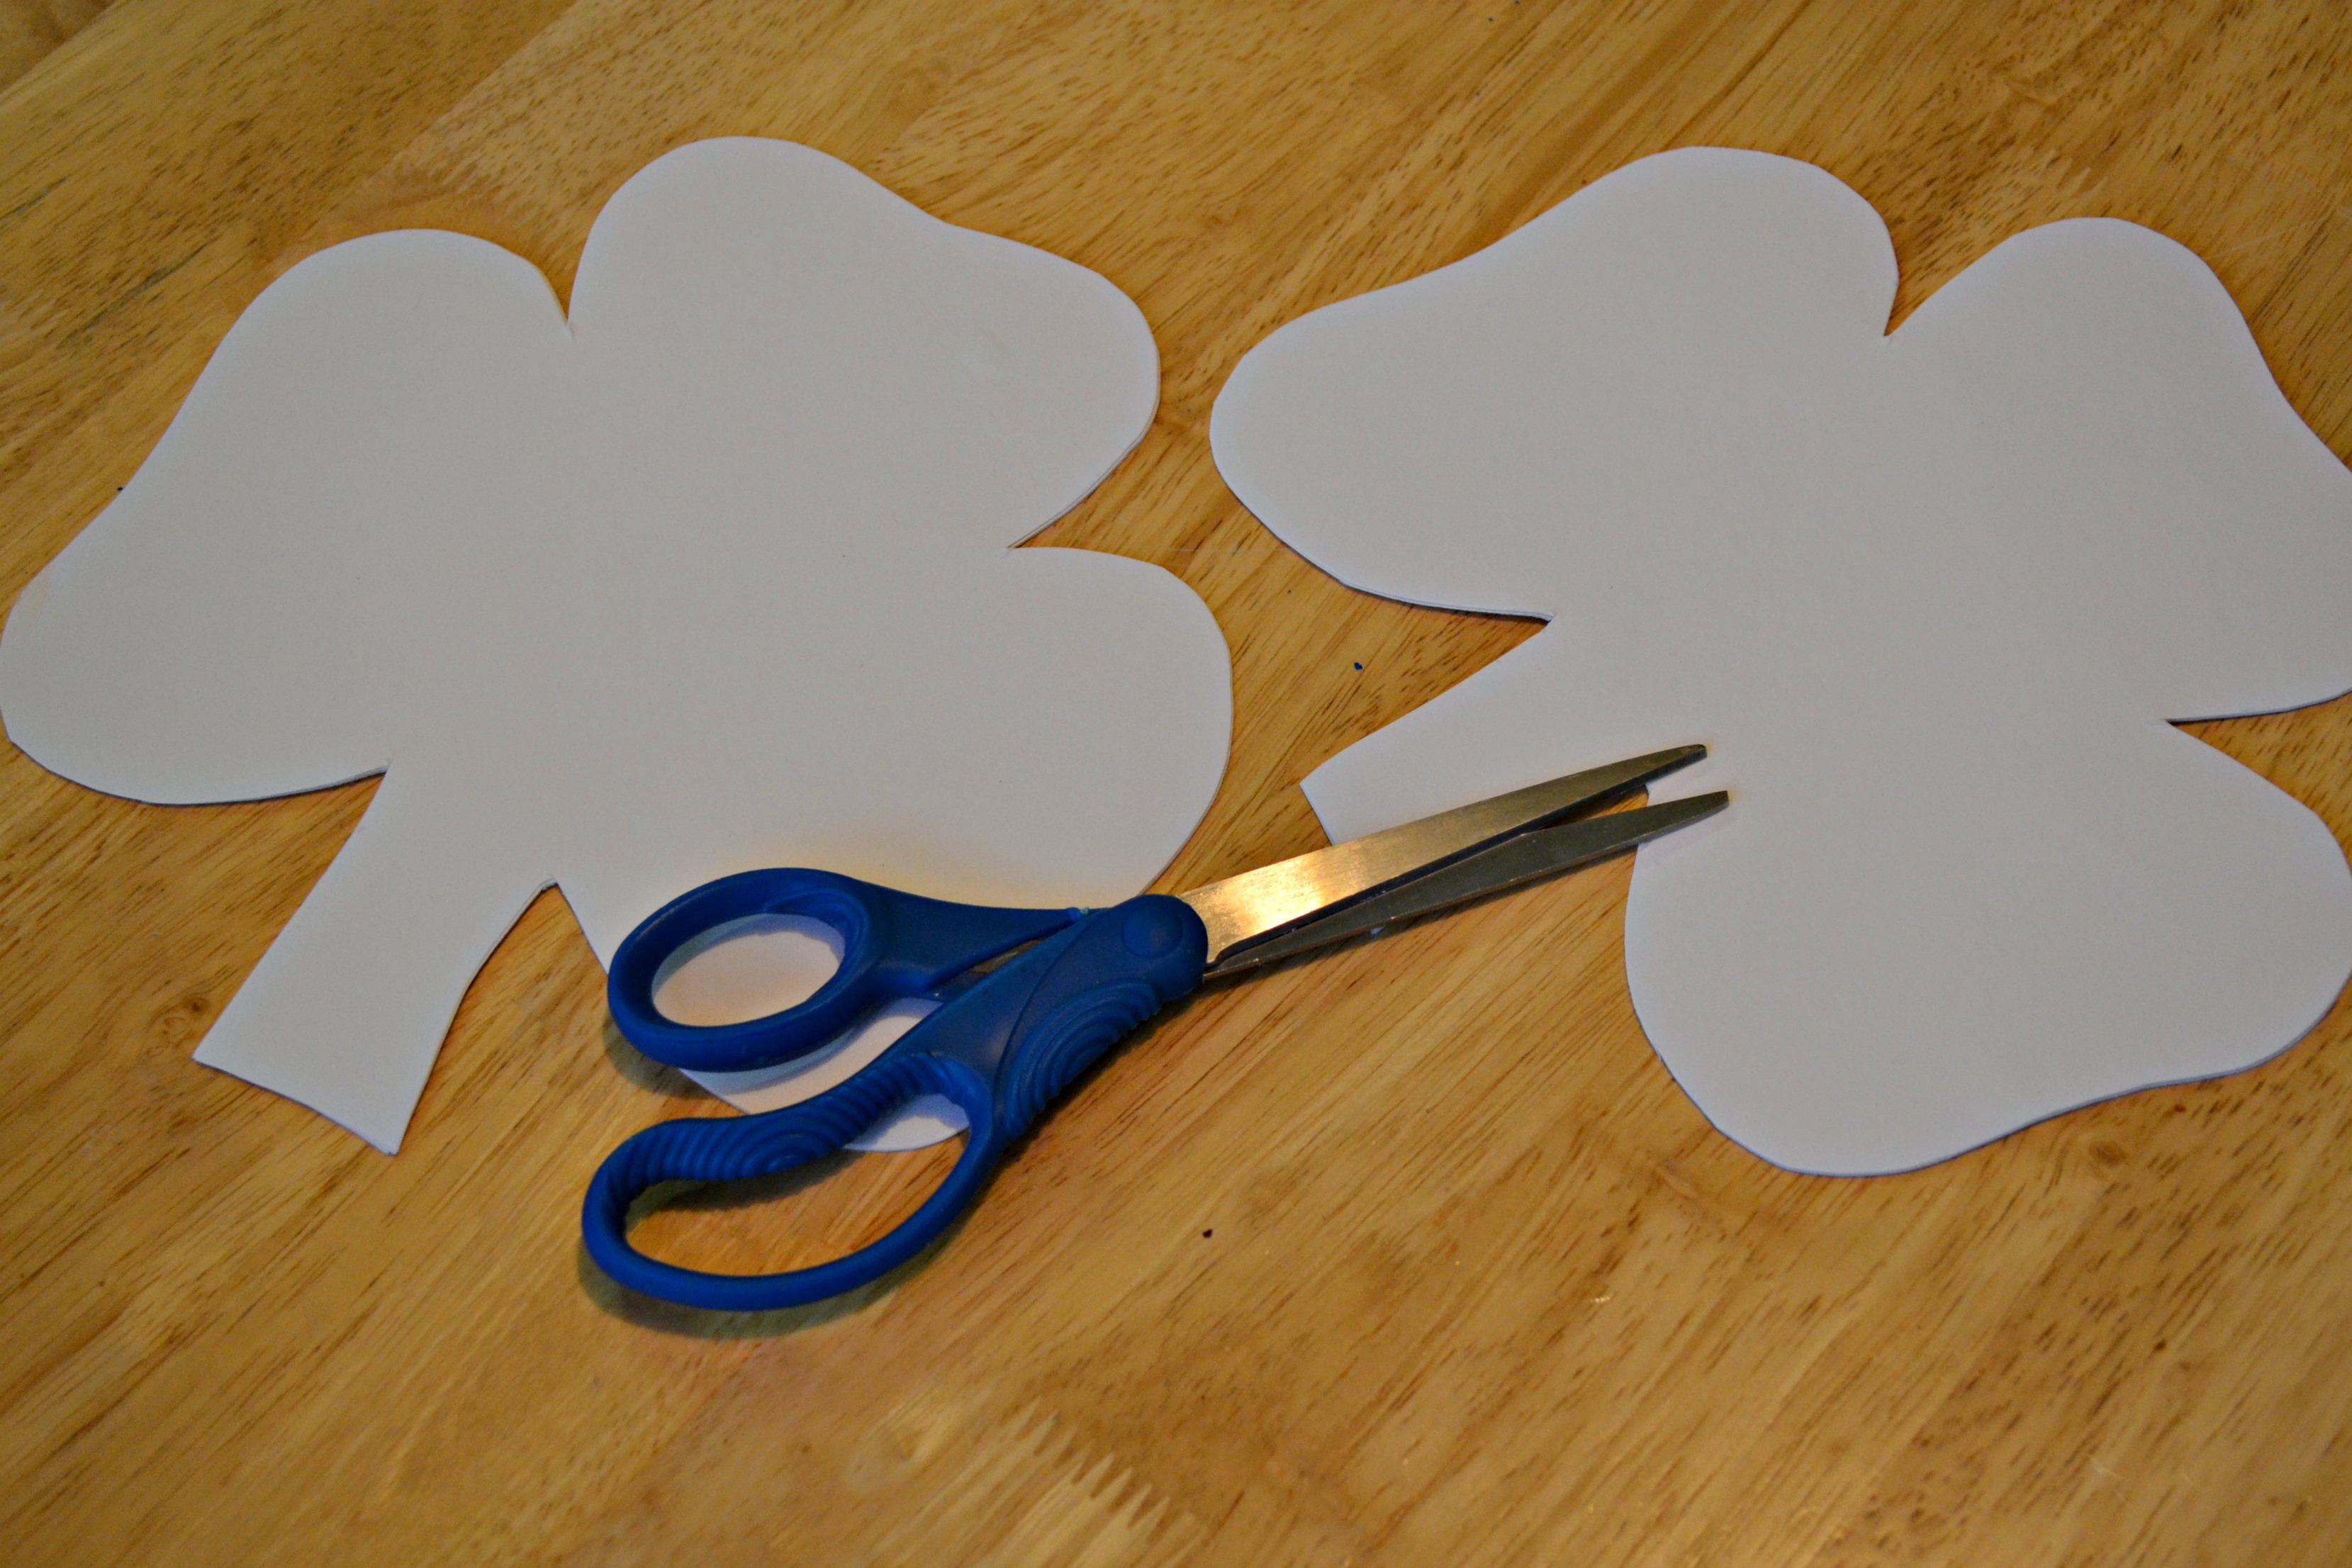
Step 3
While my 2- and 3-year-old were playing in the shaving cream, I cut shamrock shapes out of white cardstock.
Step 4
We squirted a little paint onto our shaving cream. My 2-year-old insisted that we add some blue to the mix since his favorite color is blue. It didn't mix in with the other colors as well as I had hoped, but since we only used a few drops it didn't affect our finished products.
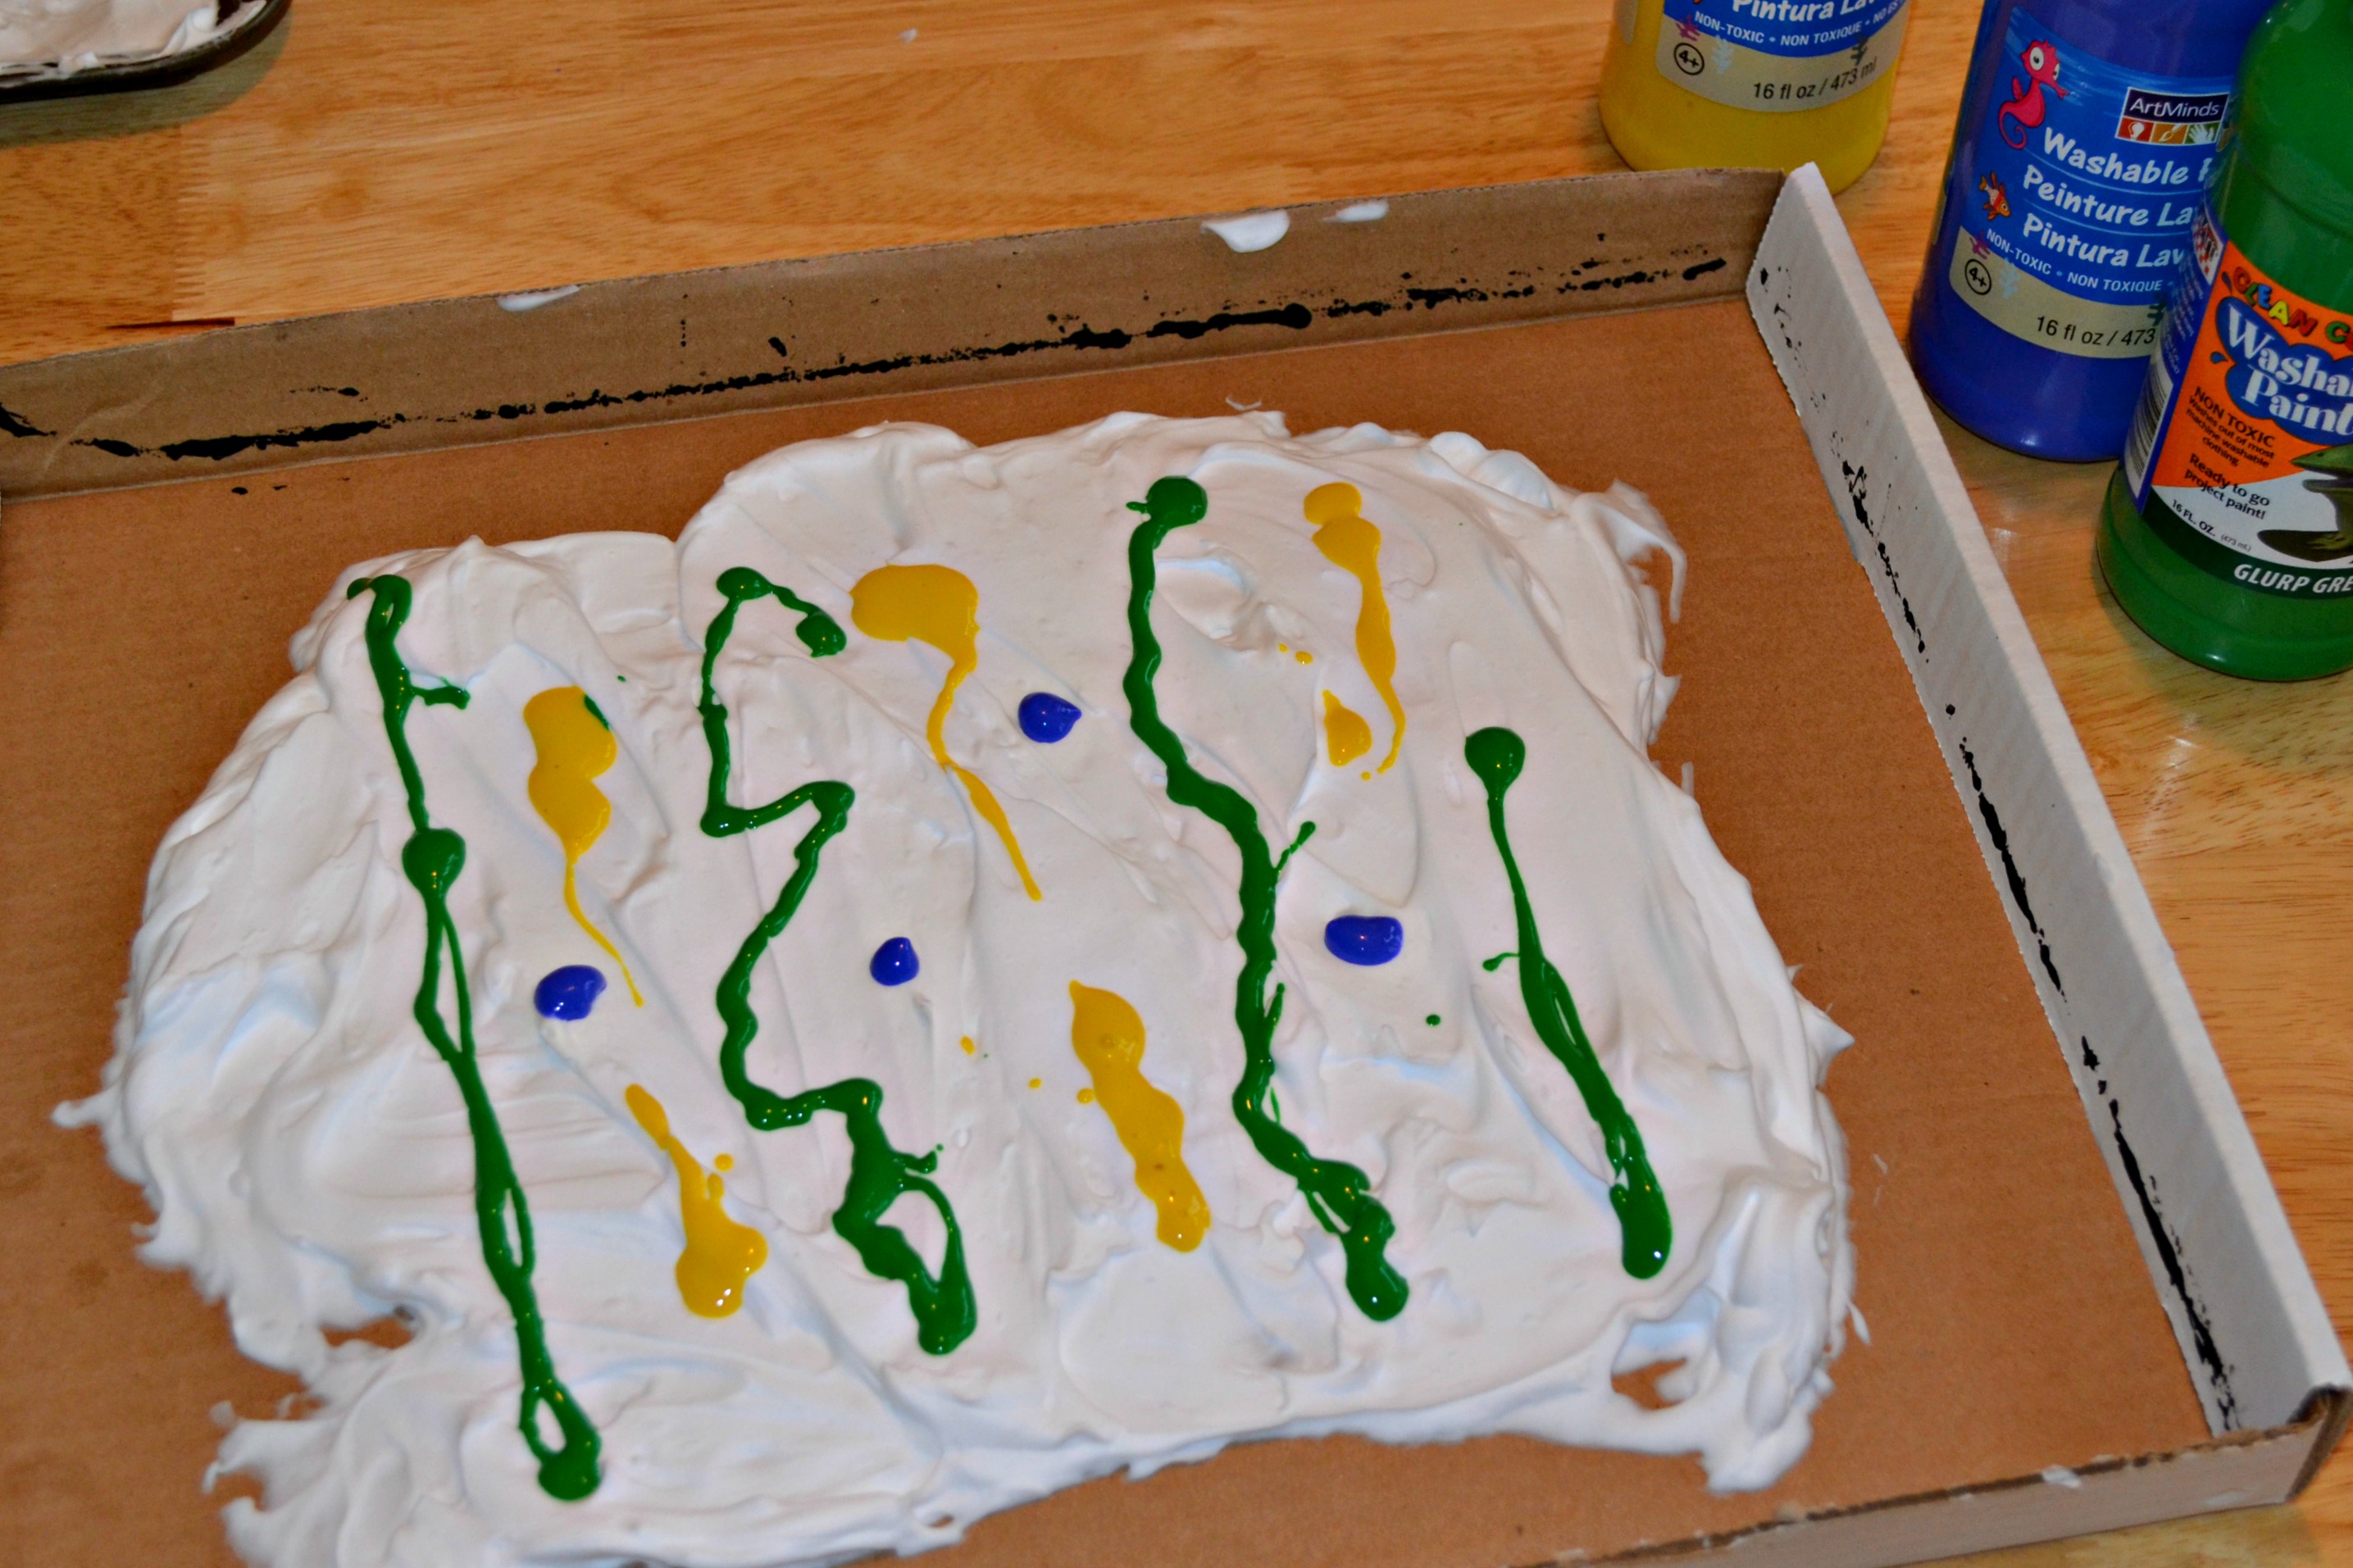
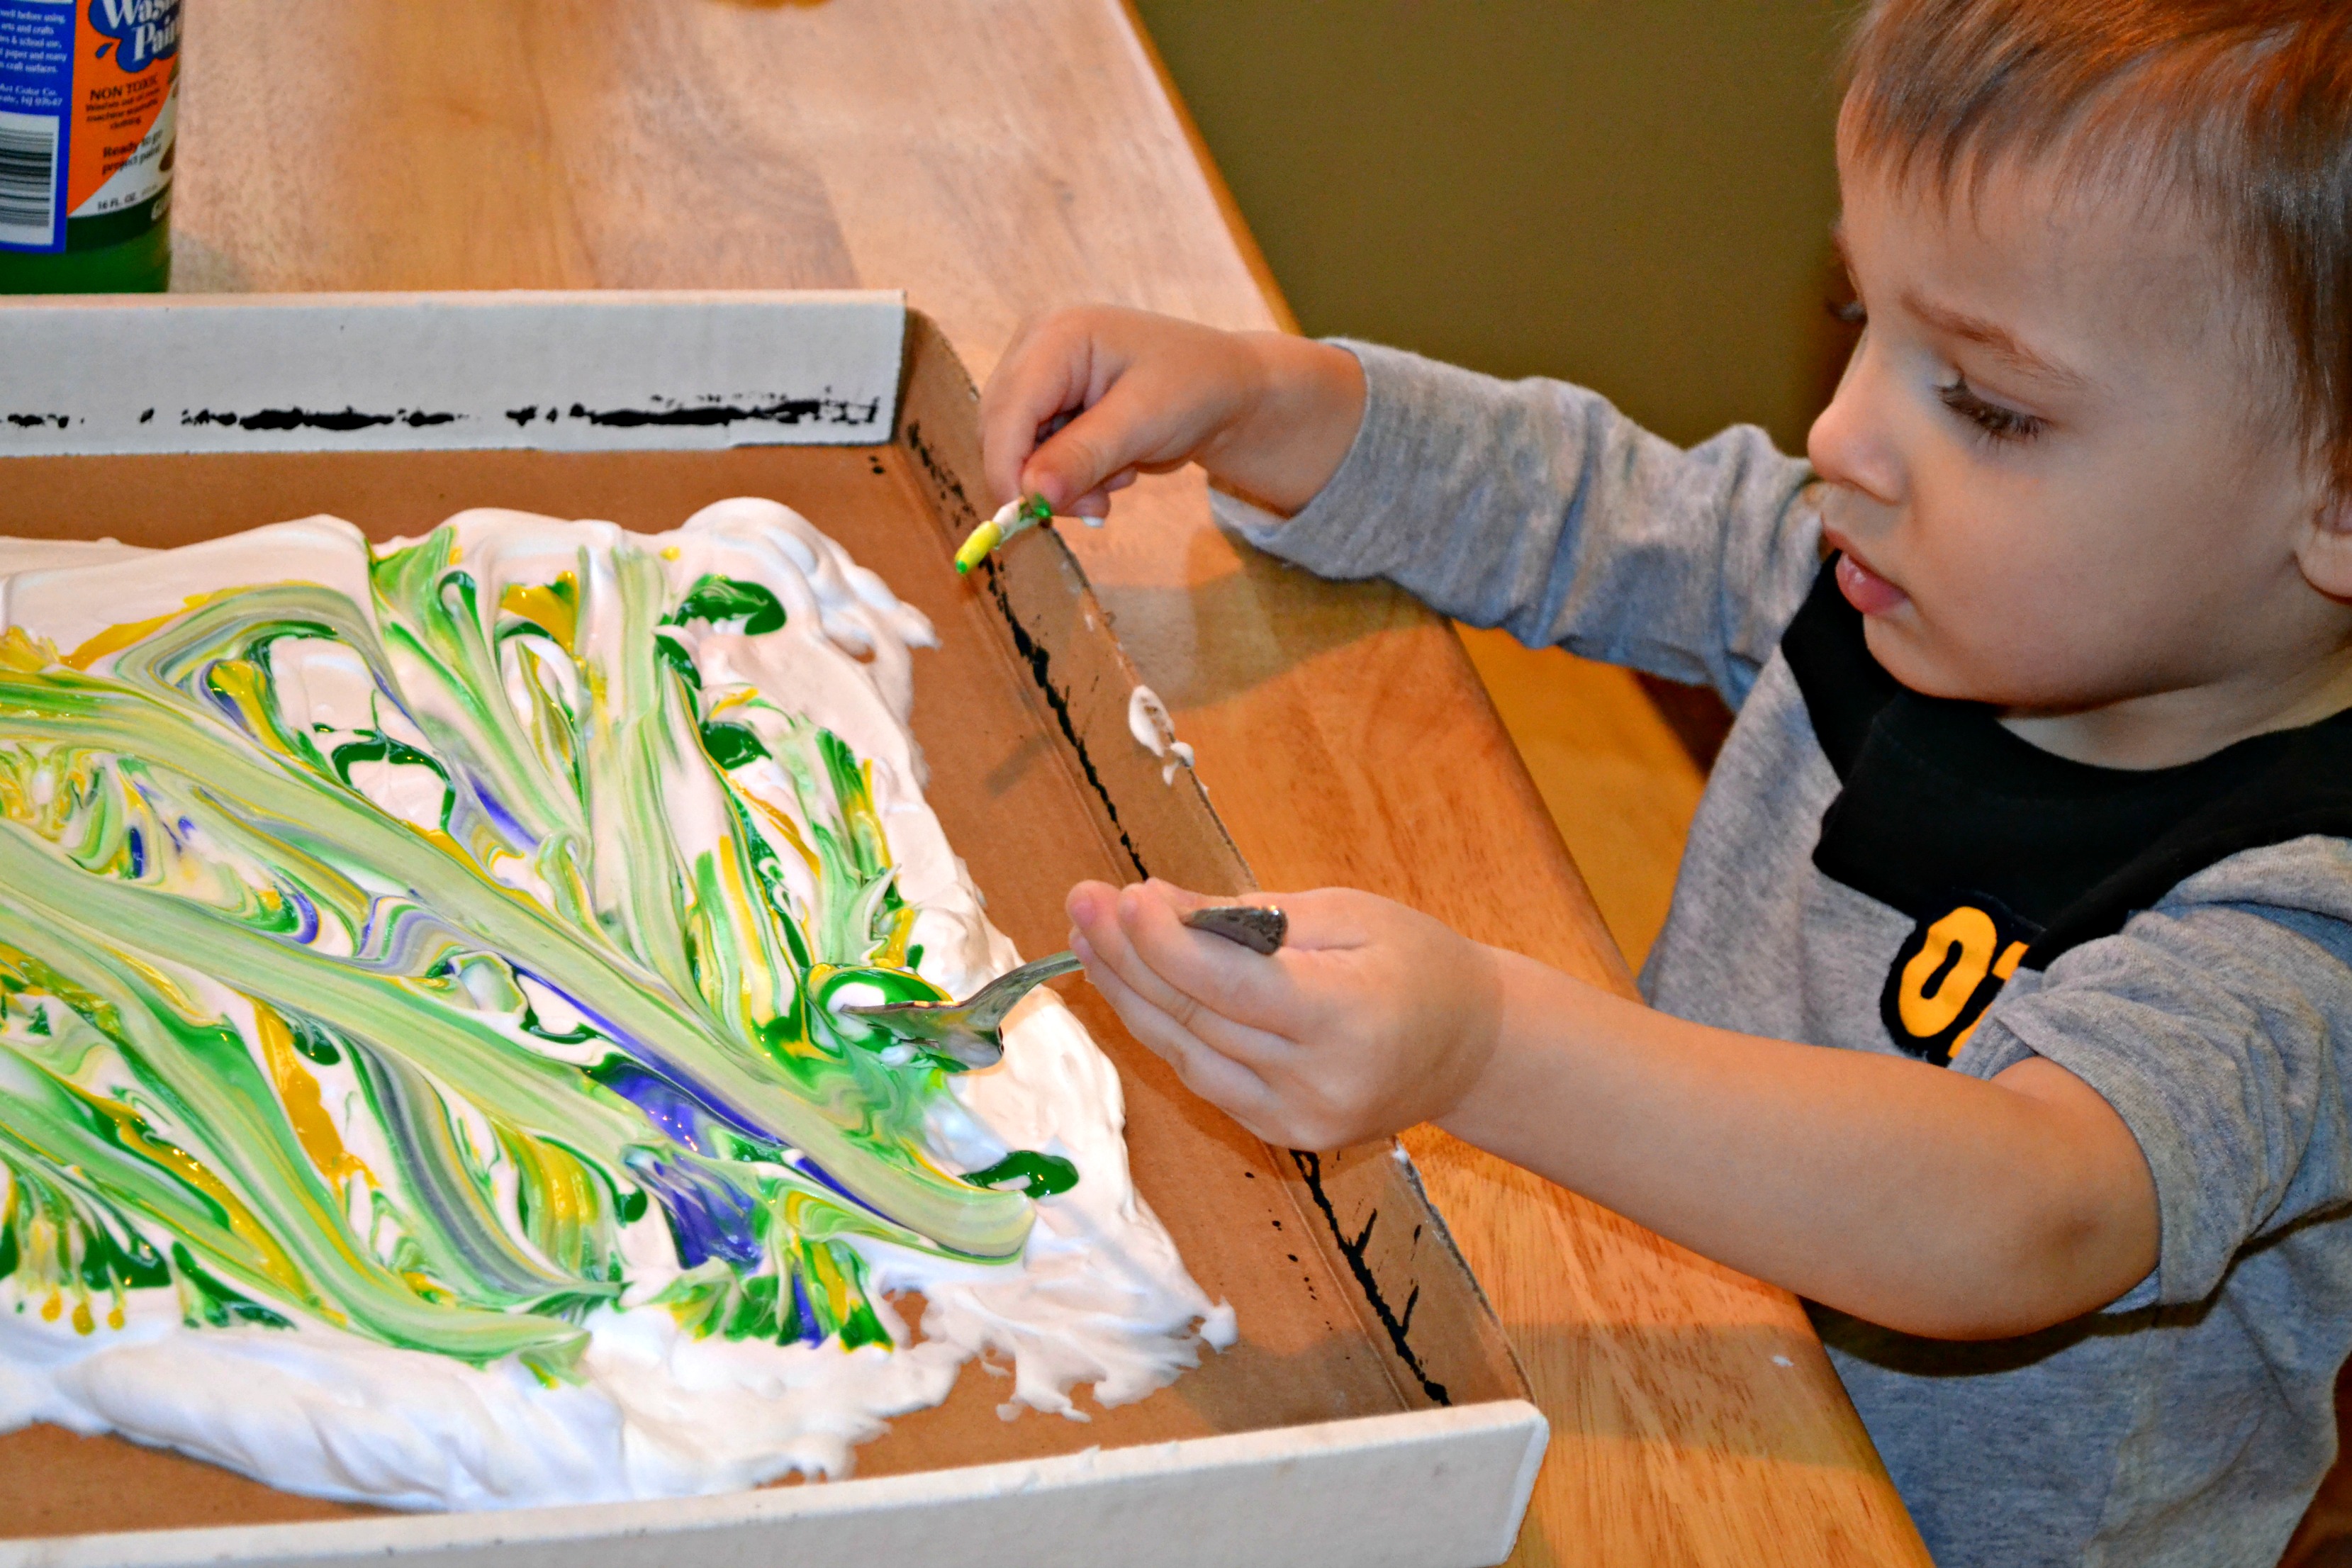
Step 5
The kids used toothpicks and forks to swirl the colors around in the shaving cream. We were careful not to over-mix the colors, which would create just one shade.
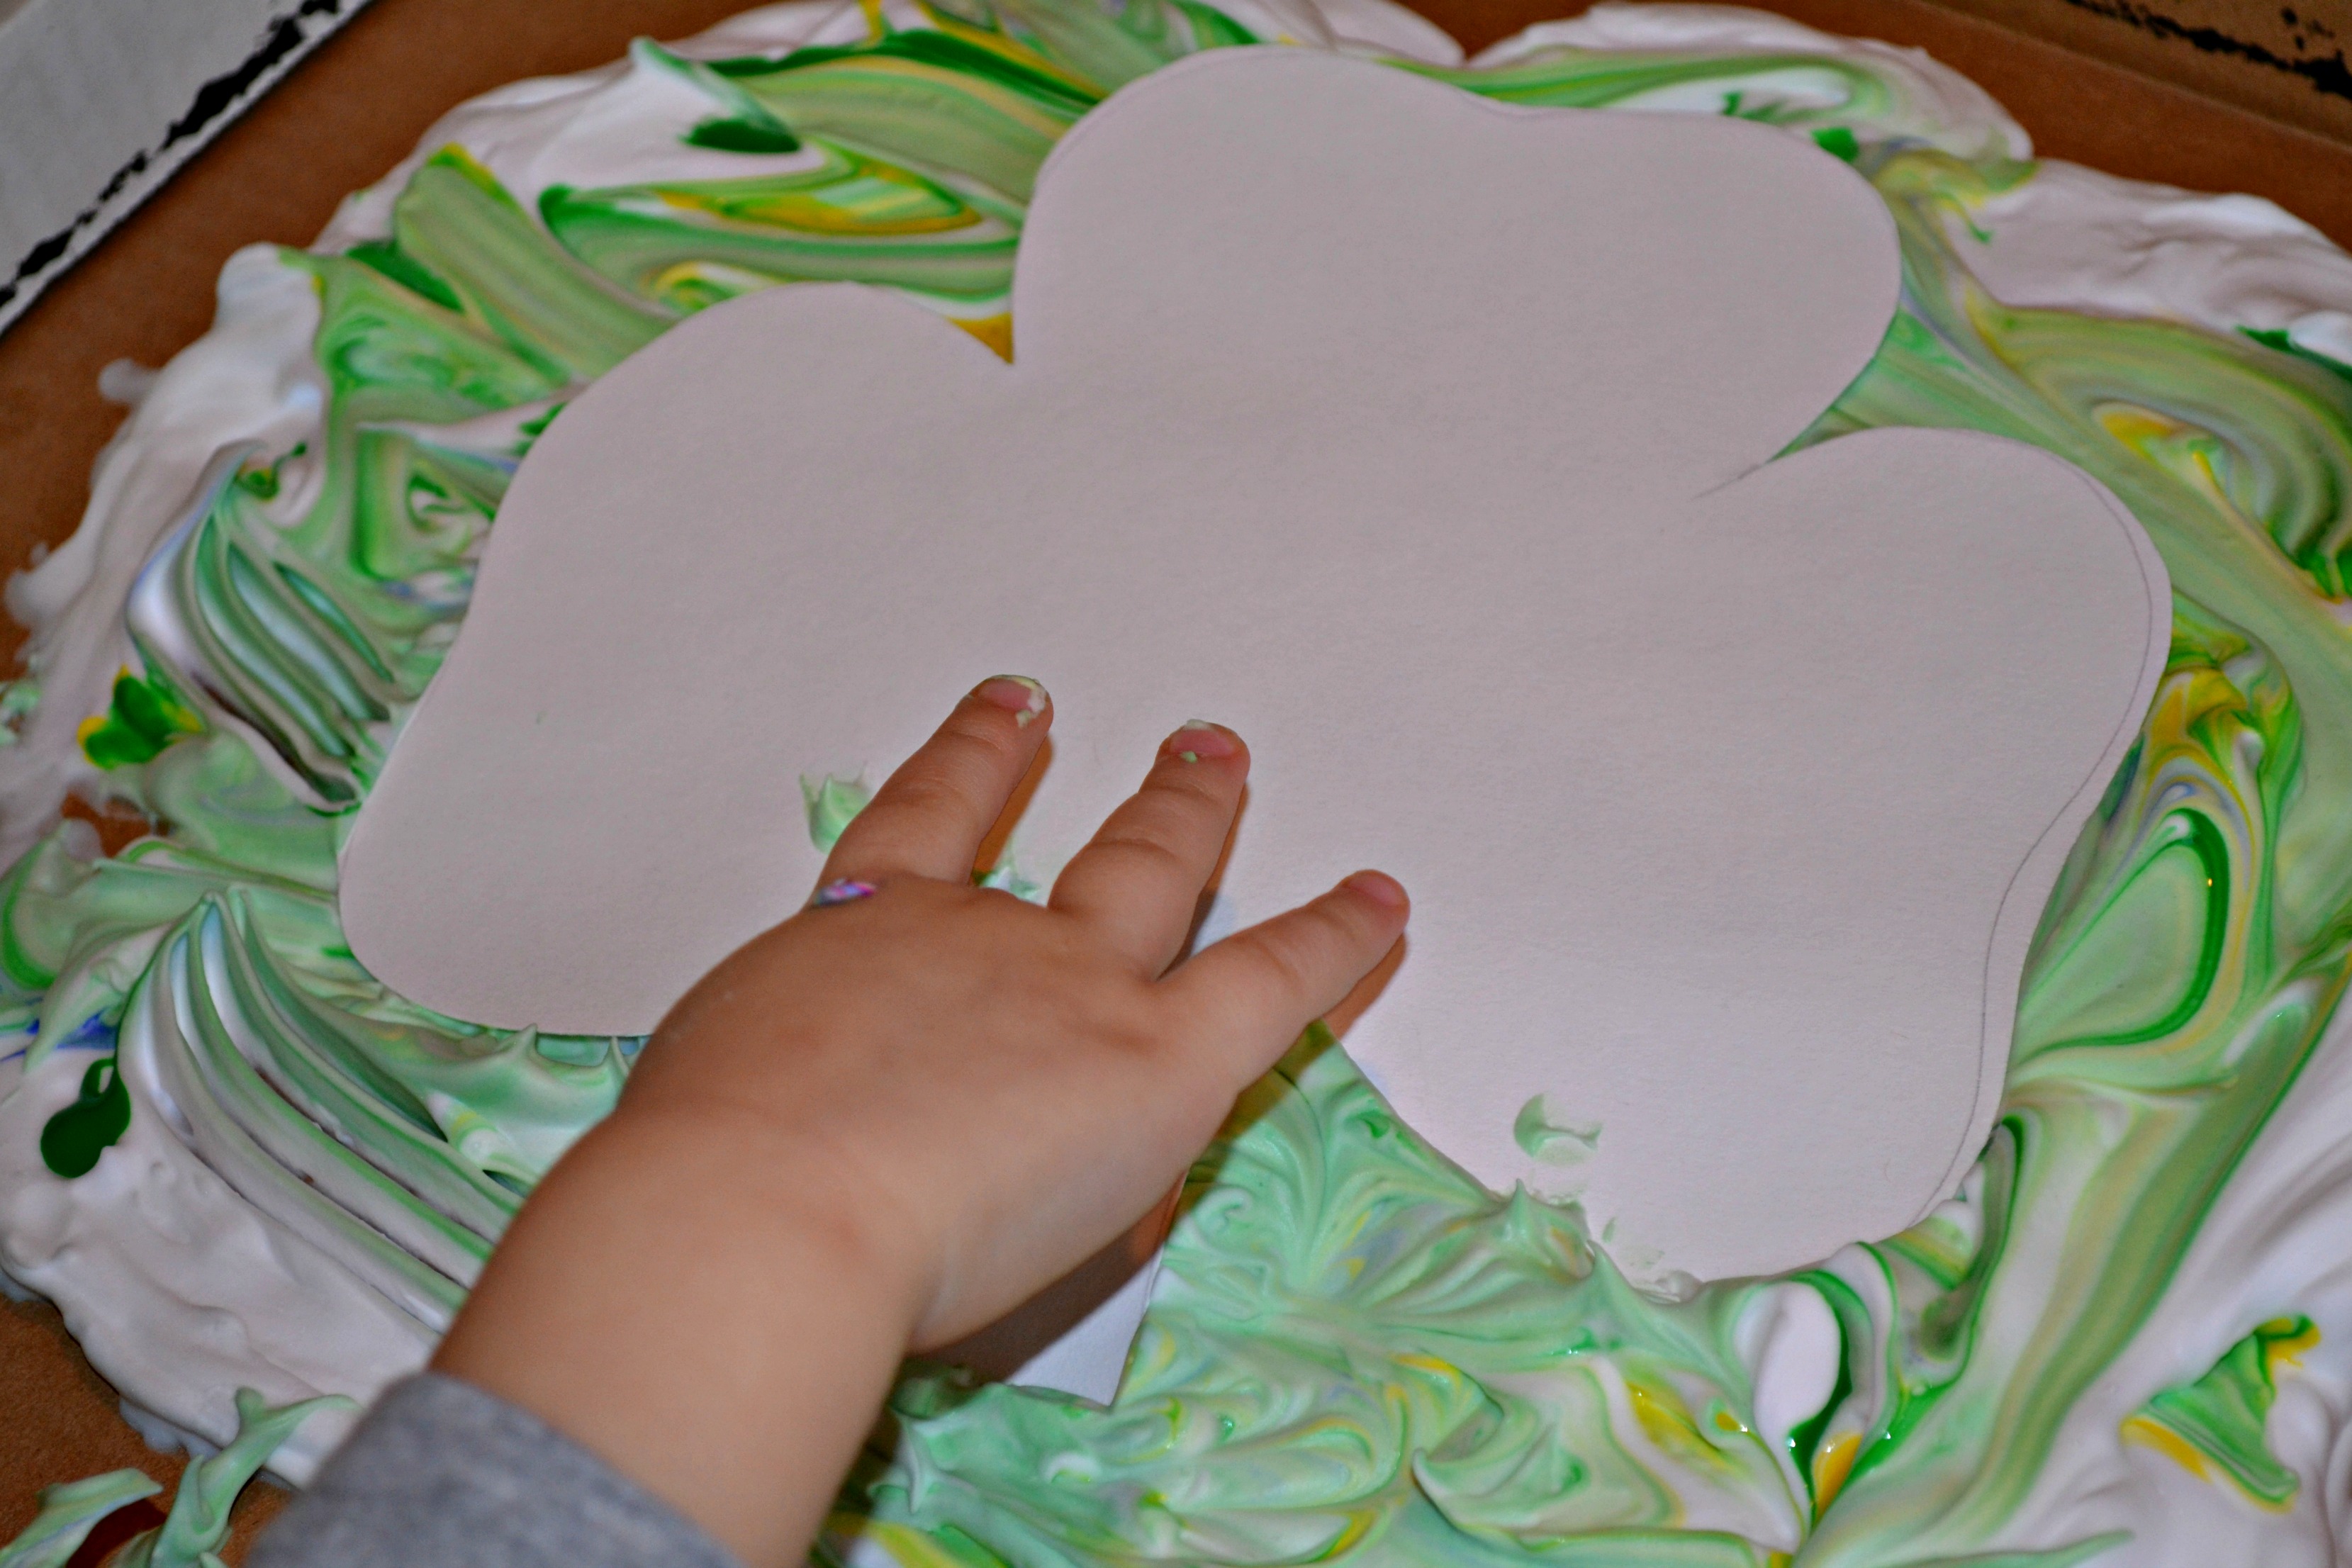
Step 6
Each of the boys gently pushed their shamrocks into the shaving cream to cover them with paint and cream. We found that rubbing them helped to get the mixture over the whole shamrock.
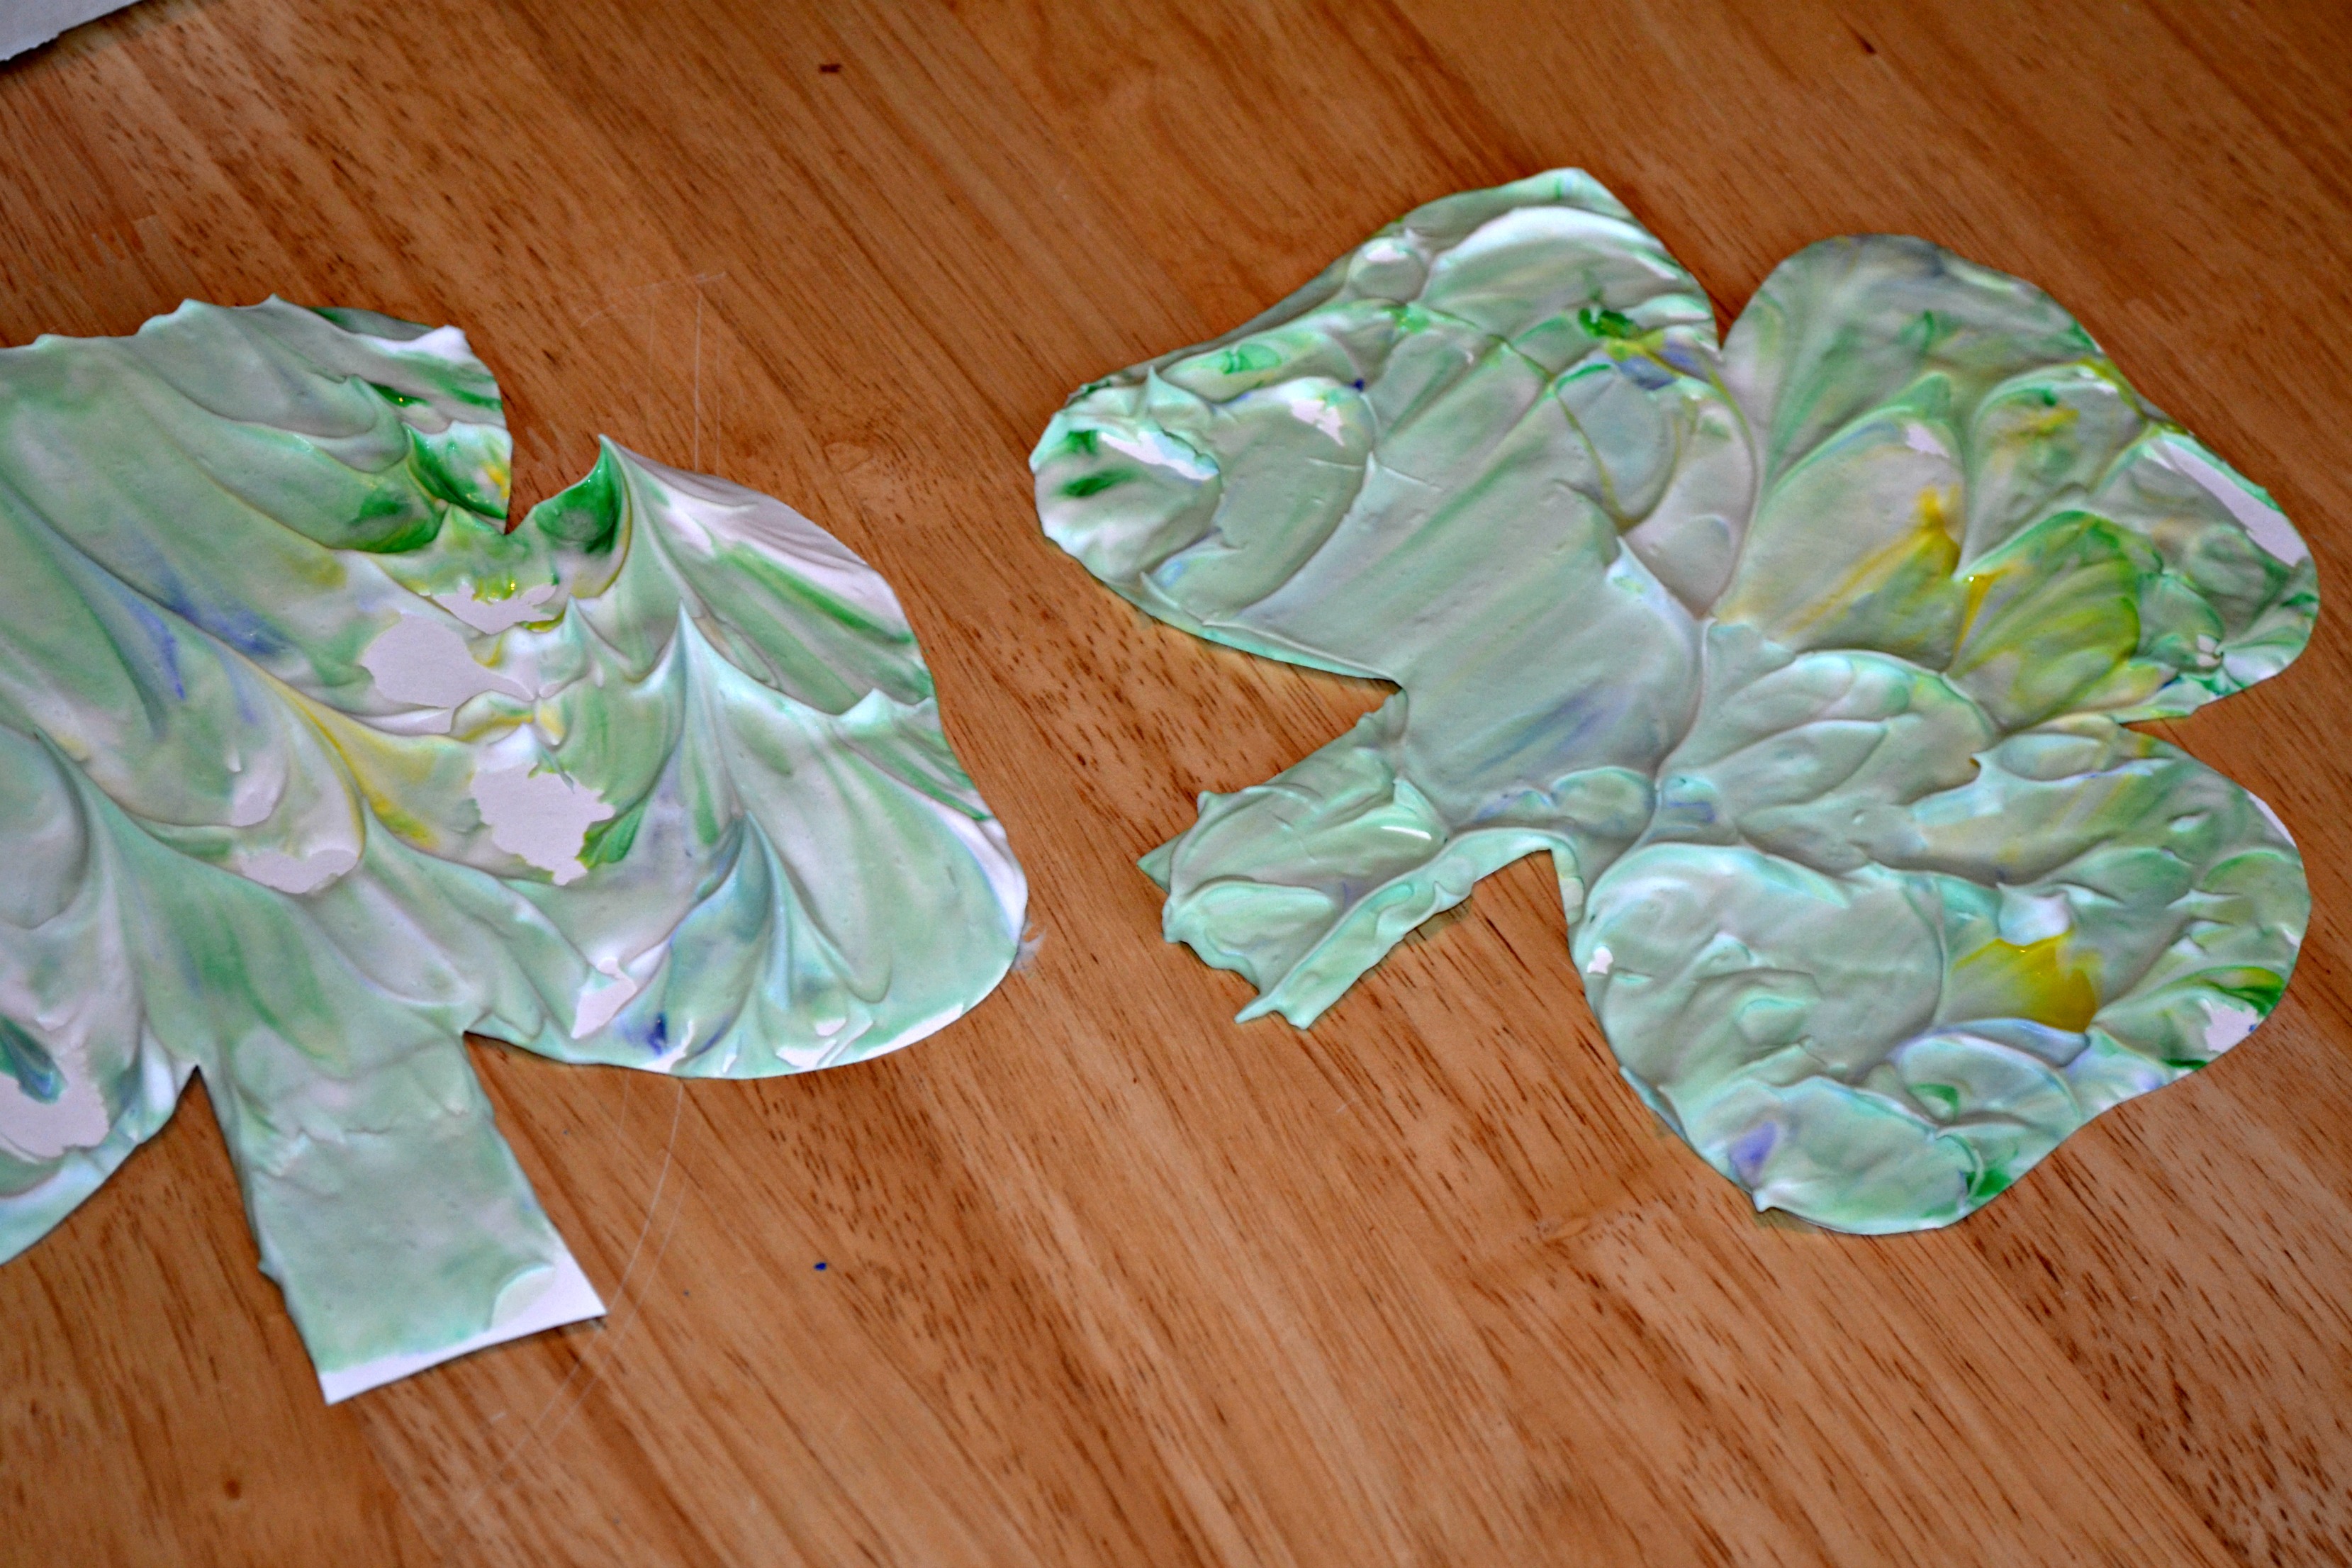
Step 7
I carefully lifted the shamrocks out of our shaving cream and set them on the table for a few minutes to let the color set. Next time, I might try covering the table with newspaper because this part did get messy, but it wiped right off of the table when we were finished.
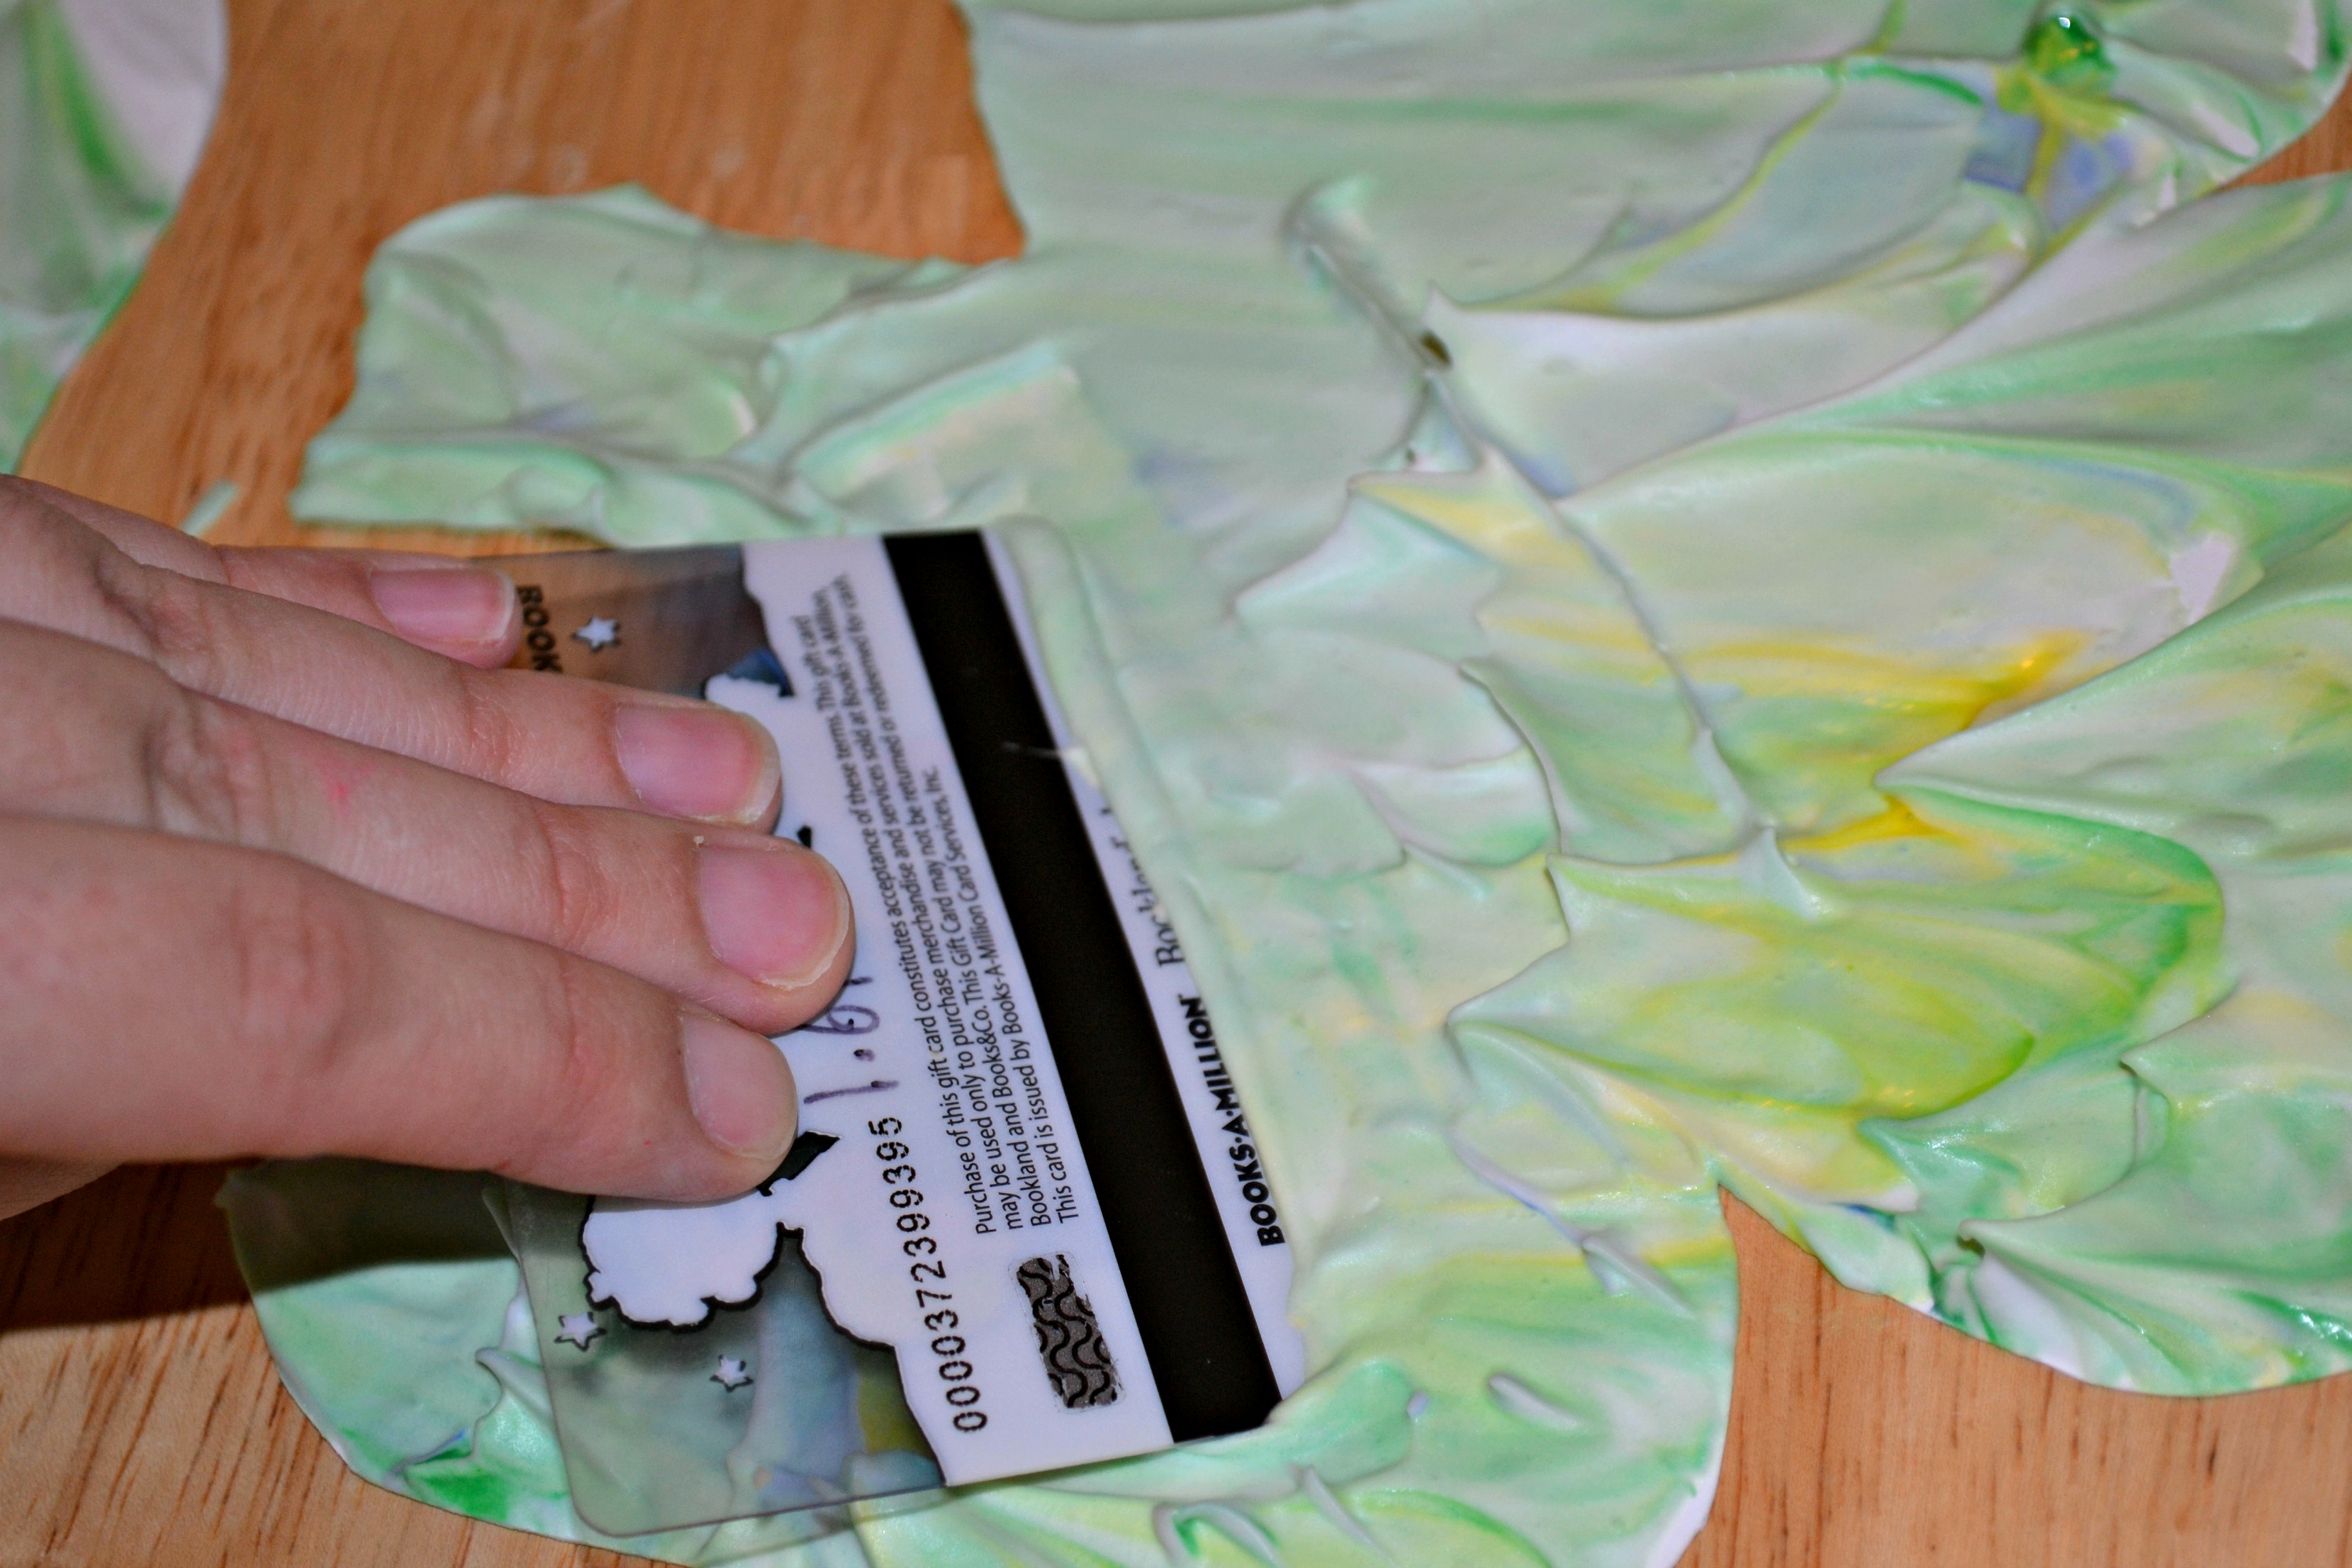
Step 8
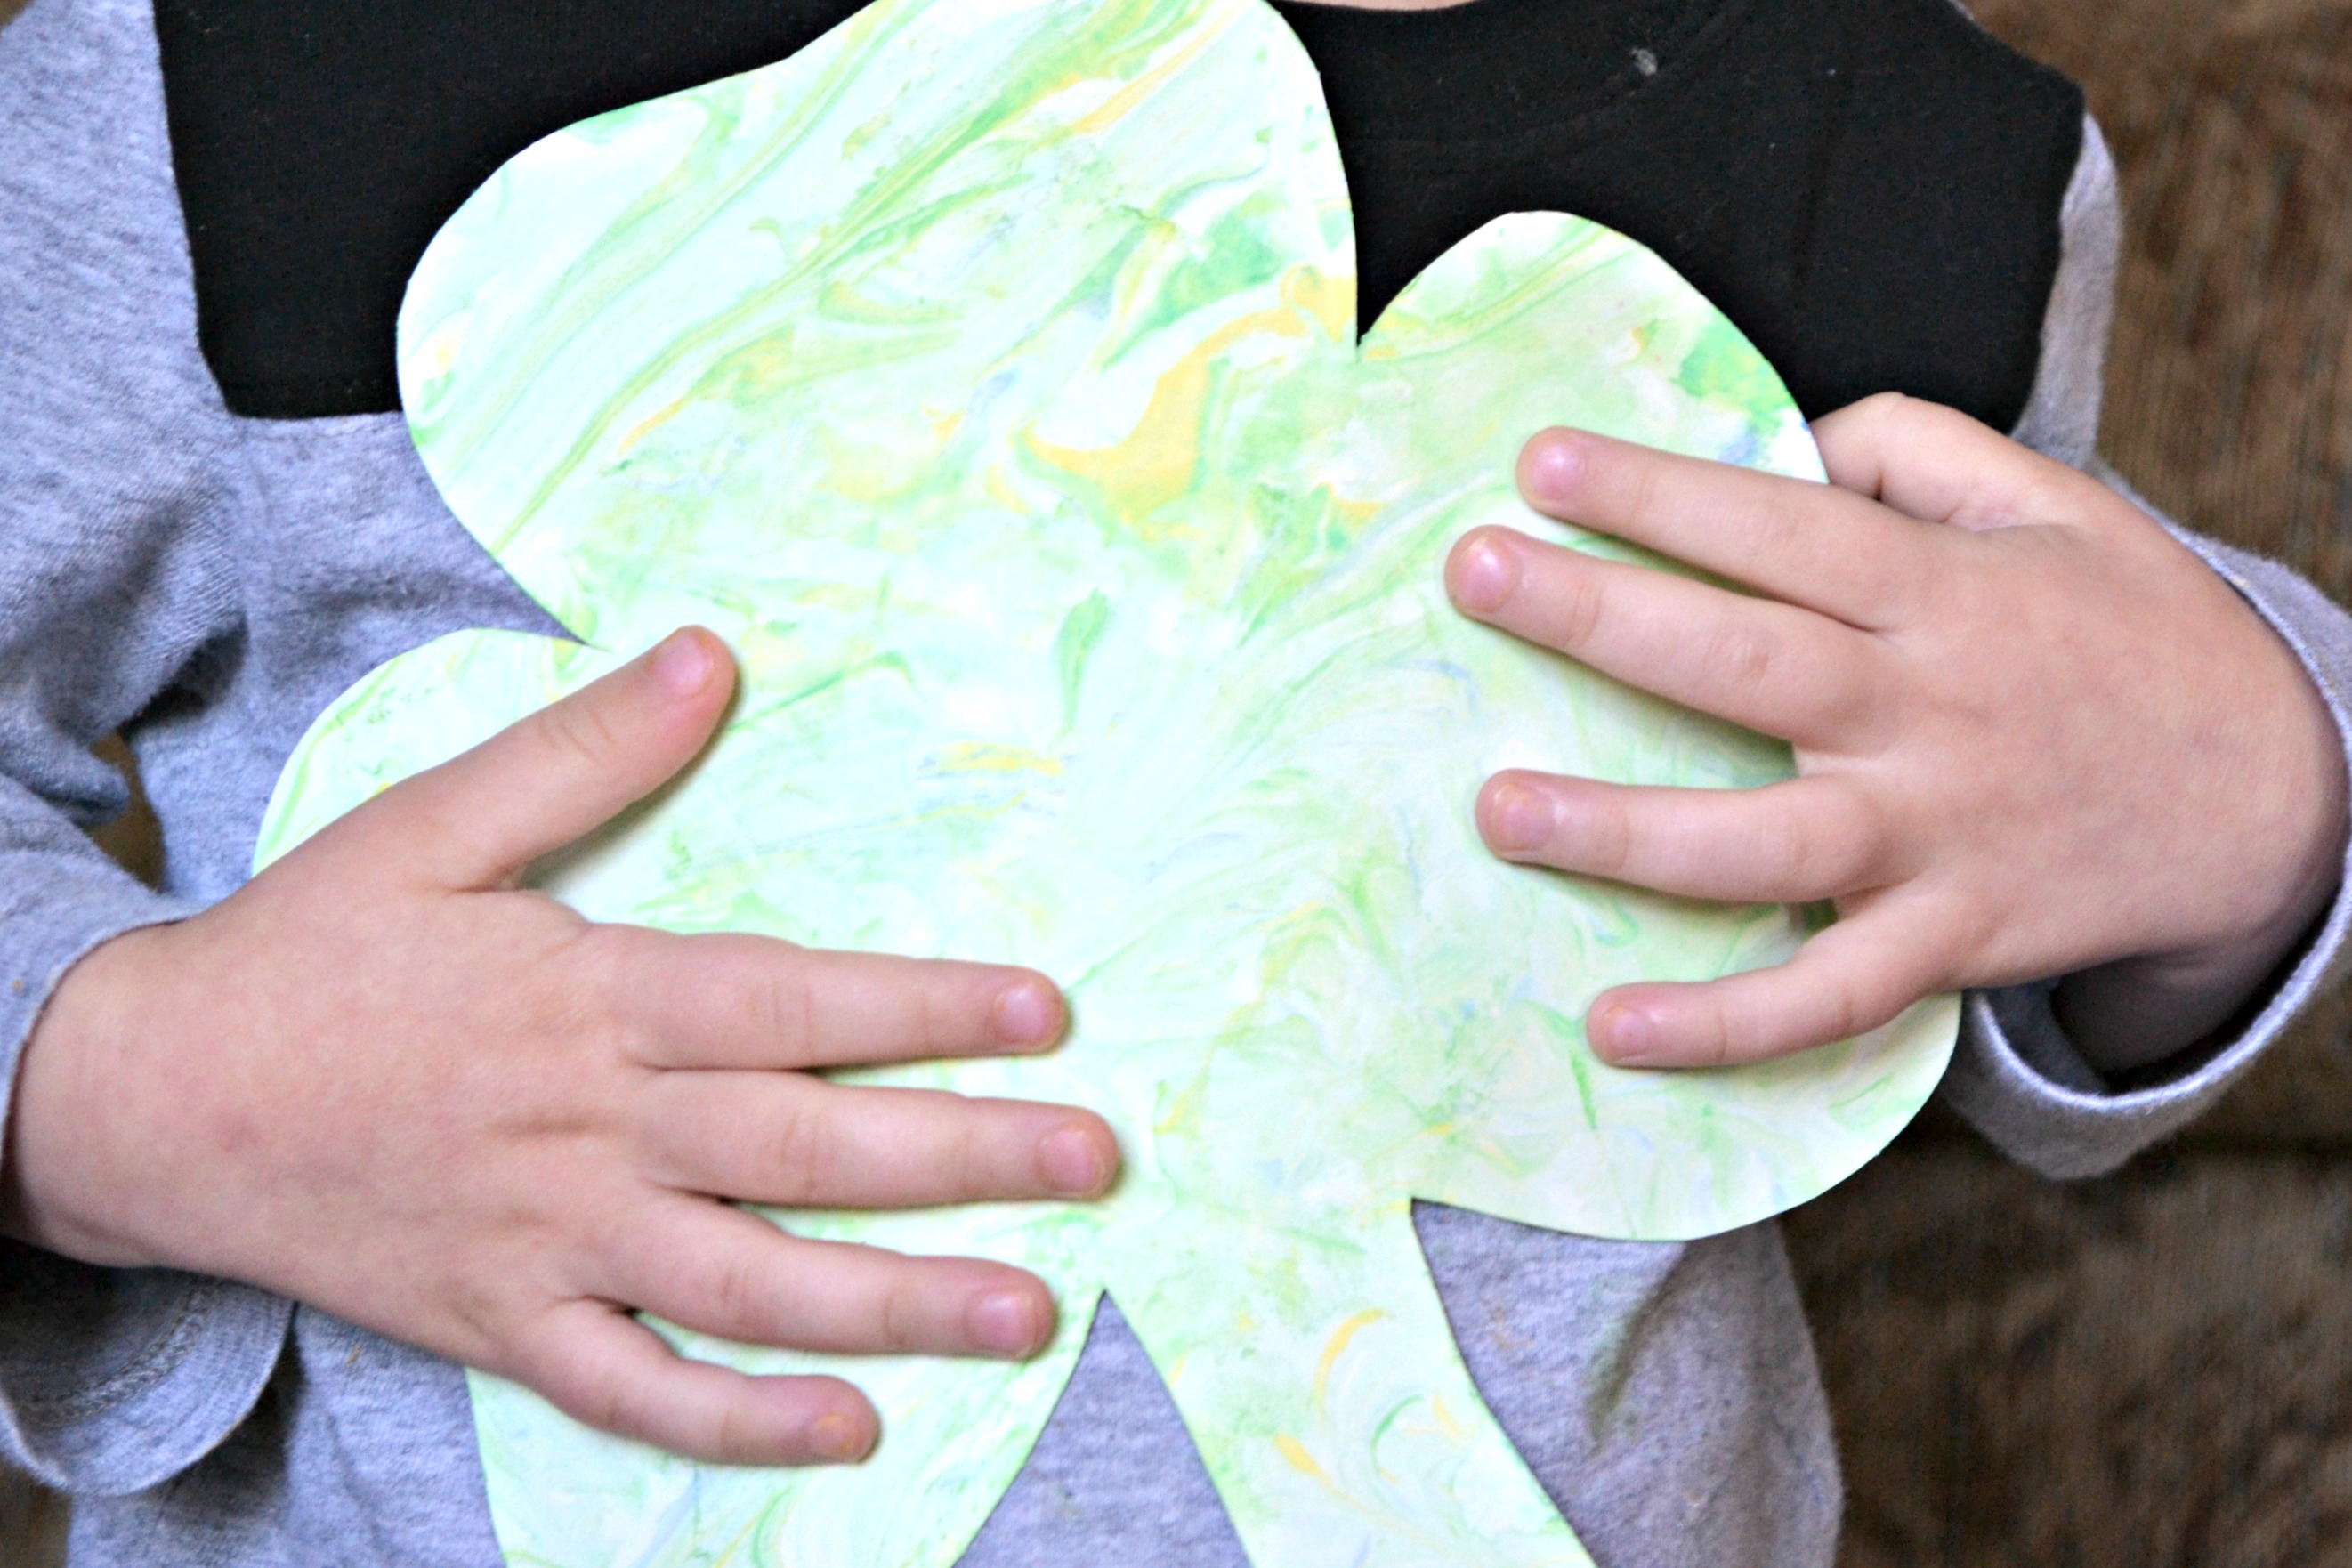
I used a gift card to scrape the shaving cream off of the shamrocks and the kids were amazed at the marbled paint that was left behind!
Final result!
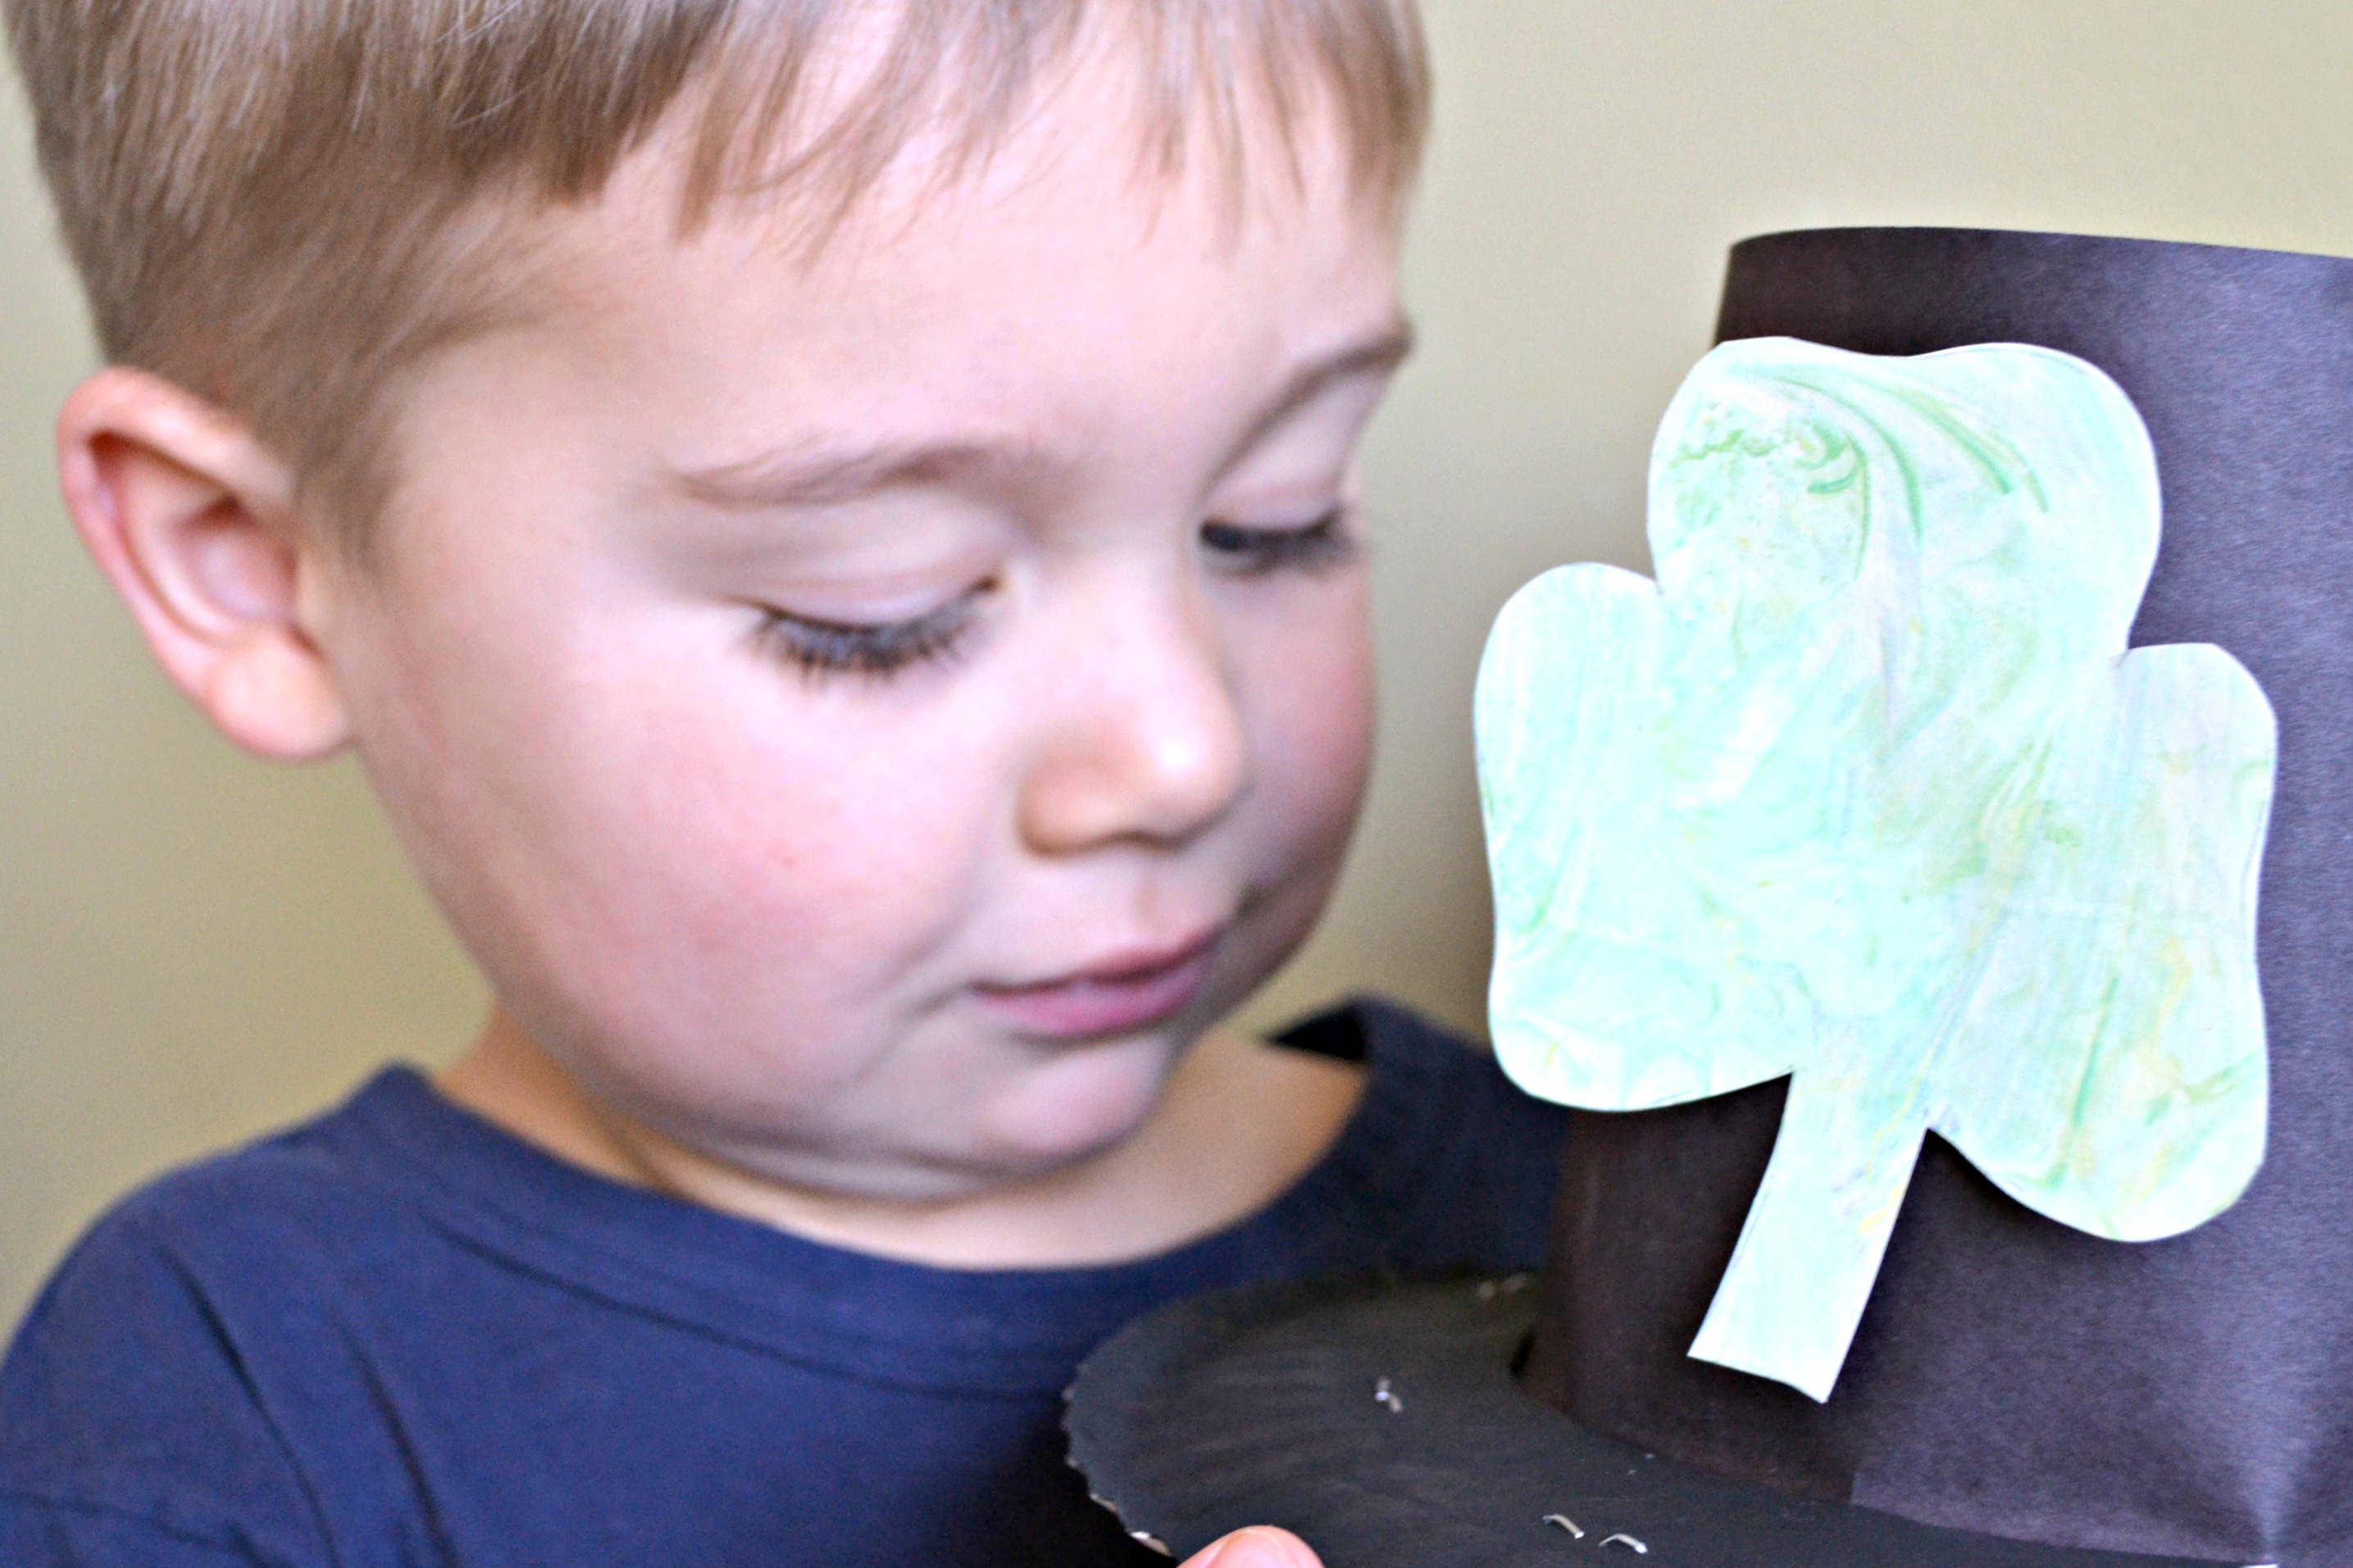
We used our marbled shamrocks for several crafts over the next few days. We made St. Patrick's Day cards, shamrock garlands, and even used them decorate our Leprechaun hats.