Step-by-step tutorial
Step 1
First, we made paper strips. Madeleine likes the 'tearing' part of the process and very much likes the look of torn paper, so we tore several strips for quilling before we began. She also enjoys cutting, so she also cut out some strips, too.

Step 2
First, you have to figure out the lay of the fibers (for rolling them up as well as tearing), so we tore a strip of paper, to find out. We just started at a corner and tore down; if it tears all the way down the paper, you have it the correct way, if it veers off and tears across, then turn your paper and tear the strips the other way.

Step 3
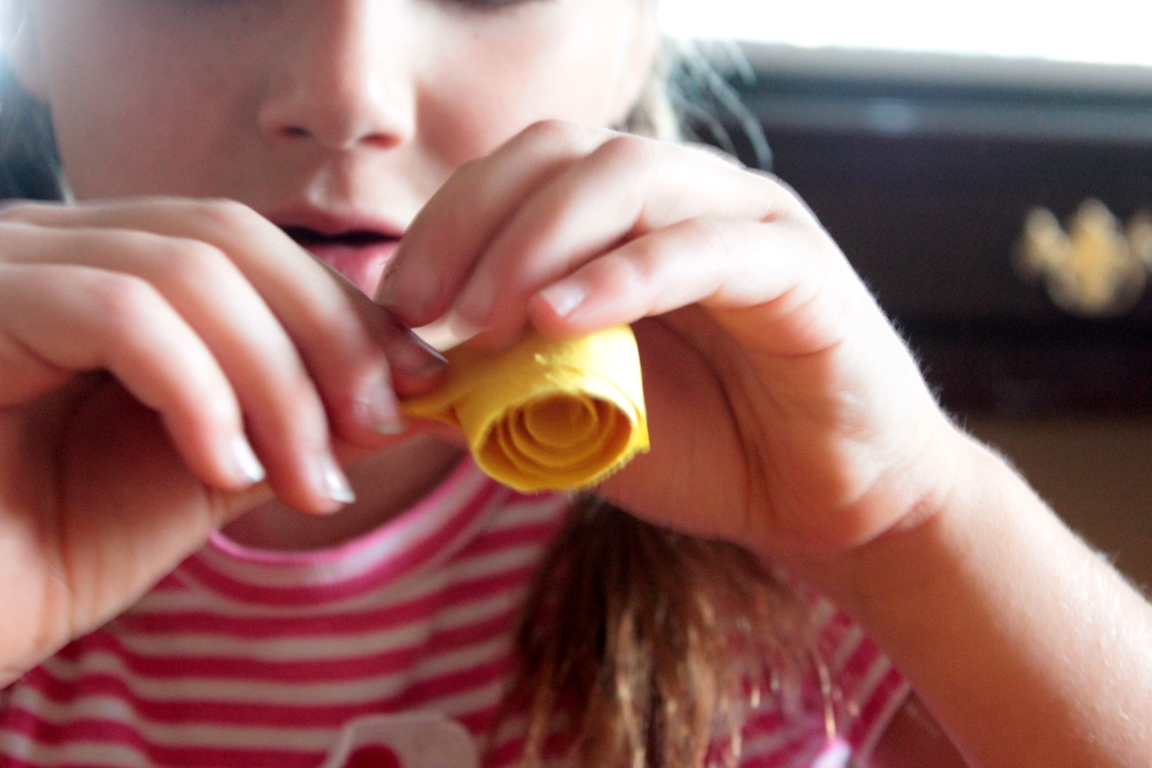
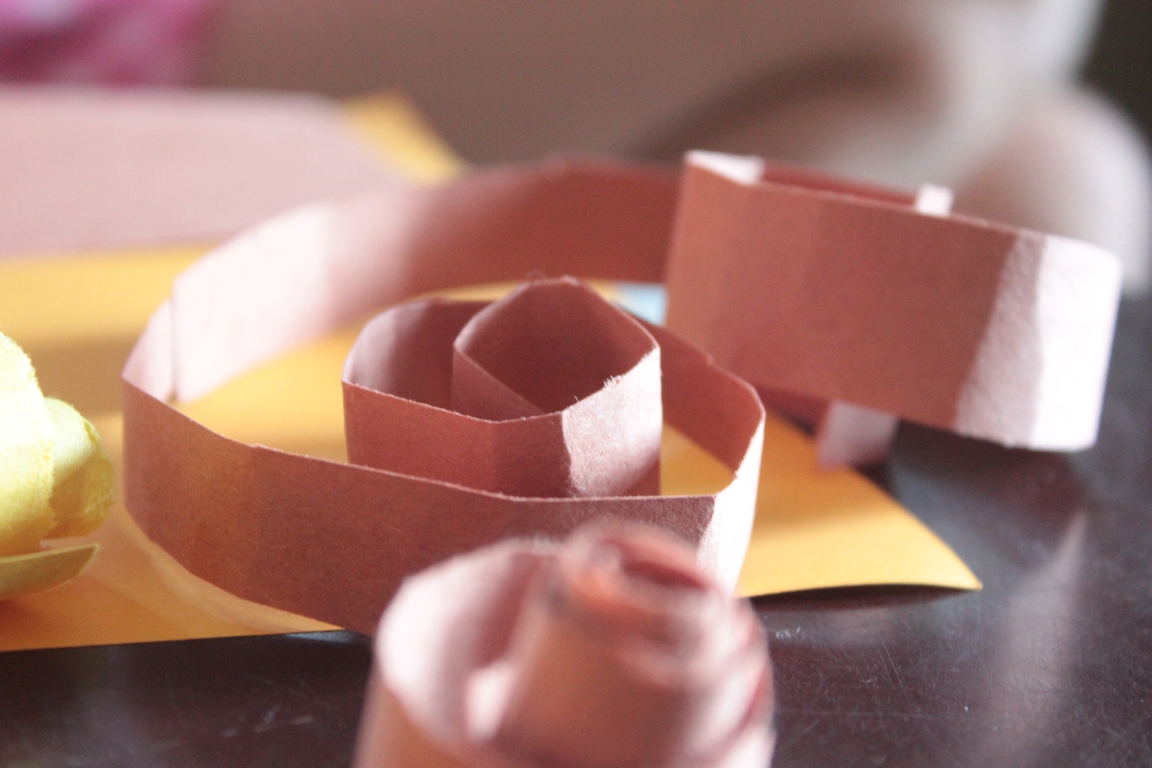
Ooh, the rolling part! For the winding tool, she used a paper stick. You can use the handle of a paintbrush, a blunted skewer, a dowel, whatever--as long as it's small. Maddie can do this easily--she just put one end of the paper against the end of the stick, and started winding it onto the stick! When it's wound, just carefully slide it off the stick.
Step 4
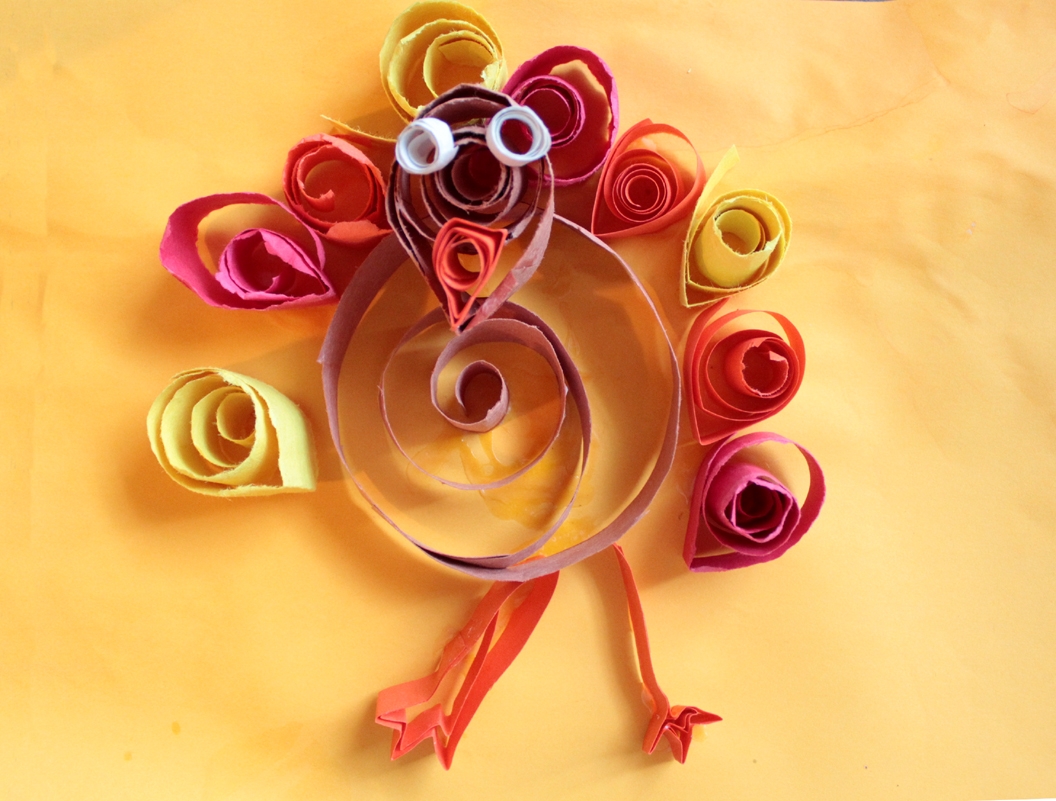
She made the body first, and after we decided it would be too difficult to glue the head to it (it was so sparse), she used two lengths glued together (to extend it) so that the body would have volume, as it's larger than the other pieces.
Step 5
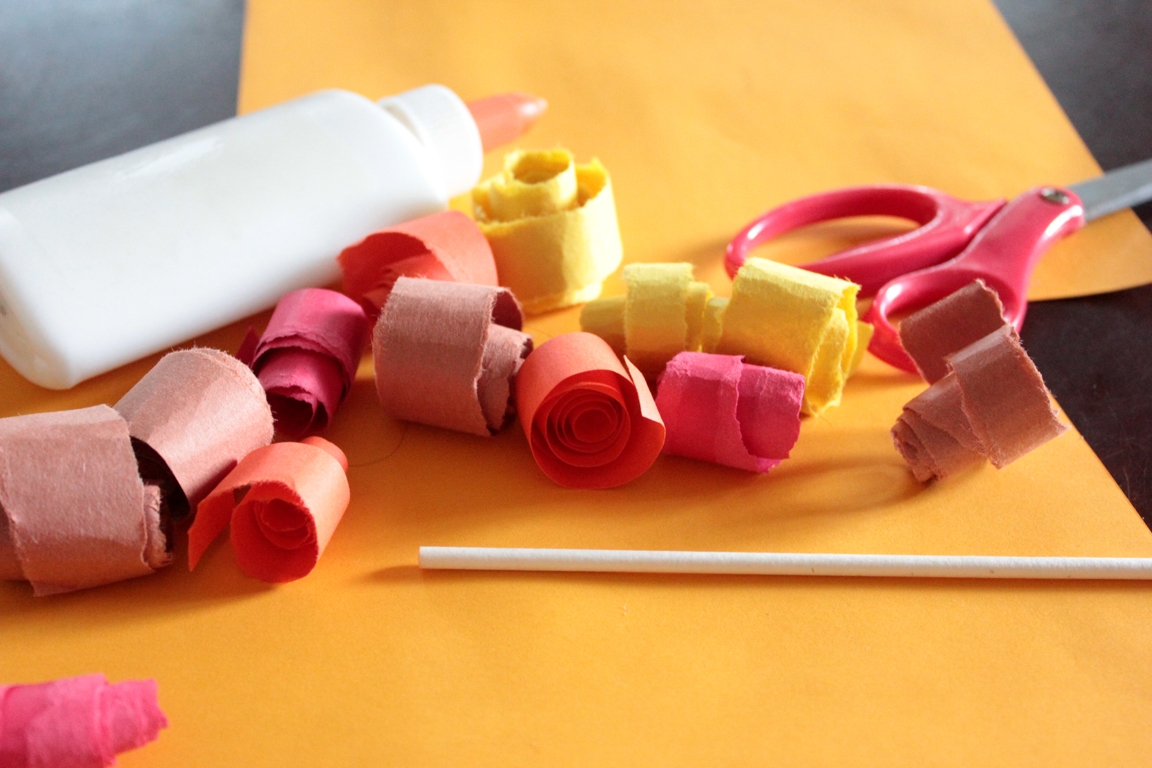
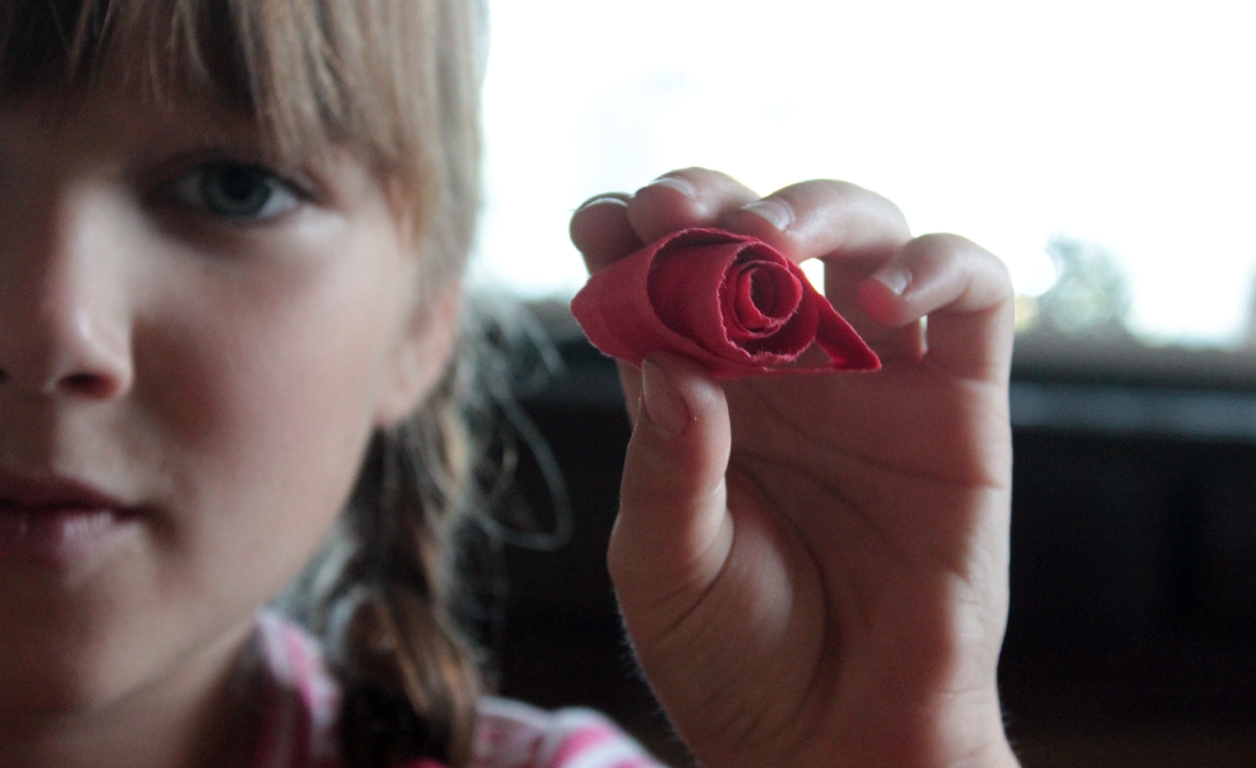
Next she chose her feather colors, rolled them up, and creased one end, making a teardrop shape. It's so fun to experiment with making different shapes! Would you like them loooong and skinny? Short and tear-shaped? Round?
Step 6
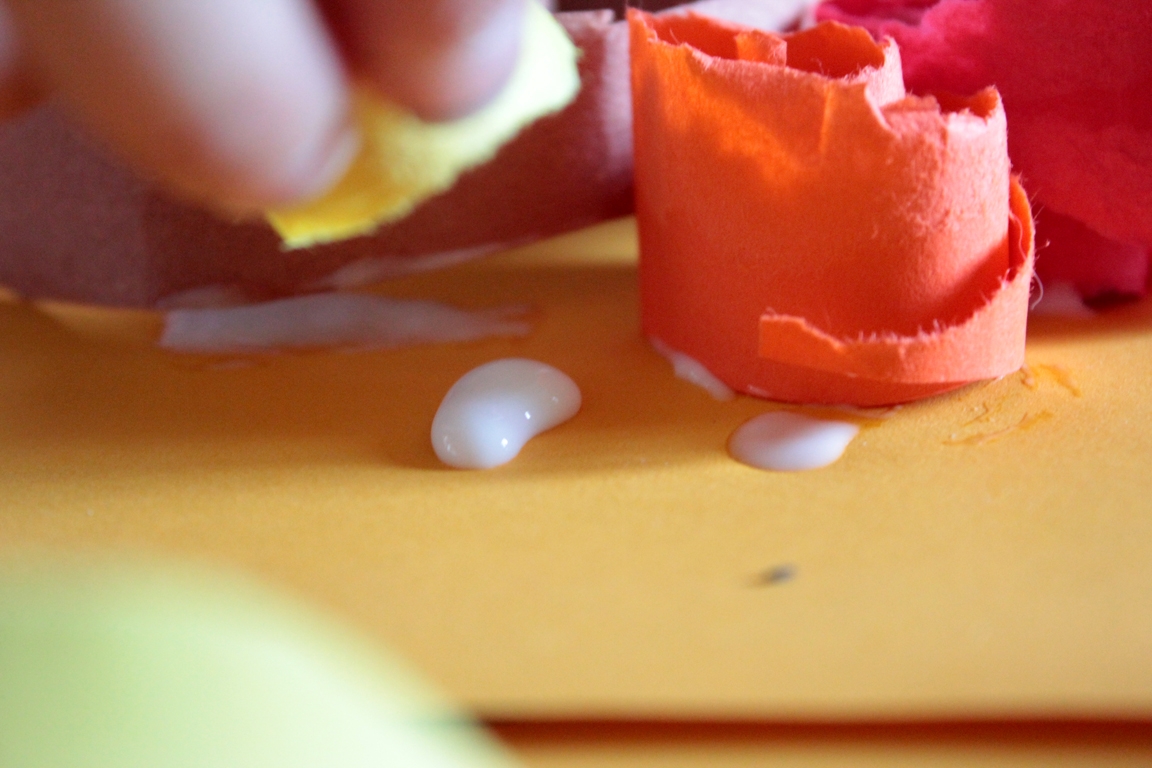
To hold the coils, she put a small puddle of glue on the paper - this will make it more secure than just a thin line of glue at the paper's edge. Following suit, she finished the feathers, then 'doubled' another coil for the head. She glued that on, and tightly wound and then glued the beak and the eyes.
Step 7
For the legs, she needed a large coil, so after winding it up, she loosened it, making it larger.
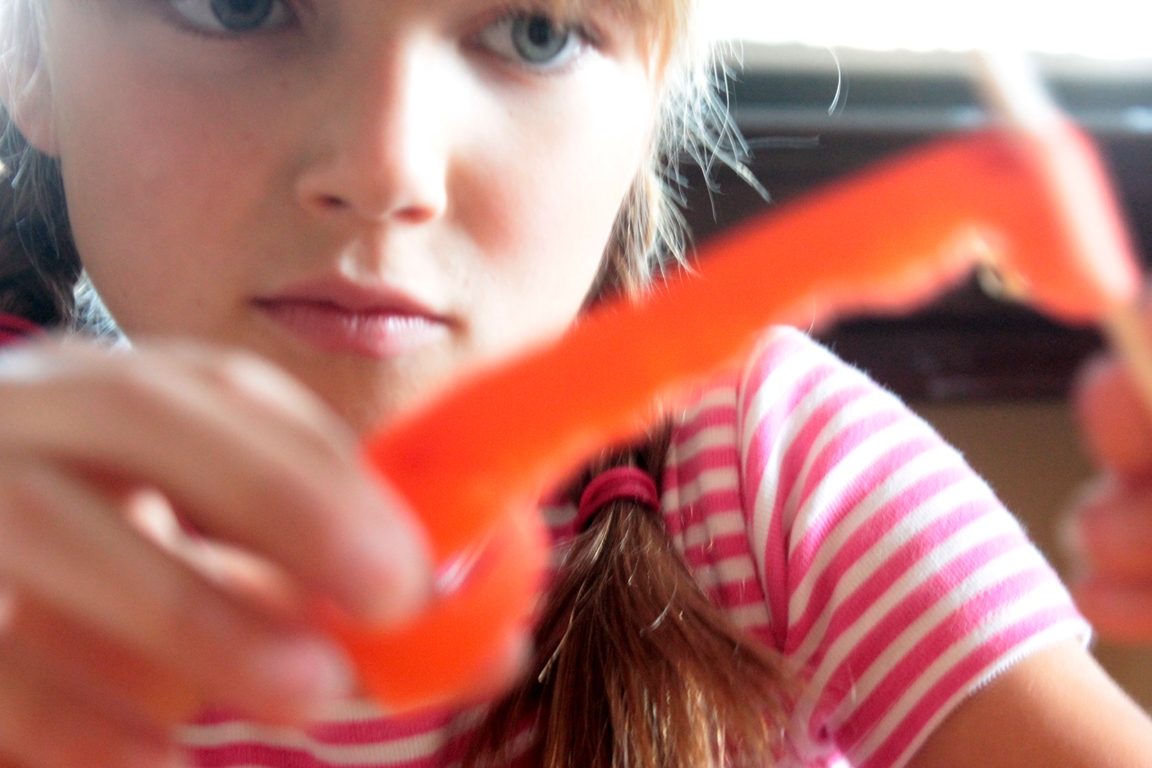
Step 8
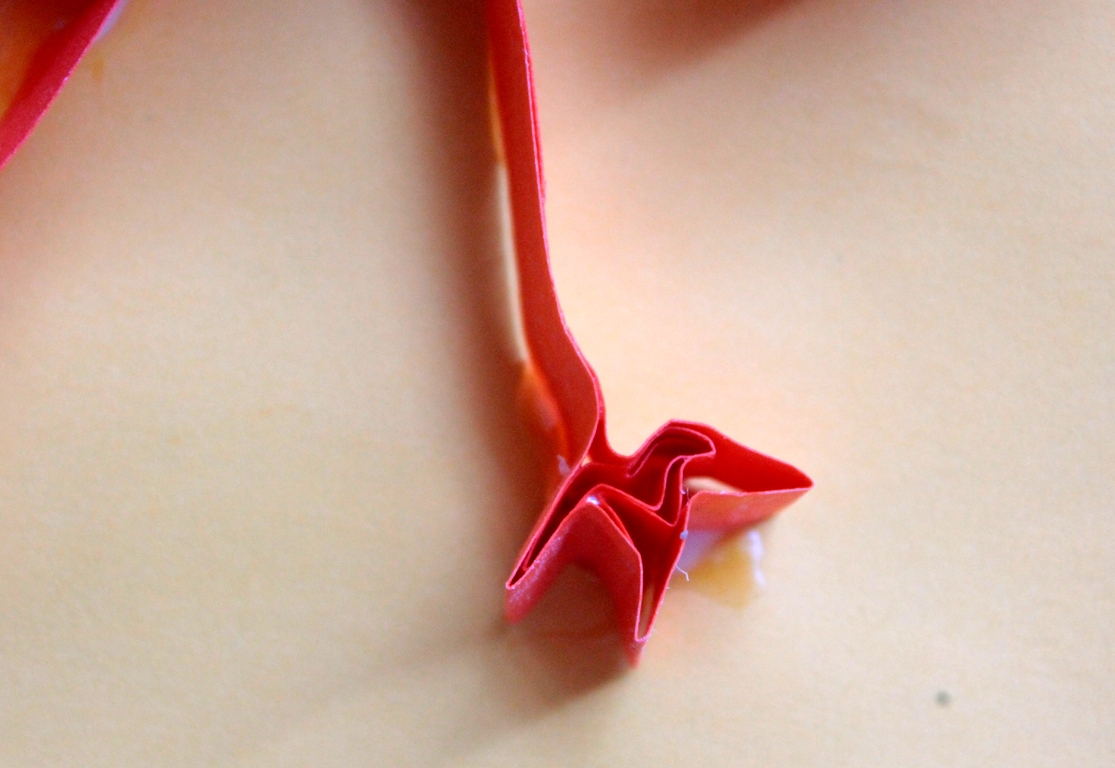
She pinched one end, making the leg, and at the other, she creased it into the shape of feet.
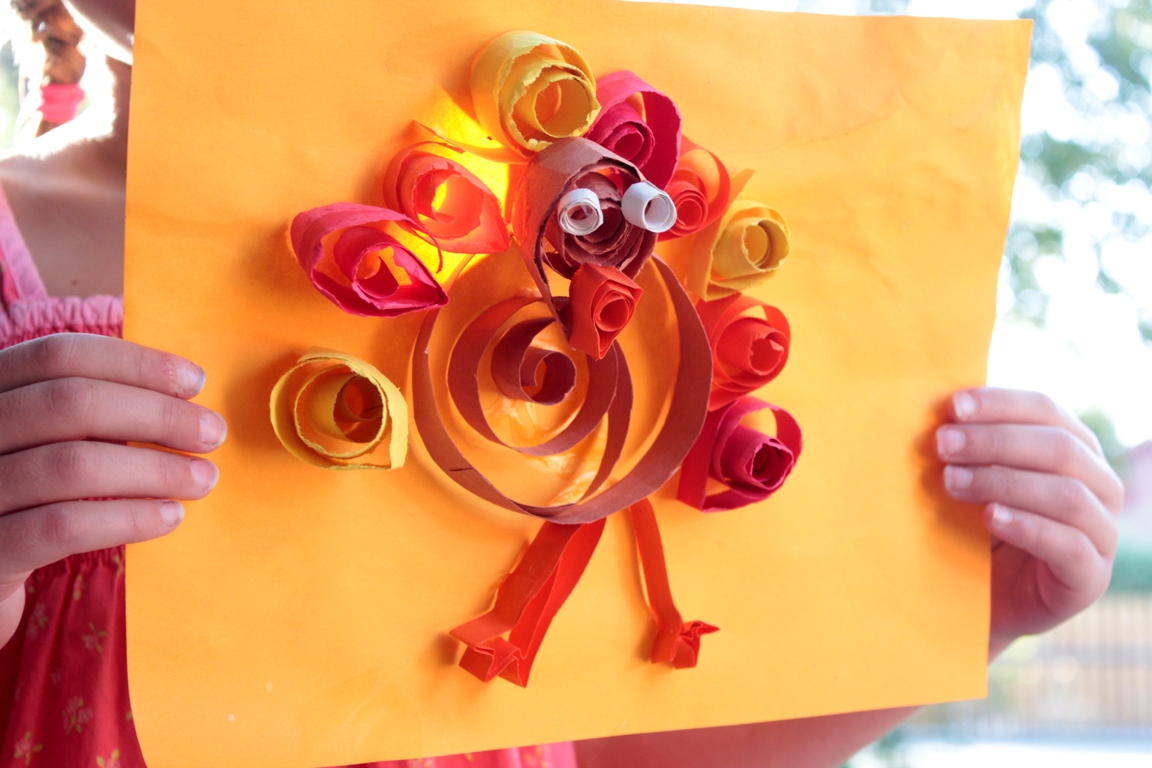
Done!
There were so many fun parts to this project! Curling the paper was Maddie's favorite, followed by gluing things into "just the right spot," and discovering different ways to shape the paper. Having a beautiful turkey is a wonderful something, too!