Step-by-step tutorial
Step 1
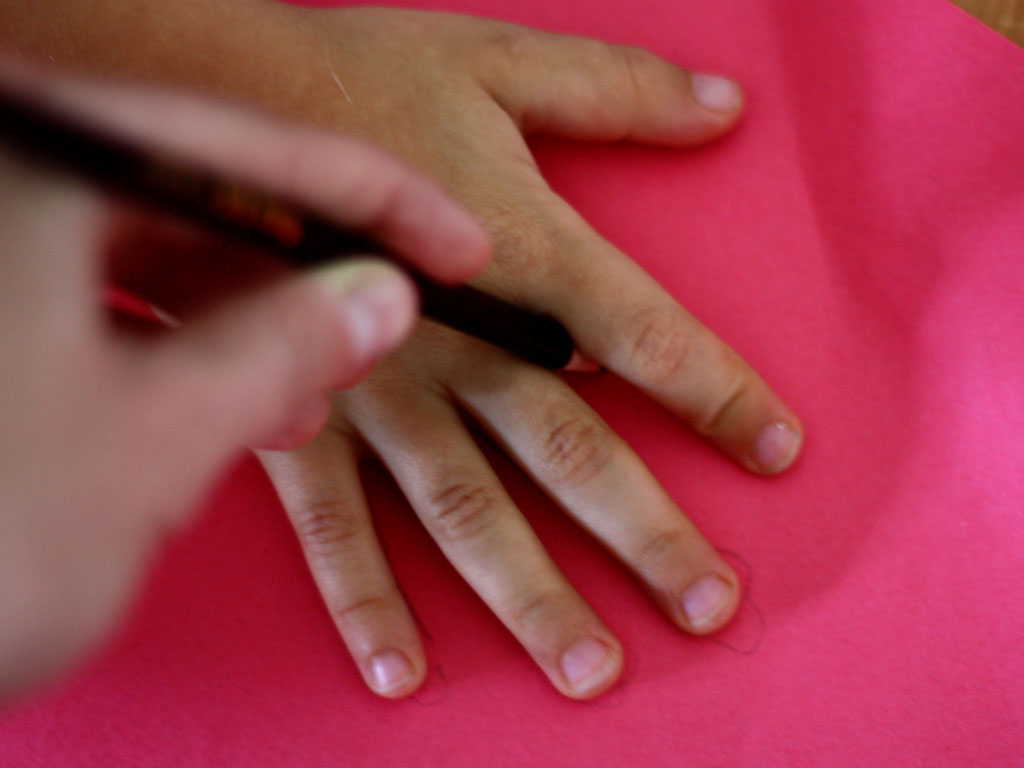
Trace each child's hand on a sheet of construction paper.

Step 2
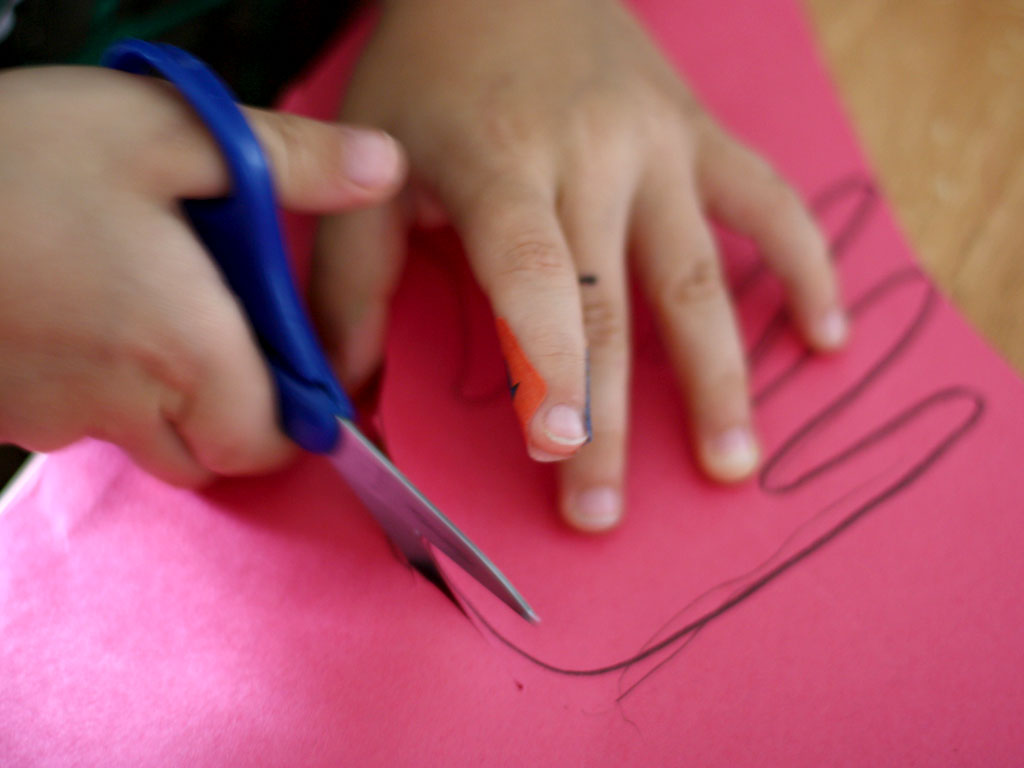
Have you child work on their fine motor skills by cutting out the outlines. This proved to be very tricky for my four-year-old so I helped him along.
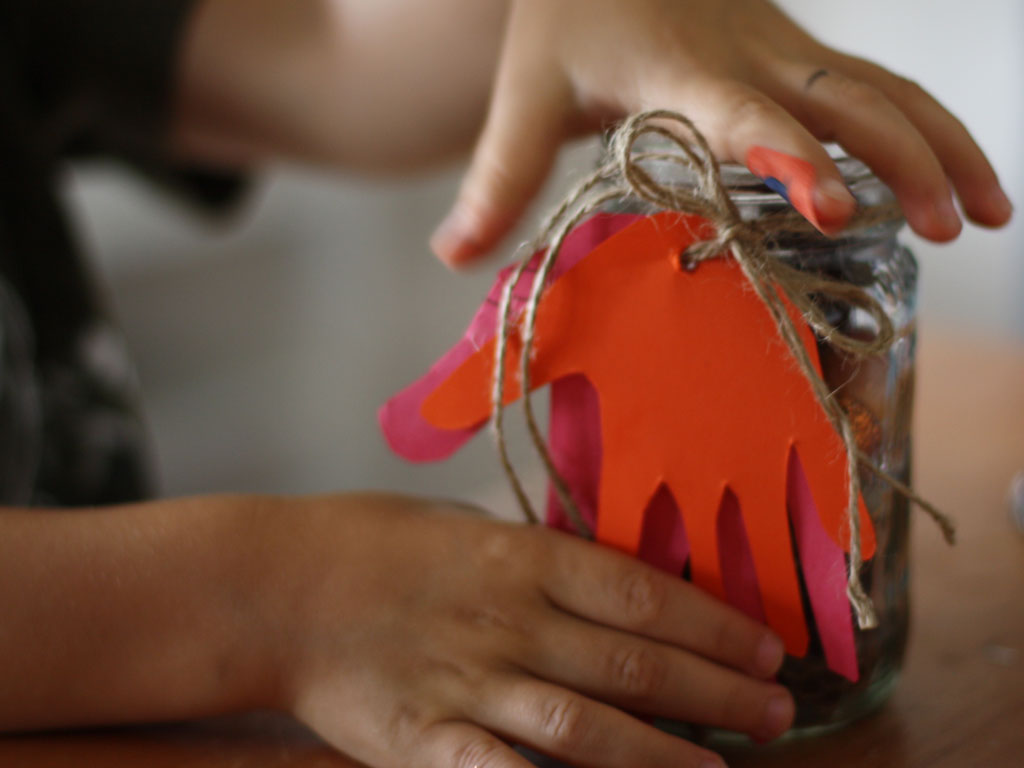
Step 3
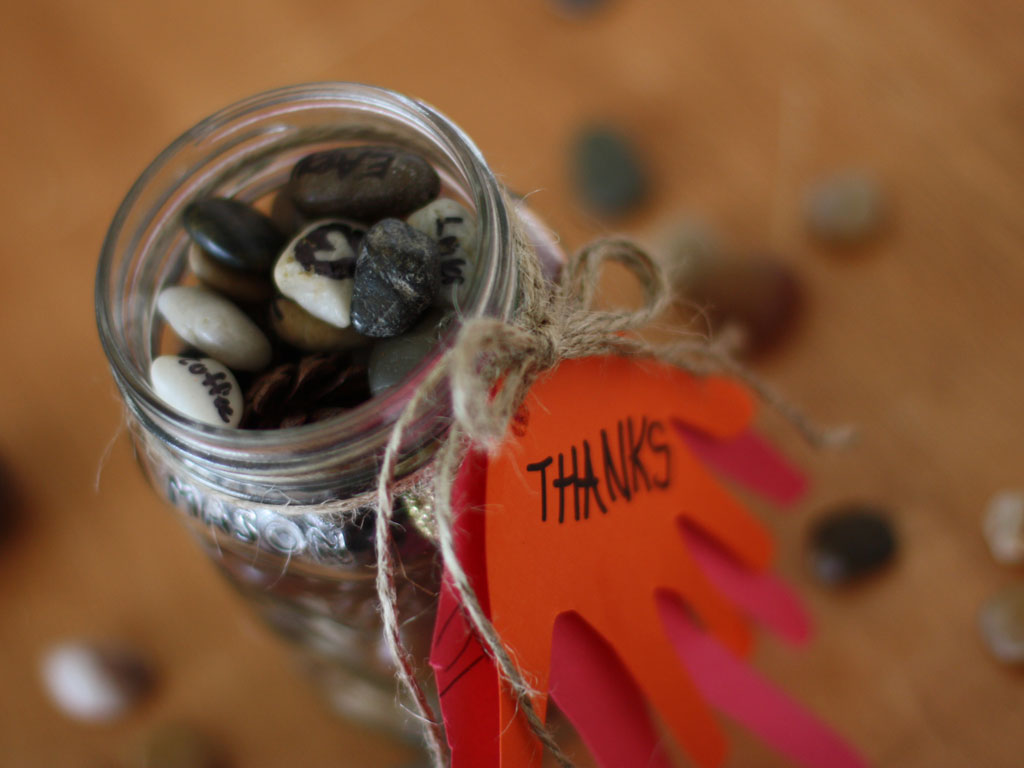
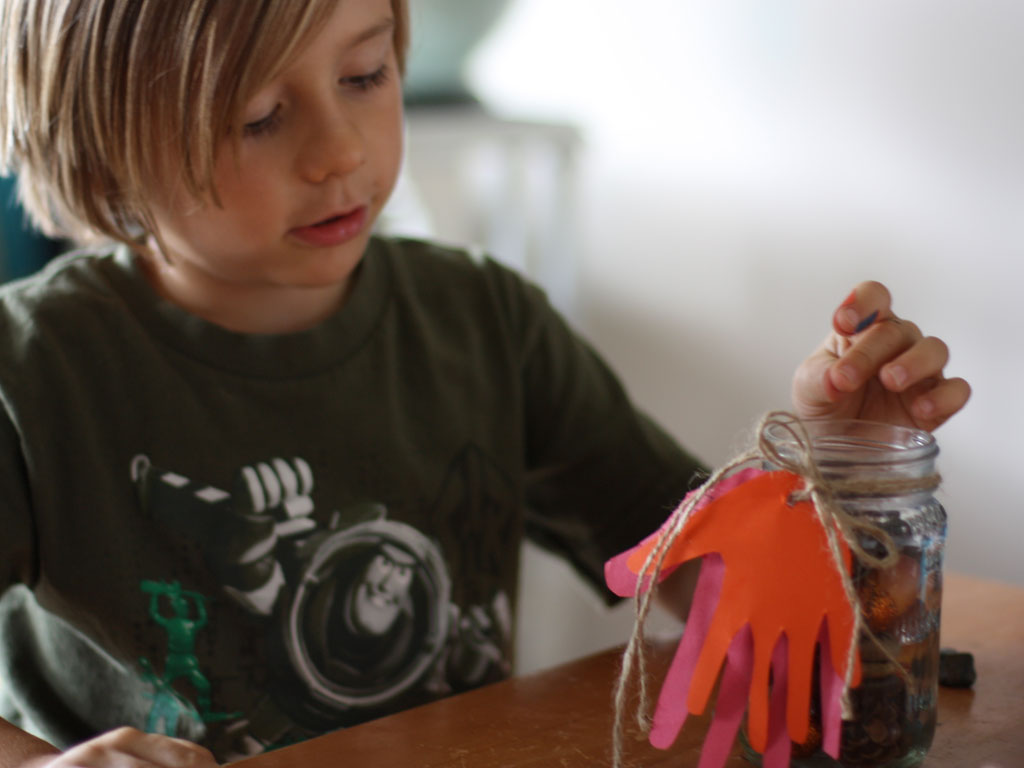
Use the twine and tie the paper hands around the side of the jar.
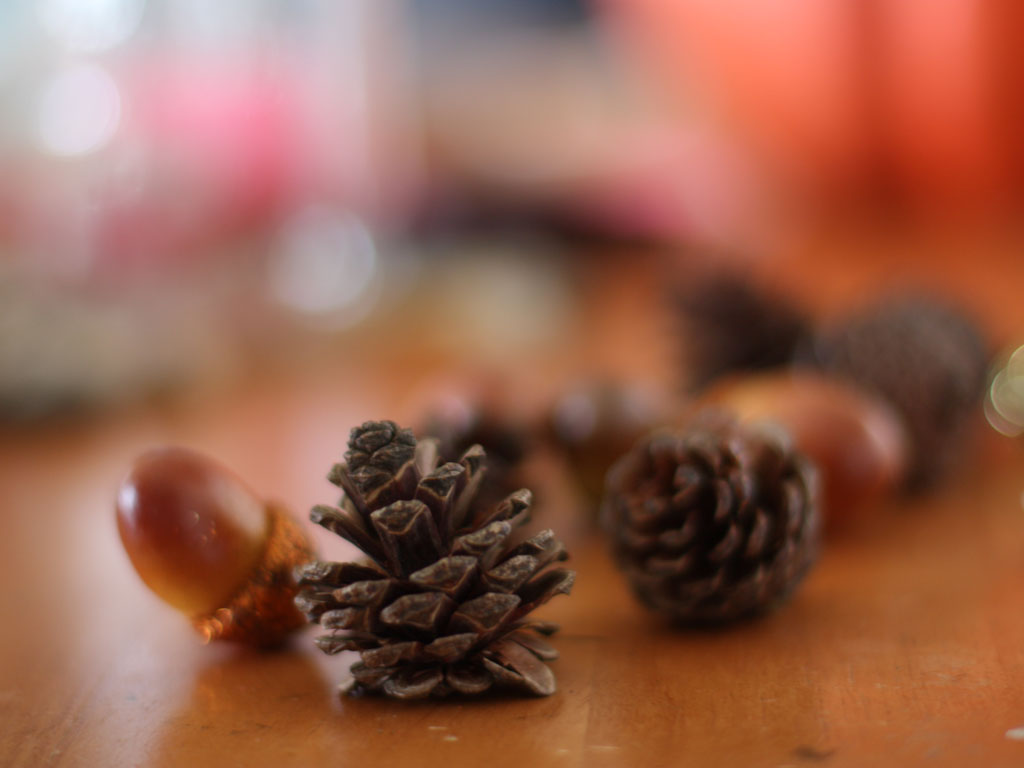
Step 4
Gather smooth rocks, pinecones, acorns, and other fall items and place them on the table. Let the kiddos pick and choose which items they want to put in the jar.
Step 5
Go around asking each other what you're thankful for. Write the words (or draw pictures of the words) on the rocks with a Sharpie. (My kids aren't old enough to read/write yet--but, of course, if you've got older kids, let them do this step on their own!)
We all took turns sharing and it was fun to hear what we were thankful for (frogs, rocket ships, God, ballerinas ). We did this a few times throughout the week until we had a pretty good collection of rocks with little notes on them.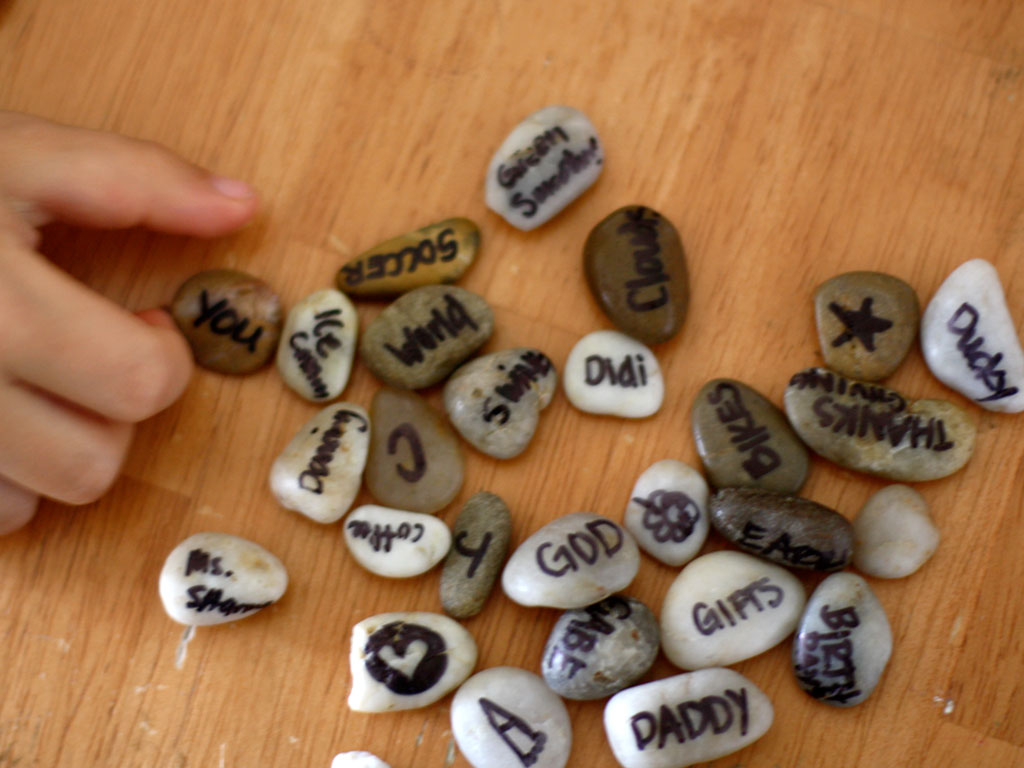
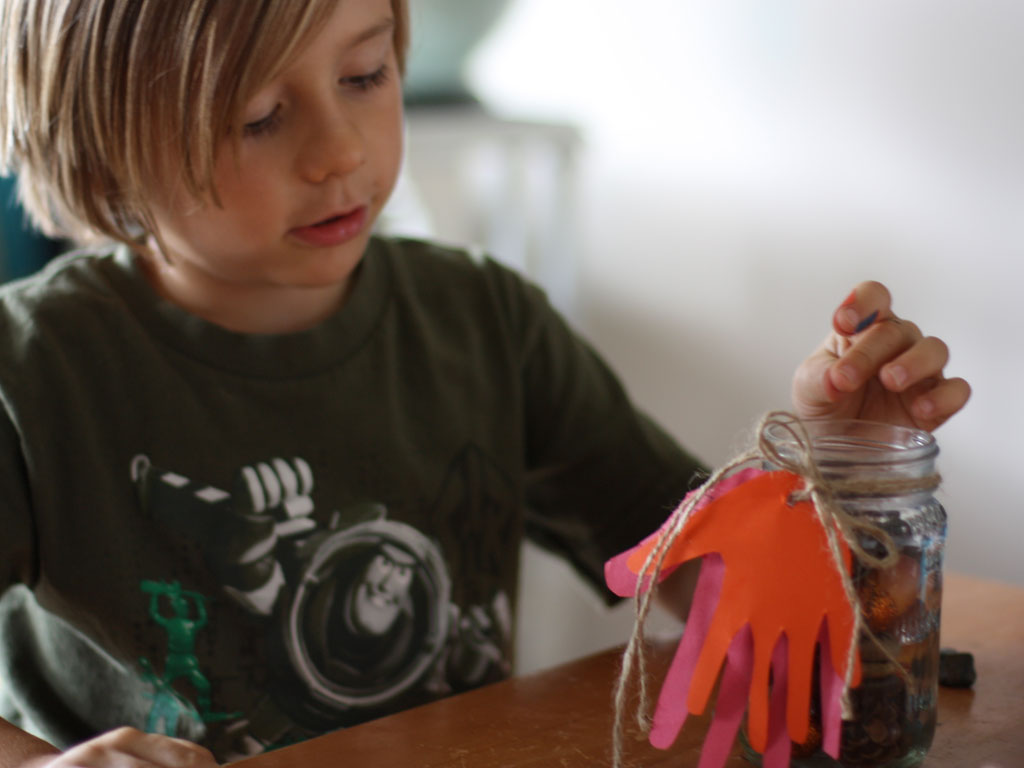
Step 6
Let the kids fill the jar with pine cones and rocks to add some fall color and excitement to the jar. Since my kids aren't old enough to read, I read to them what each rock said as they placed it in the jar.
Done!
Fill the jar up with "thanks" and use it as your centerpiece during your big feast. As Thanksgiving gets closer, I am sure we will be adding more rocks to it.
I hope to do this every year and keep each jar so over the years we can watch the hands grow and the "thanks" change with age!