Step-by-step tutorial
Step 1
Hearts filled with love and maybe a few sweet somethings for a favorite valentine? Yes, please! All kids can show their personal style with this crafty gift.

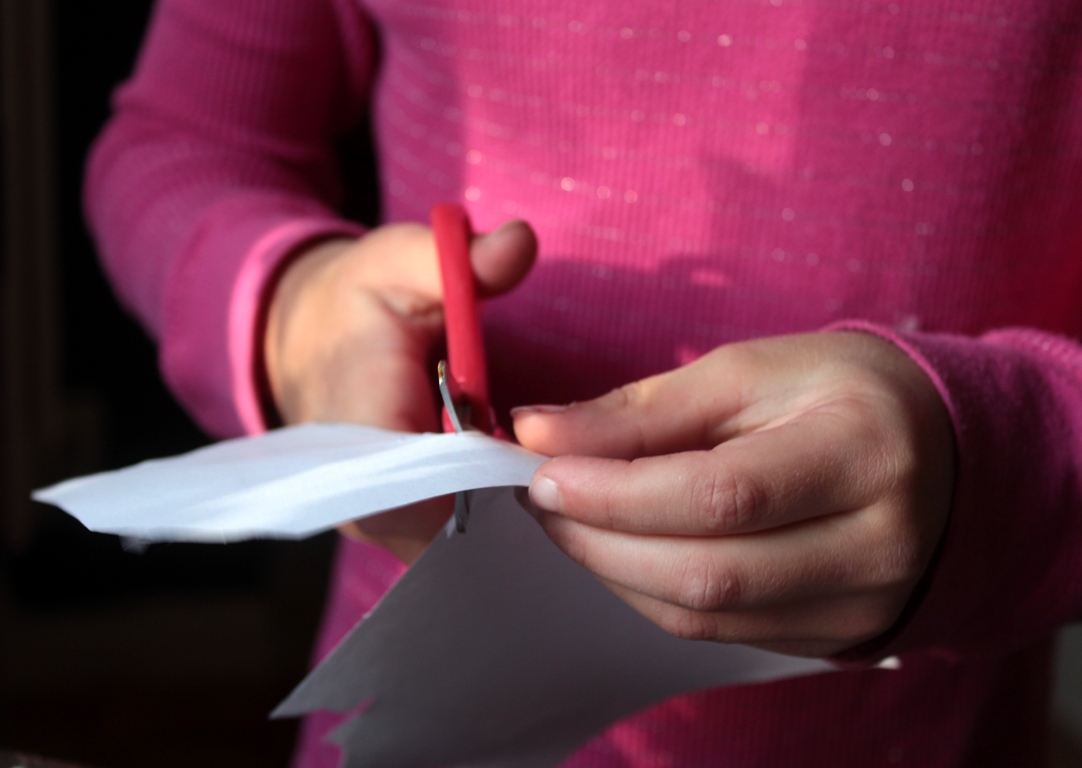
Step 2
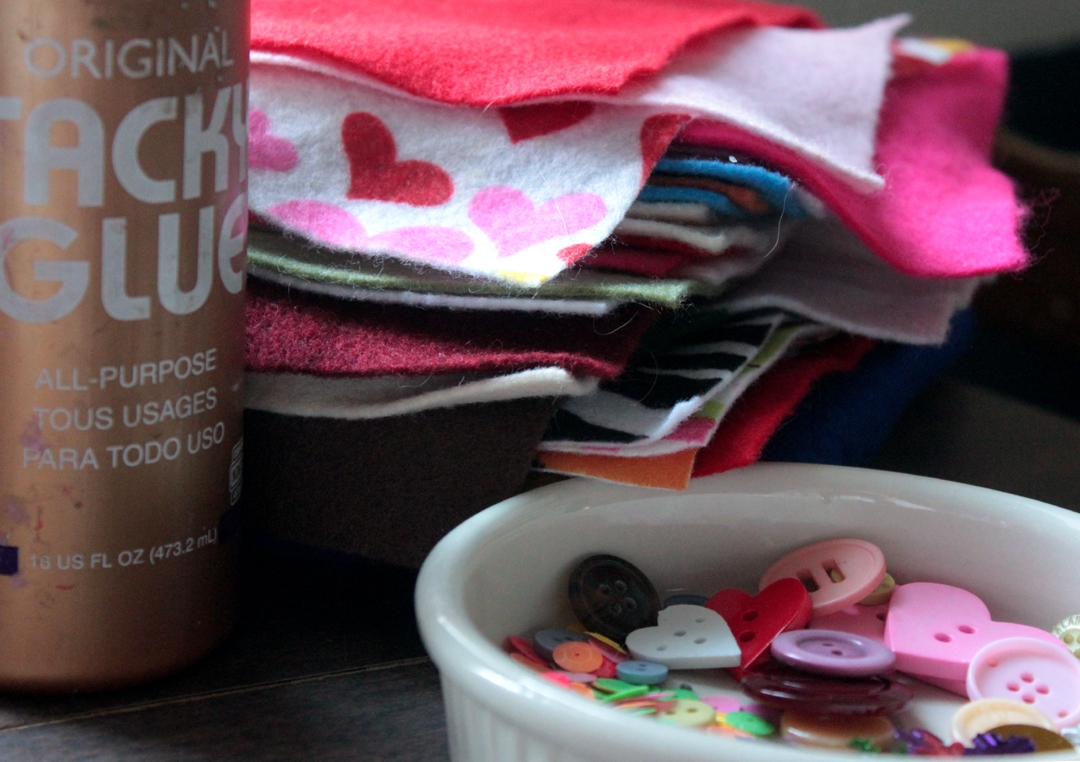
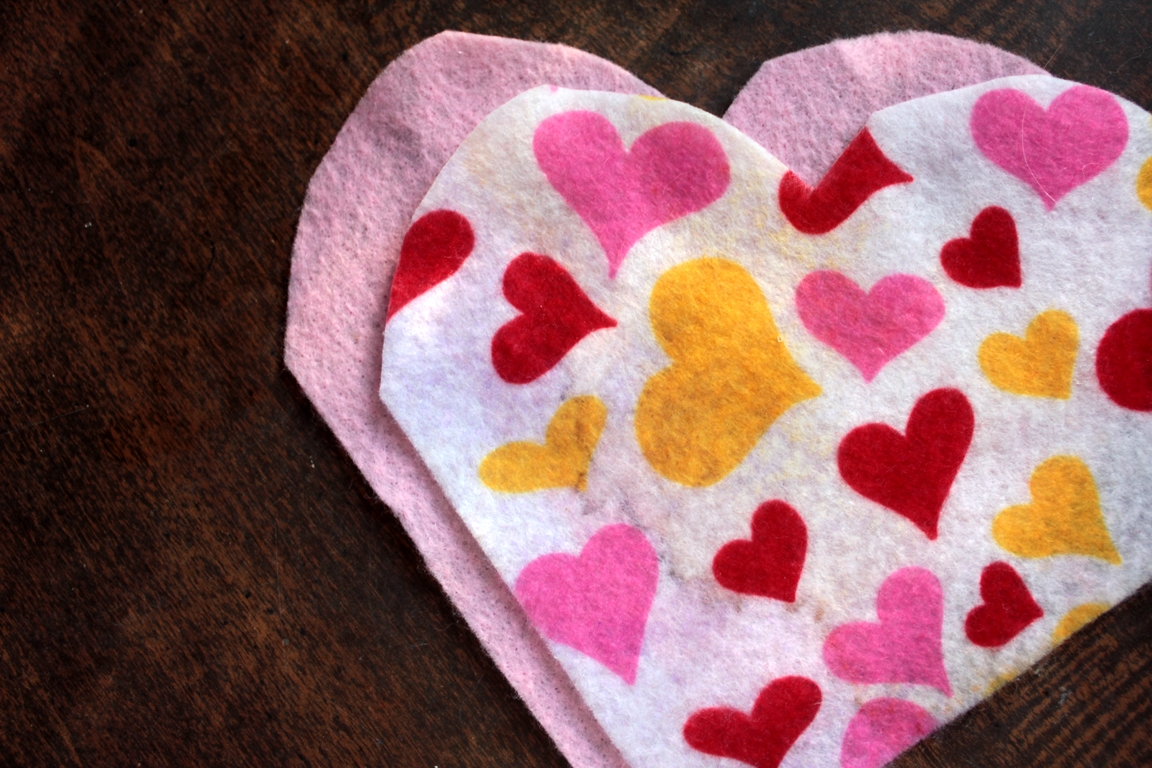
Every time we visit the craft store, Madeleine insists on adding to our felt collection. So that meant she had a splendid variety to choose from for her felt valentine! She showed me the size she wanted, and I cut the felt for her (she tried, but those little hands were having trouble with those great big scissors!).
Step 3
I asked what sort of heart she was making... a creature? A decorated heart? What sort of arms and legs.... pipe cleaners? Feathers? Felt? Felt! So she made templates of arms and legs...
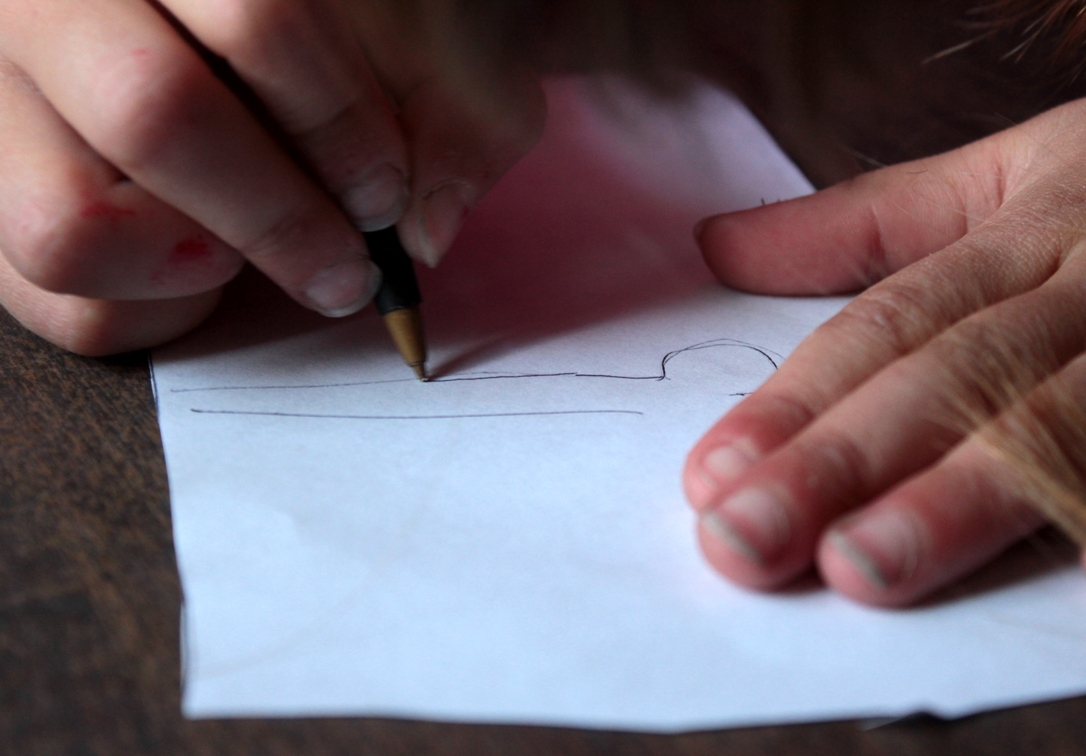
Step 4
...and cut out the paper. Then her papa and I used those patterns to cut the felt.
Step 5
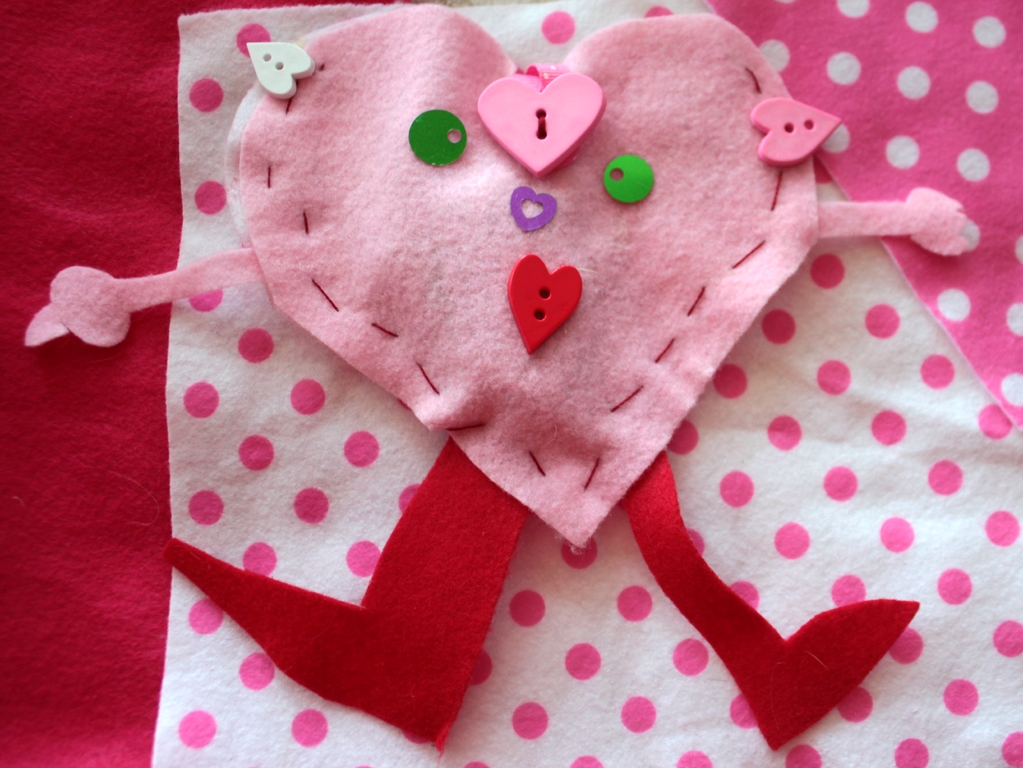
Time to glue on the arms and legs!

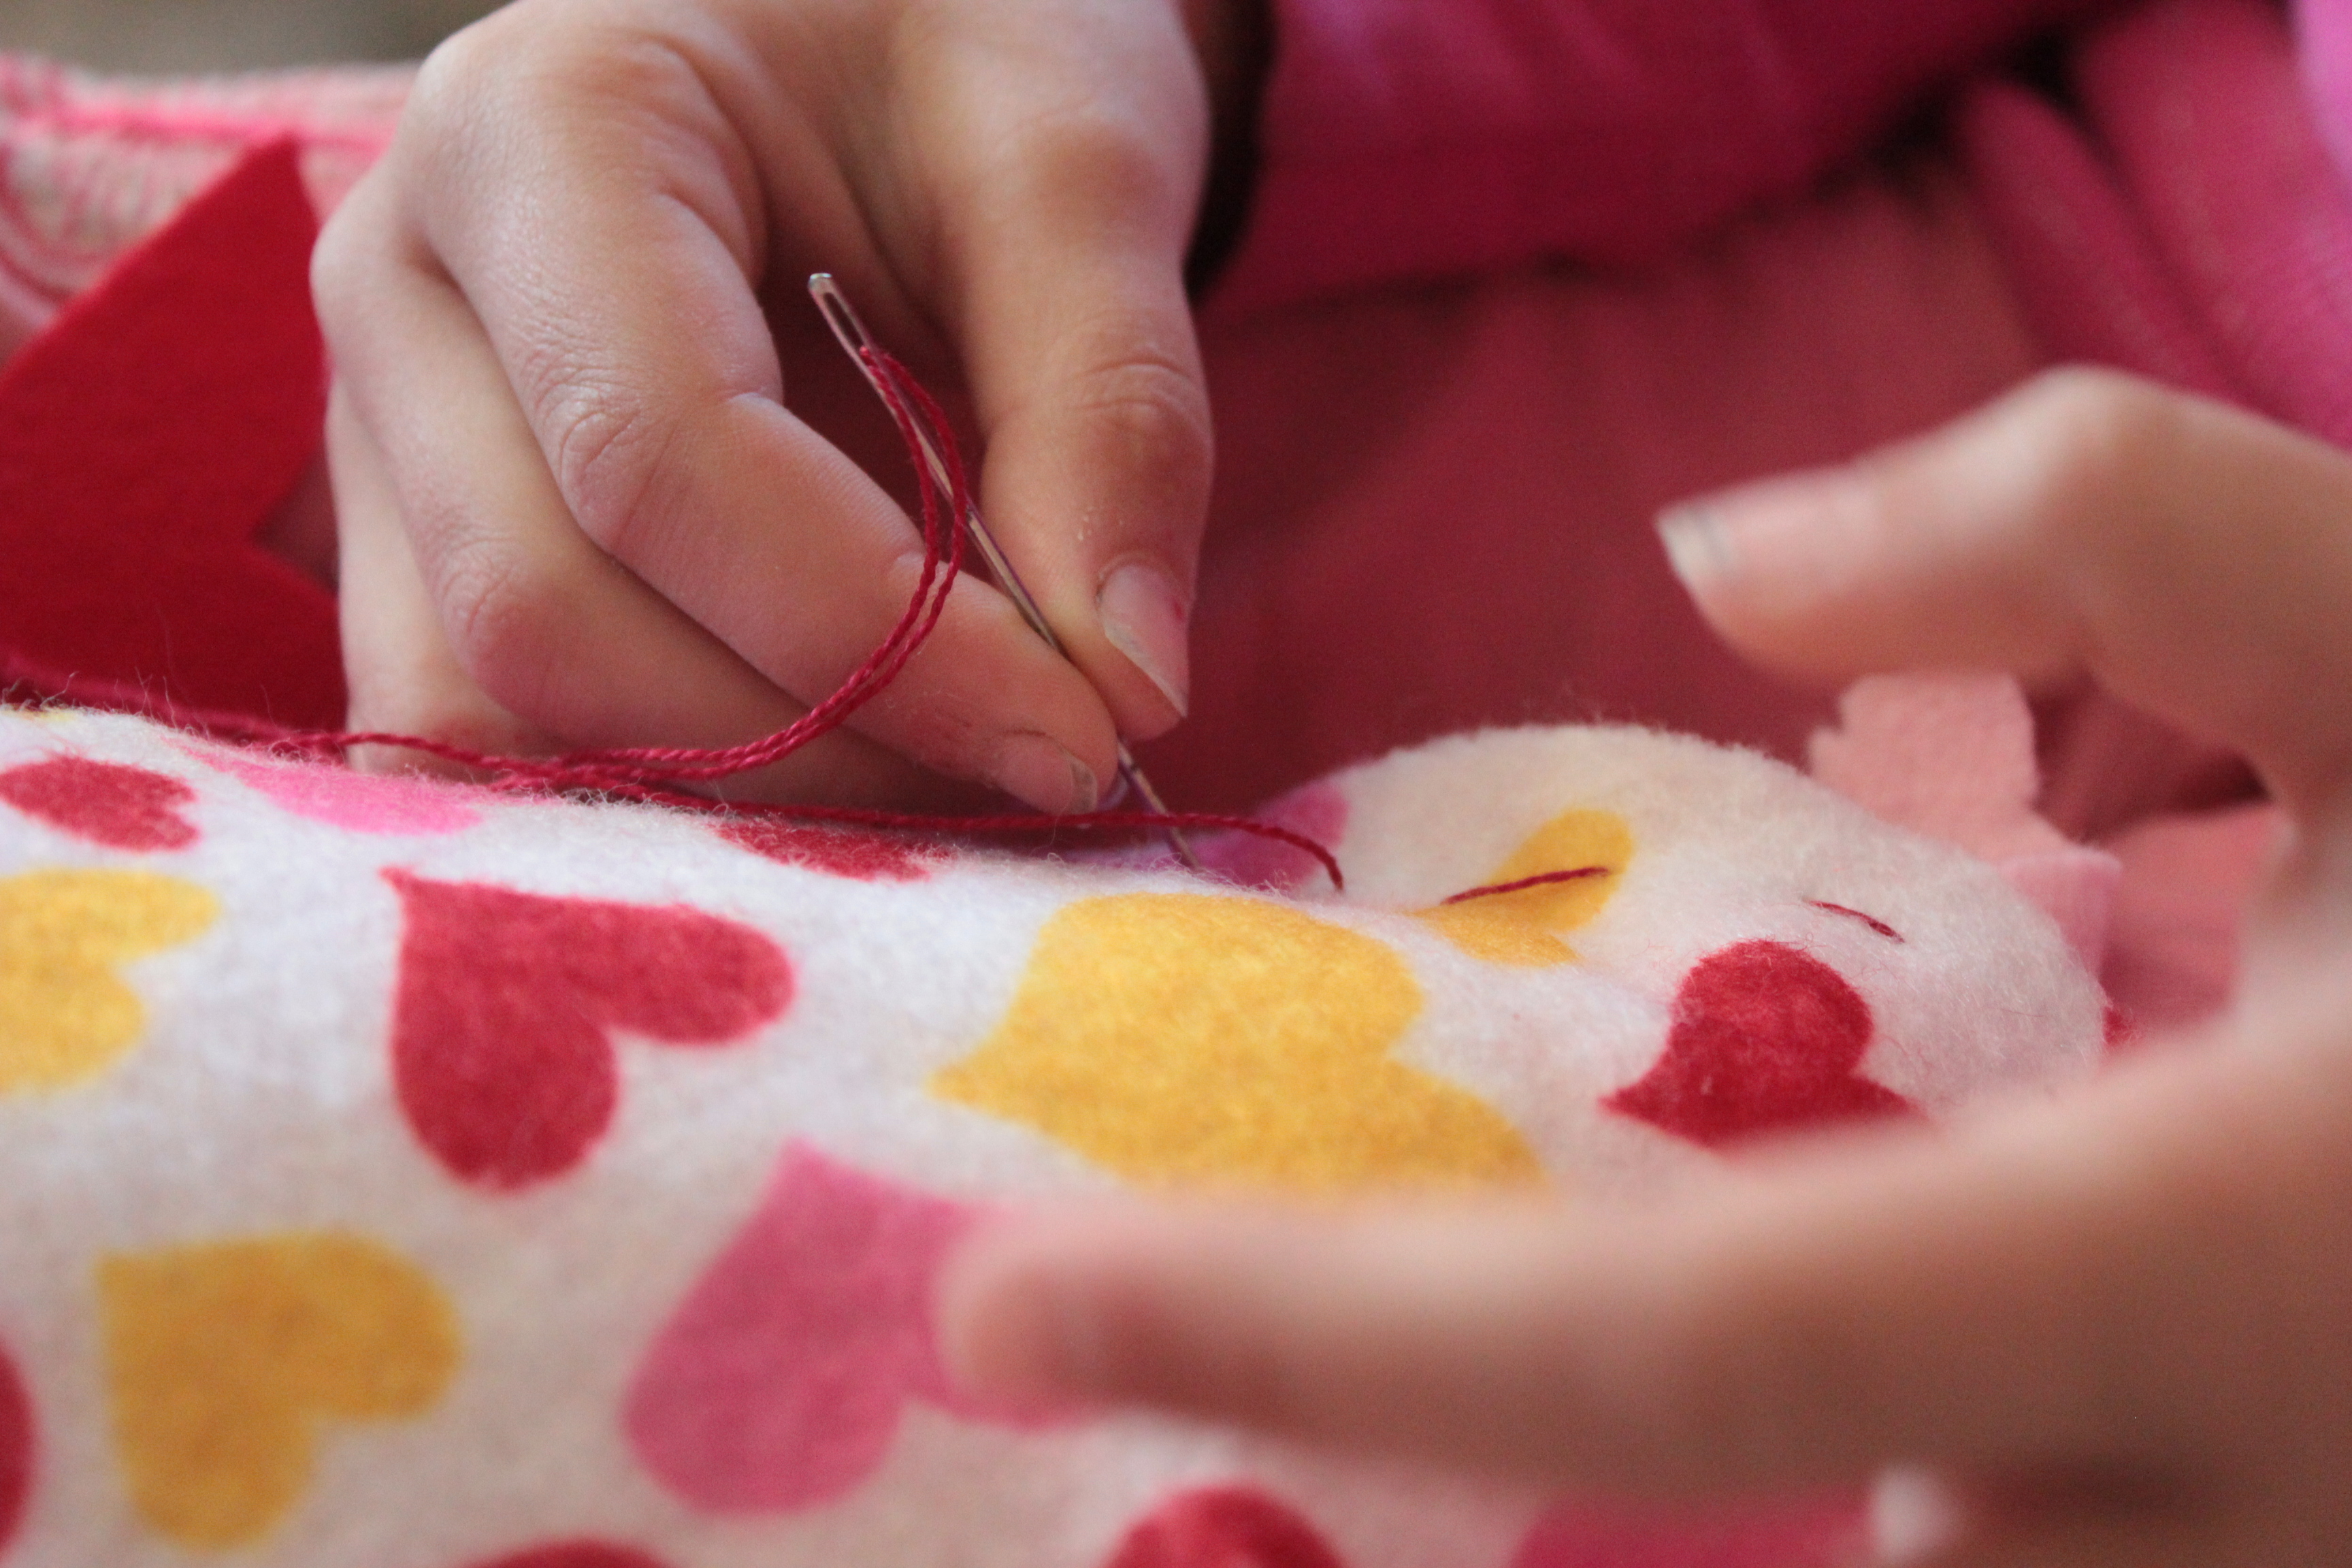
Step 6
Sew? Or glue the hearts together? Sew! She's just beginning to sew, so this is a terrific project for practice. Big, loopy stitches are quite acceptable for these creatures.
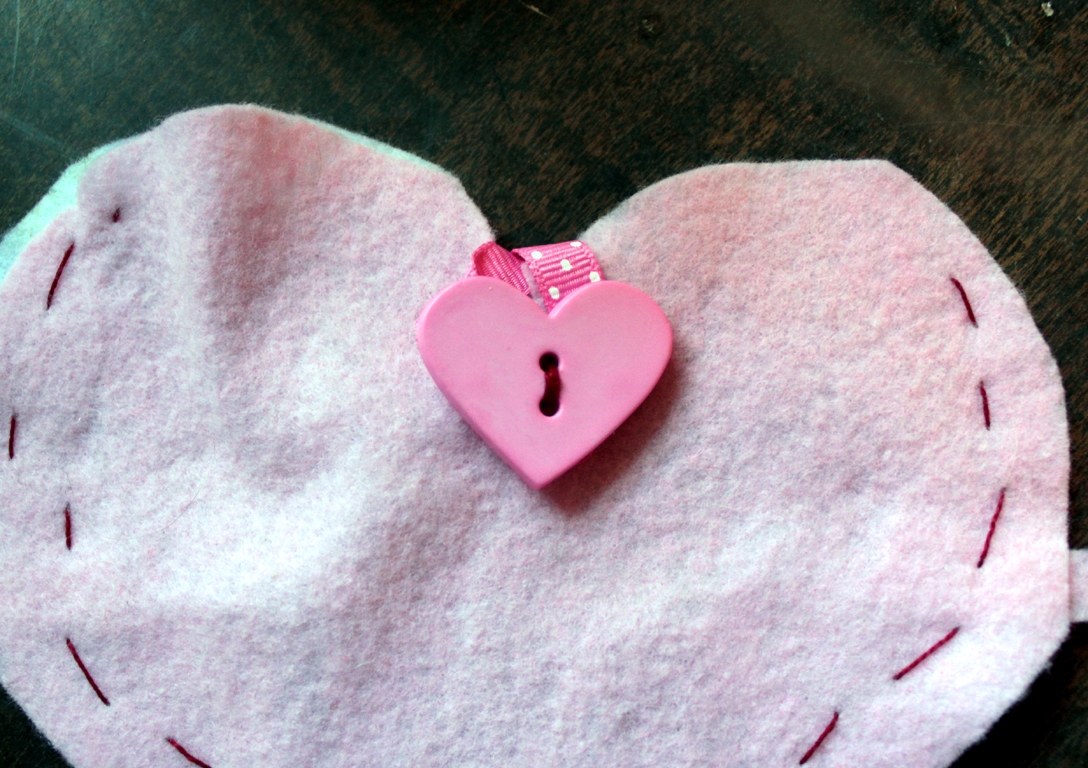
Step 7
She chose a button for the front, and decided upon a frog closure, so she picked out a pretty ribbon. She had a bit of trouble finding the buttonholes and only sewing one layer of the two hearts, so I sewed the ribbon and button for her.
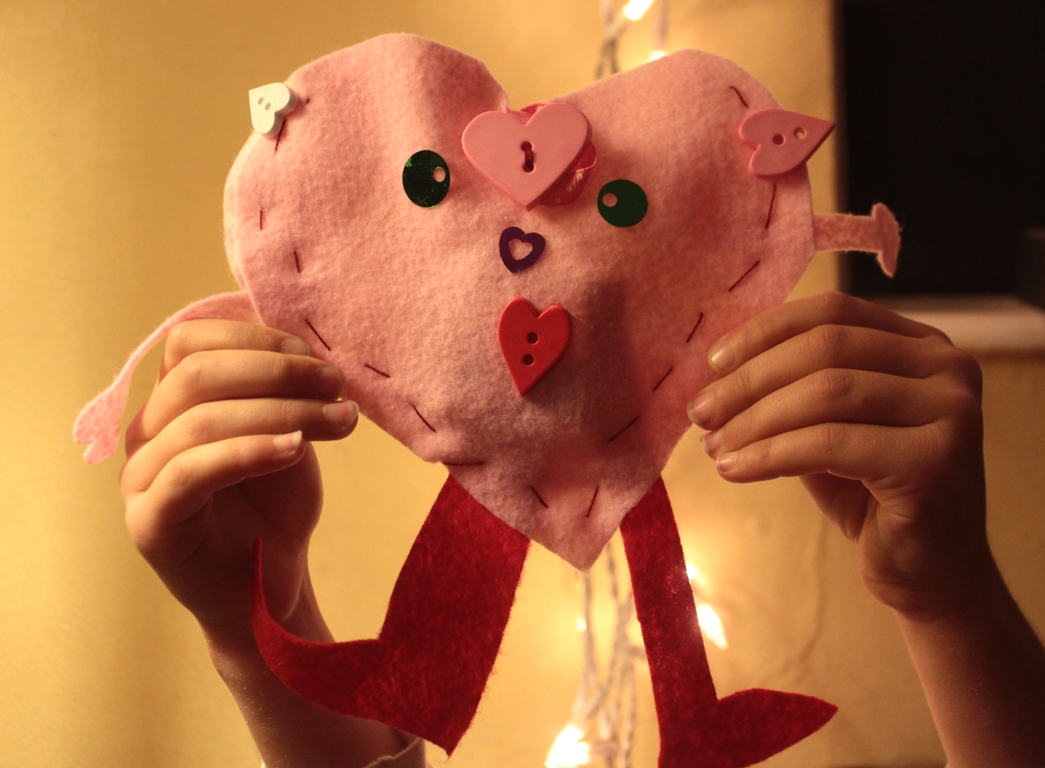
Done!
The frog closure is to close the pocket, so that it may be stuffed with little sweet treasures. The last step is to add the final embellishments! Sweet stuff.