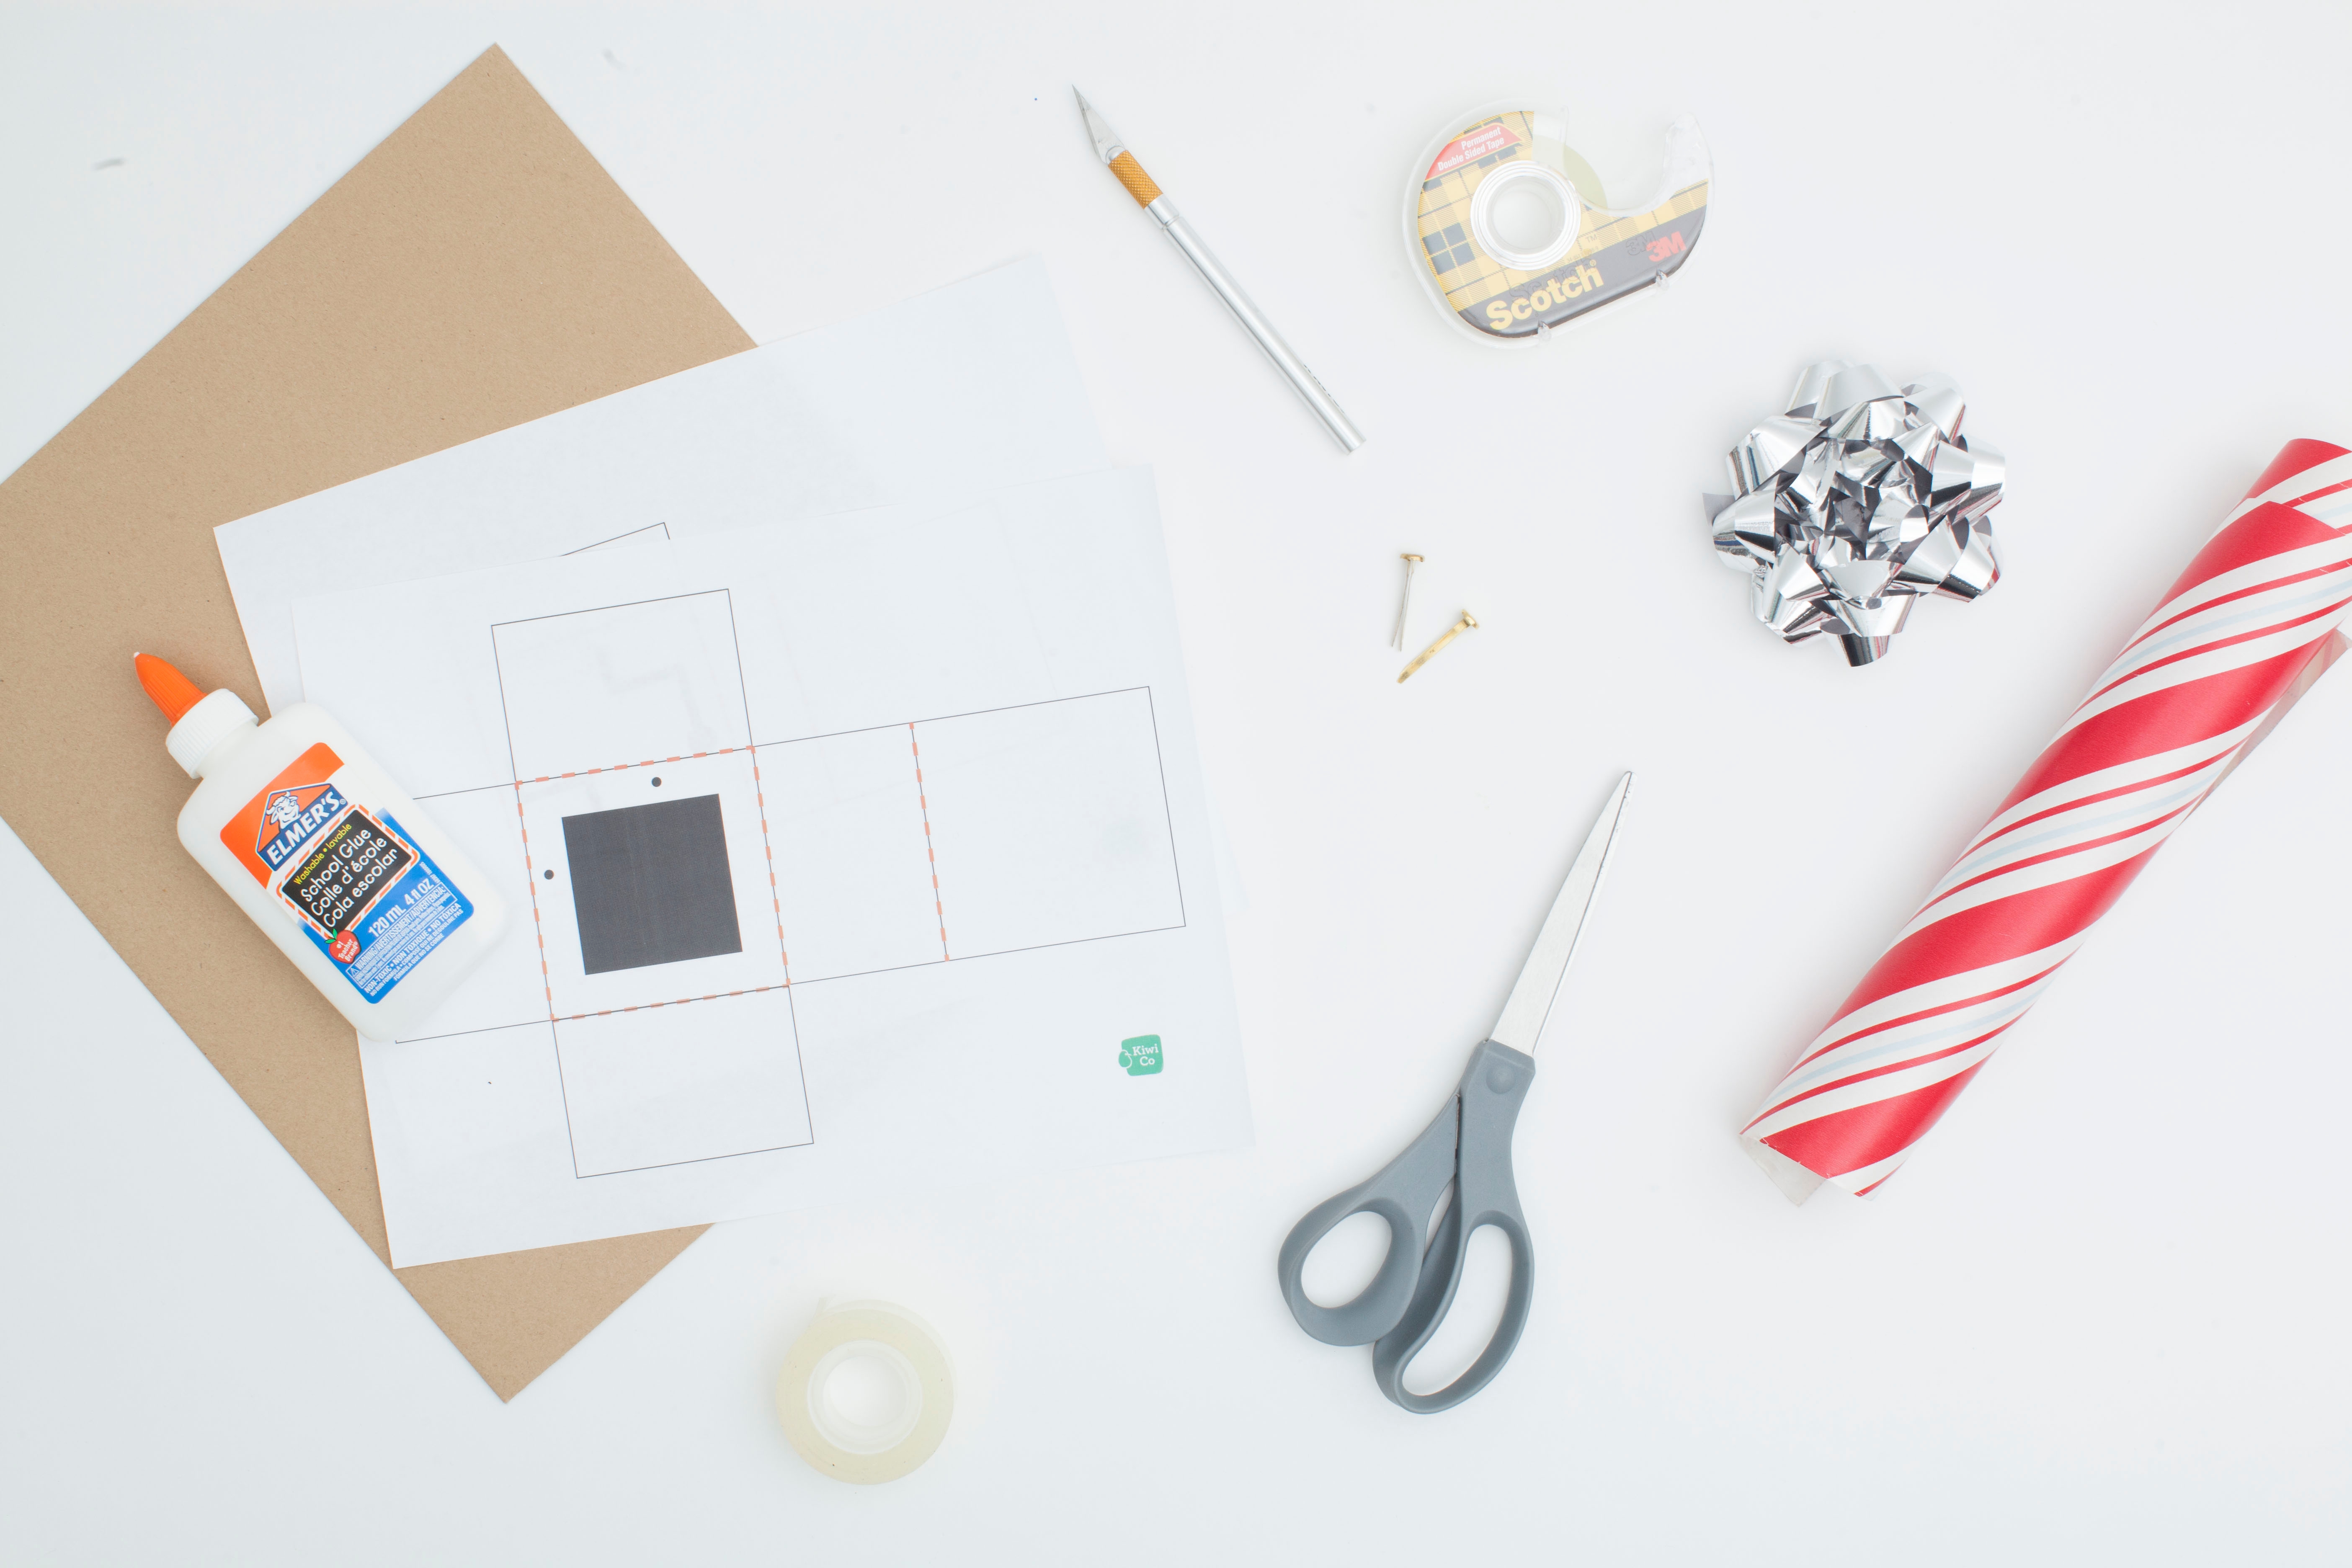
Step-by-step tutorial

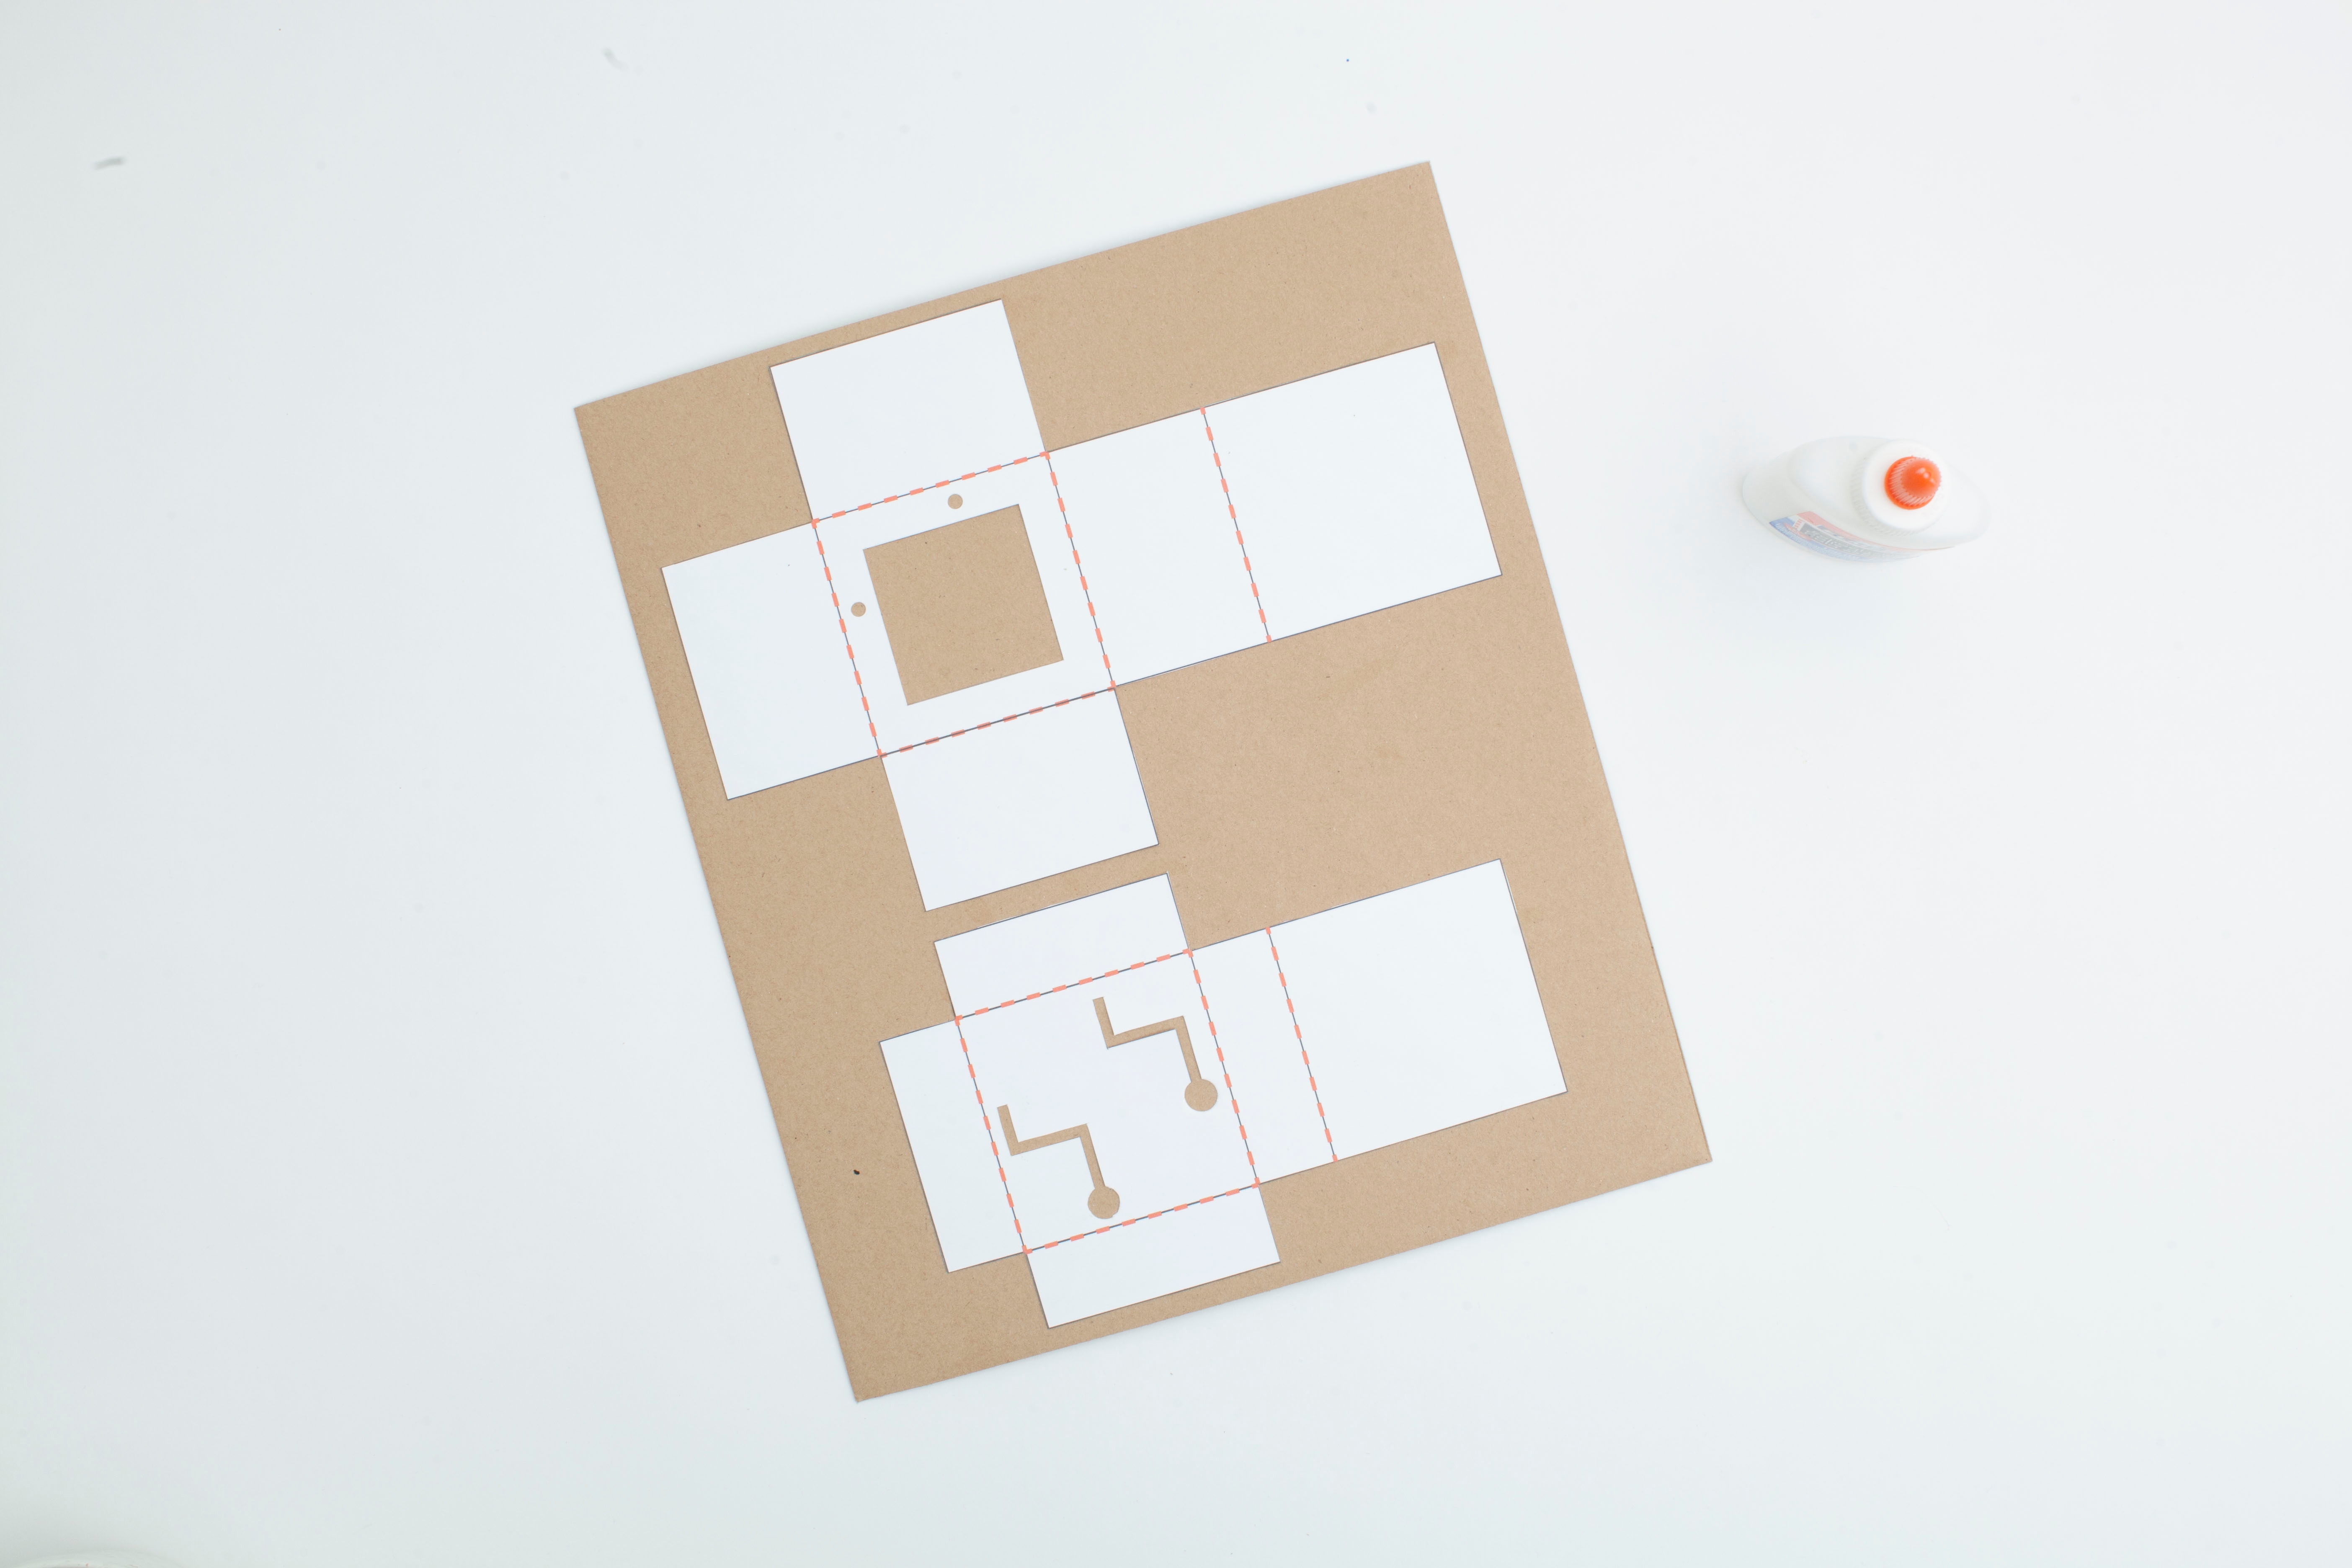
Step 2
Cut out the T-shape pieces from the printable. Then, cut out the shaded areas.

Step 3
Glue the T-shape pieces to a piece of cardboard.
Step 4
Cut out the T-shape cardboard pieces by cutting along the outline.
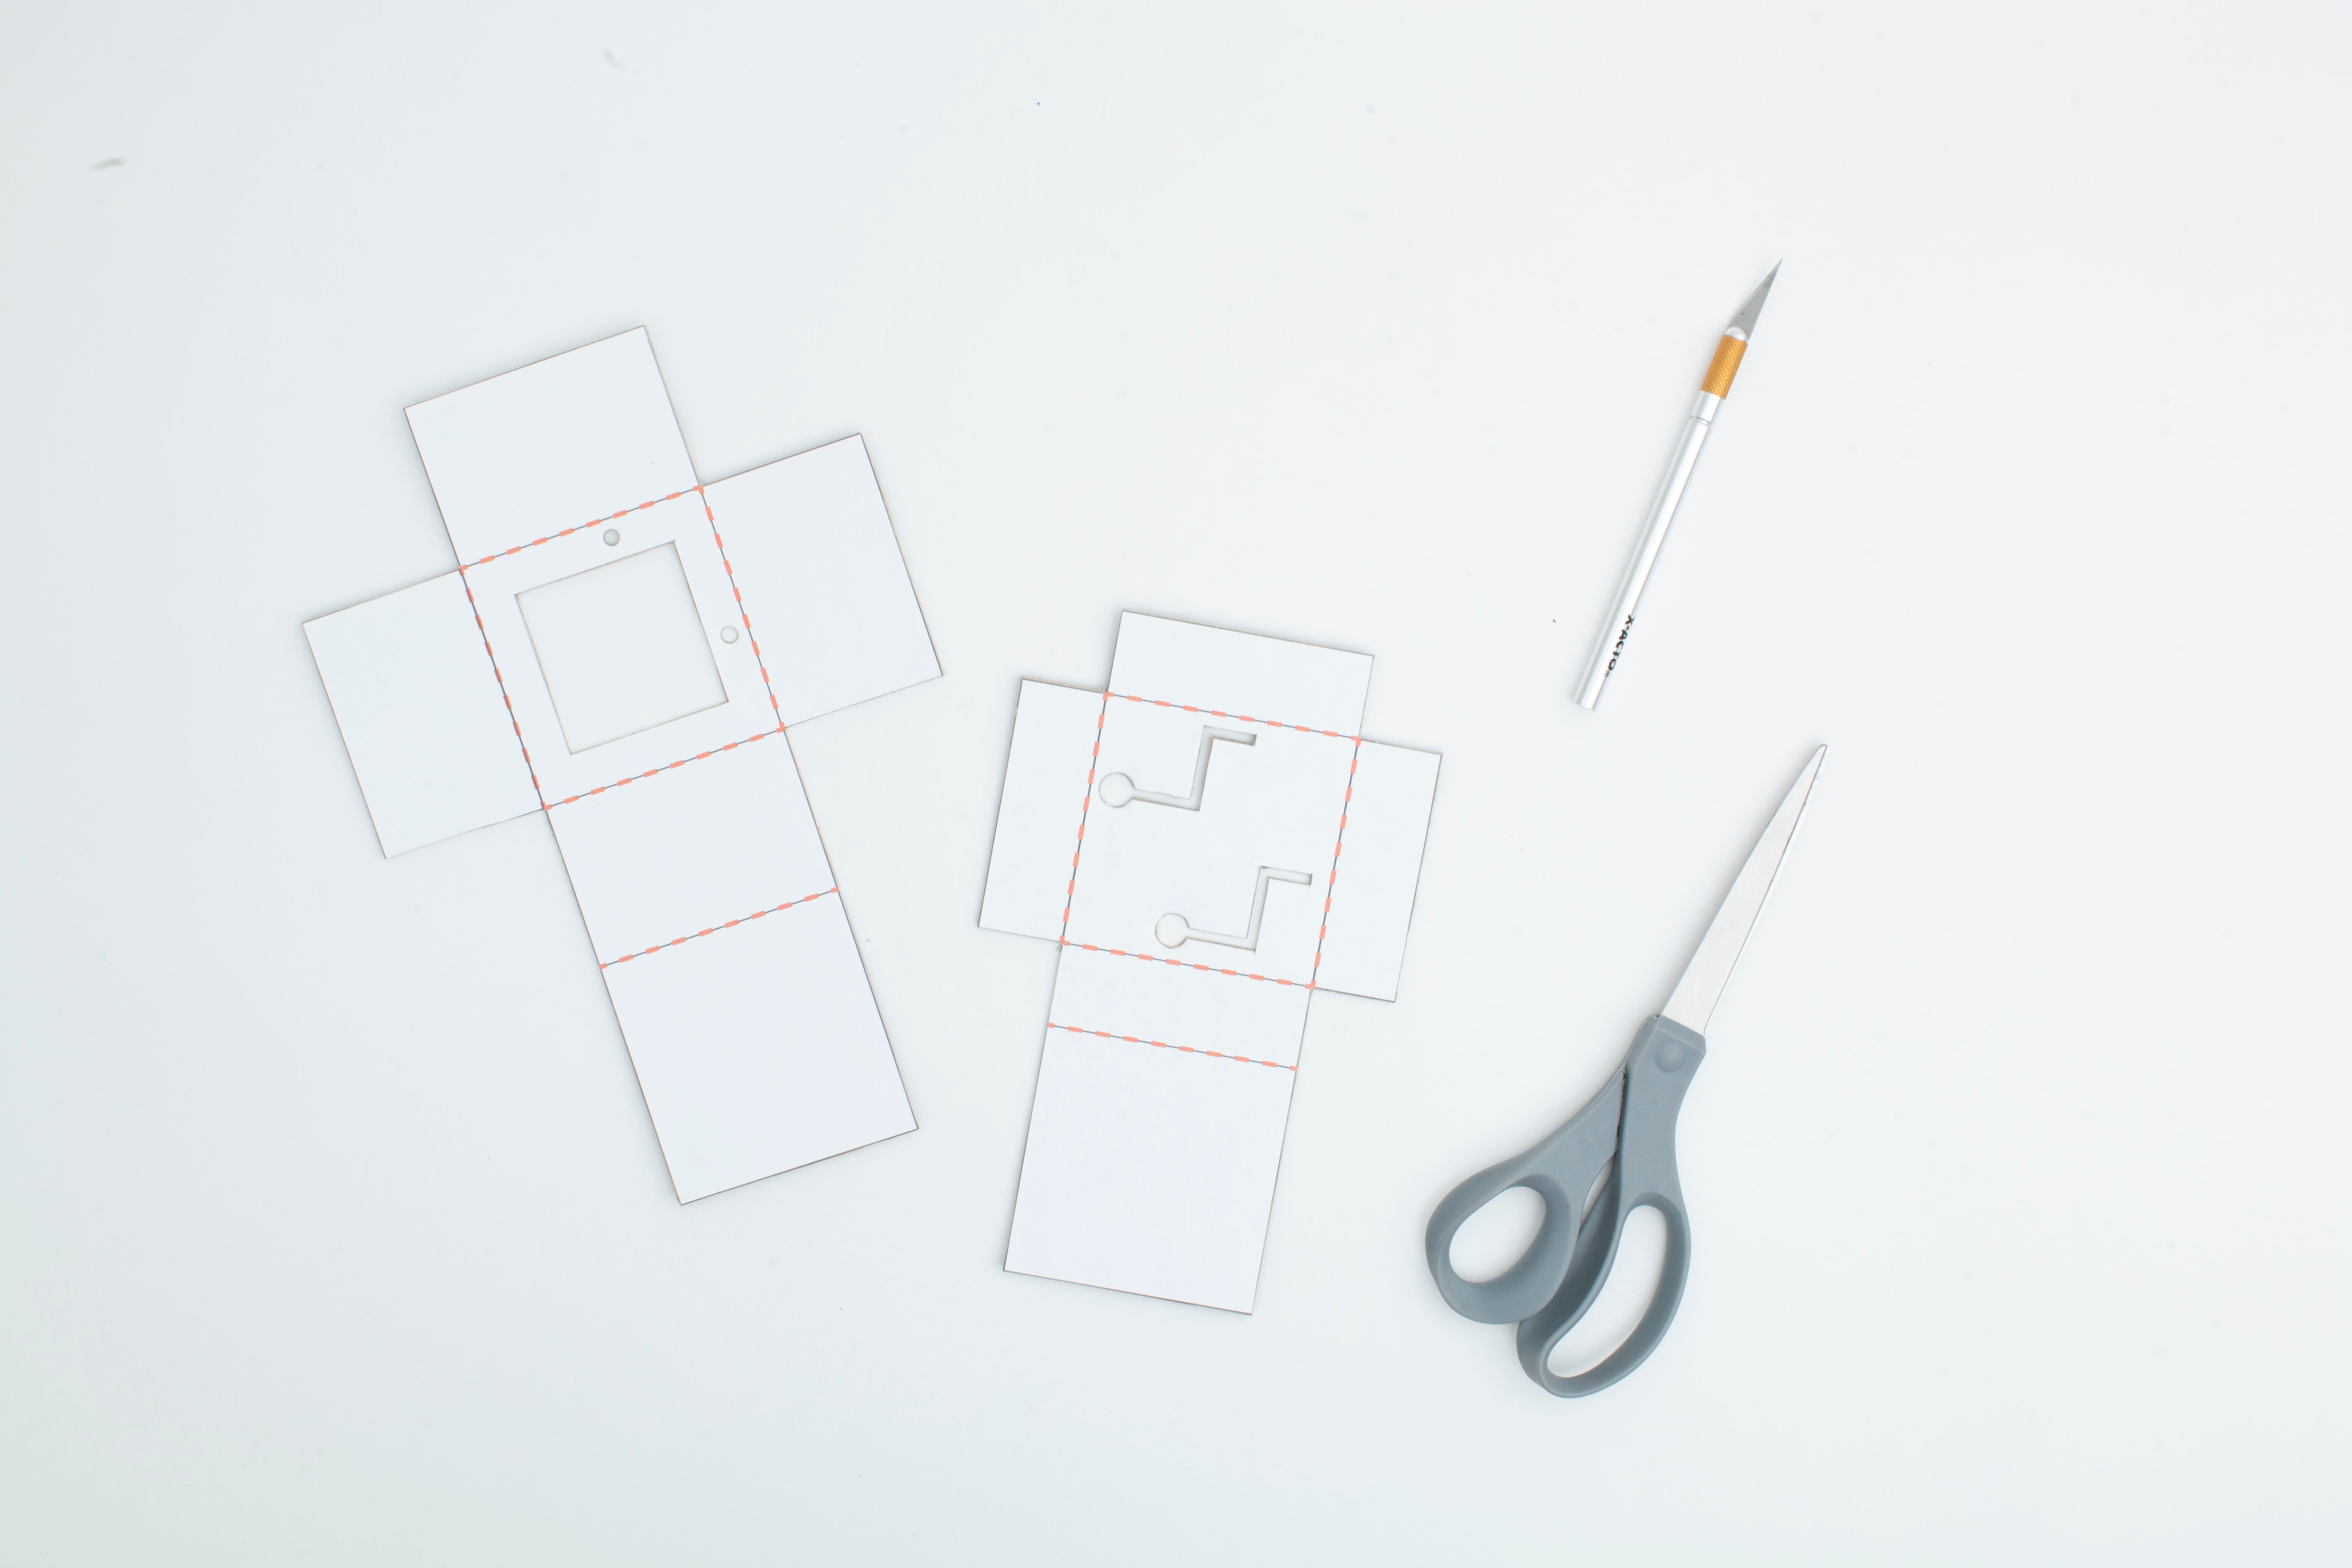
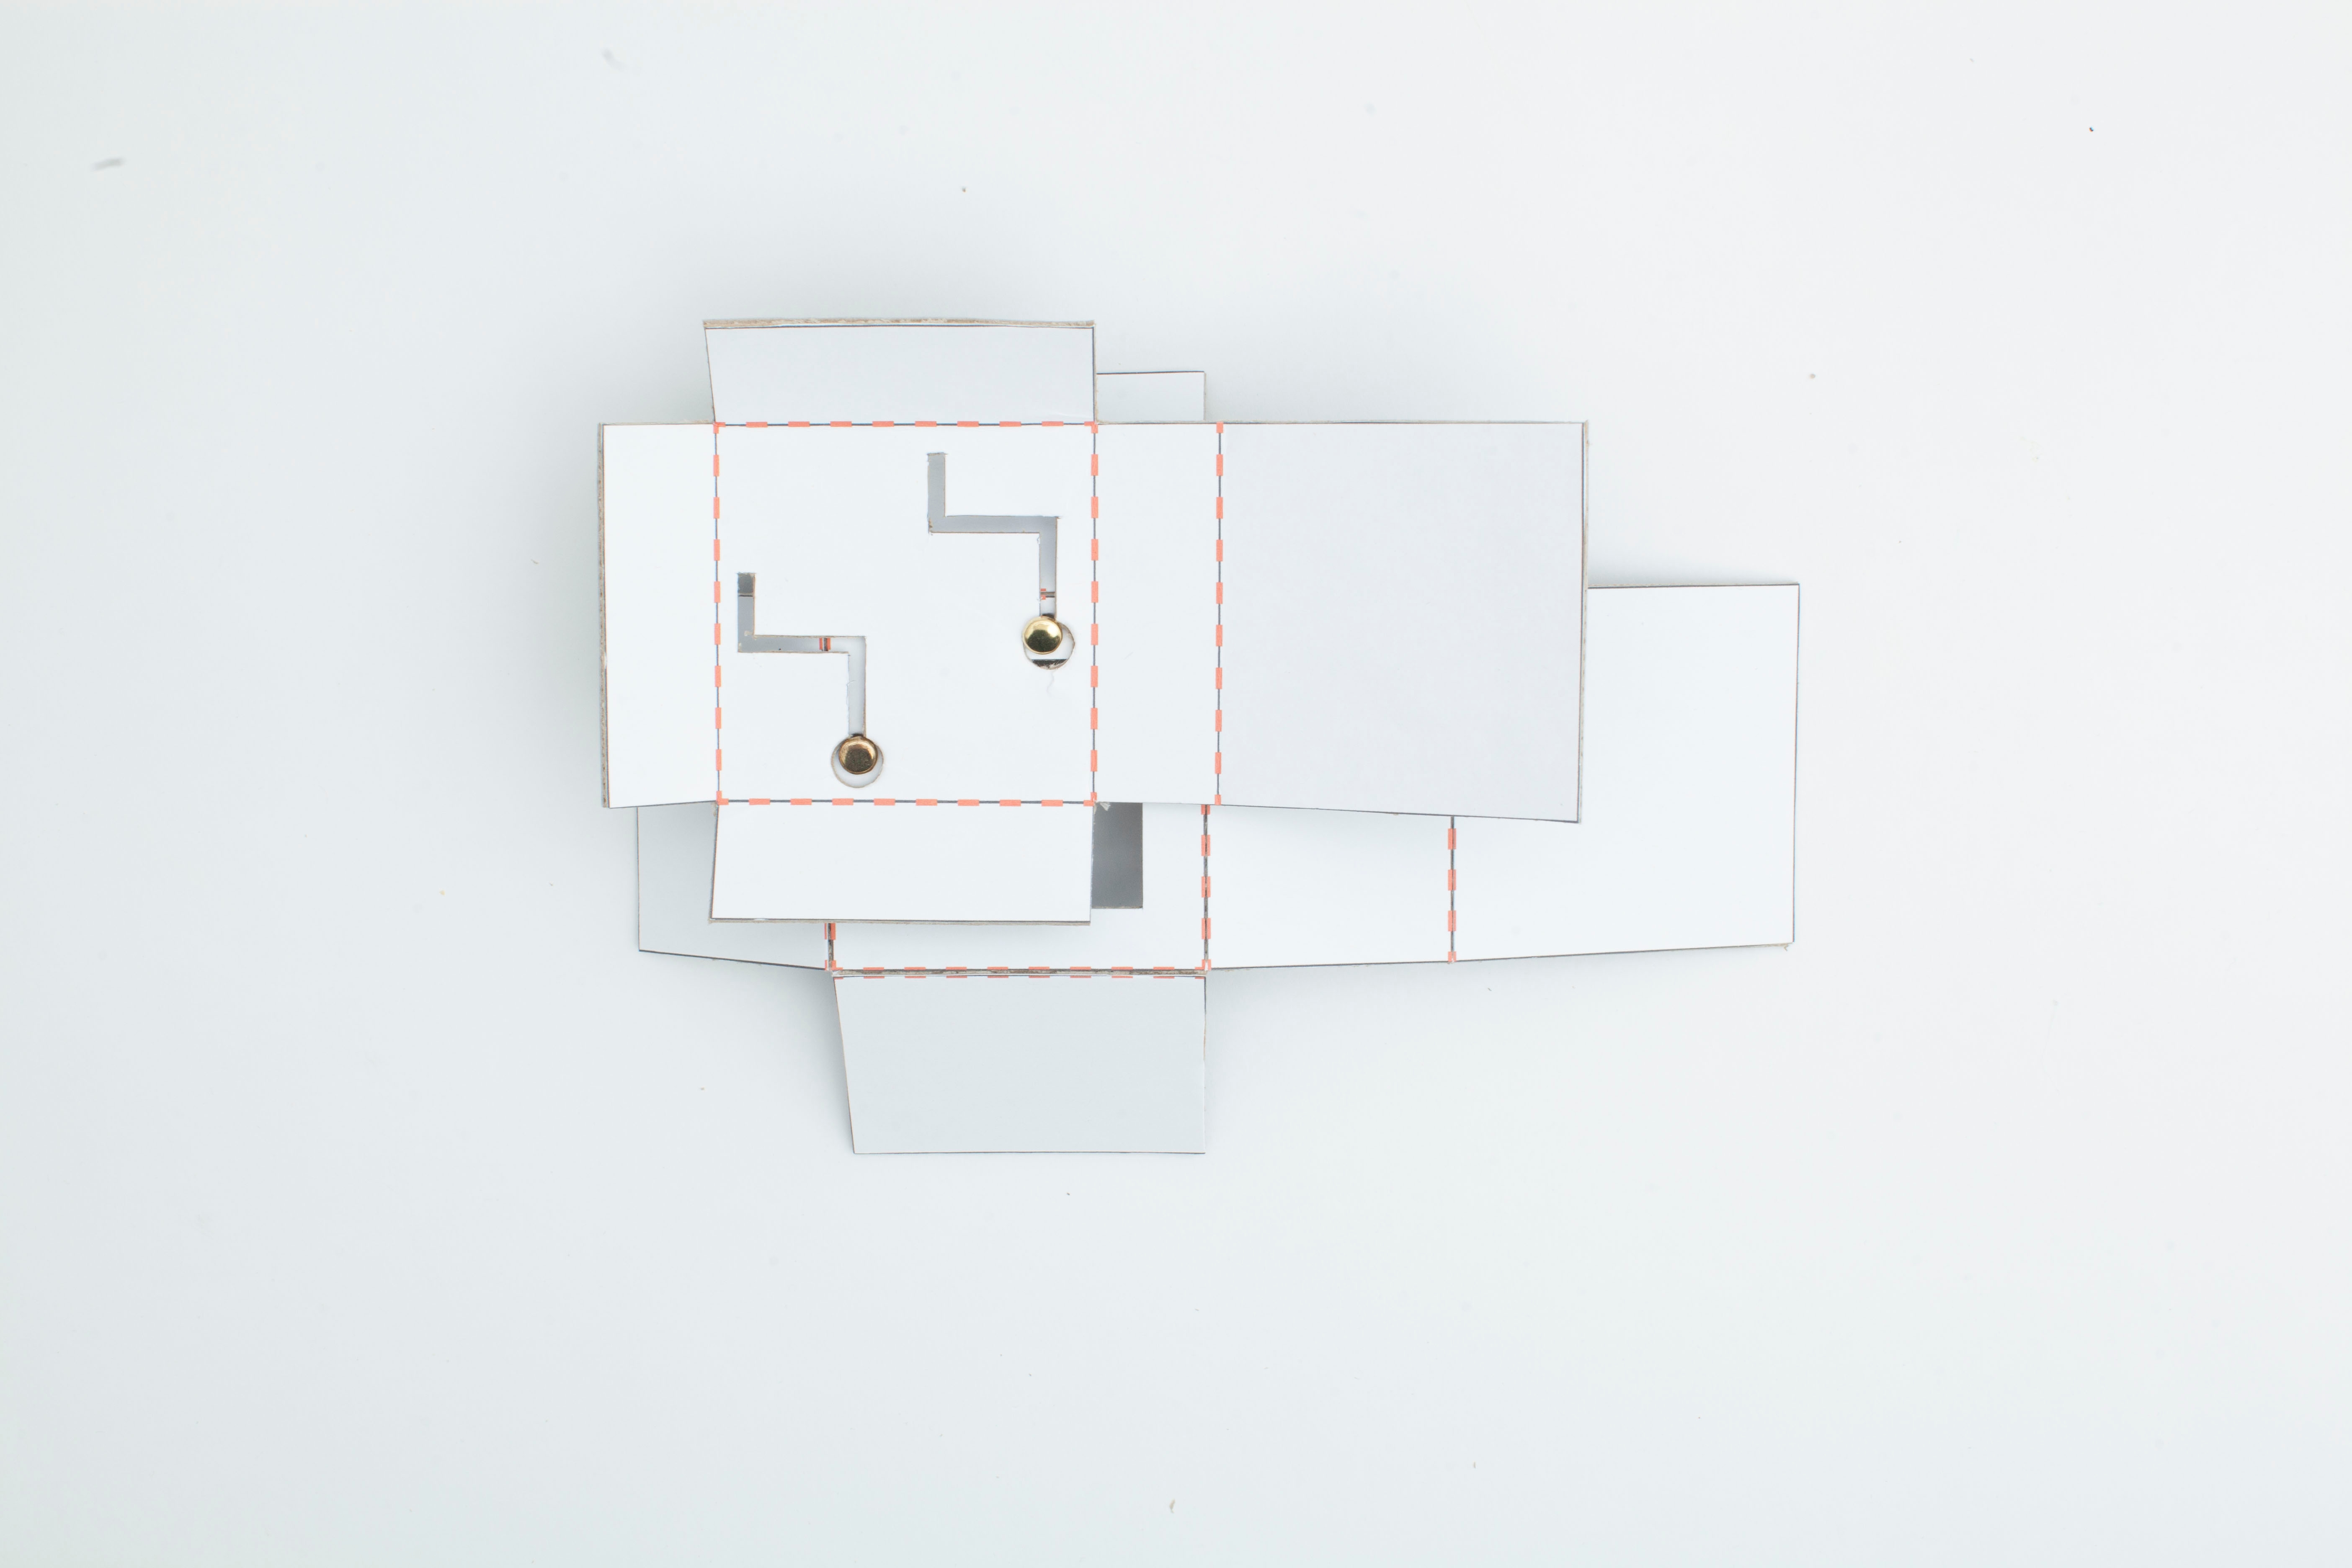
Step 5
On the larger T-shape piece, score the cardboard on the dotted orange lines. On the smaller T-shape piece, score the cardboard on the opposite side of the cardboard.

Tip
Lightly run your X-acto blade on the folded line to score the cardboard, creating a hard crease. This will make it easier to fold the cardboard into a box.
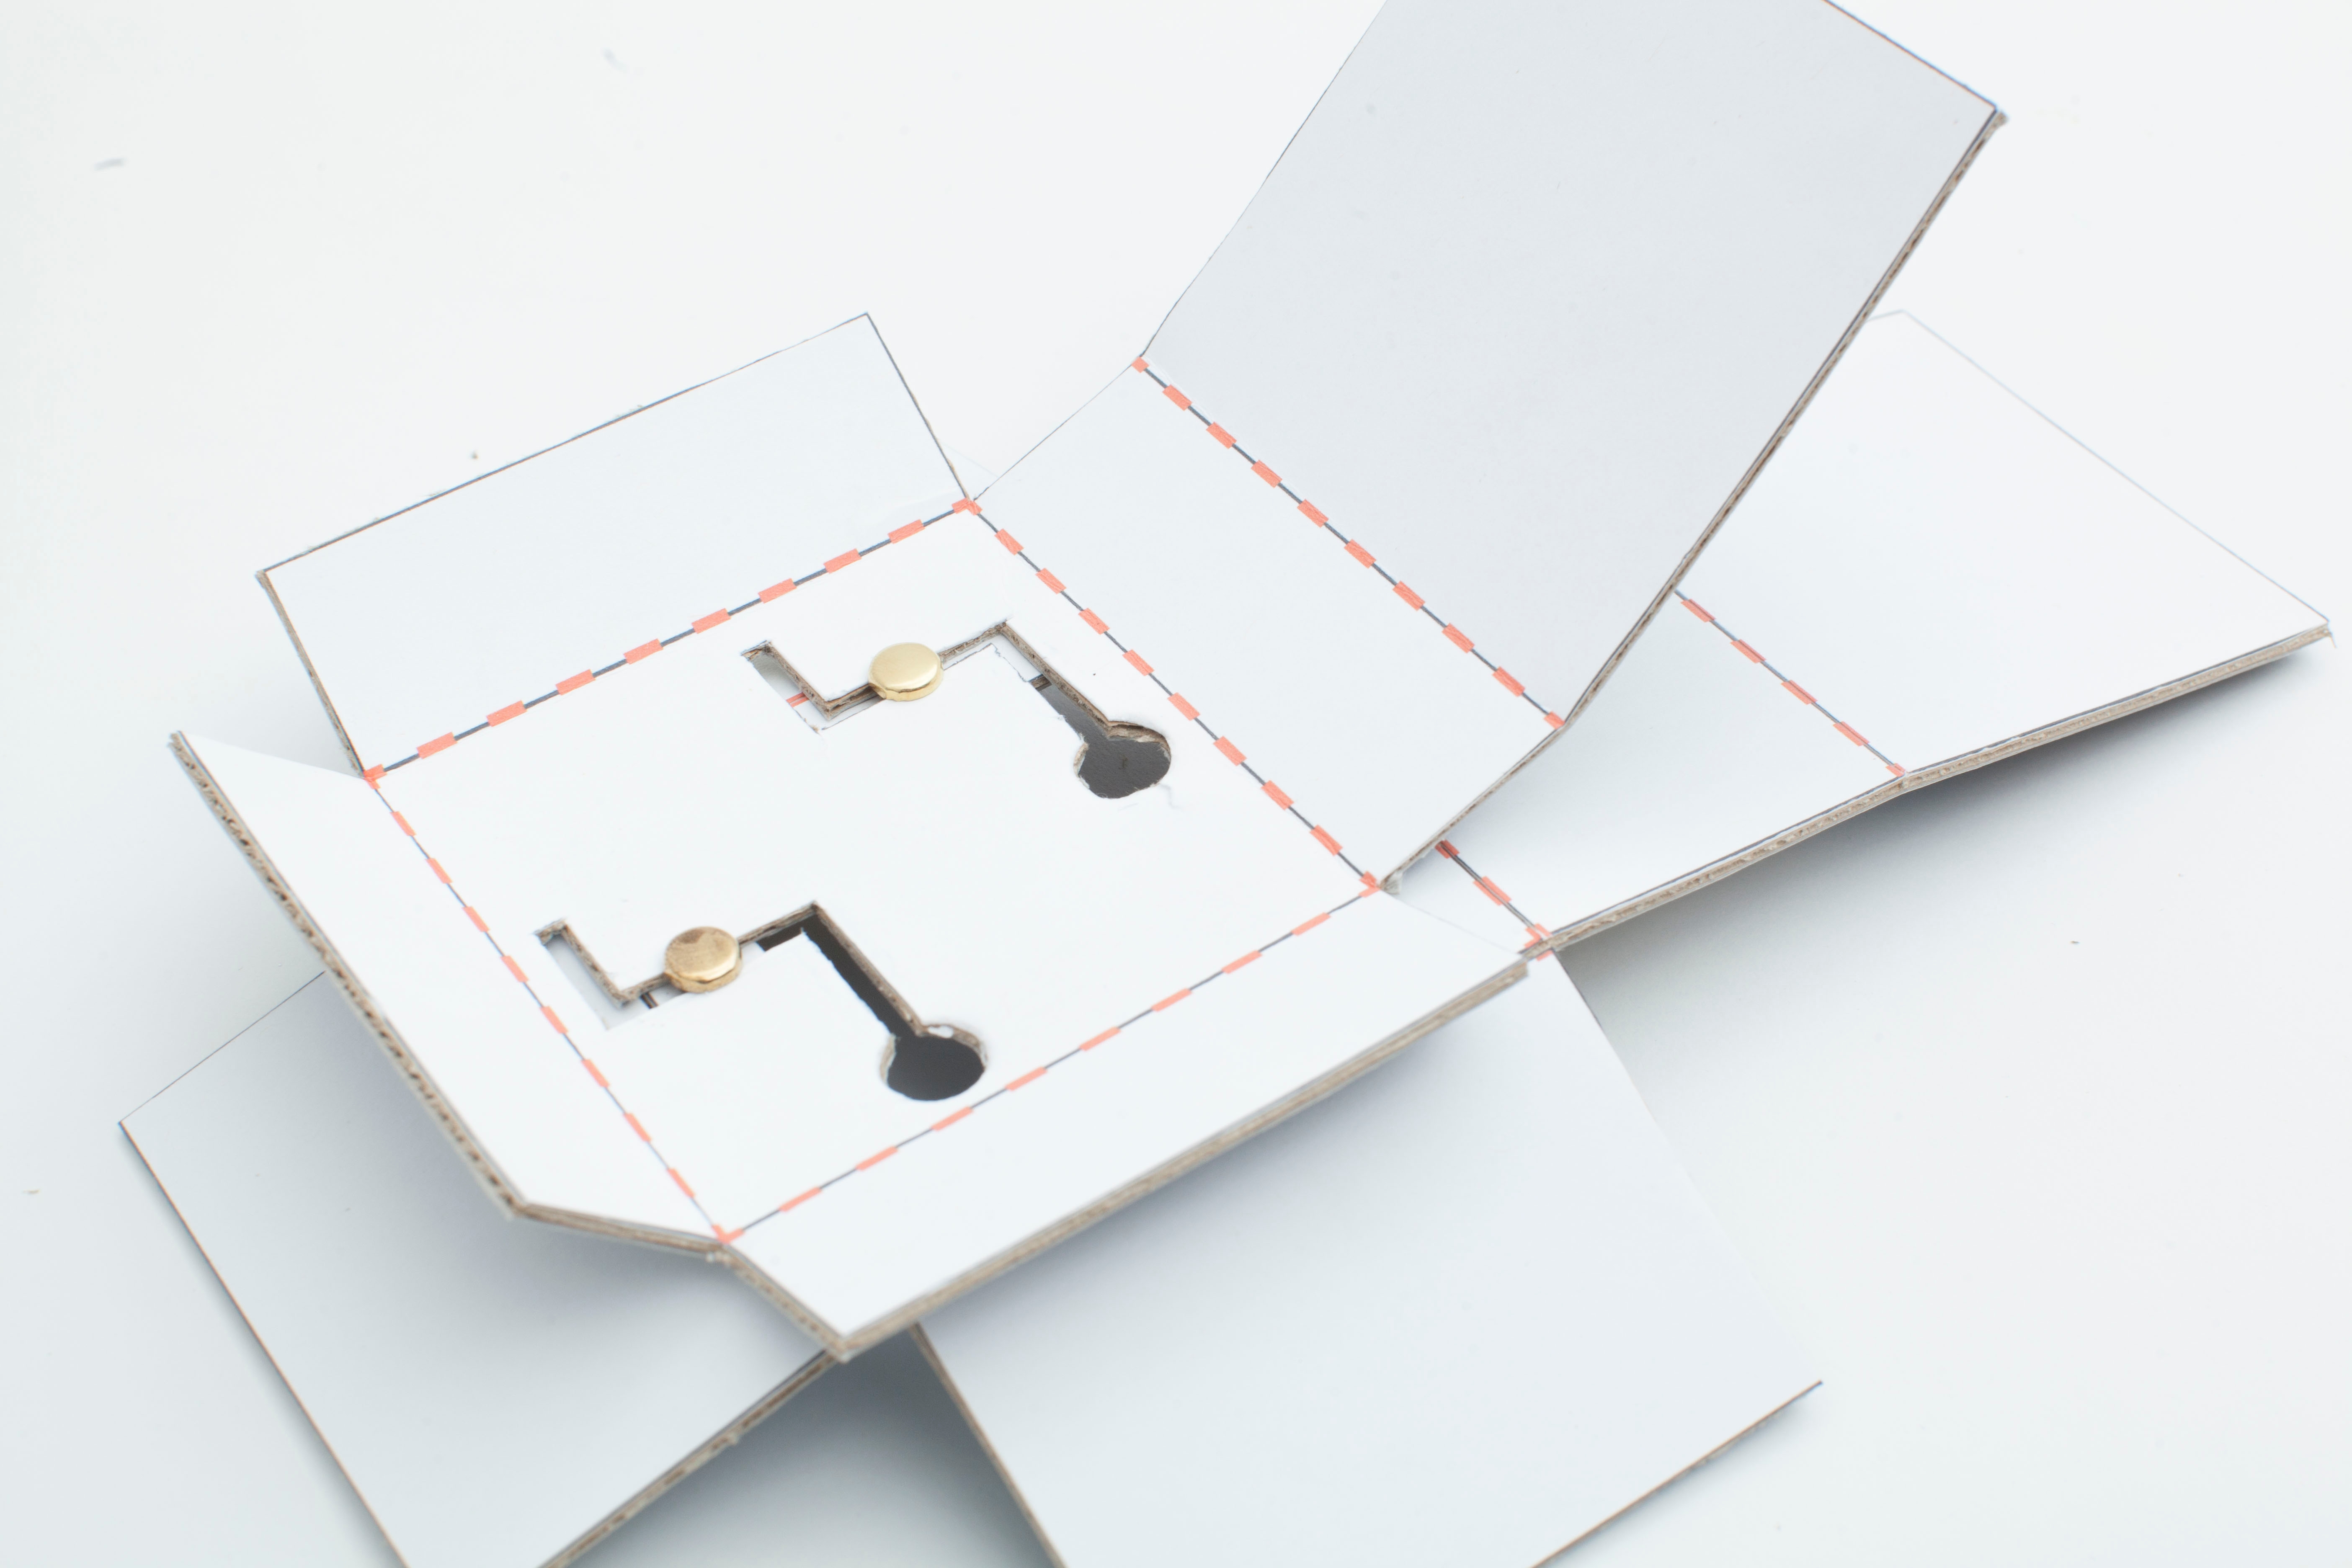
Step 6
Stick the brads into the two small holes on the largest T-shape piece. Do not secure them yet.

Step 7
Line up the smaller T-shape piece over the larger one as pictured.
Step 8
Move the brads along the track until they are in the narrower part of the track. Then, secure the brads in place.
Step 9
Take the smaller T-shape piece off of the larger one by sliding it along the track towards the circles and set it aside. Then, turn the piece over and glue the back of the brads in place.
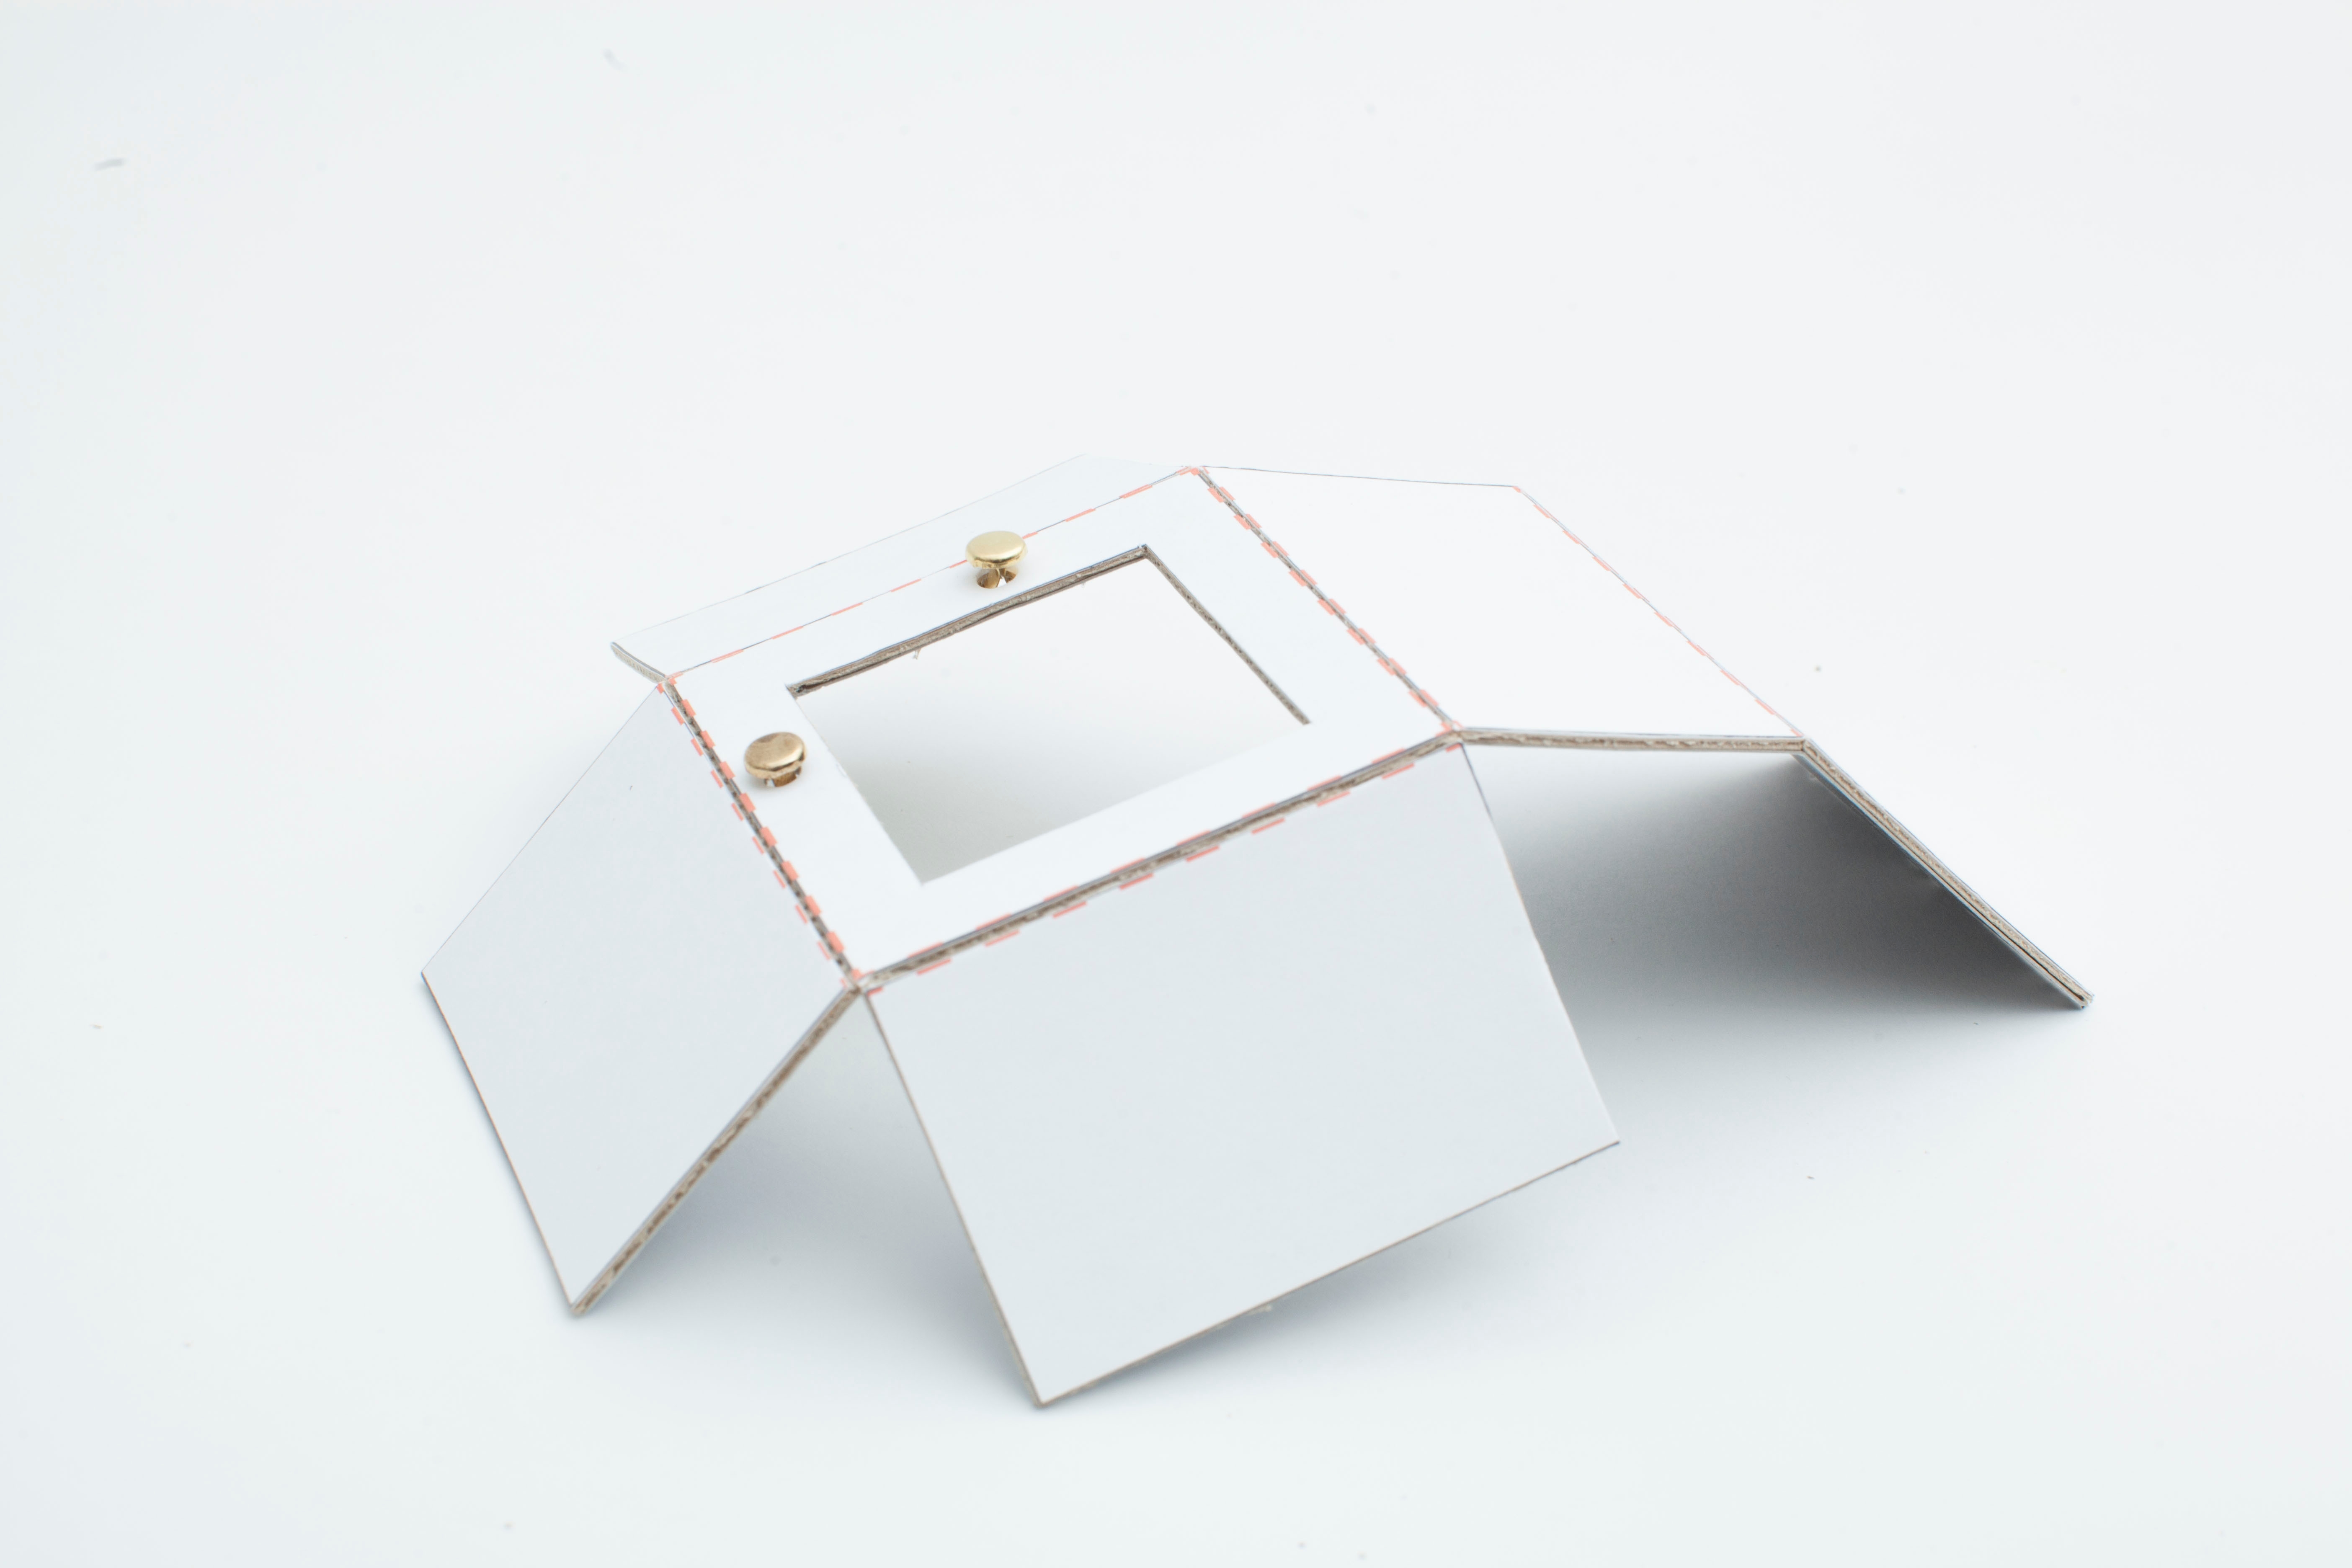
Step 10
Fold each of the T-shape pieces into a box. Then, glue it together.
Tip
We used rubber bands to hold the box together while it dried.
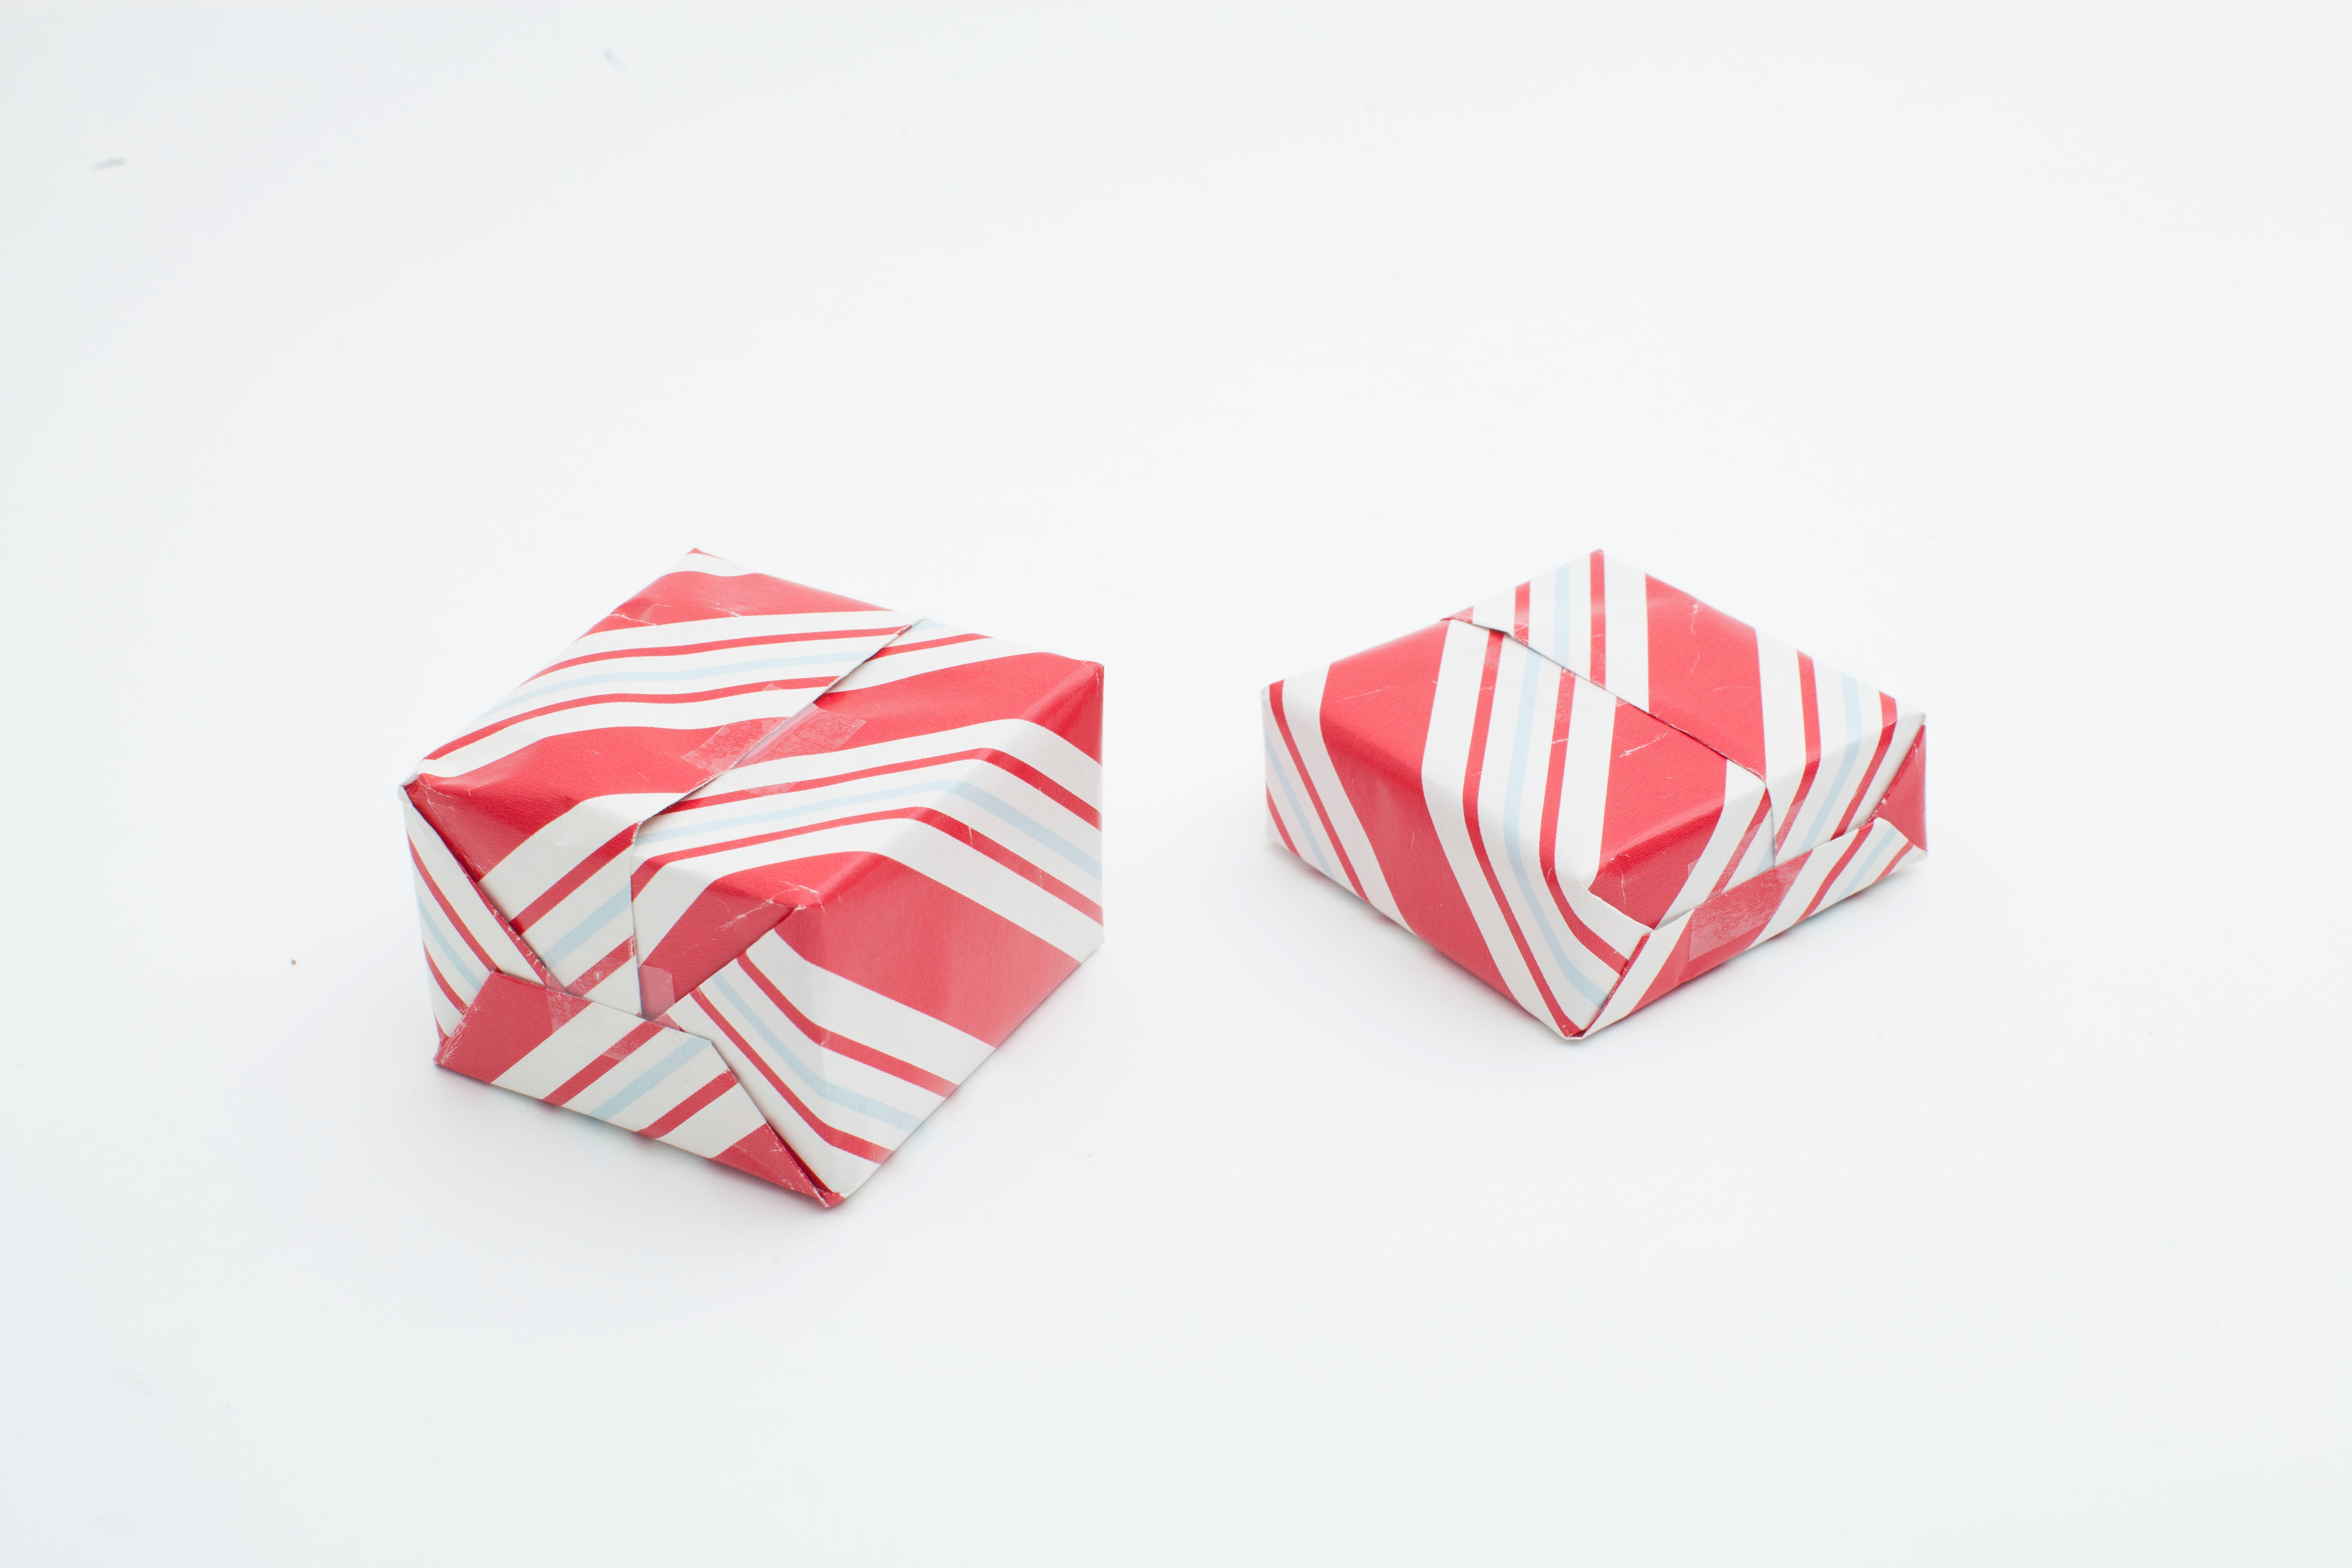
Step 11
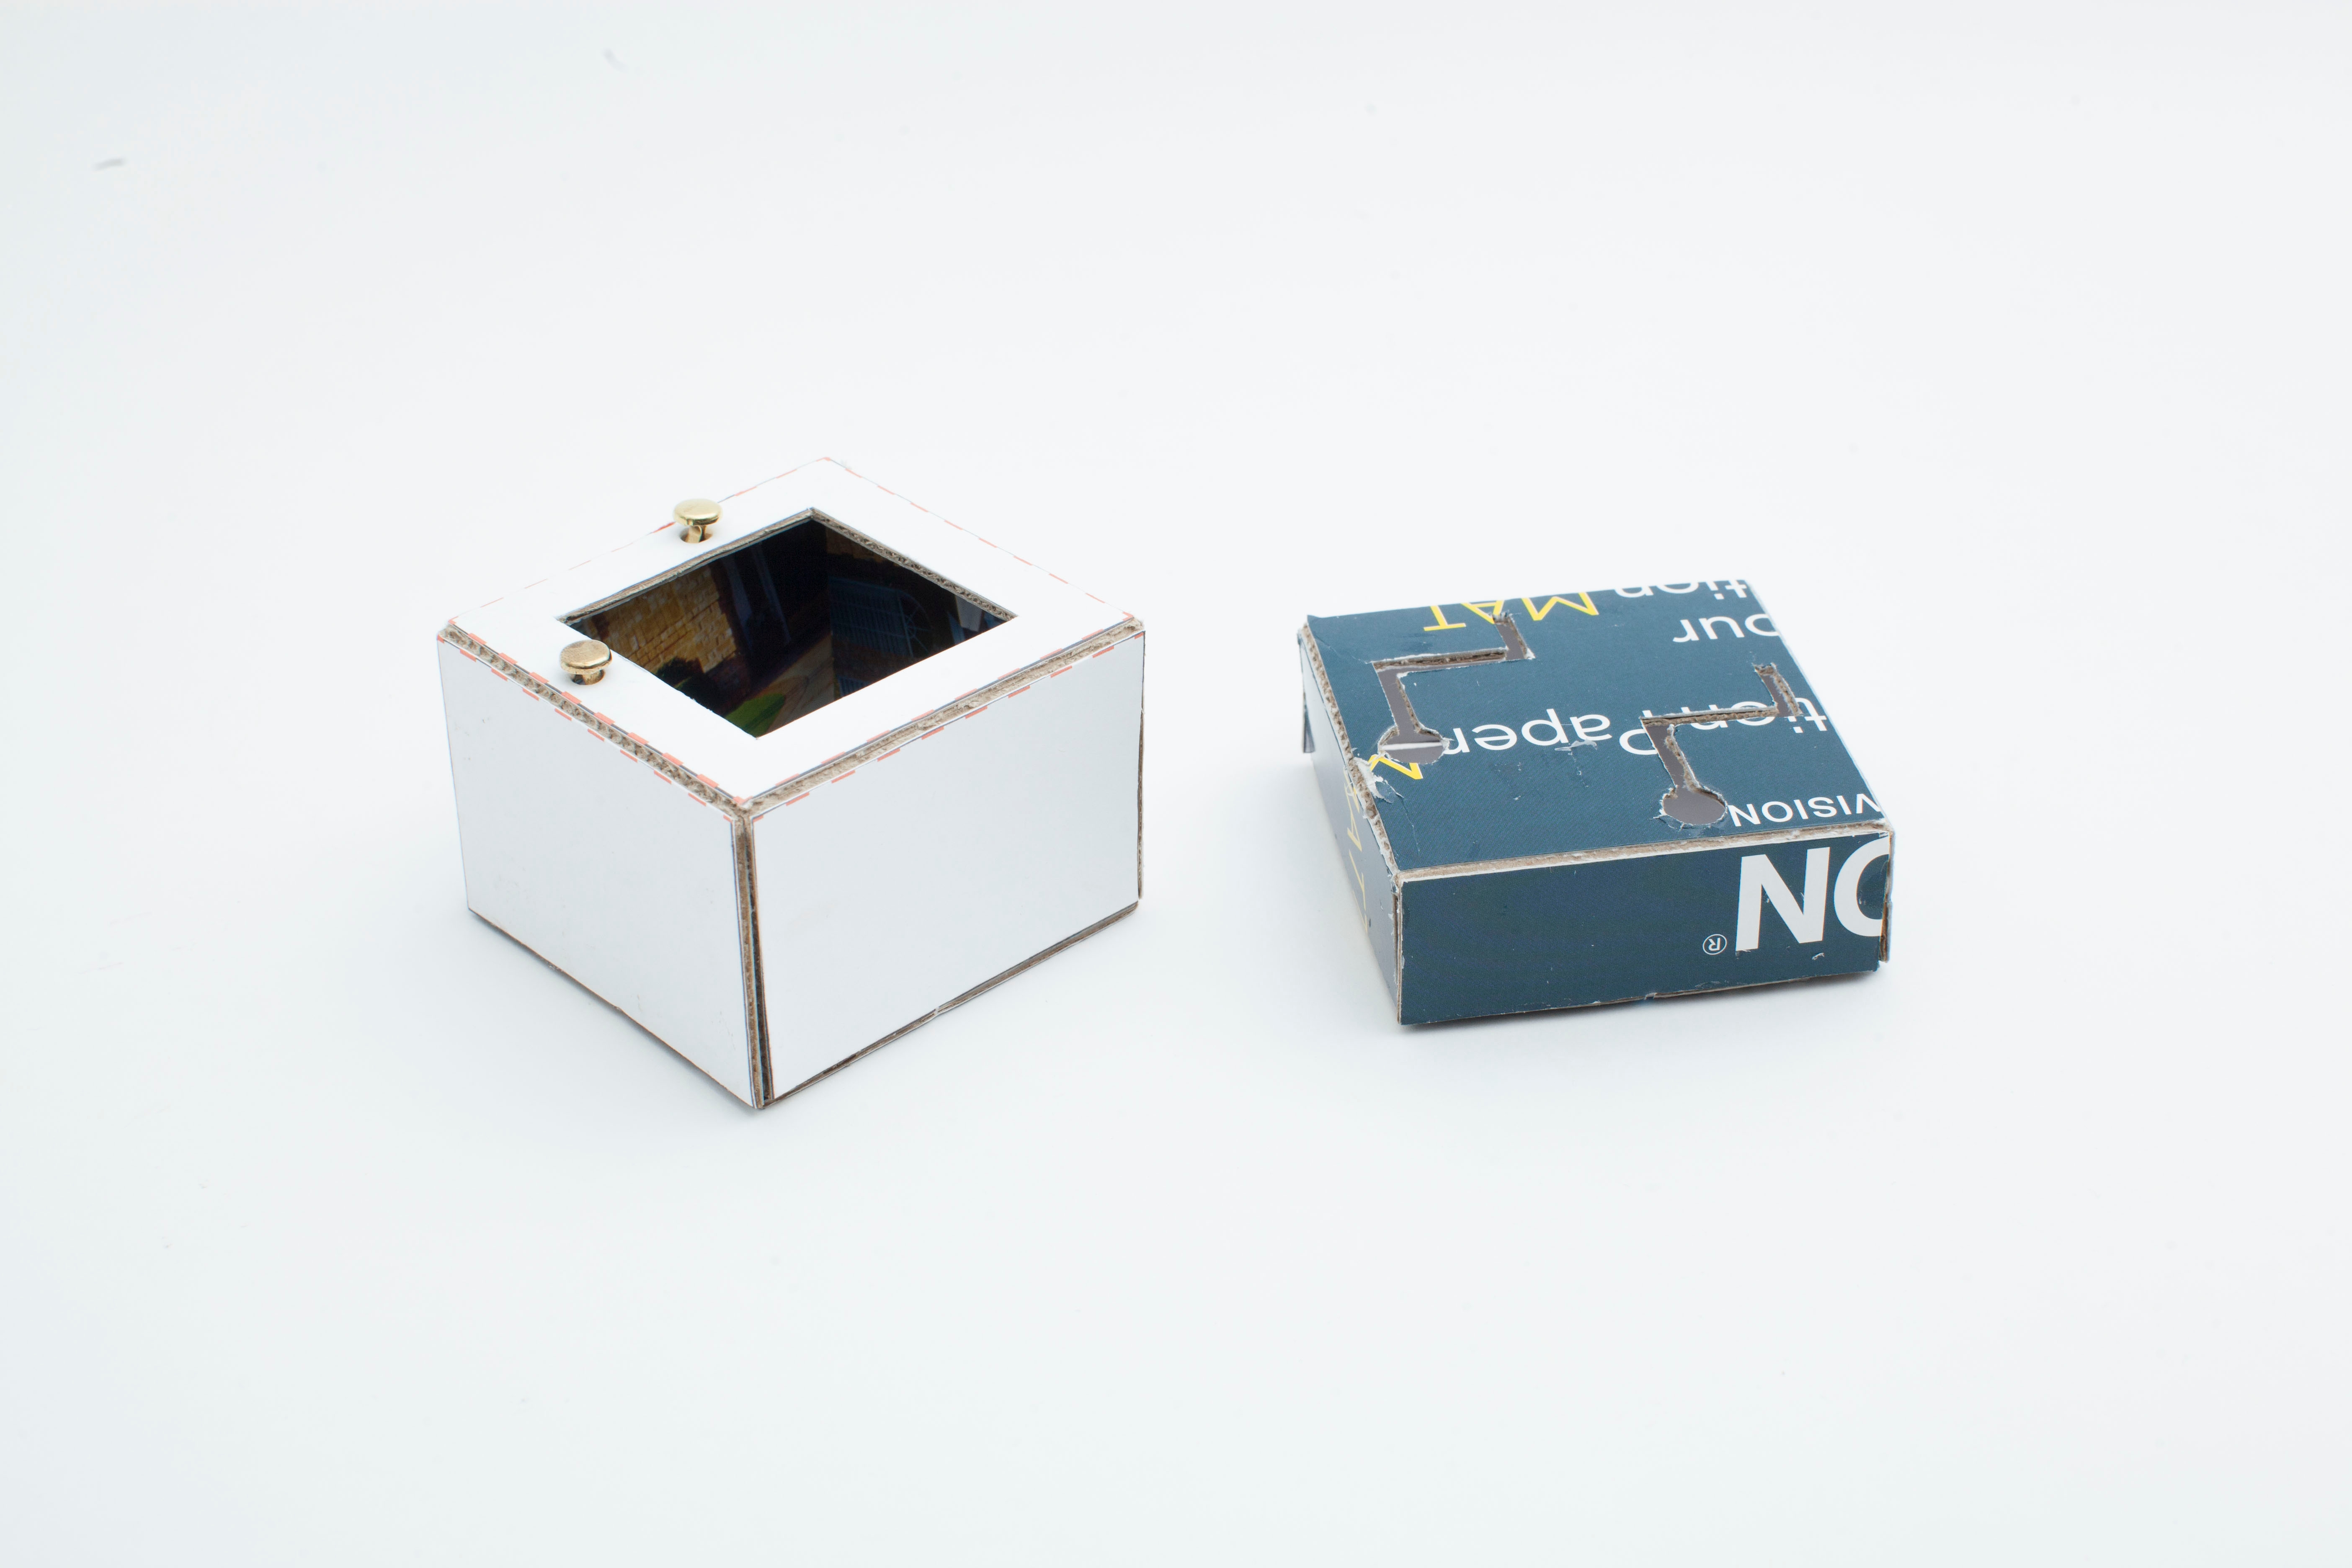
Wrap both the top and the bottom of the box in wrapping paper.
Step 12
Carefully cut out the bottom of each wrapping paper to reveal the tracks and brads that are used to open the box.
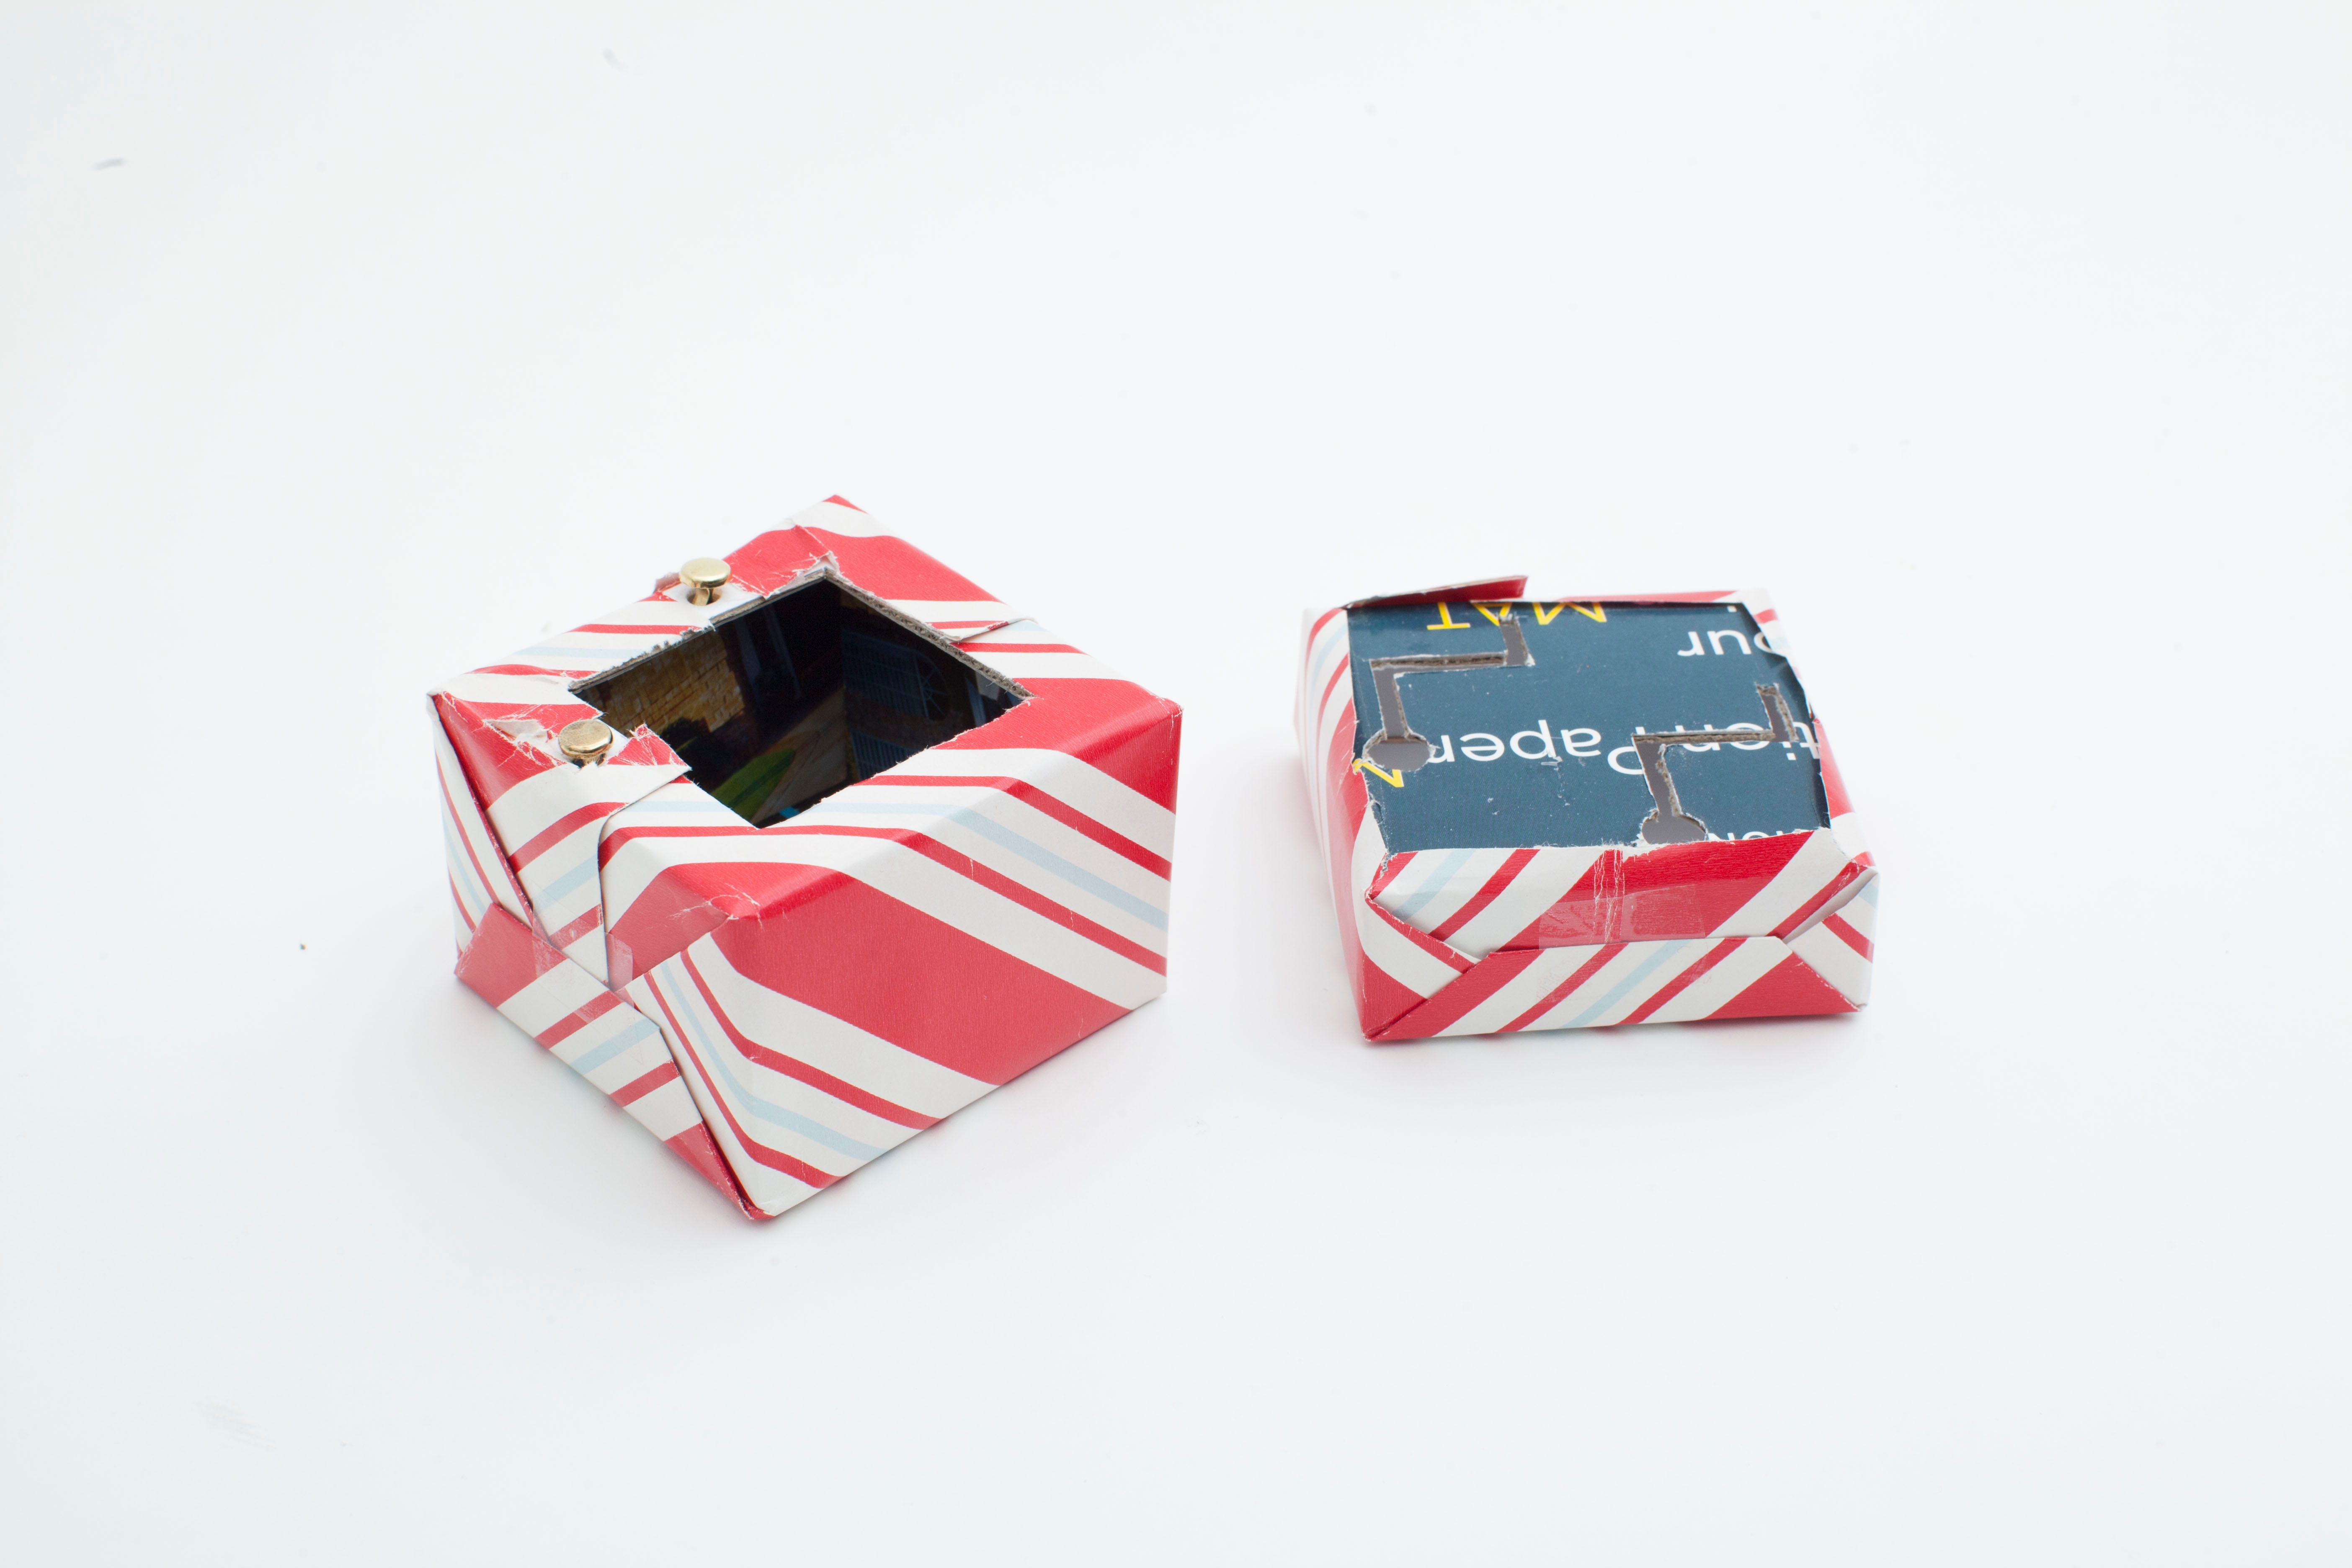
Tip
Tape the edges of the wrapping paper down to make it easier to open the box.
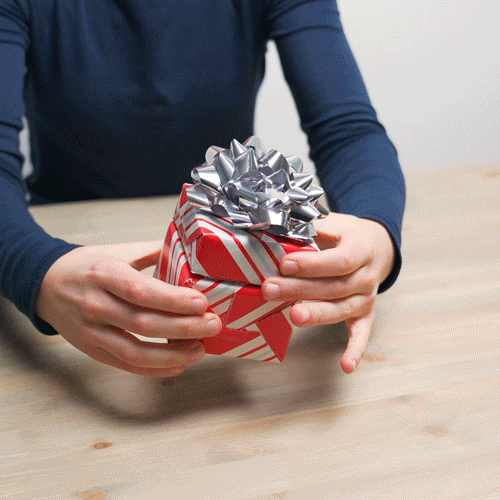
Done!
Put a gift inside the box, close it, and top it with a bow! See how long it takes the receiver to figure out how to open the box.