
This is an easy activity with results overnight.
Materials:
6 Tbsp warm water
6 Tbsp non-iodized table salt
6 Tbsp liquid laundry bluing
1 Tbsp ammonia
Shallow dish
Food coloring
Holiday cookie cutters & marker
Sponge & scissors
Instructions:
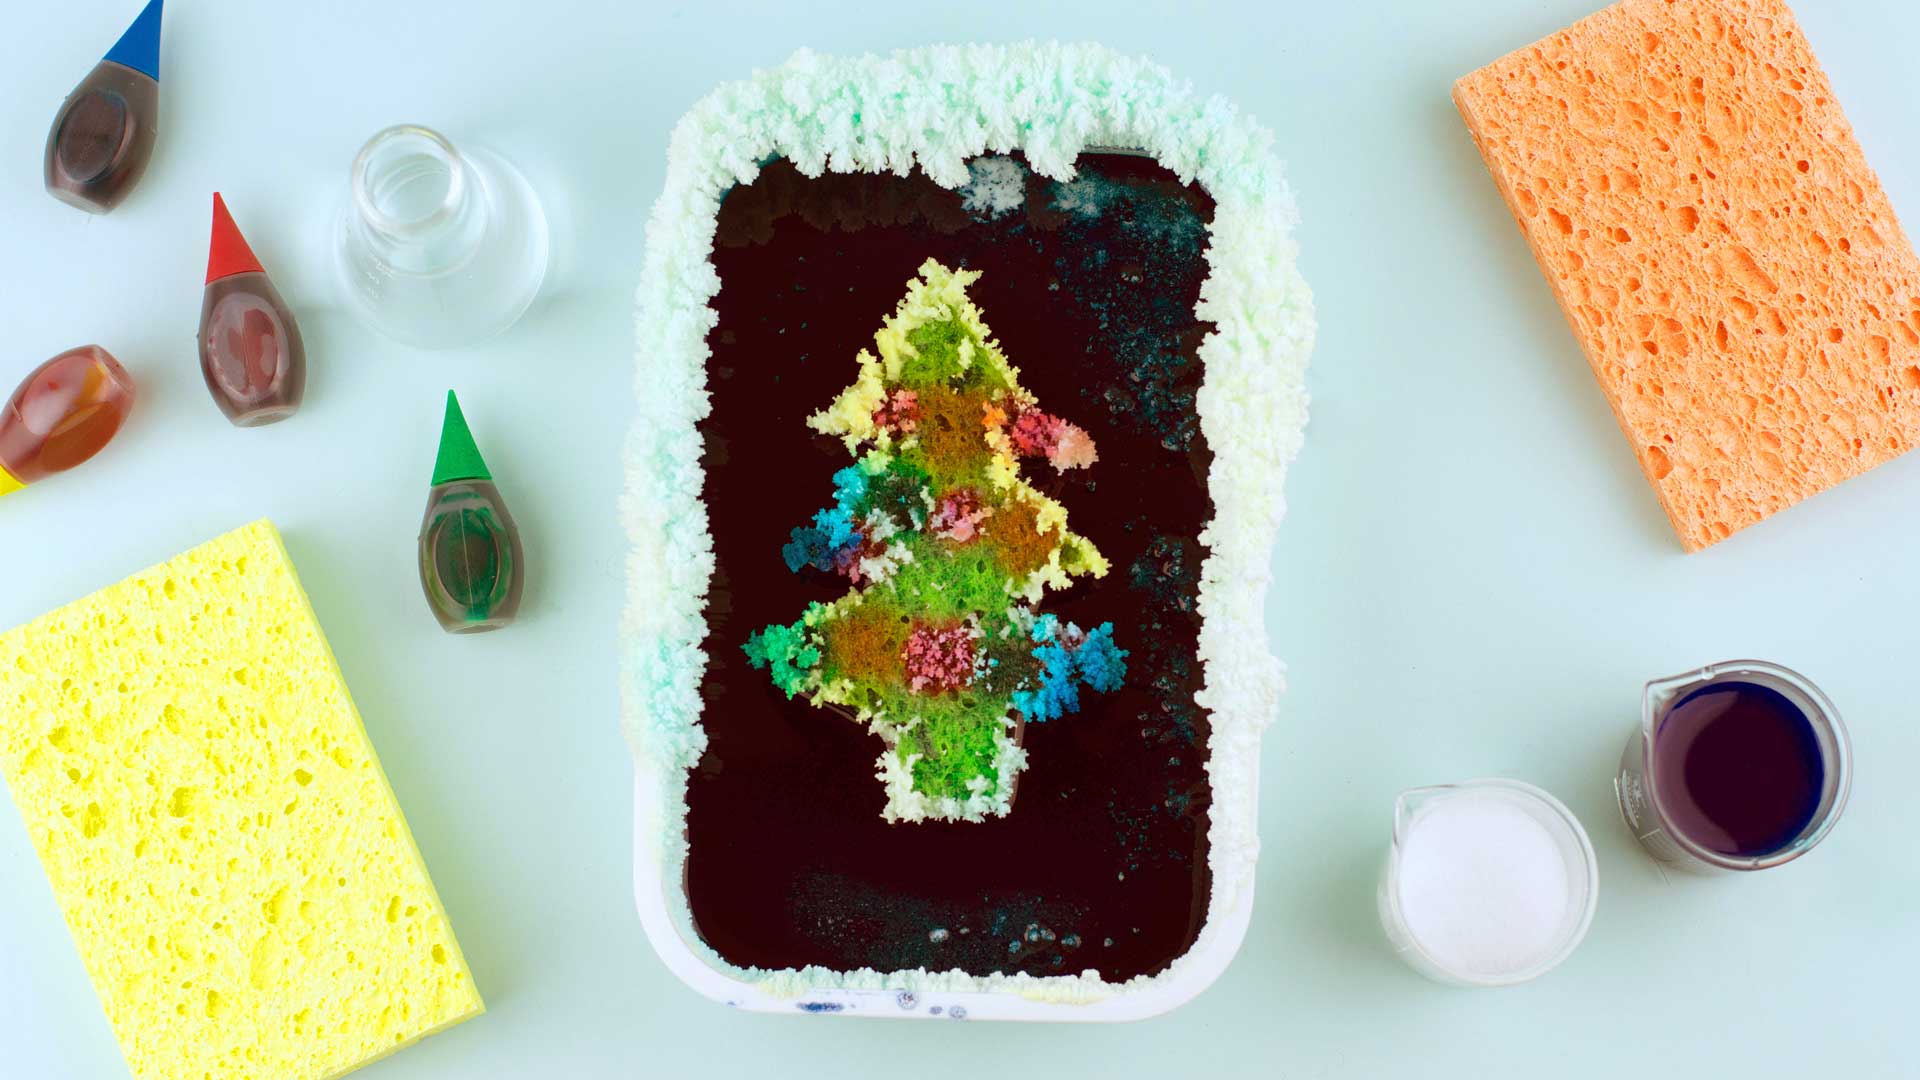
In a bowl, mix together water, table salt, laundry bluing and ammonia. This is the magic crystal solution. Pour the solution into the shallow dish once salt is dissolved.
Pick a shape from the cookie cutters (tree is great, as well as reindeer or snowman) and trace the shape onto the sponge.
Cut out the shape from the sponge and carefully dot with food coloring to add ornaments to the tree.
Carefully set the sponge into the shallow dish. Leave in an area where it will remain undisturbed.
The sponge absorbs the solution and the liquid will eventually evaporate out. When the salt was added to the liquid solution, the atoms in the salt separated. As the water evaporates the salt atoms reform into a new shape, a six sided cube structure. Ammonia helps to accelerate the evaporation of the water. Laundry bluing forms a different shape of crystal, one that quickly absorbs food coloring.

This is a good experiment to practice asking questions, developing hypotheses and recording results.
Materials:
3 small bowls
A measuring cup with a spout
Paper & pencil for recording results
A timer
A measuring unit for gathering snow
Optional: a thermometer
Instructions
Gather three equal amounts of snow, place into bowls and bring inside to begin experiments.
Use three different temperatures of water: hot, room temperature and cold (ice).
Draw a chart on the paper (3 boxes high and 3 boxes across).
In the top row record the three temperatures of water. Next write down a guess (hypothesis) about how long it will take each of the snowballs to melt.
Pour water into each of the three bowls with the snow. After water is poured in, record the time it takes for the snow to melt.
Were the hypothesis correct? How much were the guesses off by? Is there a pattern between the temperatures and the times?
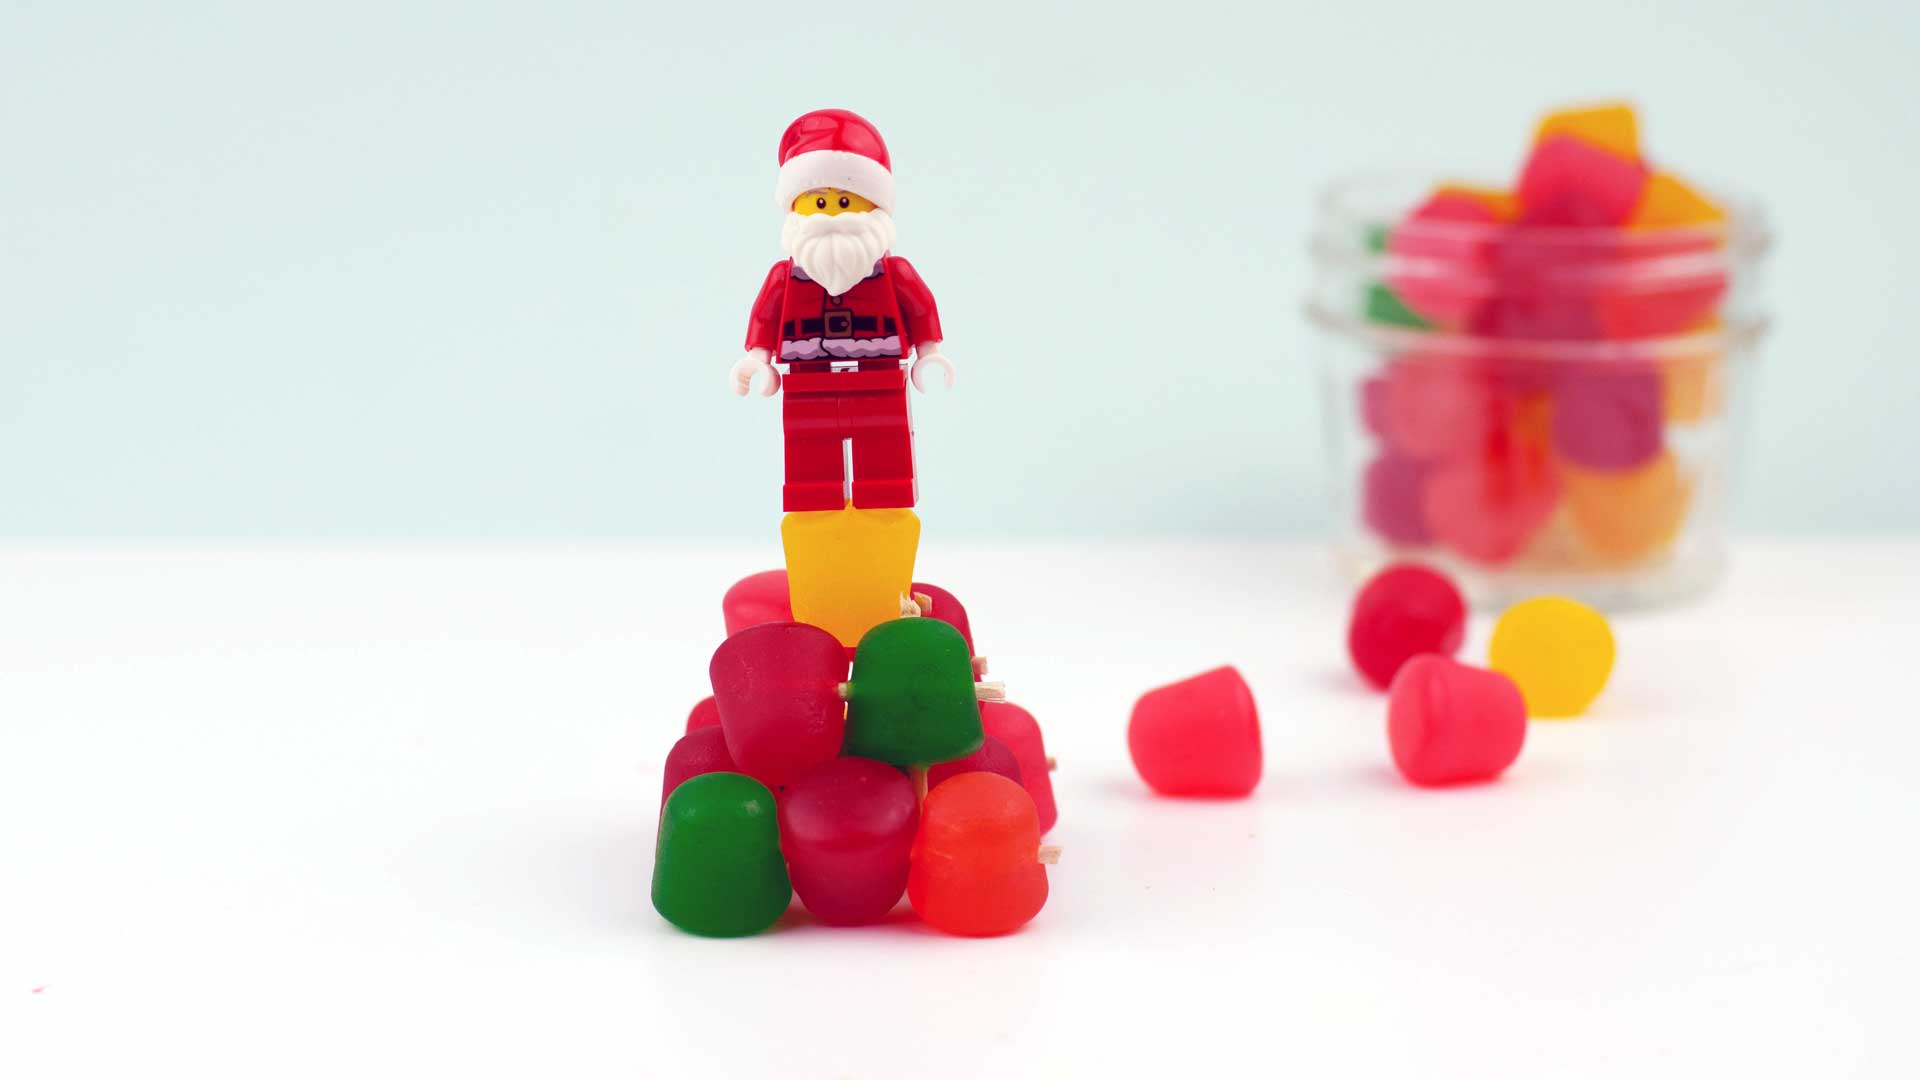
Young engineers will have a great time making structures (and eating treats) with traditional holiday candies.
Materials
Gumdrops
Mini marshmallows
Toothpicks
An assortment of toys (different sizes & weights)
Instructions
Make shapes by sticking toothpicks into gumdrops and mini marshmallows.
Make a square and a triangle. Try to squish both shapes. Does one squish more easily than the other? Use both gumdrops and marshmallows and see if one works better than the other?
Next make a cube and a pyramid. Try to squish both shapes. Does one squish more easily than the other? Are results similar to the first squish experiment?
Try building larger structures using a combination of both cubes and pyramids. Which structures are more stable? What are some other shapes you can make?
What’s the tallest structure that you can make? Can you make a bridge to get the toys from one structure to another?
Use the structures to discuss compression and tension in building. In a building, some materials are under compression (pressed against) and some are under tension (stretched taut). In this experiment, the candies are under compression and the toothpicks are under tension. In a building, bricks and cement are under tension & steel cables are under tension (like on a bridge).
This activity adds natural holiday decorations to the outdoors. Works well in both freezing and moderate climates with ornaments either staying frozen or melting through the course of the day.
Materials:
Cranberries
Seeds
Molds for freezing water
Trimmings from Christmas trees
Cinnamon sticks
Star Anise, cloves, other spices.
Ribbon or string
Thermometer
Paper & pencil
Instructions
Fill molds with water. Soap molds, holiday silicone molds or simply ice trays can all be used.
Place a loop of ribbon or string into the water. The longer & deeper the string is submerged, the longer the ornament will stay hung.
Add whatever decorations you want to the water. Use kitchen items, craft items, or anything that will freeze and be safe outdoors. Embrace the chaos, as there’s no way to keep a design in place in the water.
Depending on your location, either put the molds in the freezer to freeze or leave them outside overnight.
Hang the ornaments in outdoor trees, bushes, railings, etc.
Talk about freezing temperatures, and how freezing temperatures affect the state of water. Revisit the ice ornaments to see if they’re melting. Record the temperature over the course of a week, or the day, and make a chart tracking when the temperature rises above freezing.
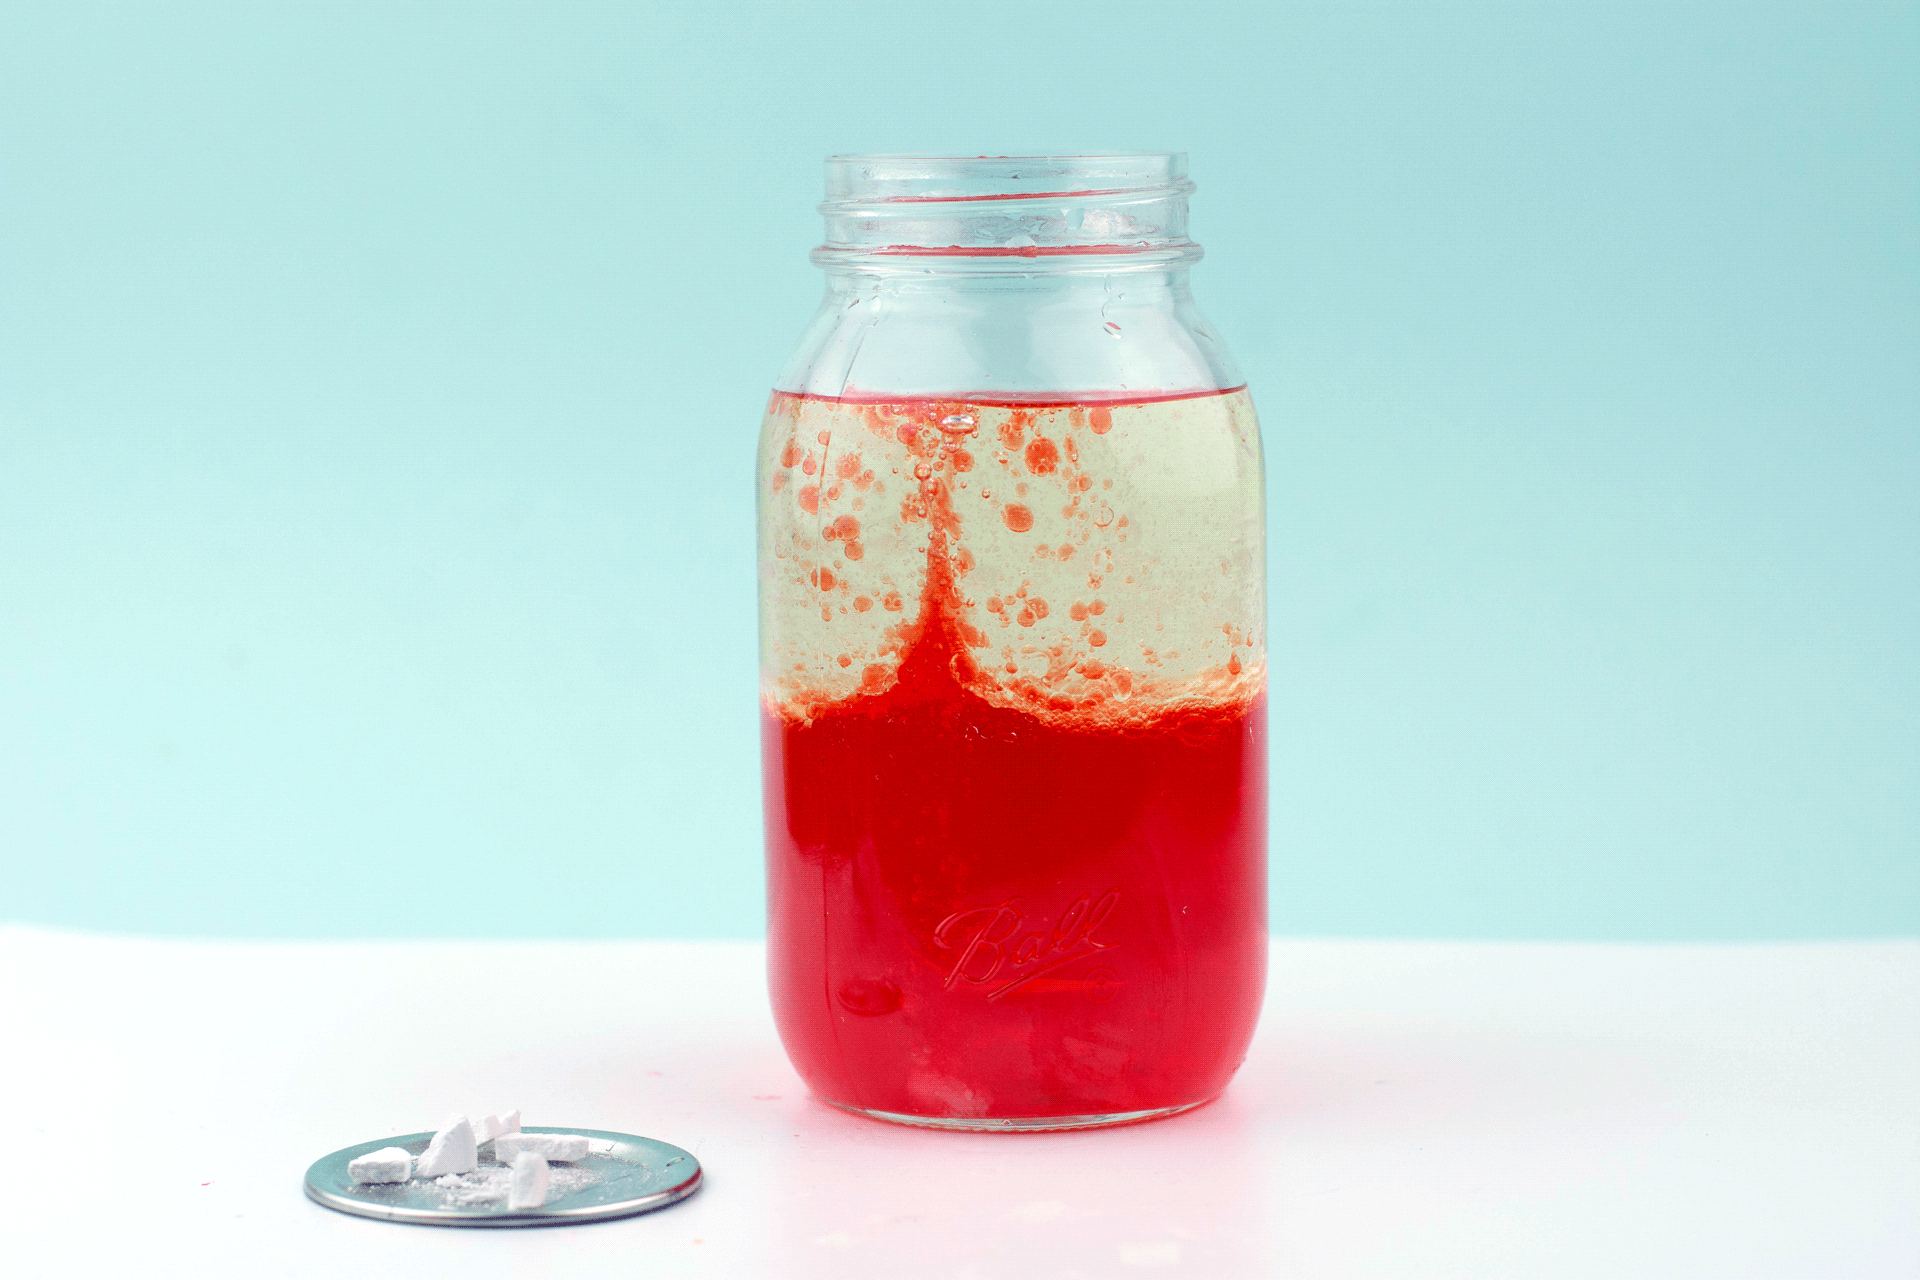
A fun experiment for kids of all ages.
Materials:
Water
Oil (vegetable oil works well)
Food coloring (red and green, or any colors you want)
Tall glasses or jars
Alka Seltzer tablets
Instructions:
Fill glasses ¼ of the way full with water. Add coloring to water. Set up as many glasses as you’d like. For groups of kids, each kid can have their own lava lamp.
Add an equal amount of oil to water.
Break Alka Seltzer tablets into smaller pieces (into quarters works well) and put in a shallow dish.
Let kids take tablet pieces and drop into the glasses. Observe the reactions in the glasses.
Water and oil will not mix, the food coloring is water soluble so it’ll mix with the water. Alka Seltzer reacts with the water to form carbon dioxide, which carries the water to the surface of the glass, where the bubble of carbon dioxide bursts, and the water falls back down through the oil.
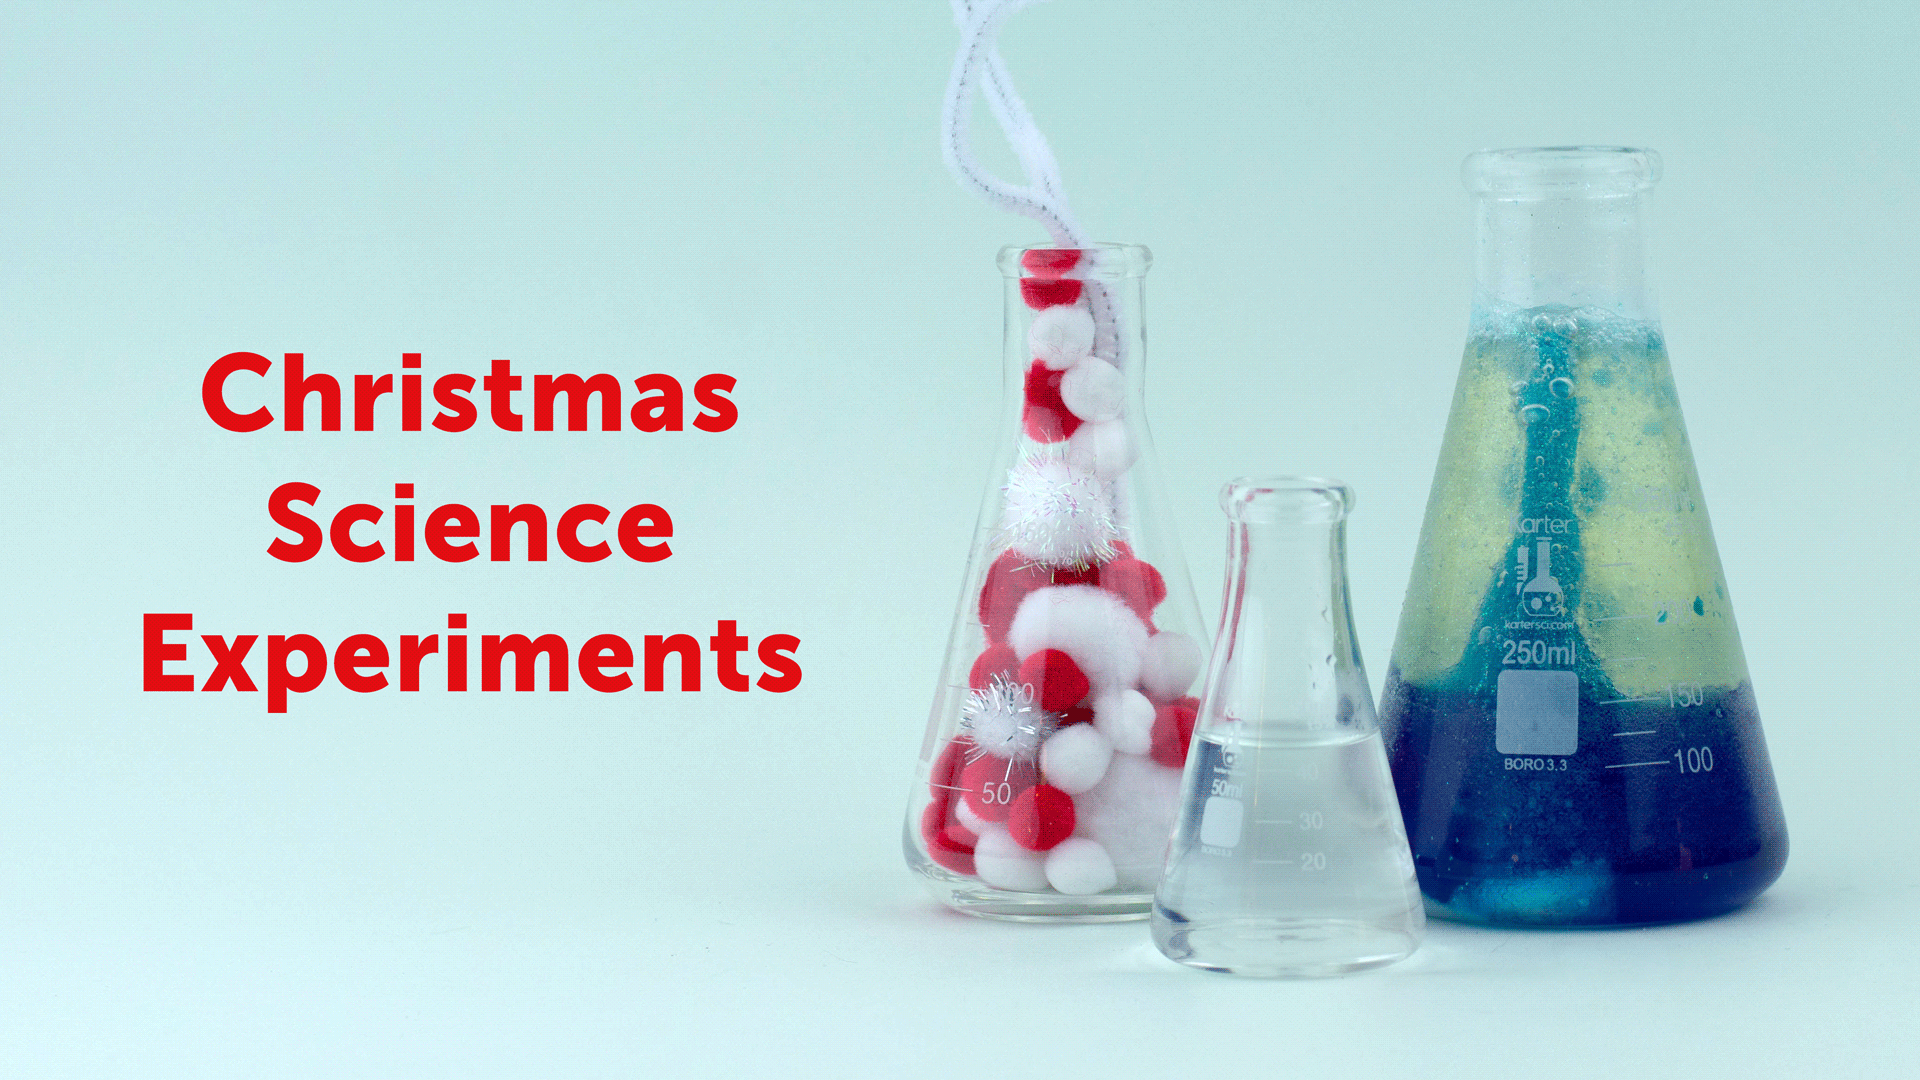
Christmas Science Experiments and Activities
The holidays are the most magical time of year. That effervescent feeling of possibility isn’t just because of Santa coming down the chimney, the lighting of the menorah and school vacation. Spending time together as a family carrying on traditions and making new ones creates lasting holiday memories. This year, incorporate Christmas and holiday science experiments into traditions, with a few activities both kids and adults will enjoy.