Step-by-step tutorial
Step 1
We hadn't played with clay in a few months (which is a really long time for us!), so we were thrilled to have a brand new bucket of natural clay to get our hands into.

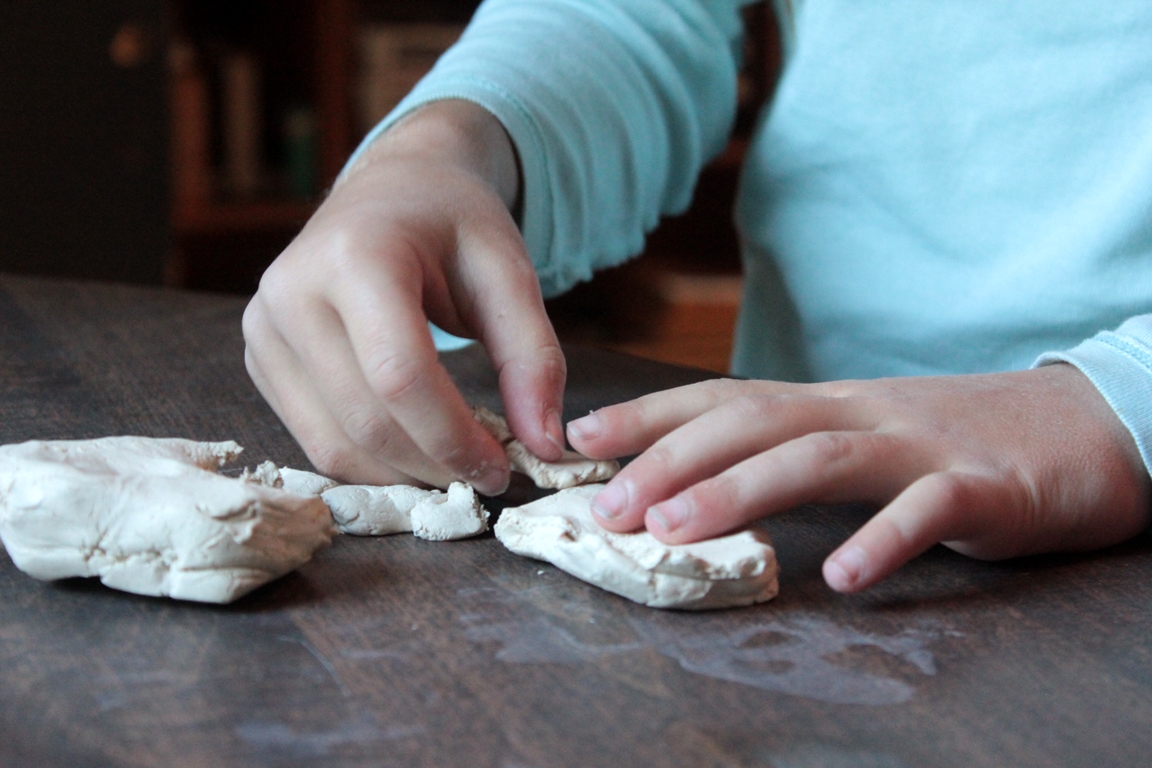
Step 2
We dug right into the clay and started molding our turtles. We're very fond of turtles around here, but a fun addition or variation to this project would be dinosaurs or lizards.
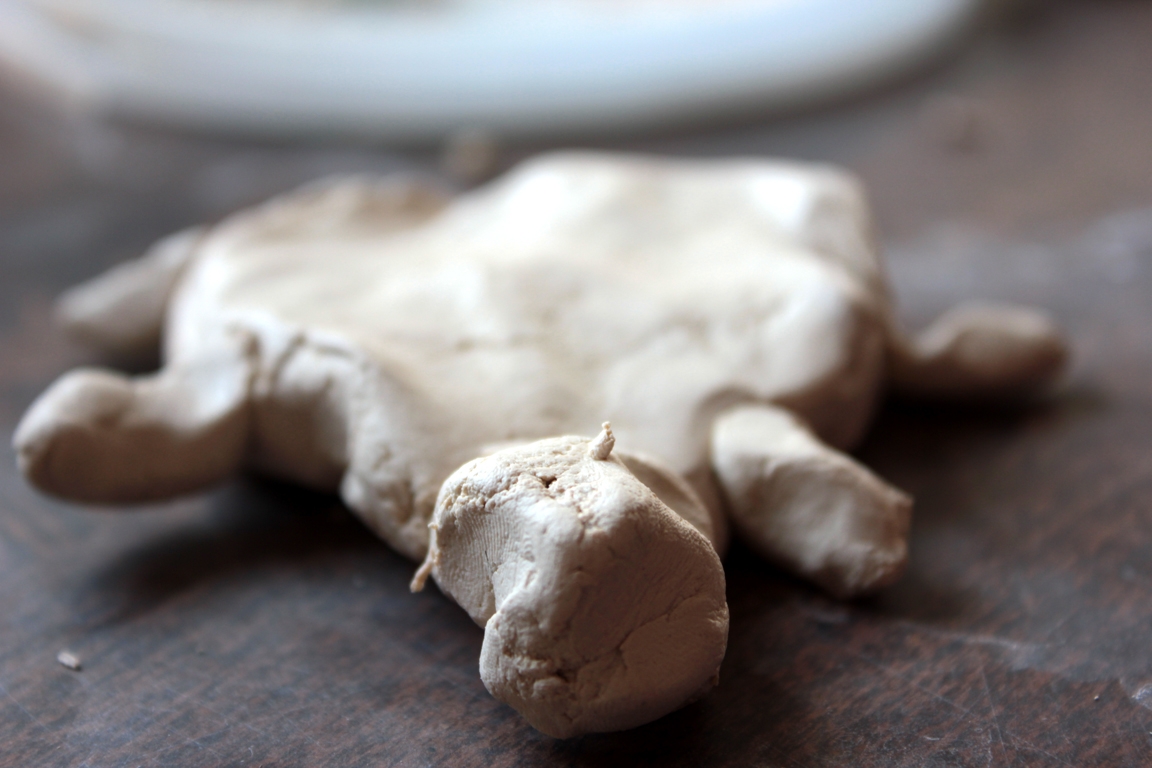
Step 3
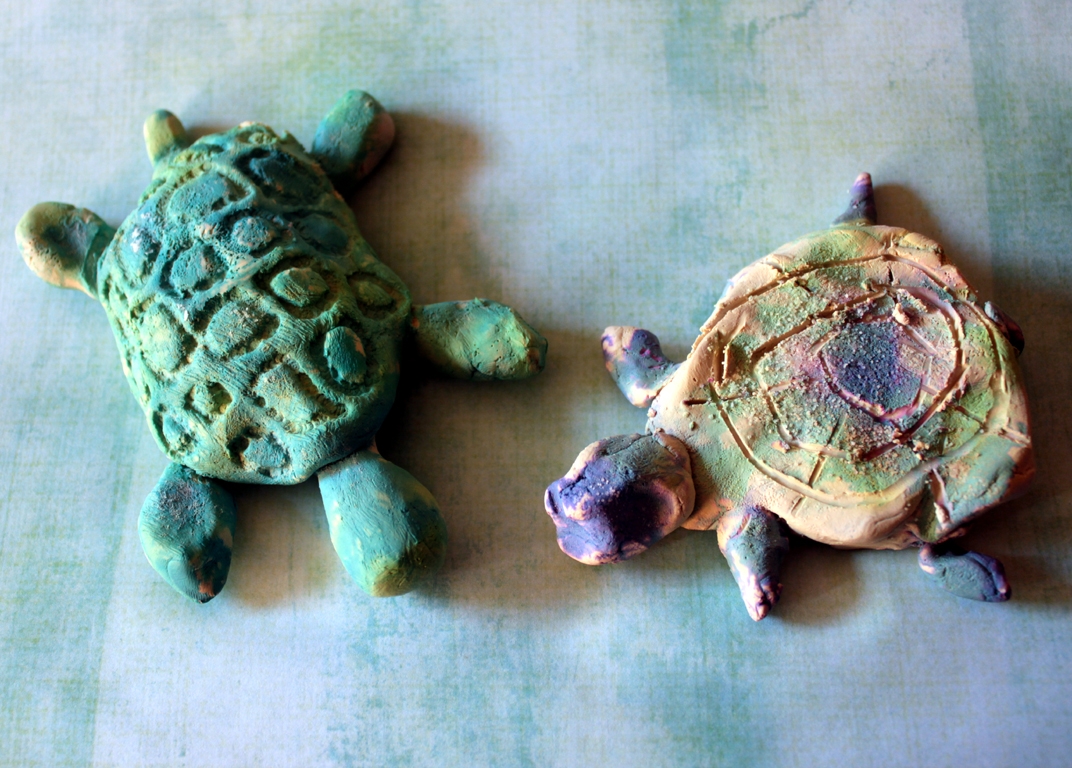
Soon Maddie and I had molded the creatures to our satisfaction. (Isn't it nice that with clay, you can start over again easily if it's not quite turning out right?)
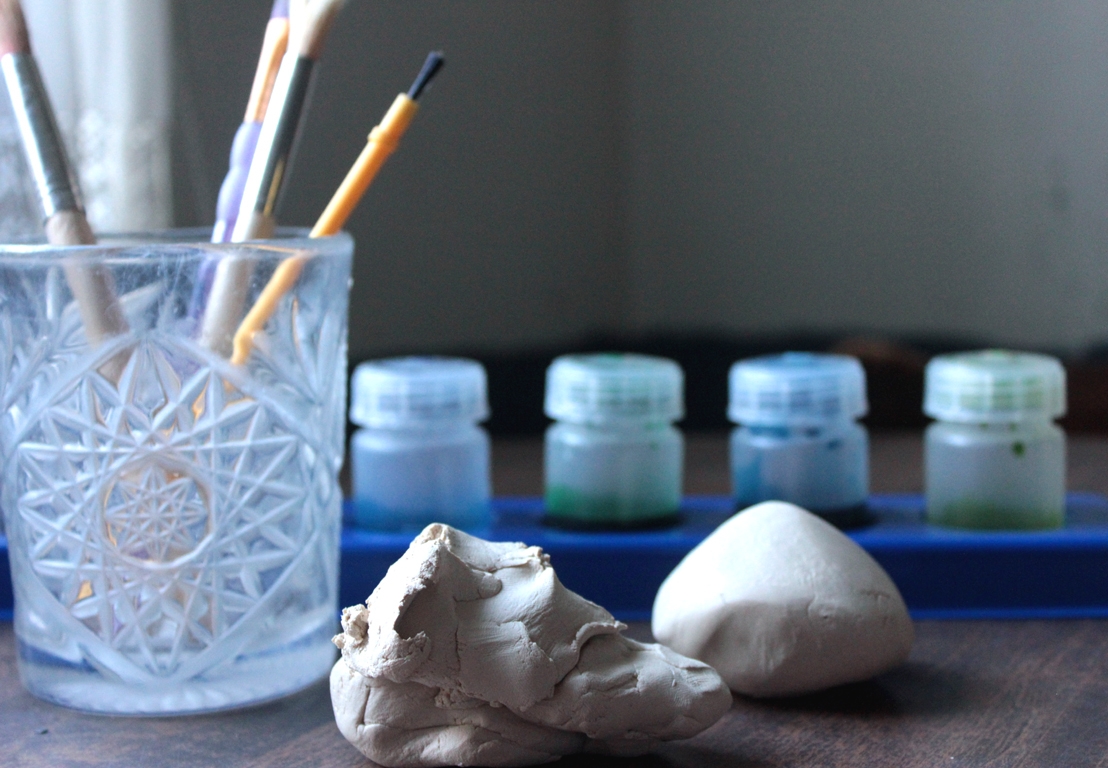
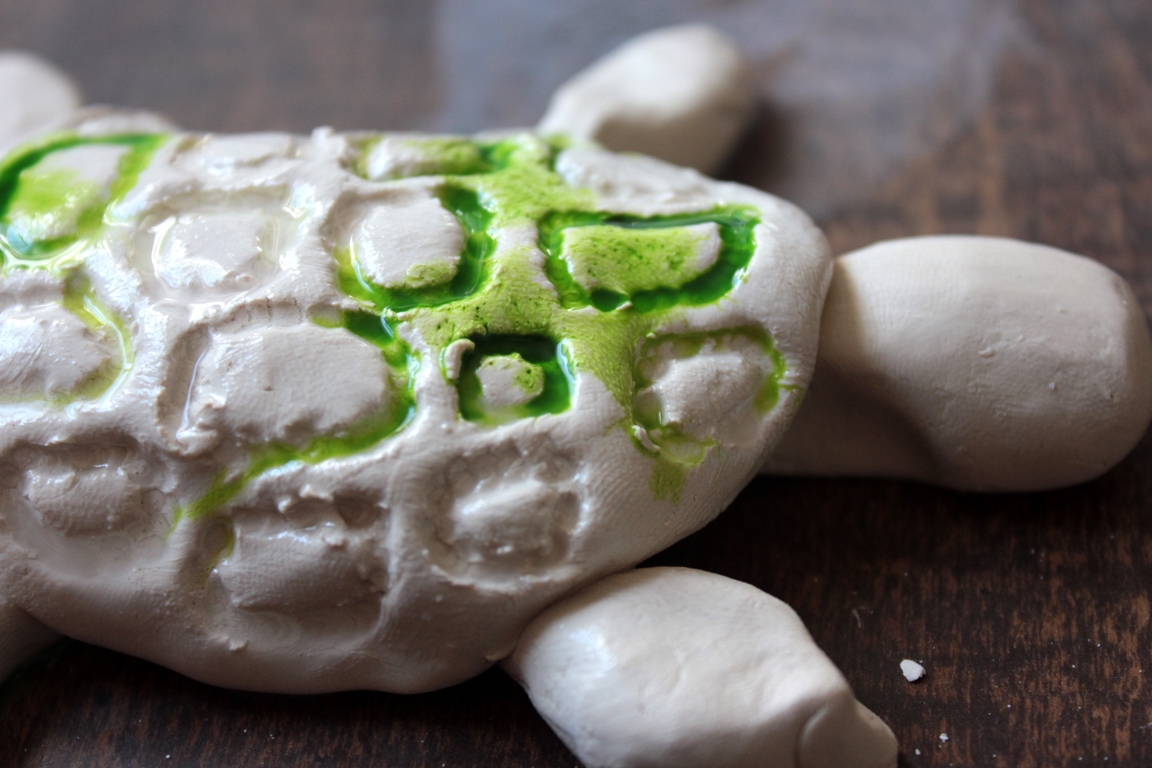
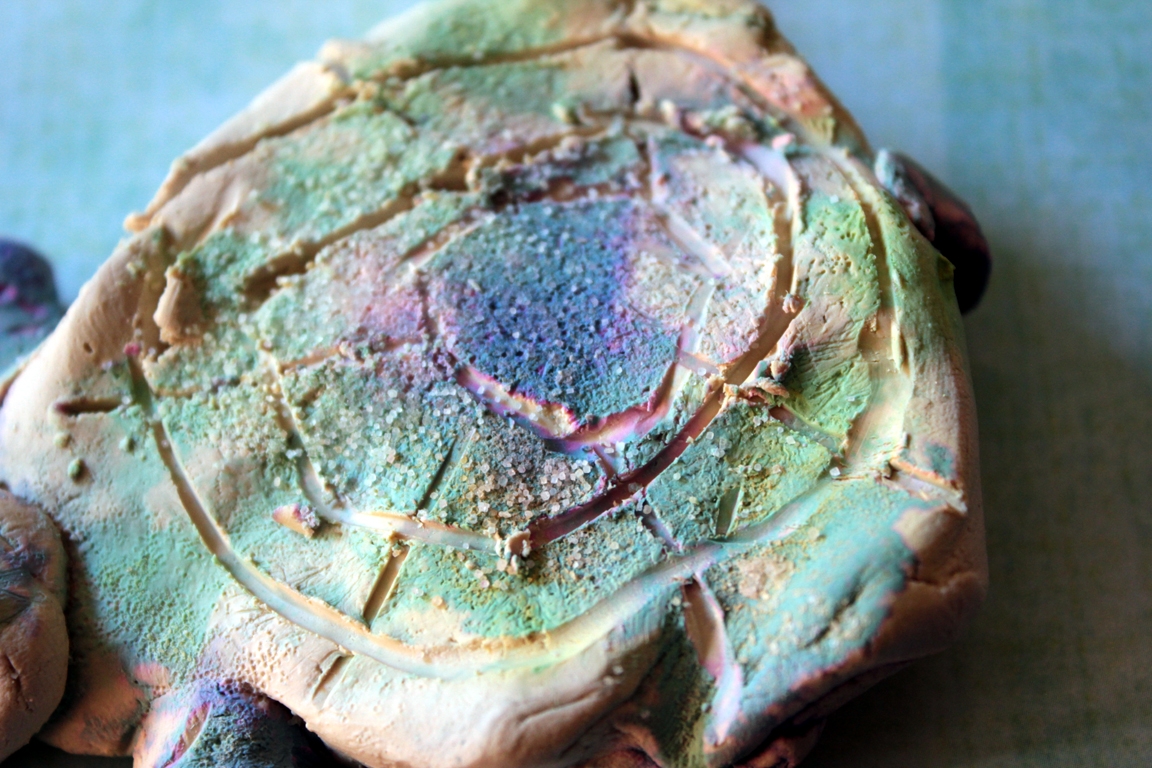
Step 4
We wet the turtles so that the sculptures were covered in a layer of water, then we drip-dropped our paints...
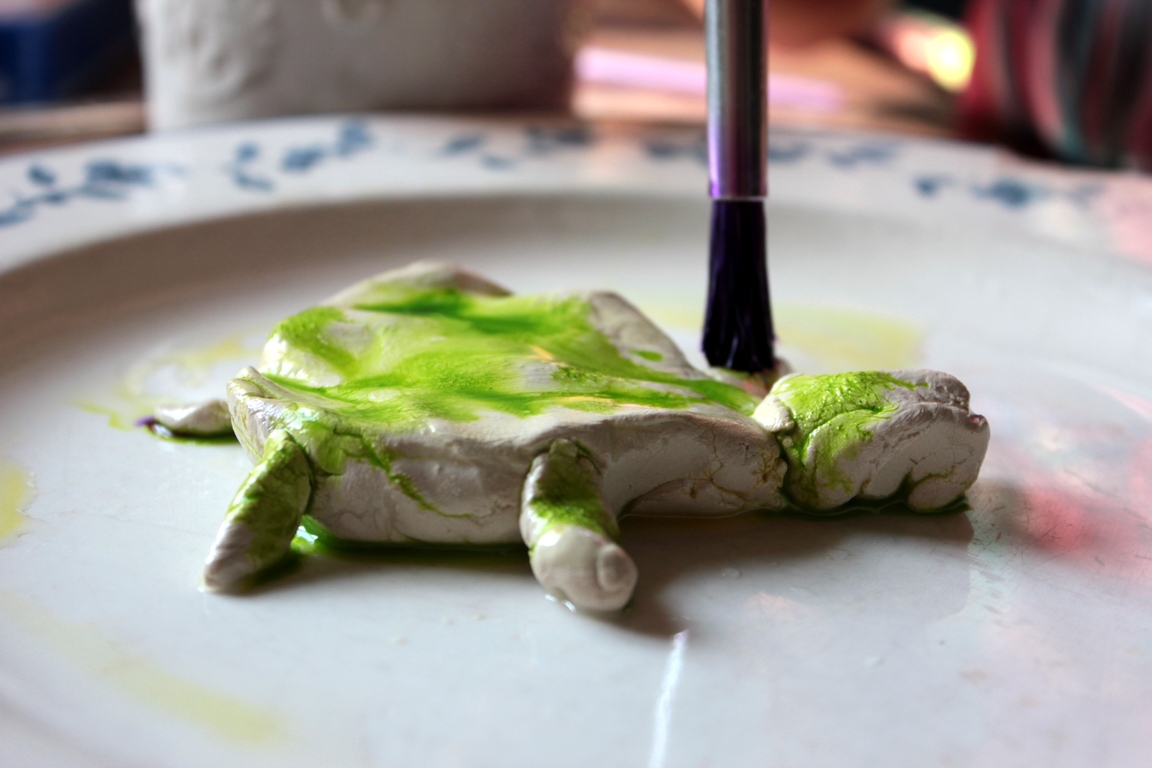
Step 5
...and watched it just take off! So many oohs and aahs!
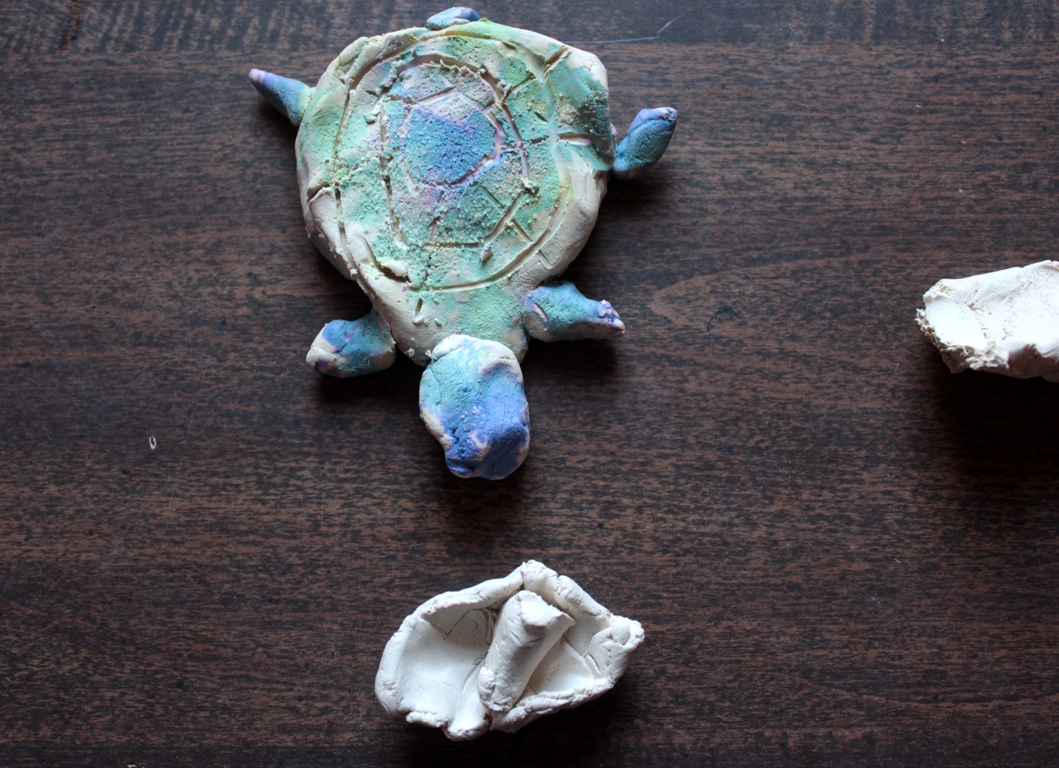
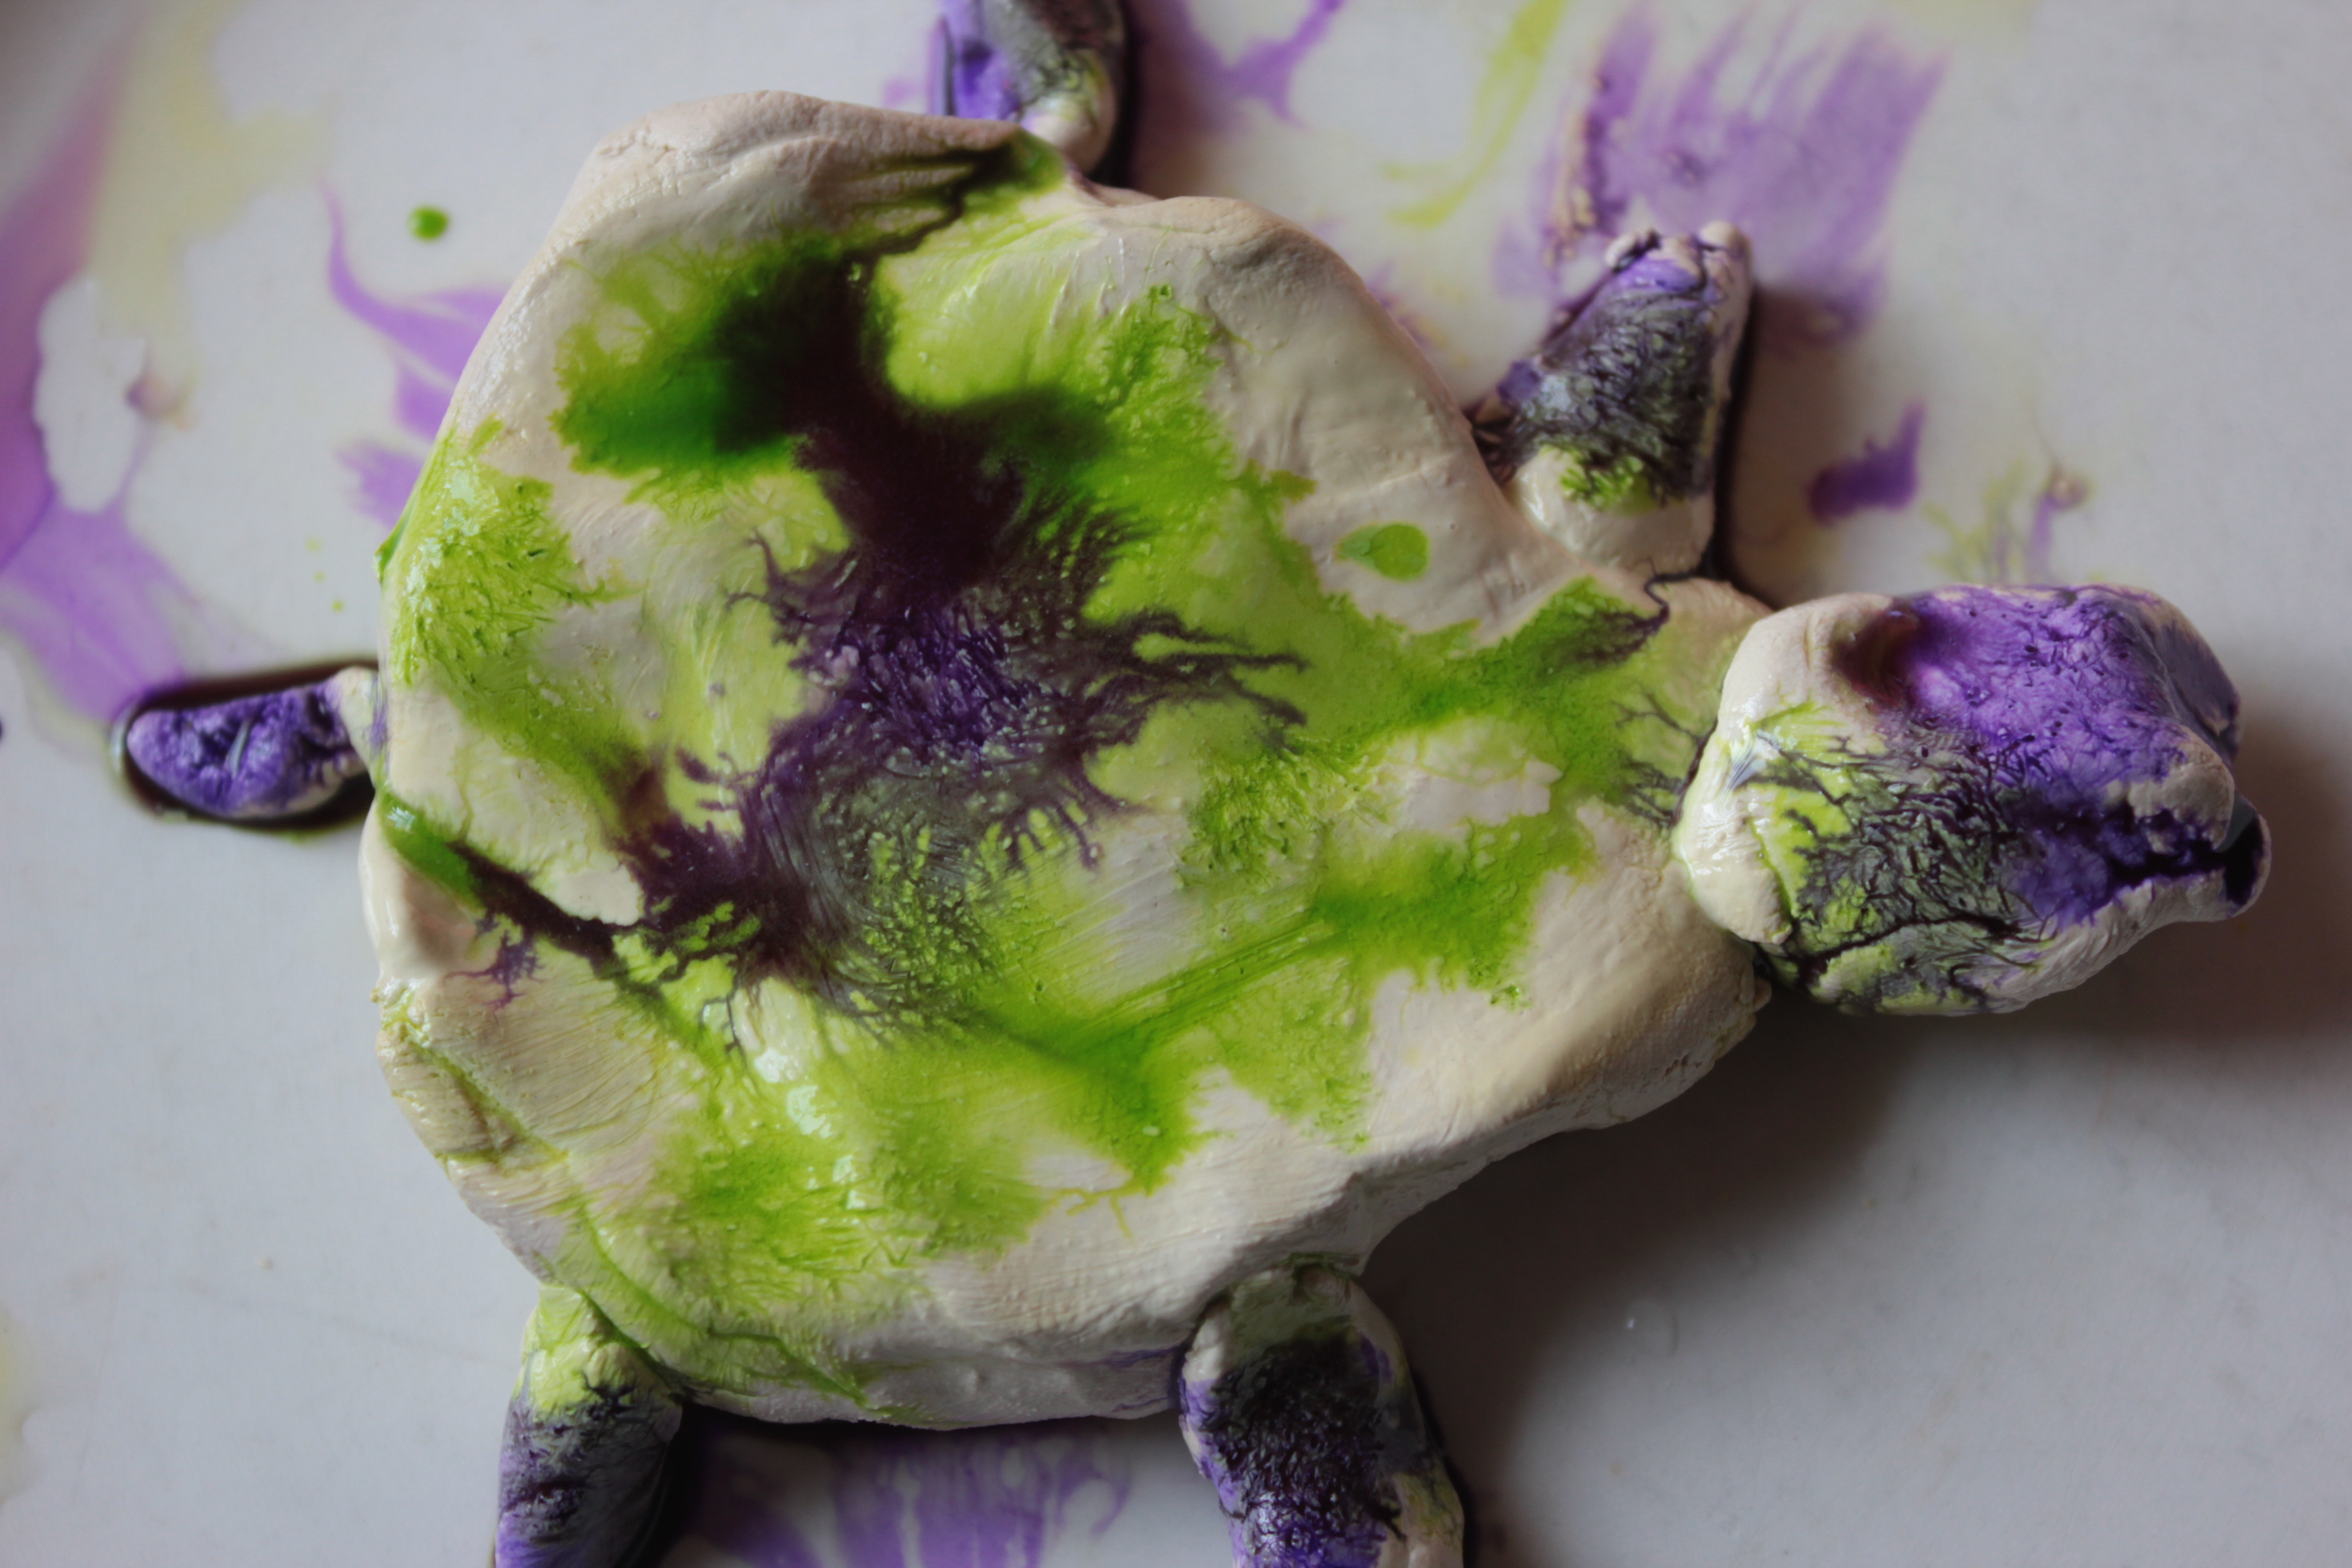
Step 6
There! "It's just right!" Maddie says. So we sprinkled on salt, and watched the paint change a bit more, while it was still wet. We left our creations dry overnight.
Step 7
This morning we admired them greatly, and Madeleine thought hers could use some final touches with a bit of carving.... if the clay is dry, just dip whatever you're using for marking in a bit of water--it will soften the clay to make it workable again. (The beauty of this natural clay is that it can be reused if wetted, even after it's been completely dried.)
Done!
Now he's done, and ready for anything. "Whatcha doin', Babe?" I asked Maddie. "Well, that's his bowl, and these are lettuce!" Ah-ha. Her turtle friend's ready for breakfast too, I guess!