Step-by-step tutorial
Step 1
First, we assembled our supplies. We took a walk in the woods to collect the branches from the ground. (We looked for branches with lots of offshoots.) Inside, we cut squares of tissue paper and found a large vase. We added some clear stones to the bottom of the vase for weight, as the branches are quite tall and we didn't want them to fall over.


Step 2
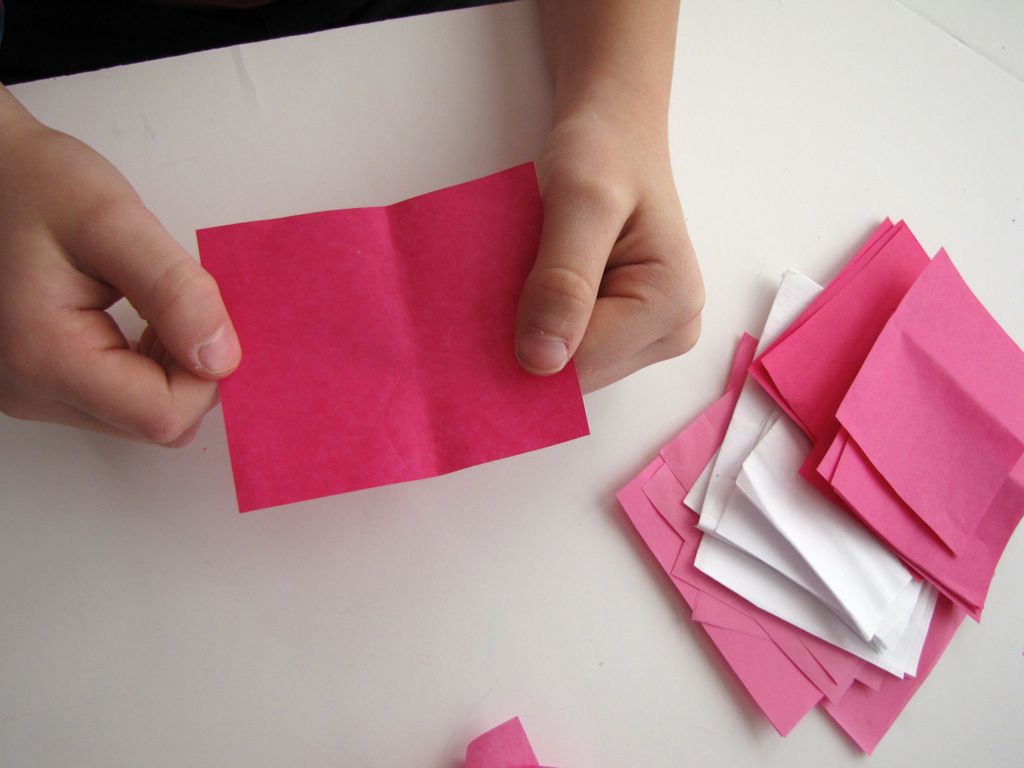
I showed my kids how to turn the squares into a flower. Here is my 8 year old demonstrating. Hold the square flat.
Step 3
Press your thumb into the center of the tissue paper.
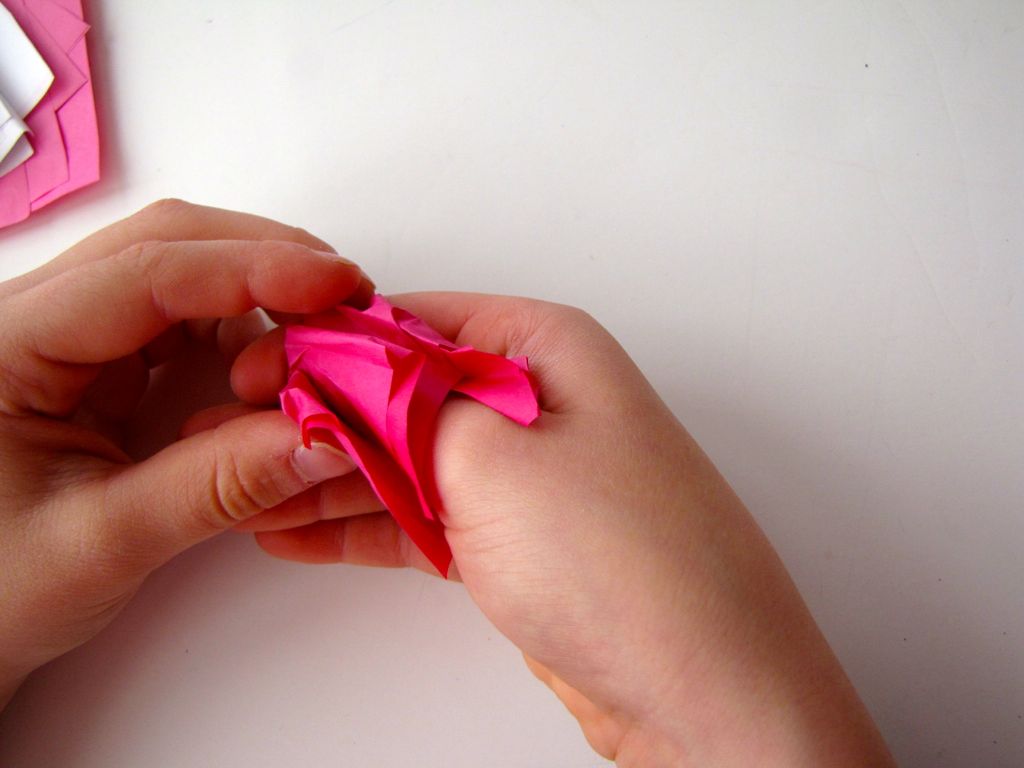
Step 4
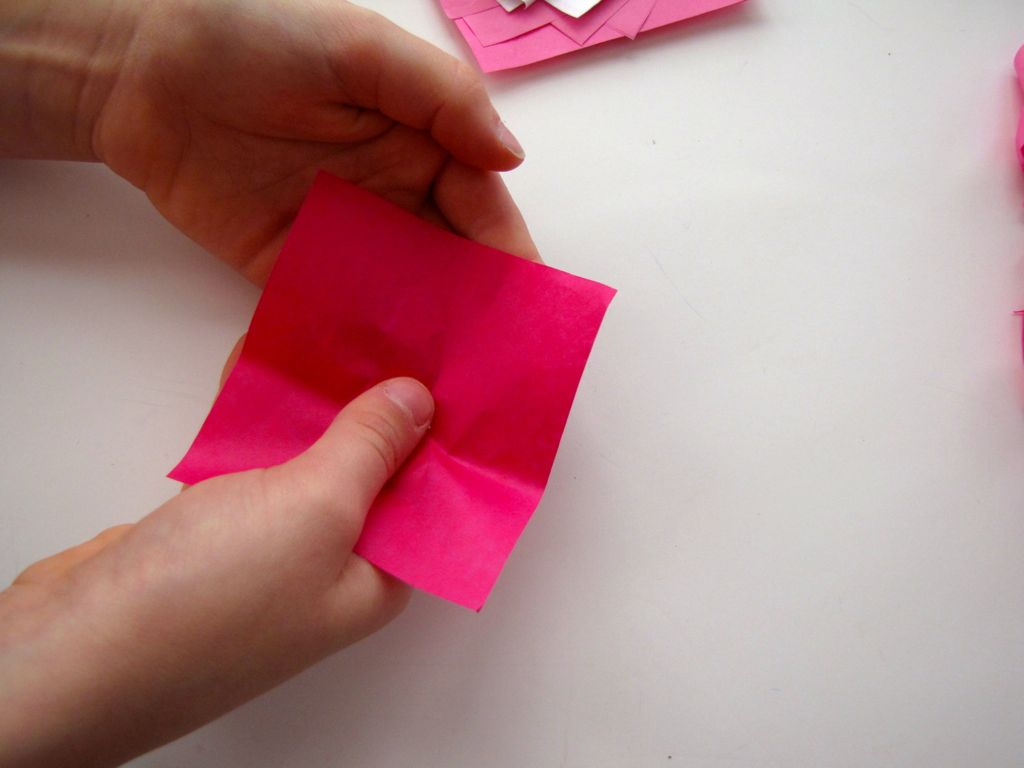
Fold all of the edges of the tissue paper around your thumb. Press it as close to your thumb as you can.
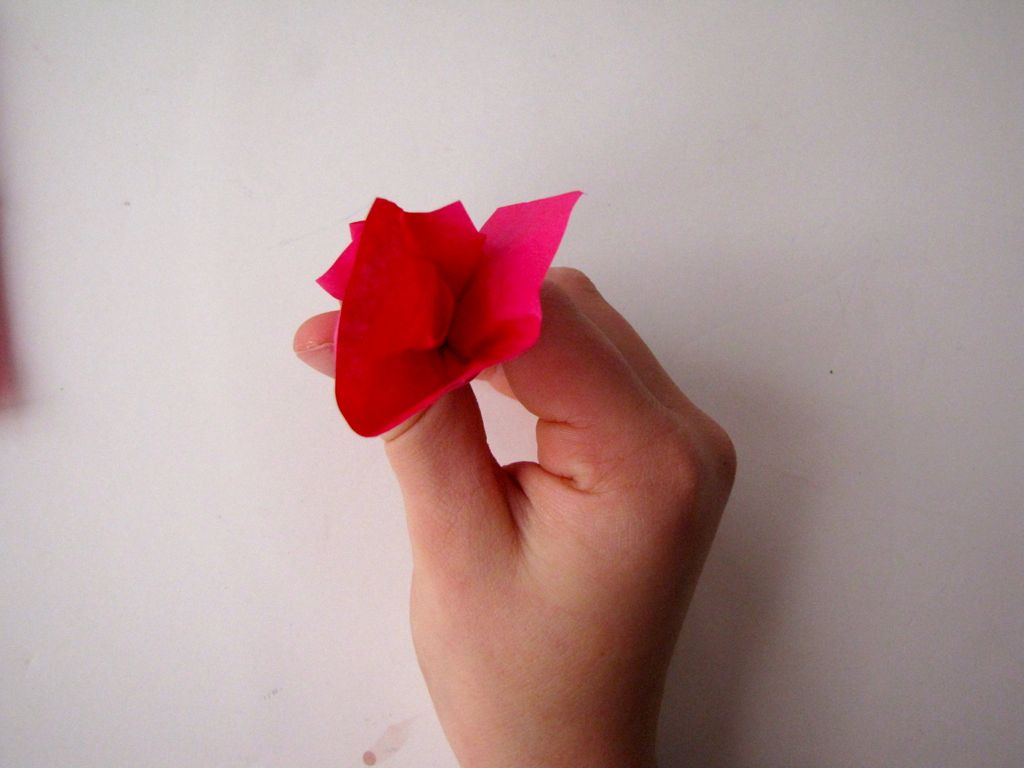
Step 5
Pull your thumb out and twist the bottom of your flower to make it stay in position.

Step 6
Ta da! You have an easy tissue paper flower.
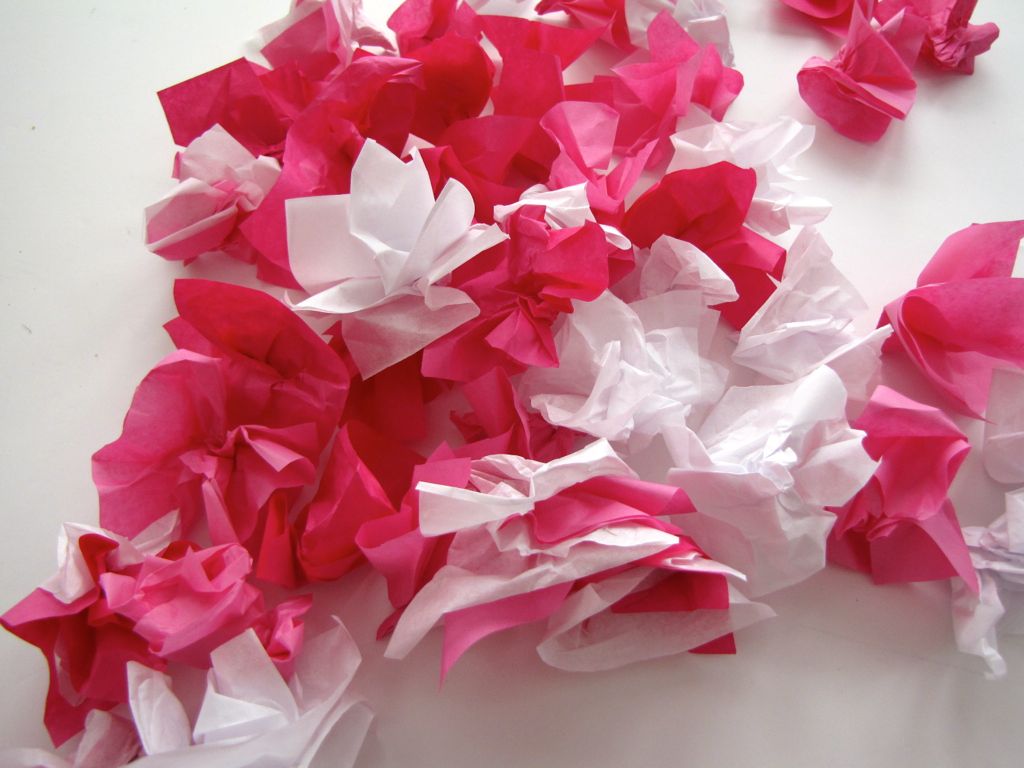
Step 7
Make lots of tissue paper flowers. We experimented, using two sheets of tissue for some, blending some of the colors together, etc.
Step 8
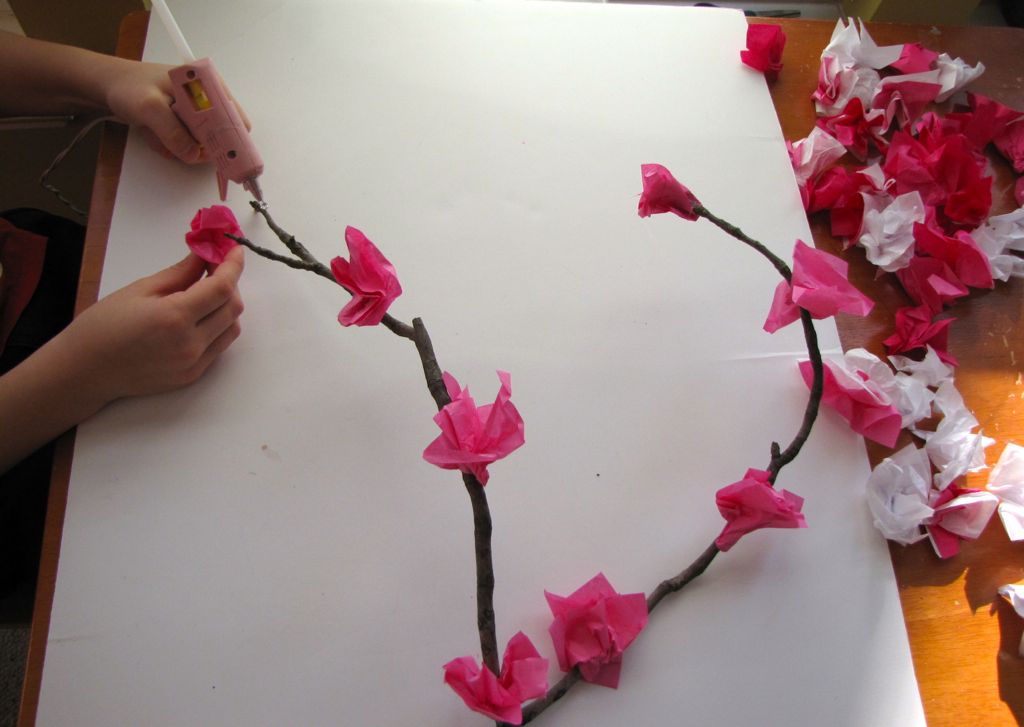
Next, heat up your glue gun. I use a low temperature glue gun and supervise my kids with it. We review safety first: don't touch the point of the glue gun or the hot glue. My 4-year-old did not want to use the glue gun so I had him lay the flowers next to the branches where he wanted them placed, and I glued them for him.
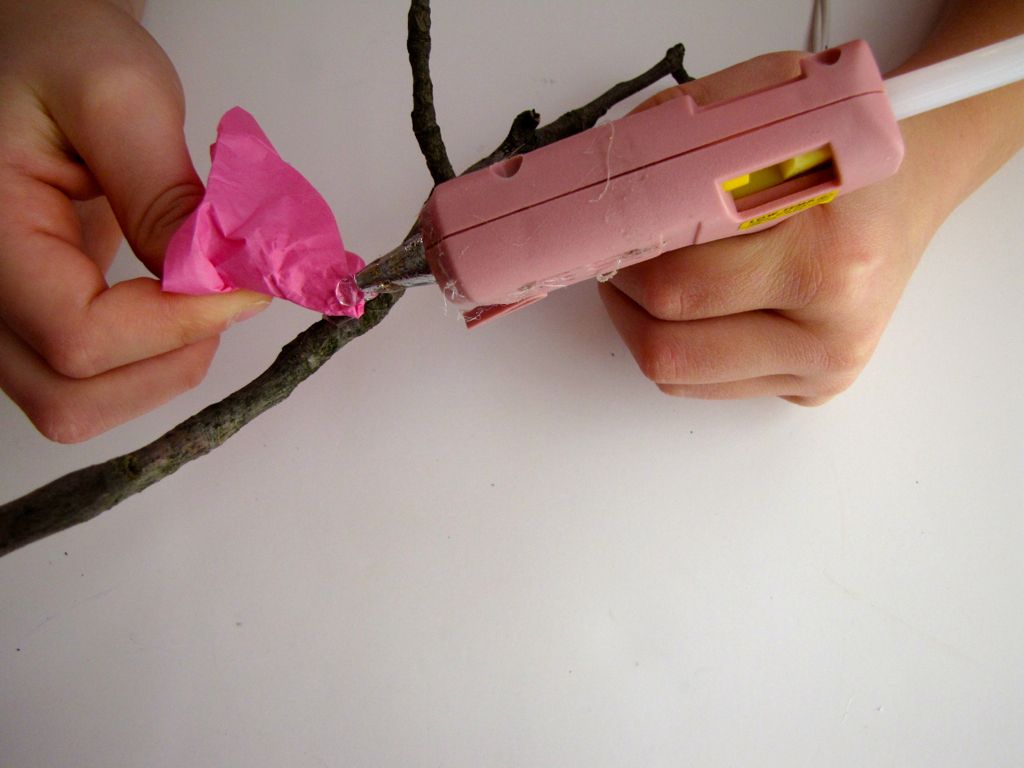
Step 9
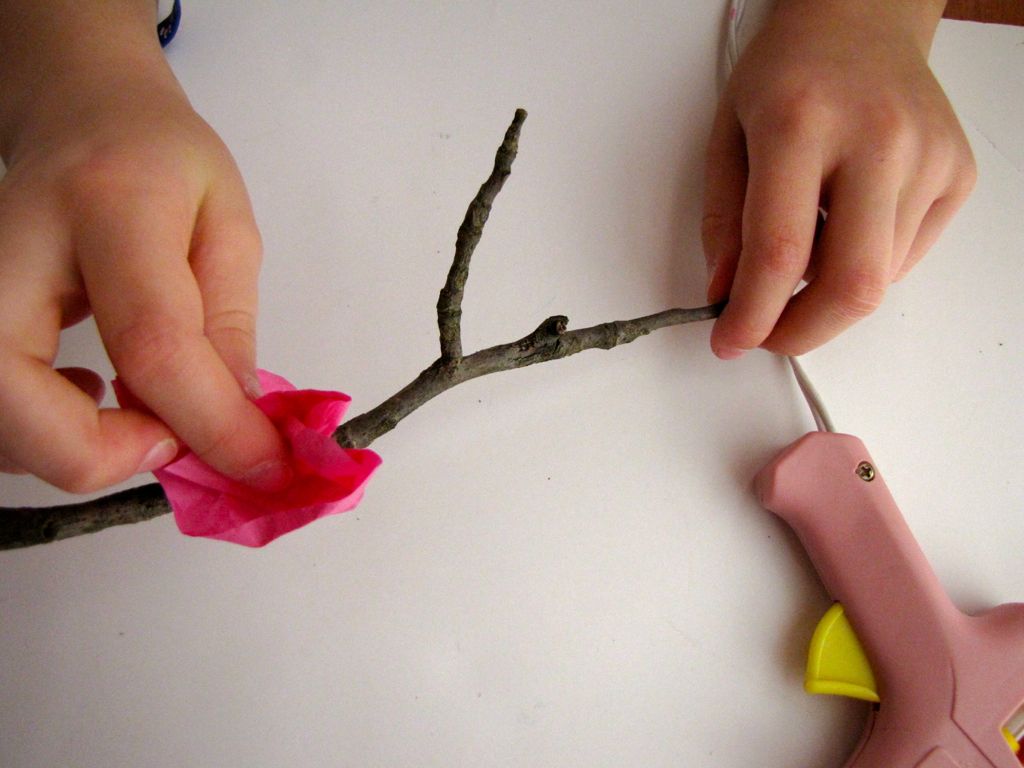
Put a dab of glue on the bottom of the flower and press it to the branch for a few seconds.
Step 10
We talked about how blooming trees look, with the blossoms spaced out, with none at the base, where the branch would connect to the tree.
Step 11
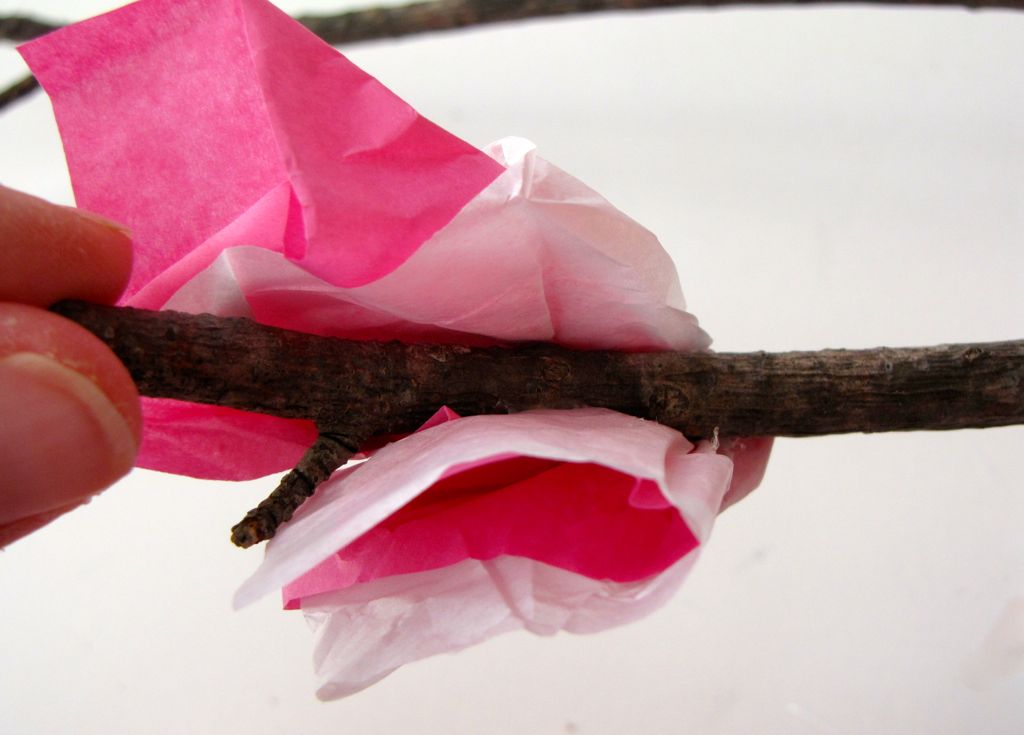
One technique that worked well was wrapping part of the tissue paper around the branch, after putting a dot of glue in the fold of the paper.
Step 12
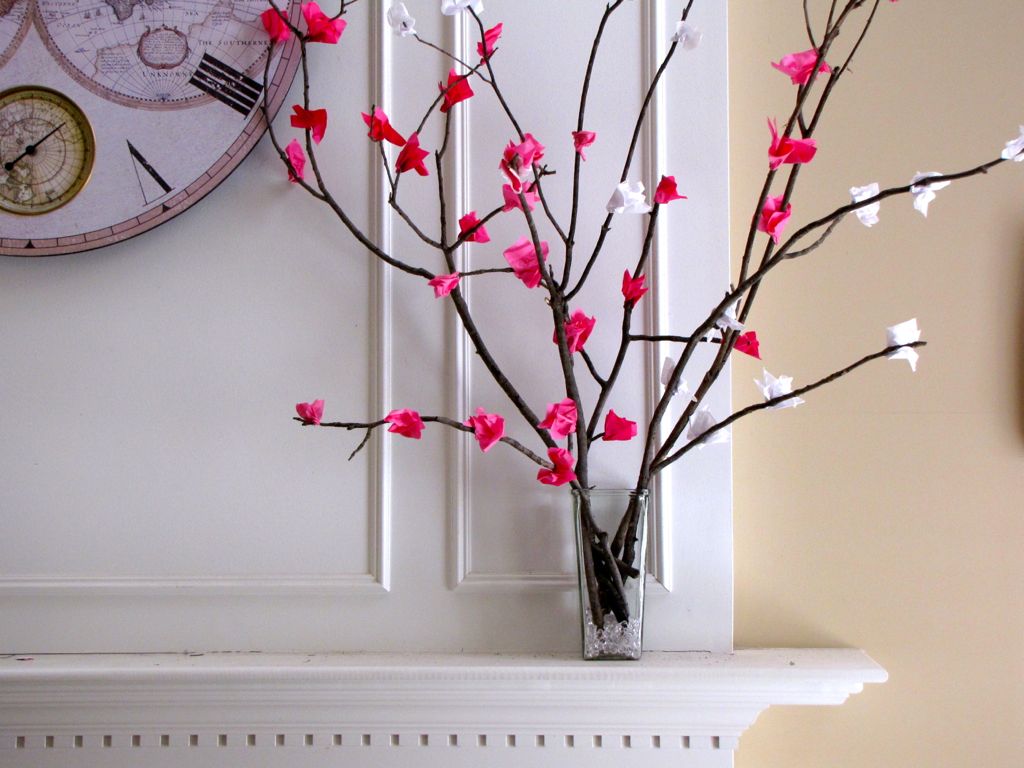
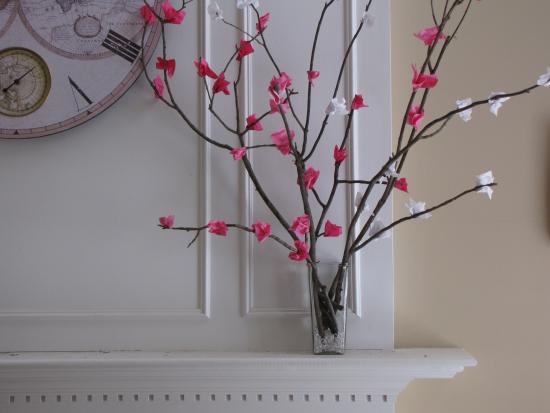
Look at how pretty the branches look!
Done!
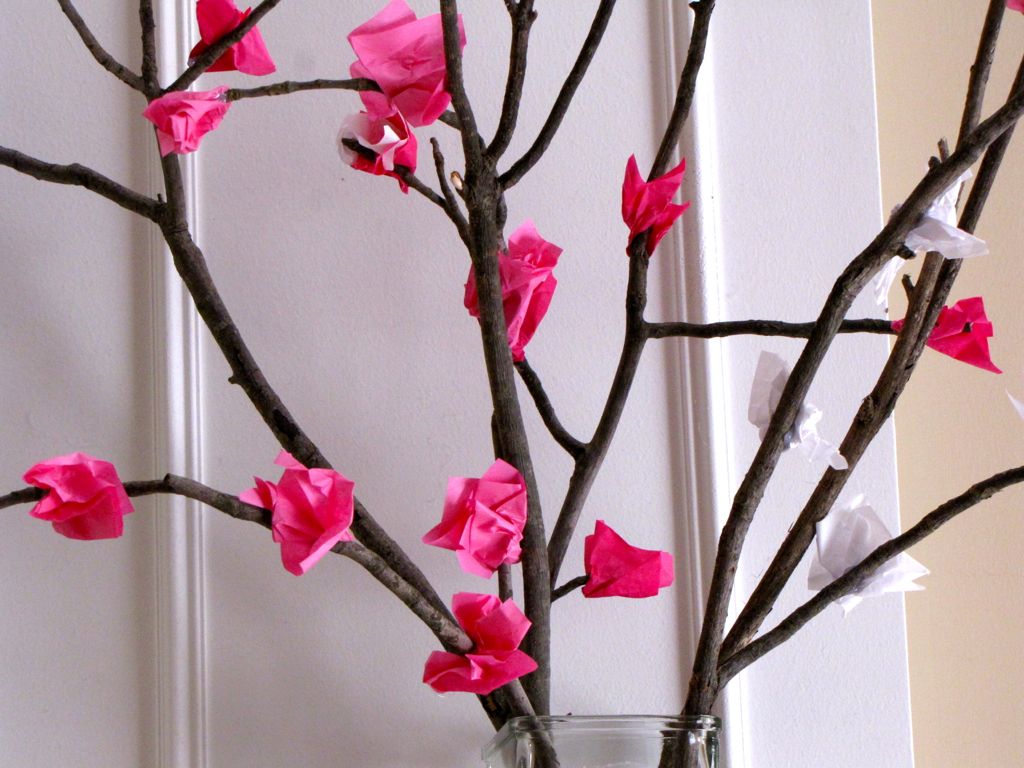
I love having them displayed in a vase on our mantle. Happy Spring, everyone!