Step-by-step tutorial
Step 1
We make these stars every year. They're perfect for hanging near the porch or near windows. We use birch cones, glittered rosehips, small pinecones from our tree, etc.--whatever we find in our yard or neighborhood that looks pretty.

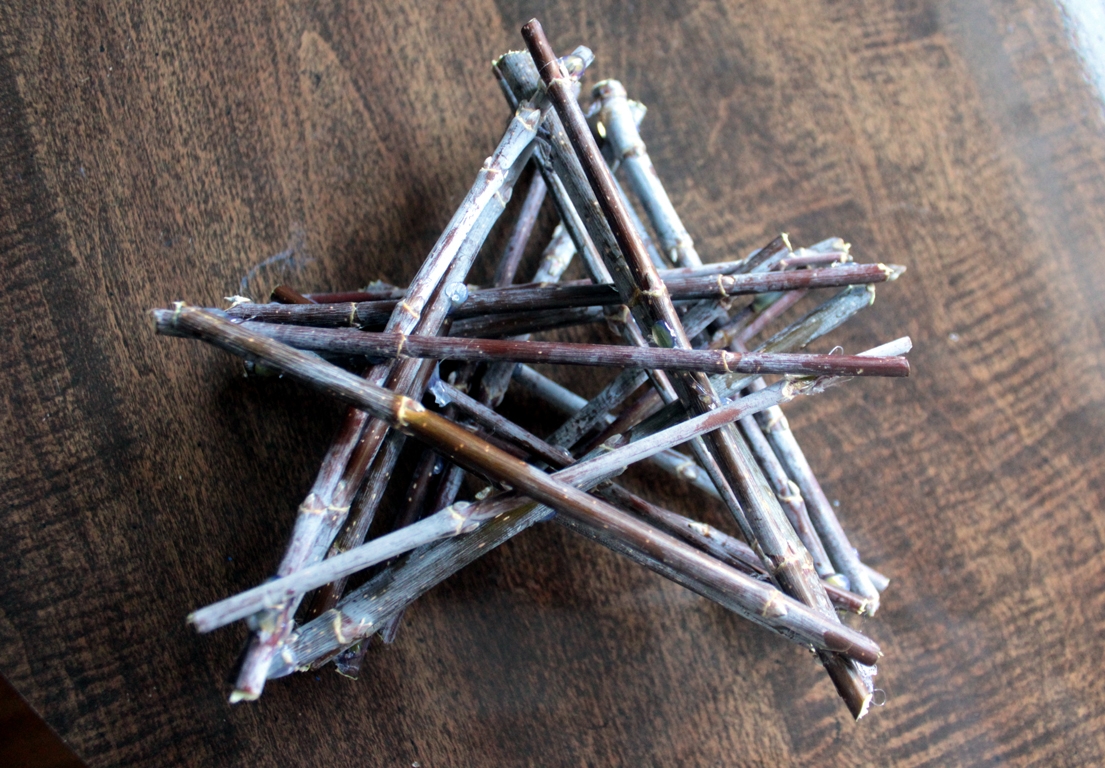
Step 2
First, we go out to gather small, straight branches. I cut the sticks into the same length, then hot glue five of them into a star.
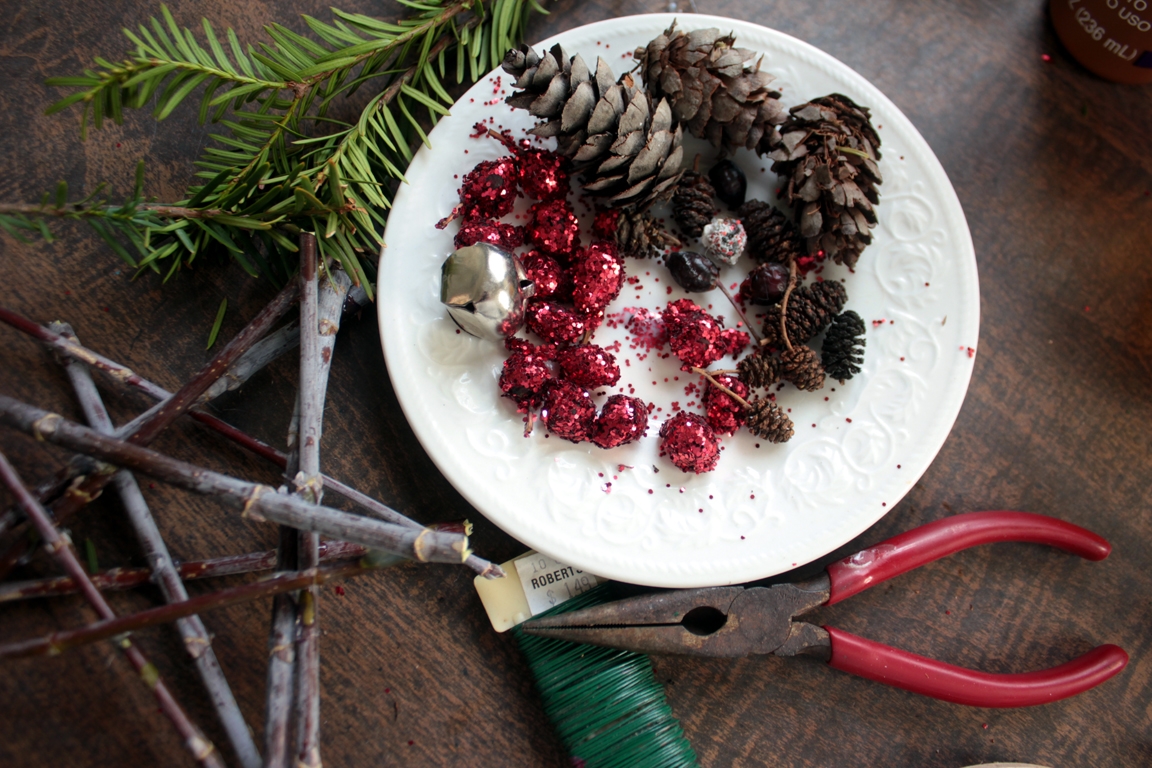
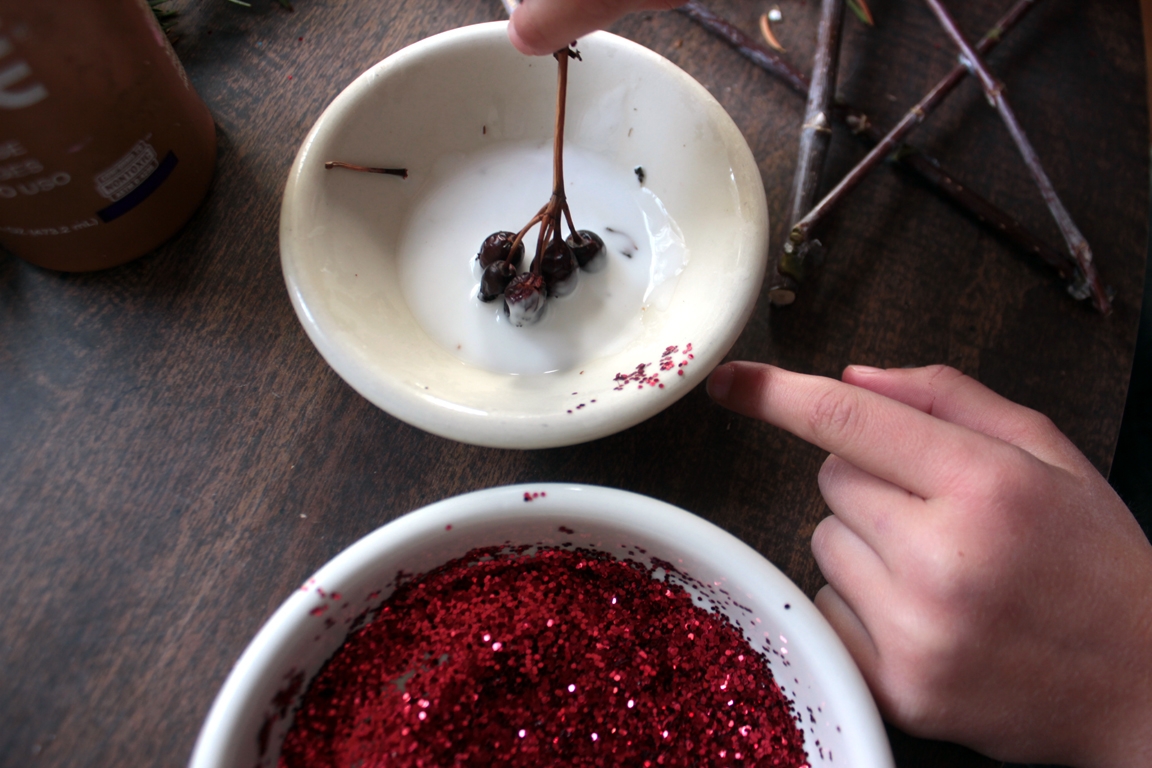
Step 3
We then get together all our treasures from nature. We already have some things in a box from years past, and some we collect. We often like a bit of sparkle, so sometimes we glue and then glitter rosehips: red for sparkle, or white for a snowy effect.
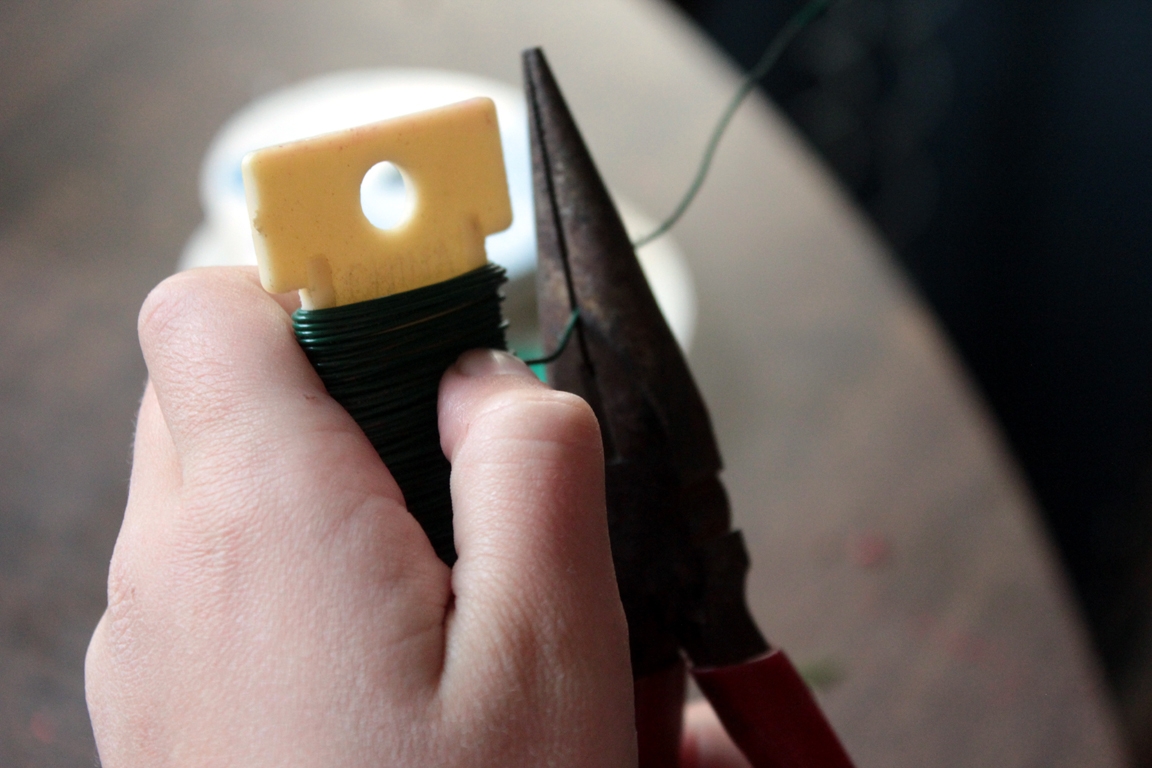
Step 4
We had some wire to use (but wire's not mandatory). Maddie cut out some wire and used it to help attach things to her star.
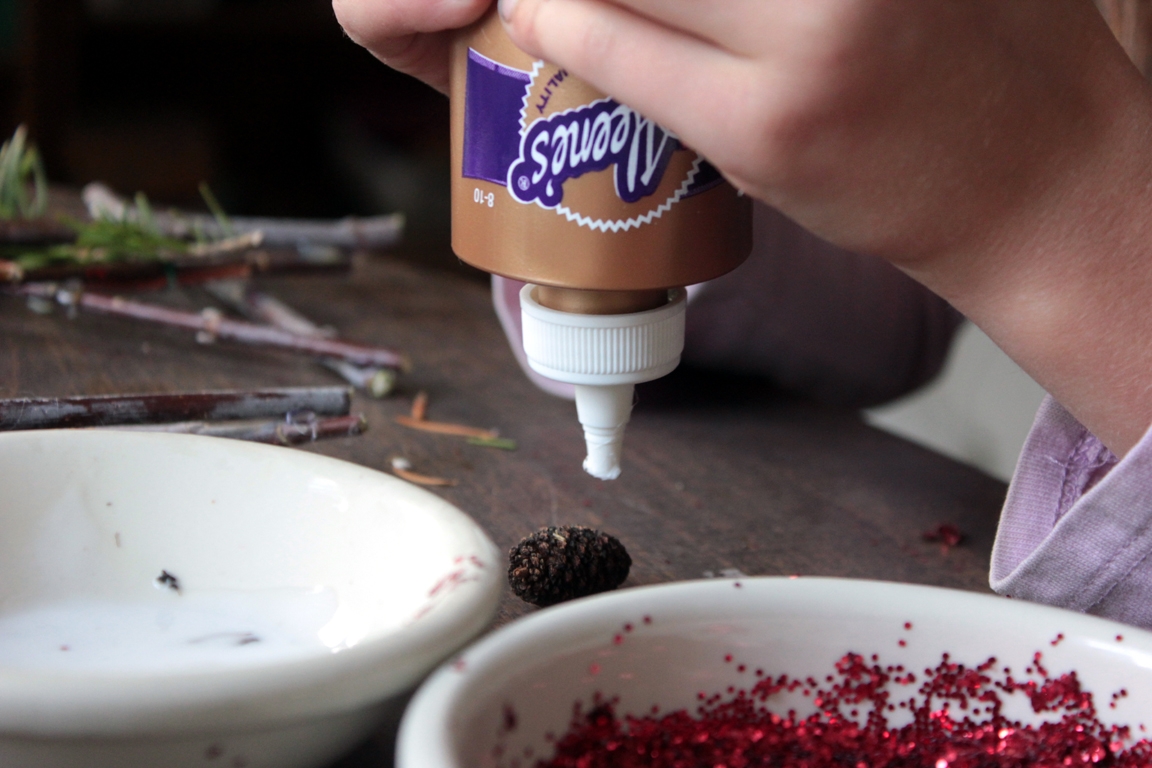
Step 5
She glued, arranged, and wove things in...
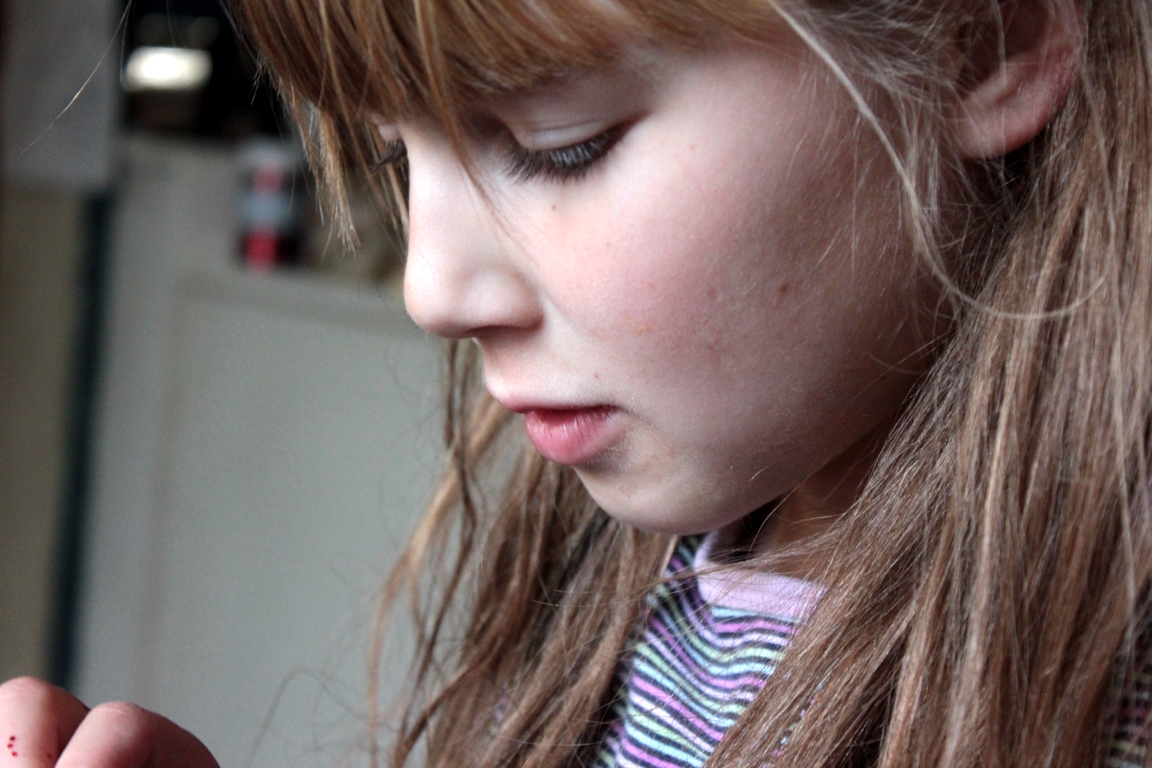
Step 6
...and oohed and ahhed while glittering things to her star.
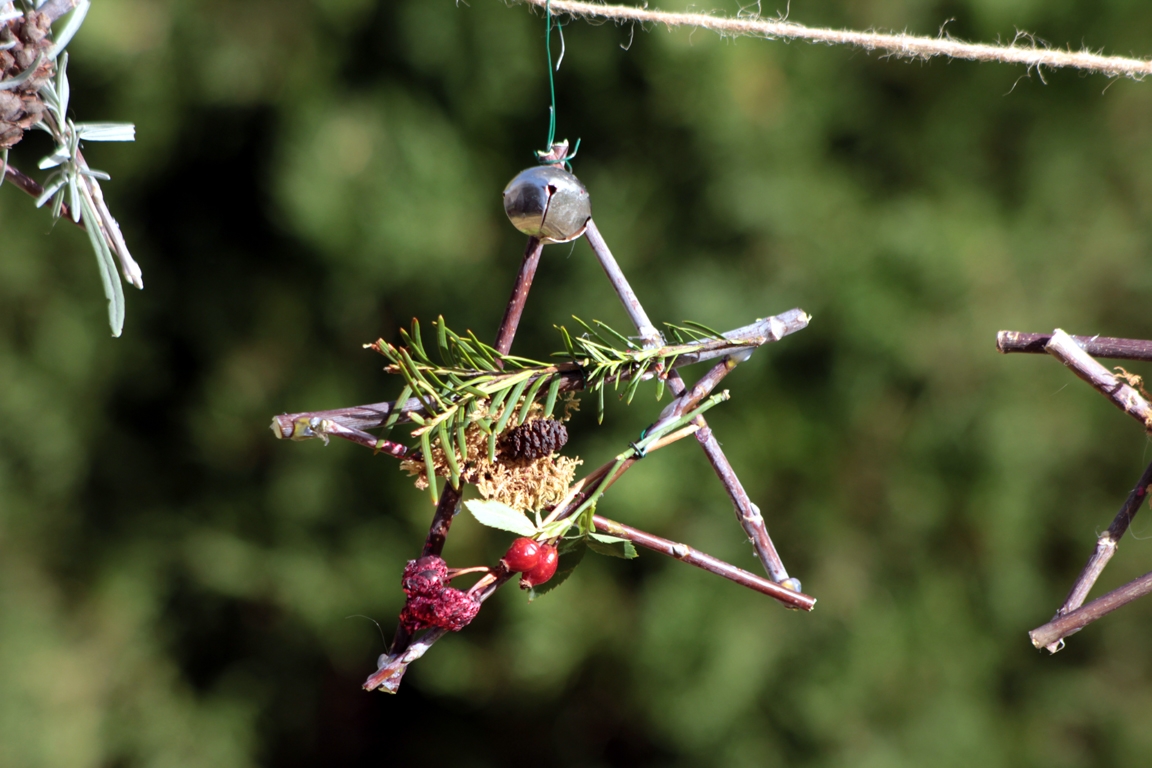
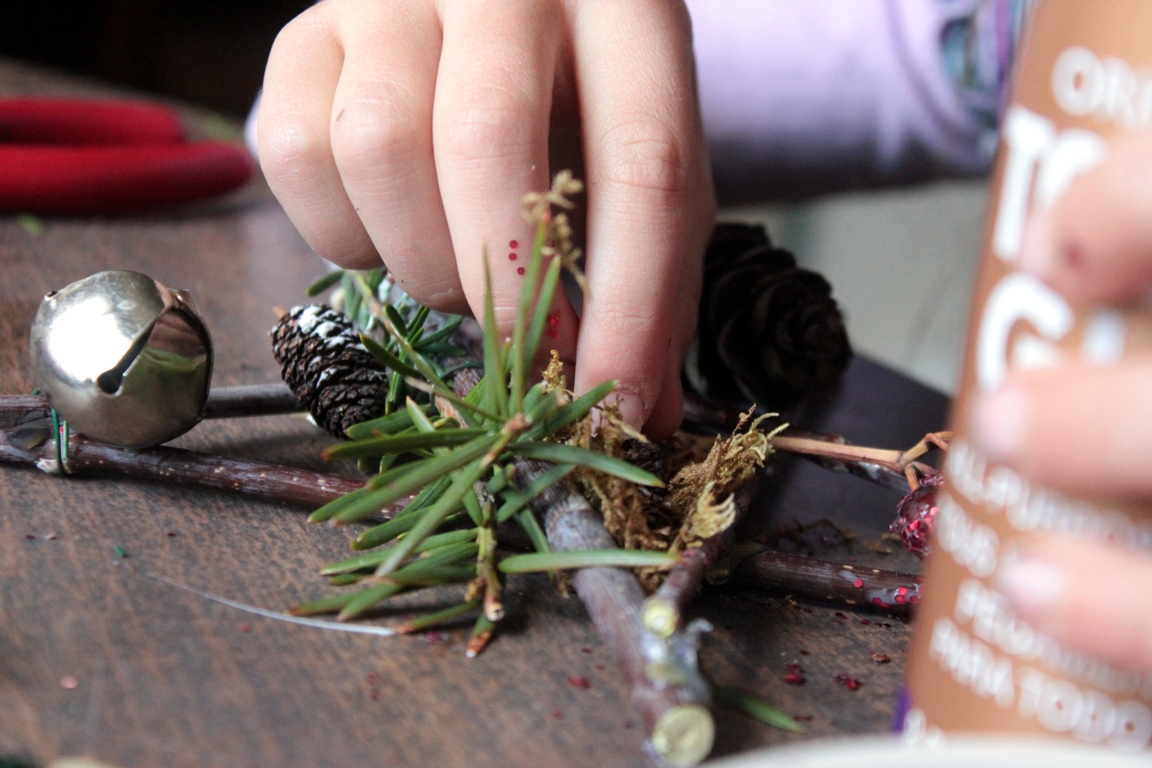
Step 7
And, oh! A jingle bell!
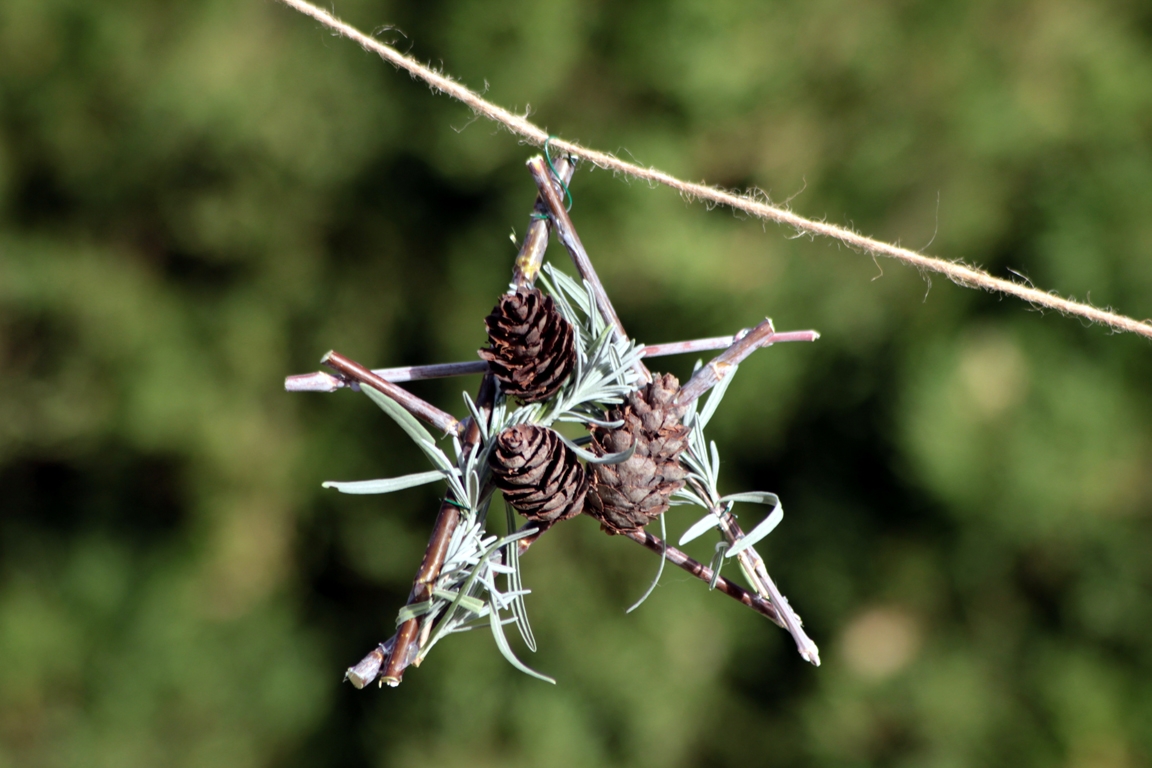
Final result!
Lavender, tiny leaves, glitter... anything goes for these pretty stars!