Step-by-step tutorial
Step 1
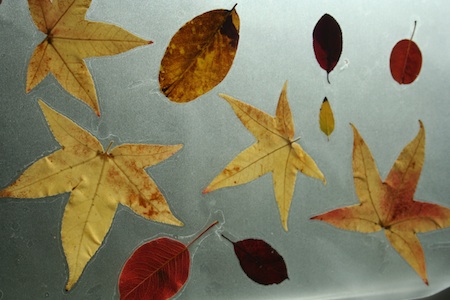
The conversation centered on the colors of the leaves. We started with what colors my kids observed. "Red, yellow, orange, green, and purple leaves!" they exclaimed. "Purple?" I asked. As it turns out, the dark red/maroon leaves actually look dark purple. I find it so fun and inspiring when my kids observe something that I don't. Today, I learned that leaves turn purple!
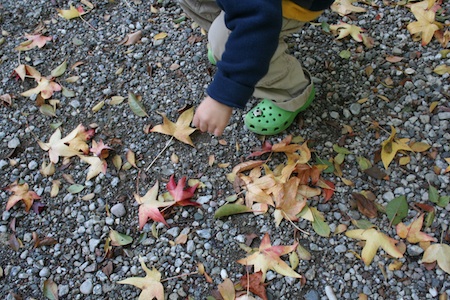
Then we stated to talk about why the leaves turn colors. My 4.5 -year-old explained, "Because it's fall, Mommy." How very true. We talked about how, in the fall, it gets cooler and the sun doesn't stay out as long. So the green color (chlorophyll), which likes warm weather and sun, goes away, and you can see yellow and red. Back home, we selected leaves for each mat. For each mat, we cut two pieces of contact paper. We cut off ~12 inches (~30.5 cm) from the roll for each piece.
Step 2
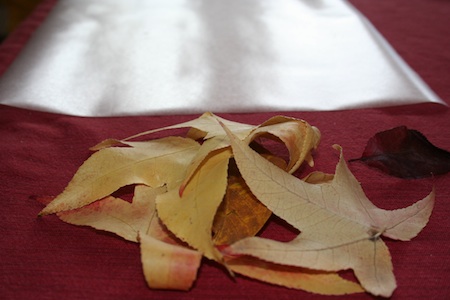
First, we peeled one sheet of the contact paper and faced the sticky side up.
Step 3
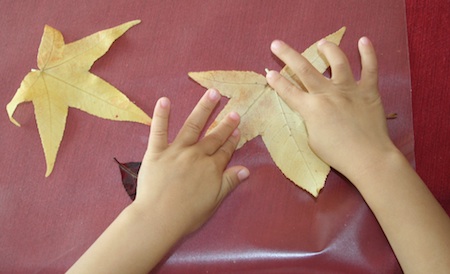
After decorating the sticky side with leaves, we added more contact paper to the other side, sandwiching the leaves.
Step 4
Here's my daughter testing out our first place mat...

Done!
We're making 10 place mats for our Thanksgiving table. The kids have started to do make patterns with the leaves, and add words on little pieces of paper to add to the mats. My daughter is now expanding beyond leaves to include drawings and felt to make people/family place mats because she's thankful for her family.We look forward to celebrating that and much more at Thanksgiving!