Step-by-step tutorial
Step 1
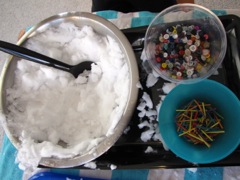
We collected various objects that seemed like they'd be fun to play with in the snow: spoons, cups and a scoop, a measuring cup, toy cars, a sand rake. Choose whatever you have on hand.


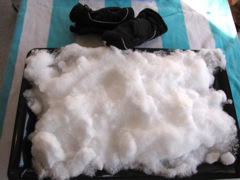
Step 2
Next we went outside and filled a tray with snow. I placed a towel underneath the tray to absorb any melting snow. Then we got our mittens out.
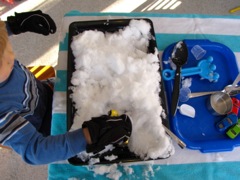
Step 3
My four year old immediately set about scooping and moving the snow around. He was thrilled to be able to continue playing in the snow after being outside on a bitterly cold day. Outside snow play is fun but sometimes you just need to warm up.
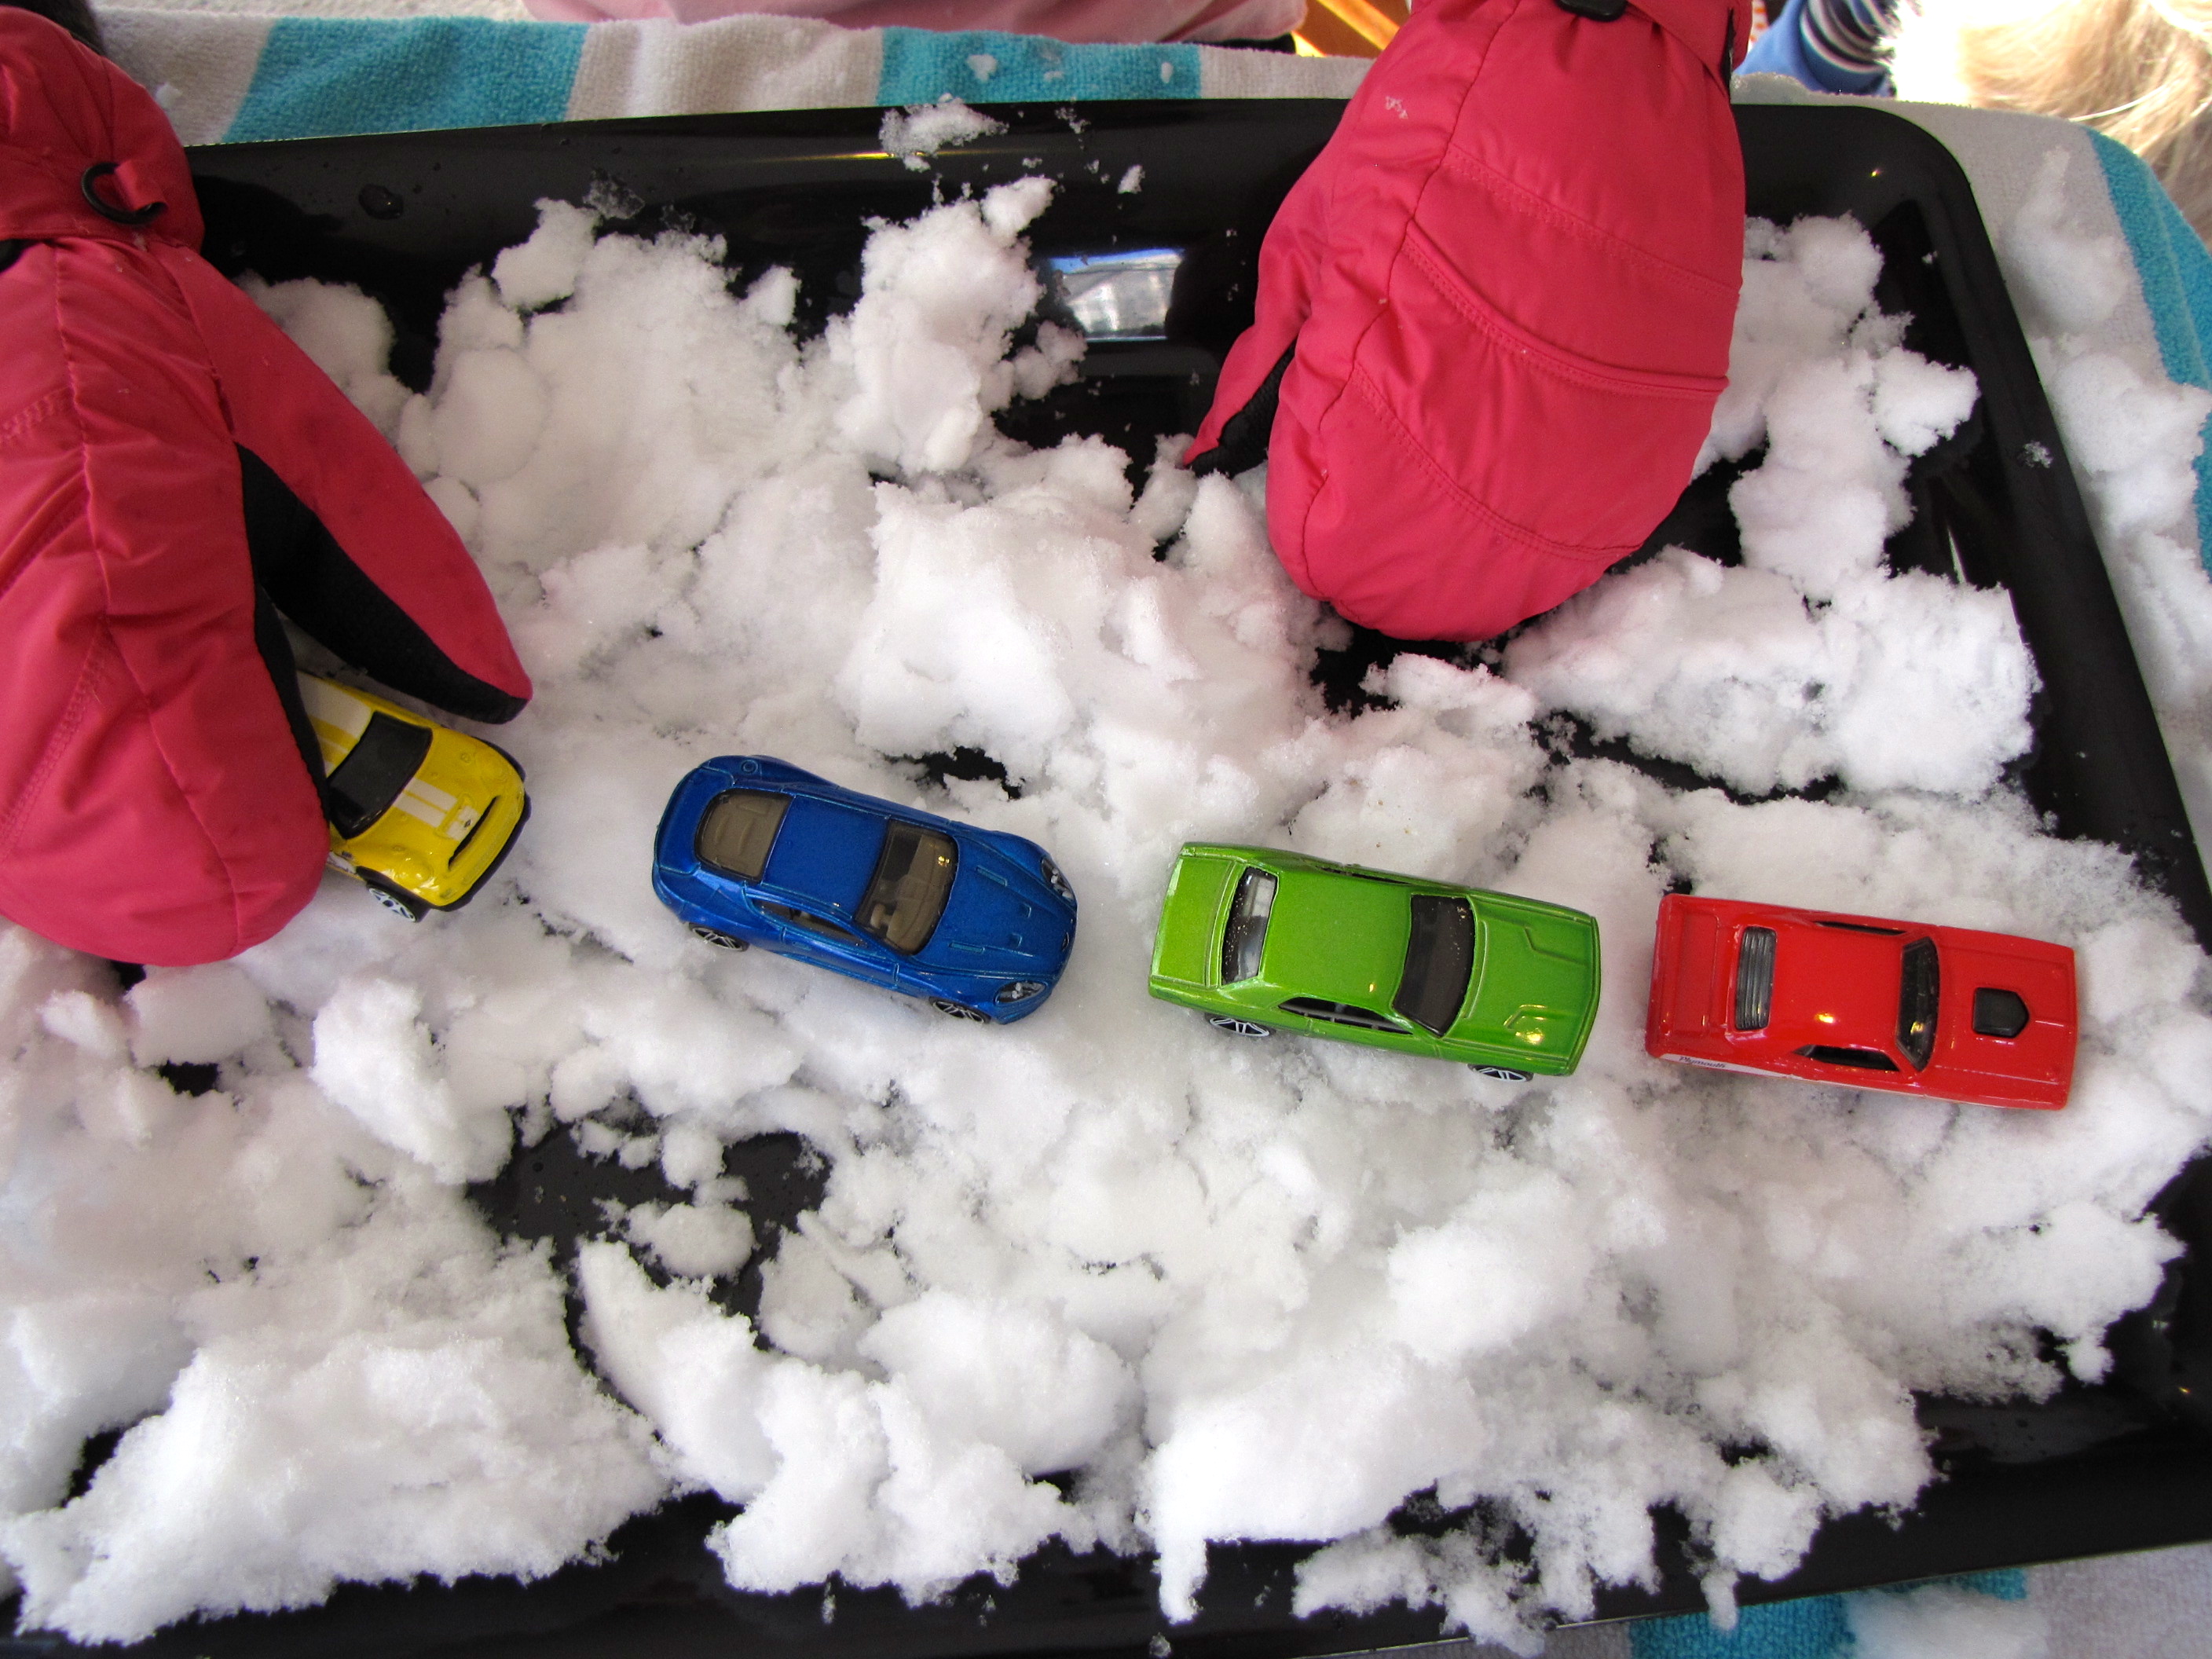
Step 4
My daughter had fun playing with the snow road she built.

Step 5
Then she had another clever idea: "I want to make snow soup, Mommy!" We gathered some fun "ingredients" from our craft room: buttons and colored craft match sticks. You can use whatever you have on hand. We collected some more snow from outside and put it in a big mixing bowl.
Step 6
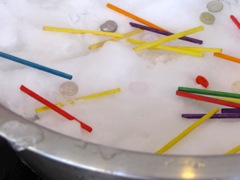
She added her "ingredients" to the snow.
Step 7
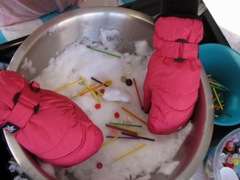
This snow was very hard and compact so stirring wasn't easy. She dove in with her mittened hands and mixed it up that way. Later, when the snow melted, we removed the buttons and sticks, put them on a towel to dry, then returned them to our craft supplies.
Step 8
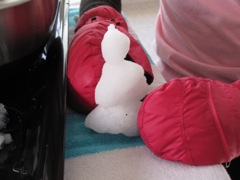
Our final project was to make a miniature snow man. Unfortunately, this snow wasn't the right kind of snow for shaping and molding and it wasn't easy to get a snowman out of it, but we did our best.
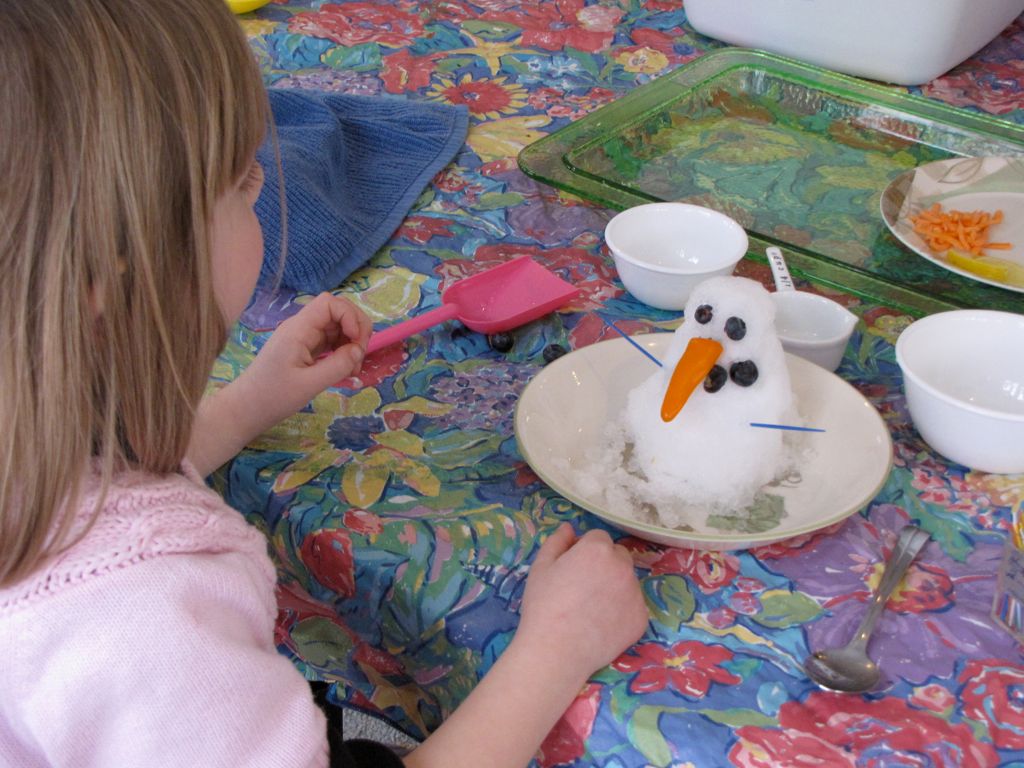
Done!
Here's a miniature snowman we made a couple of winters ago. We used blueberries for eyes, slices of peppers for the nose and toothpicks for arms. When done, we set them outside to keep them from melting. They greeted everyone that came to our front door.