Step-by-step tutorial
Step 1
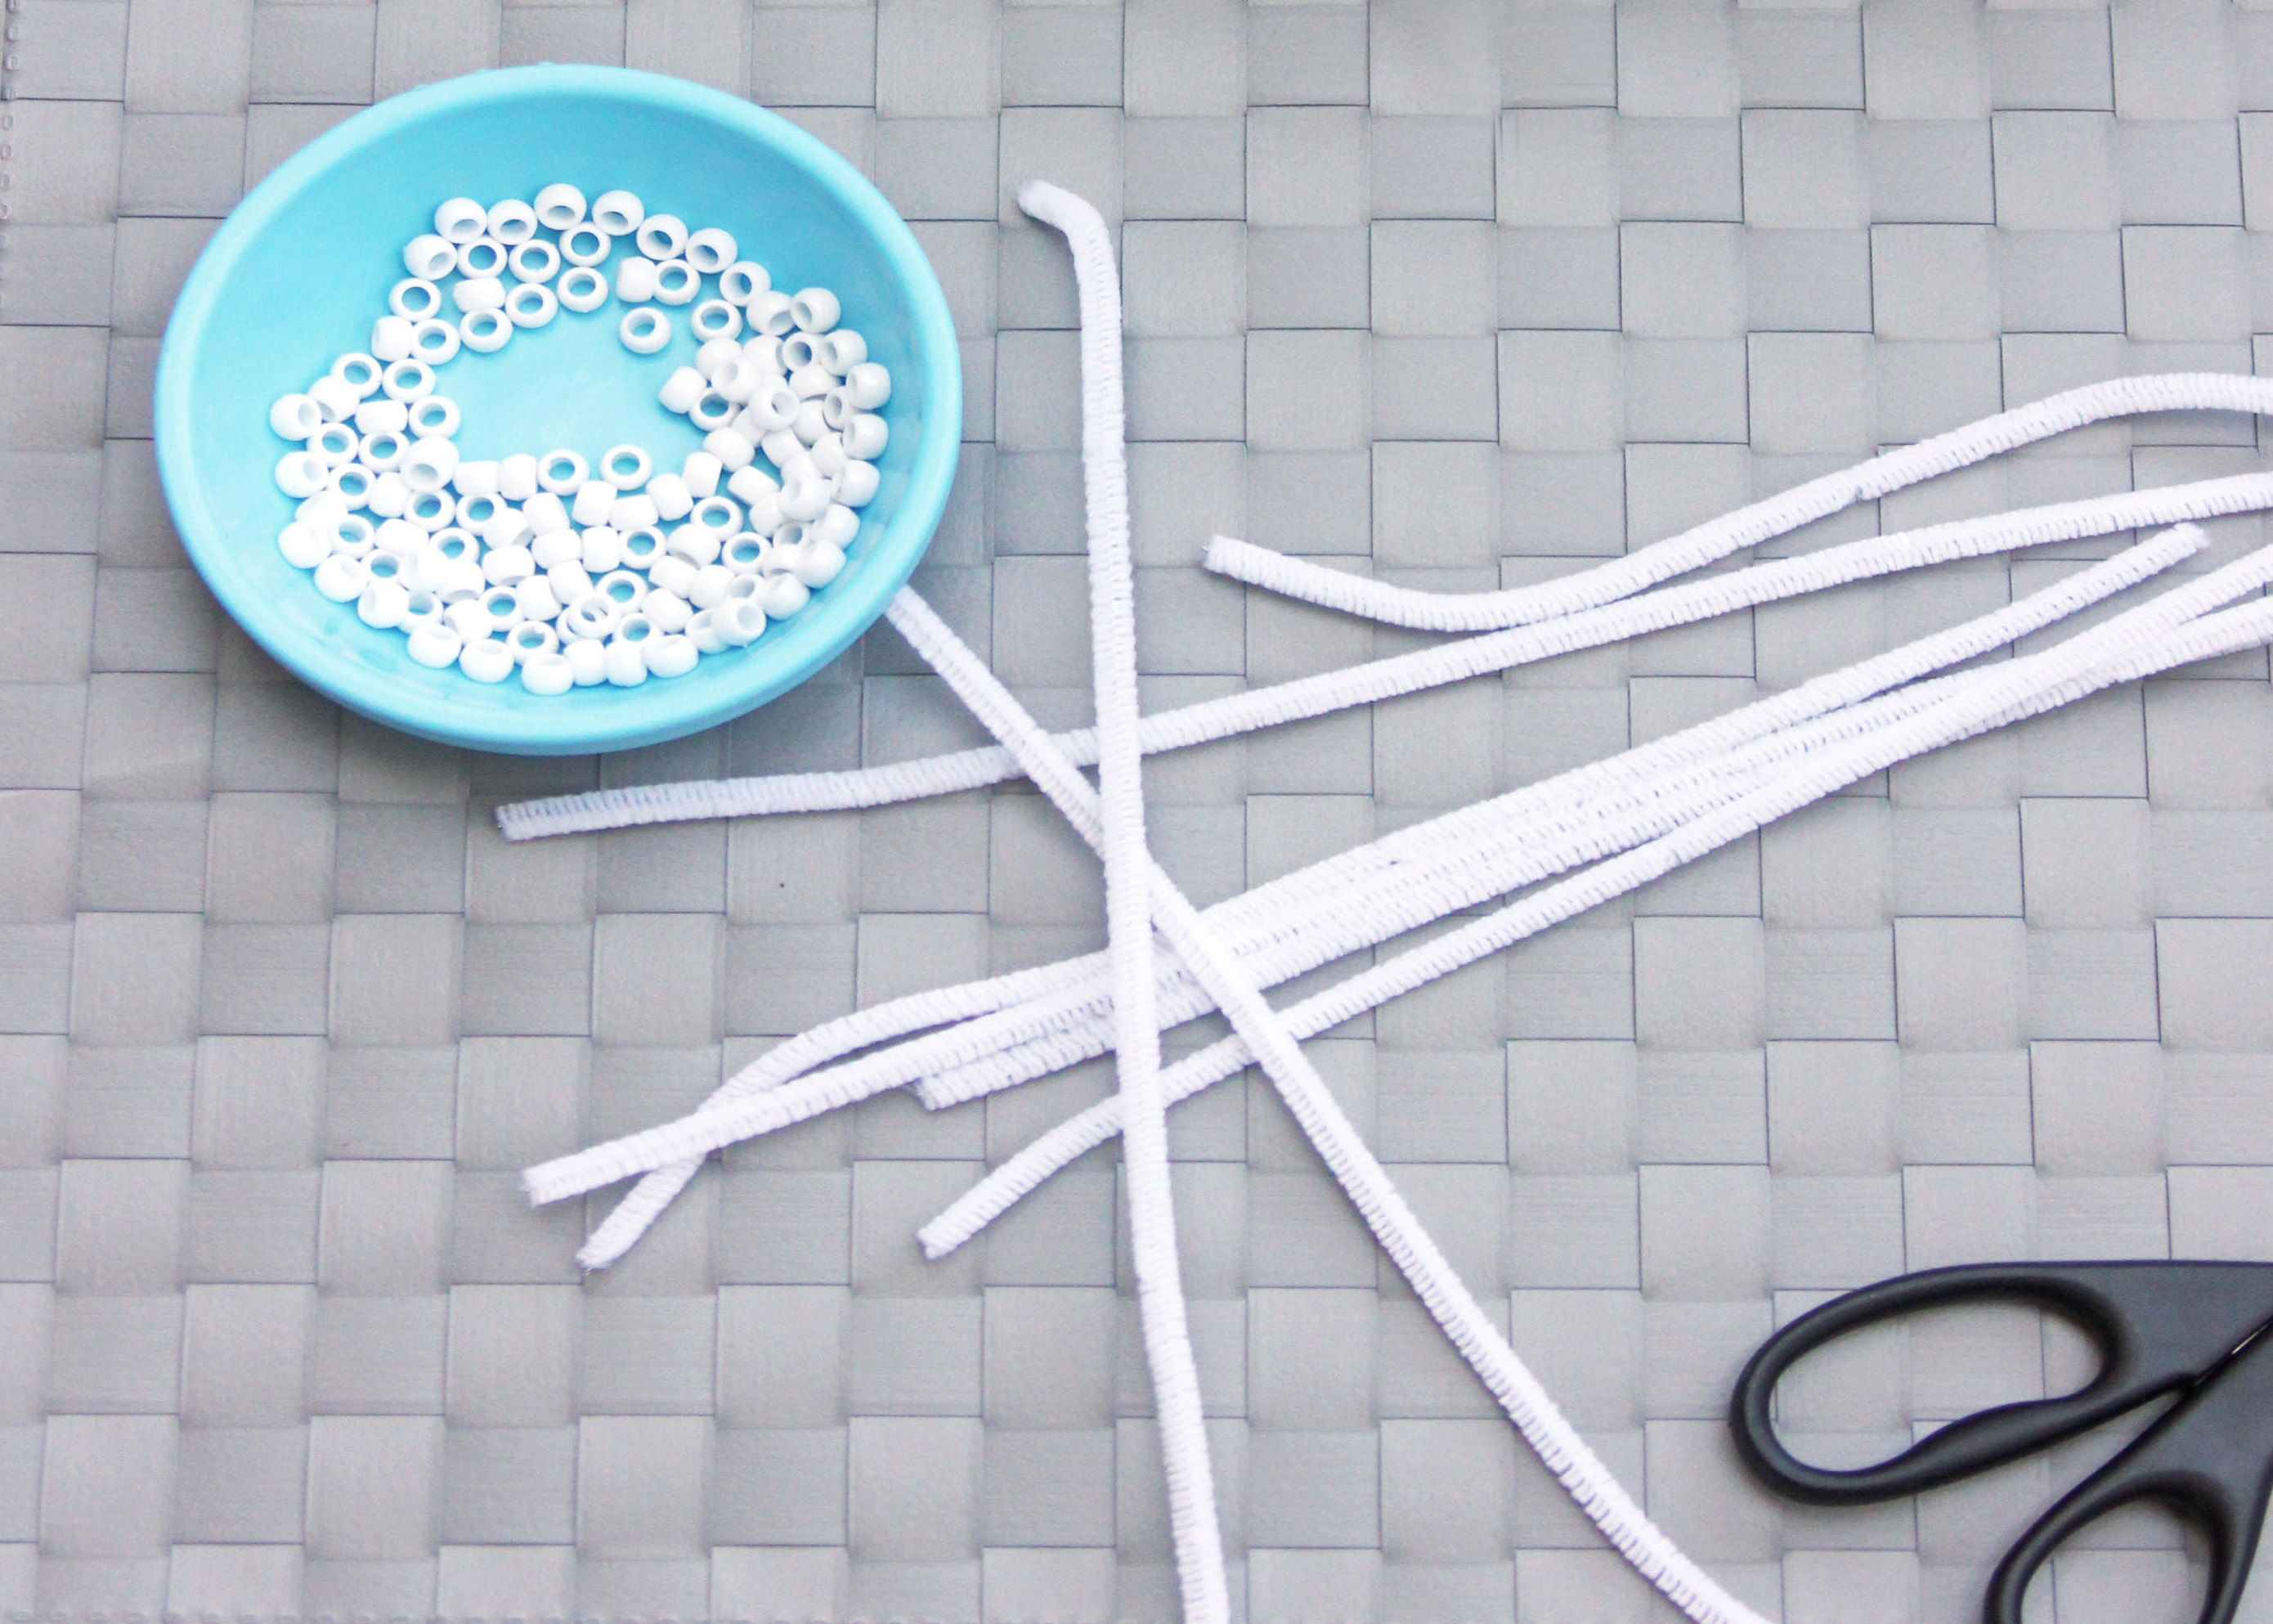
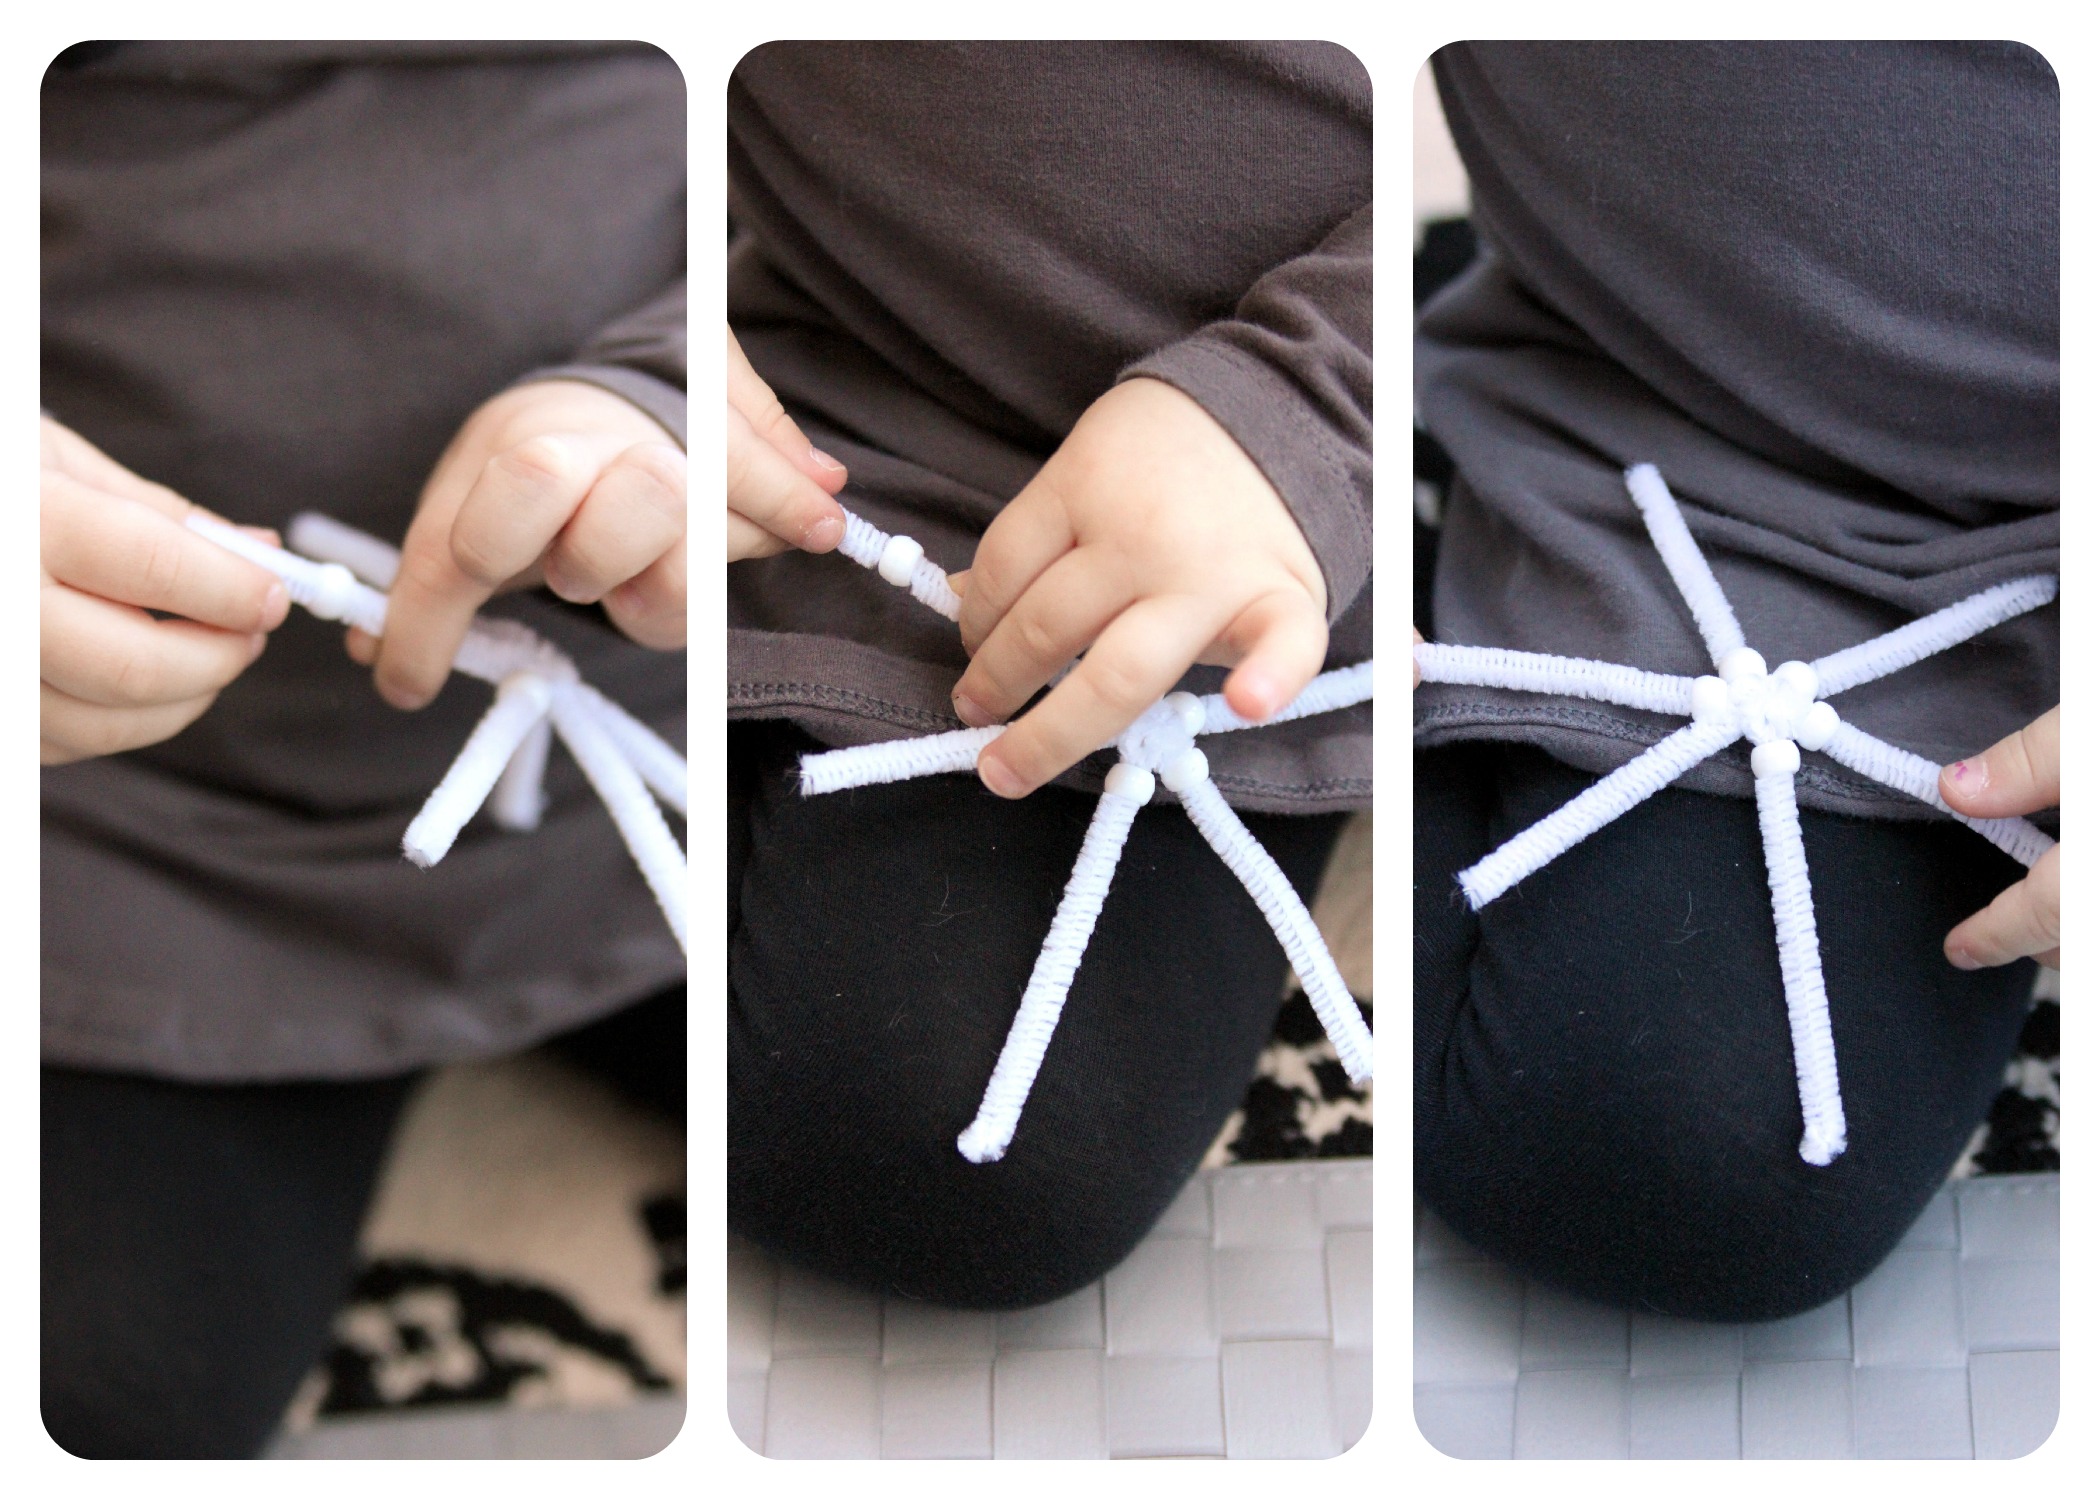
Start by gathering your supplies. Next create the base of the snowflake.

Step 2
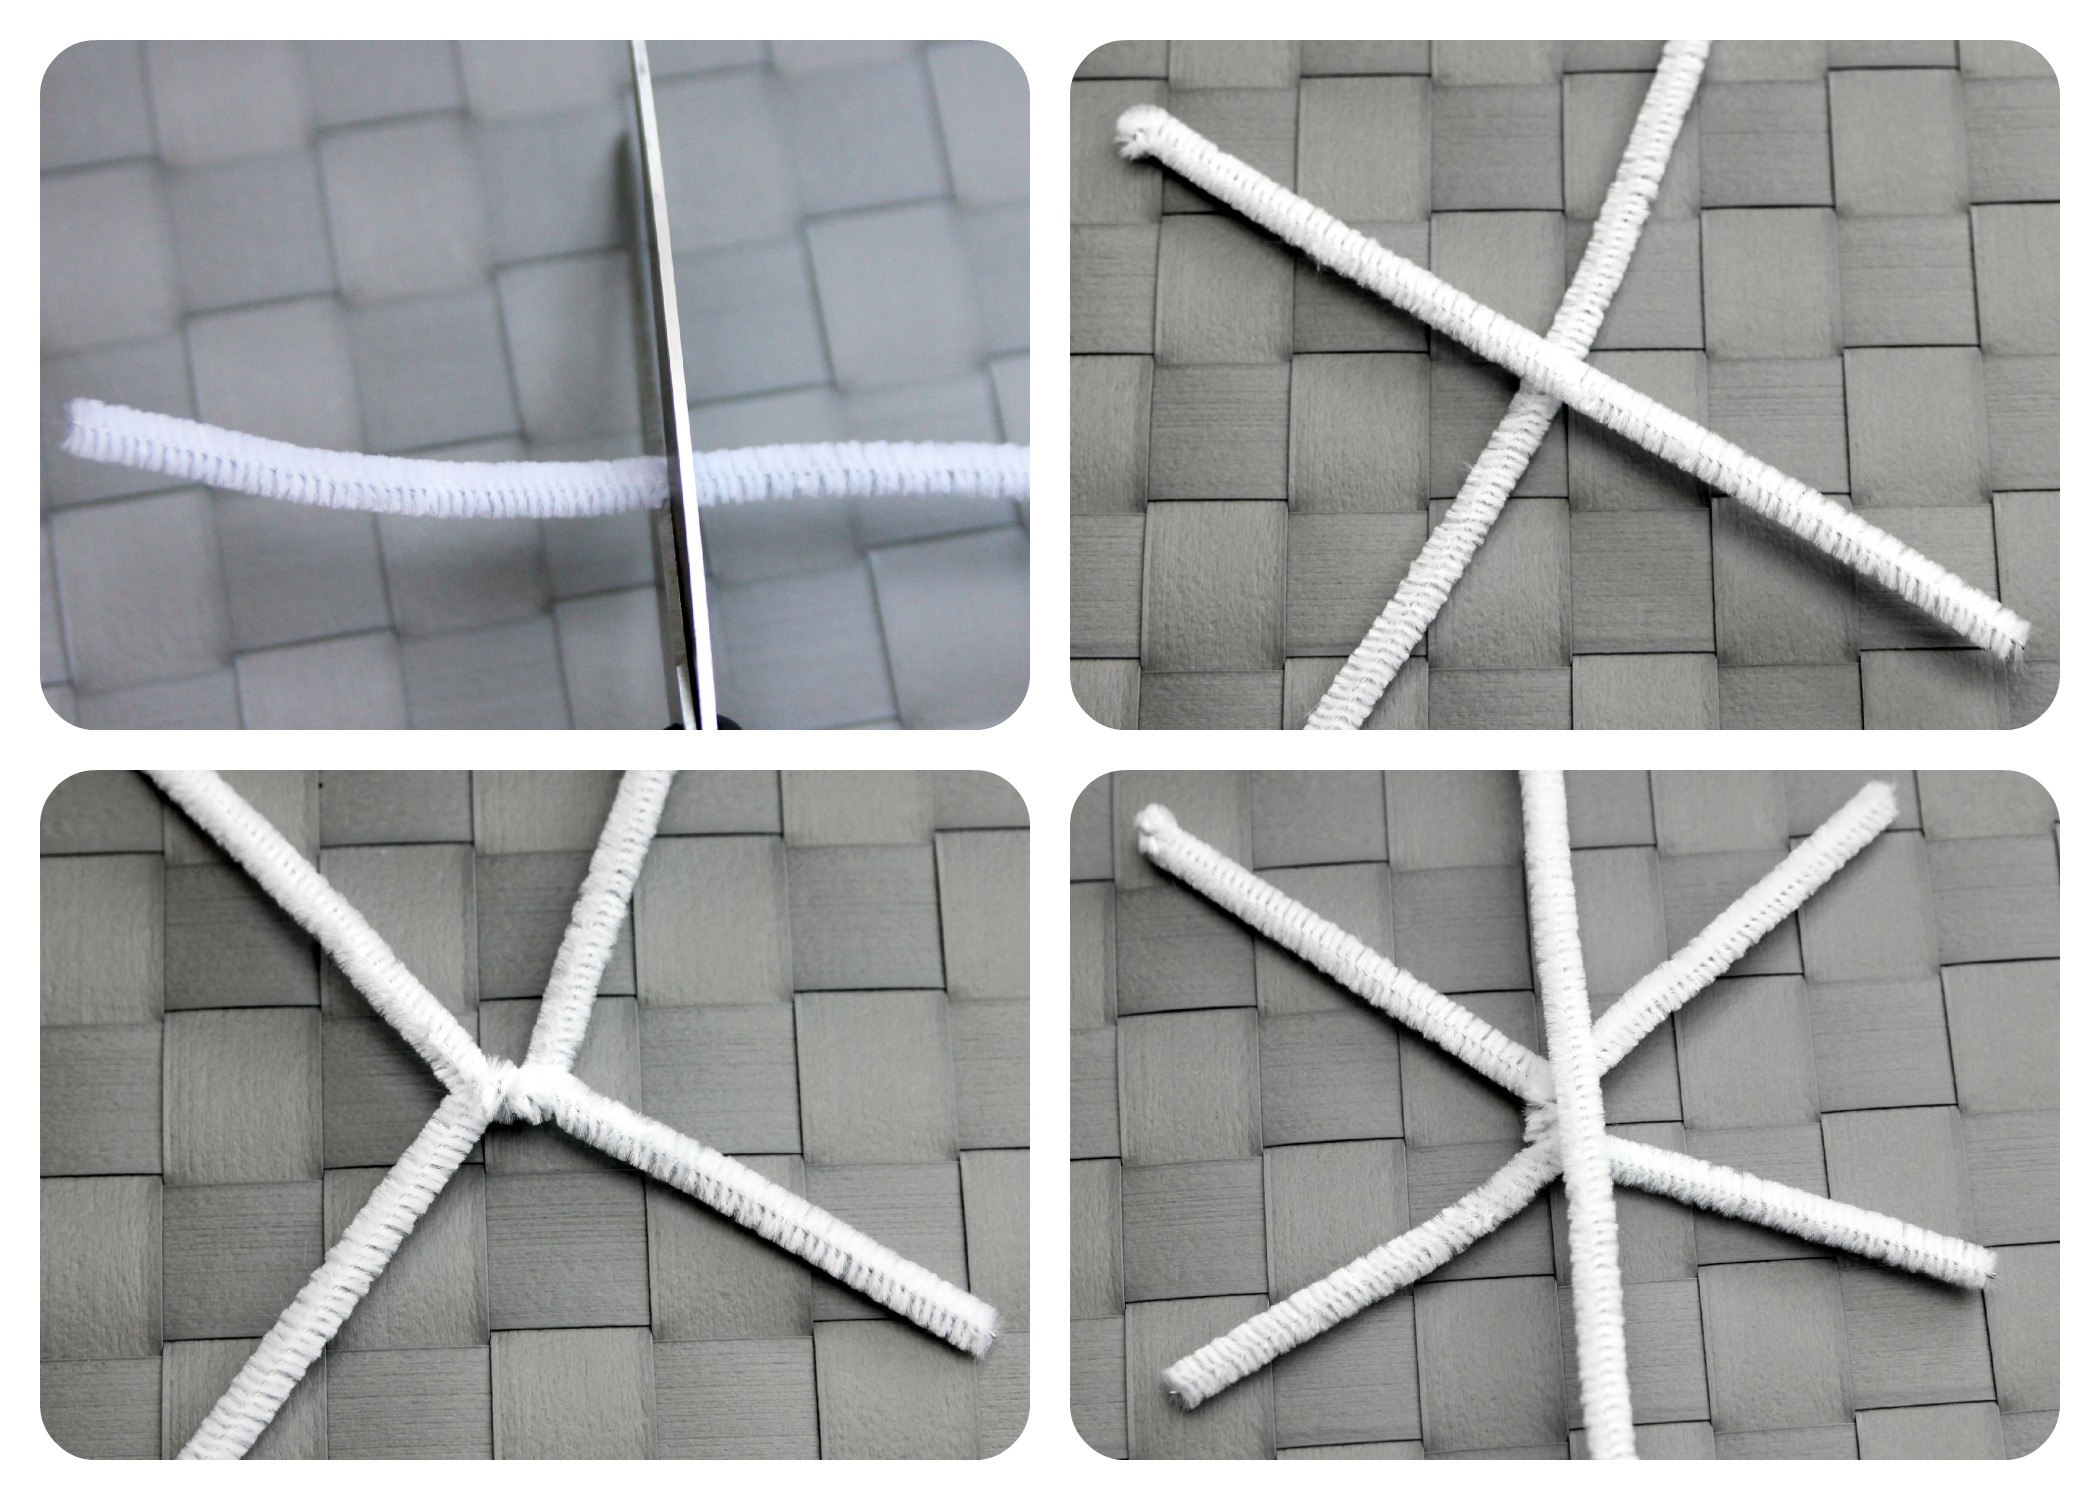
With scissors, cut 2 pipe cleaners in half. Using 2 halves crisscross and twist once. Add another half, and cross & twist it across the initial two. (V.'s not quite old enough for scissors yet--but of course this is a step that slightly older kids can do on their own).
Step 3
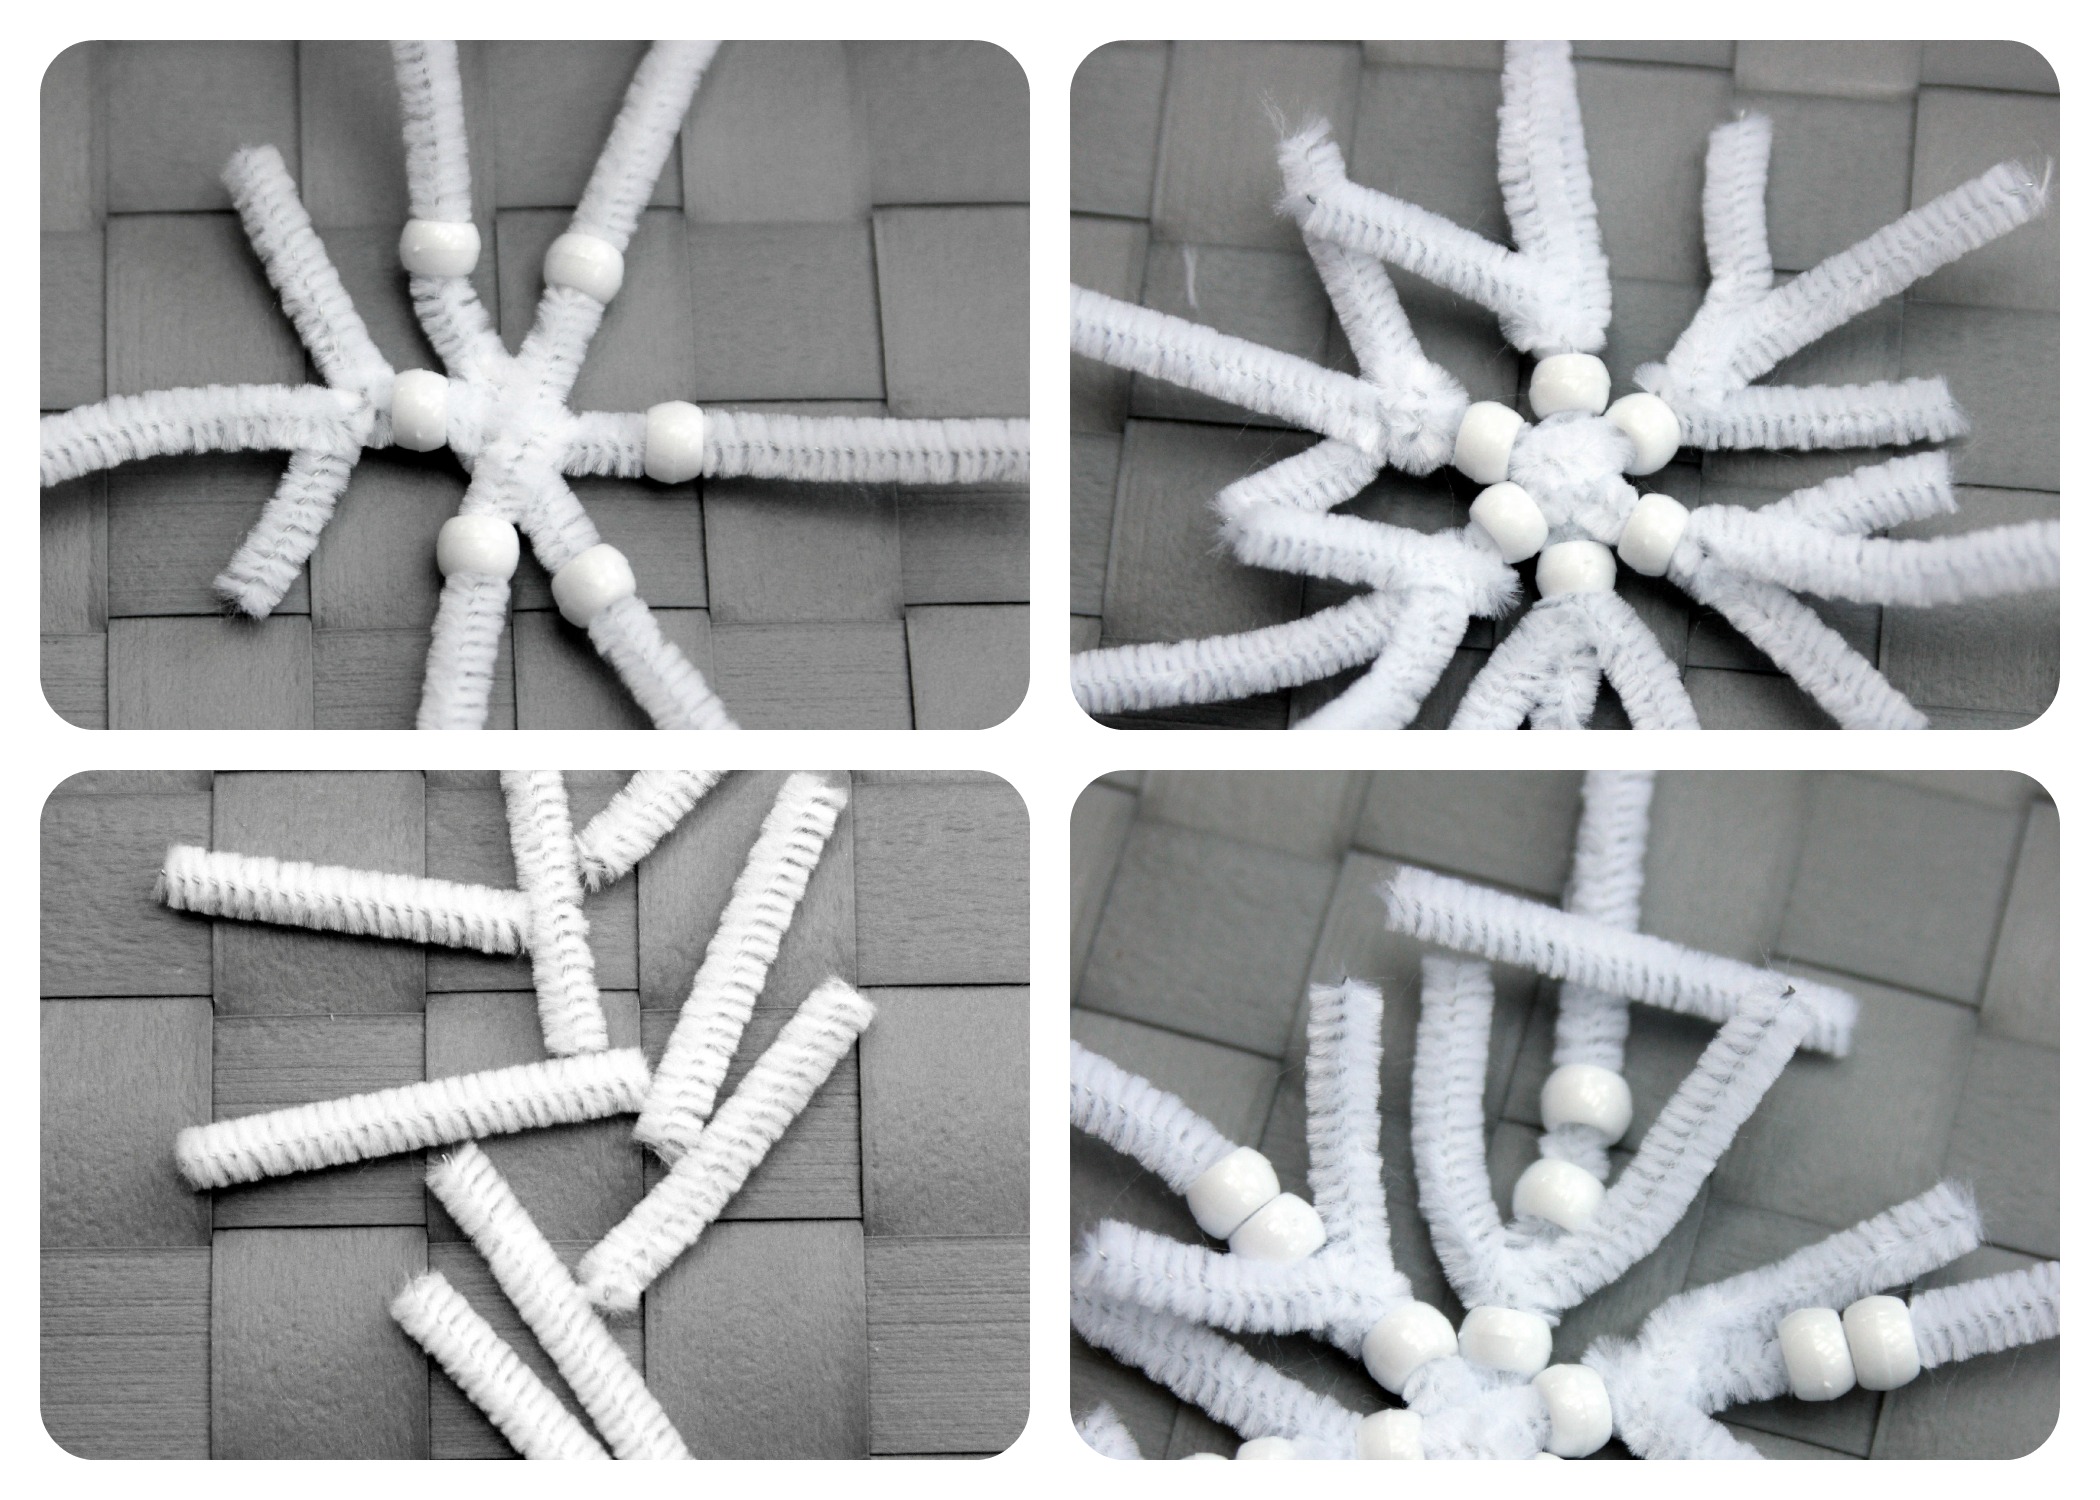
With the snowflake base created, add the pony beads to each stem. This is the part where you can let them have fun with sequencing and patterning. V went right into creating a uniform pattern all the way around. After this beading, sequencing, & patterning step is completed it is time for another mom step.
Step 4
Using your last 2 pipe cleaners, cut them in half, & then in half again. This will create 4 pieces for each pipe cleaner, 8 pieces total. Along each stem, have your child twist these smaller pieces above the threaded beads. Optional: repeat the last two steps to create yet another dimension to each stem.
Step 5
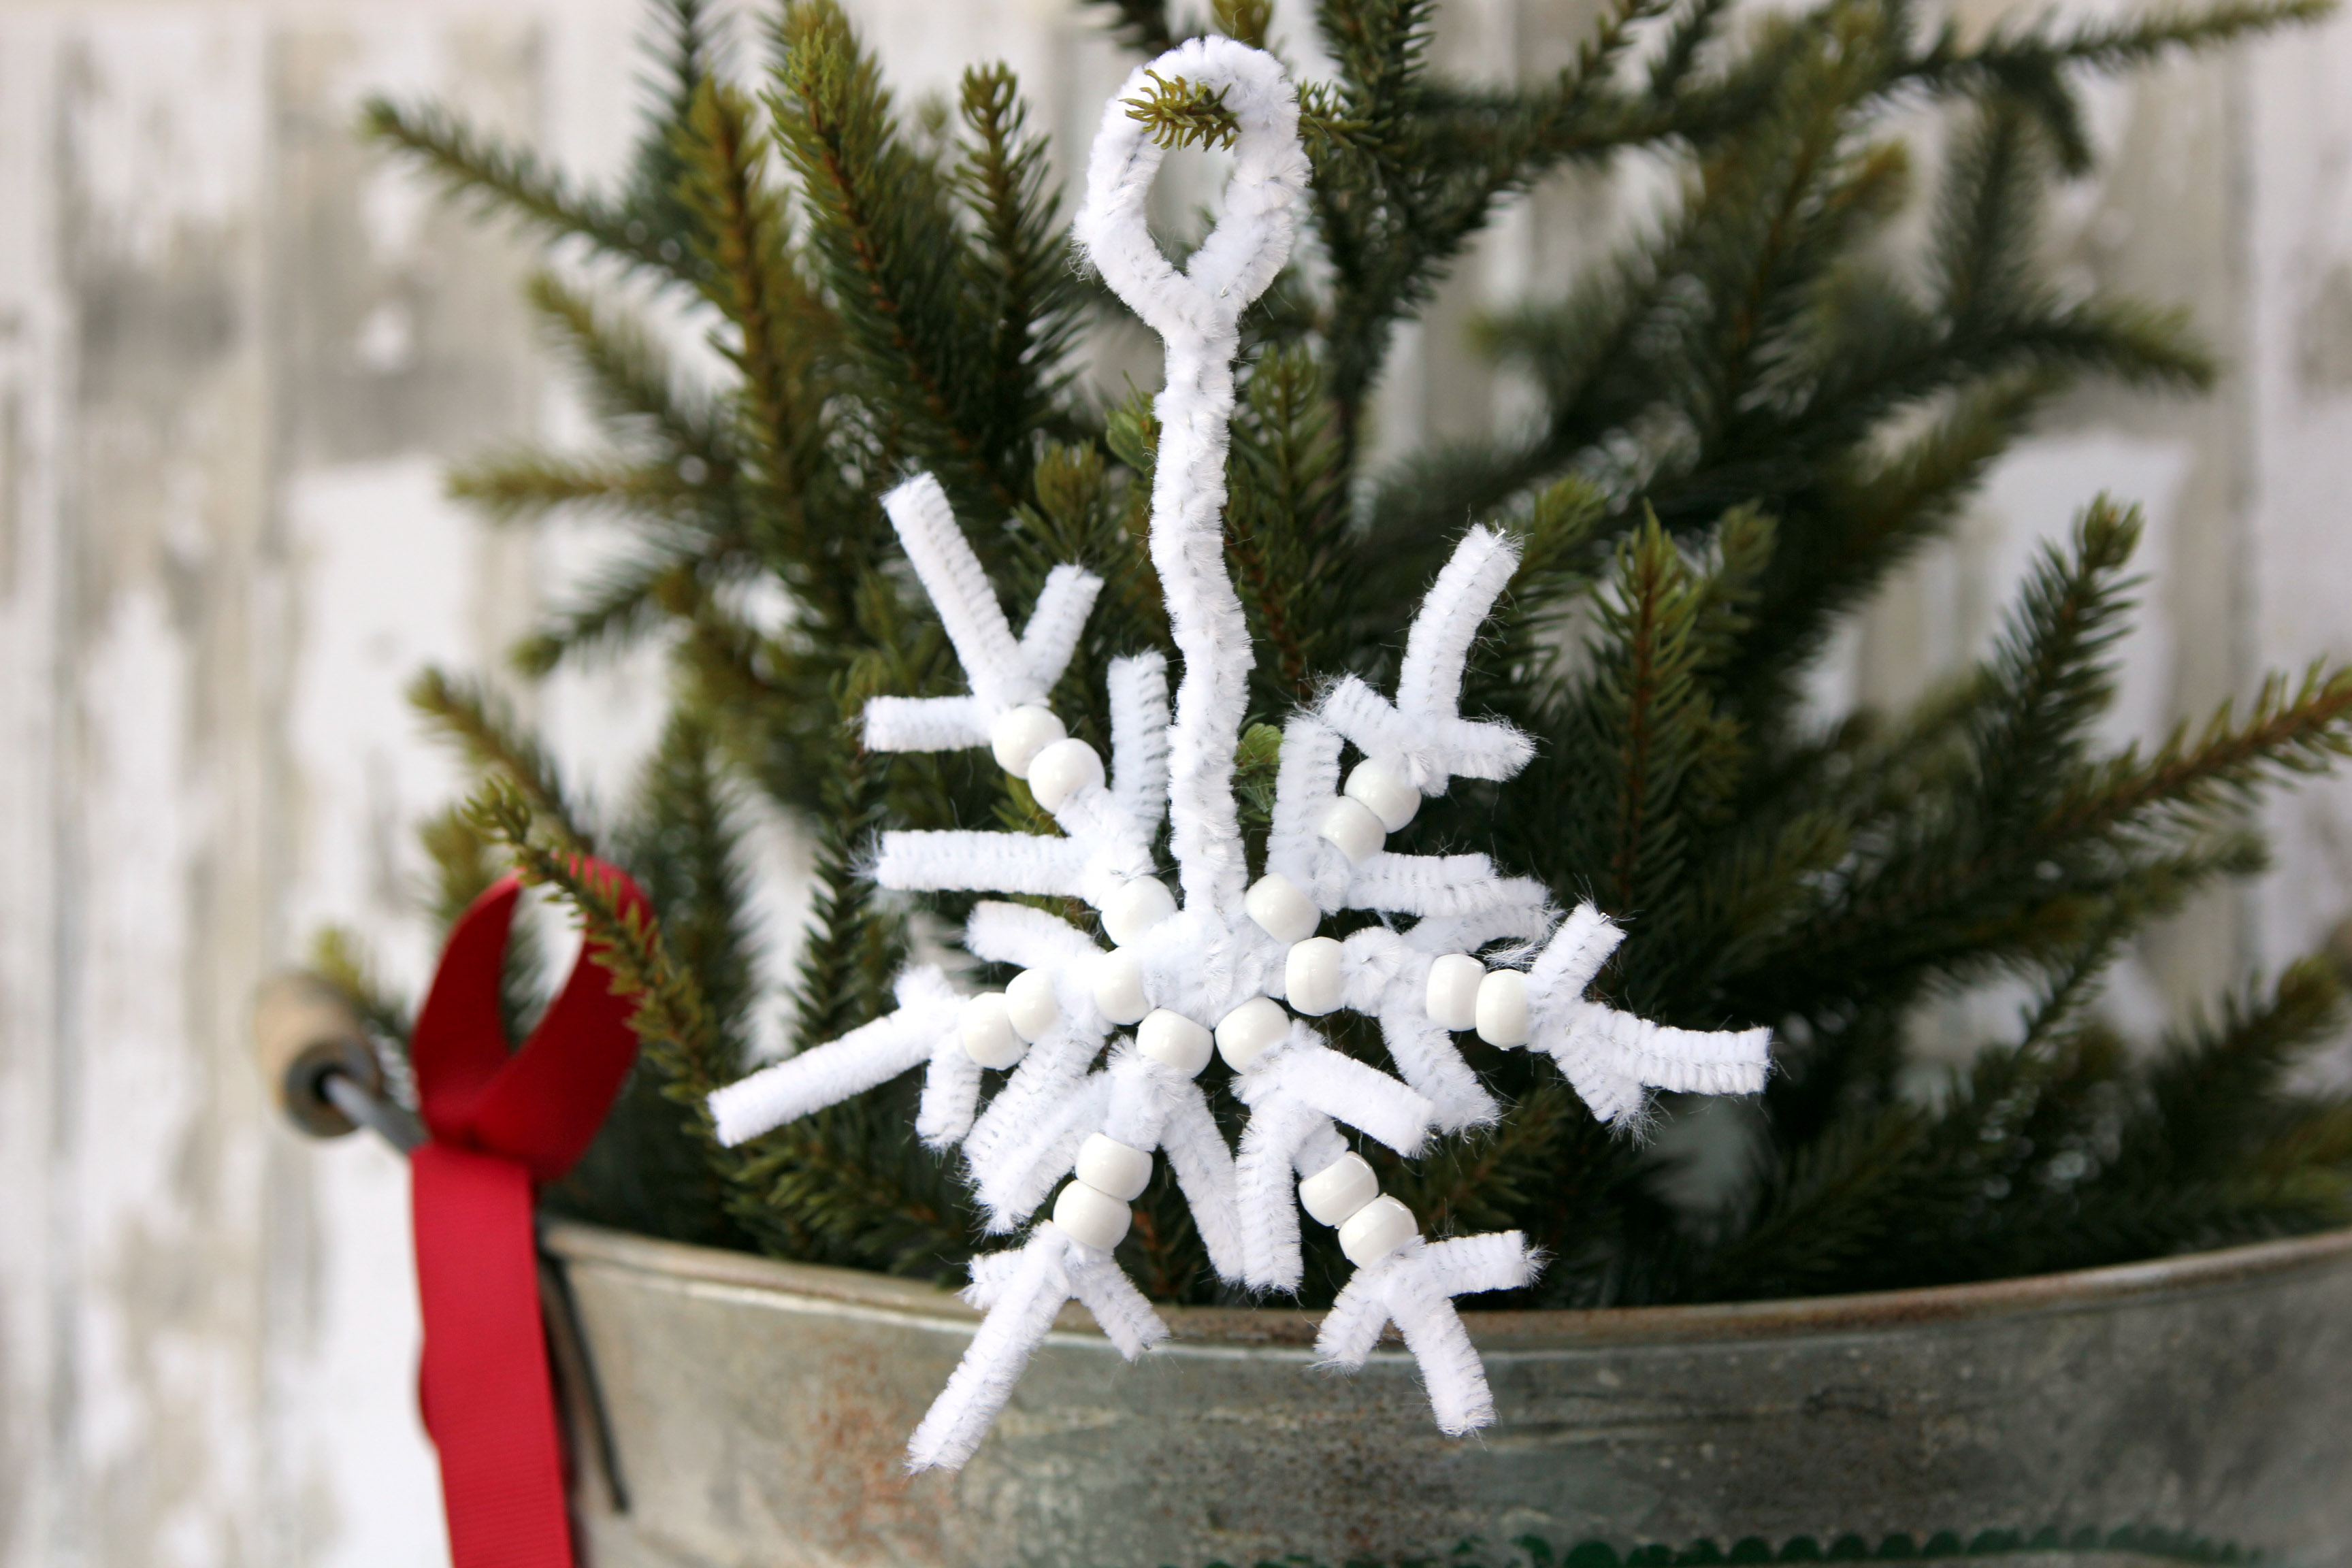
To create a hook for ornamental purposes, place a pipe cleaner under the completed snowflake. Next, wrap around and twist creating a hook.

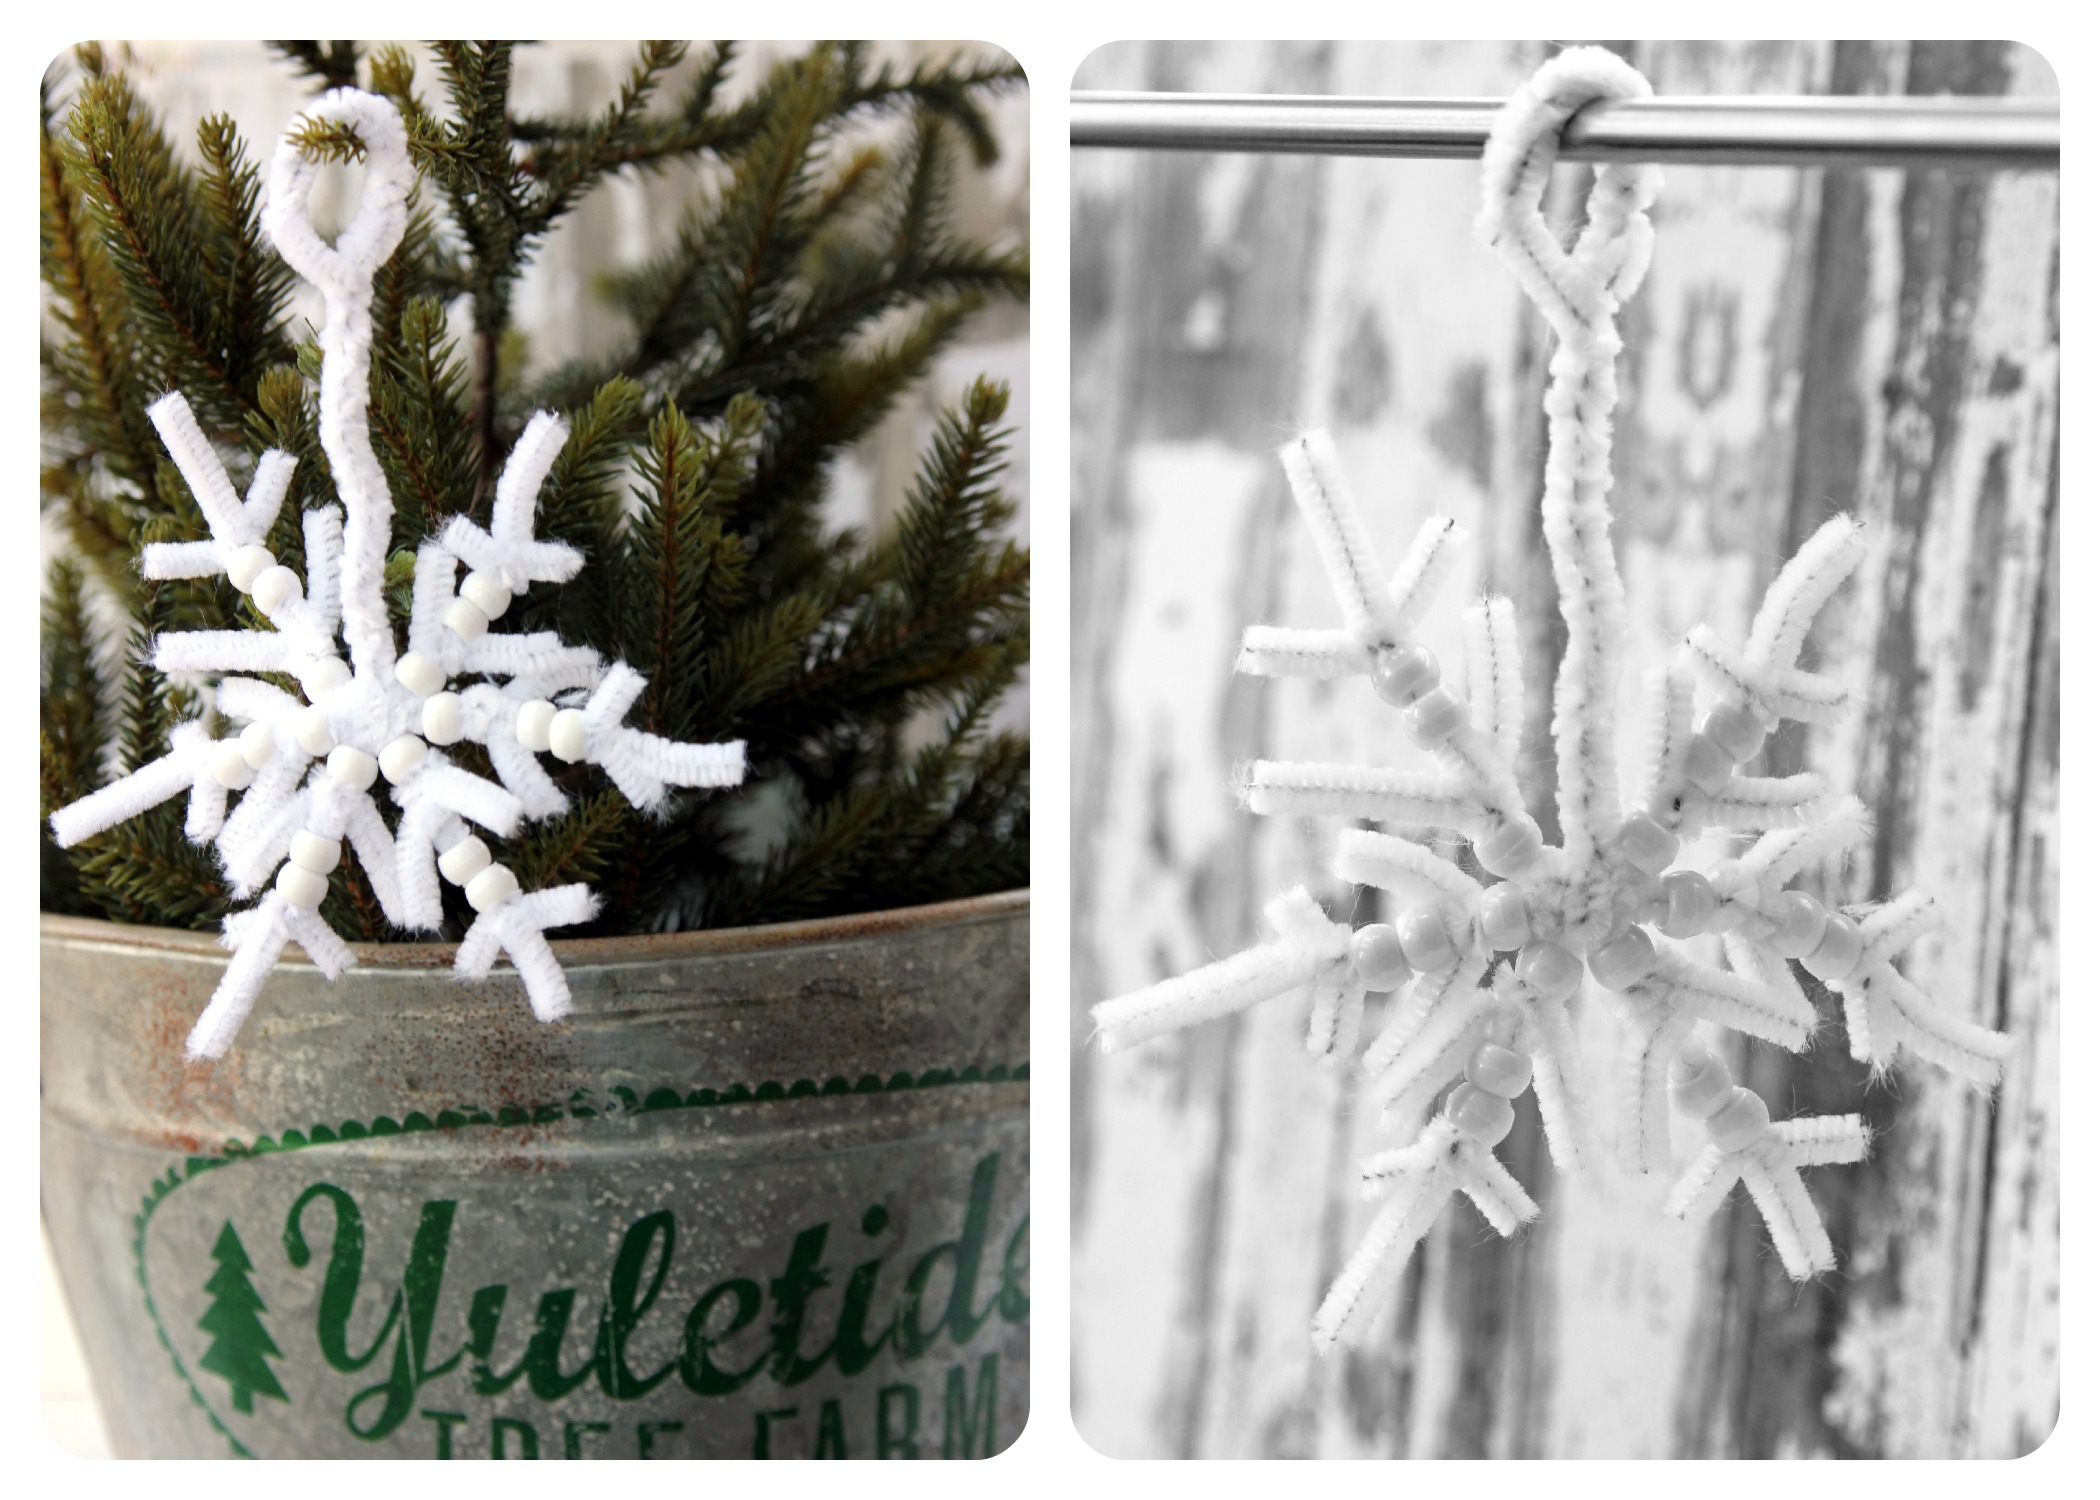
Done!
And there you have a super easy & simple winter craft: pipe cleaner snowflakes!