Step-by-step tutorial
Step 1
First, start by creating bases for your time markers: roll out little balls of clay, about 1 inch wide. Gently press them onto a tabletop surface to create a flat bottom; this will help prevent unwanted rolling!
We made nine, but you can make more - try creating one for each hour of daylight.

Step 2
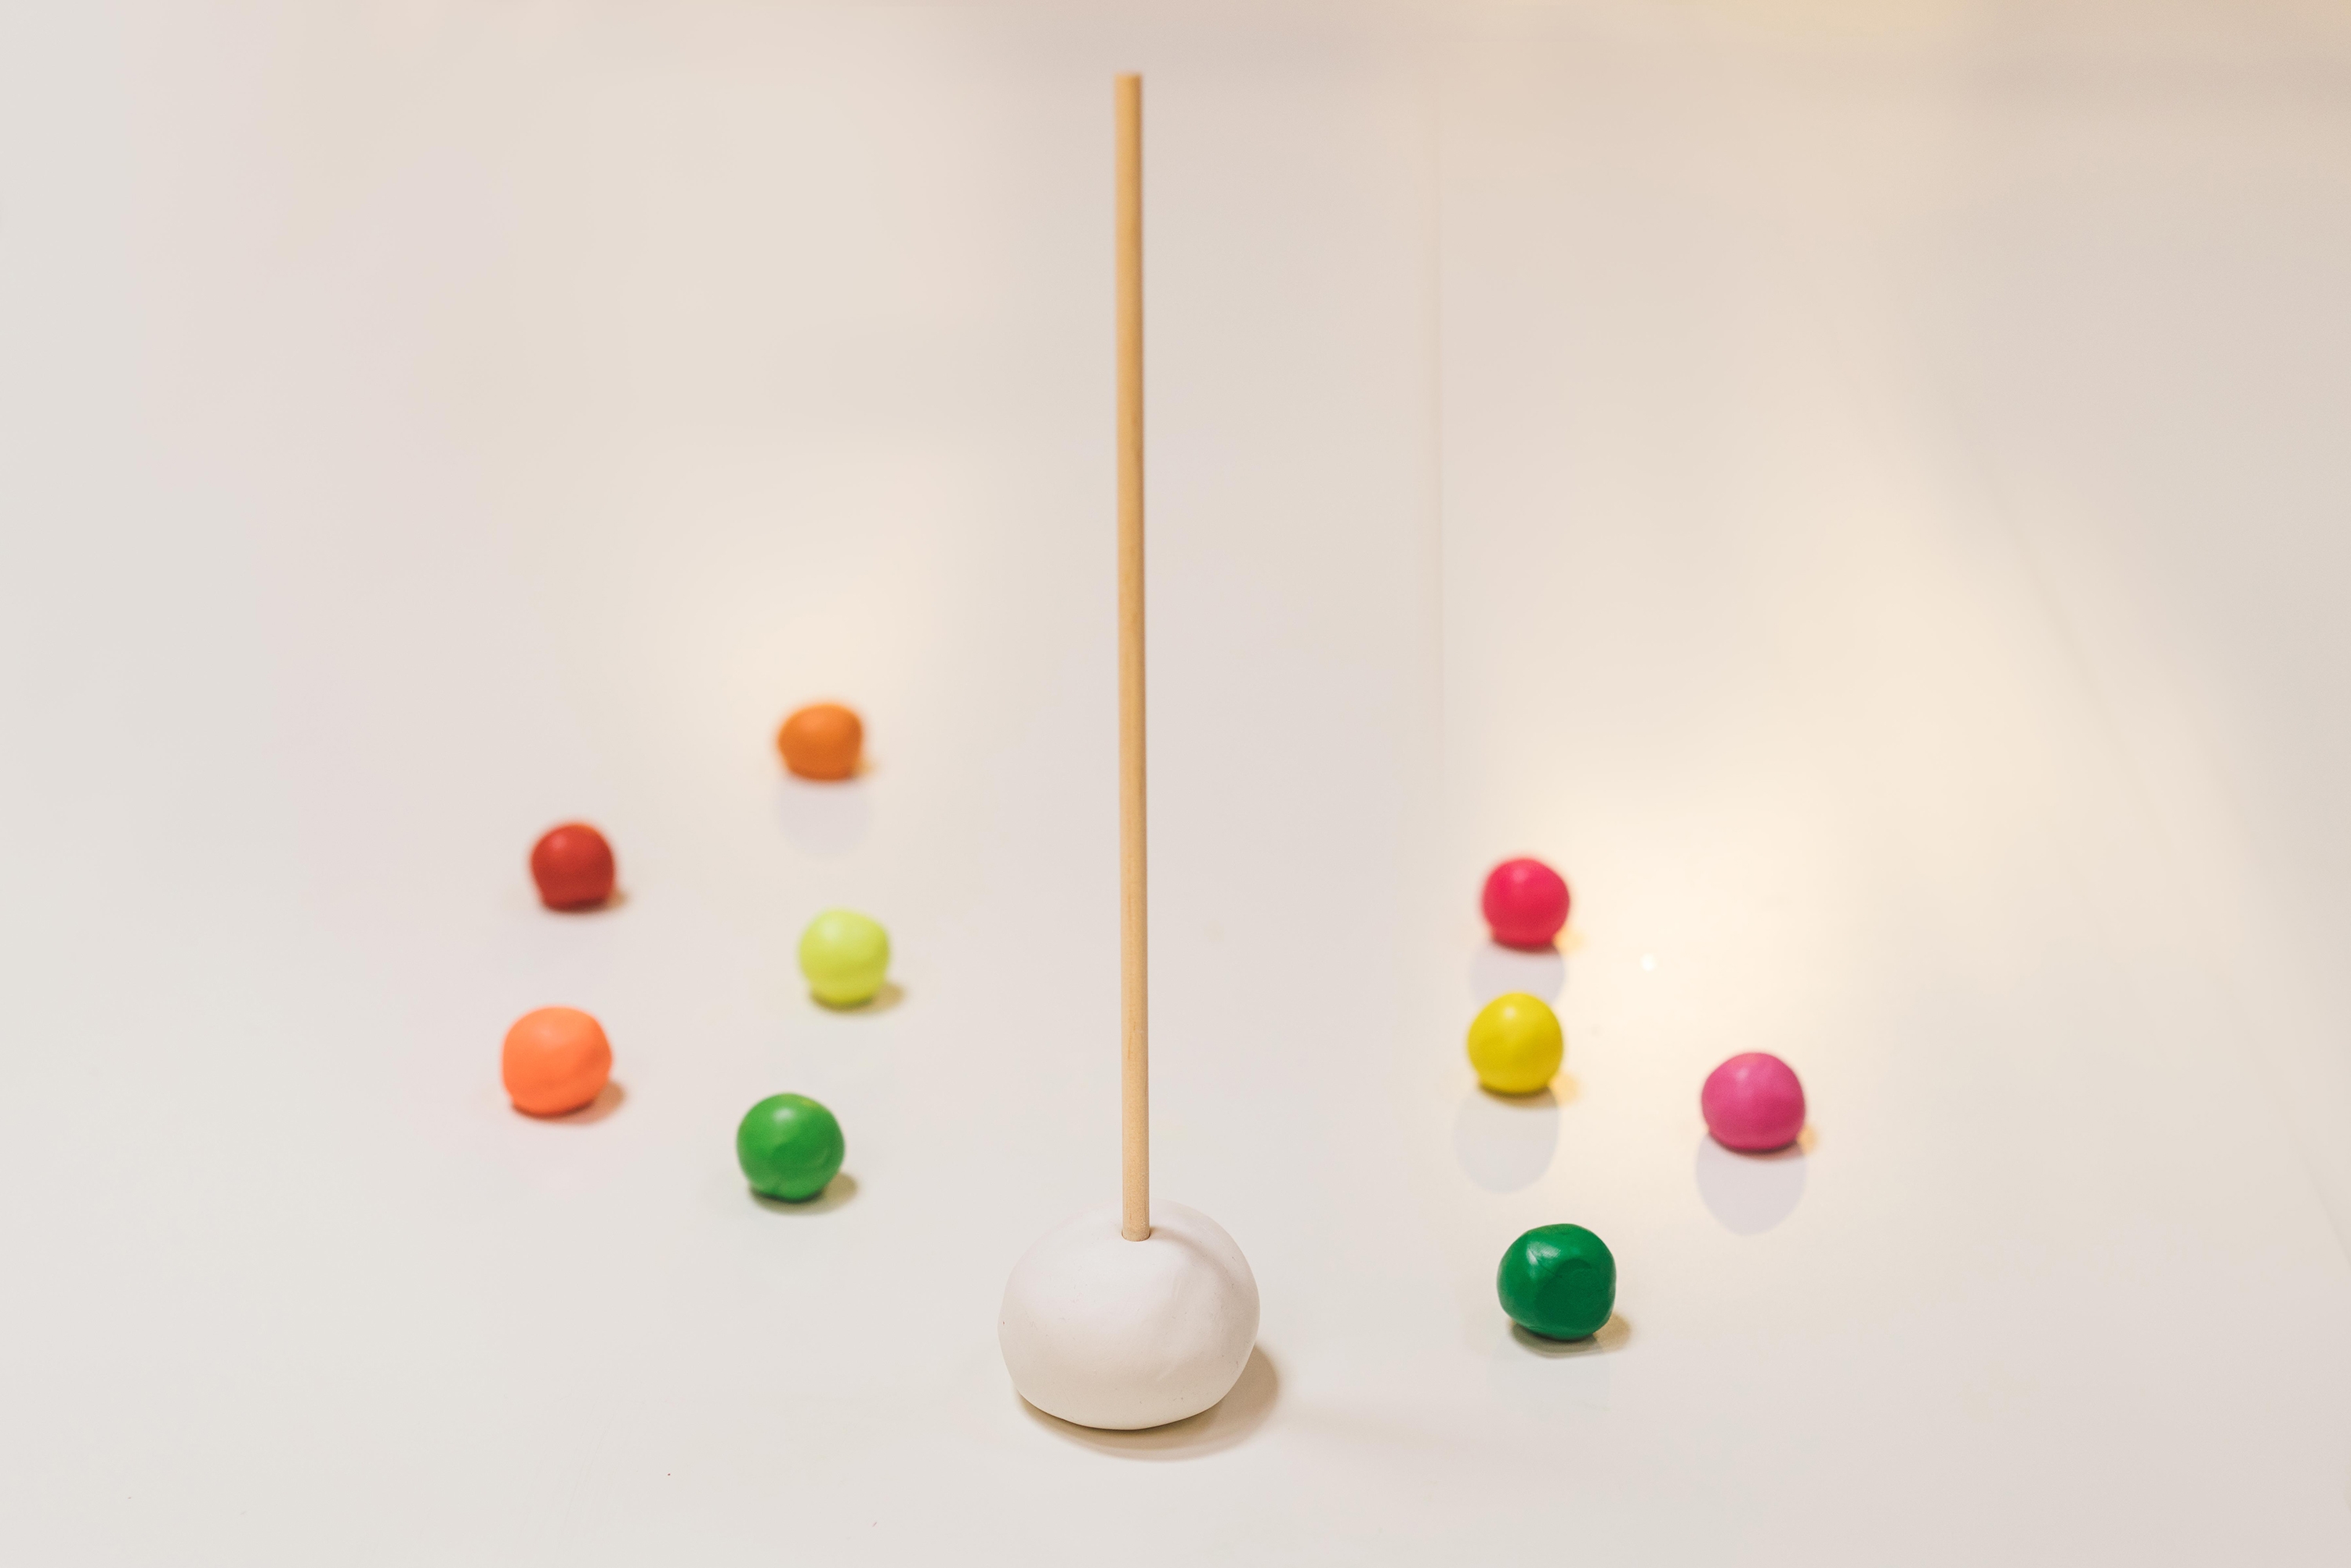
Roll out one larger ball of clay, about 3 inches (7.6 cm) wide. Stick one end of the wooden stick into the clay. This will be the gnomon (pronounced "no-men"), or the center part of your sundial that creates the shadow marking the time of day.
Step 3
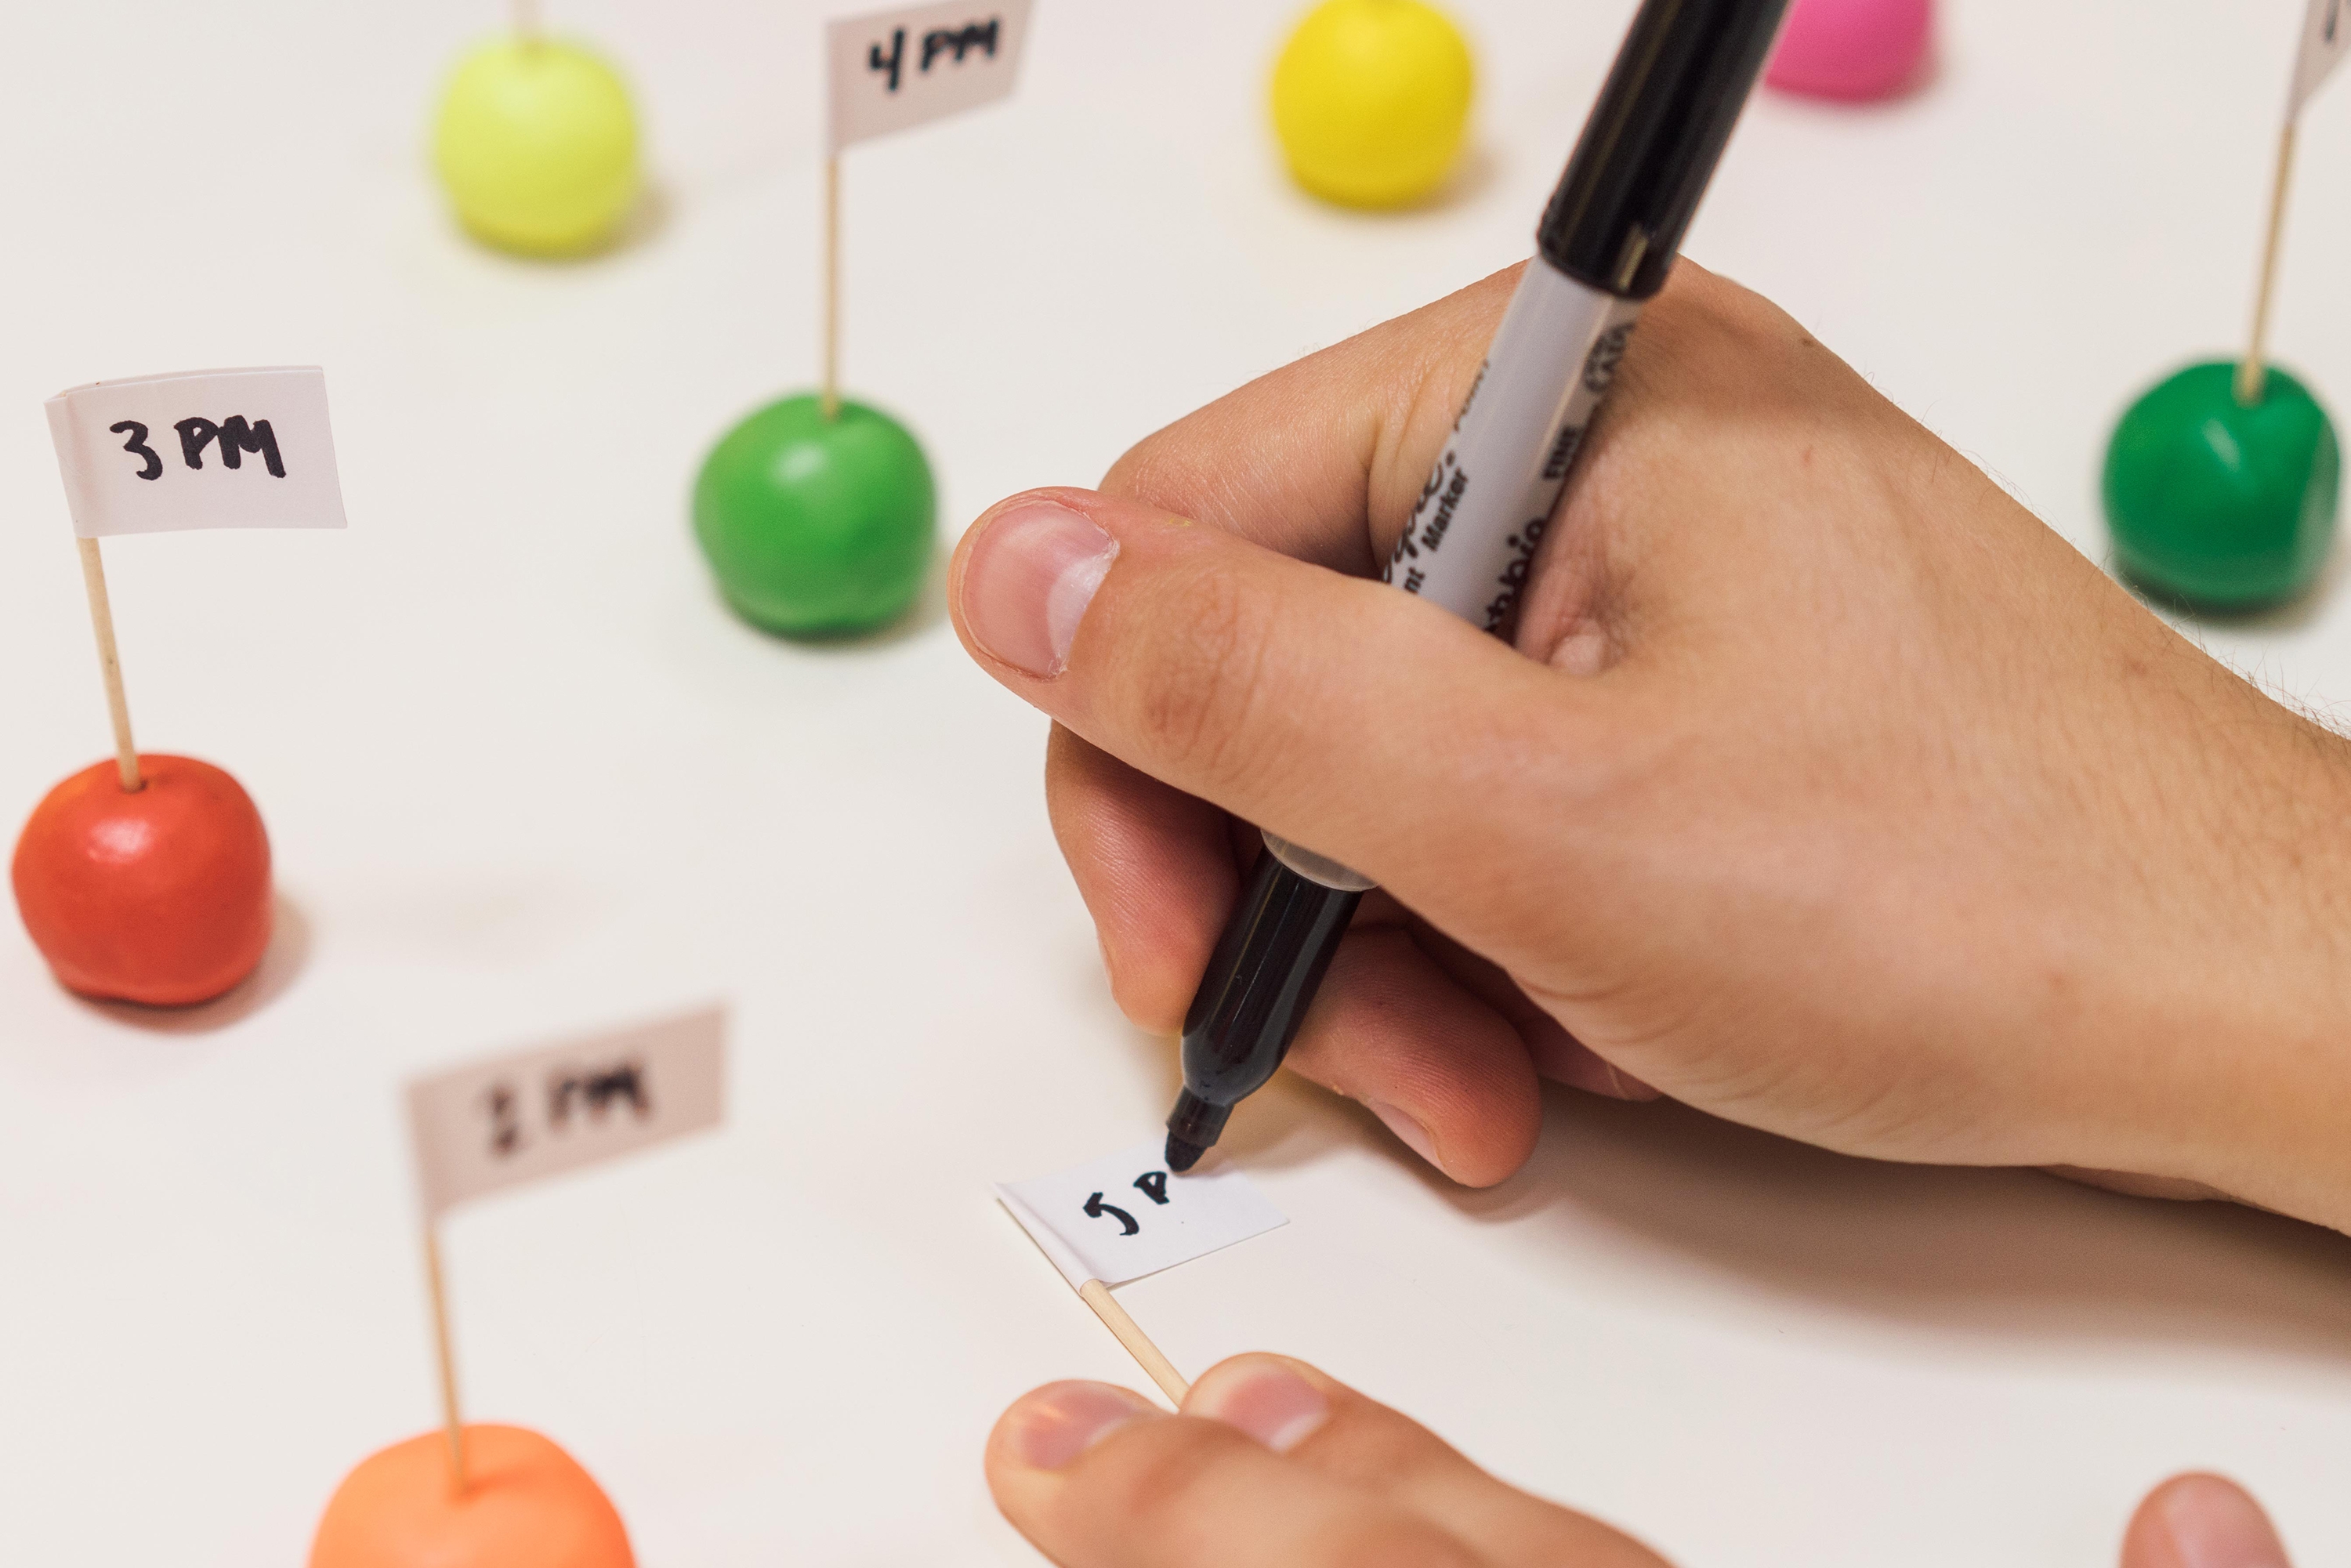
To create the time marker flags, fold white labels or tape over toothpick ends. Write out different hours on each flag (1 pm, 2 pm, etc). Stick the other end of the toothpick into each ball of clay.
Step 4
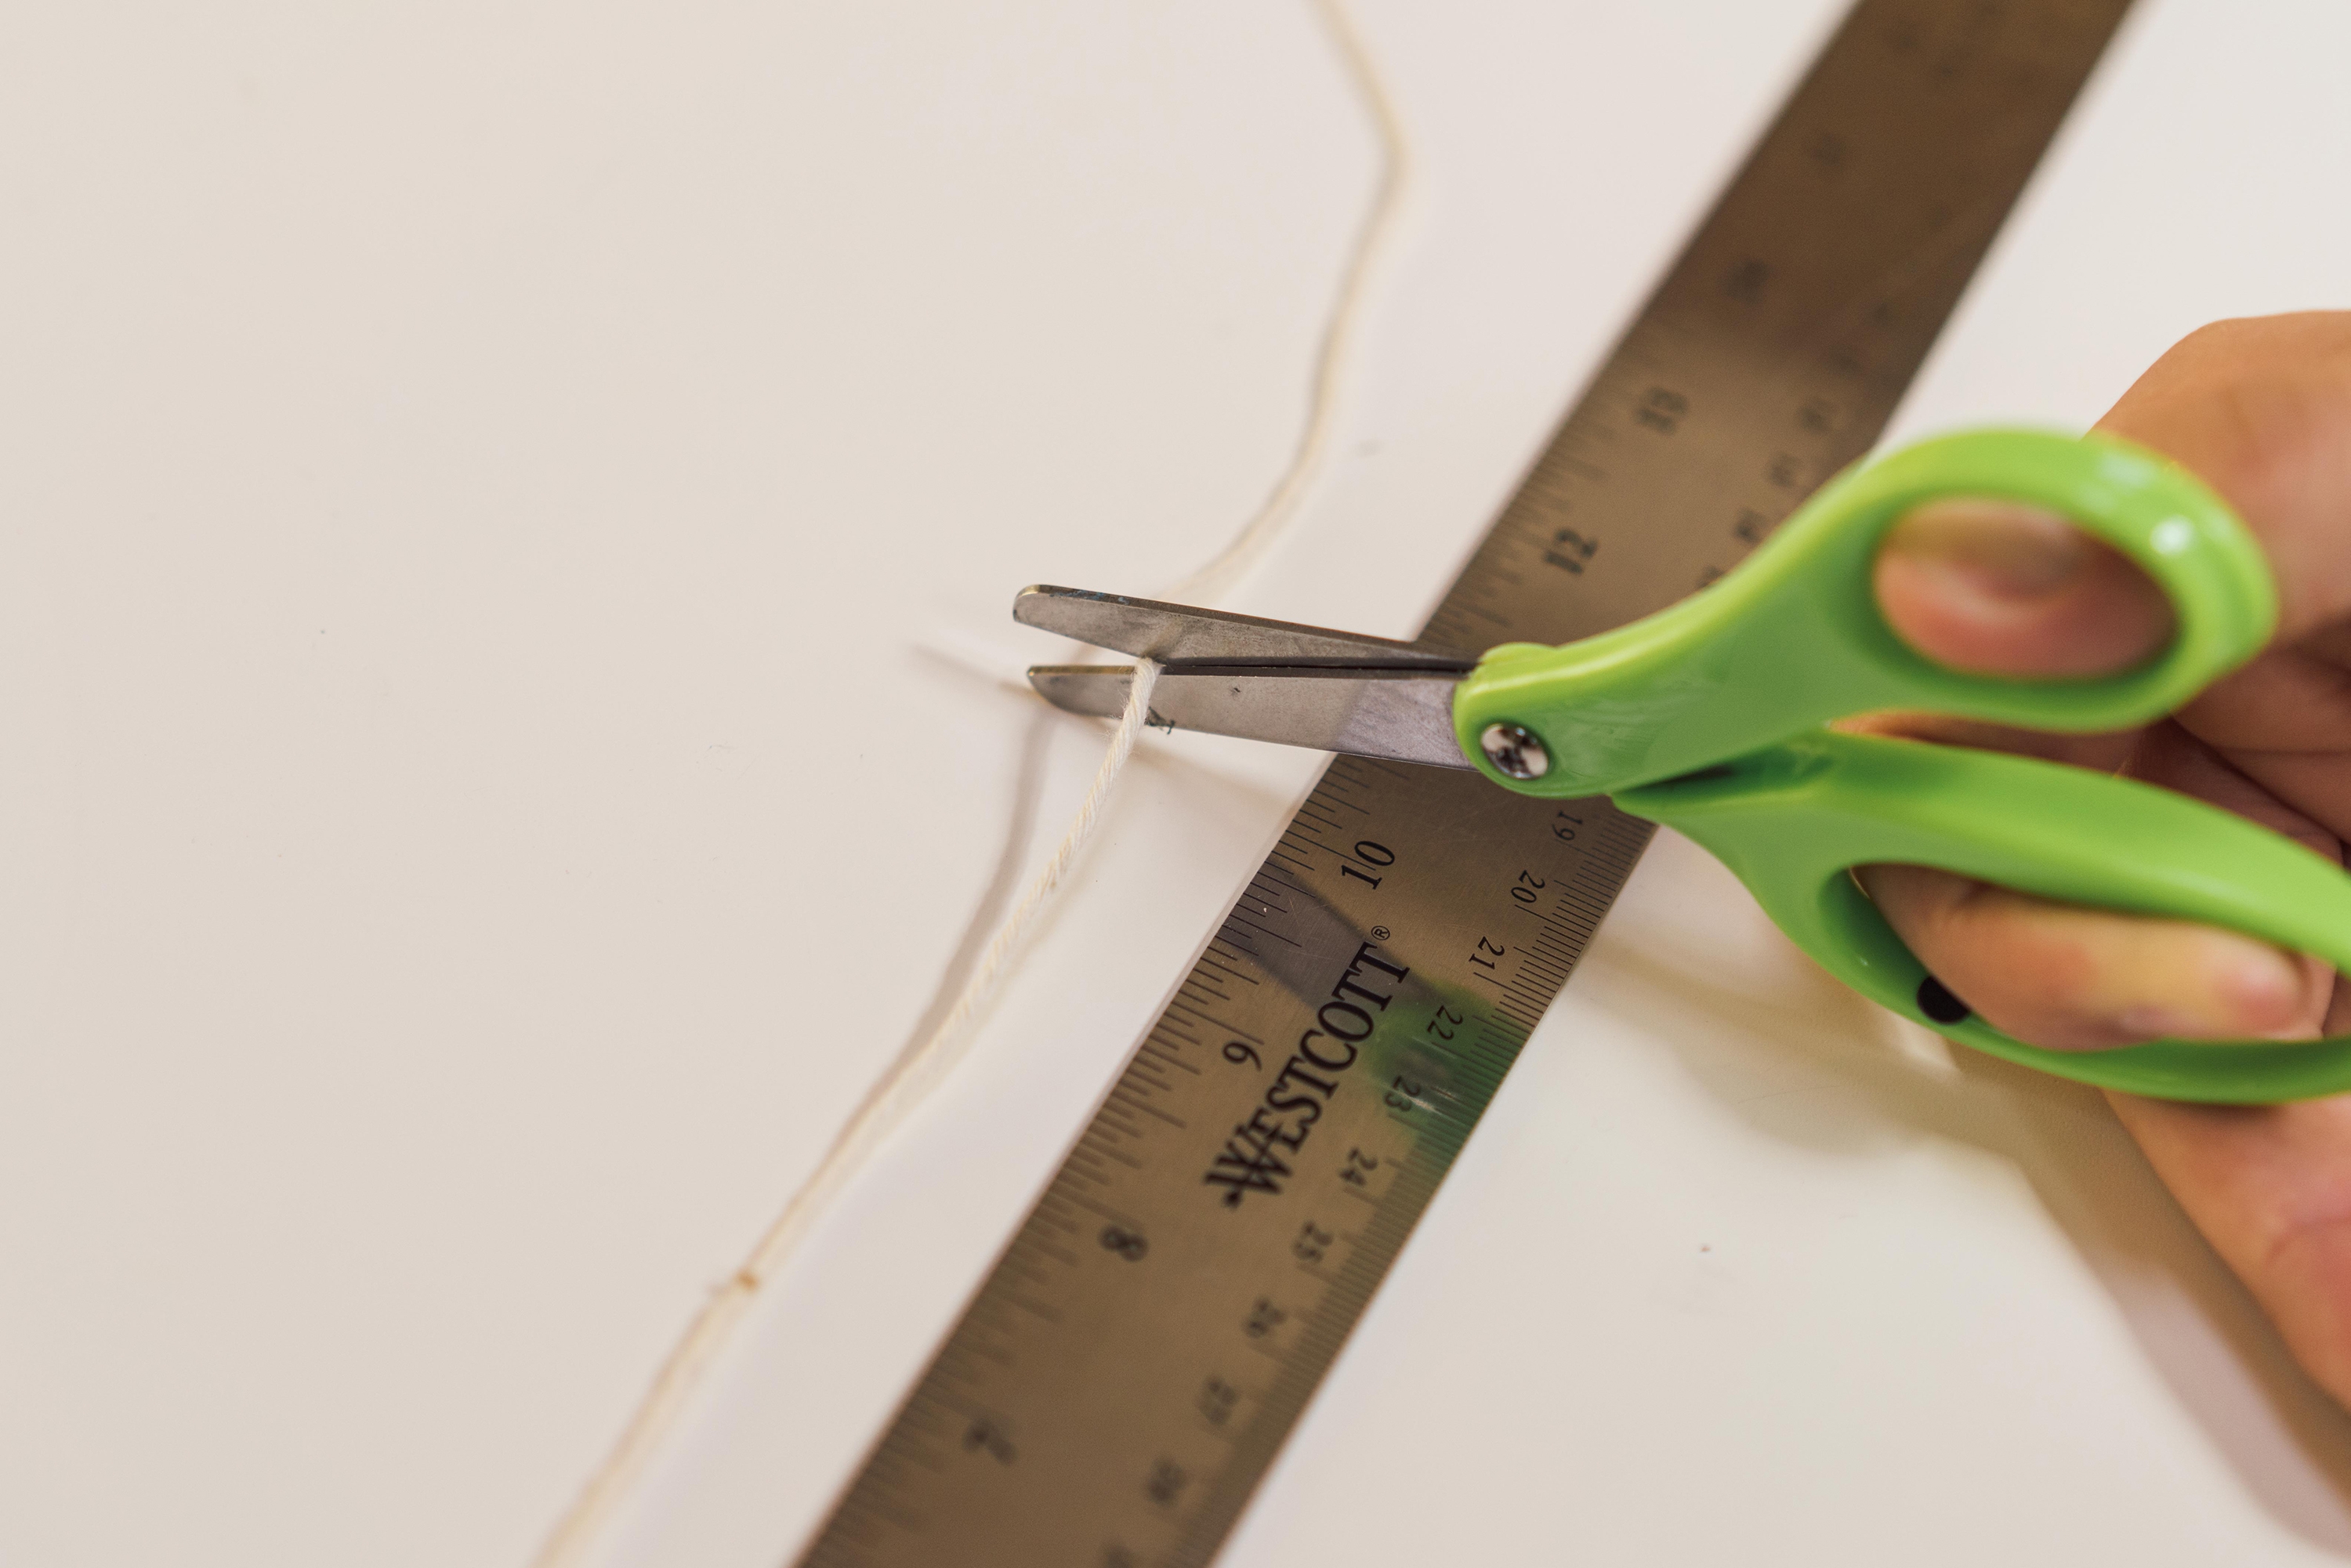
Cut a piece of string about 10 inches (25.4 cm) long. This will be our guide to ensure our time markers are placed equidistant from the center point or gnomon, which also improves accuracy.
Step 5
Now go outside and find a nice sunny spot to place your sundial, where it won't be disturbed.
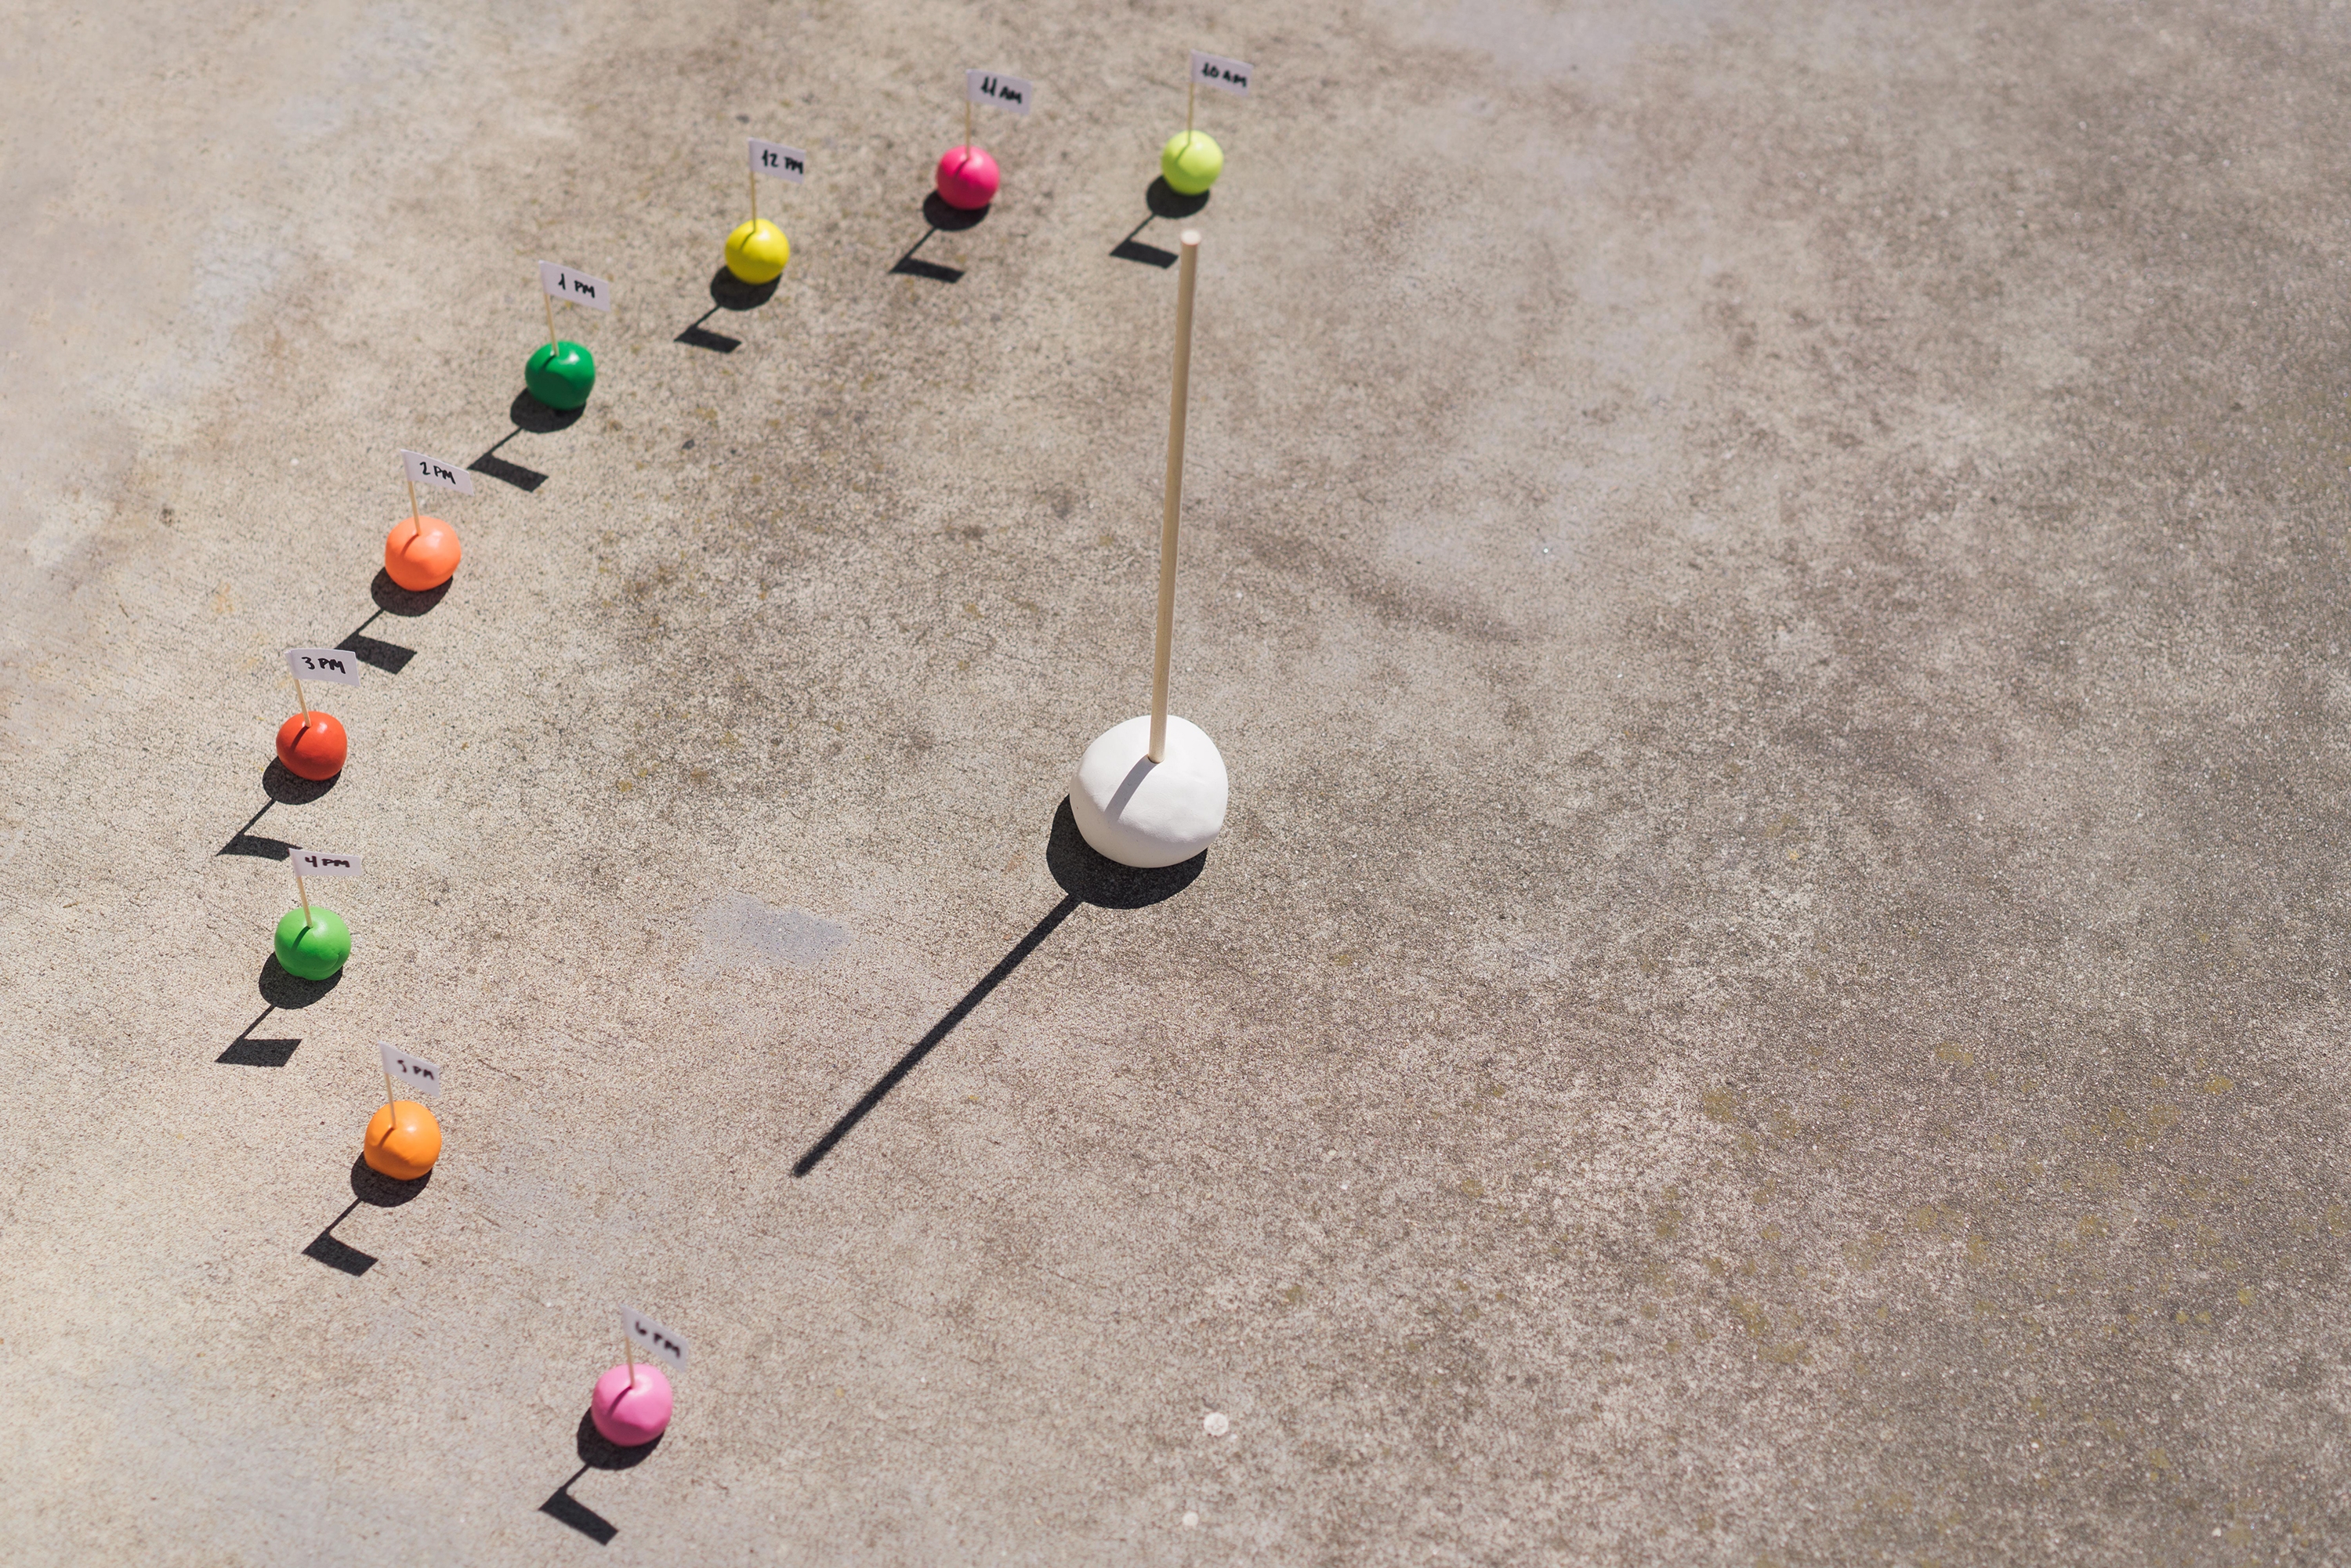
Place your gnomon in the center of where you want to build your sundial. At the top of the hour (ie. 10 am, not 10:30 am), align the string with the shadow of the stick, so that one end of the string starts at the gnomon. Place the appropriate time marker at the other end of the string.
Continue placing time markers, with the help of the string, at each subsequent hour of the day.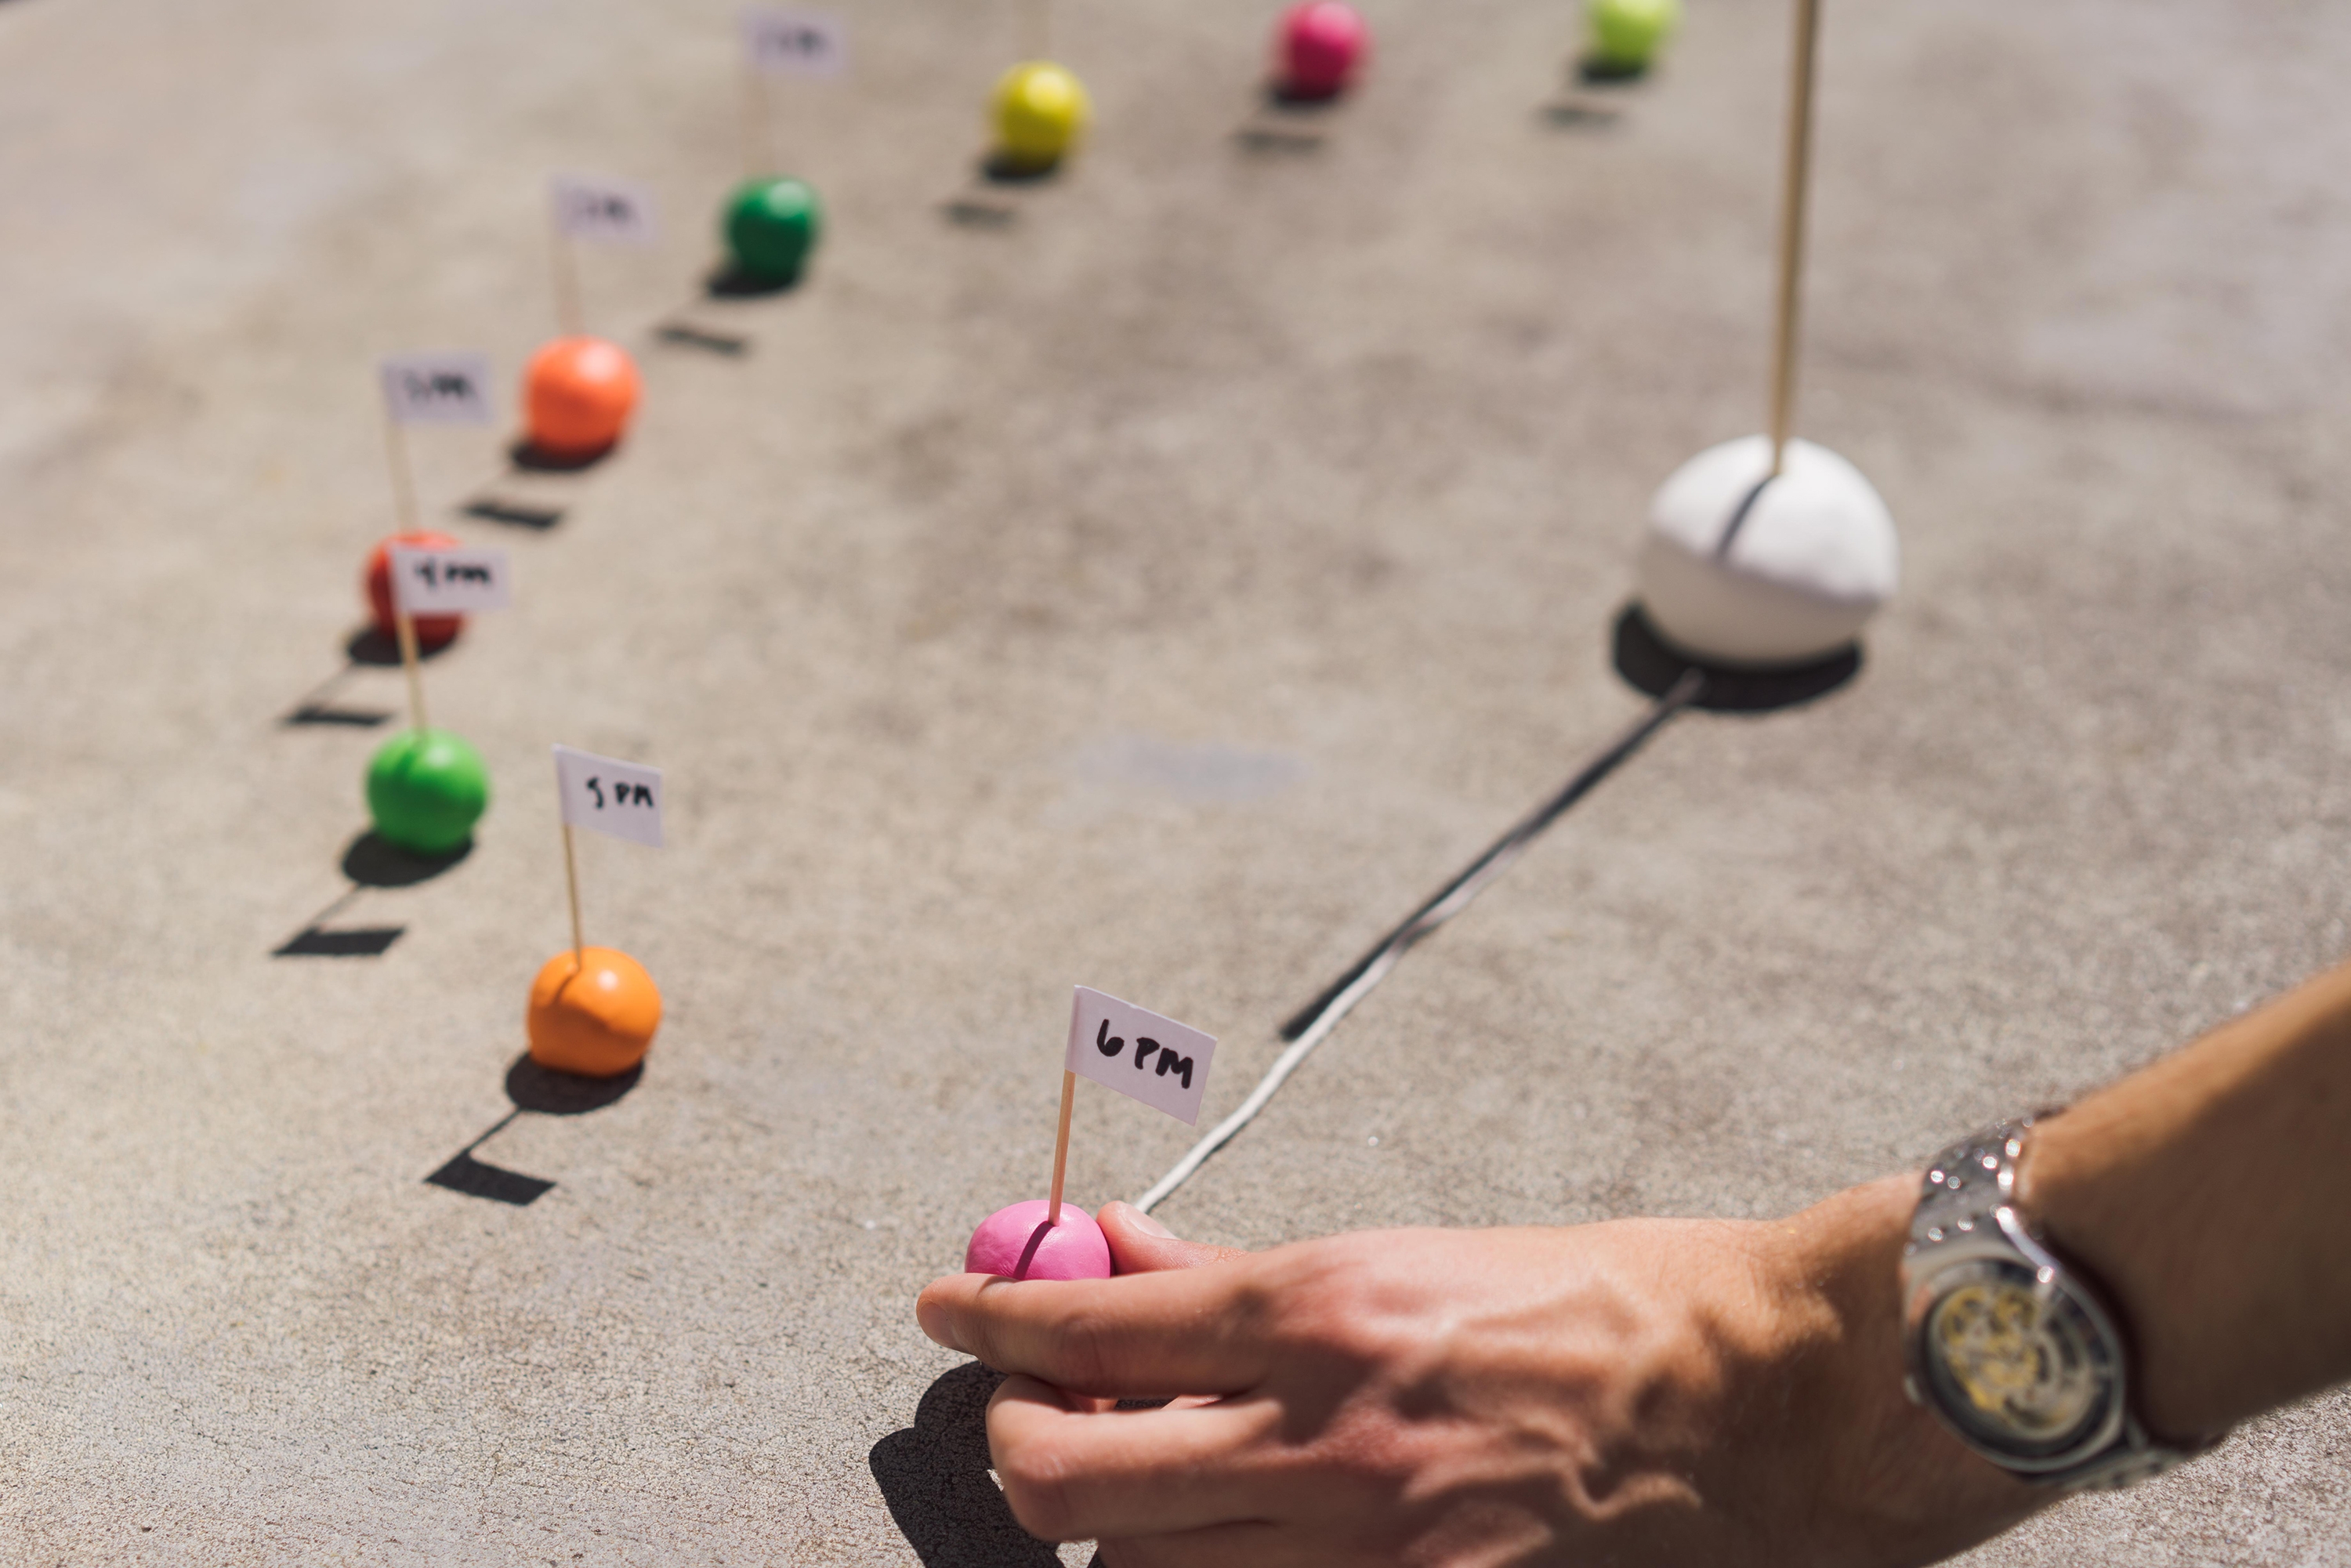
Done!
By the end of the day, you should have all of your markers placed in a semi-circle around your gnomon, thus creating a sundial!