Step-by-step tutorial
Step 1
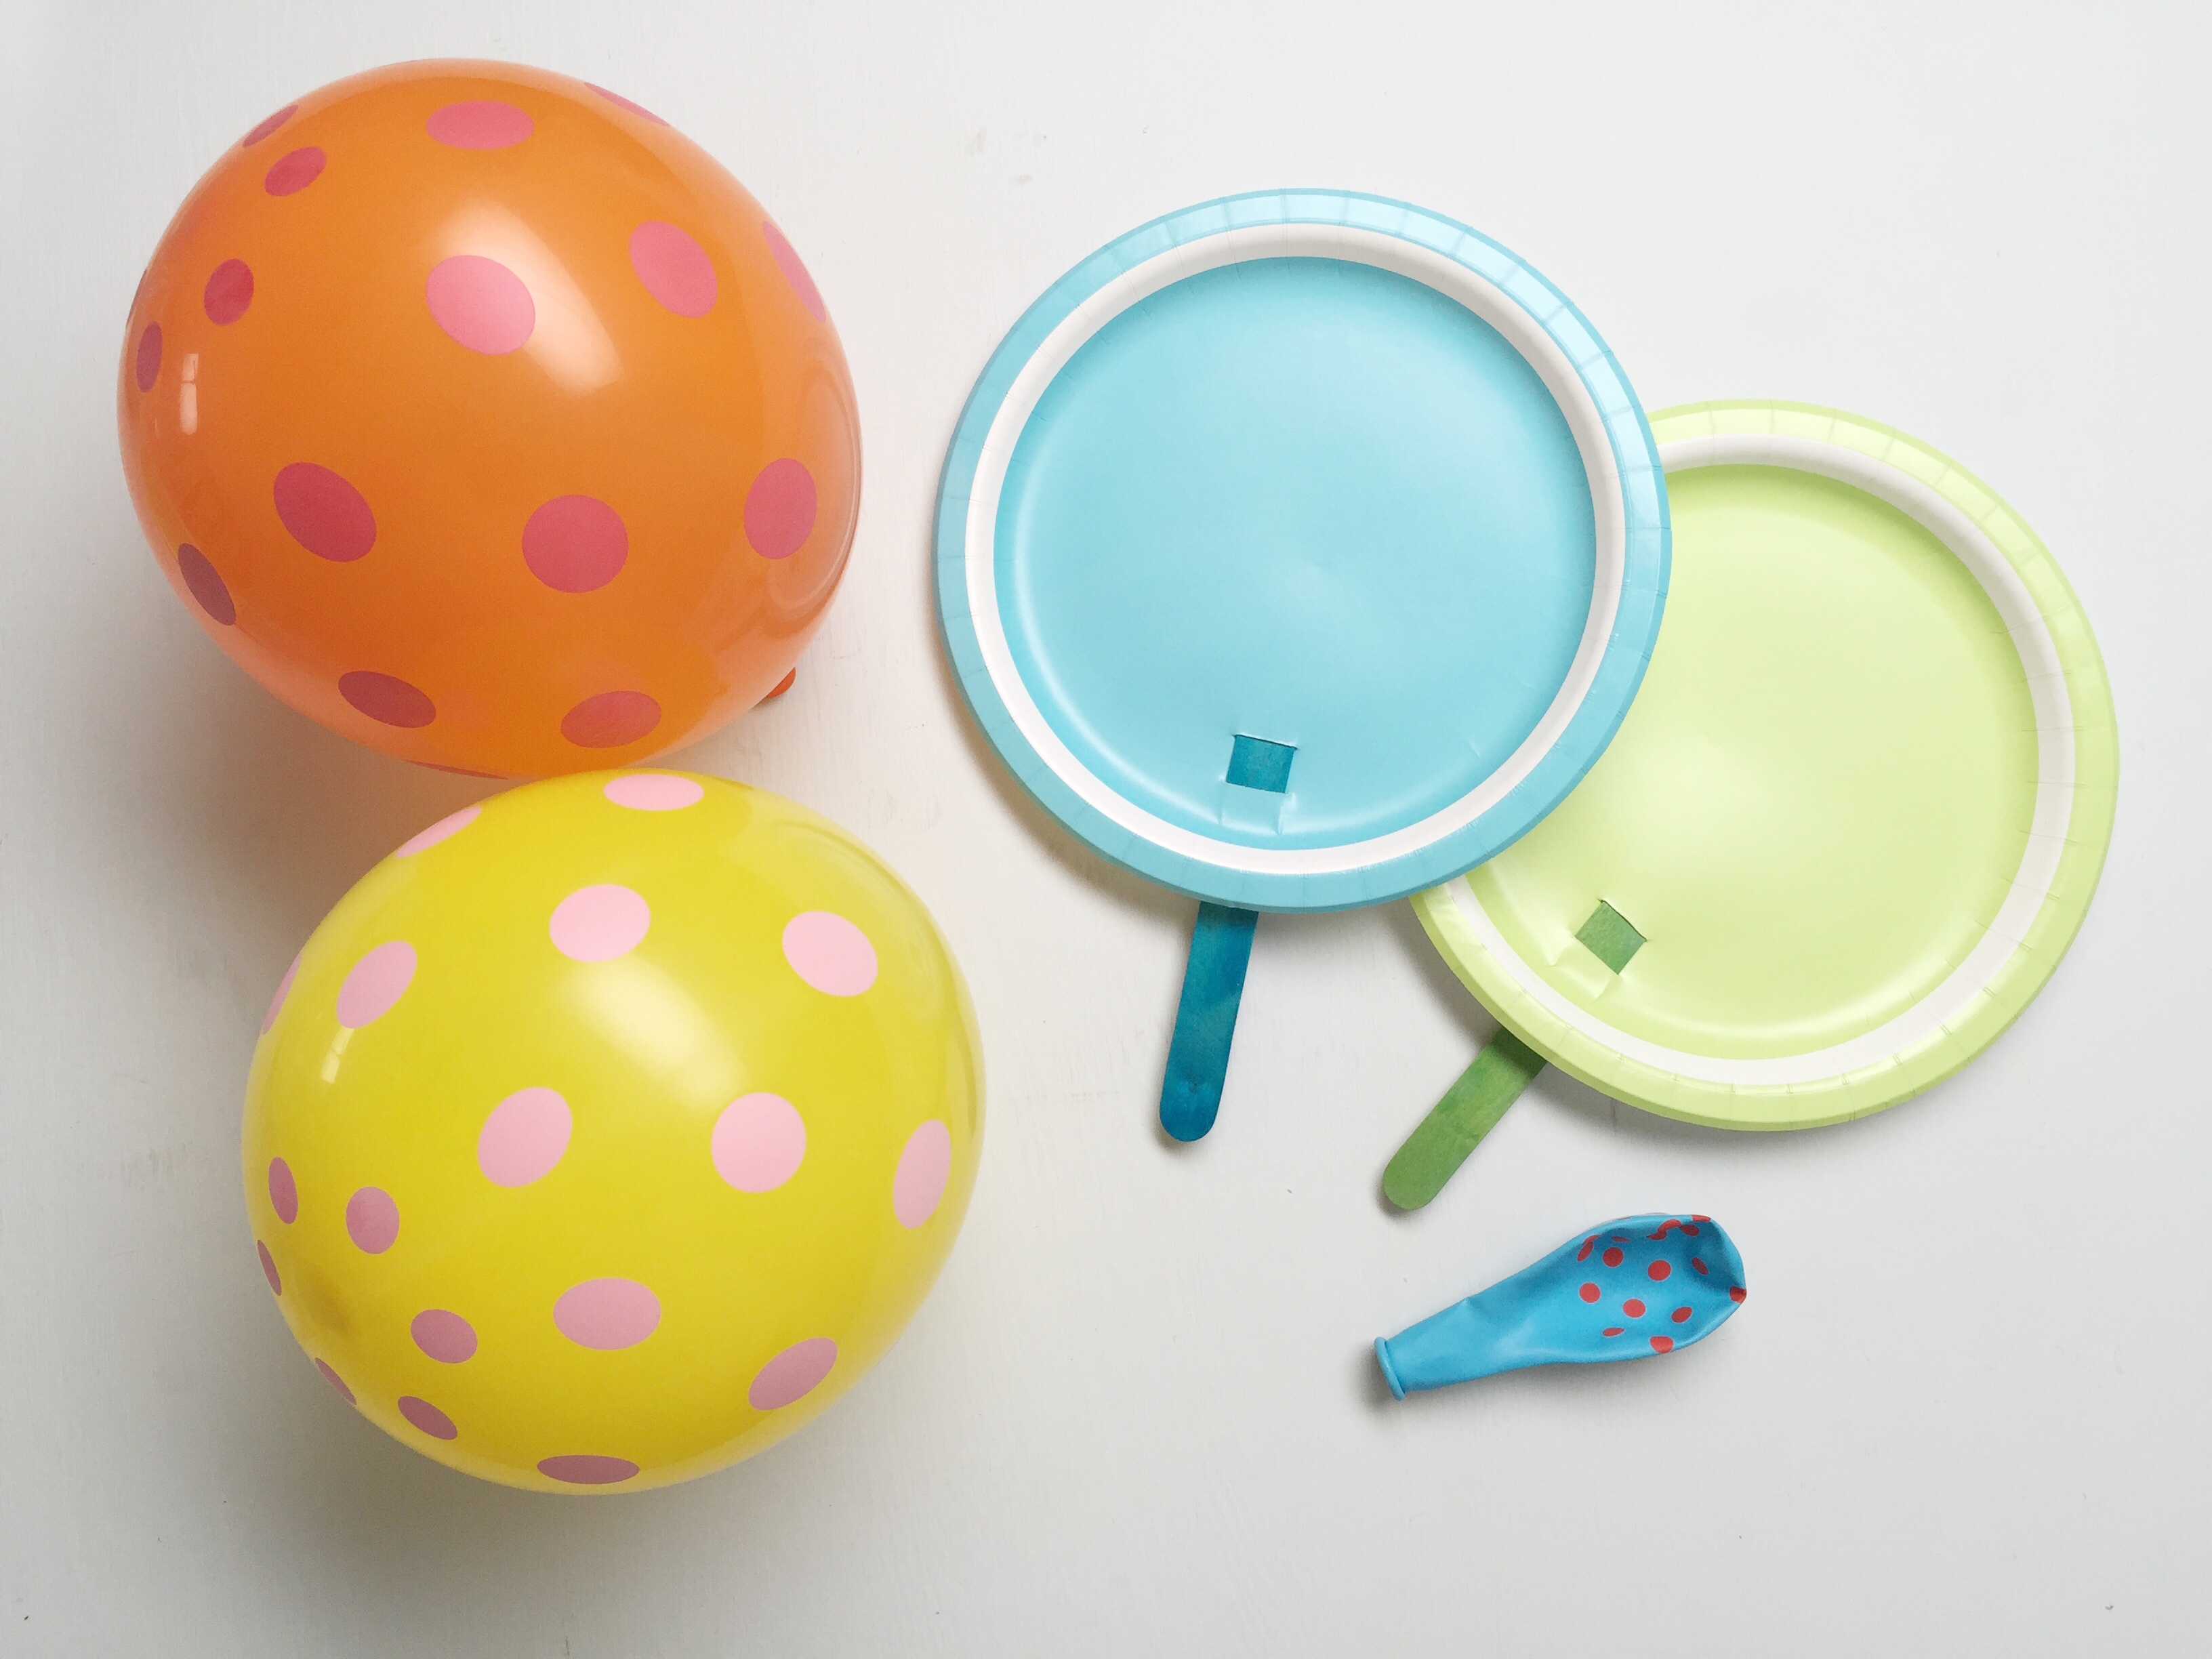
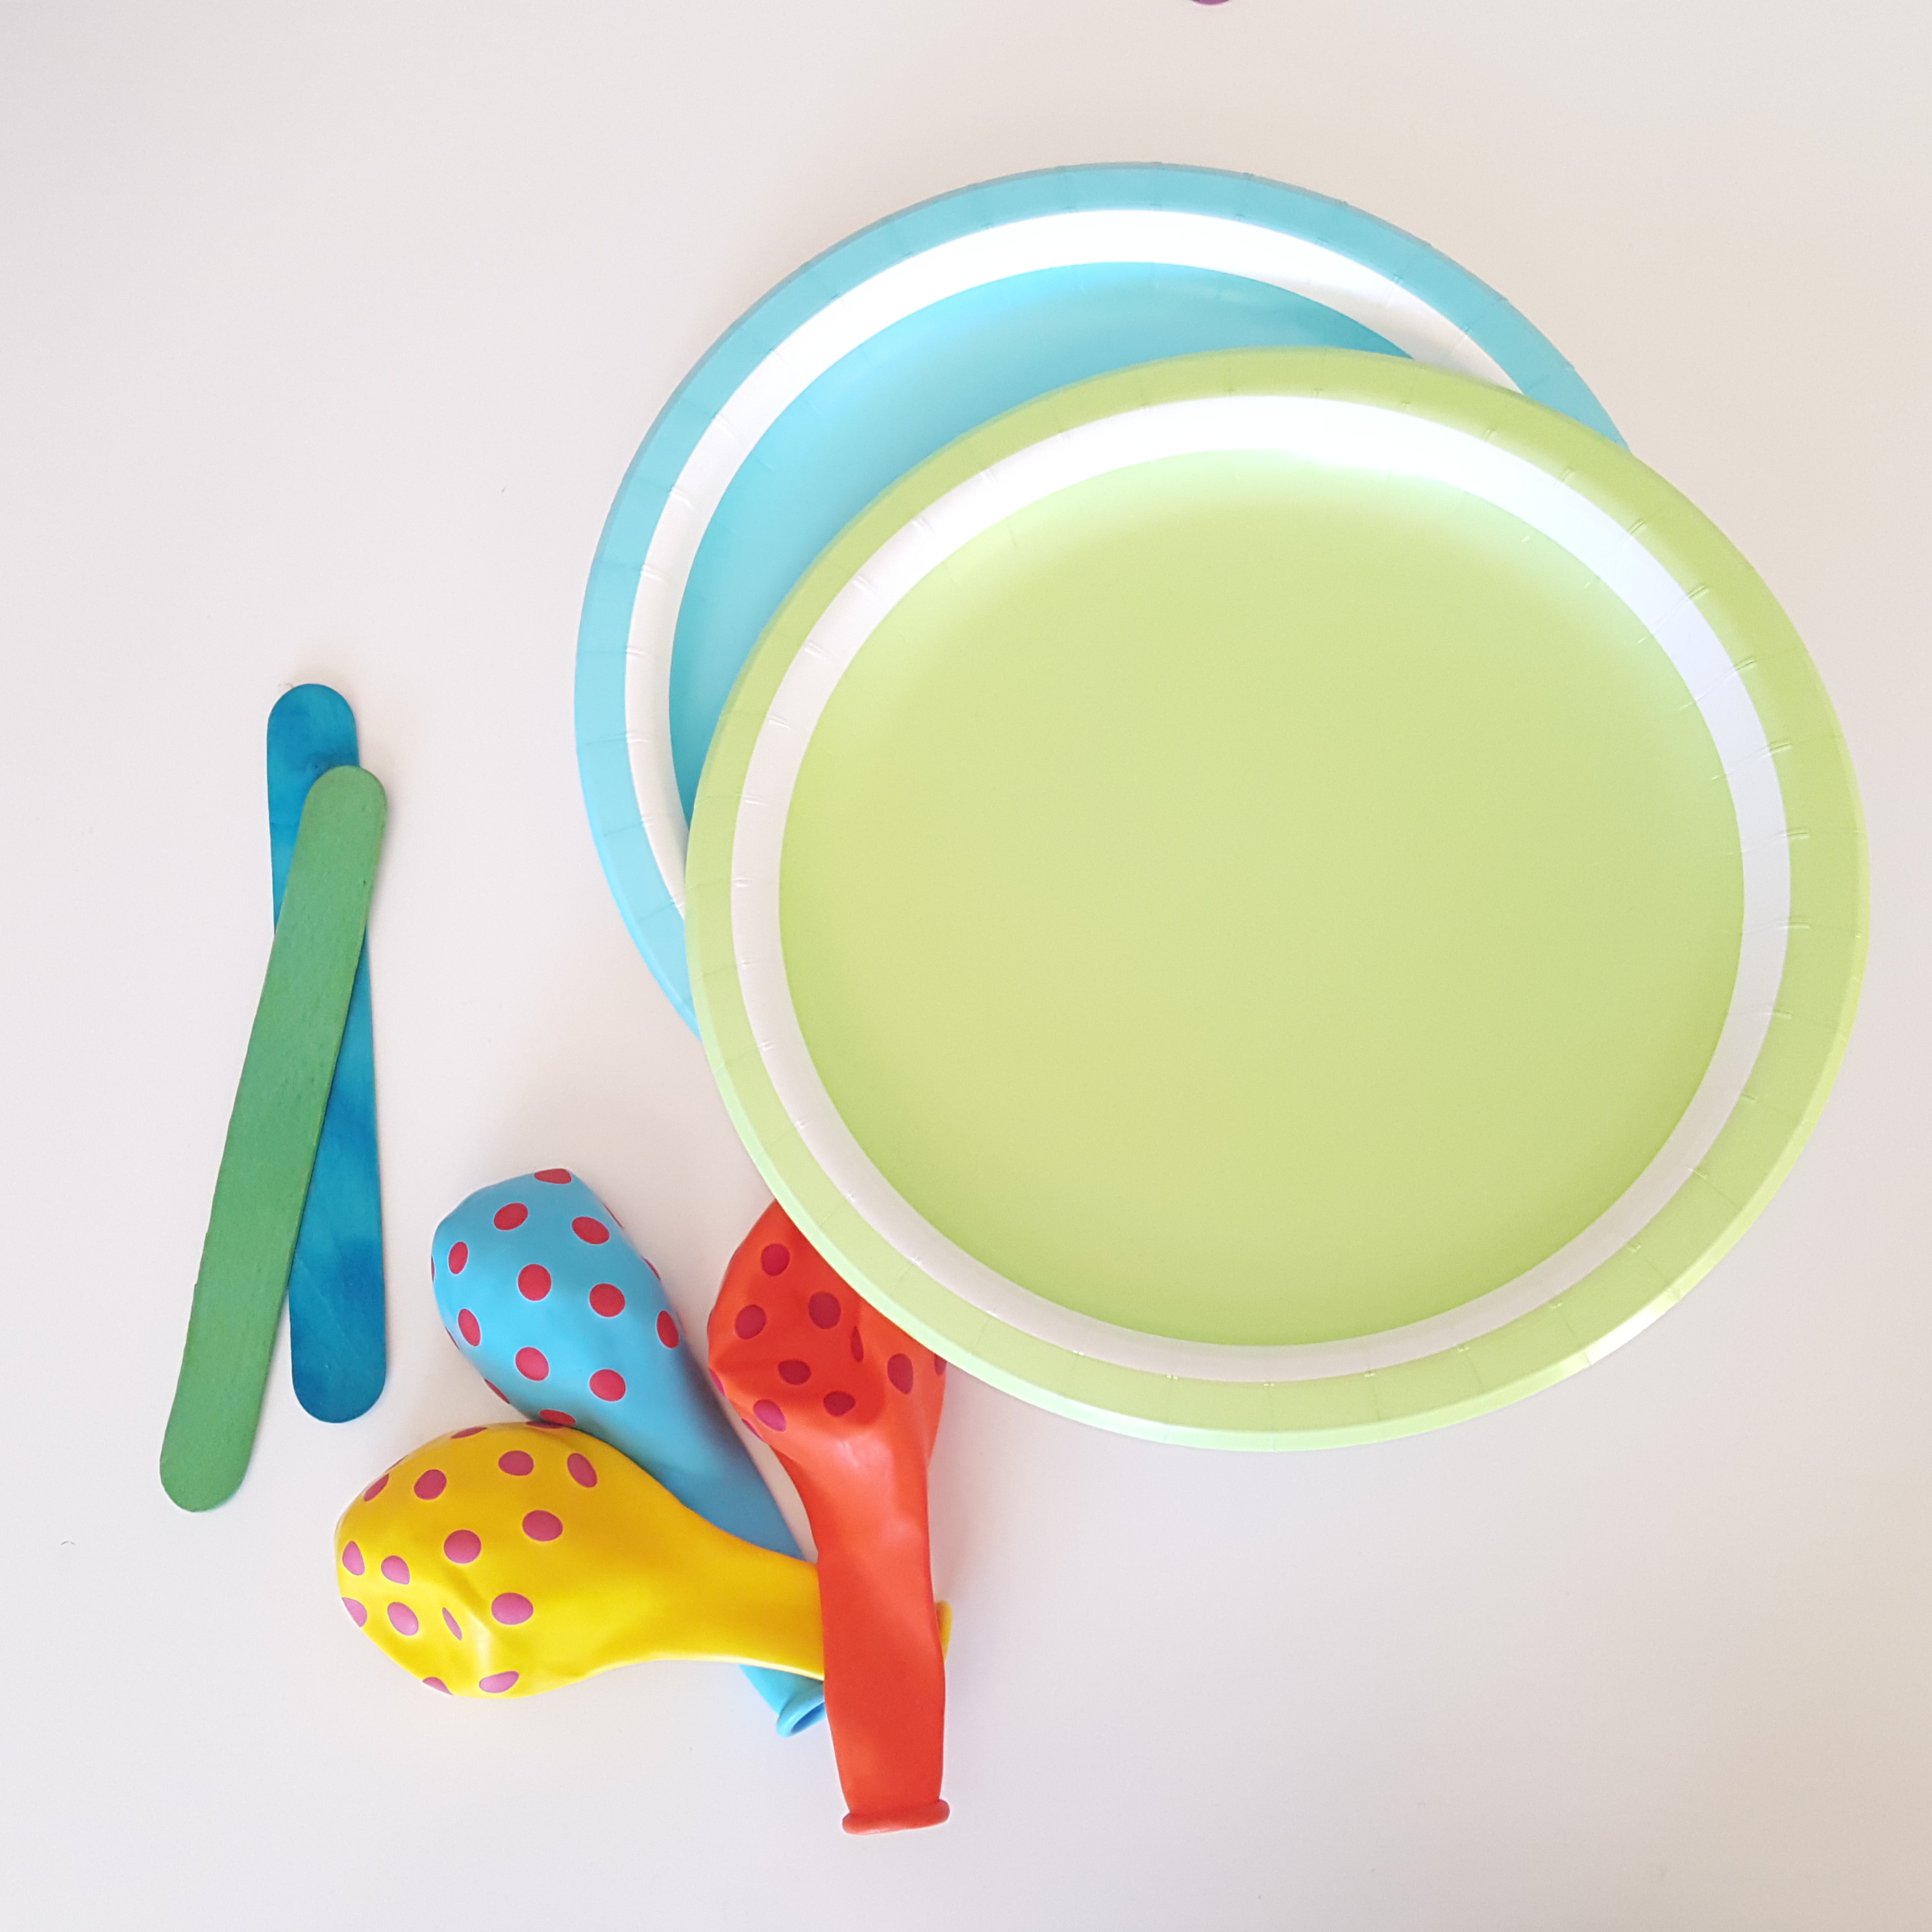
Gather your materials!

Step 2
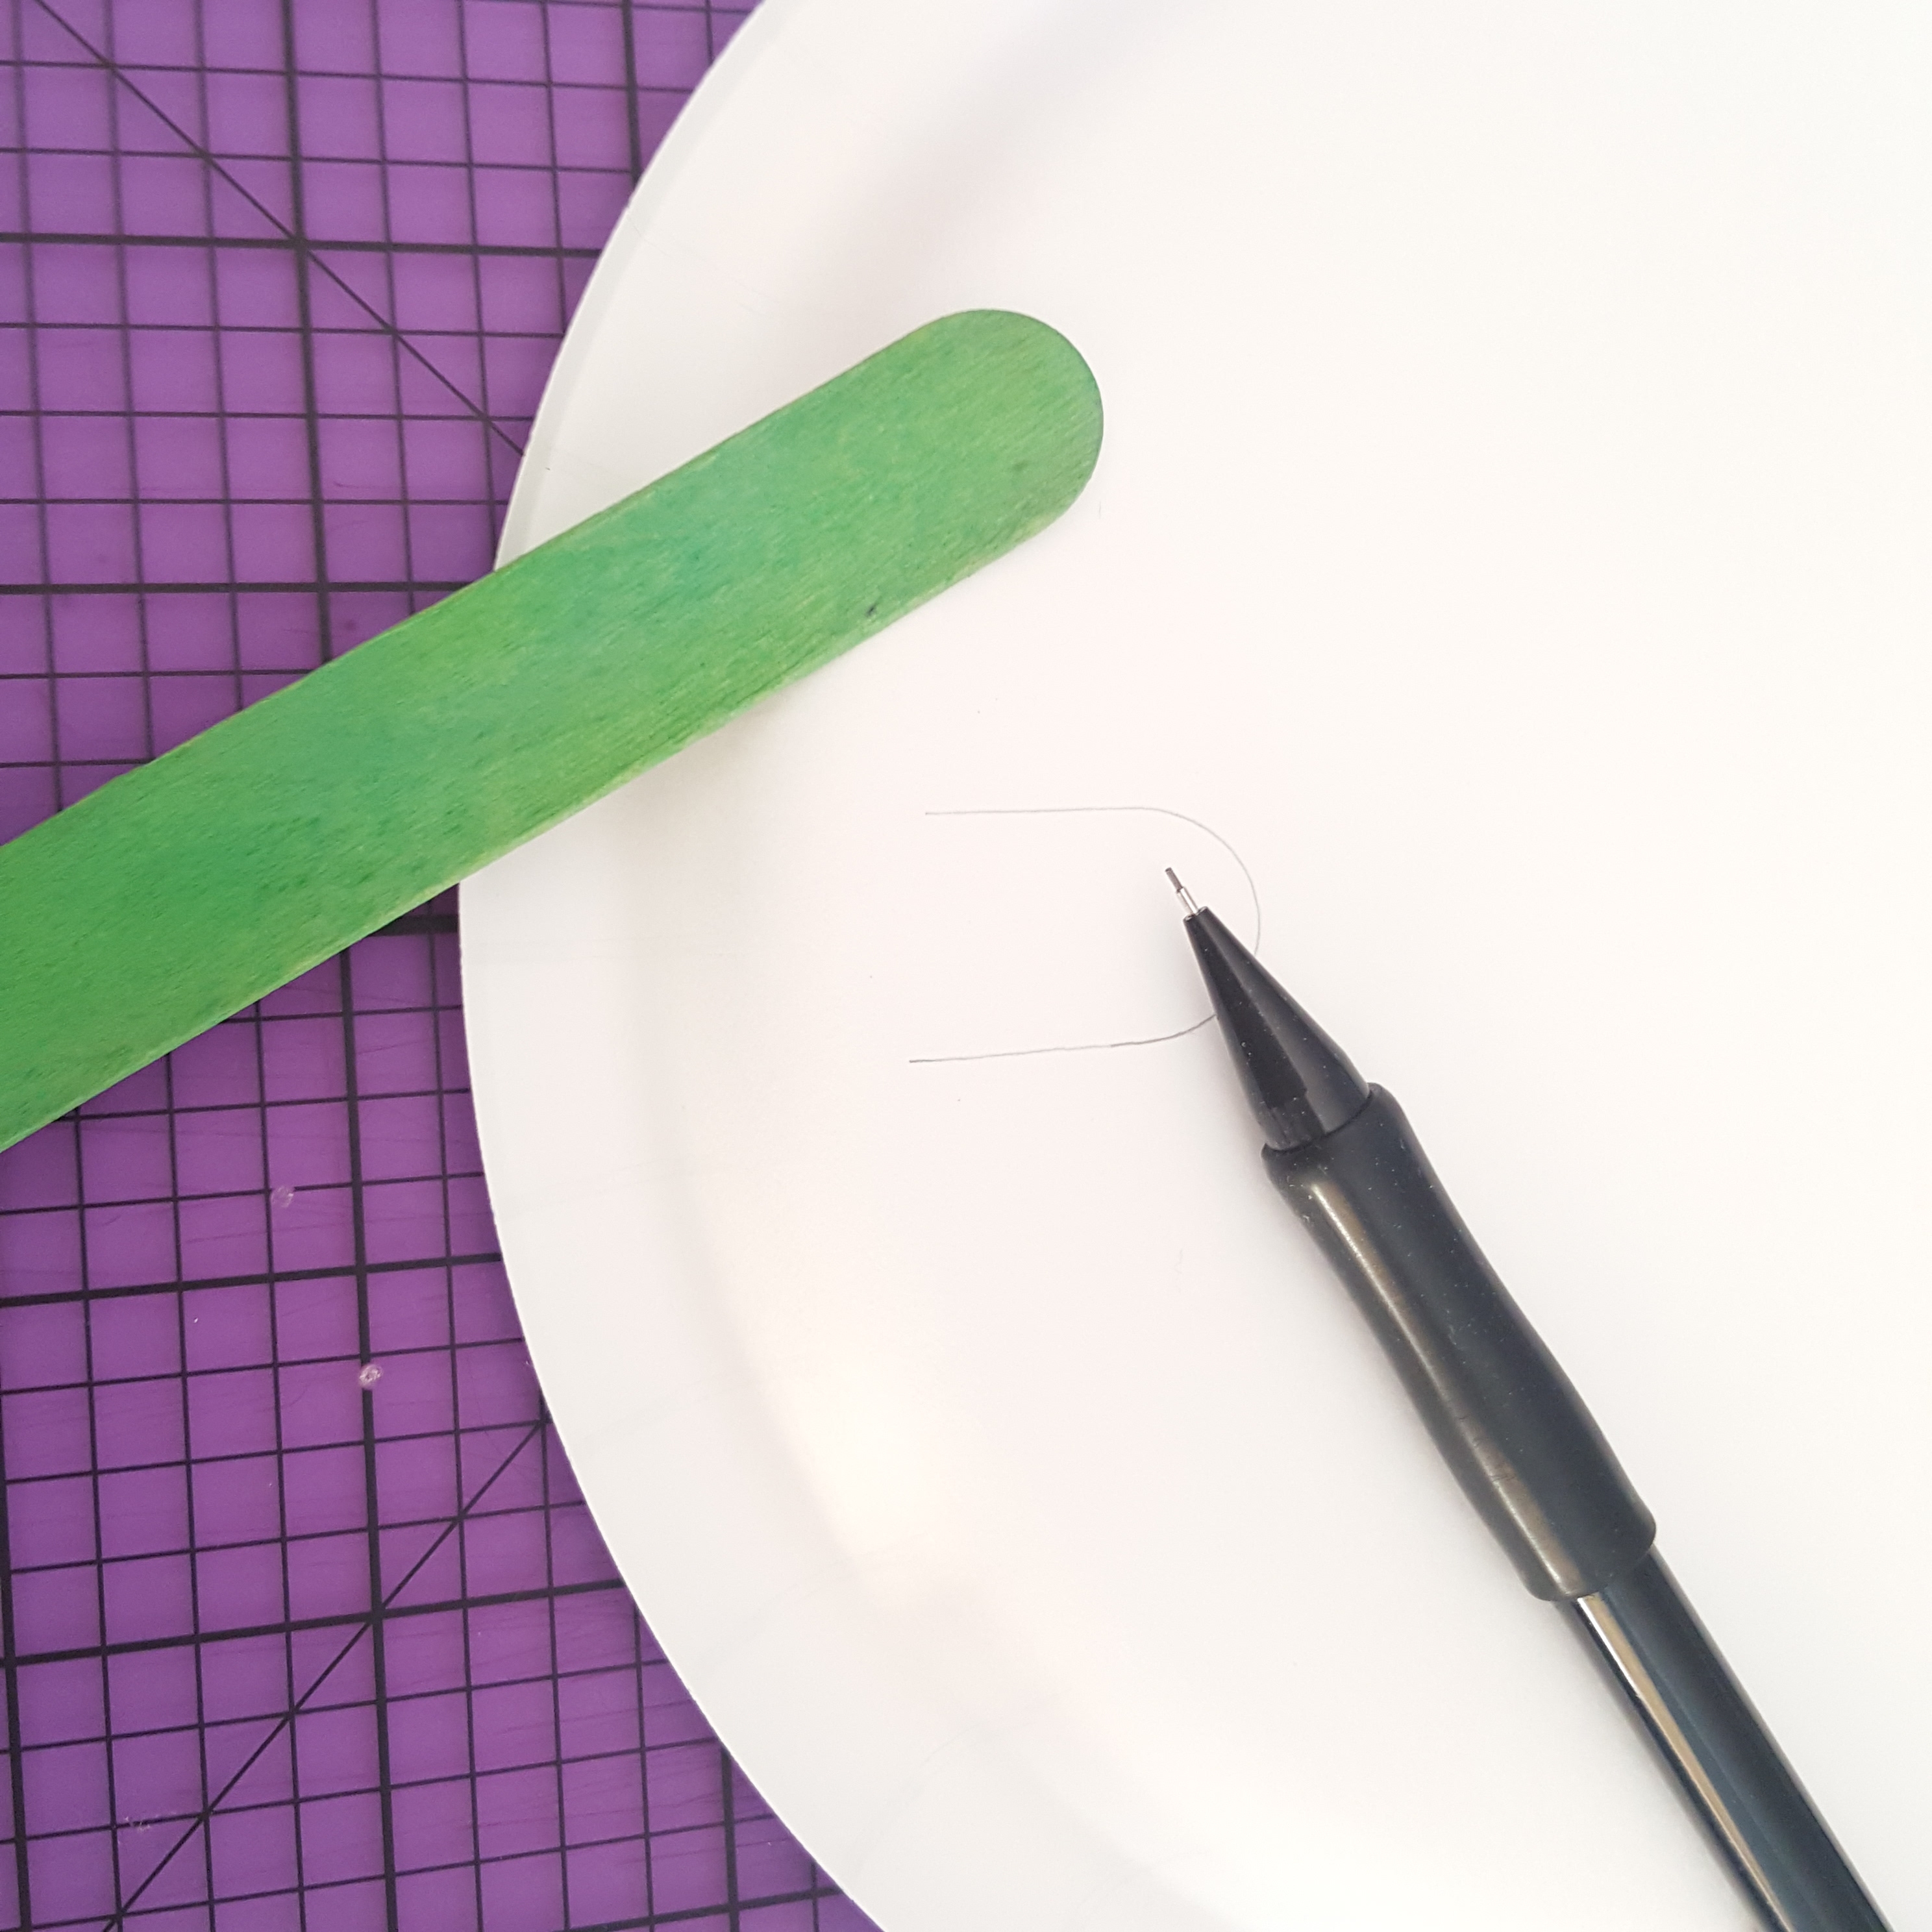
Let's start with the grownup steps. Take one plate and turn it over. Mark where you want to attach your craft stick handle by tracing around one end of the craft stick.
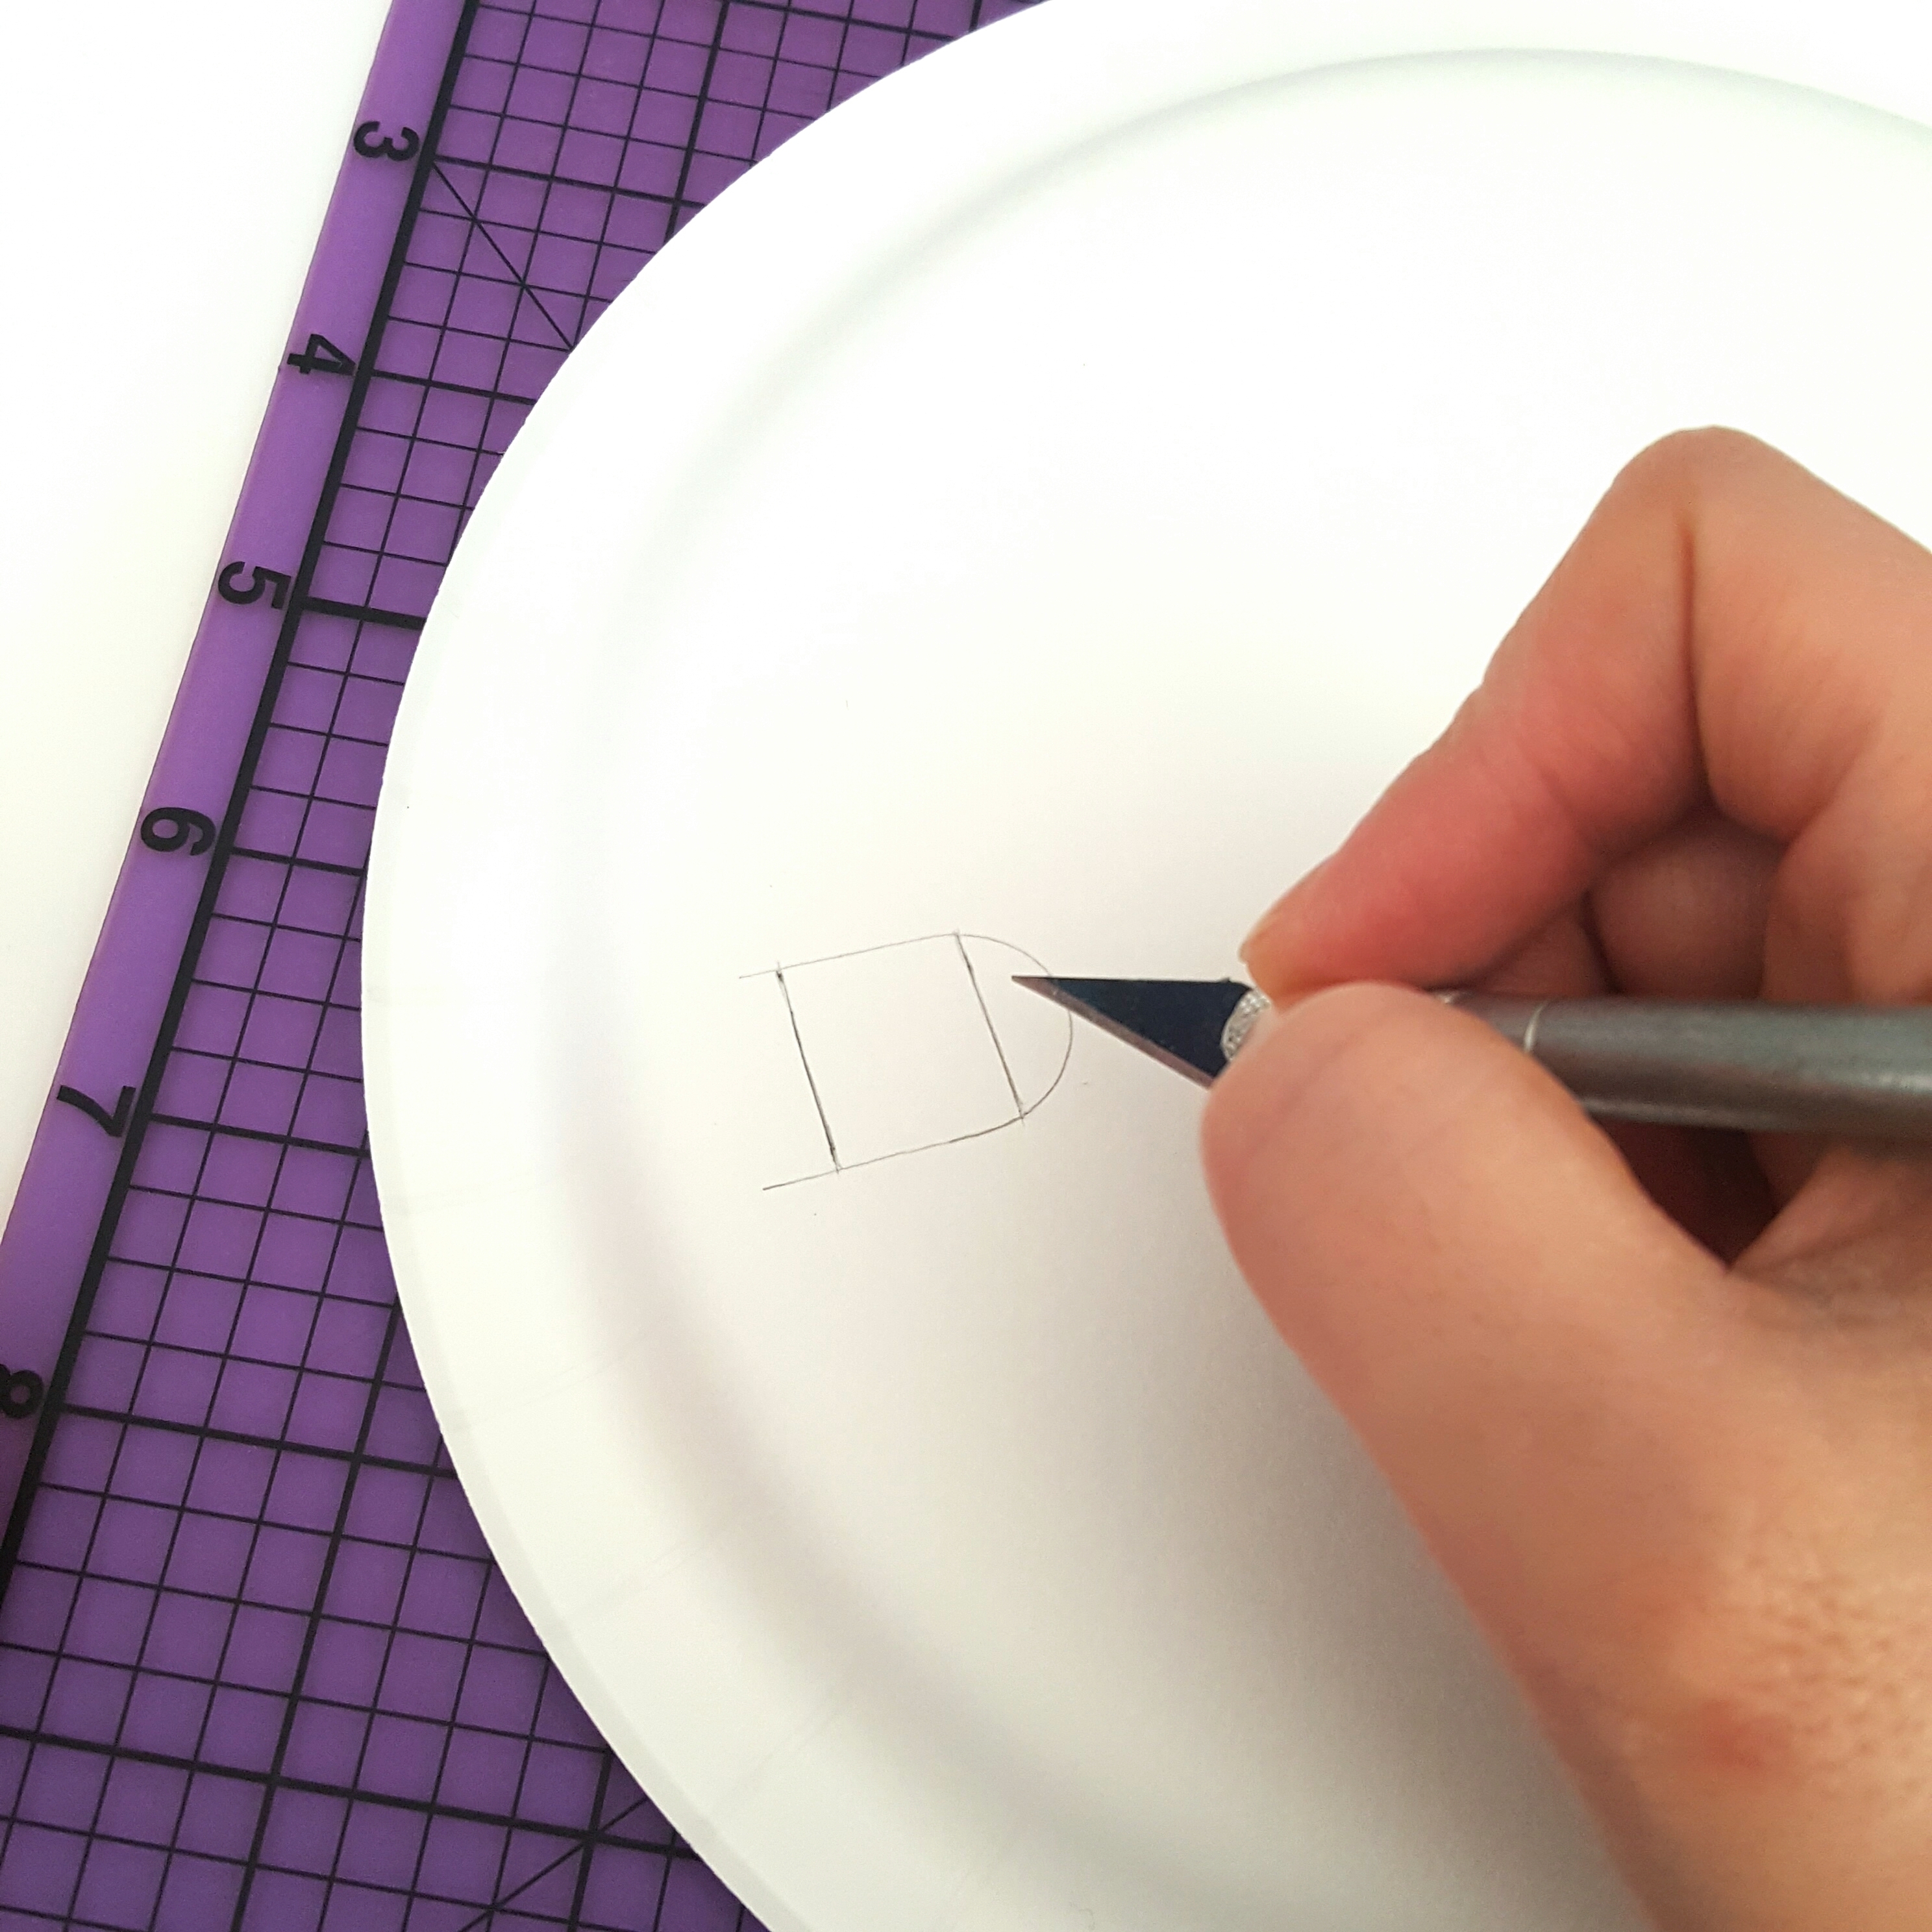
Step 3
Draw two lines across the traced outline of the craft stick. The two lines should be about an inch apart. Use a craft knife to cut along the two lines. These will be slits for your craft stick handle.
Step 4
Insert the handle and you're done! If you need some more reinforcement, you can glue or tape them together. My son enjoyed being able to swap out craft stick handle colors since I left ours unglued. Repeat to make additional racquets for each player.

Tip
You can skip steps 2-4 and simply tape the craft stick handle on the back of the plate. For any particularly rambunctious kids (like my son!), I'd recommend following these steps for a secure, sturdy handle.
Step 5
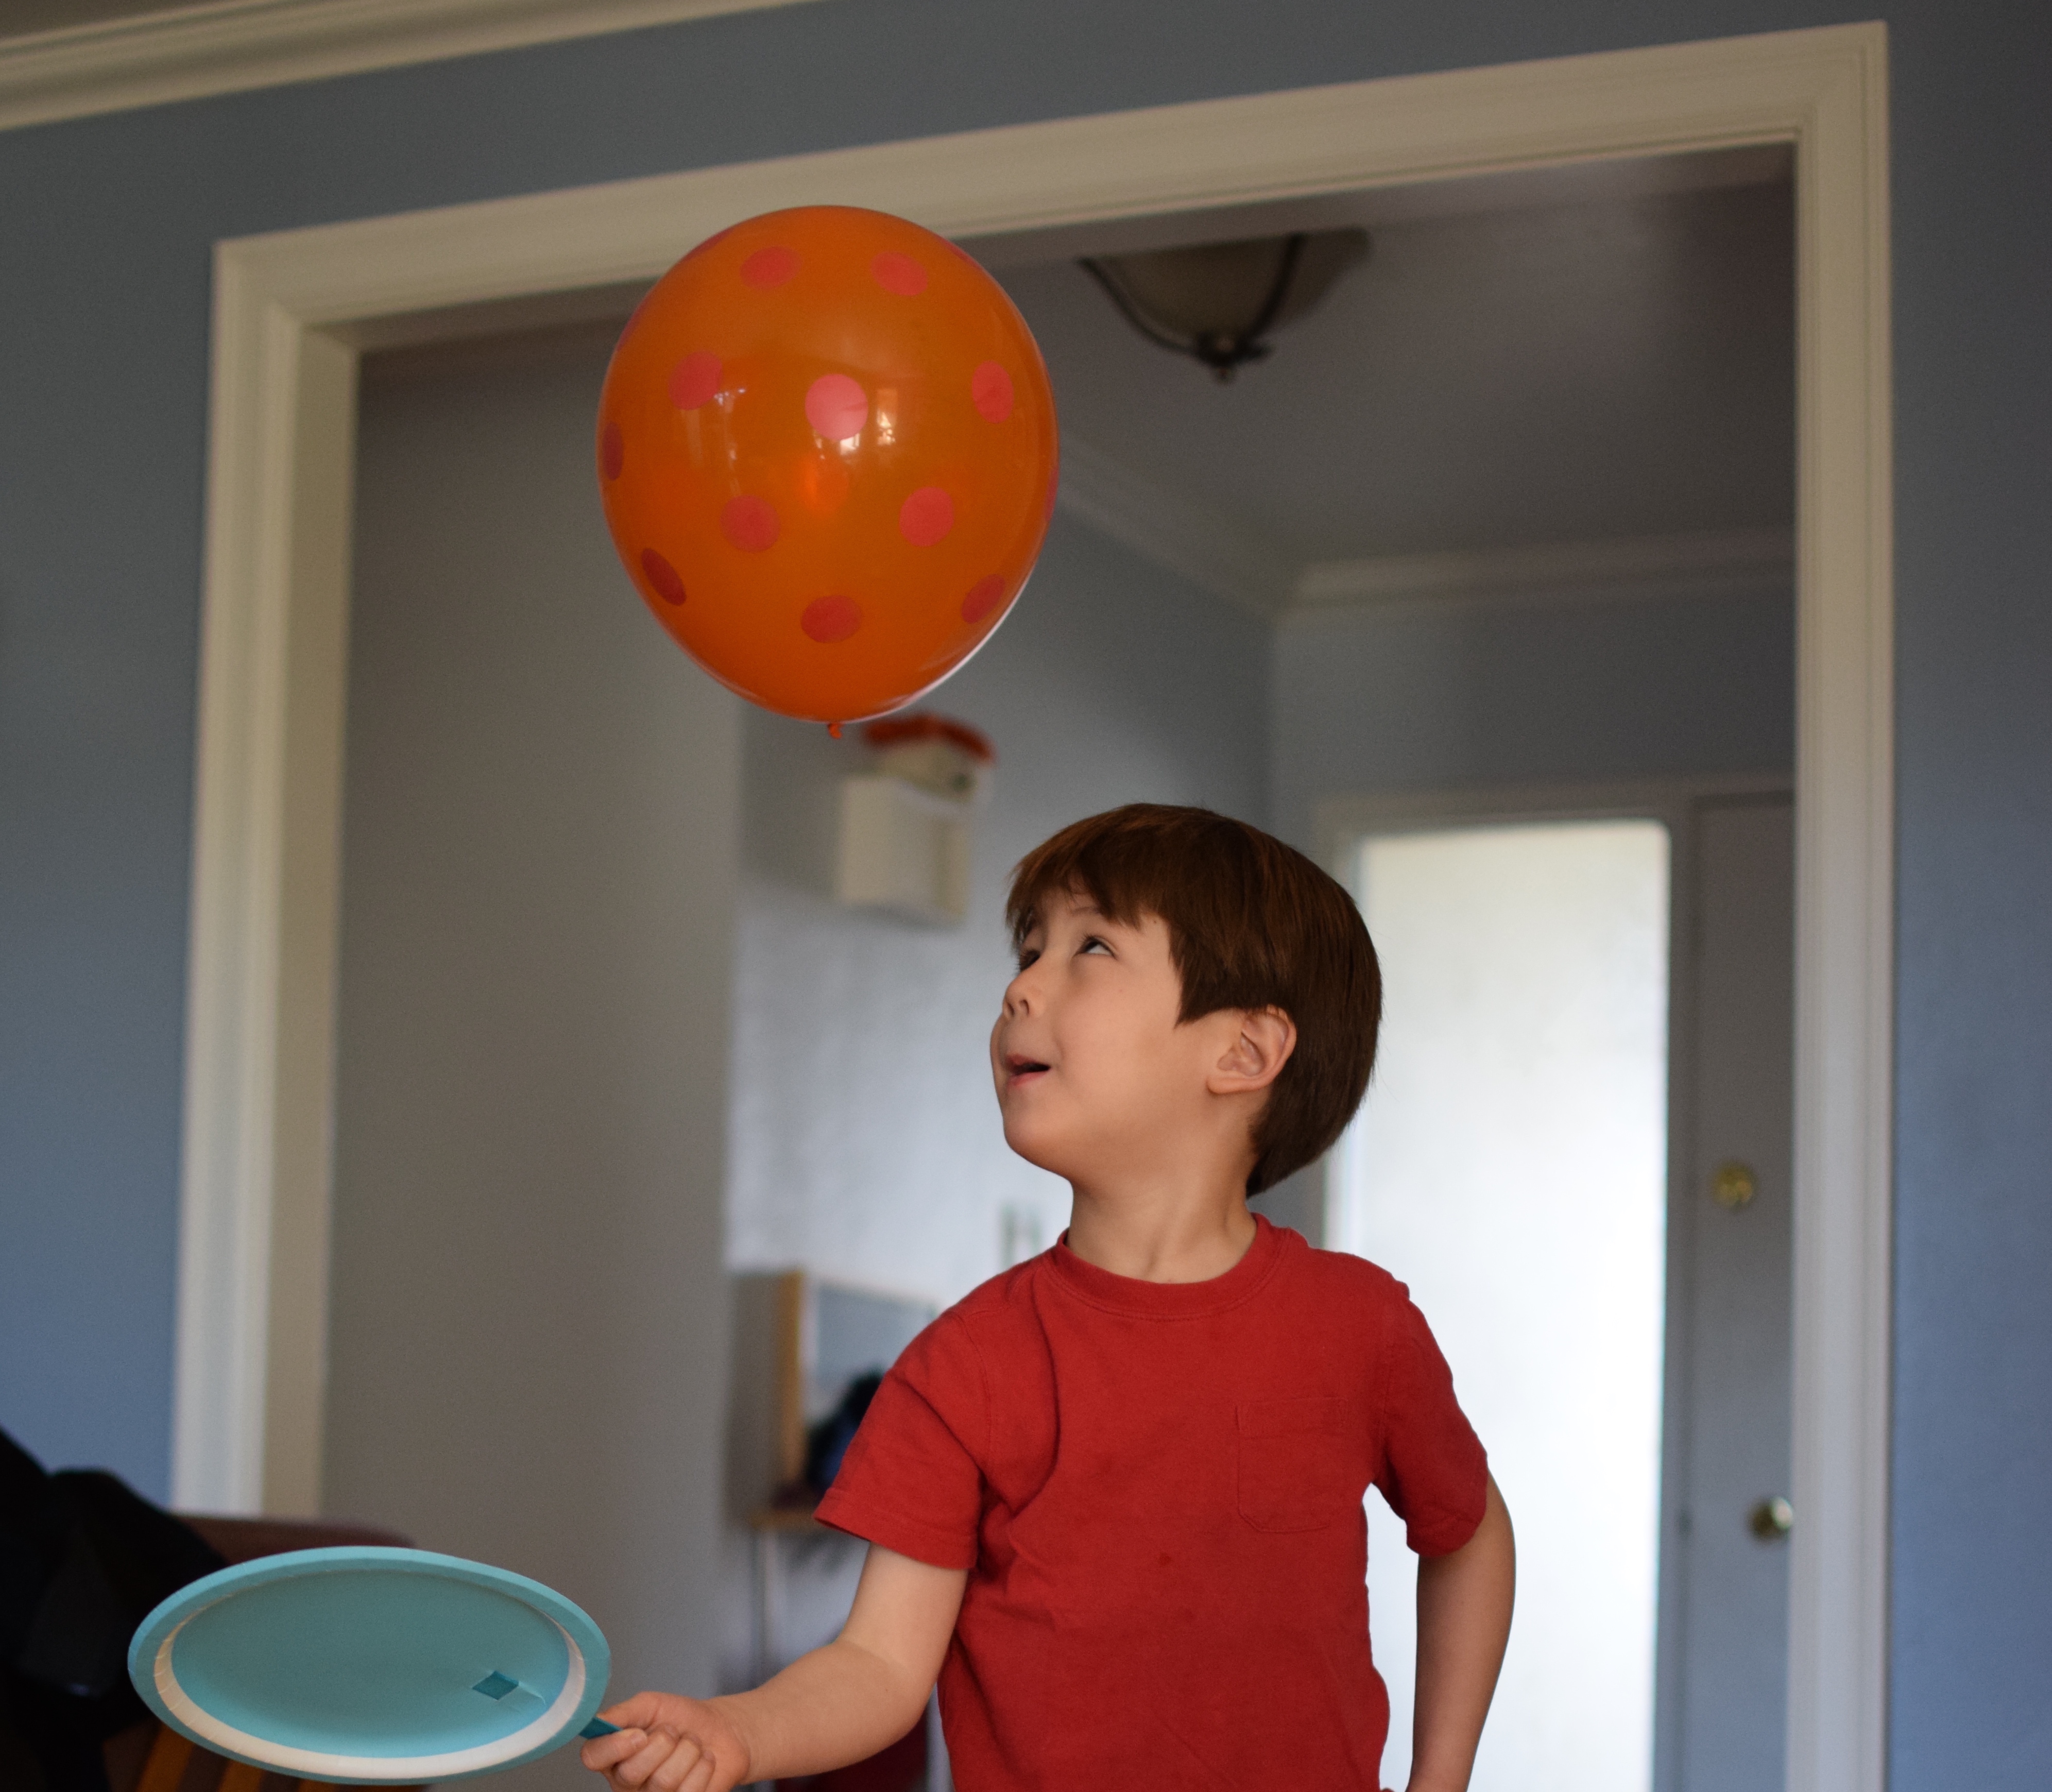
Once you have your racquets, it's time to blow balloons. We blew up a bunch for extra fun.

Done!
Find an open area and start playing! My son had so much fun playing tennis with us but also loved playing on his own.