Step-by-step tutorial
Step 1
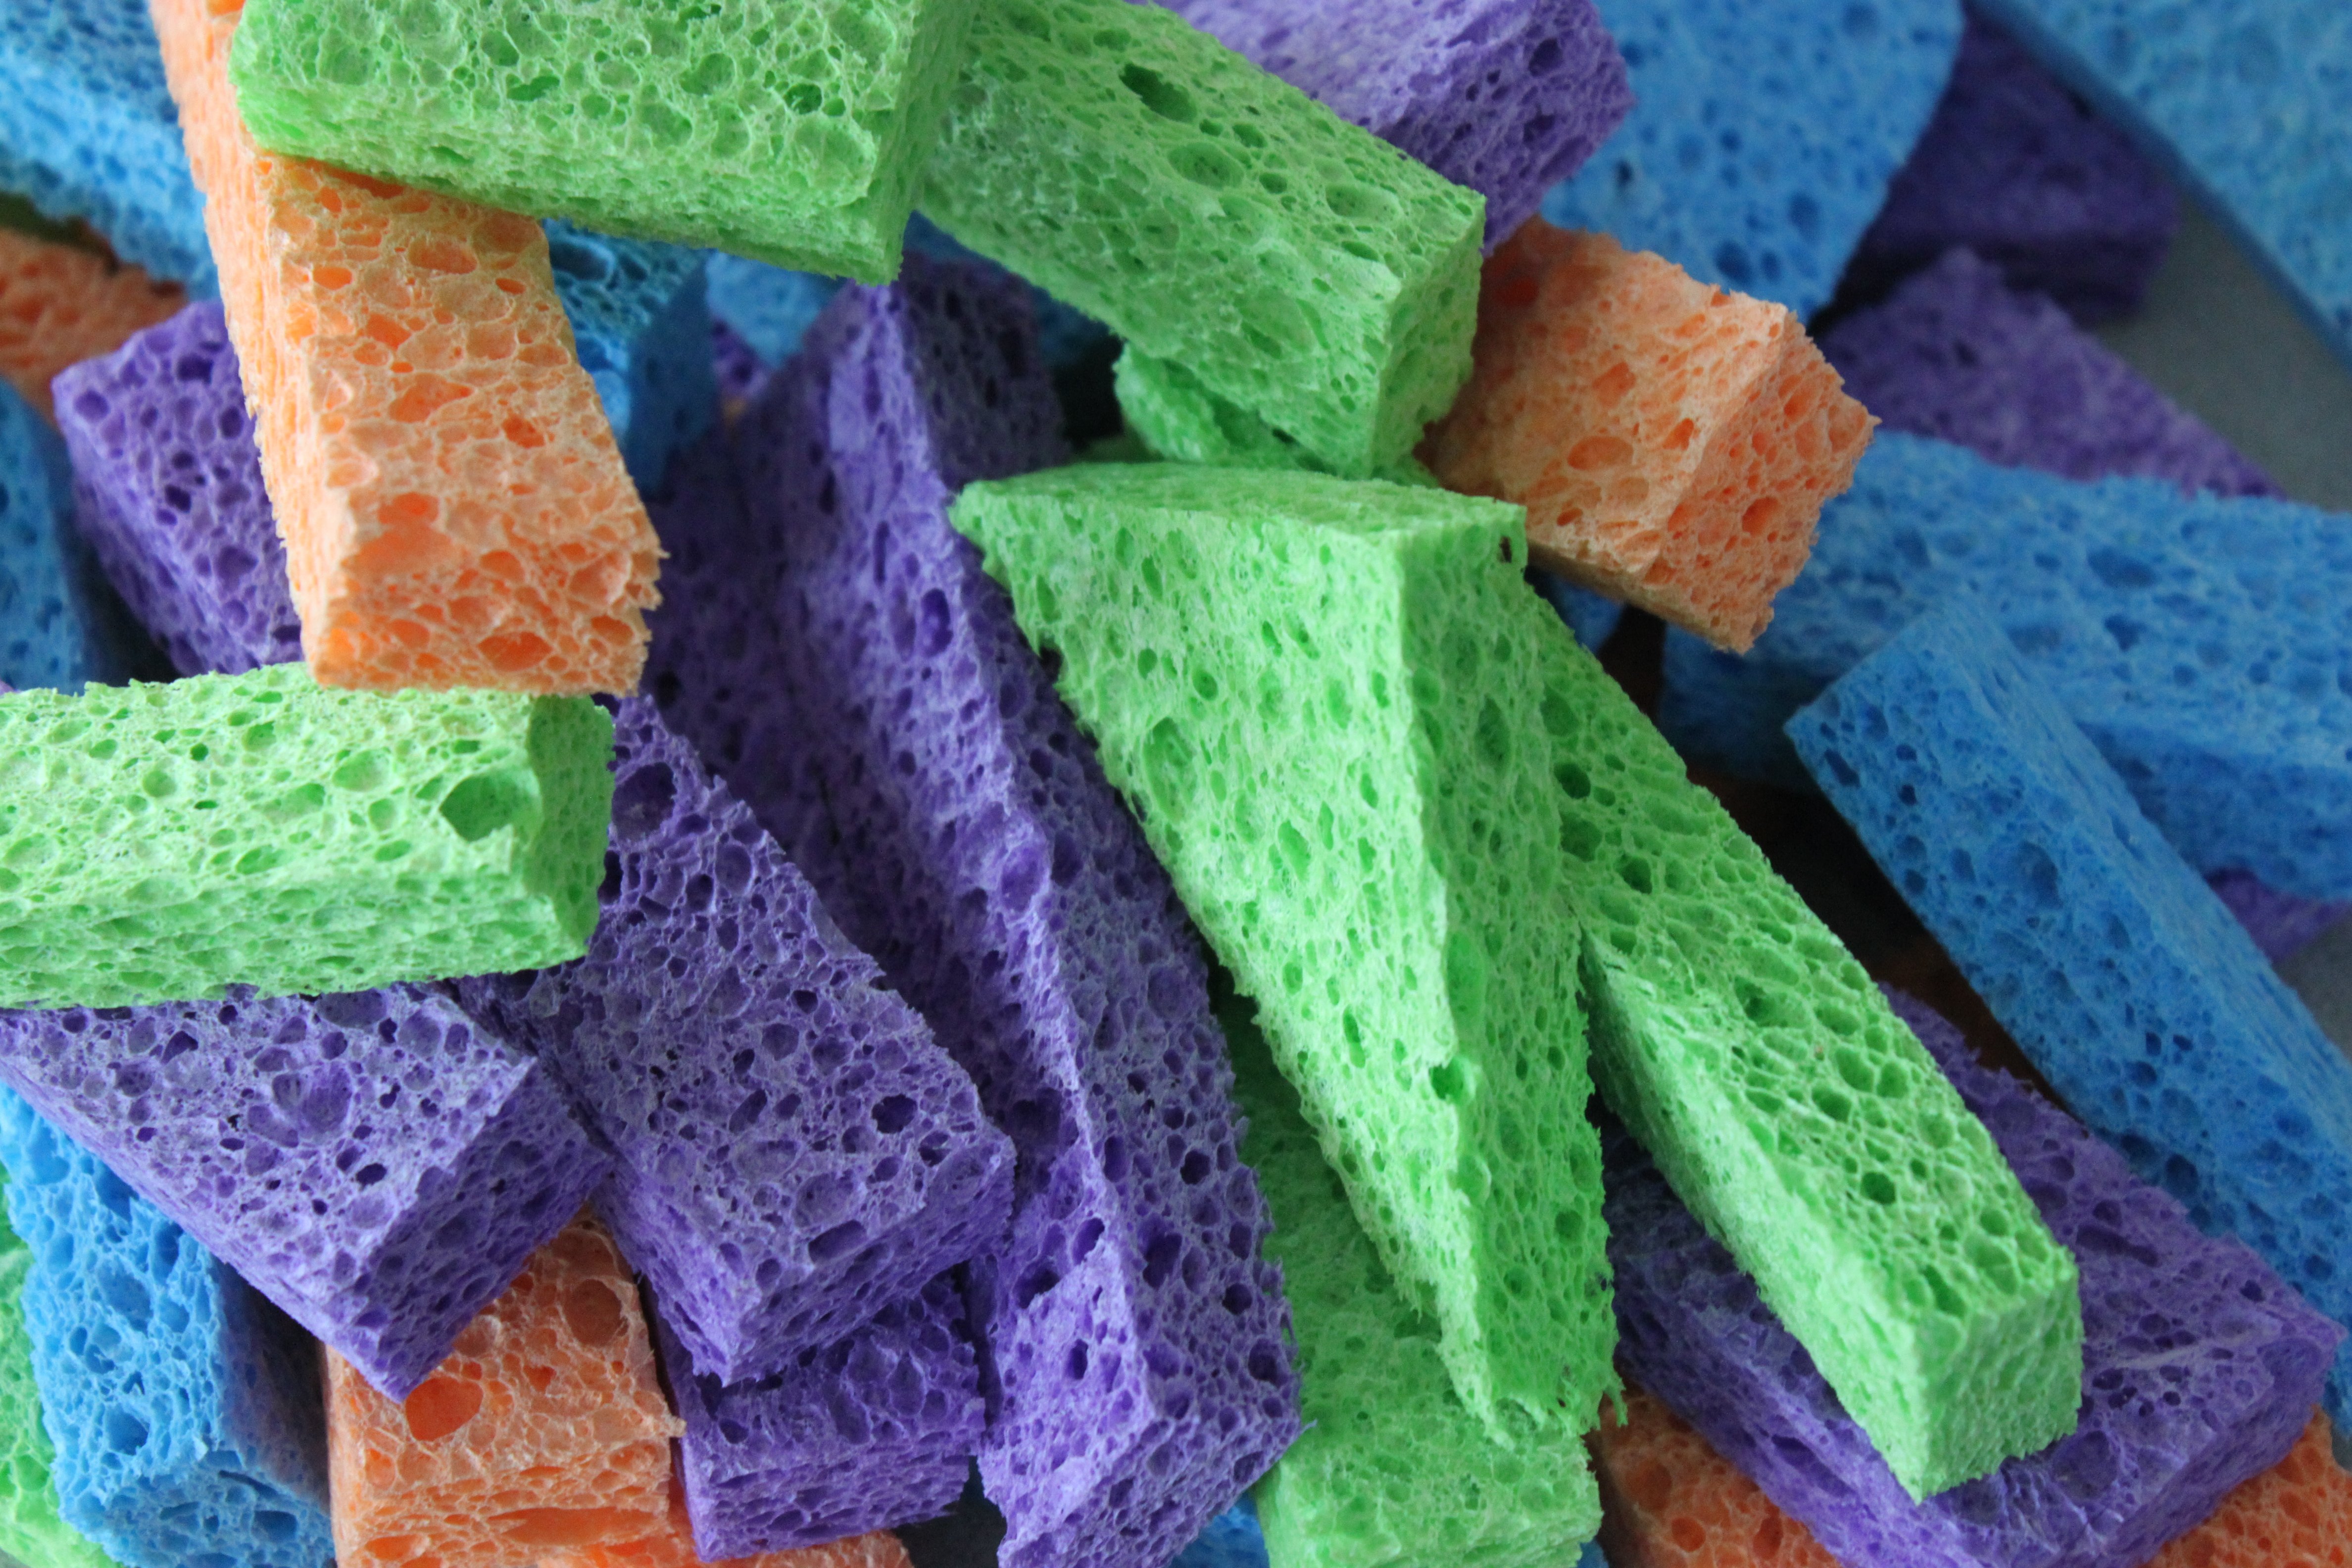
I bought a few packages of inexpensive sponges with the idea to make building blocks for the kids. With just 12 sponges, I made a huge pile of blocks that they spent the whole day learning, creating, and playing with. Just cut the sponges into various shapes! I cut most of the sponges into thirds to make the rectangle blocks. I cut a few of them in fourths to make squares. I also cut out a few triangles.


Step 2
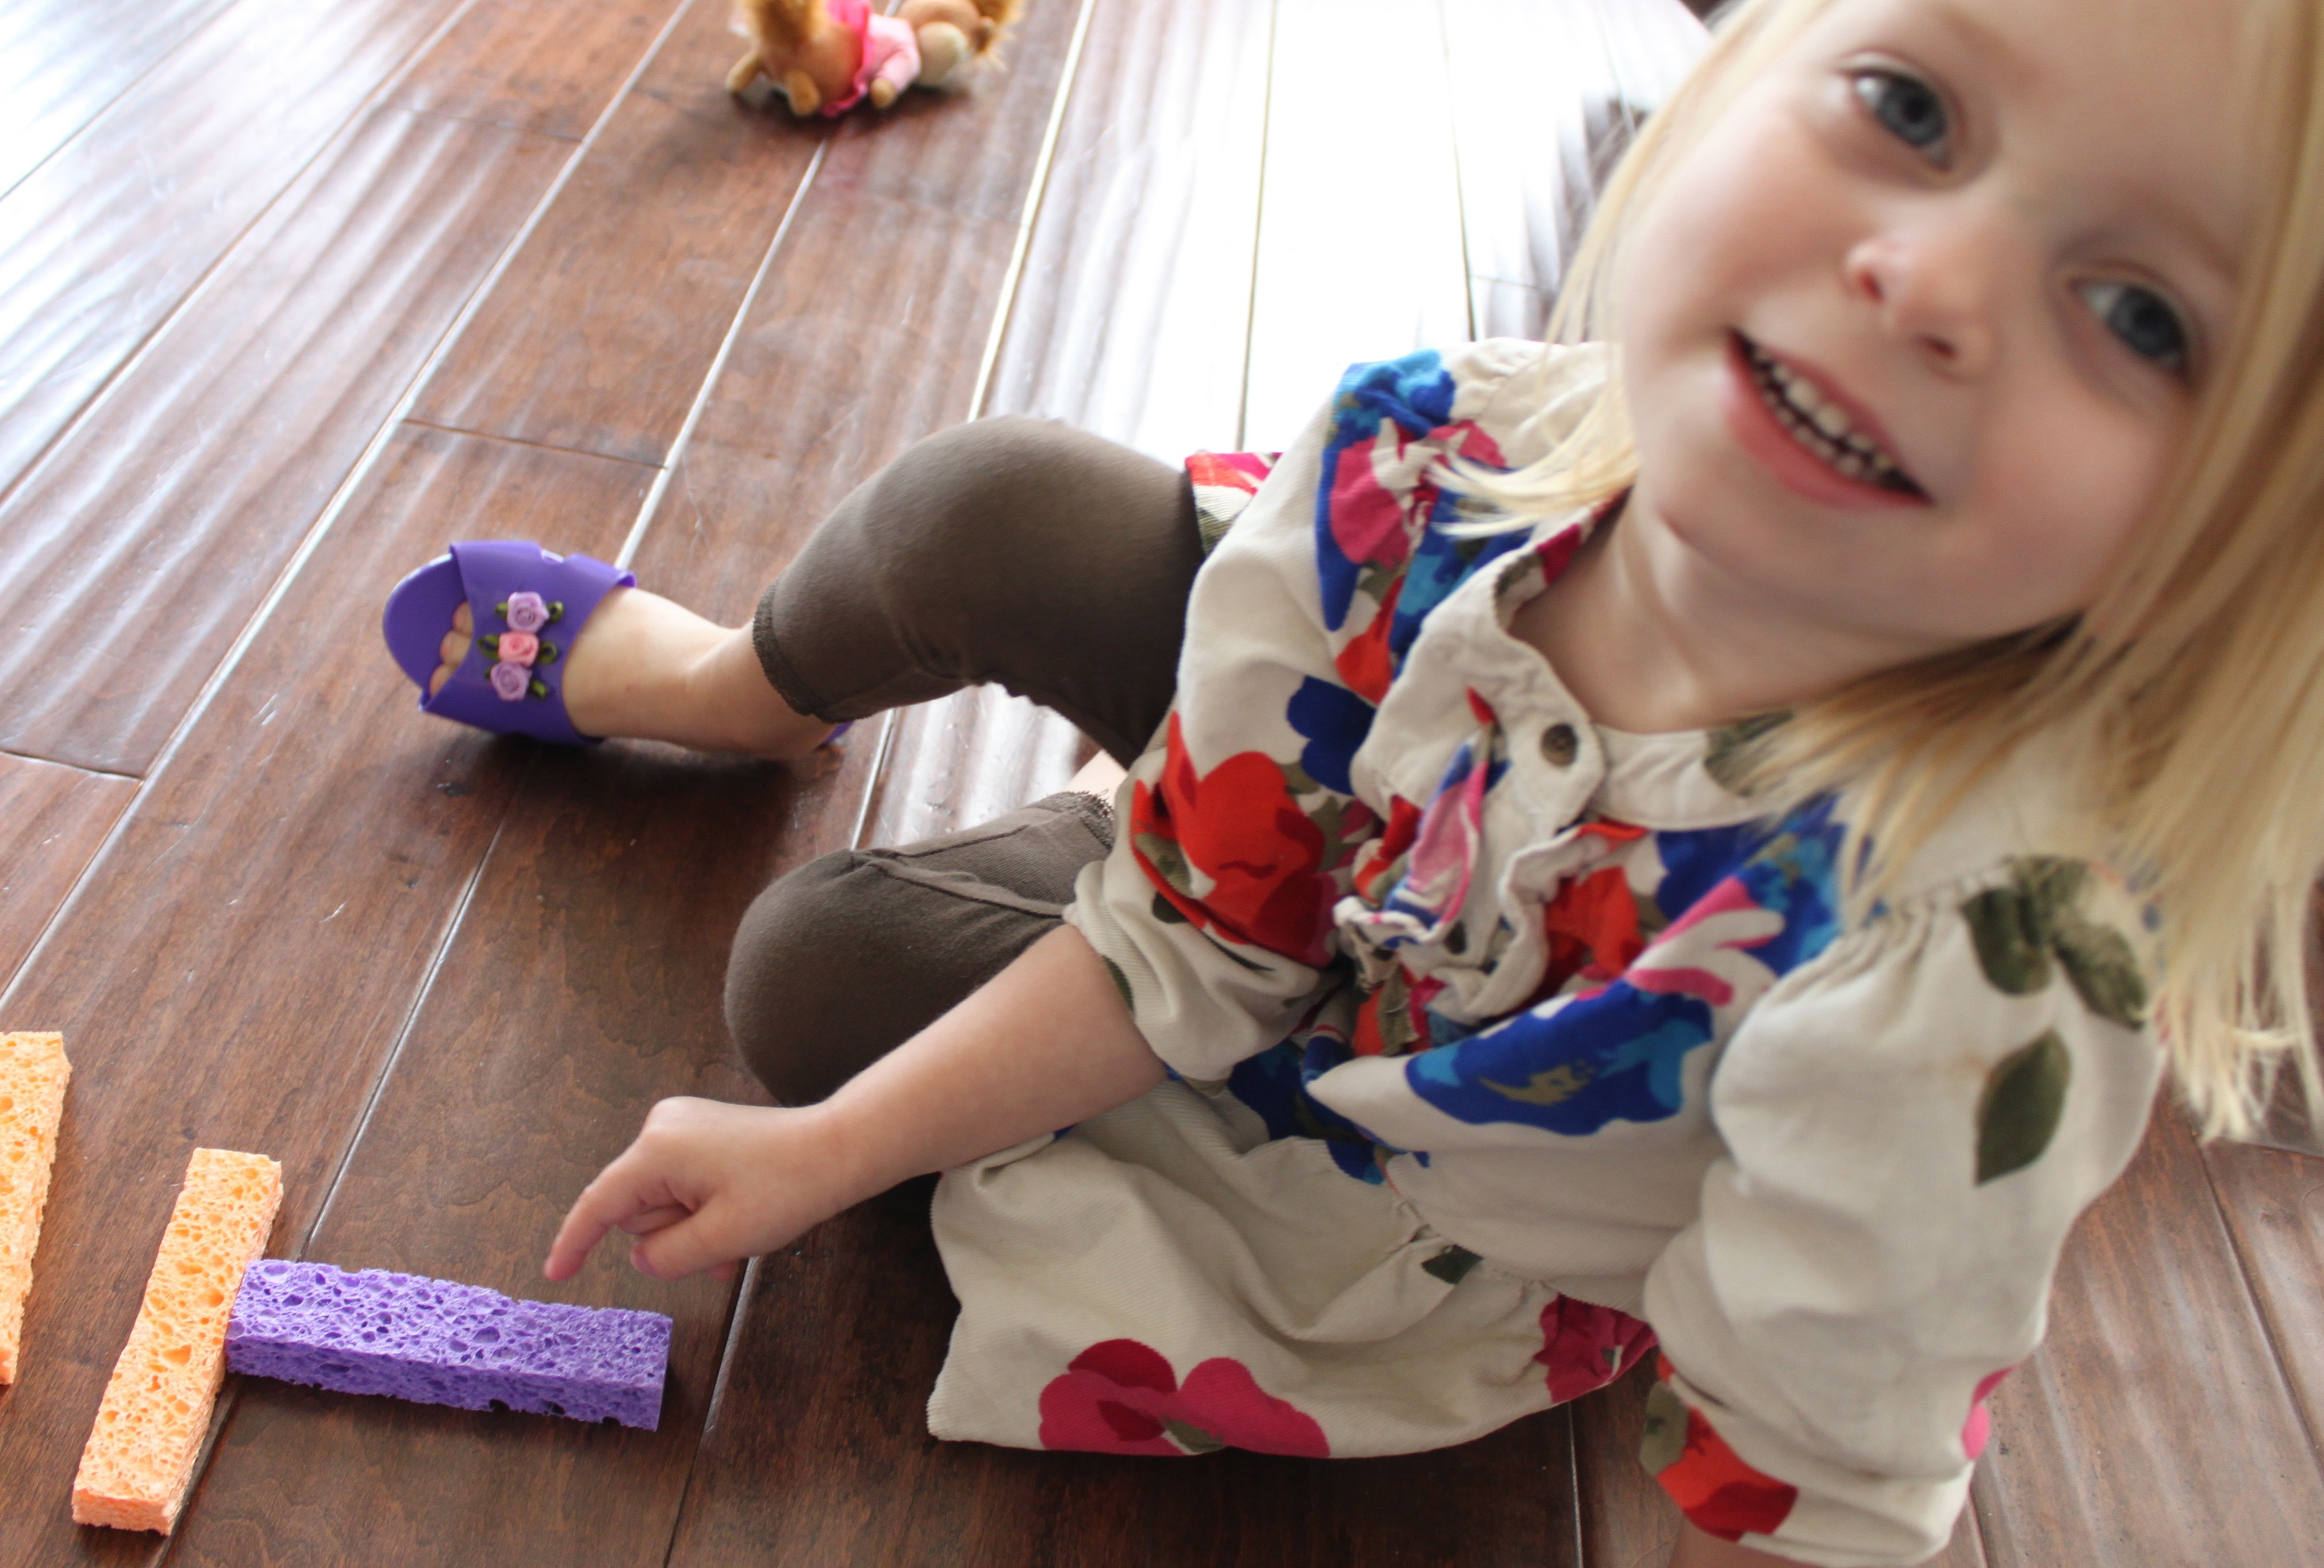
As soon as she sat down with the blocks, she was so excited to announce that she had made the letter T. Then we used the rectangle-shaped blocks to make the letters A, E, F, H, I, K, L, M, N, V, W, X, Y and Z.
Step 3
She created a "Wreck it Ralph" town with the blocks. I also challenged her to see how high a tower she could make with them.
Step 4
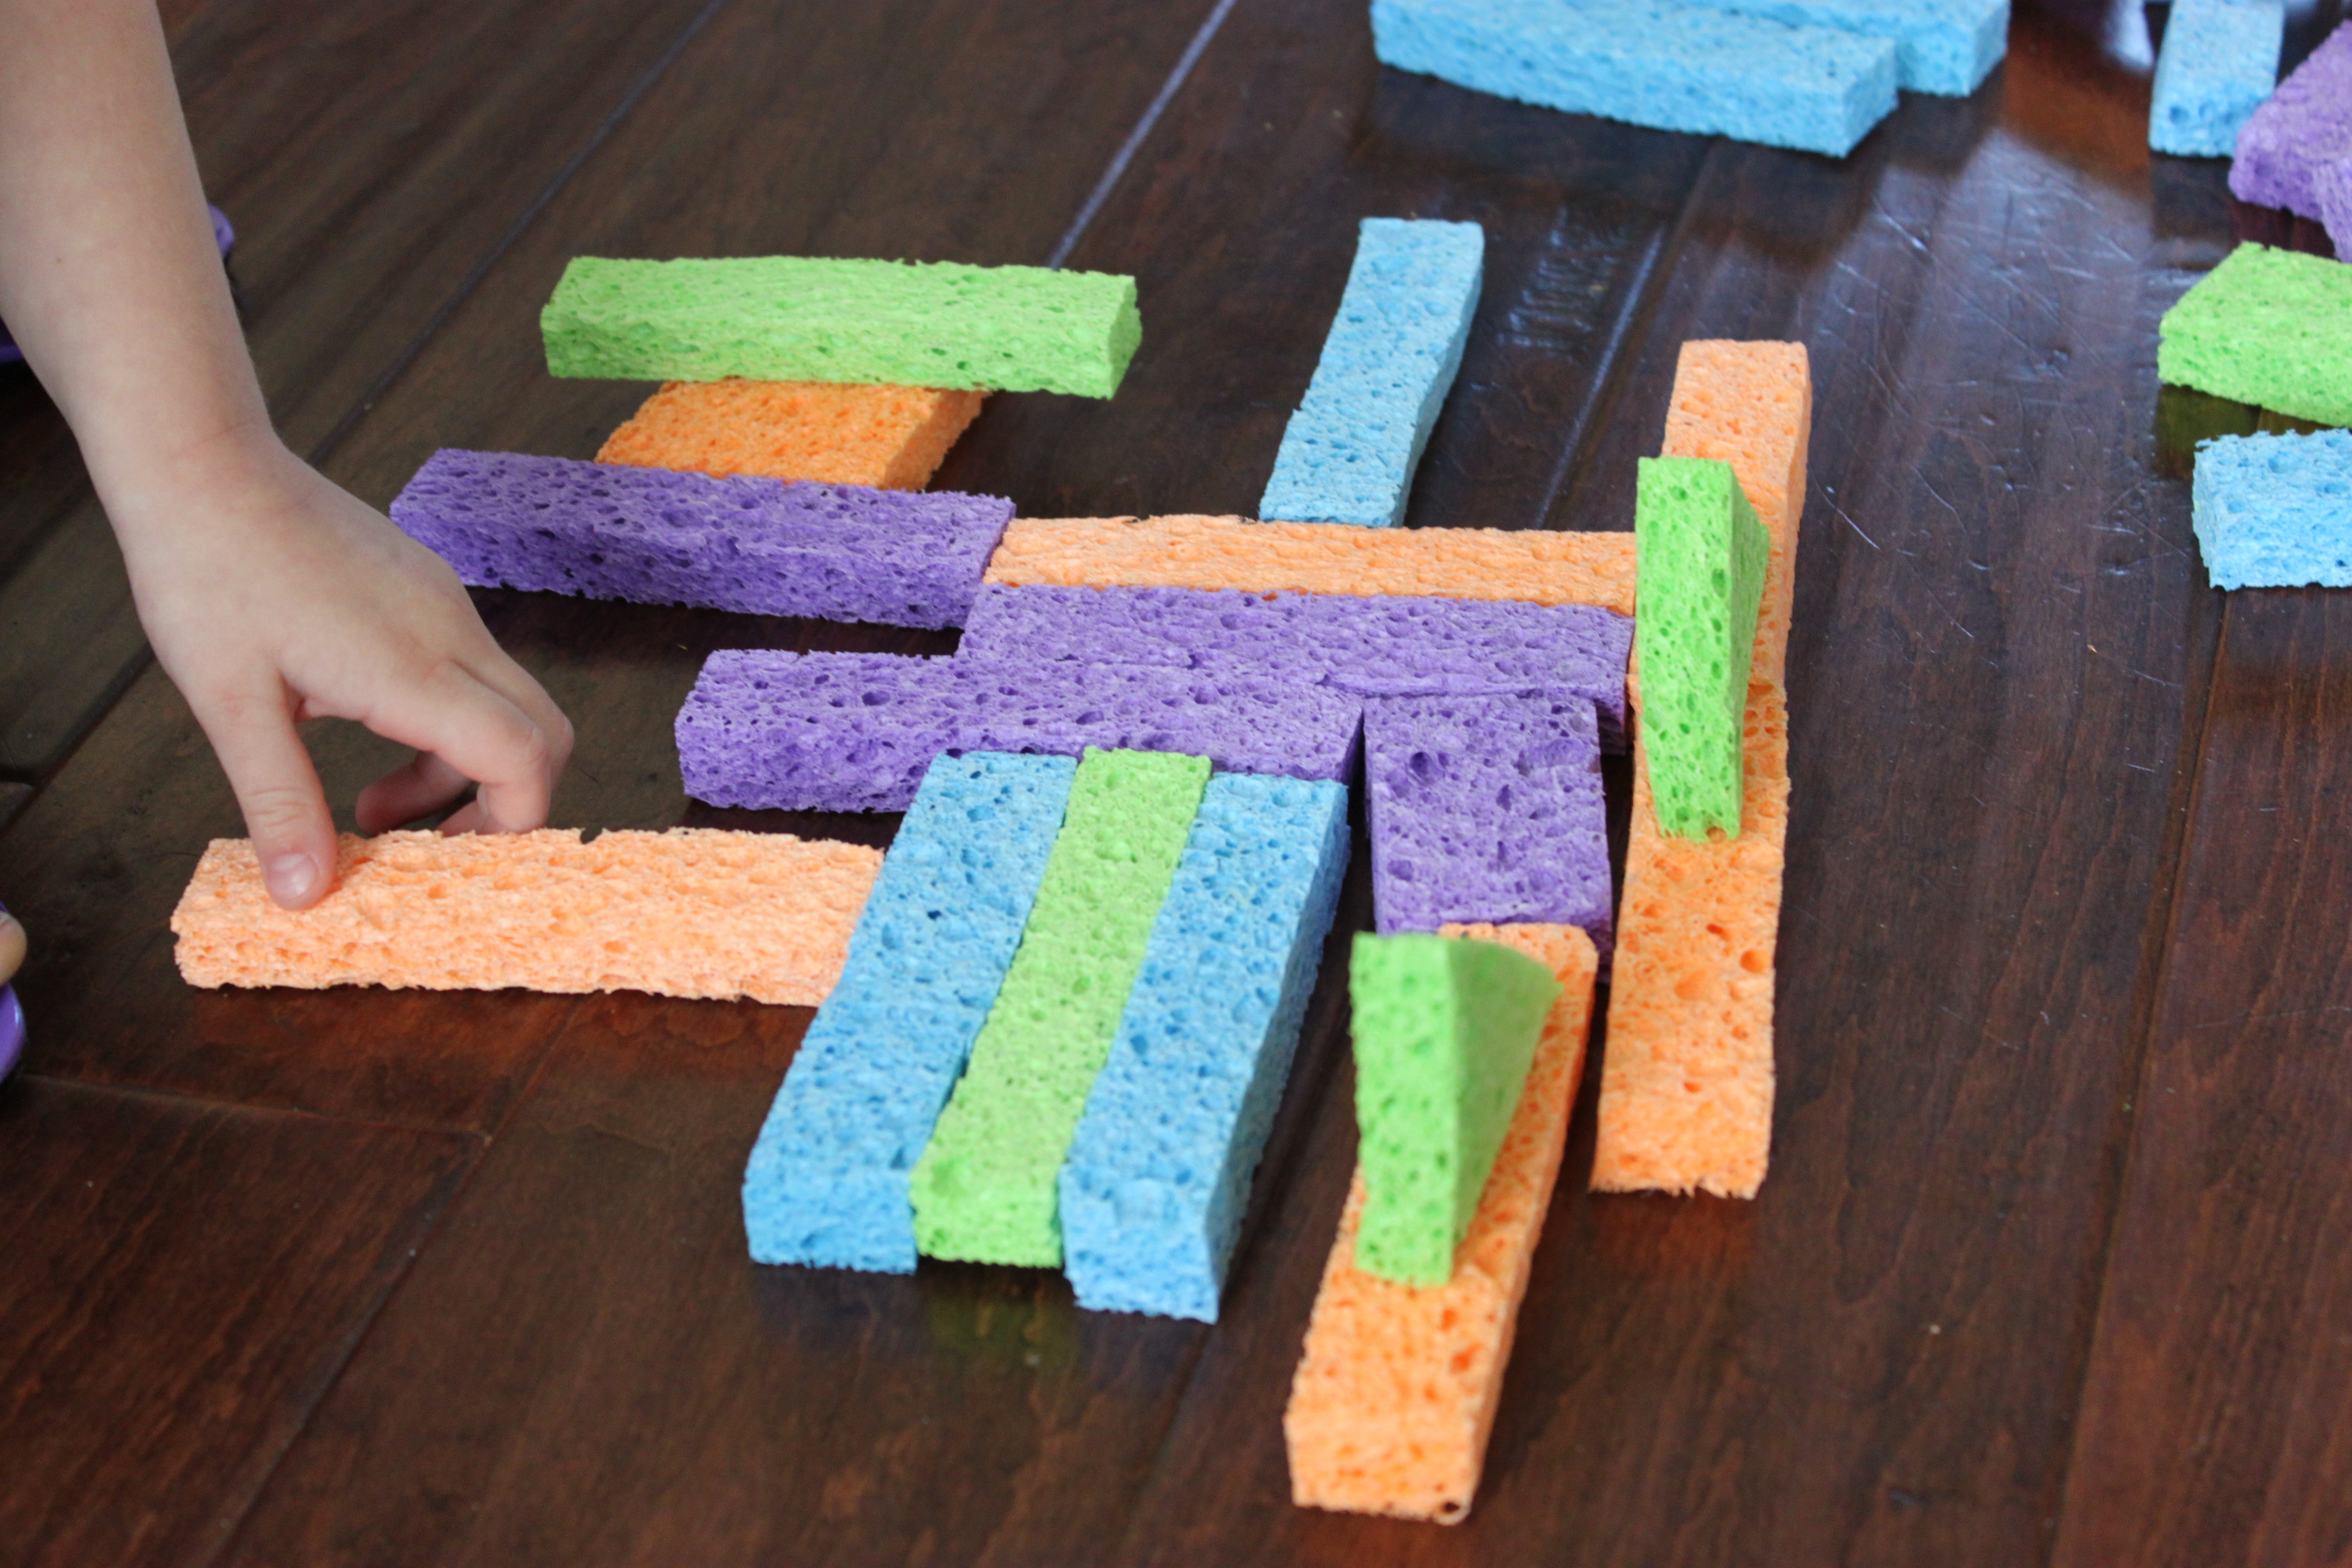
Toddlers can sort and stack the blocks by color and preschoolers can use them to make patterns (pictured).
Final result!
Before I knew it, the blocks were in the play kitchen and had became ingredients for recipes and, of course, pretend french fries. Other ideas: Use the blocks to transfer water from one bowl to another (great for fine motor skills). Dip in water and squeeze into the empty bowl. Which shape carries the most water to your bowl?Have an outdoor sponge toss. On a hot day, dip the sponge blocks into water and toss them to each other or toss them to matching colored buckets.Use glue and craft foam to change a couple of your blocks into sponge people or creatures for your sponge town.