Step-by-step tutorial
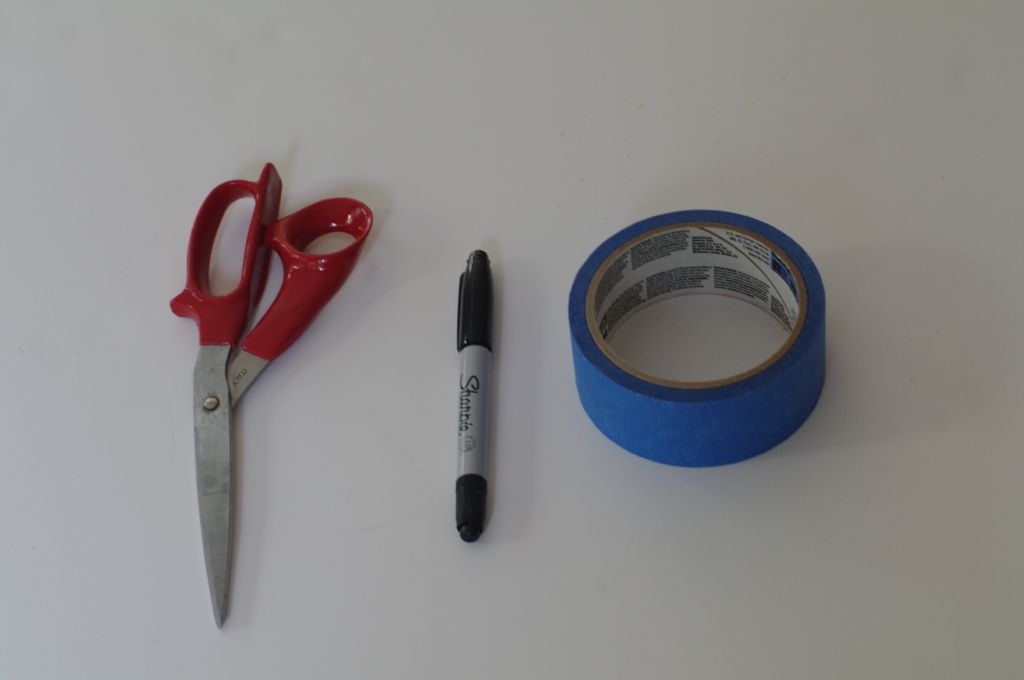
Step 1
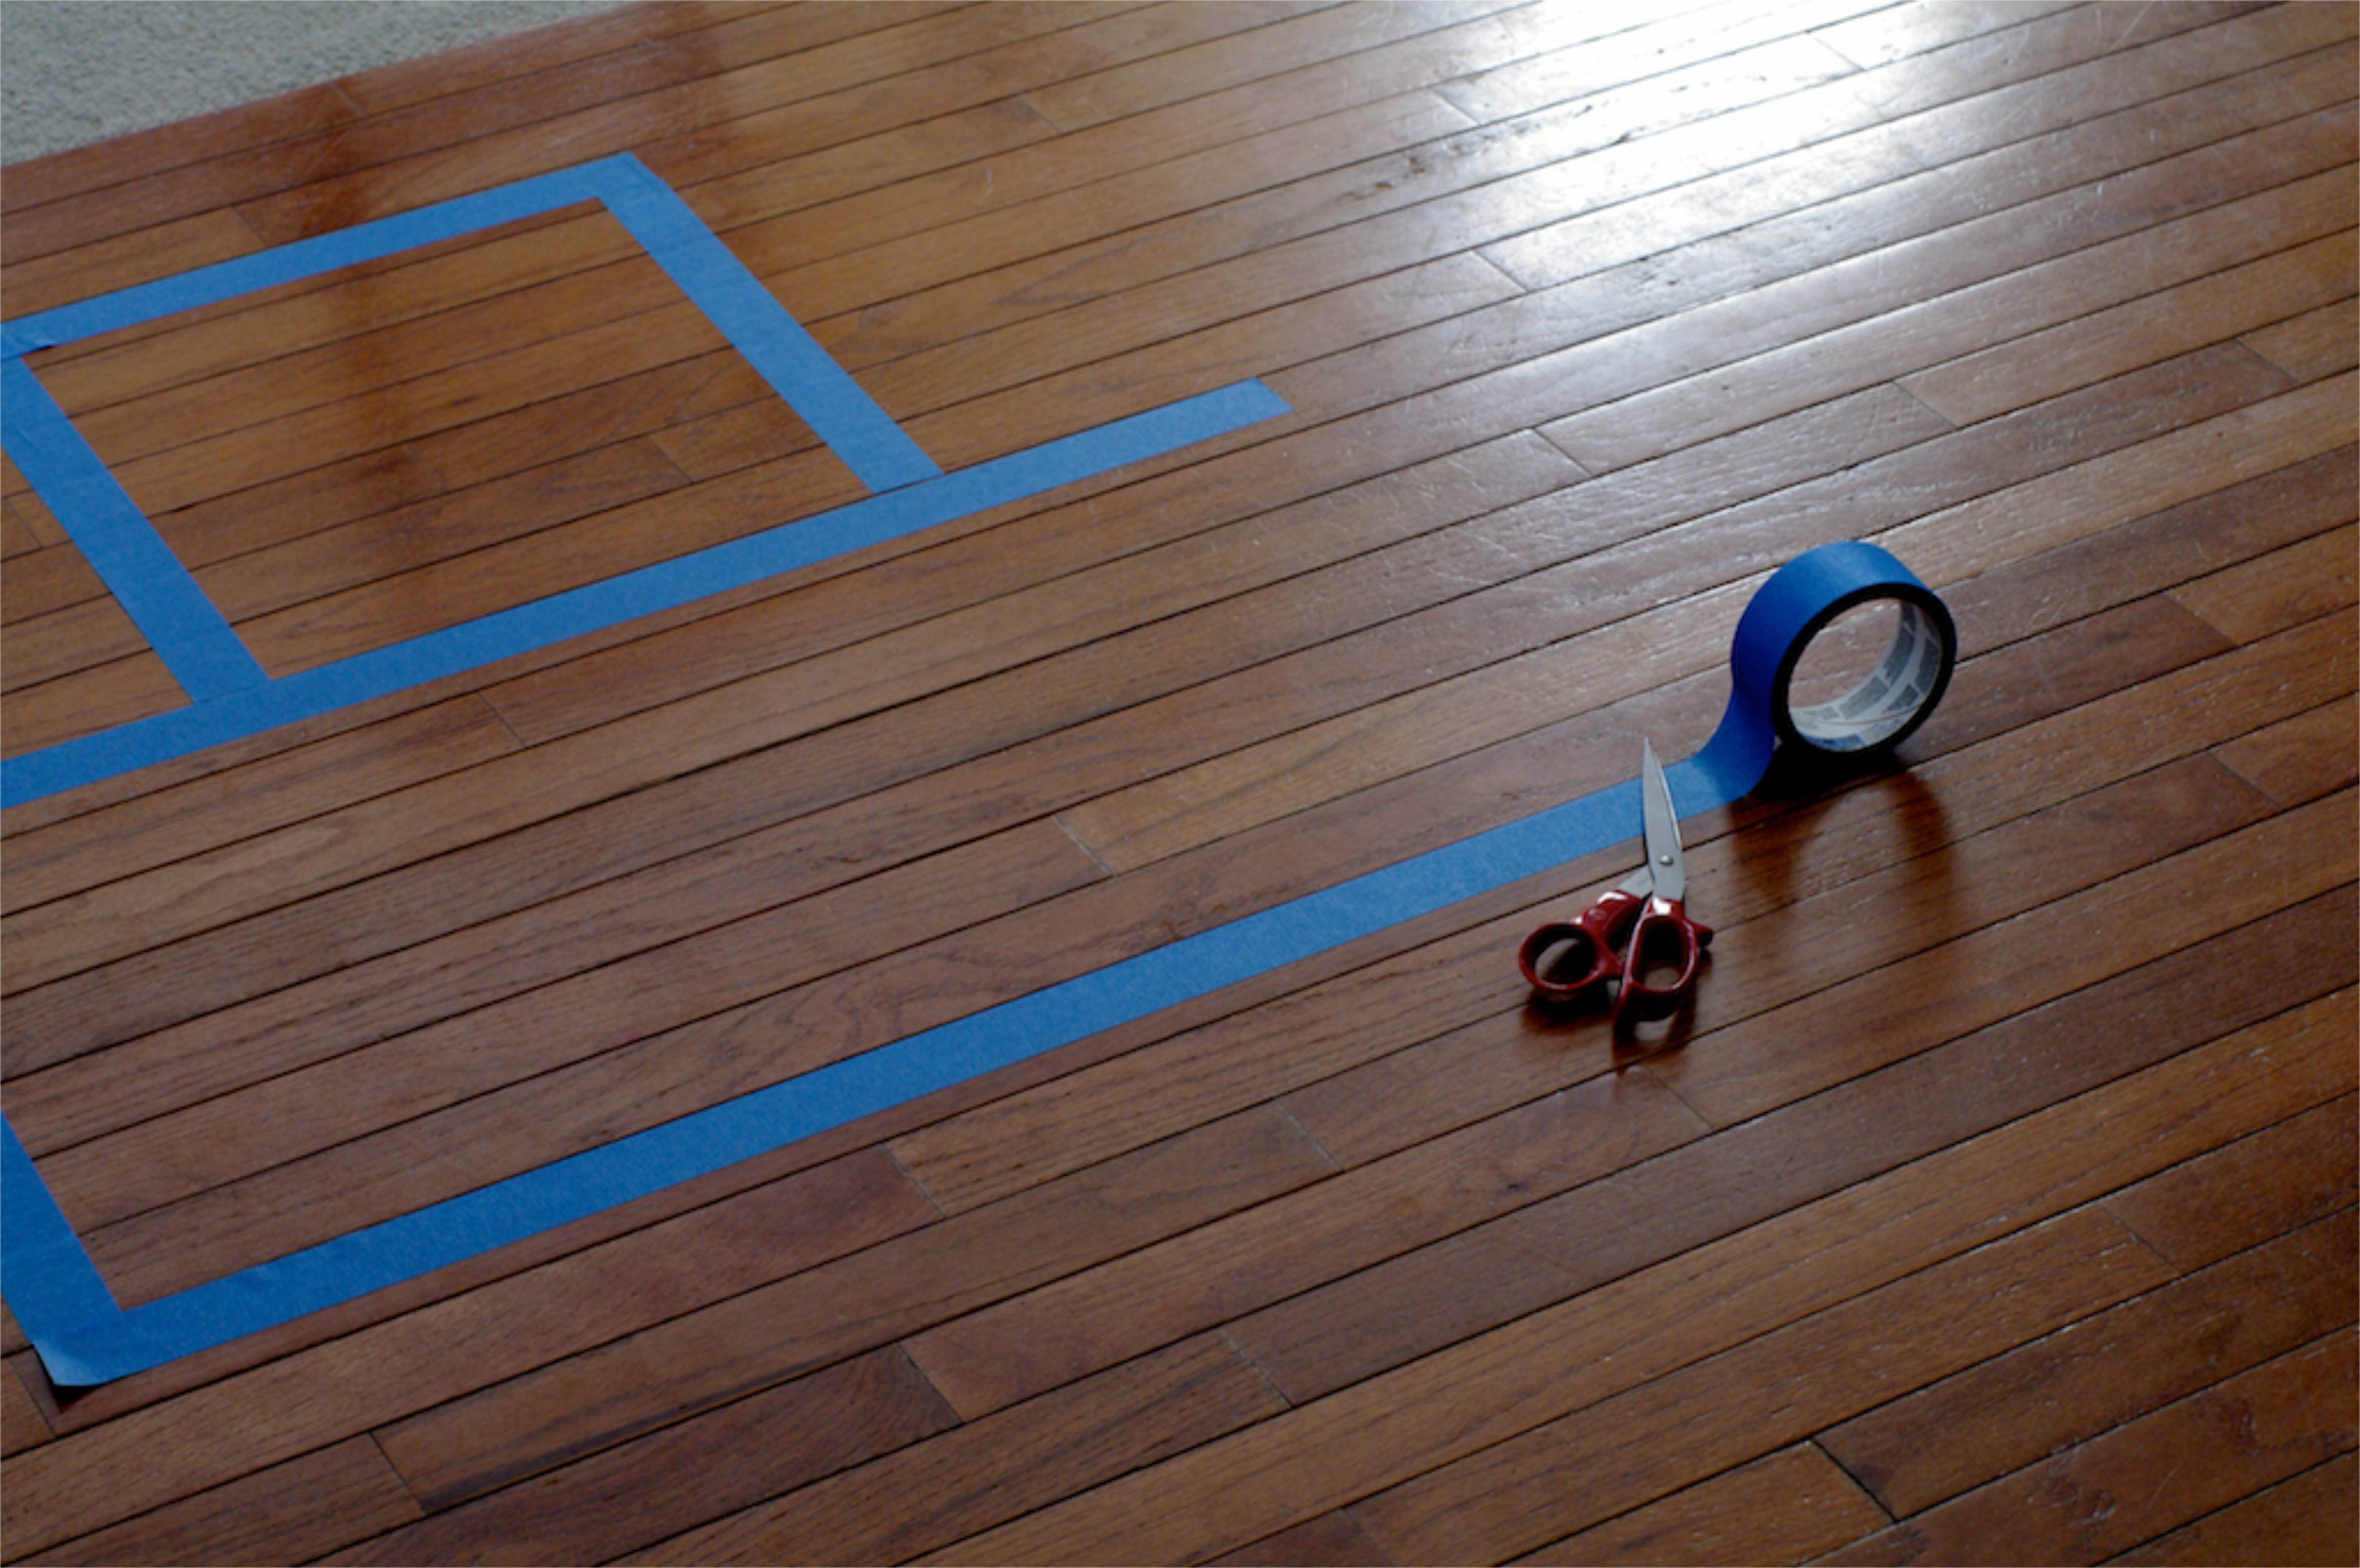
First, we gathered our supplies. This super easy project only requires three things.

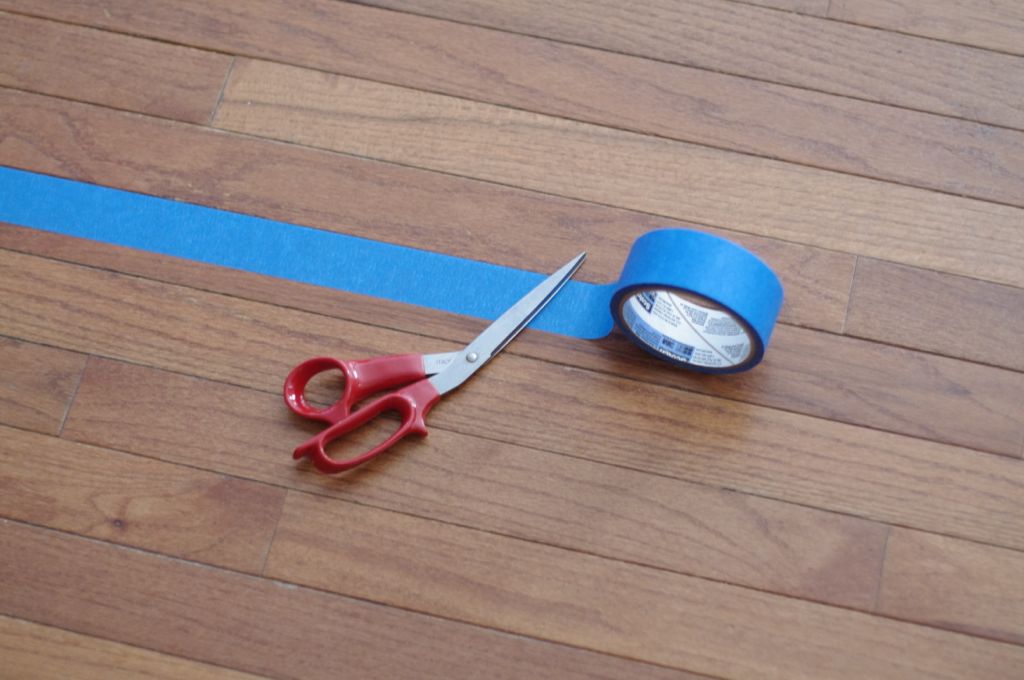
Step 2
Next, I began to build the hopscotch board. Lines on a wood or tiled floor served as great guides, but you could do this on carpet as well, whatever your tape will stick to.
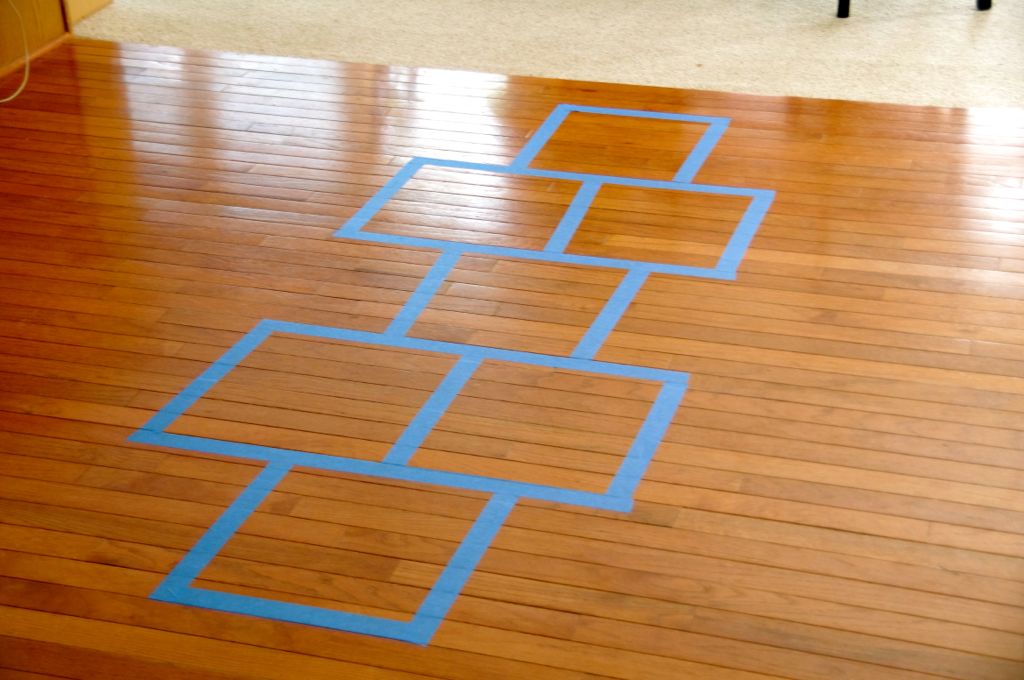
Step 3
I started at the top with one box, then made a double box beneath that.
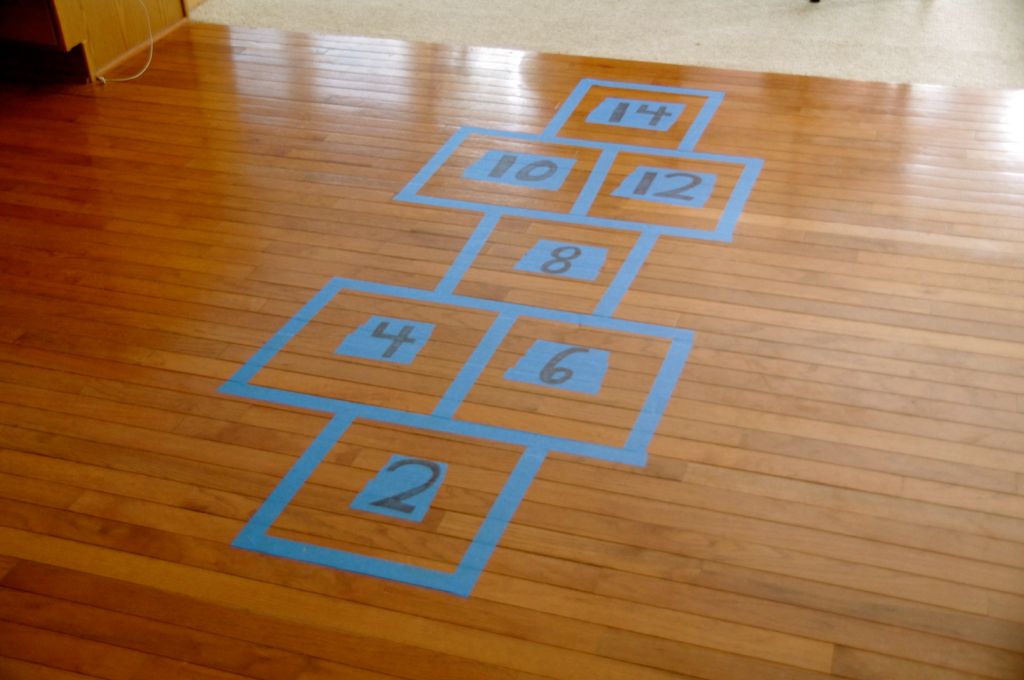
Step 4
Here's the finished board. How many boxes you make depends on how high your child wants to count.
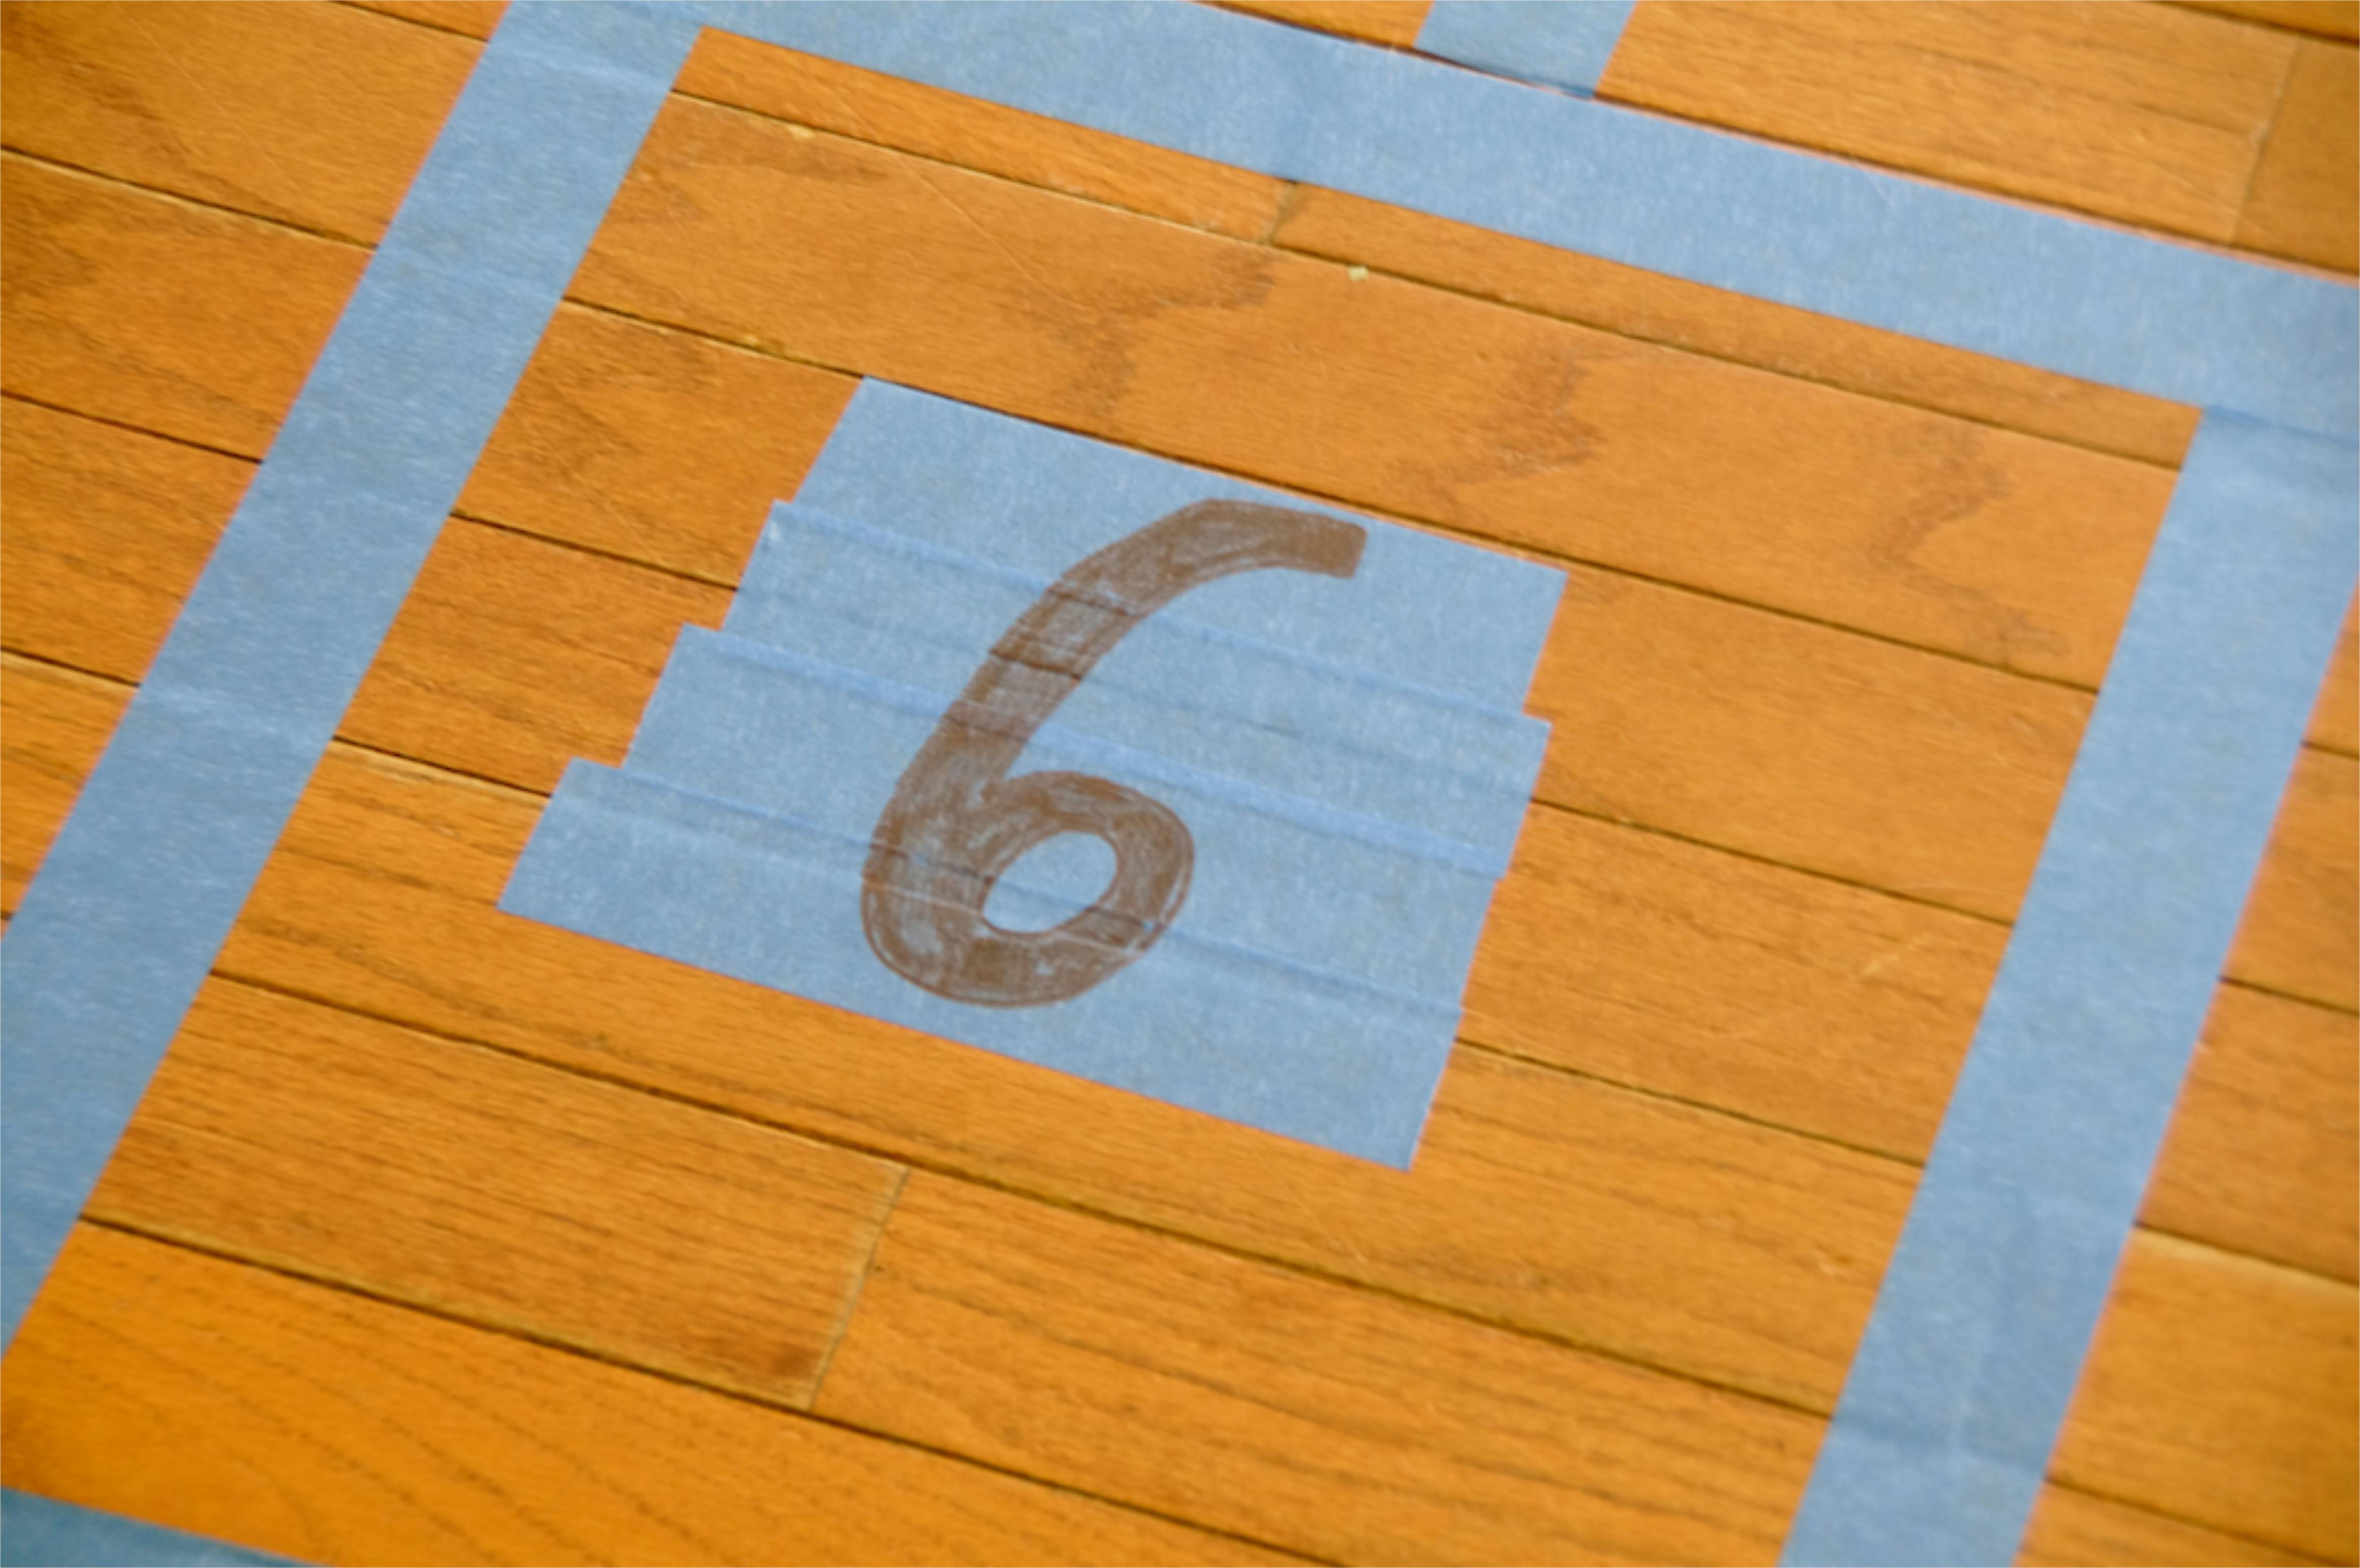
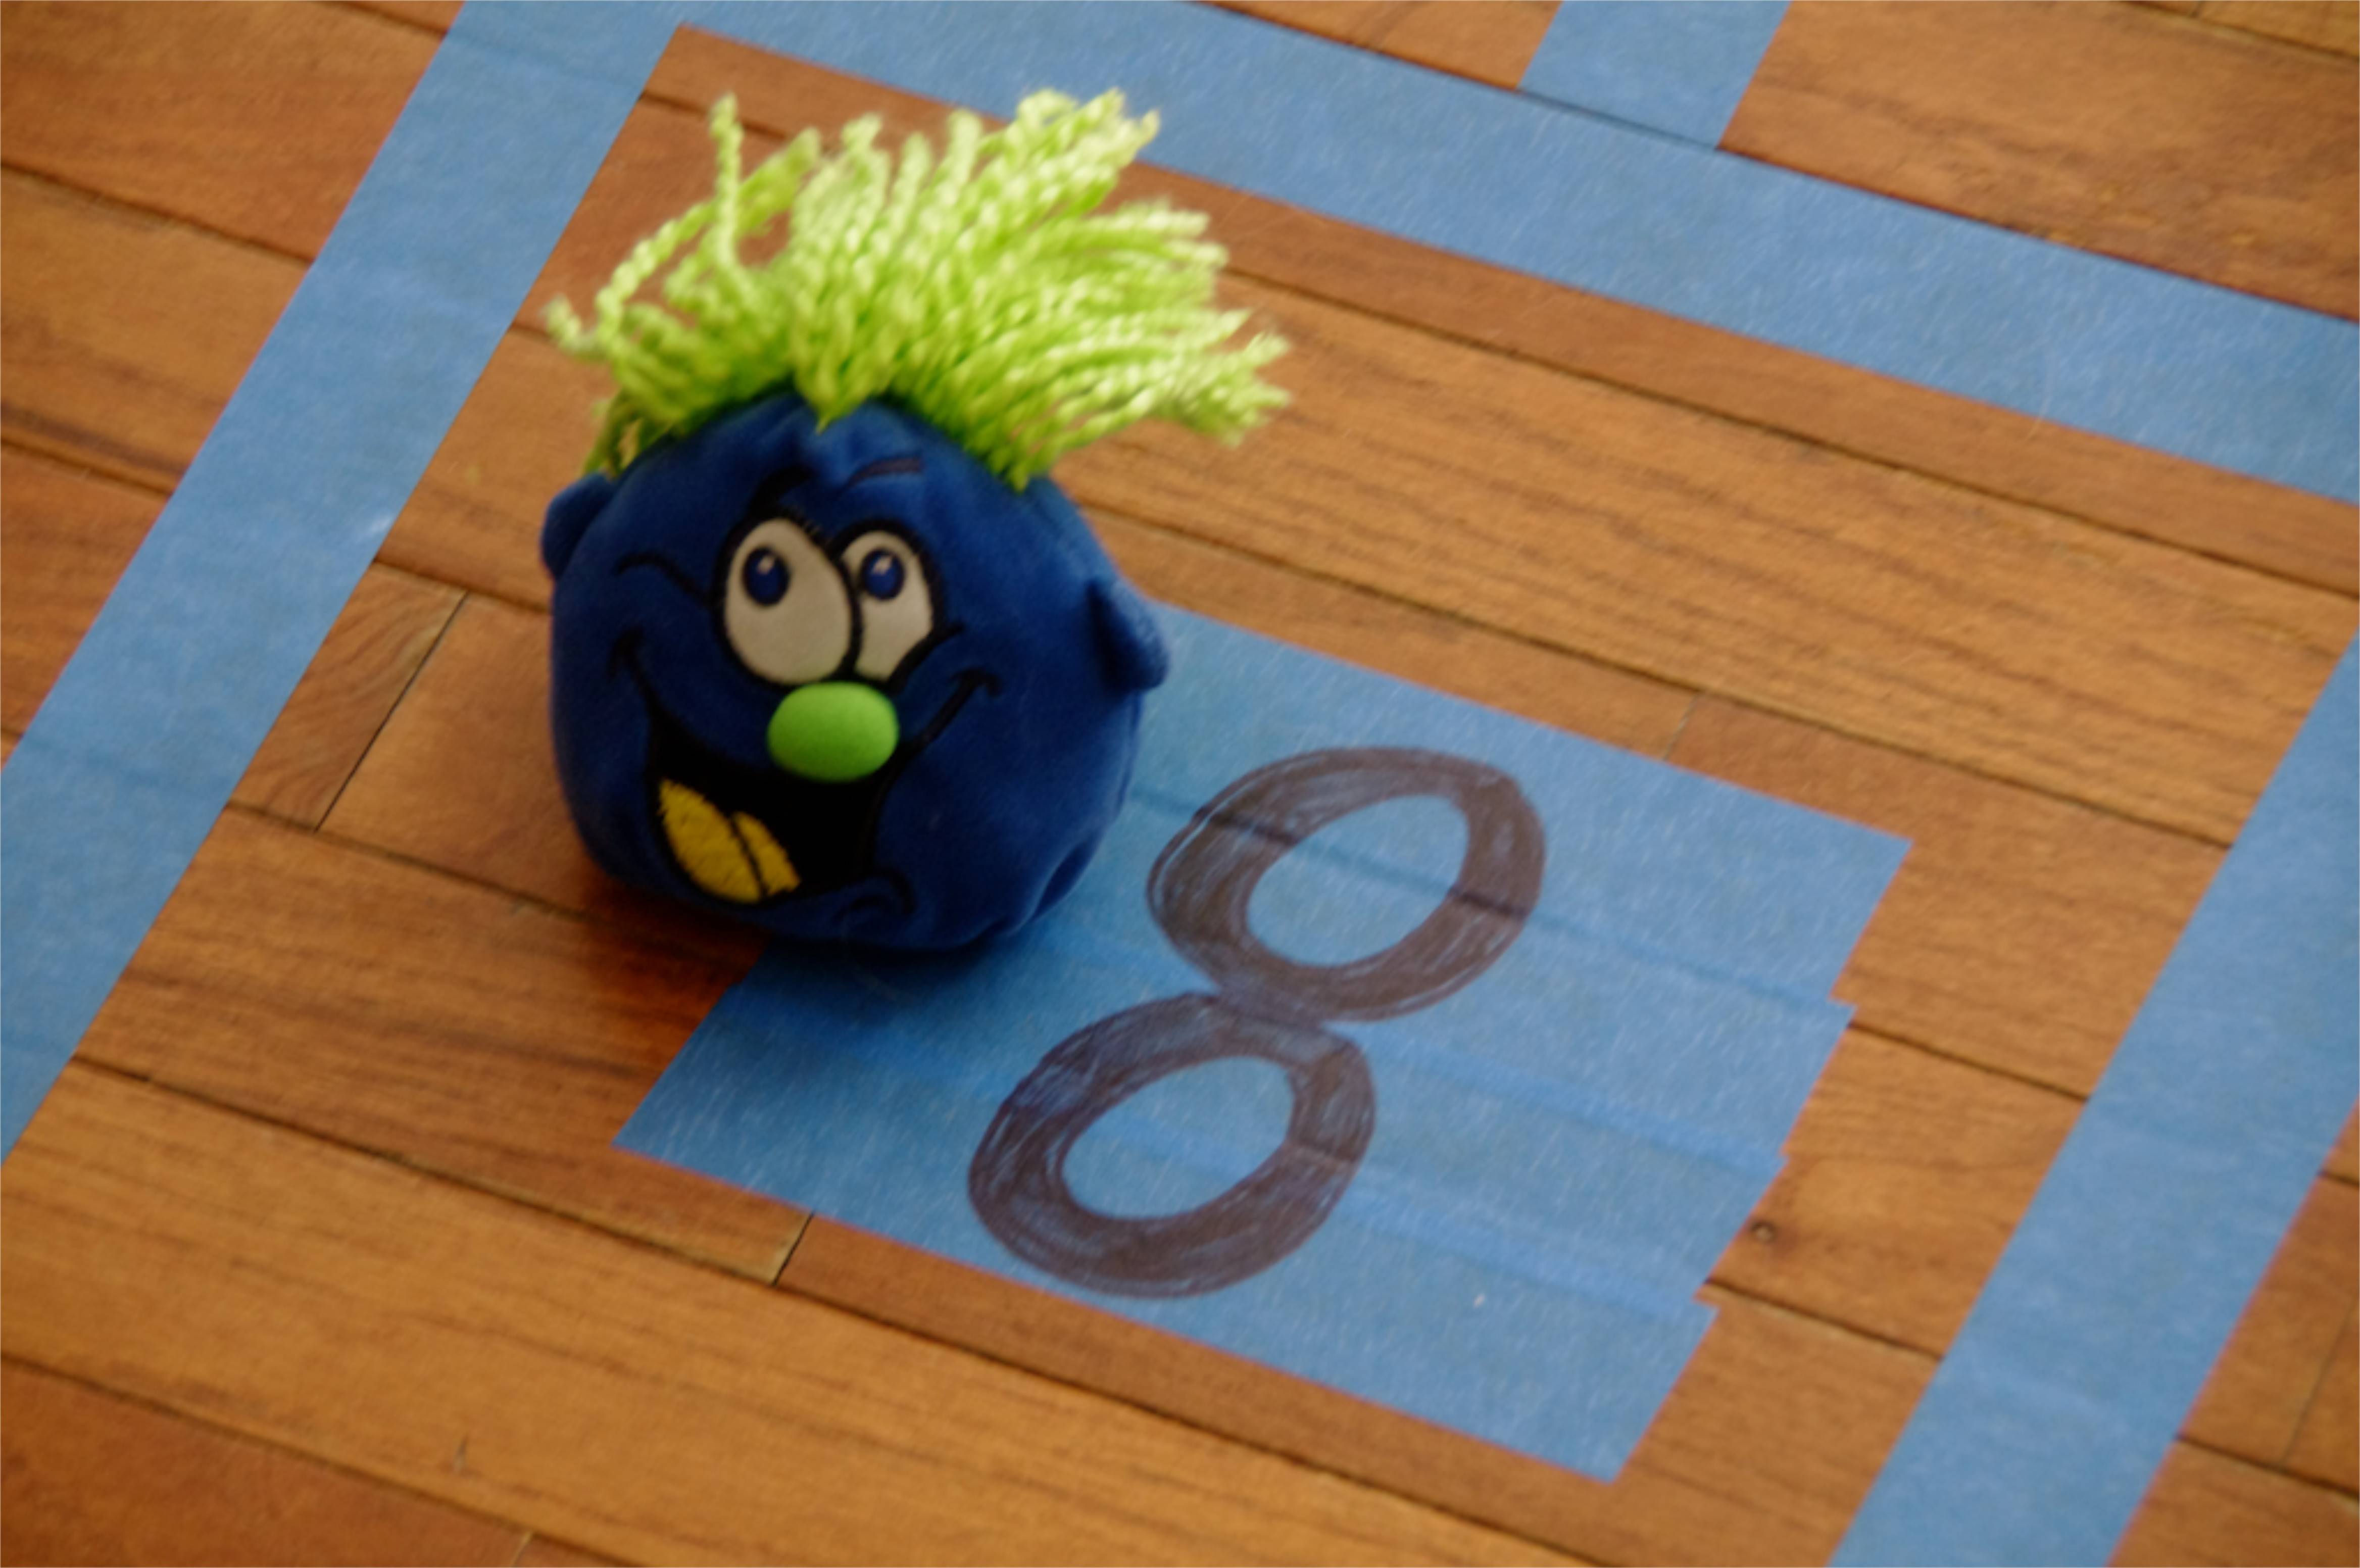
Step 5
Next I added the numbers by placing four or five overlapping pieces of tape (we had a wide roll of tape) in the center of each box and drawing in the number with a permanent marker.
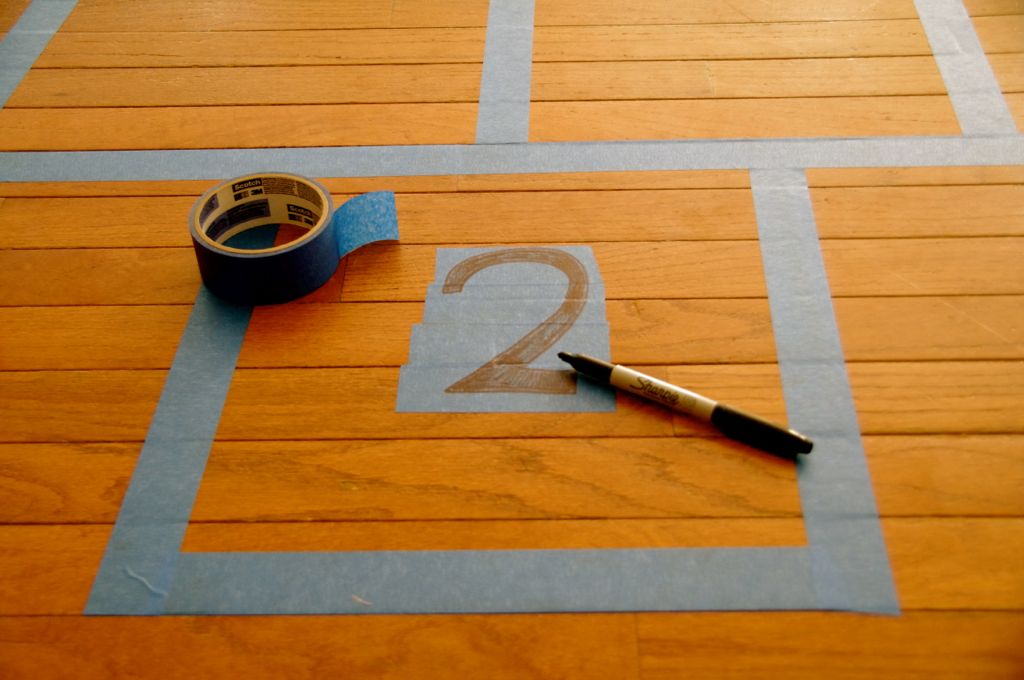
Step 6
Overlapping the pieces of tape will ensure that you don't get permanent marker on your floor. Also, while the kids were happy to assist, I didn't want them using permanent marker anywhere near my wood floors so I gave them a job of smoothing down the tape before I drew on it.
Step 7
Next, I sent the kids off to look for small bean bag toys after I heard them discussing a plan for getting on shoes and going outside to look for rocks to play the hopscotch game.
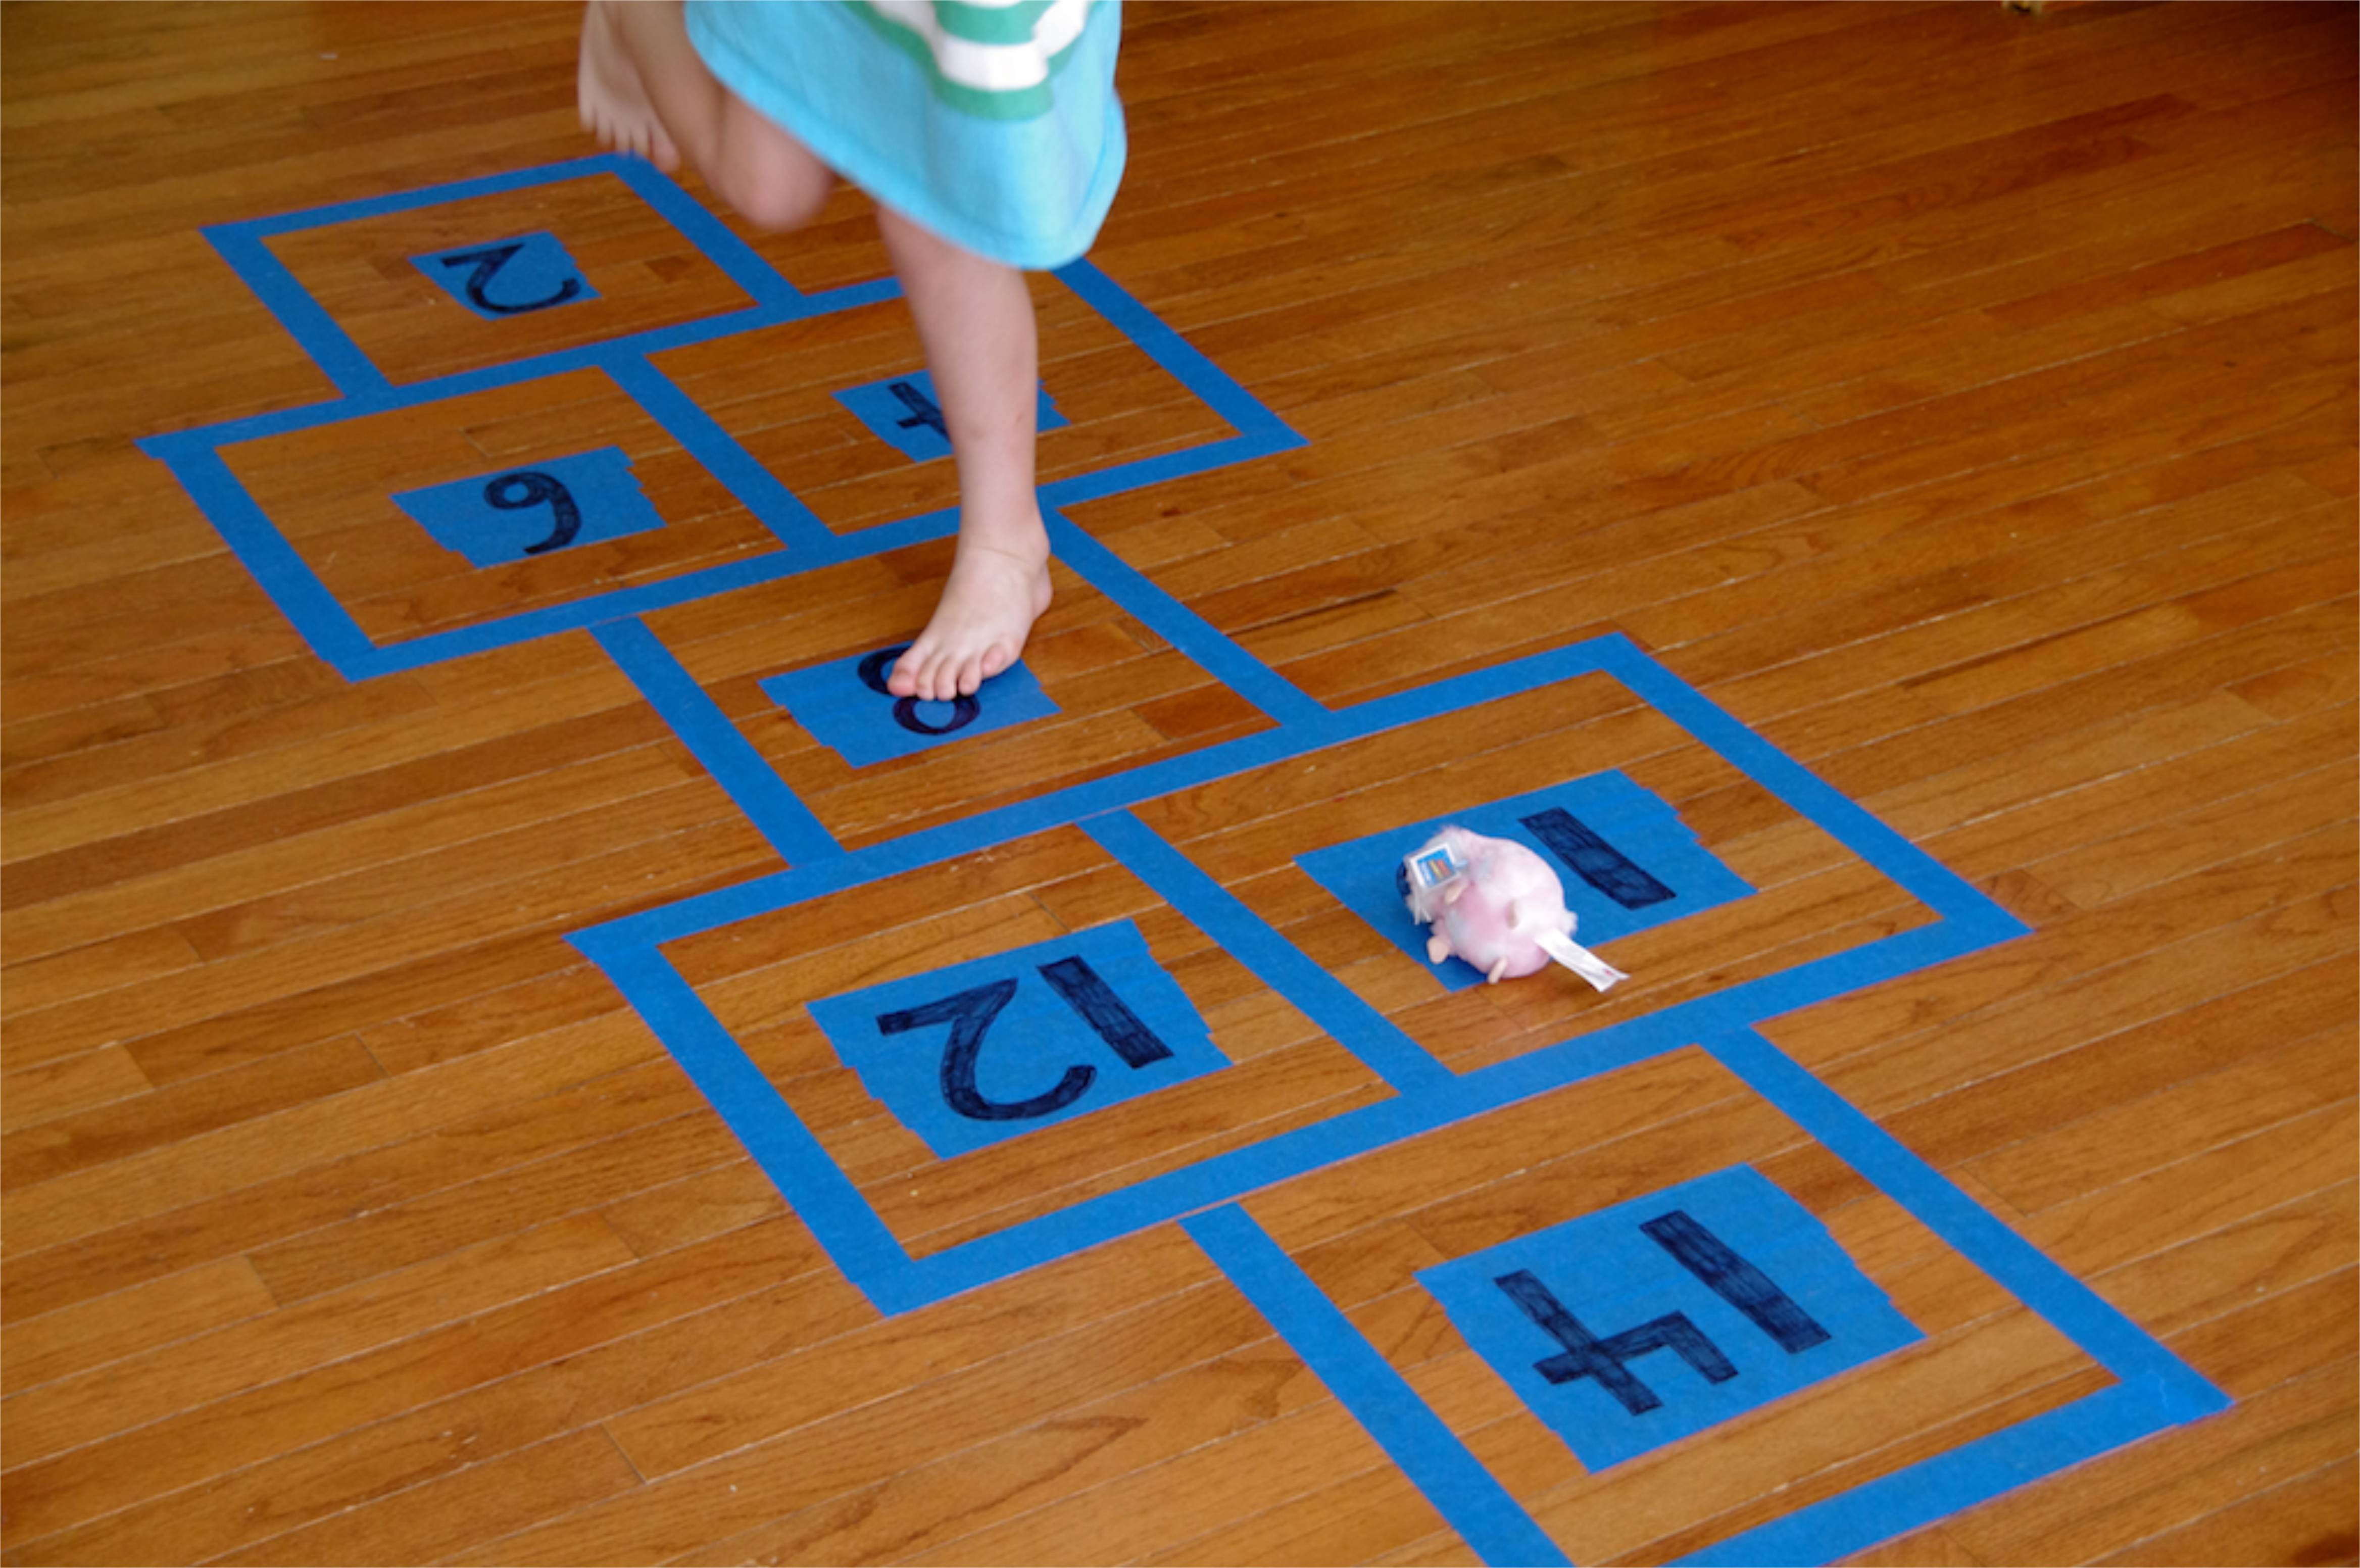
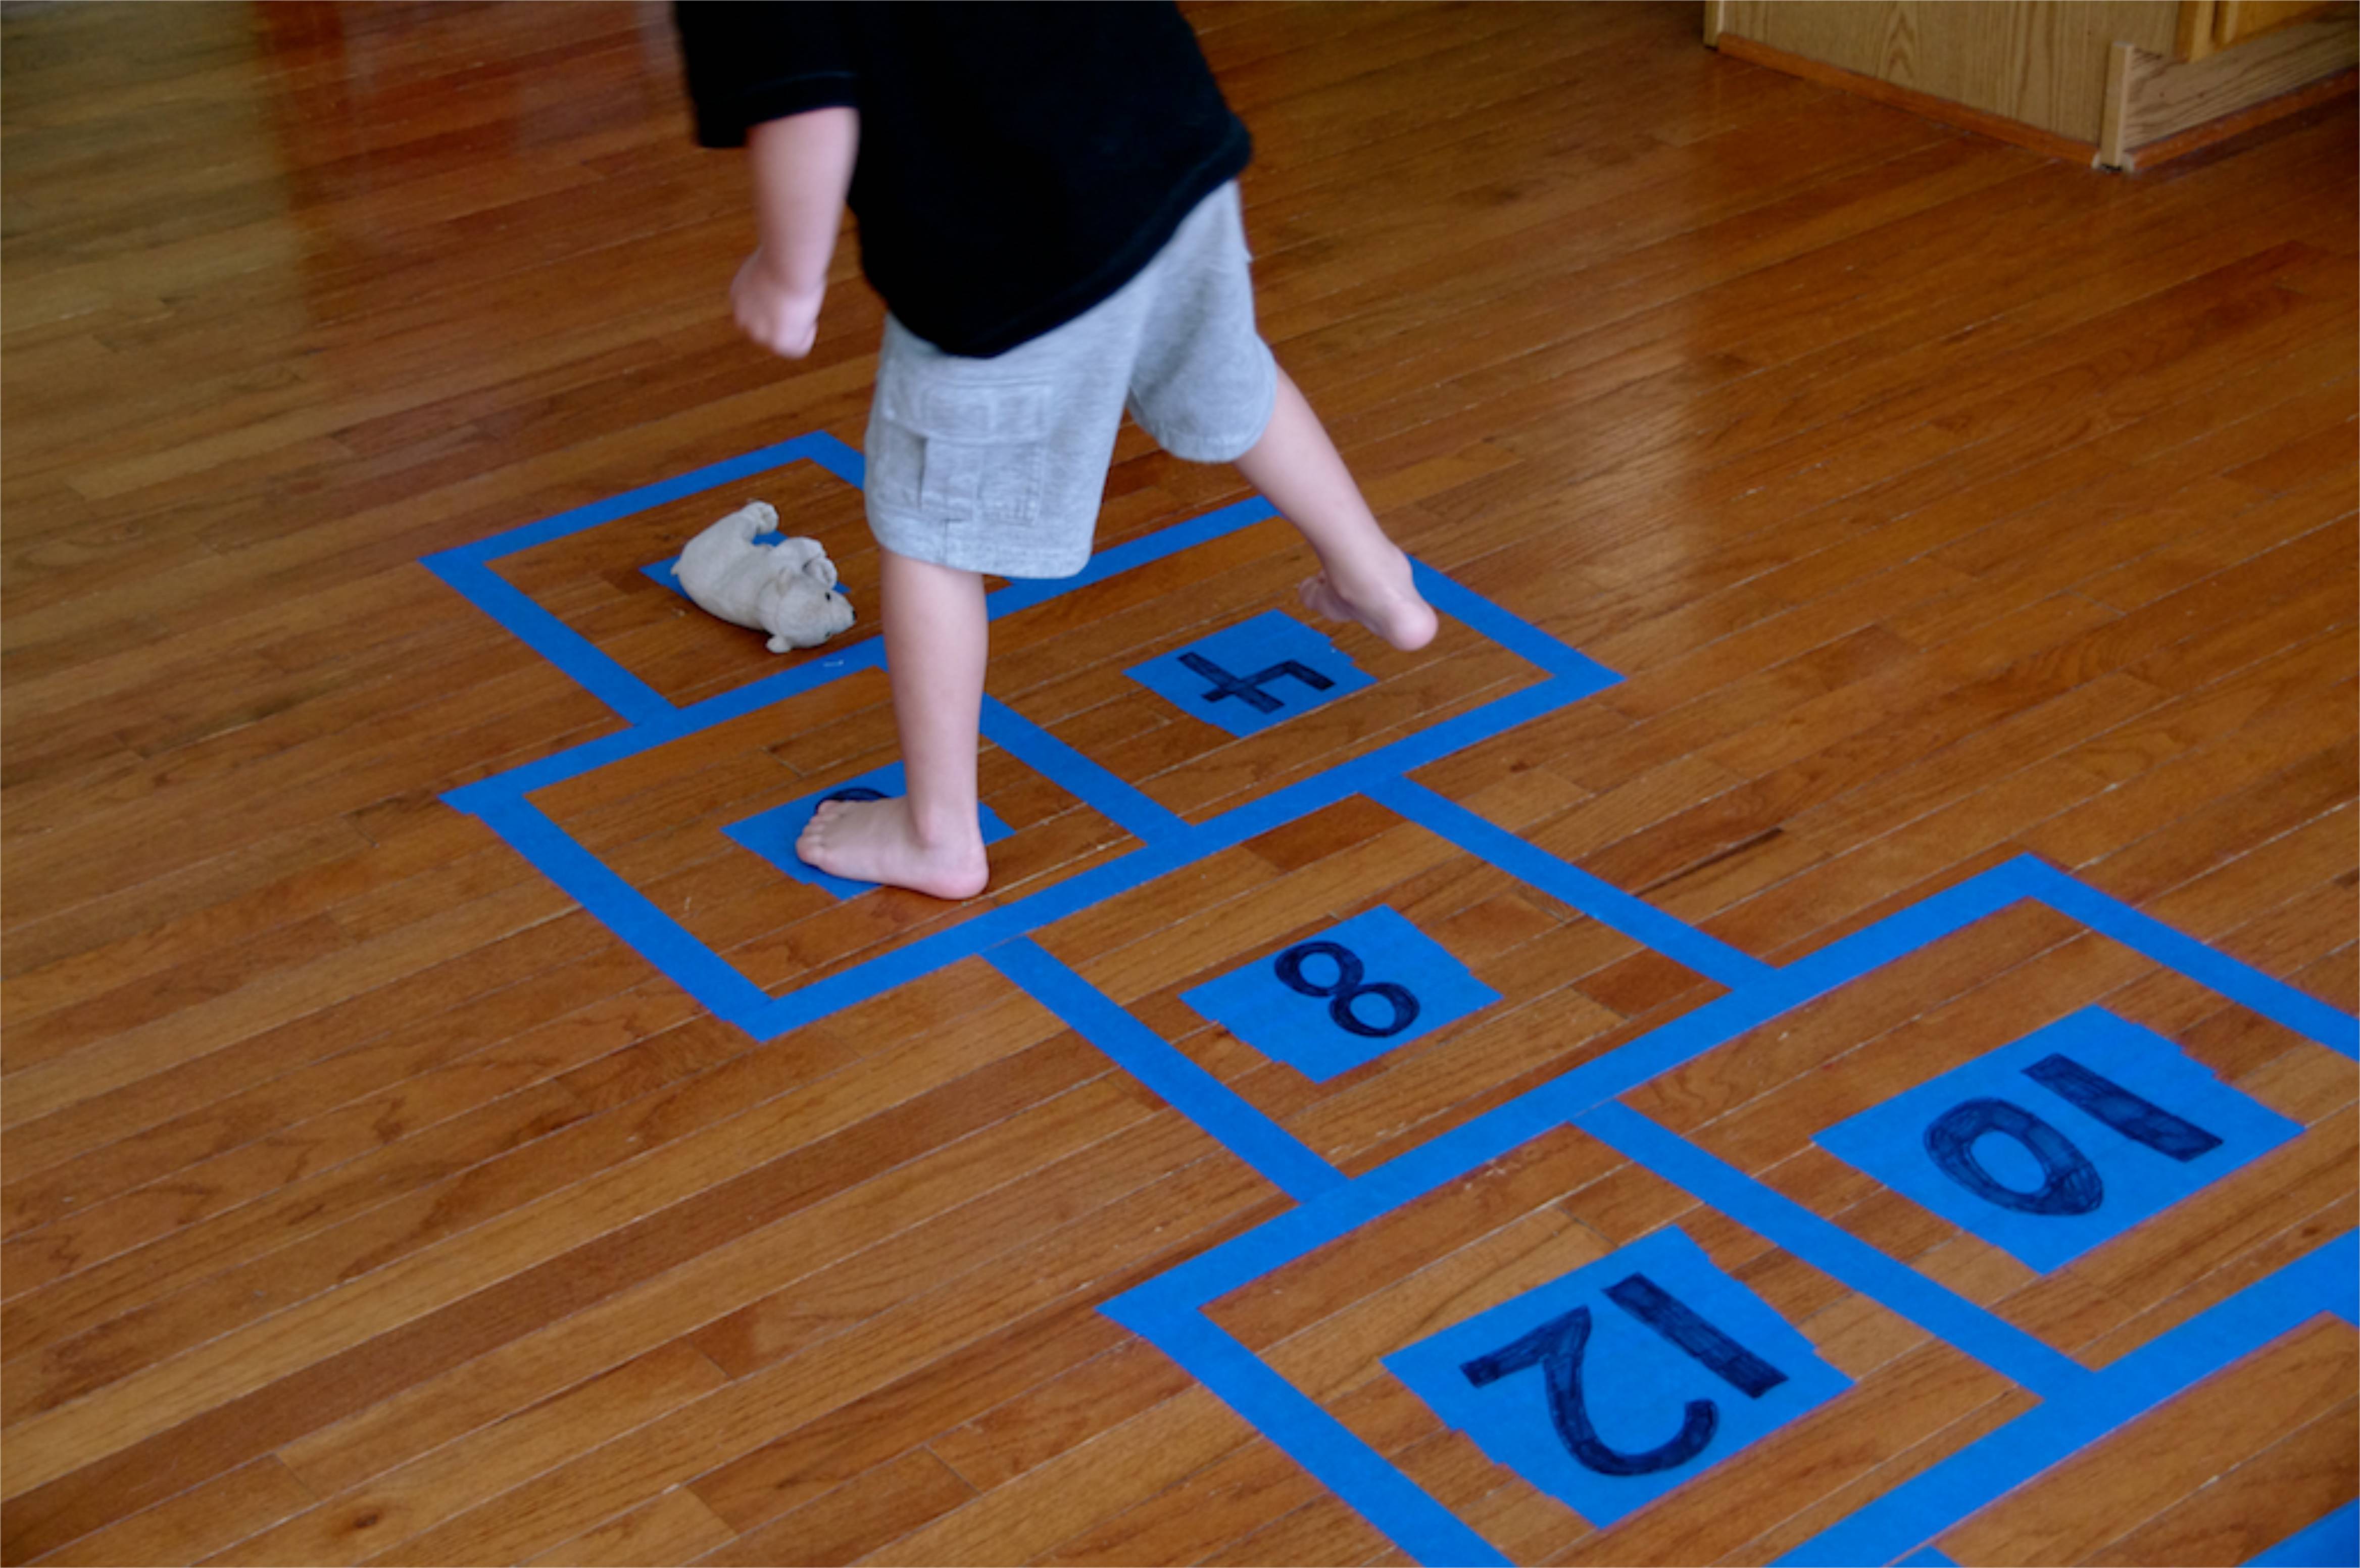
Step 8
The board was finally complete. The permanent marker ensures that they won't get ink on their feet while they play.
Step 9
We made our board to count by 2's as an introduction to skip counting for my 4 year old, as well as a way to teach even numbers. Learning to alternate hopping on one foot, then two, is also a great gross motor skill for him to practice.
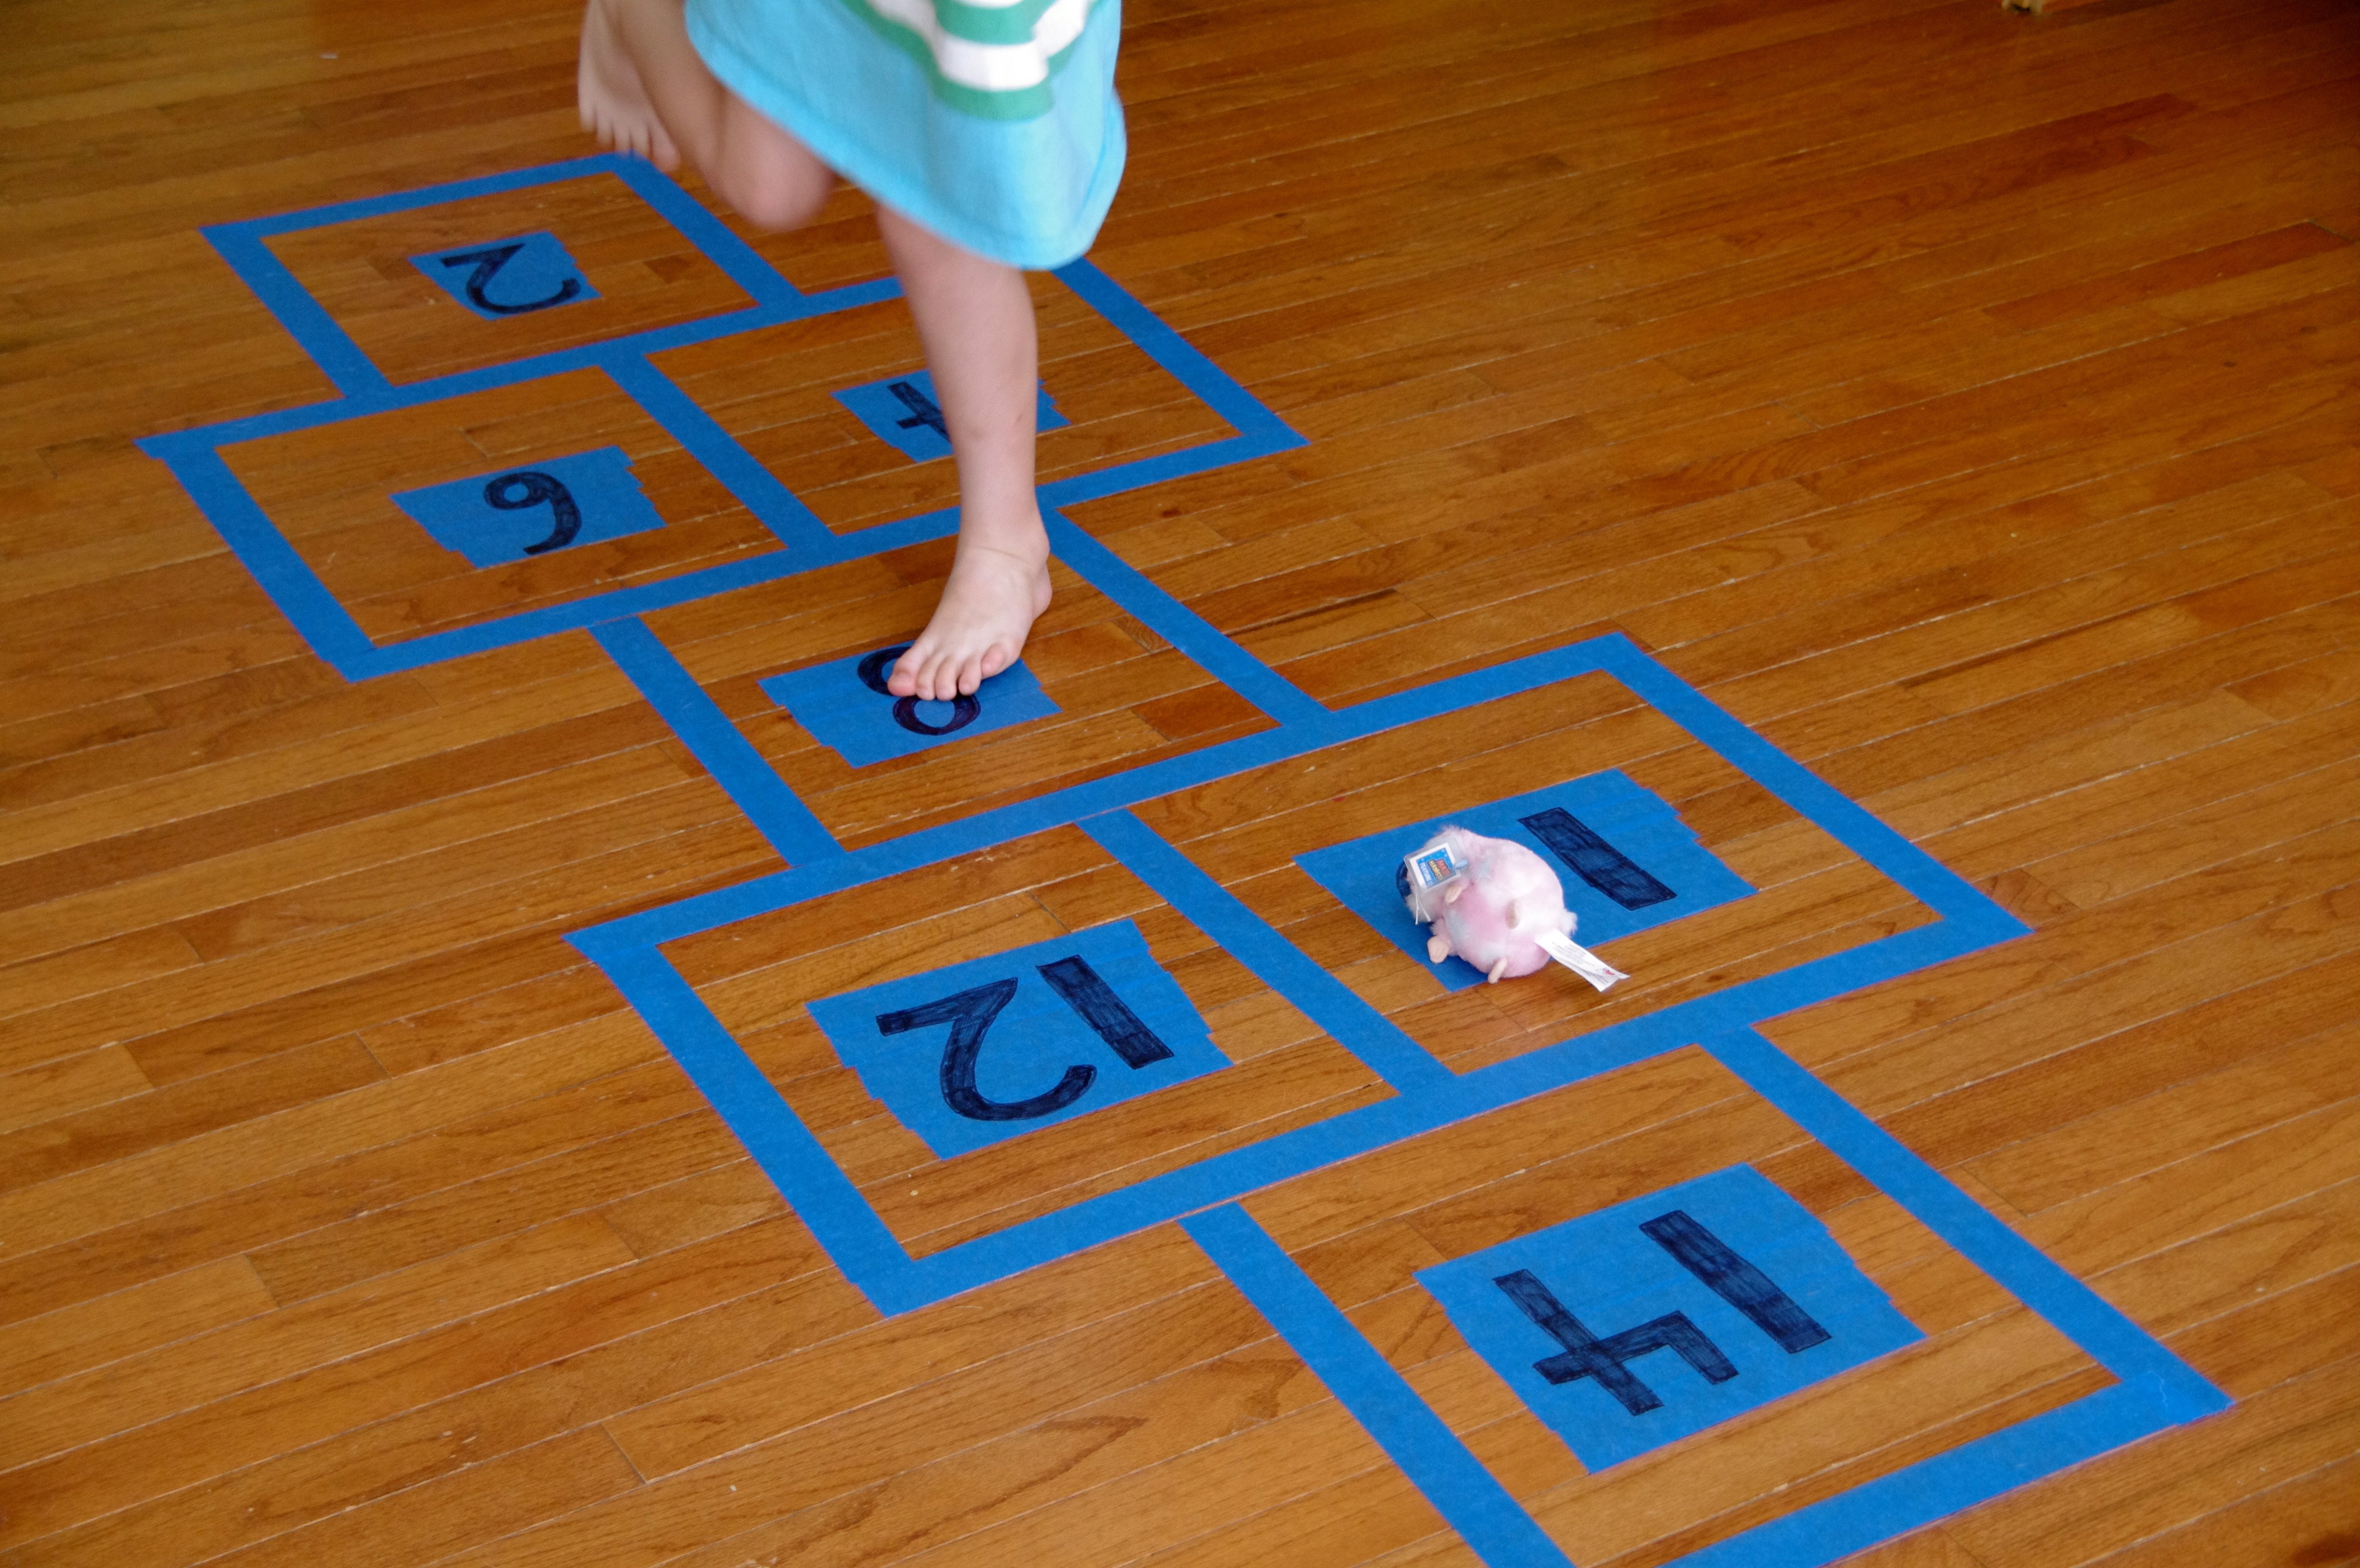
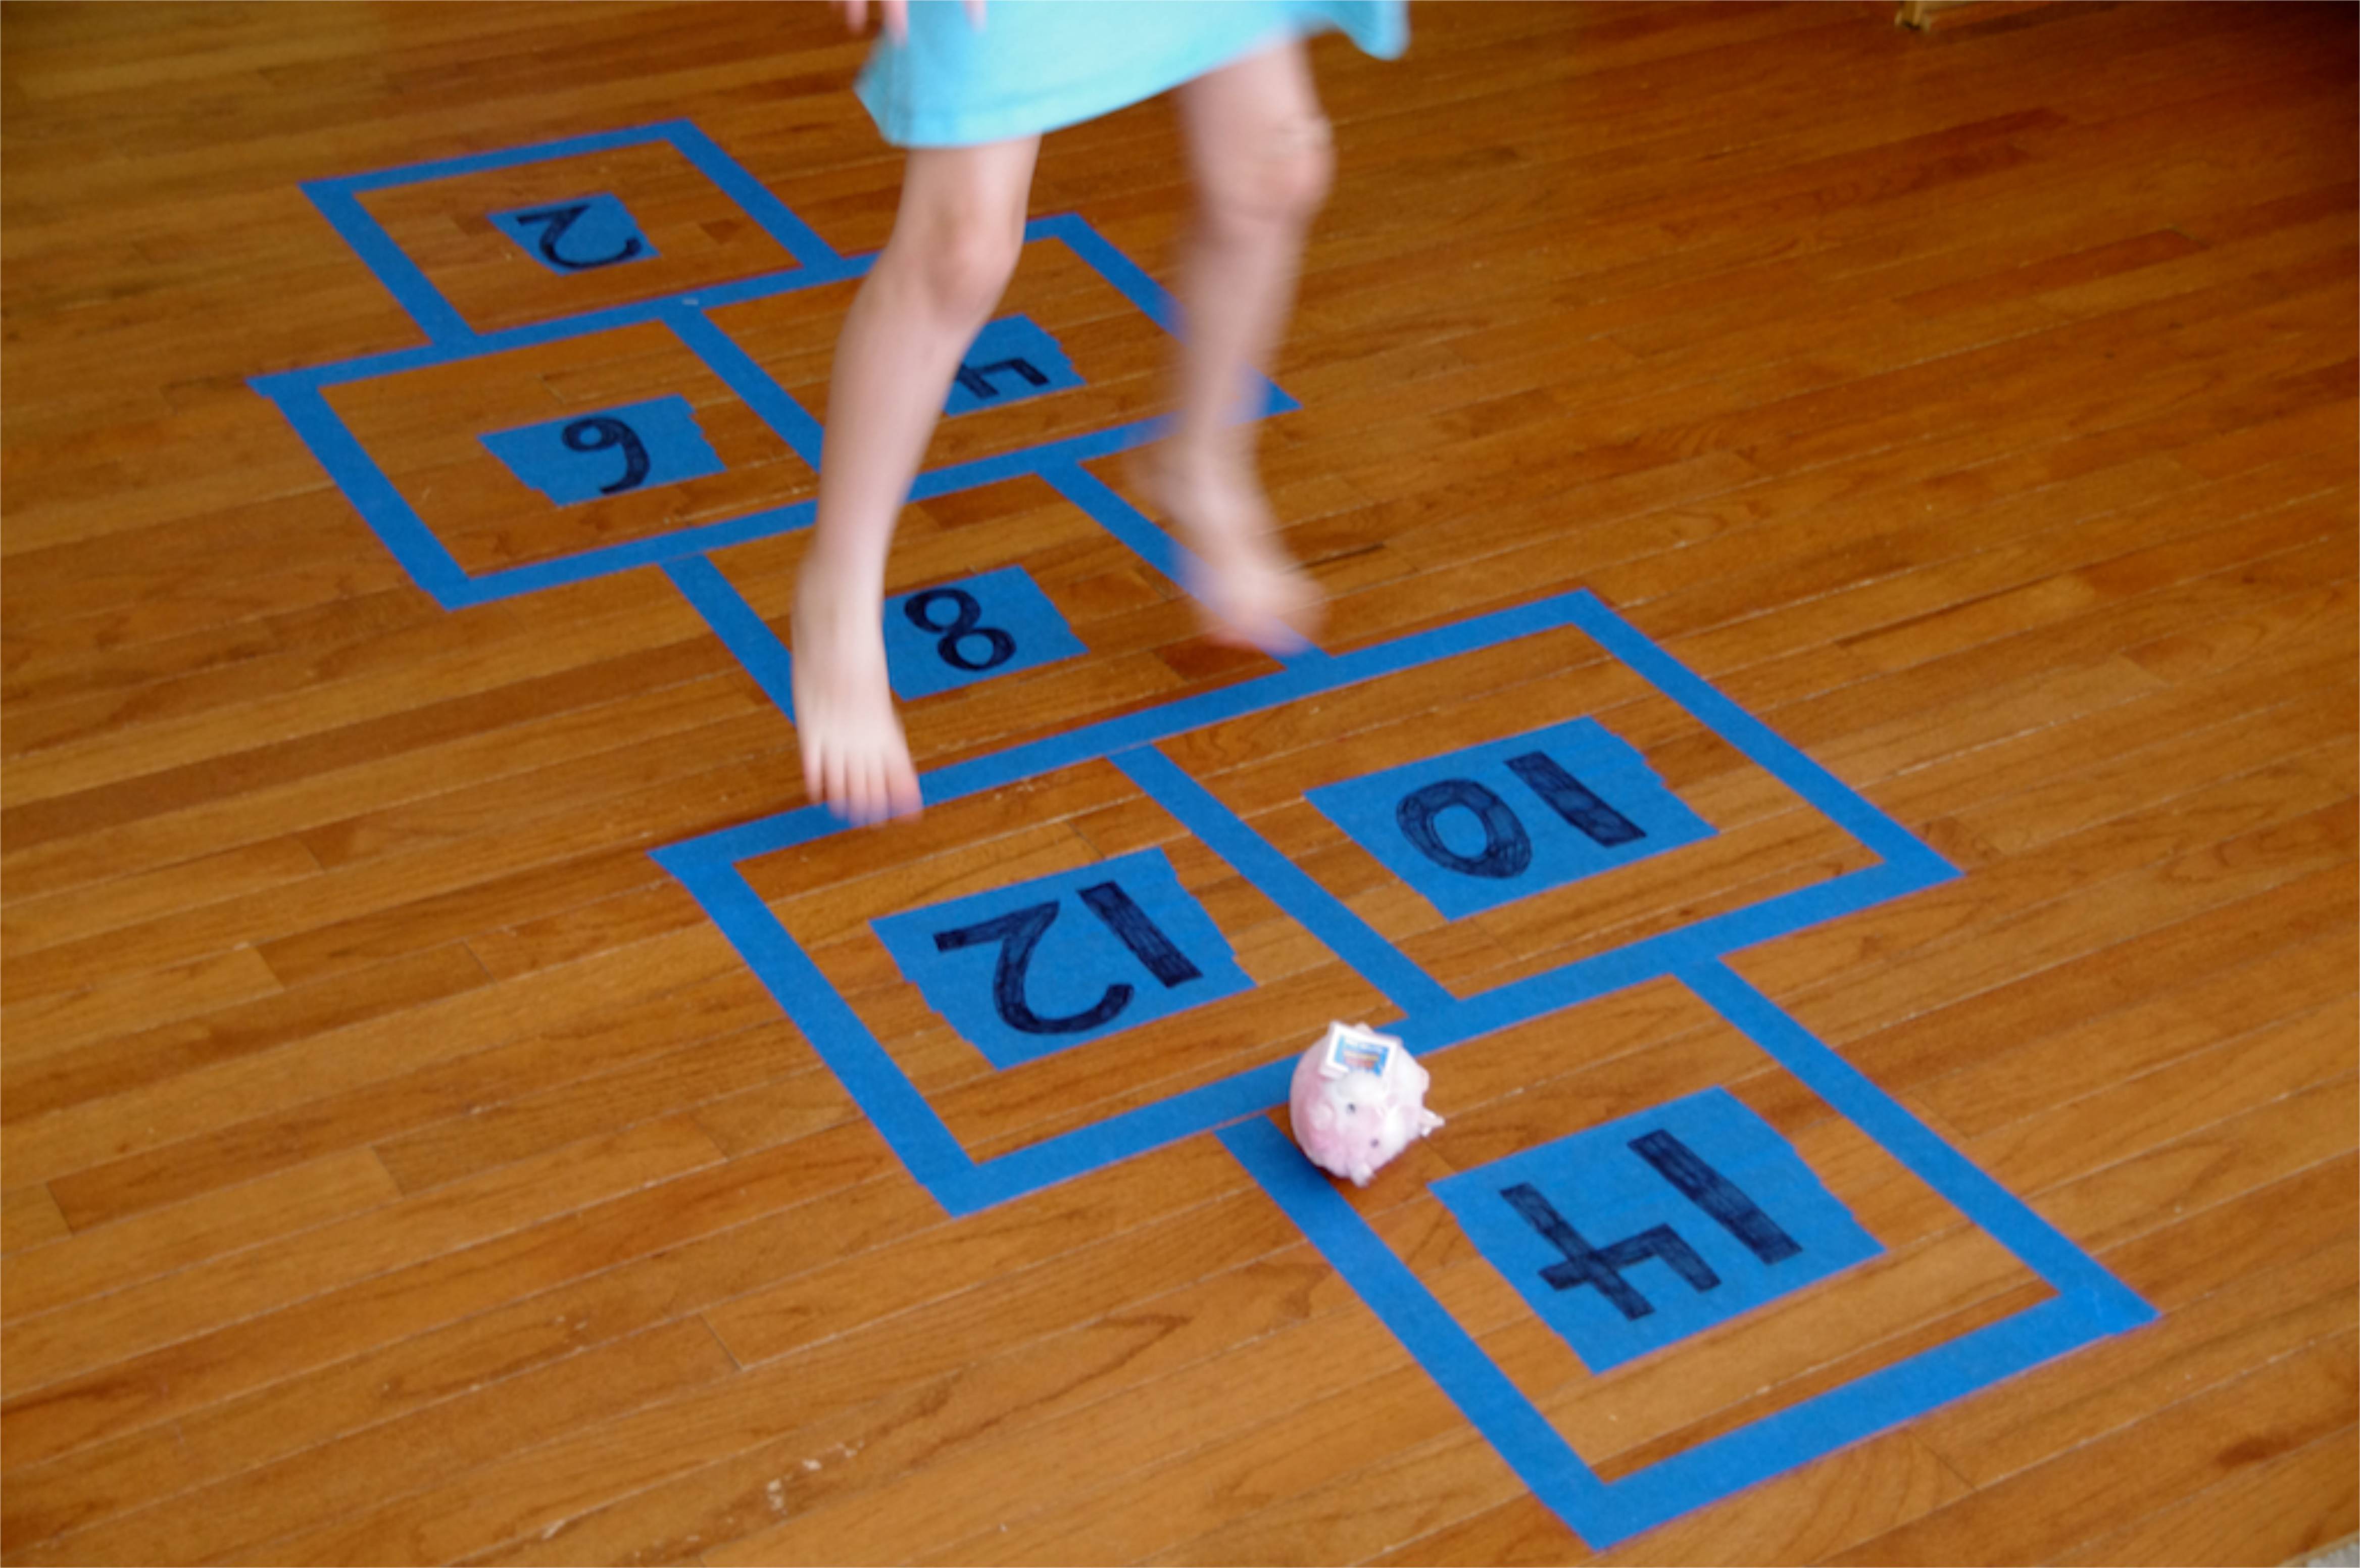
Step 10
And my 7 year old had fun as well.
Done!
We've left the board on our kitchen floor for about a week now and there have been lots of impromptu hopscotch games. Sometimes they just hop through on their way out of the kitchen without actually playing the game, but getting some great practice skip counting the numbers and some gross-motor fun.