
Step-by-step tutorial
Step 1
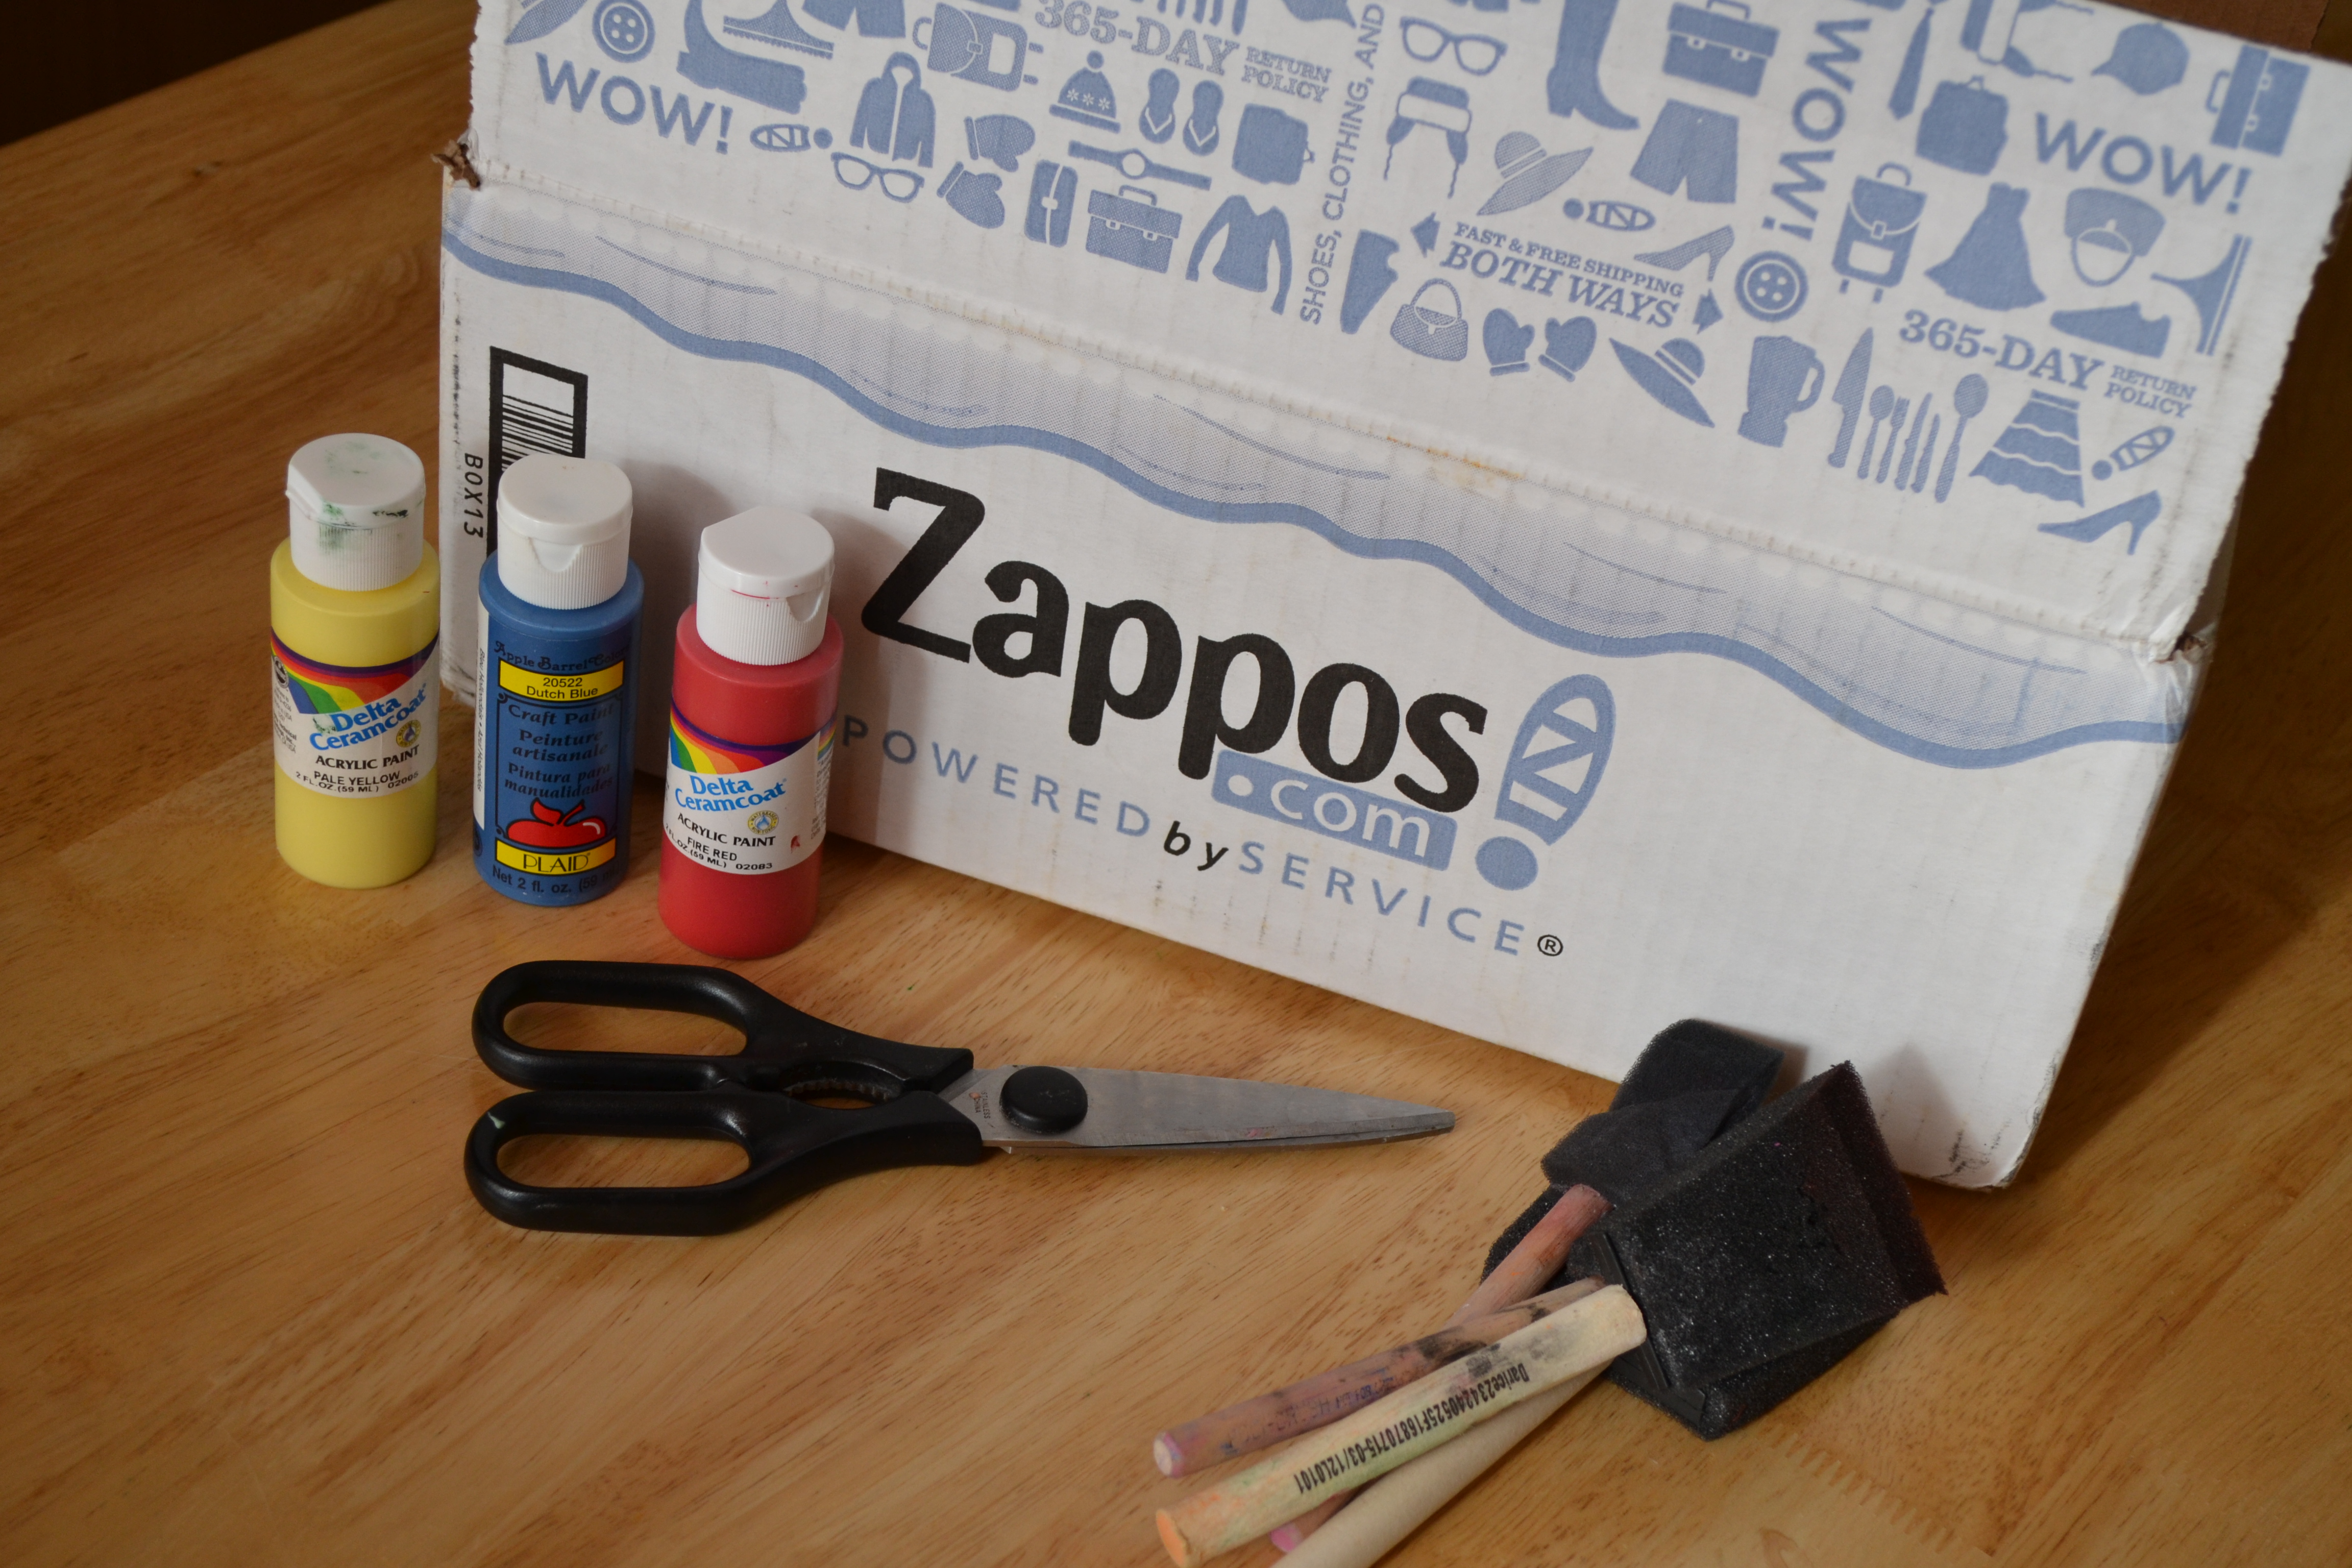
Gather all materials. I love finding new ways to use a cardboard box! We get so many of them, and I always find that kids have more fun playing with boxes than with any toys that could come inside them.

Step 2
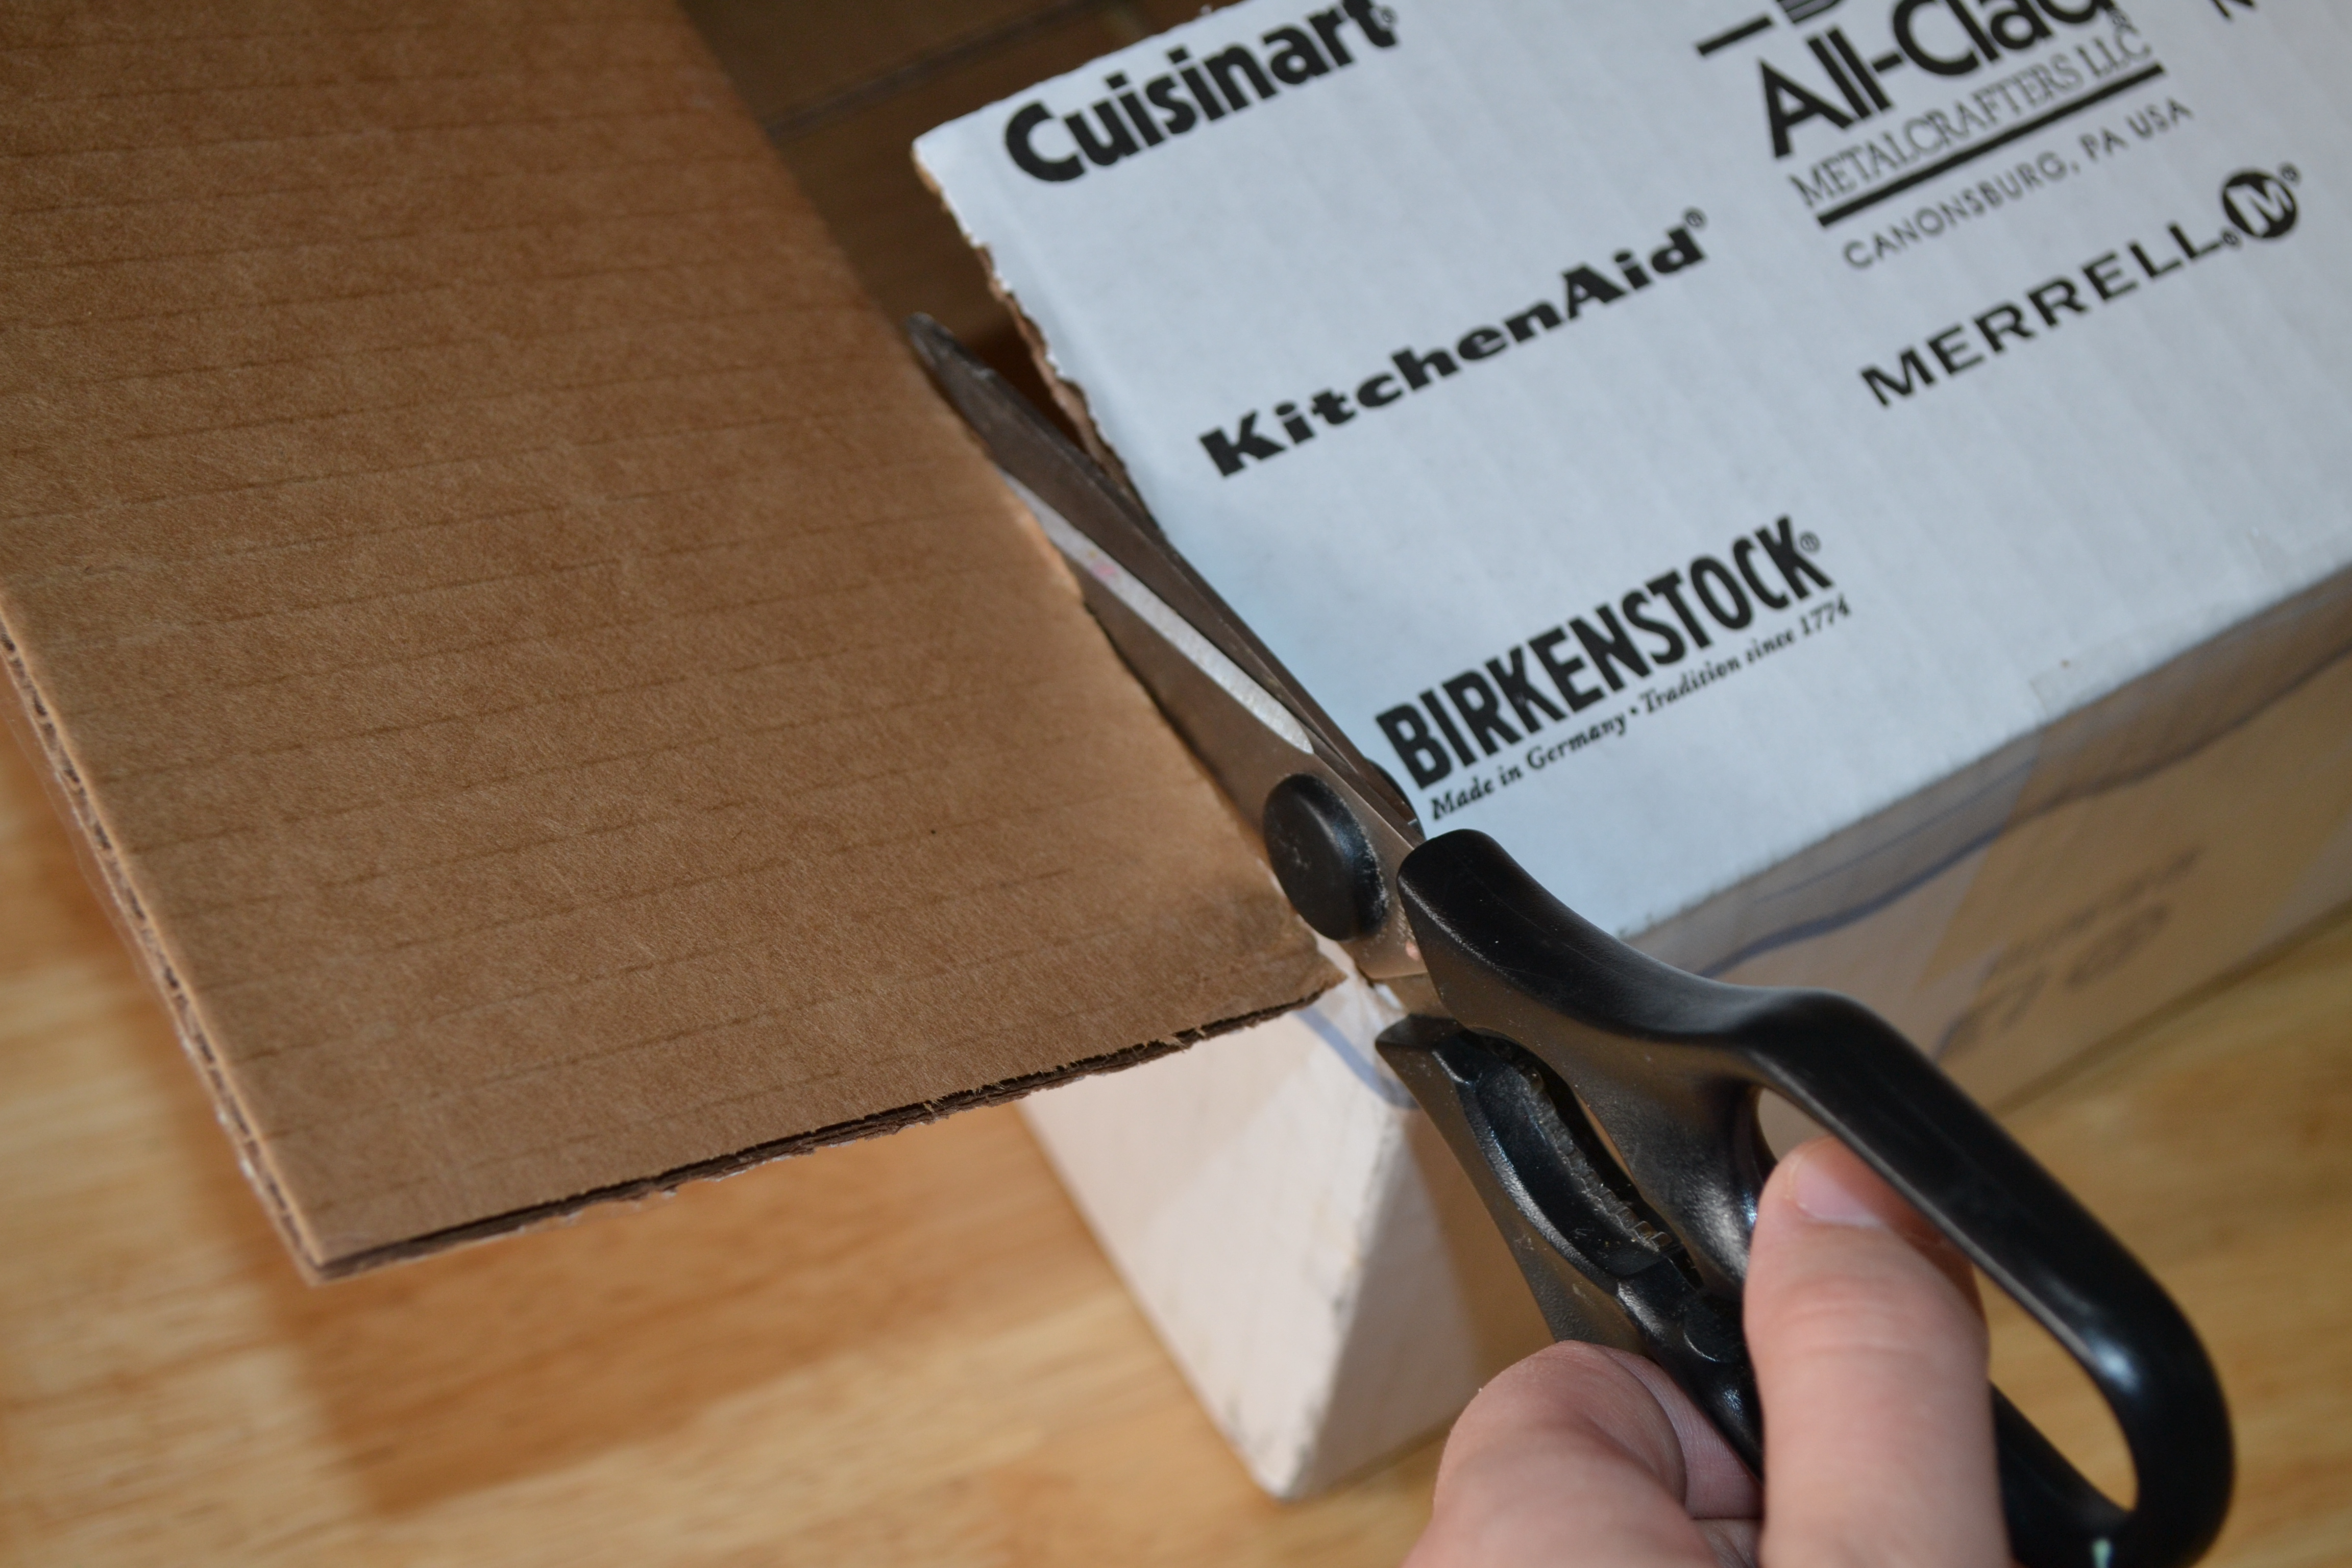
I cut the flaps off of the top of the box to make it easier to roll a ball through. We used the flaps later to decorate the box.
Step 3
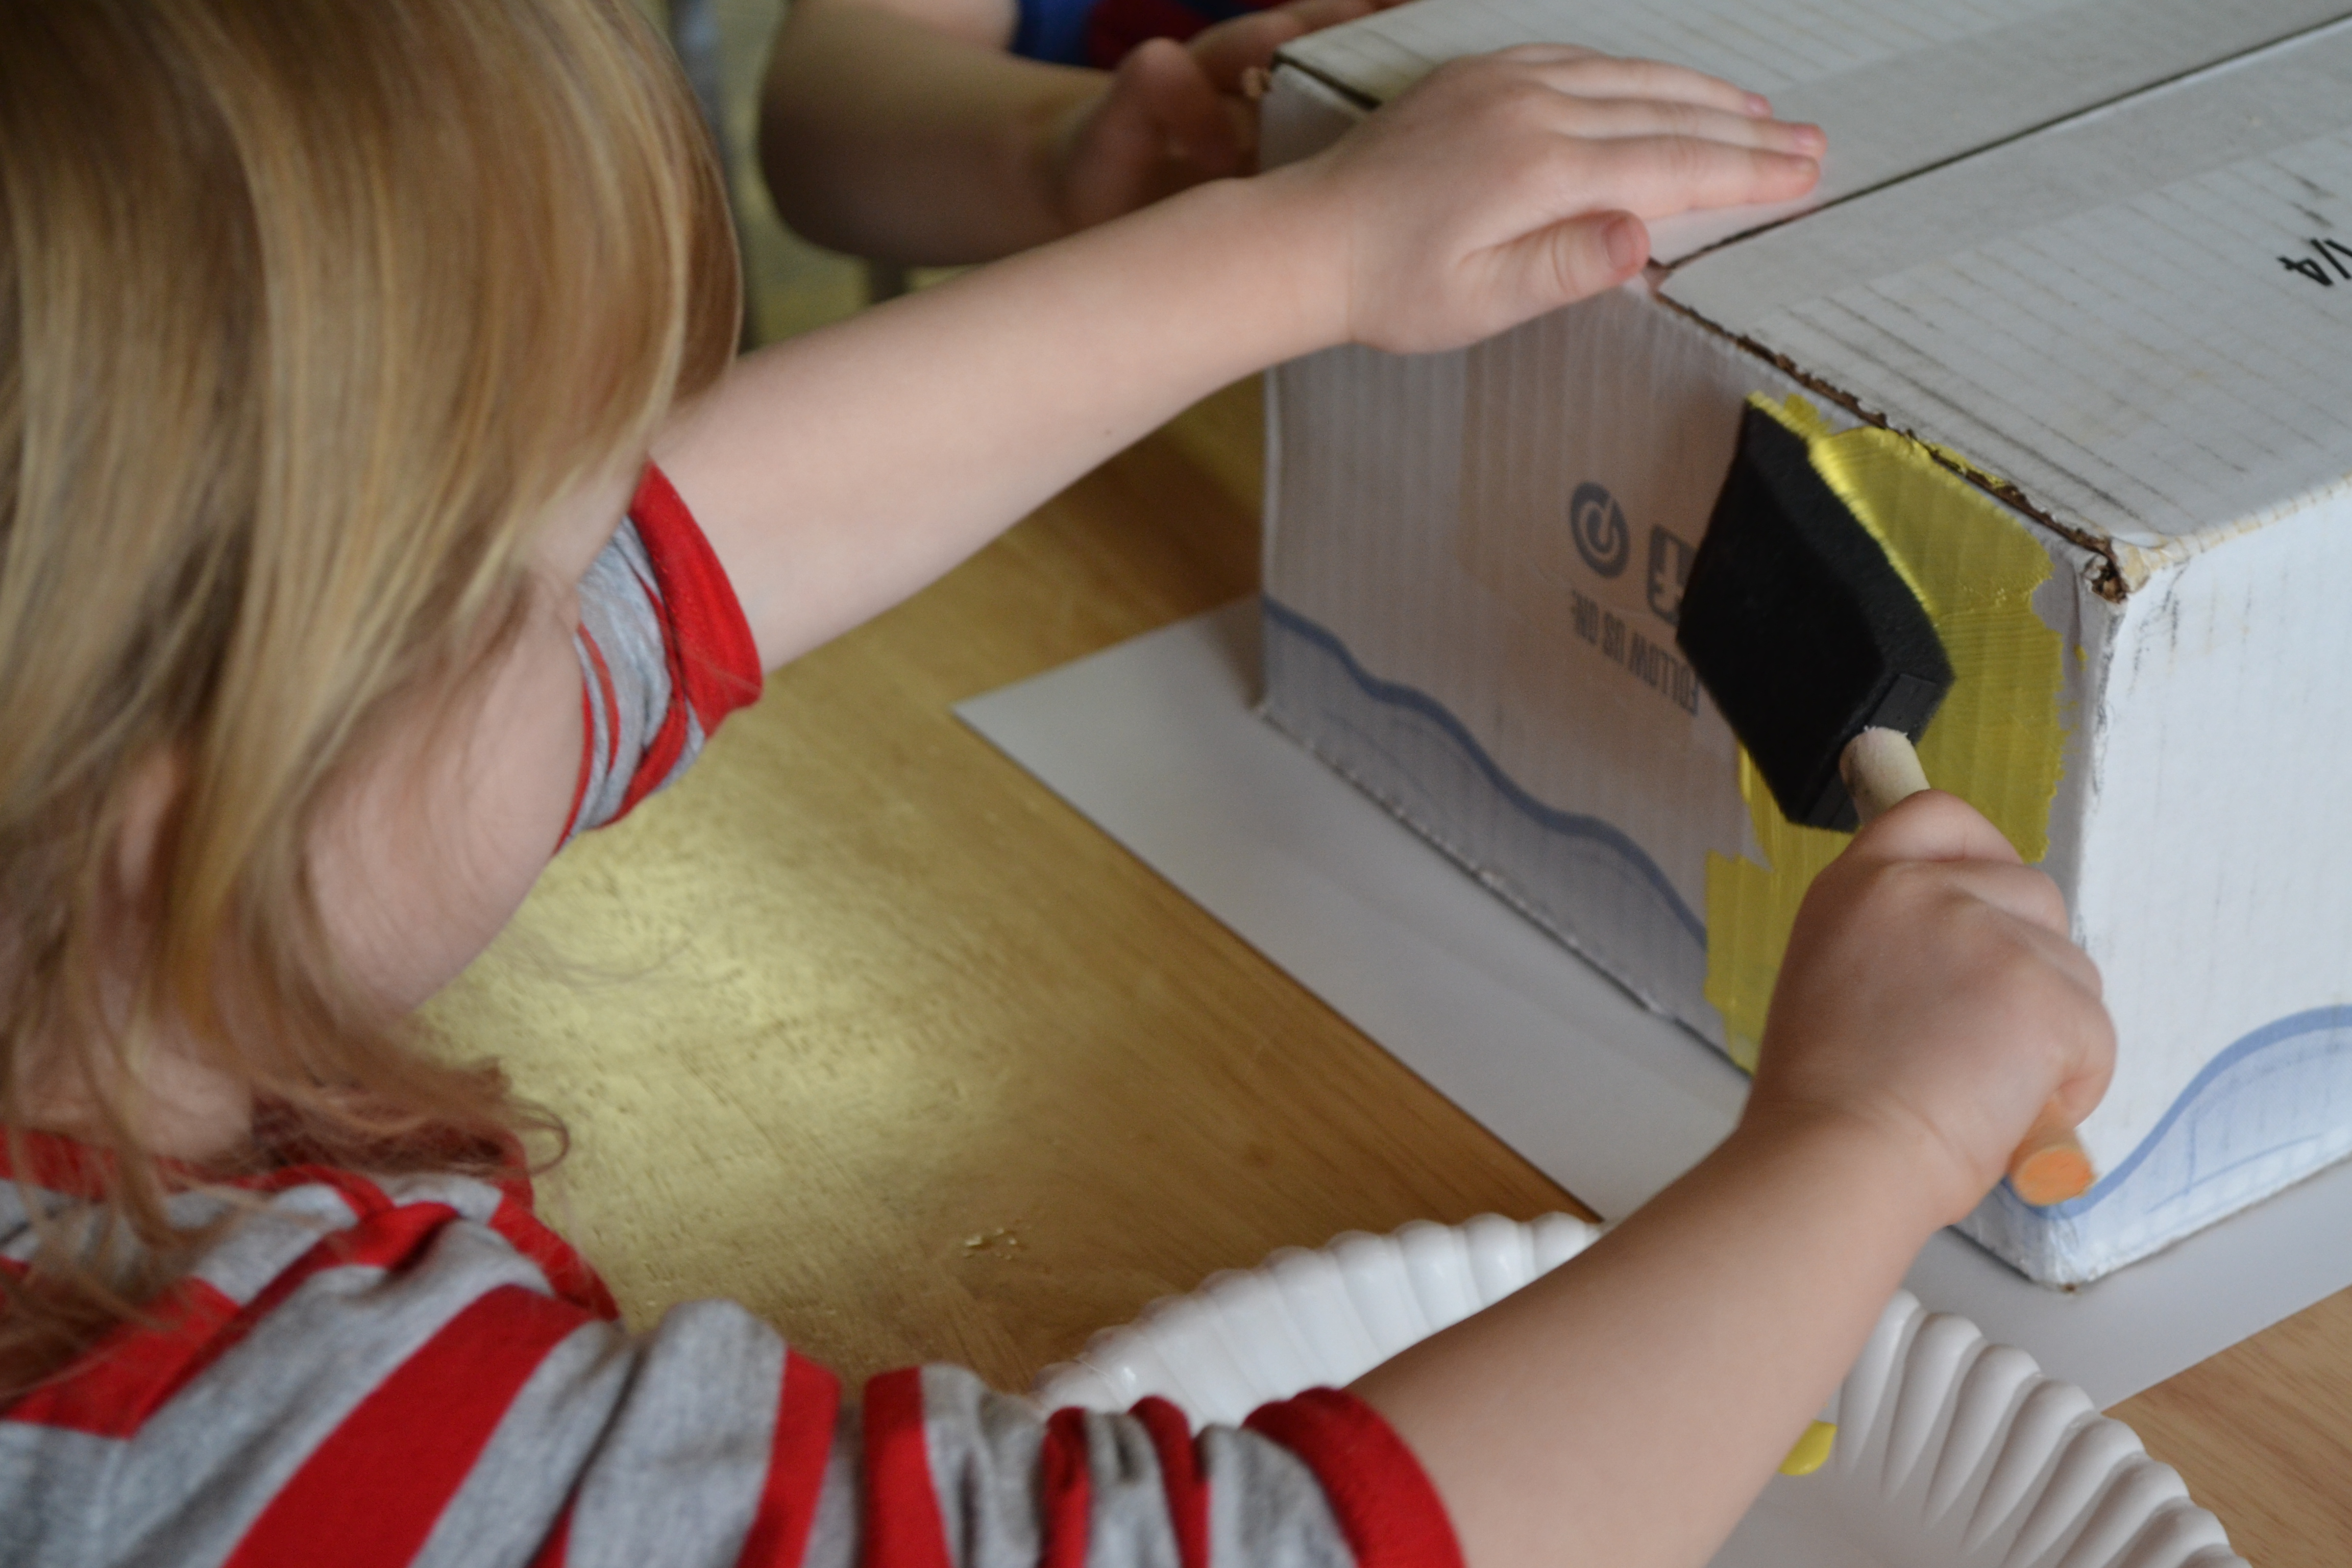
The kids had a great time painting the box. My 4-year-old wanted to paint each side a different color. We chose to do red, blue, and yellow to go along with the Circus theme of our party. Each of the kids painted a different side.
Step 4
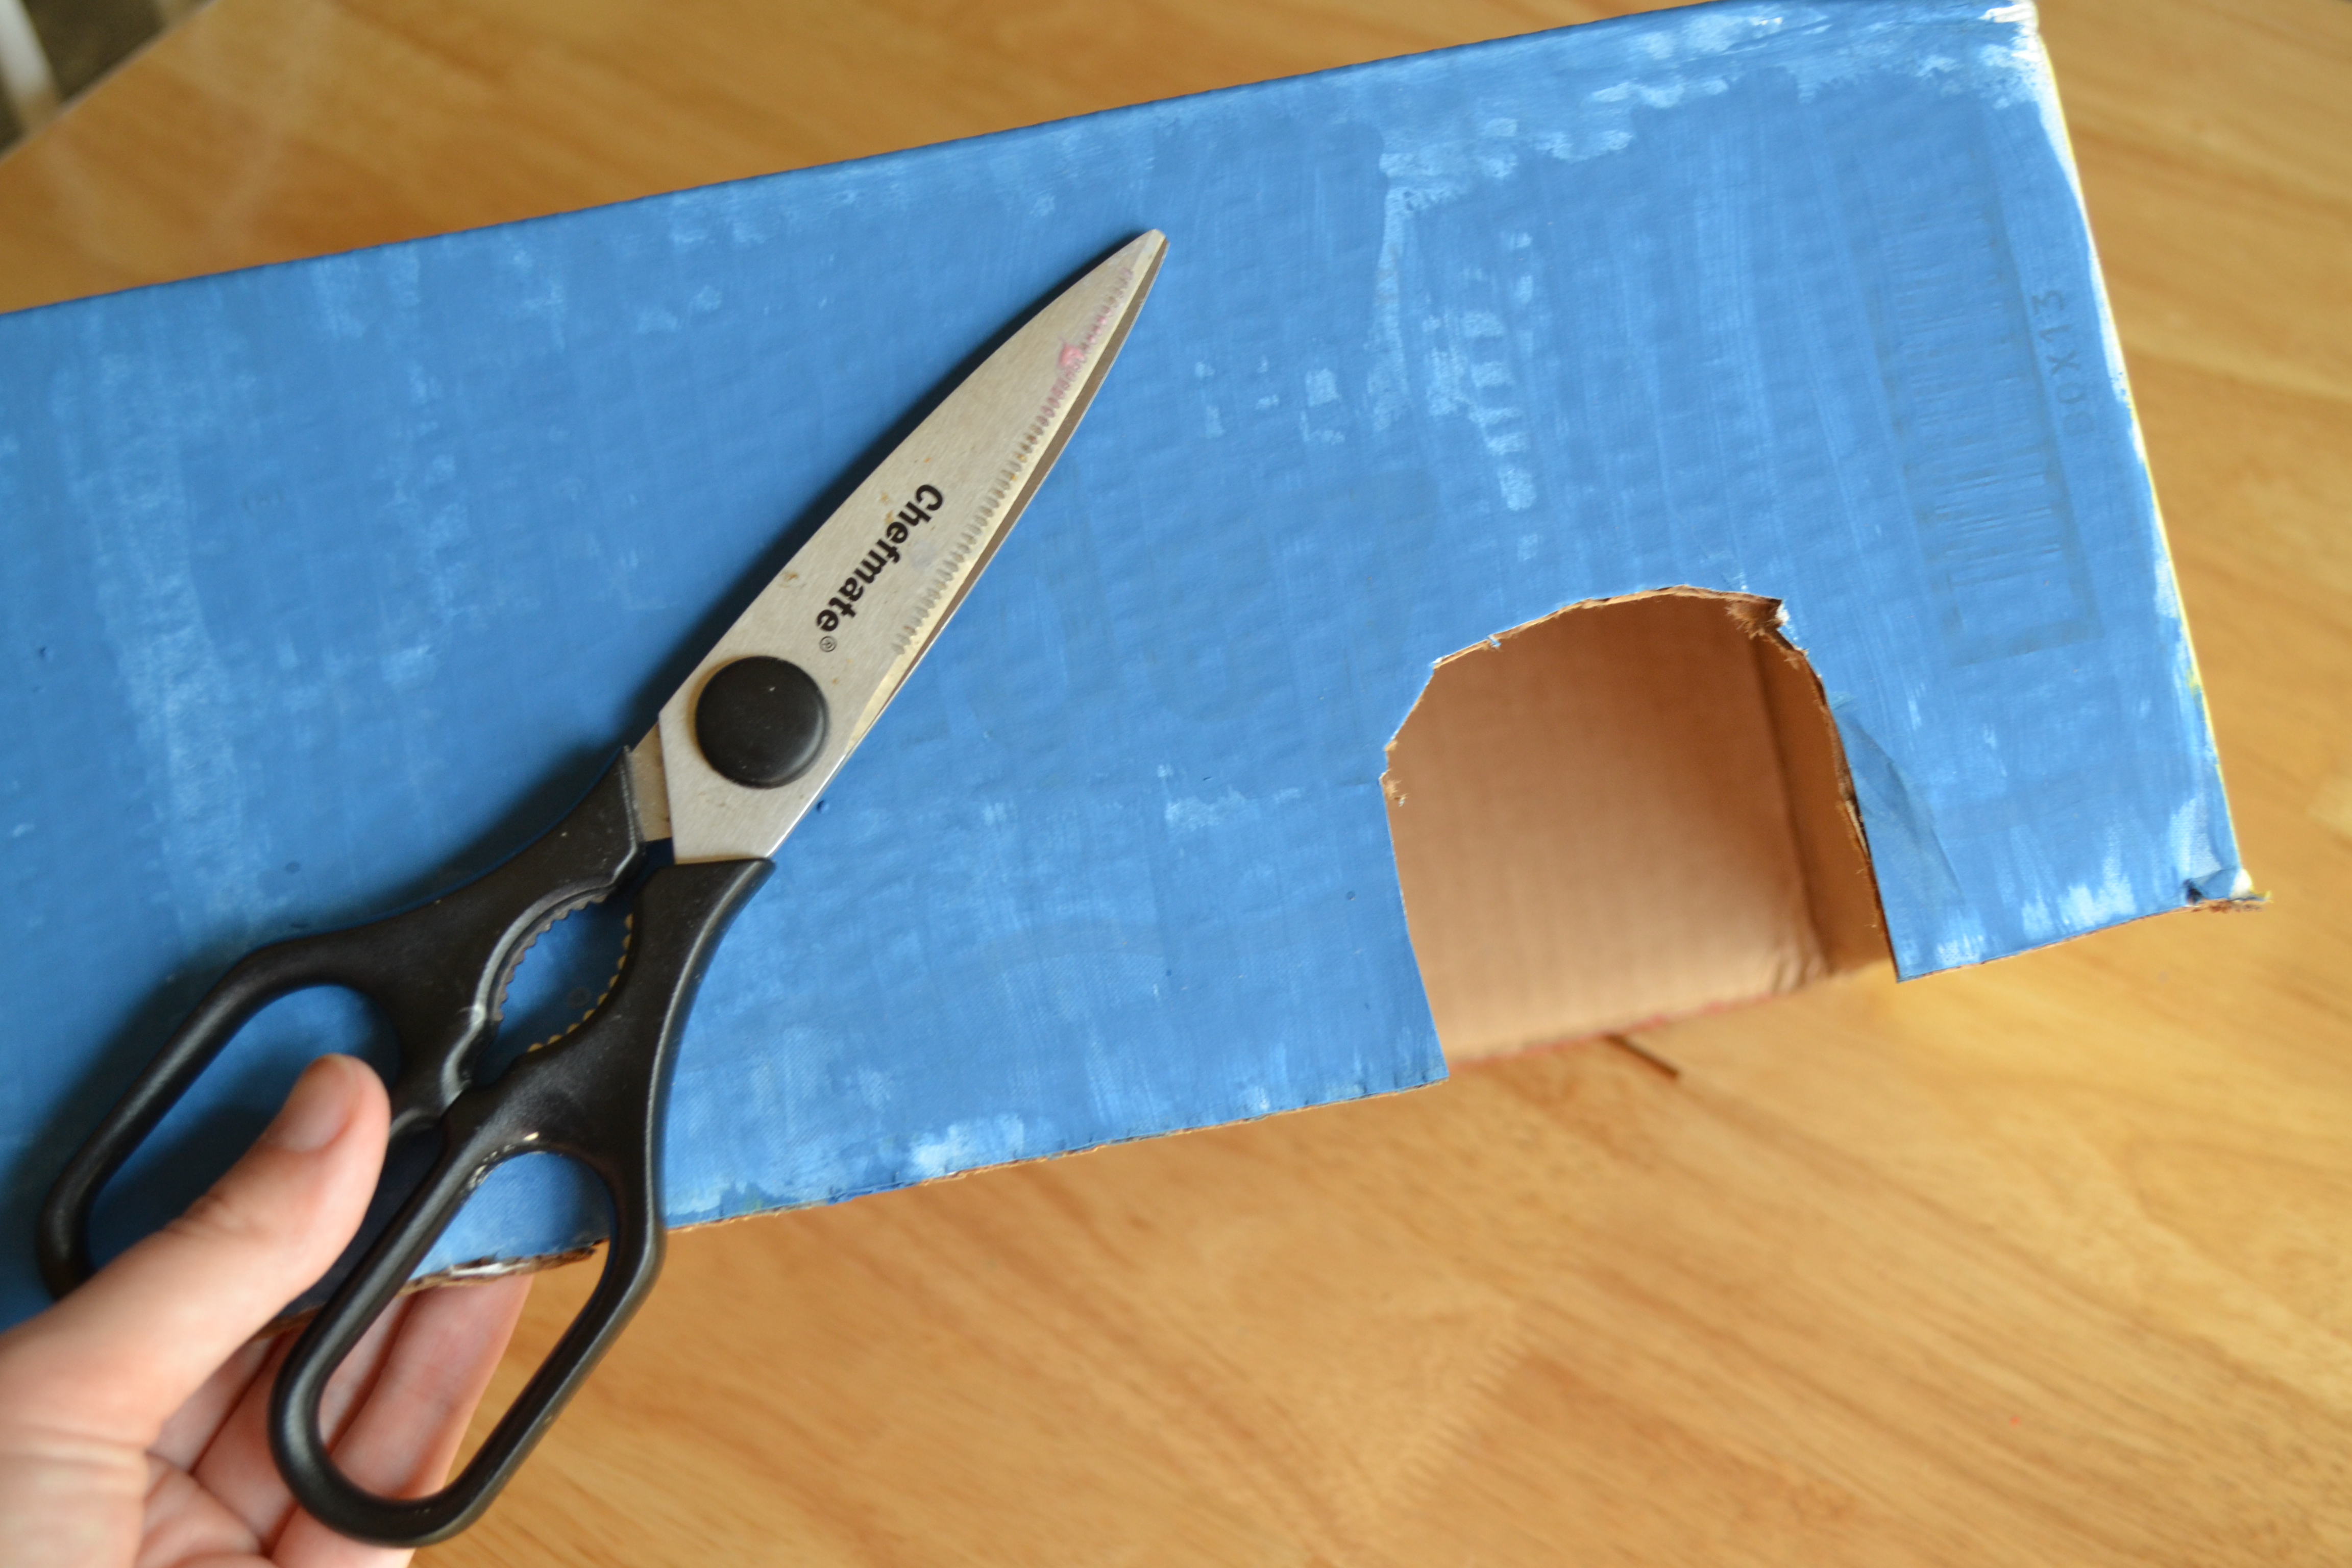
Once the box dried, I cut two "mouse" holes in one side of the box. I made one hole just big enough for the ball to go through and the other one larger to make it easier for the littlest party-goers to roll their ball through. At the party, we gave one ticket for the large hole and two tickets for the smaller hole.
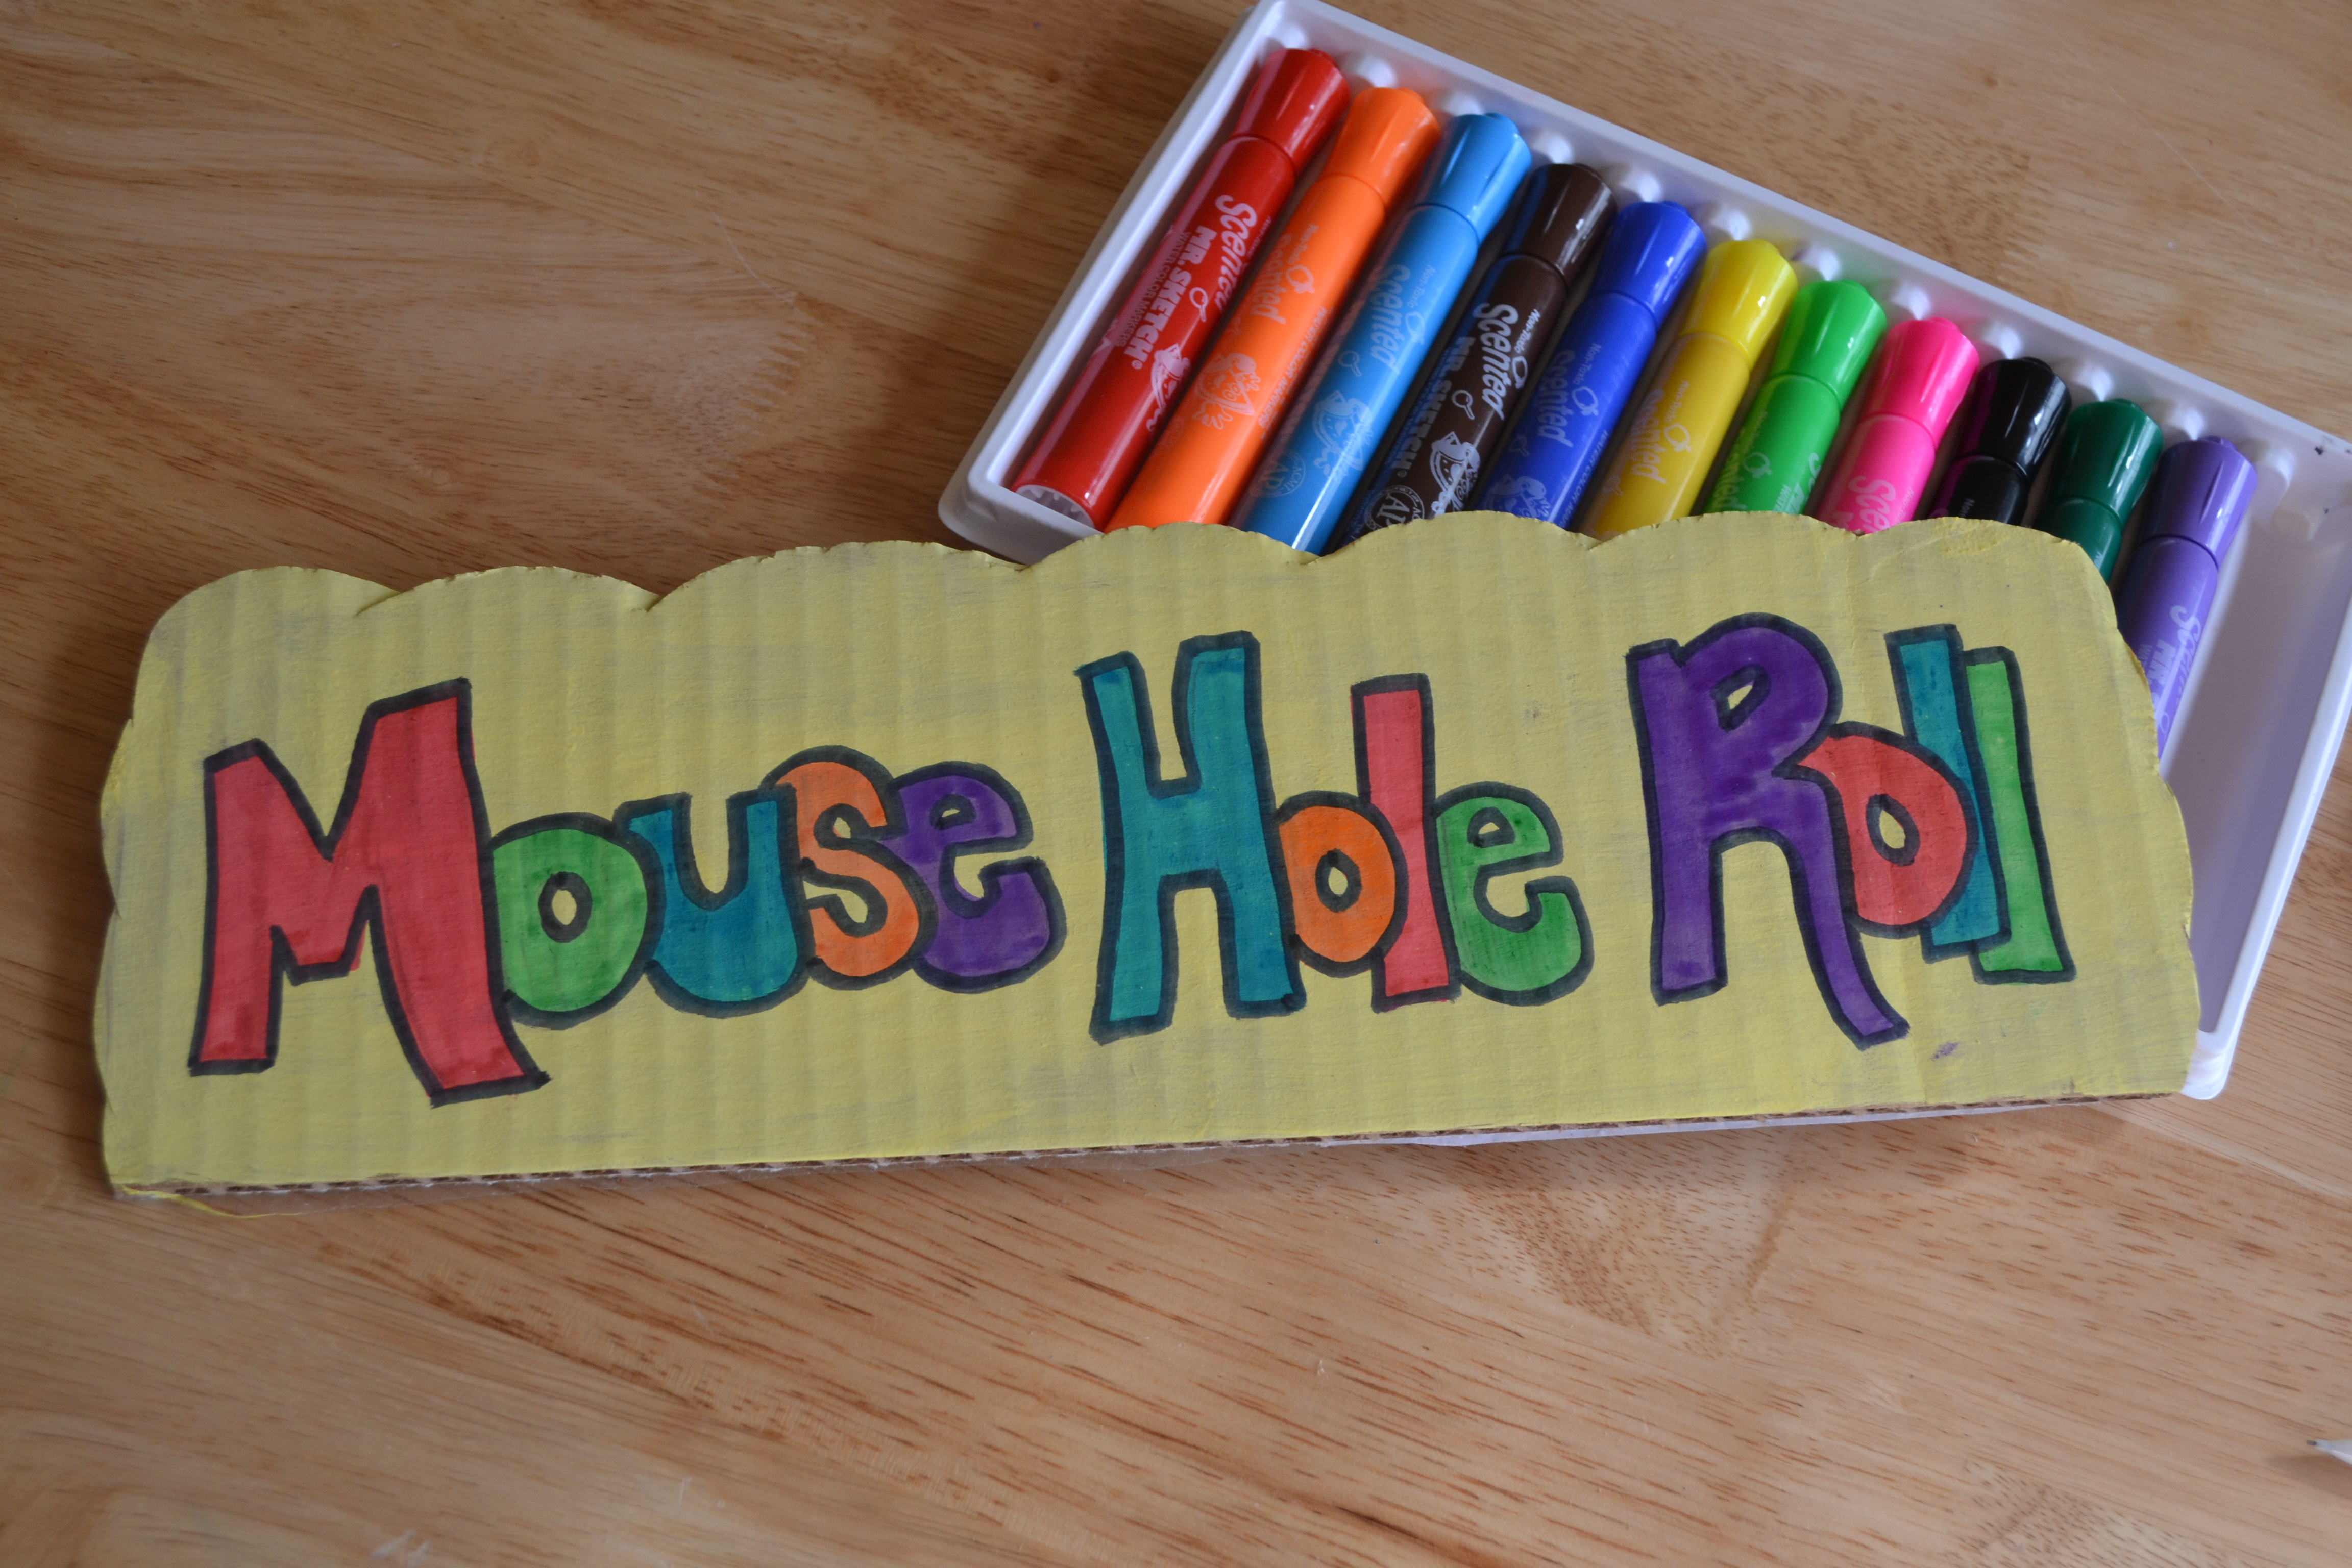
Step 5
We decided to use one of the cut-off flaps from the top of the box to make a sign. The kids painted it yellow and then I drew the outline of the letters so my older kids could color them in.
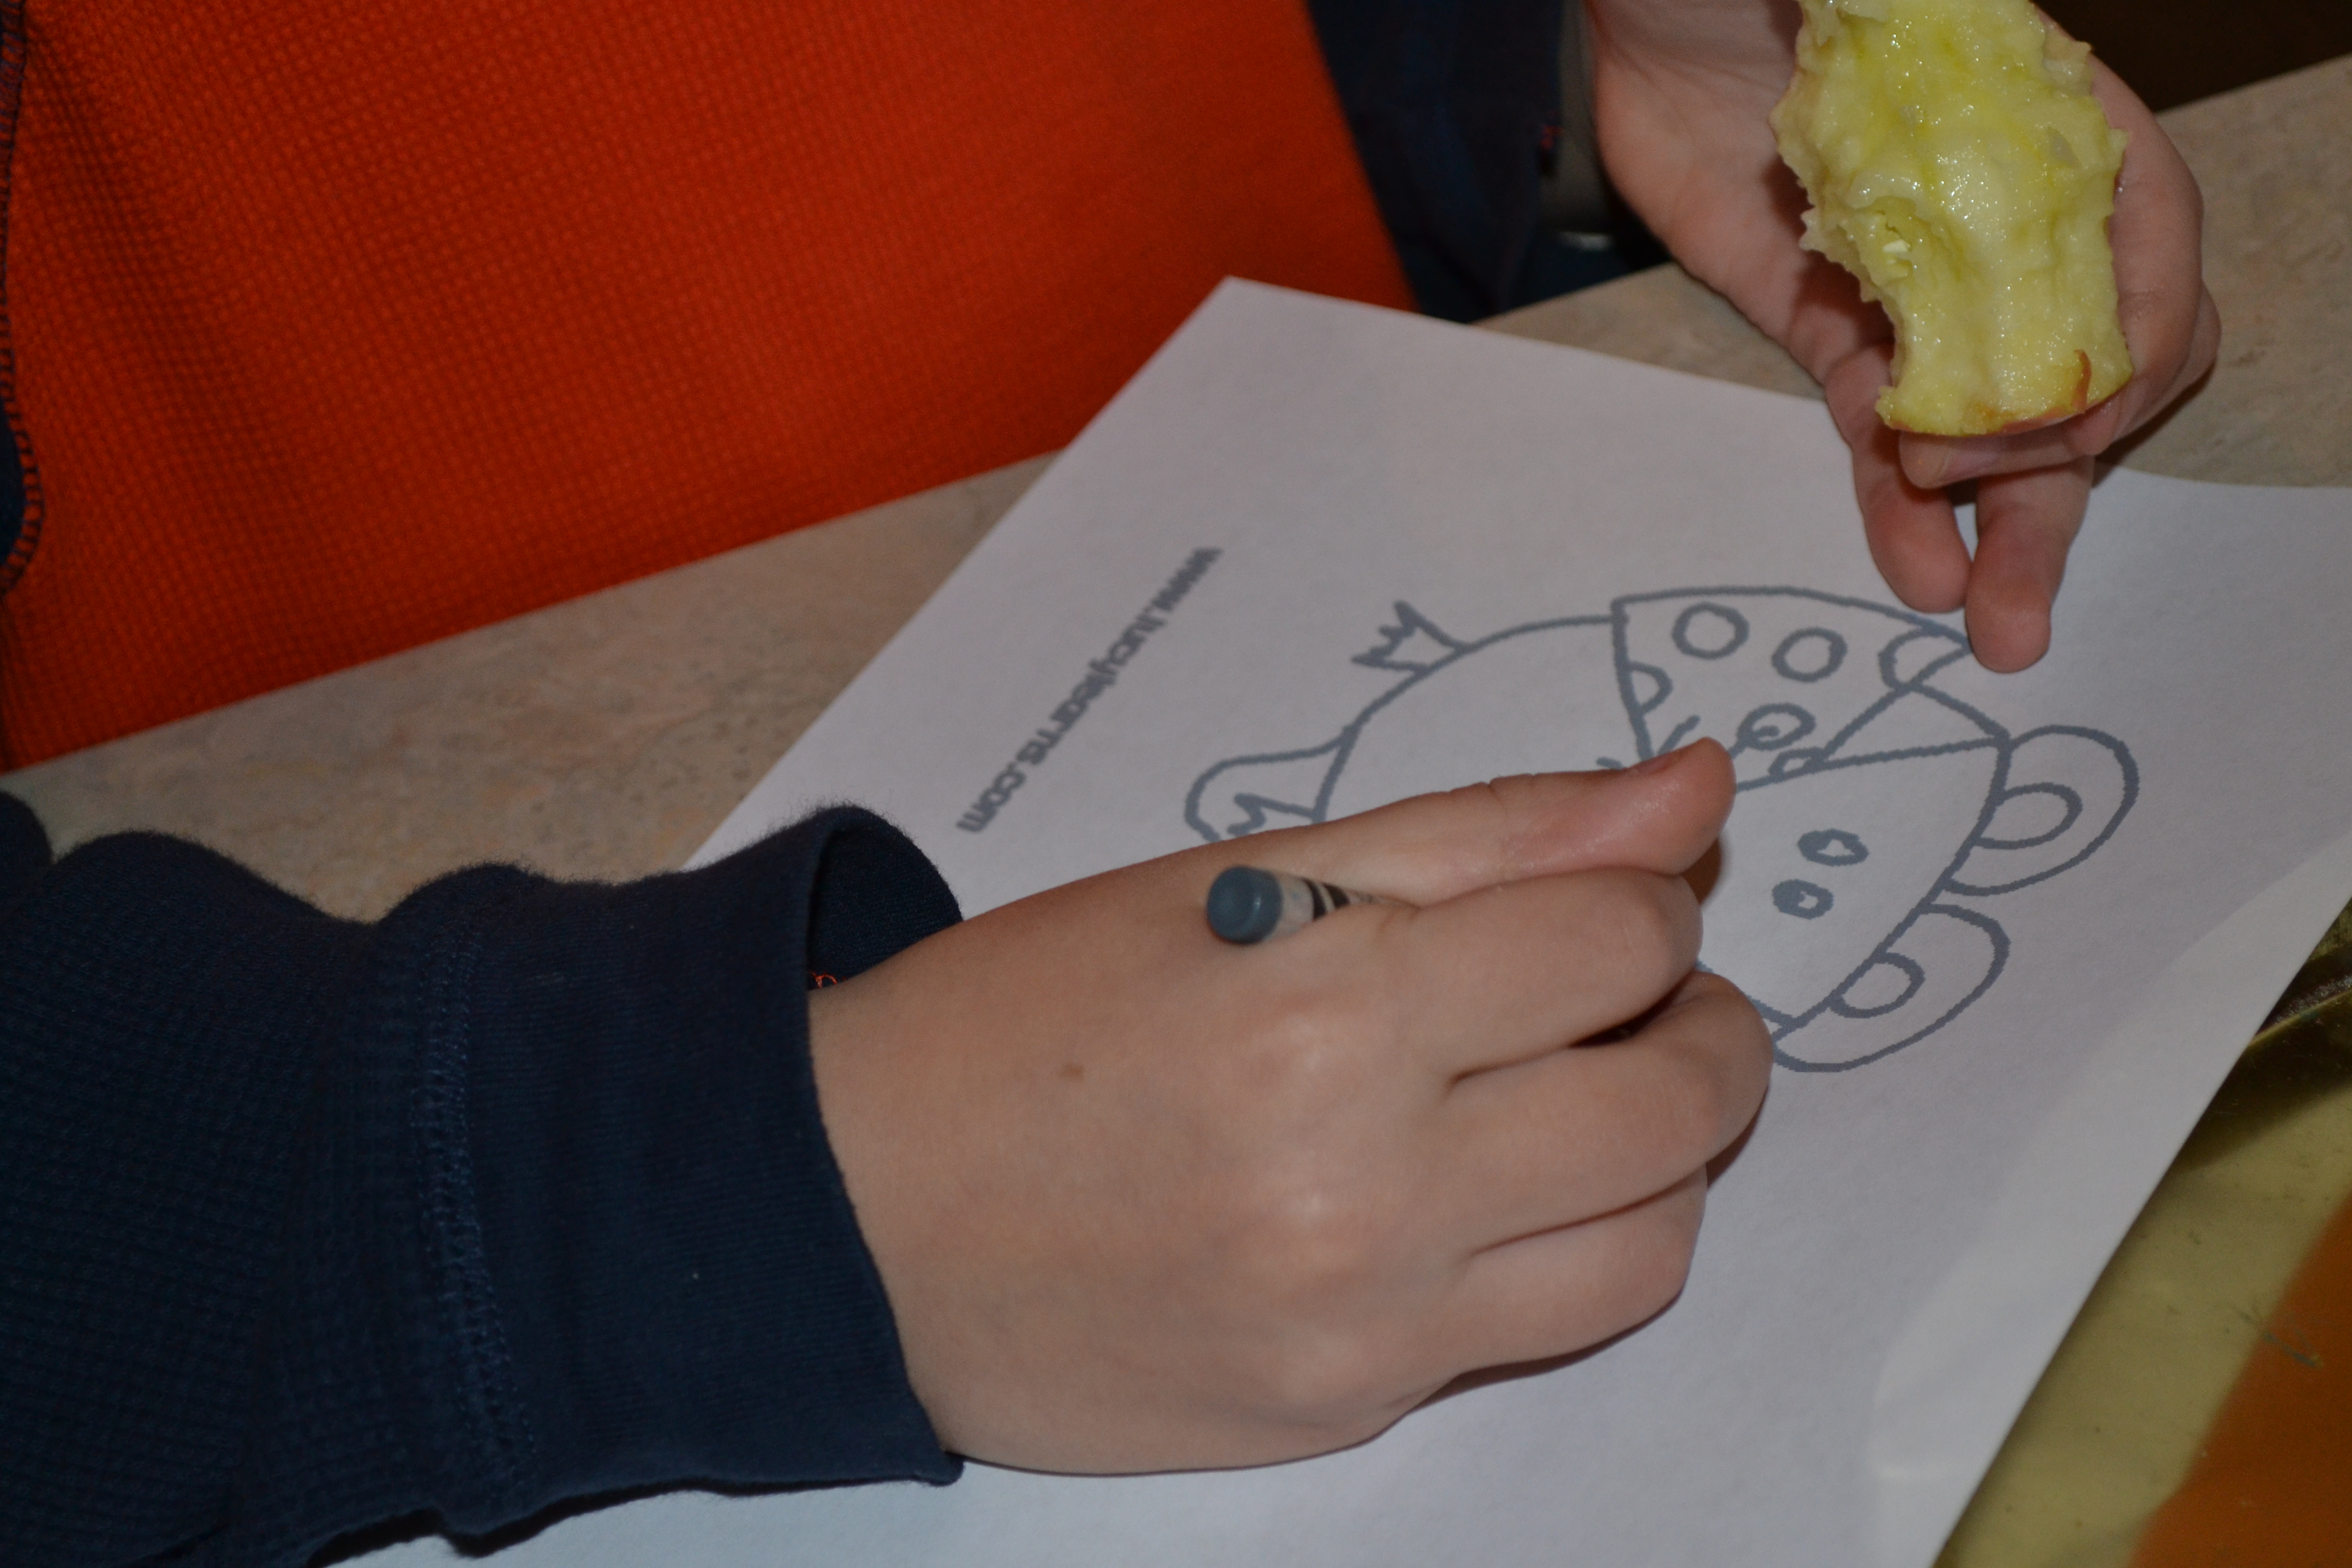
Step 6
My 7-year-old decided that we needed to add a mouse to our box so we found some clip art and he colored it in. We mounted it on construction paper and glued the mouse to the box.
Done!
The kids had a great time trying to roll their golf balls into the holes. This would make a great party game or an activity to keep the kids occupied when it's too cold to go outside.


