Step-by-step tutorial
Step 1
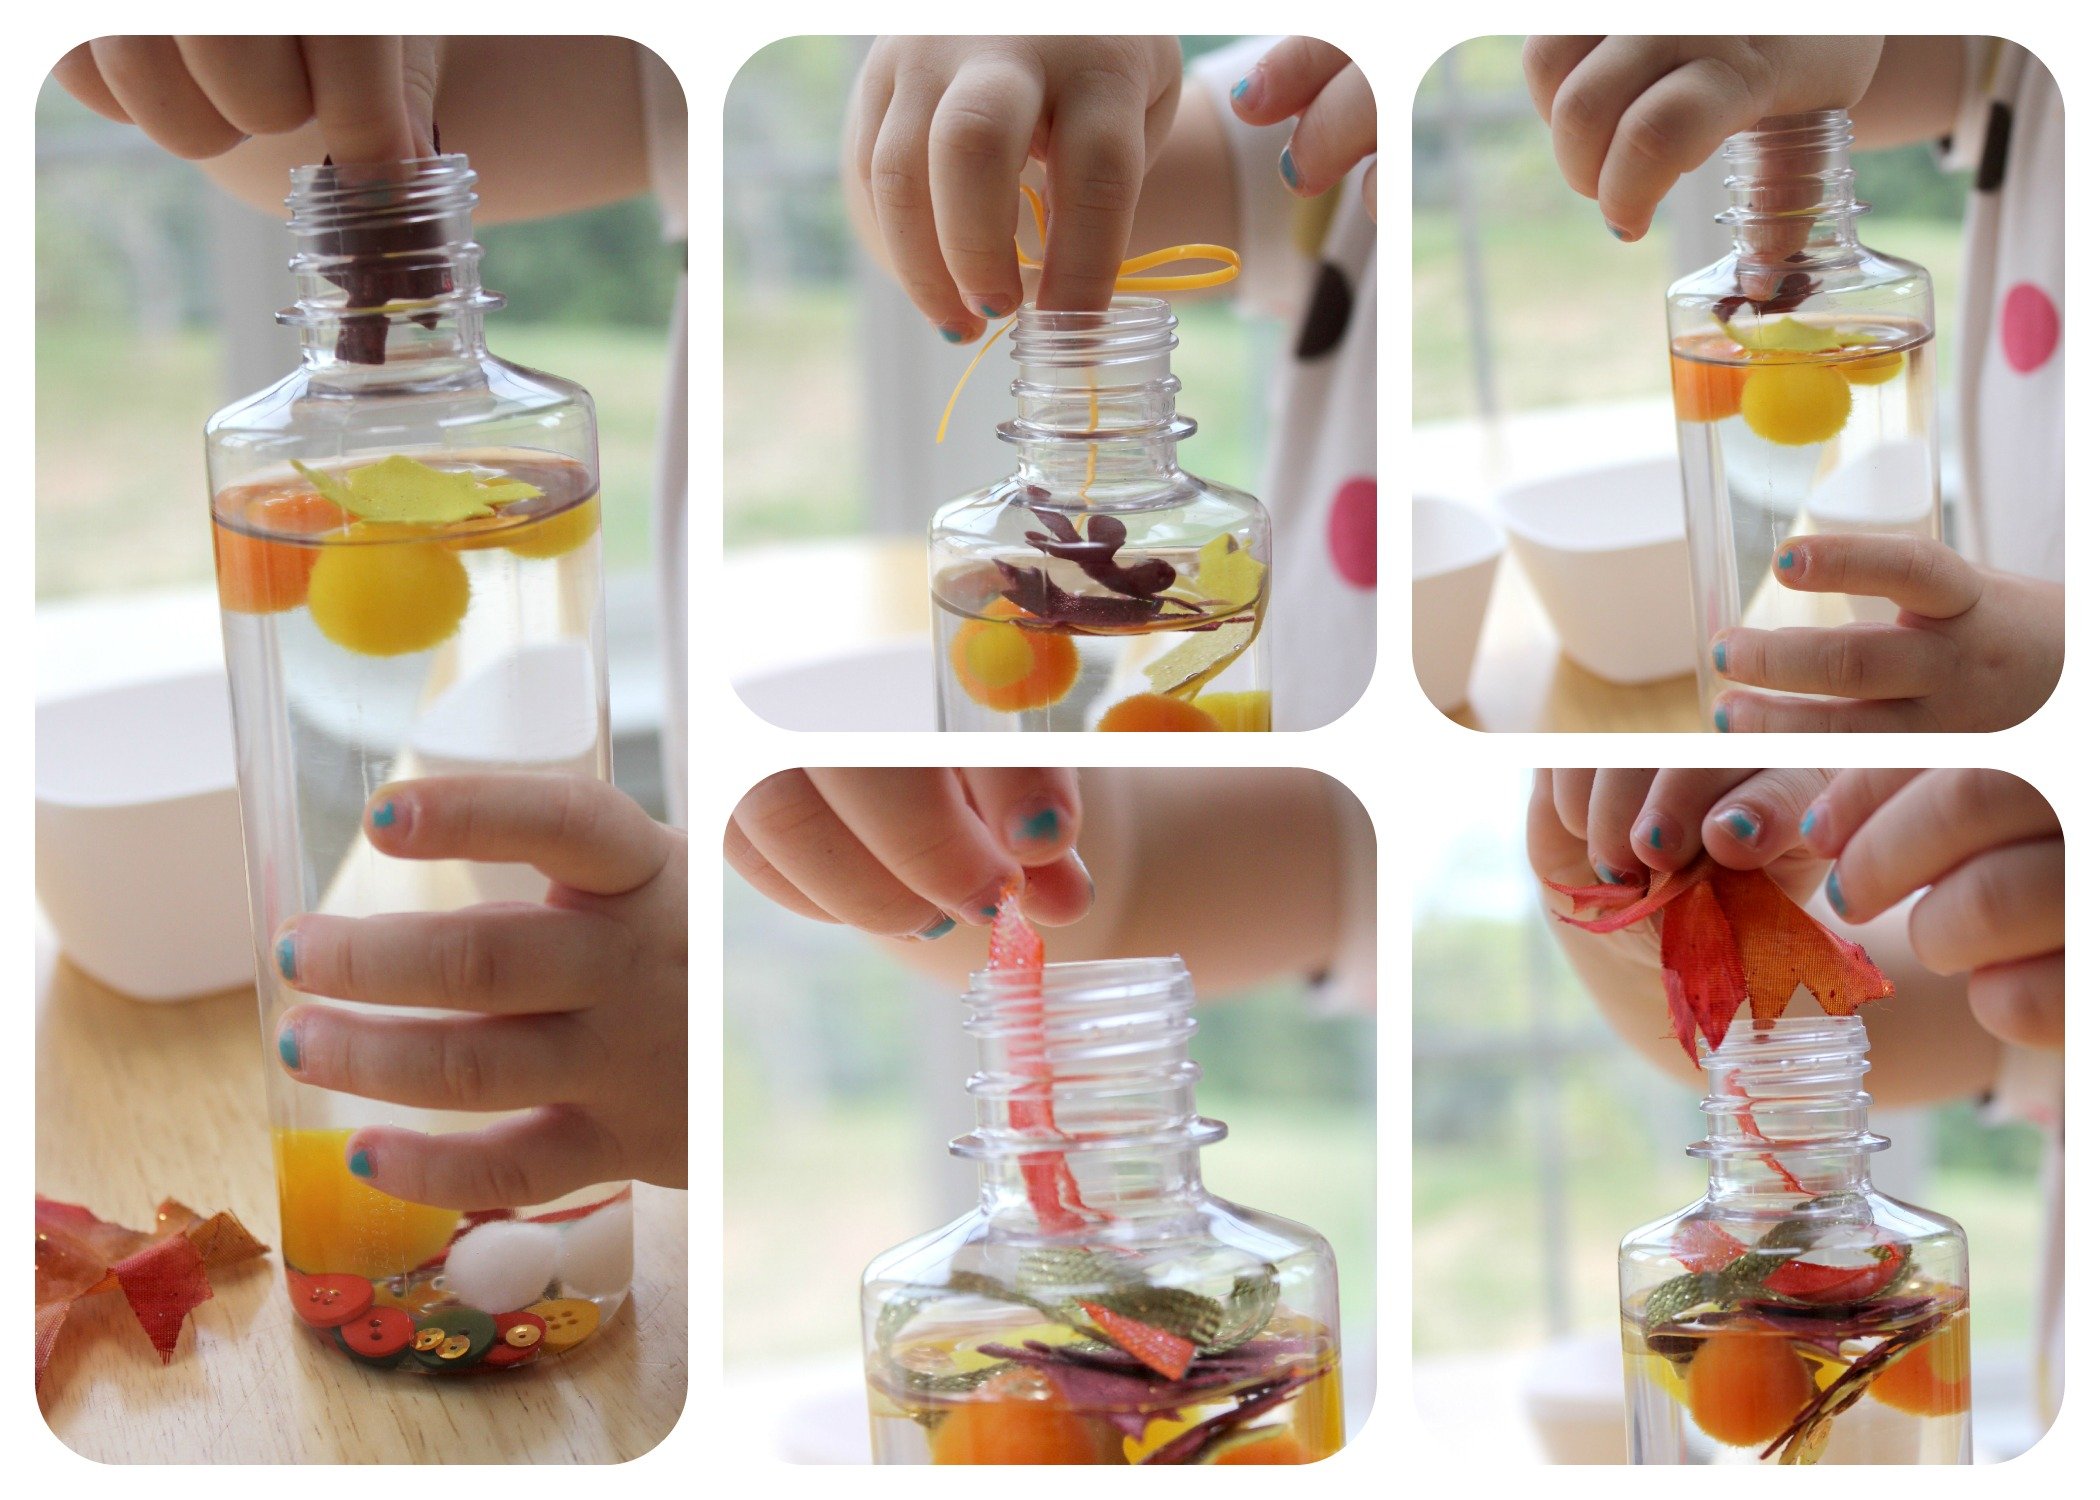
Start by gathering all your objects. V loved sorting all the objects by type, but you could also have your kids sort the objects by color too.


Step 2
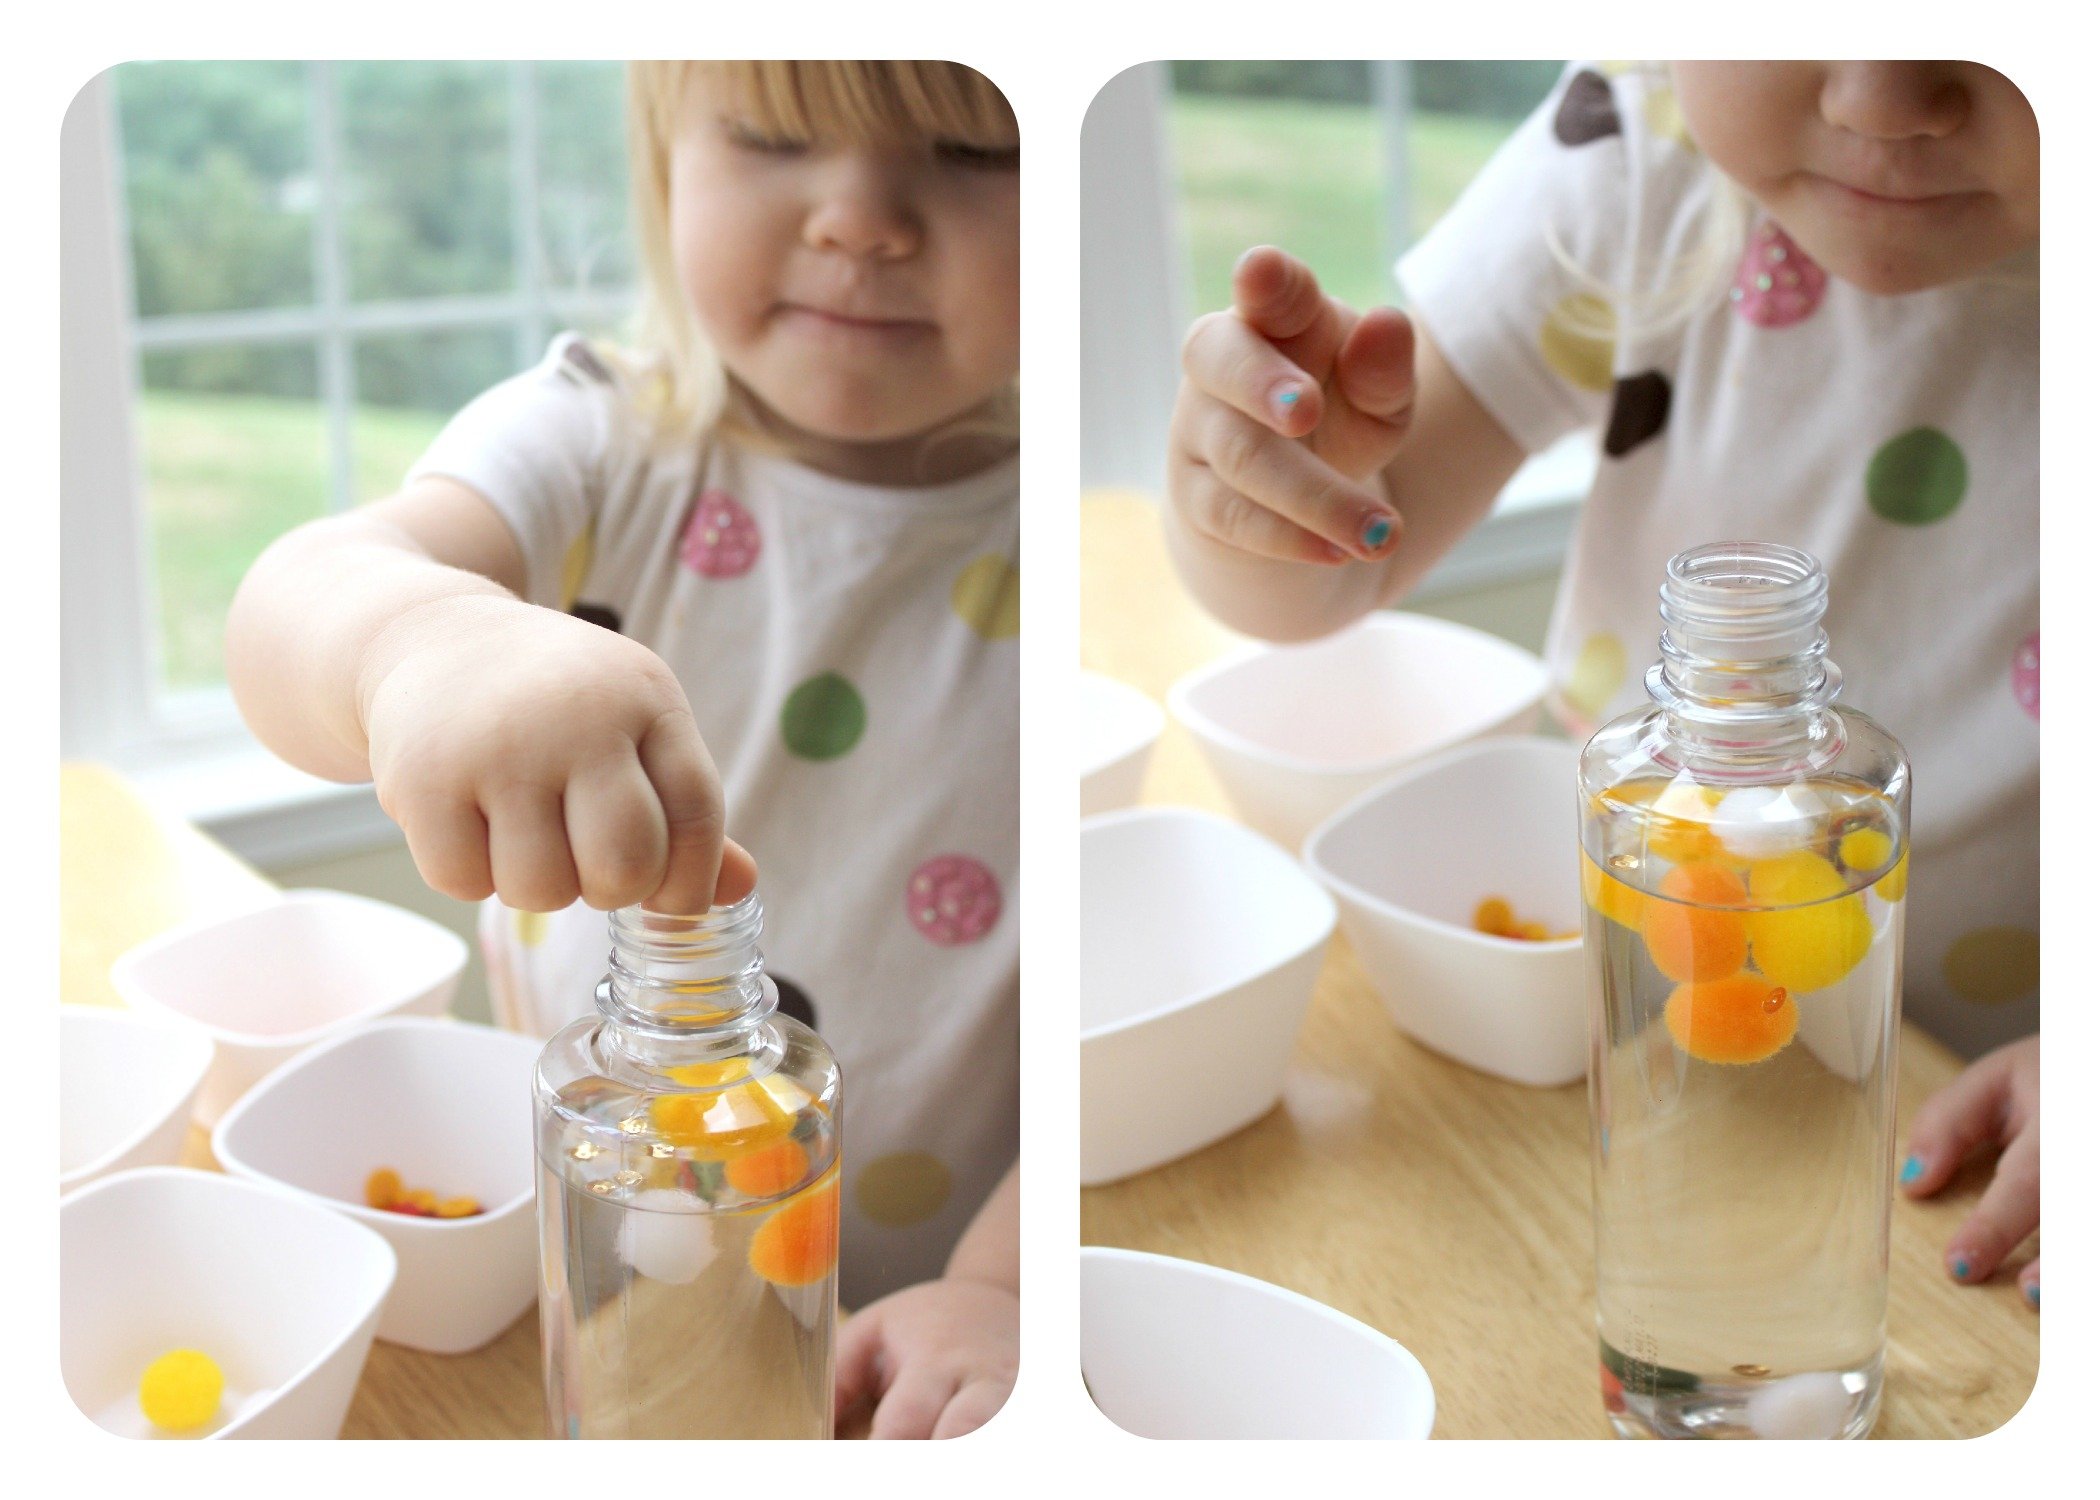
Next remove about 1"-2" (2.5-5.1 cm) of water from the bottle, then start adding objects to the bottle.
Step 3
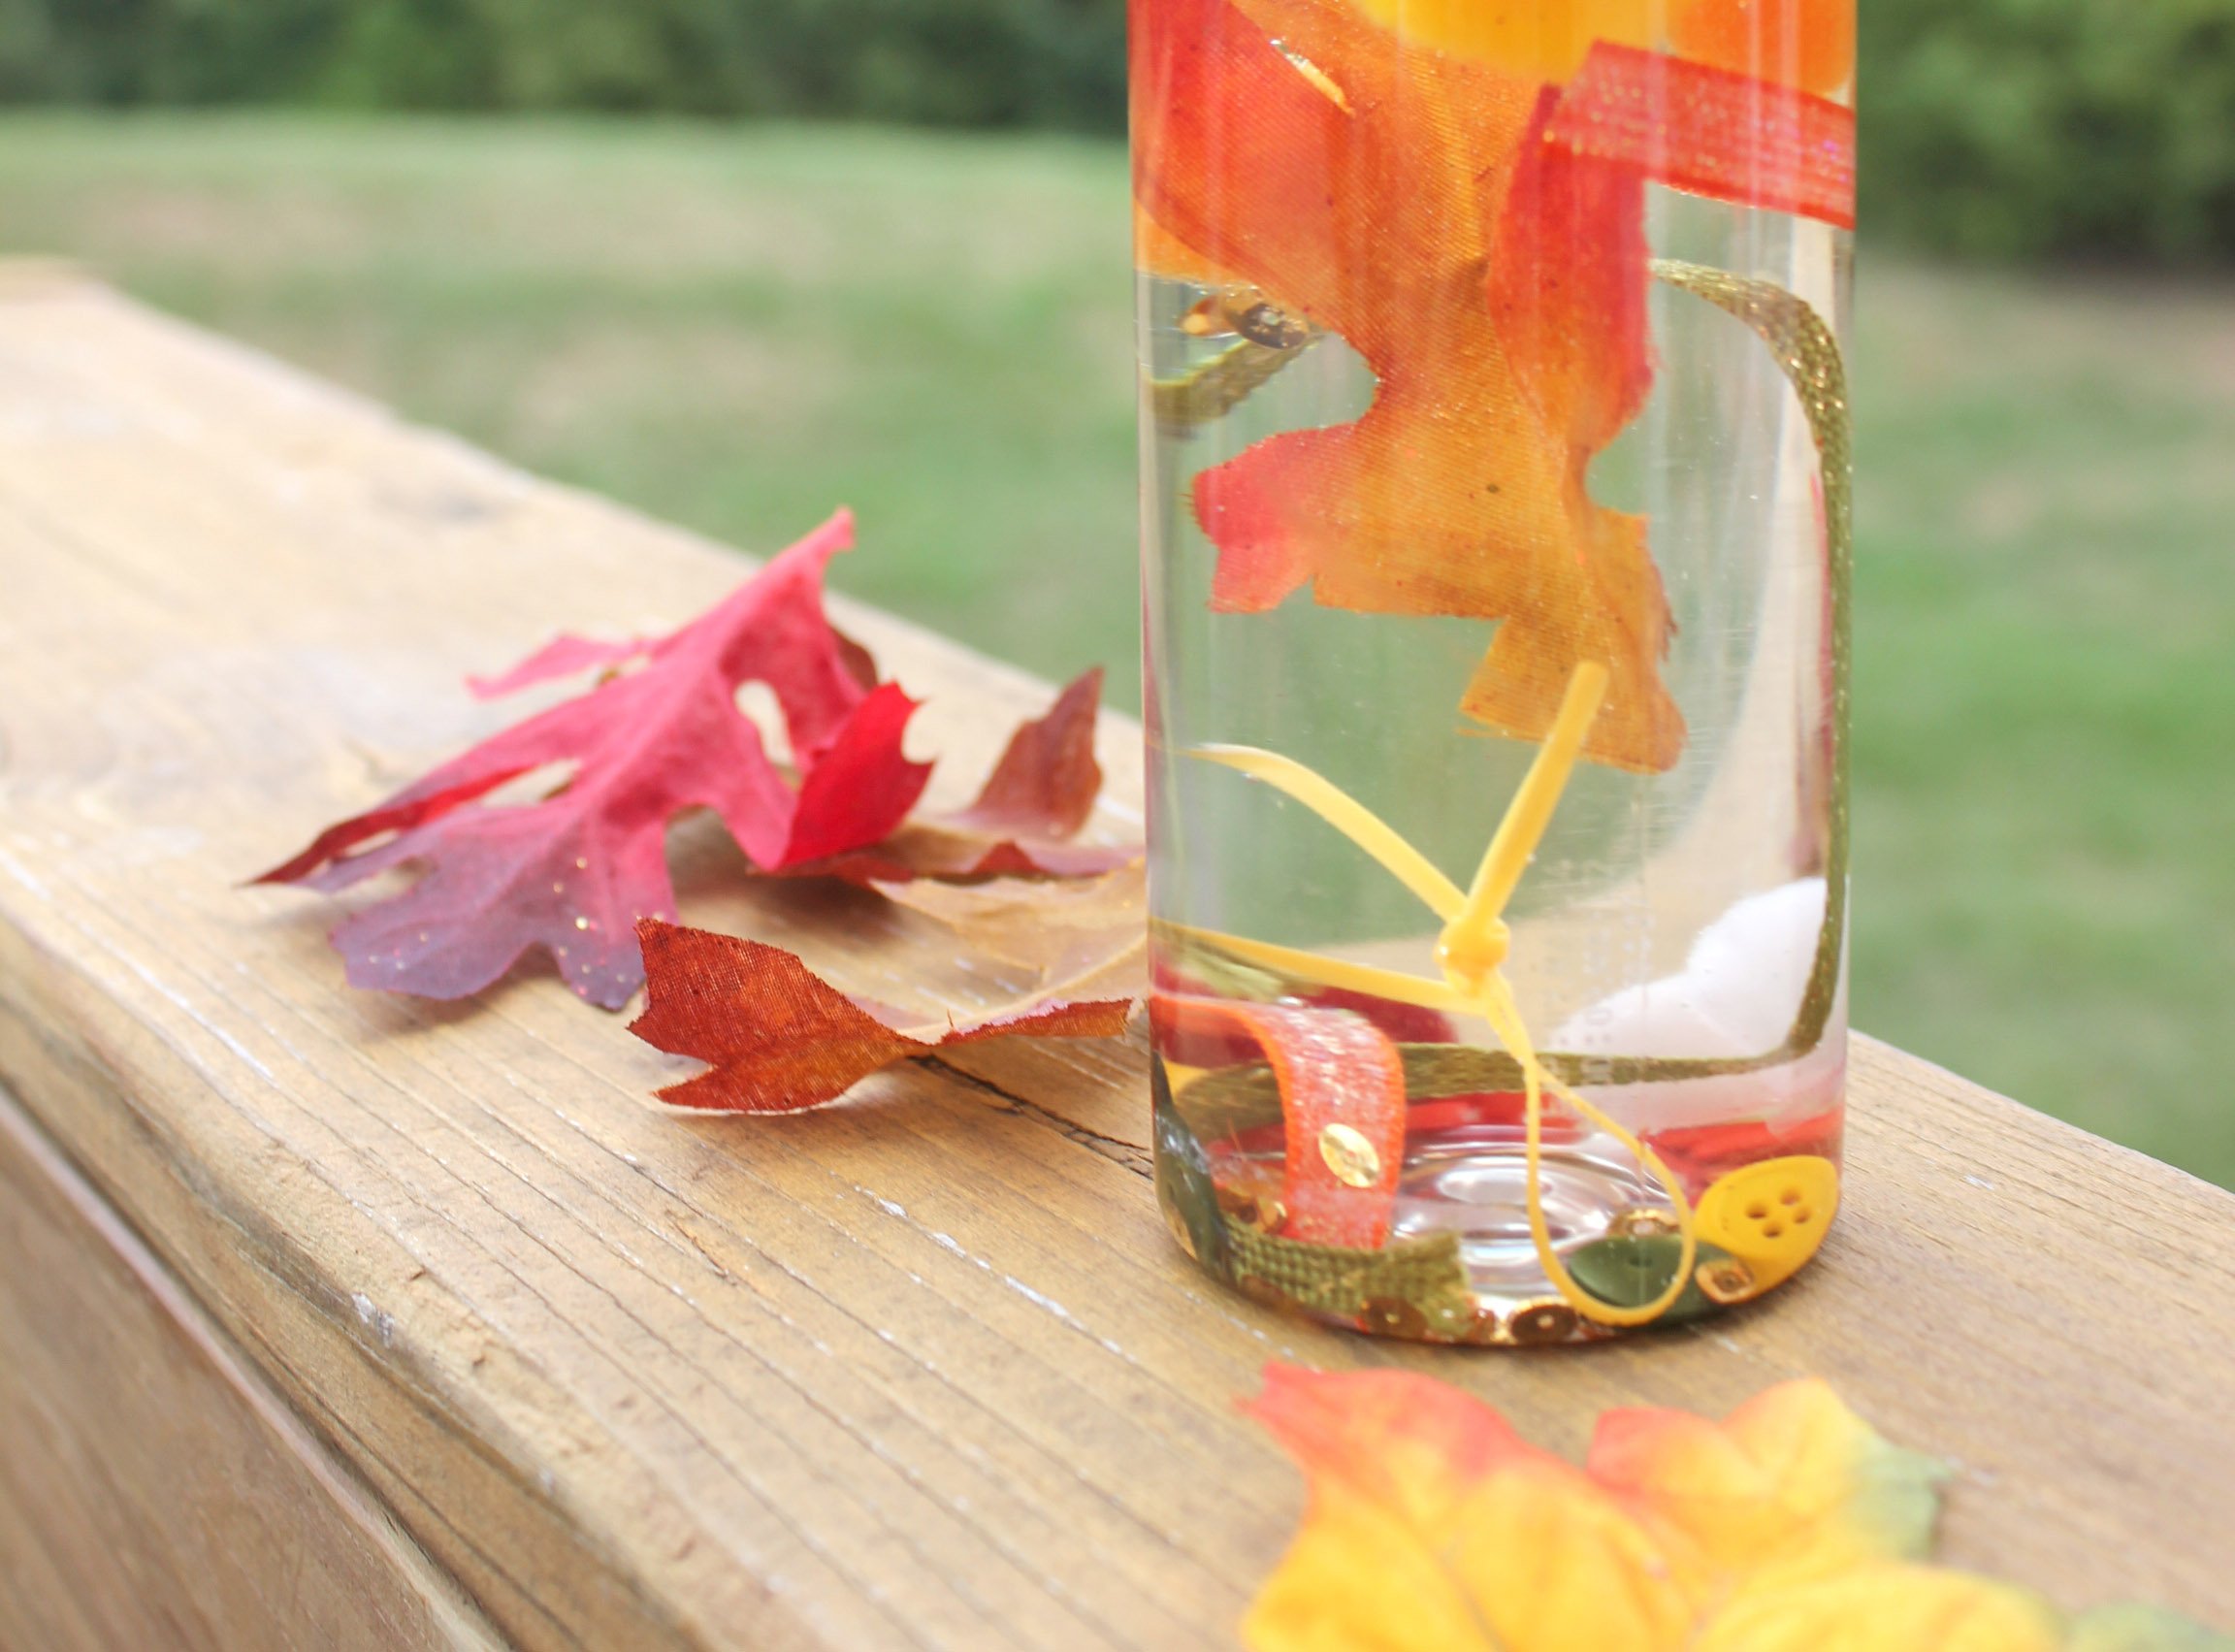
While the kids are adding each item, play a little game and have them guess which items will sink and which items will float. We were both surprised to learn that the sequins sunk to the bottom!
Step 4
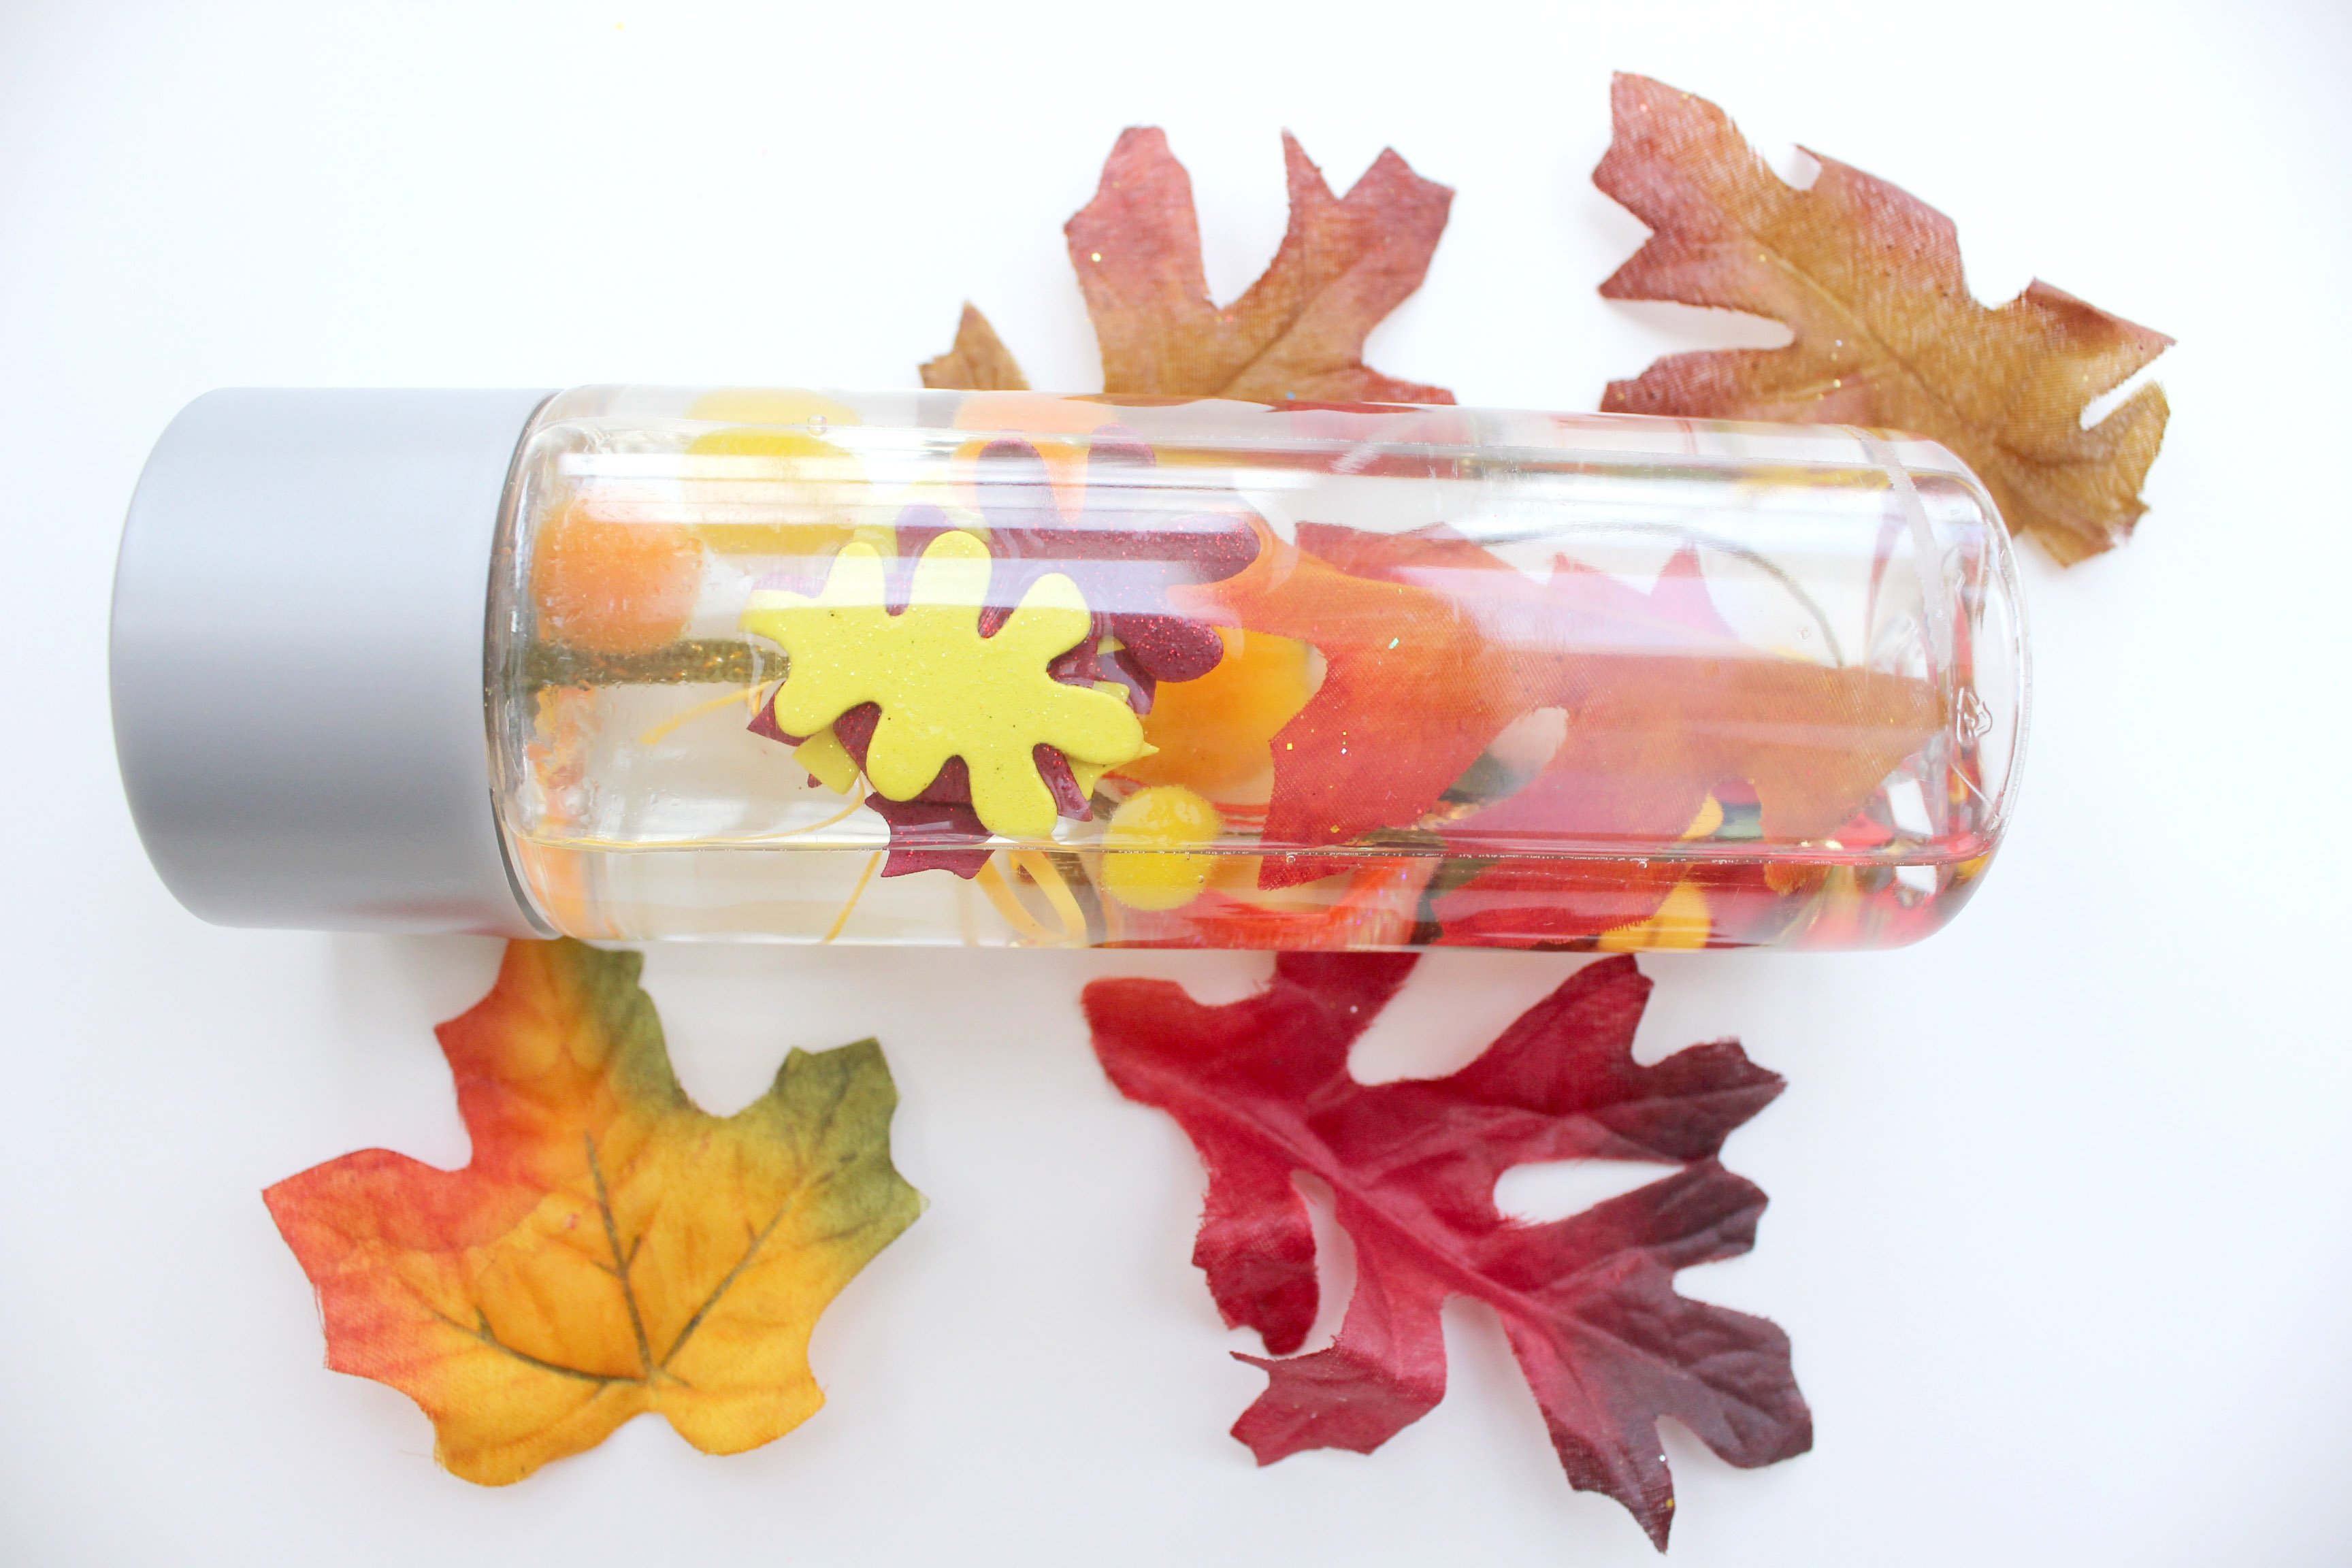
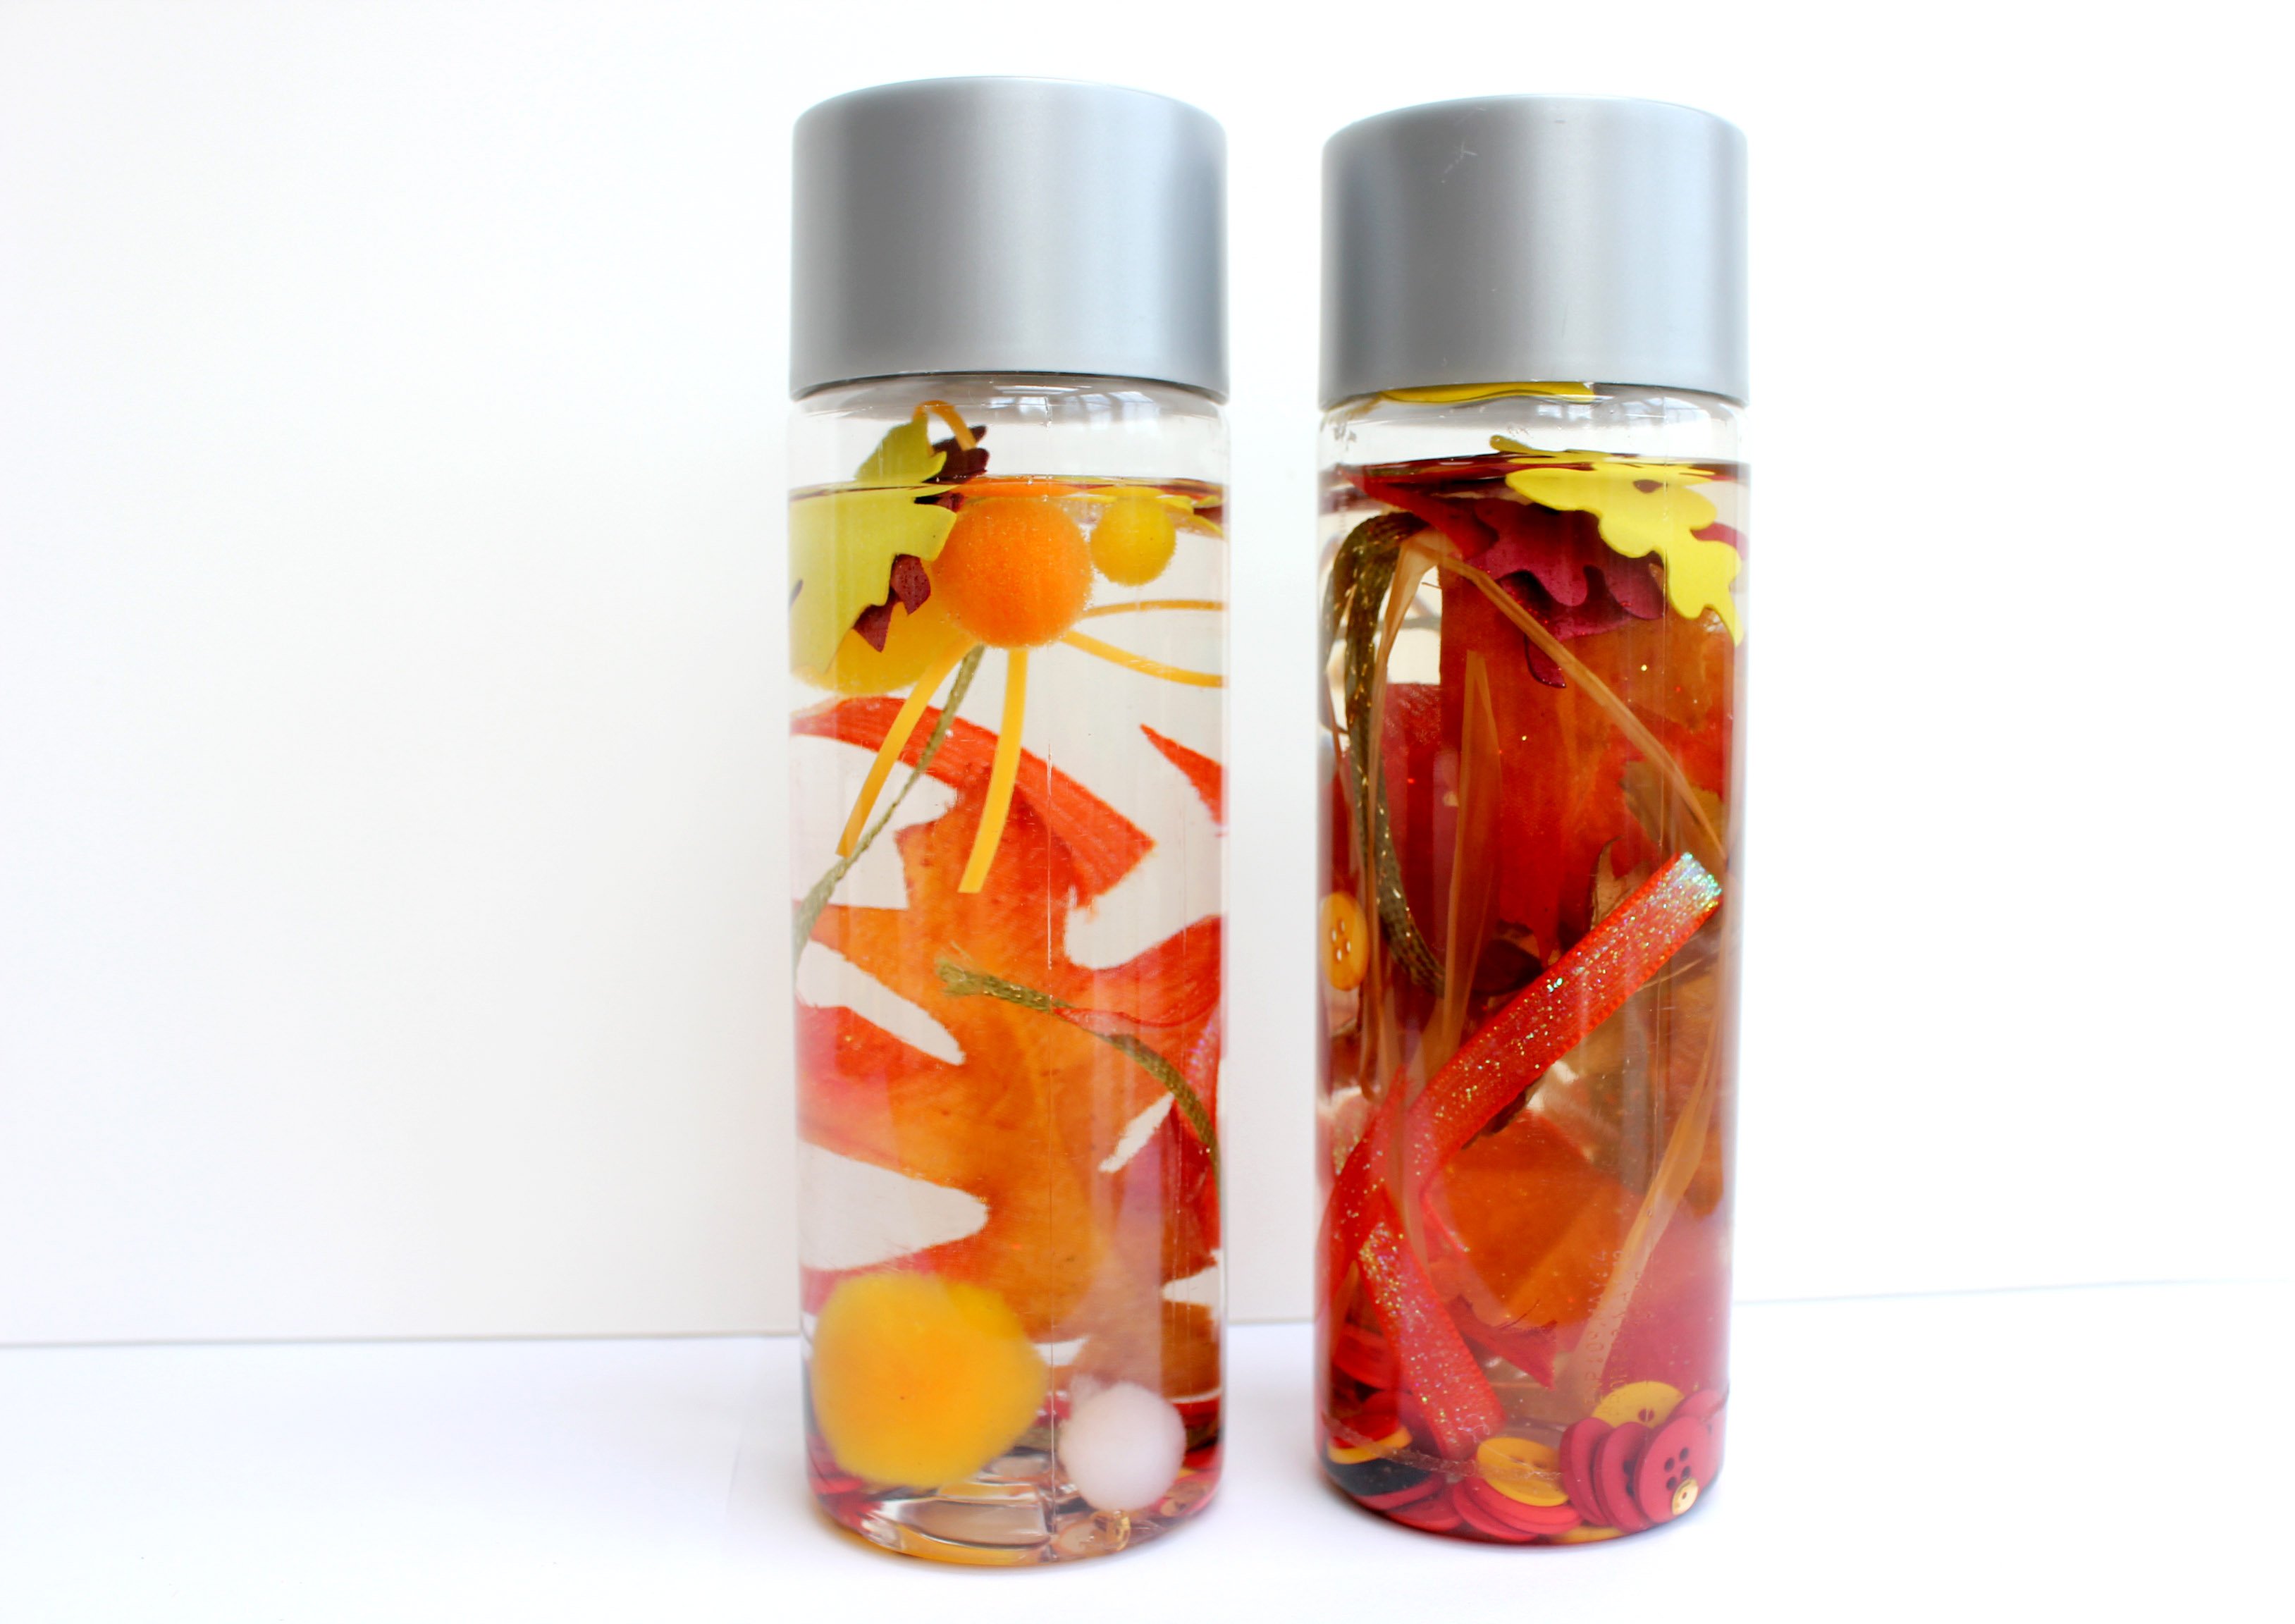
While making the jar, be sure to keep the number of objects that are added to the bottle to a minimum or the items will not be able to move around freely. We learned this through trial and error. (L: small amount of objects, moves freely/R: way too many objects, unable to see the beautiful colors and shapes)
Step 5
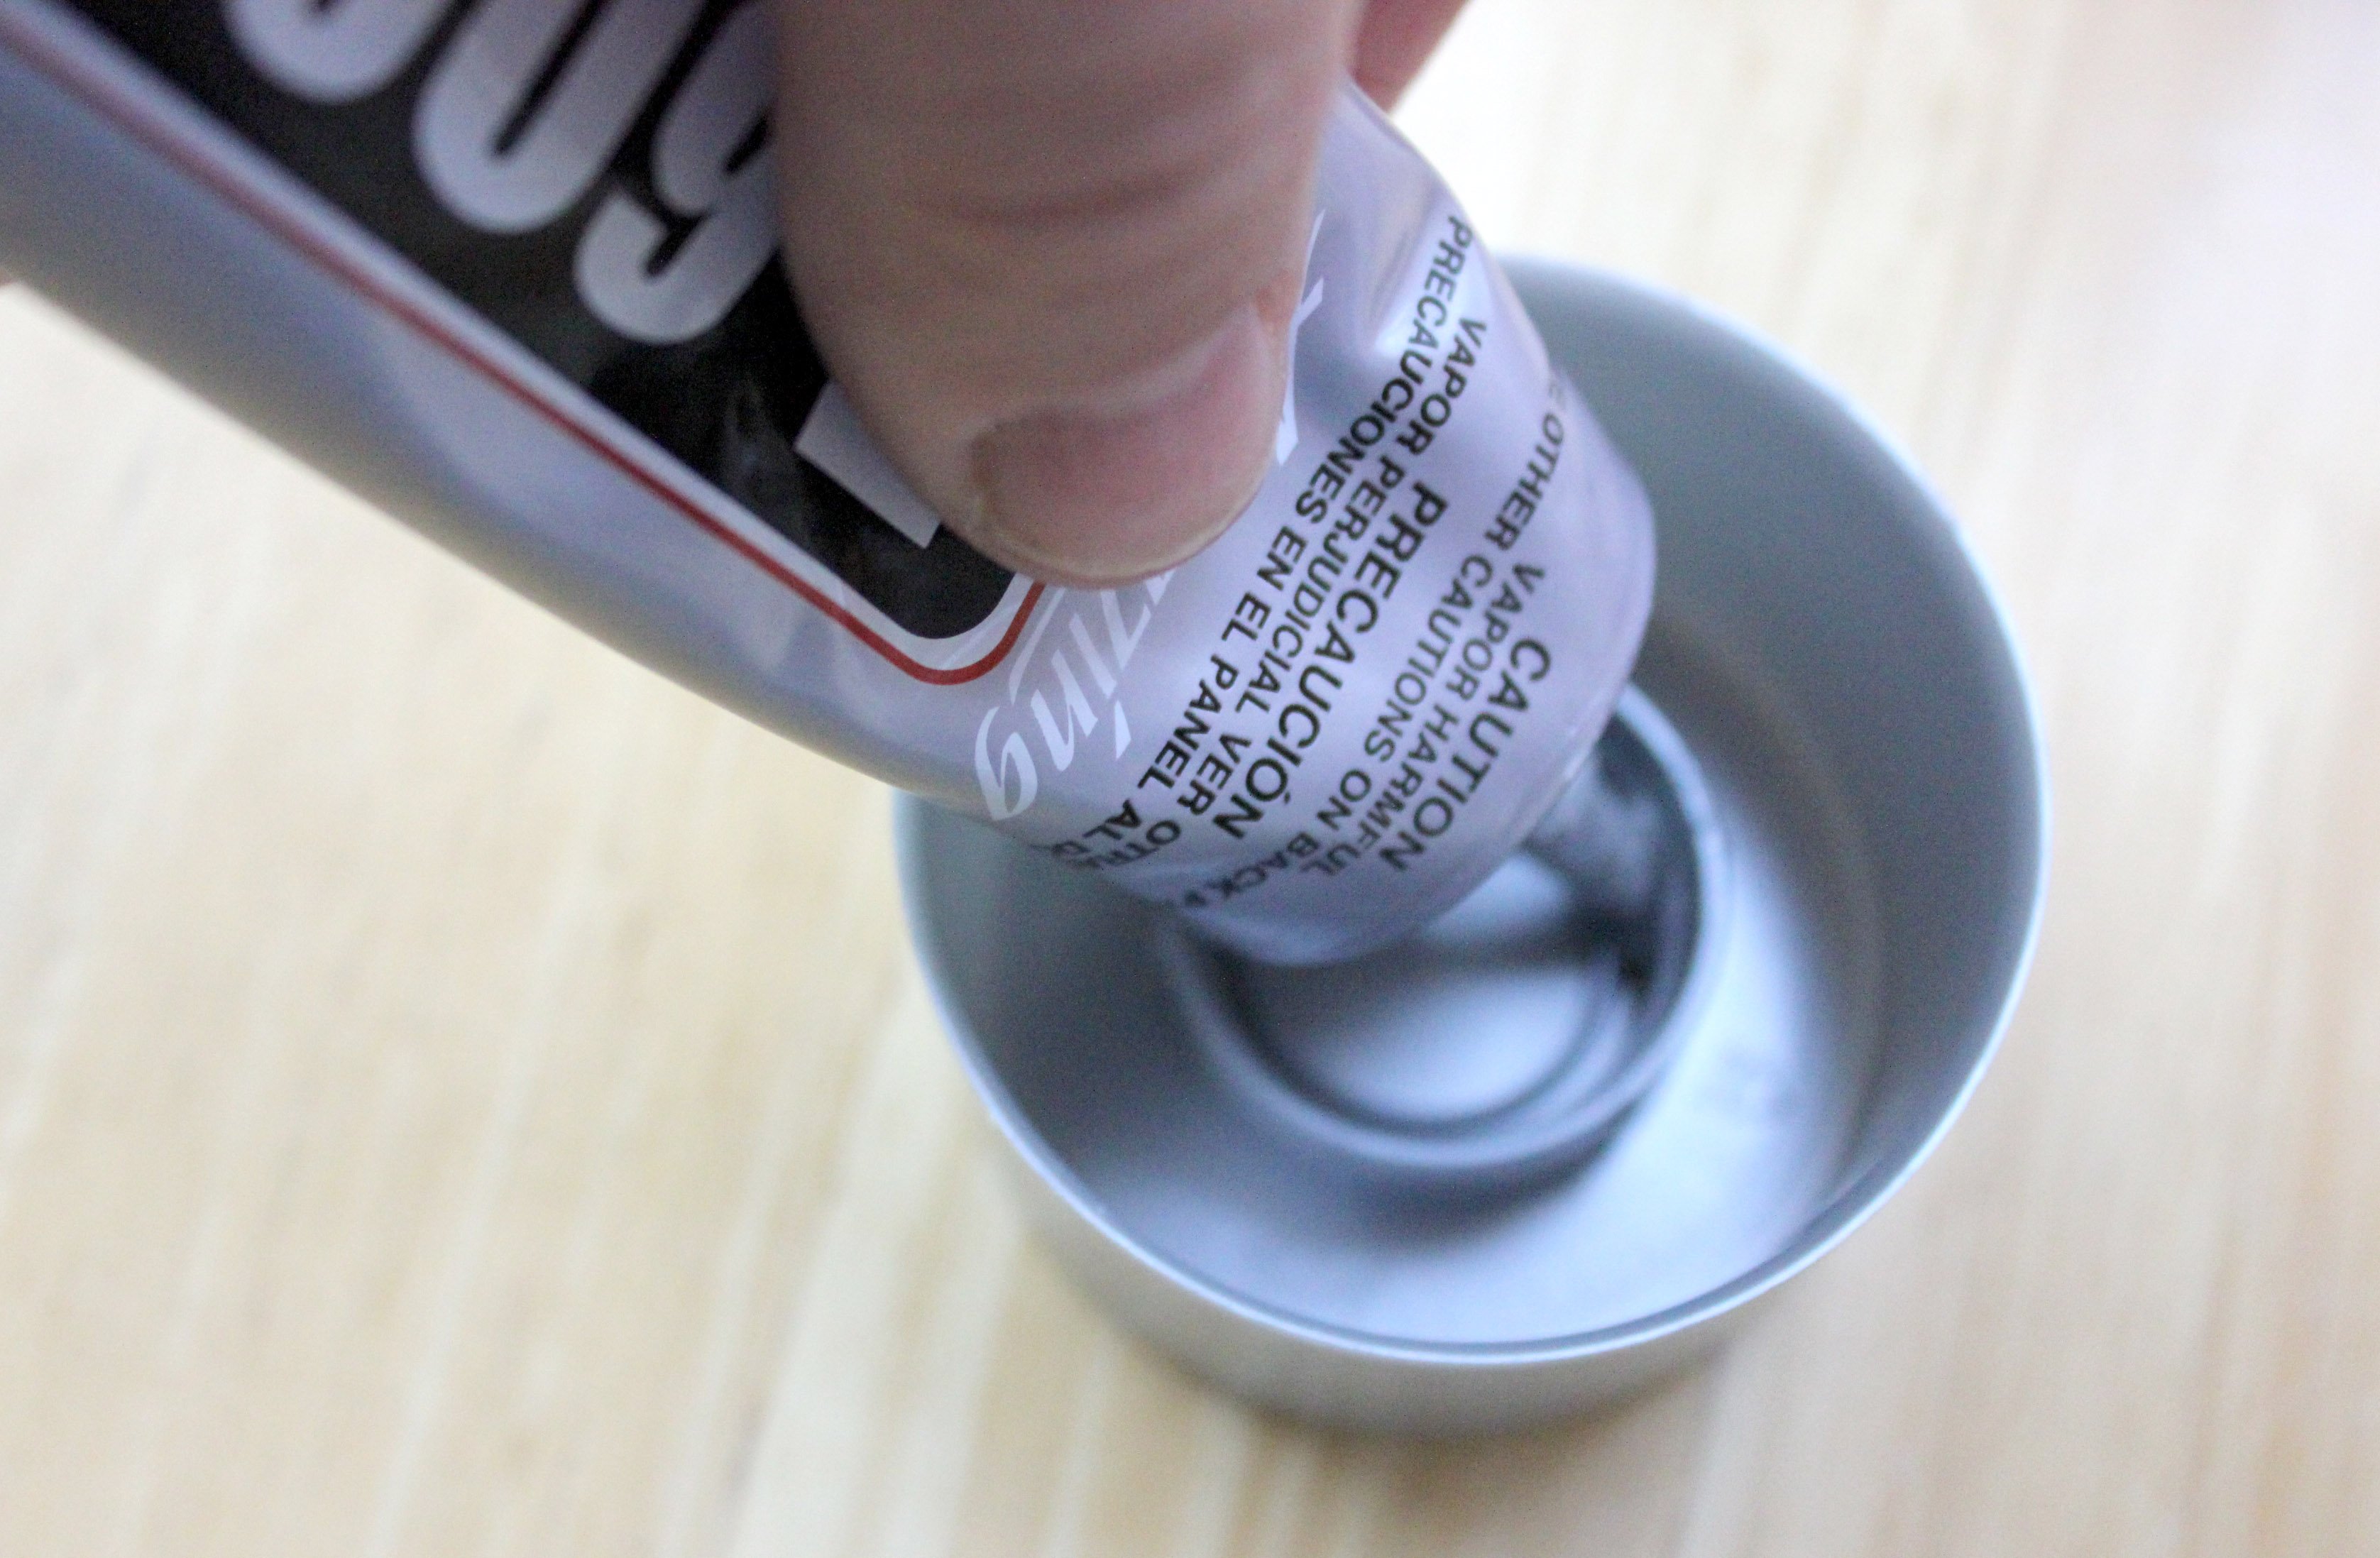
Once your child has added all of their desired objects, now you can seal the lid for them. (This is a grownup step!) Using your craft glue, seal the lid shut so it is toddler proofed. Make sure to use the glue in a well-ventilated area, and don't give the bottle to your toddler until after the glue has completely dried.
Done!
That's it! You're done! We simply love making these jars in our house; they are lined up on our bookcases in the playroom. My little ones love shaking them up and seeing all the objects inside. It's such an easy project to make with things you already have around the house. Have fun and shake on!